
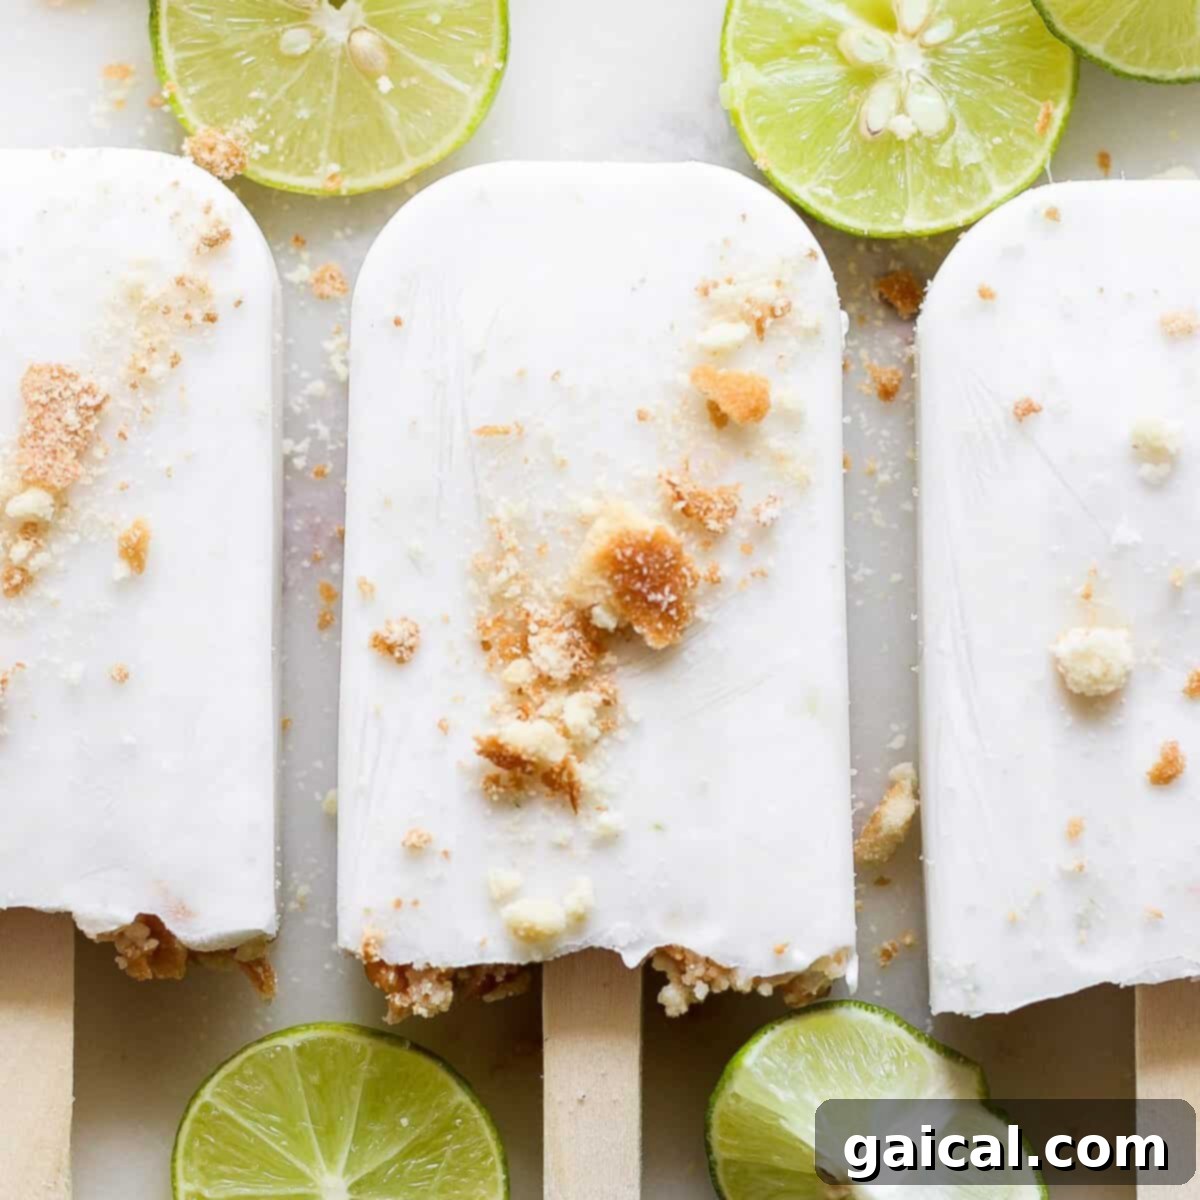
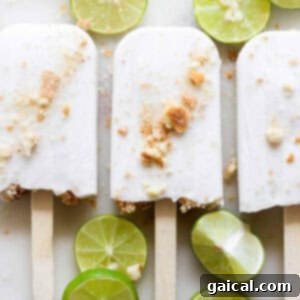
Prepare to fall in love with these Coconut Key Lime Pie Popsicles – a genuinely irresistible frozen dessert that will have you craving them all summer long! Imagine the perfect blend of creamy coconut, bright zesty lime, a hint of sweet white chocolate, and the delightful crunch of vanilla wafers, all transformed into a wonderfully refreshing popsicle. It’s all the iconic flavors of a beloved key lime pie, but in a fun, chilled format that’s ideal for warm weather.
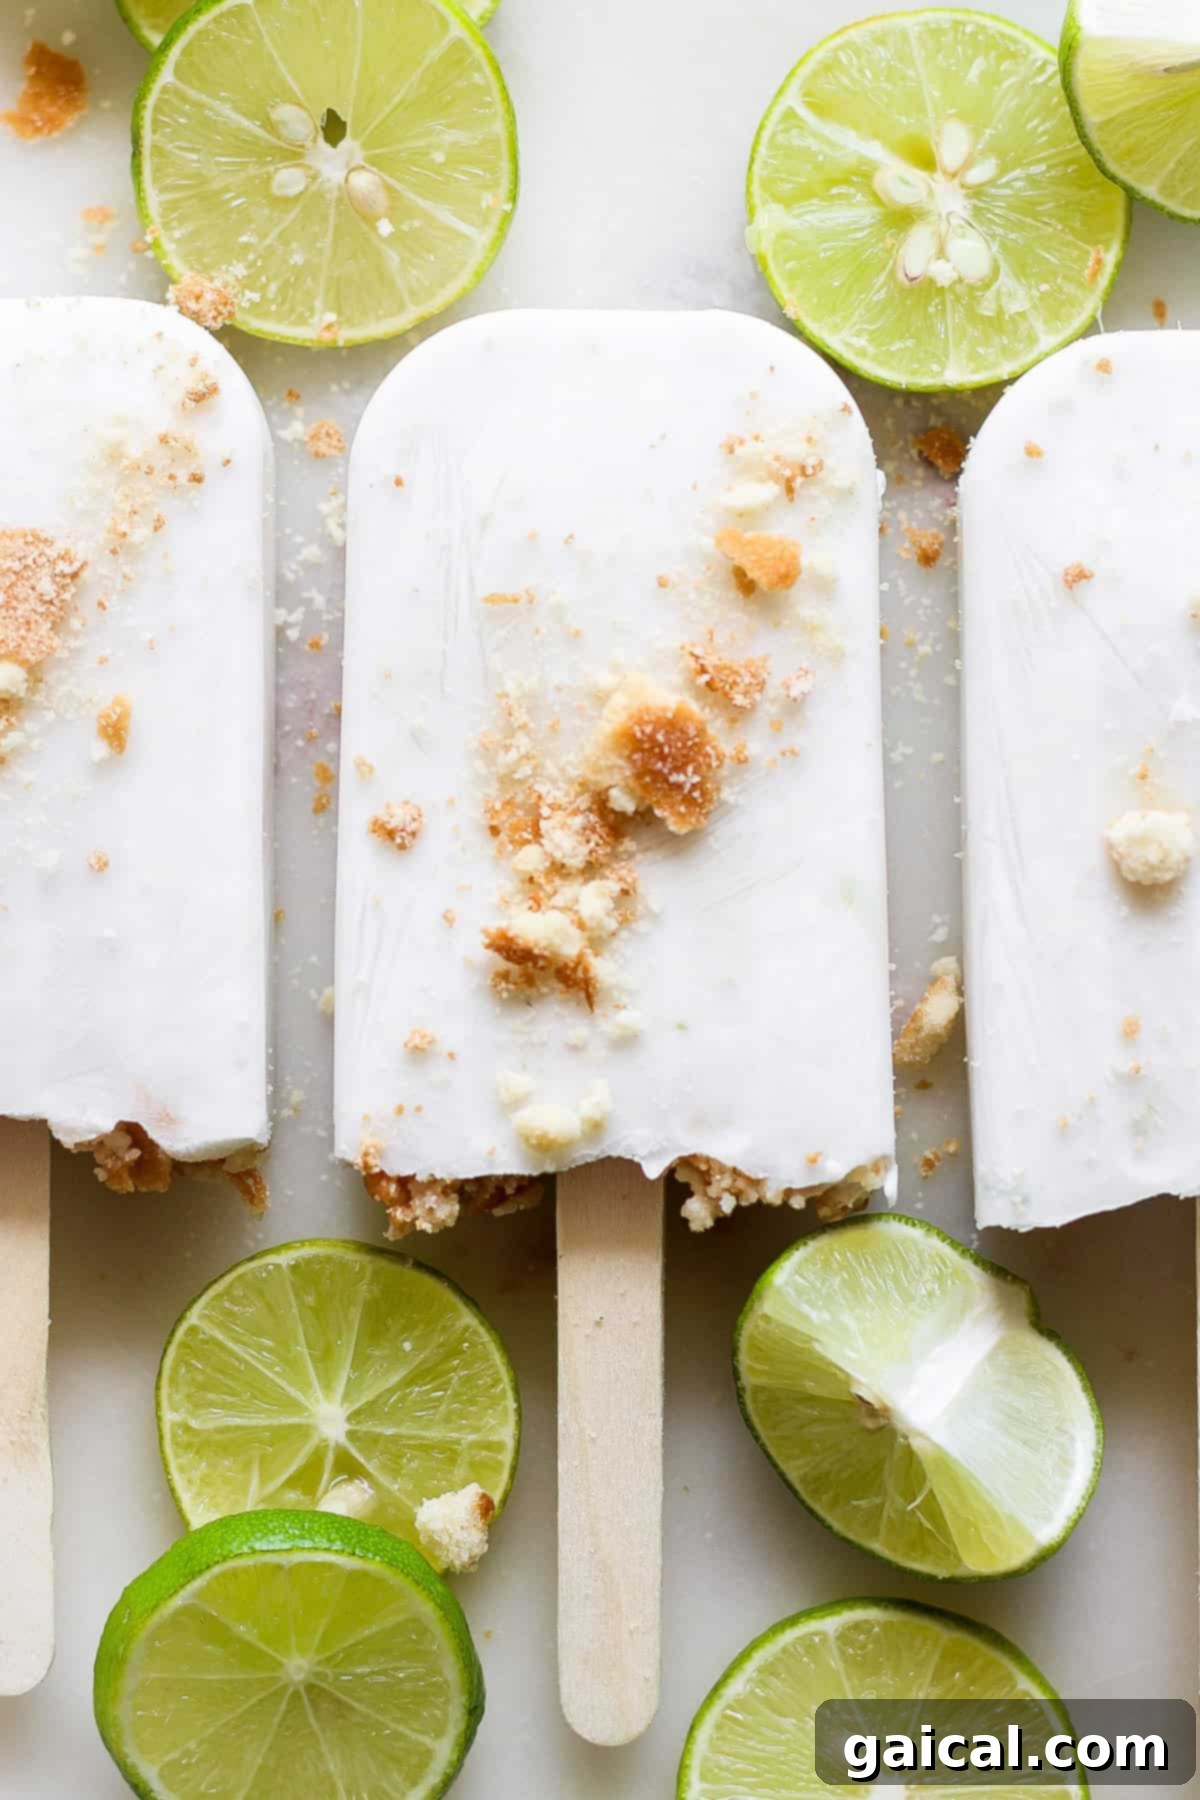
Crafting your own frozen treats at home is surprisingly simple and incredibly rewarding. After successfully creating our popular Watermelon Wine Freeze Pops and wholesome Meal-Prep Smoothie Popsicles, we realized just how effortless and enjoyable the process can be. It’s not only a fantastic way to control the ingredients, but it also makes for a delightful summer activity to share with family, especially the little ones. Get ready to ditch those store-bought, overly sugary options!
With this simple coconut key lime popsicle recipe, you can say goodbye to expensive, artificial popsicles filled with unpronounceable ingredients. Instead, you’ll be making your own wholesome, all-natural treats using just a few key ingredients, some basic popsicle molds, and a straightforward mixing and assembly process. The only real challenge is the anticipation – patiently waiting for them to freeze into perfect, ready-to-enjoy popsicles.
Why You’ll Love These Coconut Key Lime Pie Popsicles
These aren’t just any popsicles; they’re a miniature culinary masterpiece on a stick! Here’s why these homemade Coconut Key Lime Pie Popsicles are about to become your new favorite:
- Irresistible Flavor Combination: Experience the harmonious balance of creamy, rich coconut, the vibrant tang of key lime, and the sweet indulgence of white chocolate, all complemented by a unique, crunchy ‘pie crust’ layer. It’s truly a taste of summer perfection.
- Simple & Fun to Make: Forget complicated recipes! This easy-to-follow guide ensures a hassle-free experience, perfect for beginner cooks or for involving children in the kitchen.
- Wholesome Ingredients: Made with natural components, these popsicles offer a healthier alternative to most store-bought options, free from artificial flavors and excessive sugars.
- Customizable Delights: While delicious as is, this recipe is incredibly versatile. Easily swap out toppings or crust ingredients to suit your preferences or dietary needs.
- Perfect for Any Occasion: Whether you’re hosting a backyard barbecue, enjoying a quiet afternoon by the pool, or simply need a refreshing pick-me-up, these popsicles are guaranteed to hit the spot.
- Vegan-Friendly: Crafted primarily with coconut cream, these popsicles are naturally dairy-free and suitable for a vegan lifestyle, making them accessible to more people.
Essential Ingredients for Your Key Lime Popsicles
Creating these delightful Coconut Key Lime Pie Popsicles requires just a handful of quality ingredients. Each component plays a vital role in achieving that signature flavor and creamy texture:
- Cans of Coconut Cream: This is the heart of our creamy base. Opt for full-fat coconut cream, not coconut milk, for the richest and most luscious texture. Chilling the cans beforehand can help separate the cream, making it easier to scoop out the thick, solid portion, which is exactly what we want for ultra-creamy popsicles.
- Agave Nectar: Agave is our natural sweetener of choice. Its mild, neutral flavor won’t overpower the delicate lime and coconut notes. More importantly, agave is less likely to crystallize in the freezer compared to granulated sugar, resulting in a smoother, less icy popsicle. Honey or maple syrup can be used as alternatives, though they may impart a slightly different flavor.
- Fresh Limes (Juice and Zest): The star of the show! For that authentic, vibrant key lime pie flavor, fresh lime juice and zest are absolutely essential. The zest contains concentrated citrus oils that provide an incredible aromatic punch, while the juice delivers the tangy, bright flavor. Key limes are preferred for their distinct tartness, but regular limes will work beautifully if key limes aren’t available.
- White Chocolate Chips: A fantastic companion to lime, white chocolate adds a touch of sweetness and indulgence. It helps balance the tartness of the lime and contributes to a richer flavor profile. We’ll use this both in the popsicle mixture and as part of our crunchy topping.
- Coconut Oil: This ingredient is crucial for our white chocolate topping. When melted with white chocolate, coconut oil helps create a smooth, dippable consistency that hardens nicely when it hits the cold popsicle, giving it a satisfying snap. It also adds a subtle hint of coconut flavor.
- Nilla Wafers (or similar cookies): These classic vanilla wafers are crumbled to mimic the comforting texture and flavor of a pie crust. Their subtle sweetness and crisp texture provide a wonderful contrast to the creamy popsicle.
No Popsicle Molds? No Problem!
Don’t let the absence of traditional popsicle molds deter you from making these incredible Coconut Key Lime Pie Popsicles! Creativity in the kitchen often leads to delicious results. You have a few fantastic alternatives:
- Small Paper Cups: Standard disposable paper cups (3-5 oz) are excellent substitutes. Simply fill them with the mixture, cover the top with aluminum foil, and then poke a small hole through the foil in the center to insert your popsicle stick. The foil helps keep the stick upright as the popsicles freeze.
- Ice Cube Trays: For mini-popsicles, an ice cube tray works perfectly! This is a great option for smaller portions or for younger children. Again, cover with foil and insert smaller sticks or even toothpicks. These bite-sized treats are just as delicious and super convenient.
No matter which method you choose, make sure your sticks are securely placed before freezing to ensure easy handling once frozen.
Other Tasty Topping & Crust Ideas
While the white chocolate and Nilla wafer combo is heavenly, feel free to get creative with your toppings and “crust” layers:
- Chocolate Swaps: Instead of white chocolate, try melting dark chocolate or milk chocolate with coconut oil for a different flavor profile. A drizzle of chocolate on its own can also be a simple yet elegant finish.
- Coconut Shavings: To enhance the tropical coconut flavor, sprinkle toasted or plain shredded coconut over the melted chocolate layer, or even mix it directly into the coconut cream mixture.
- Alternative Crumbled Cookies: The “crust” is highly adaptable! Swap out Nilla wafers for other delicious options like:
- Graham Crackers: A classic pie crust flavor, perfect for key lime.
- Oreo Cookies: Crushed Oreos would add a chocolatey, decadent twist.
- Biscoff Cookies: For a spiced, caramel-like flavor that pairs wonderfully with cream and citrus.
- Gluten-Free Wafers/Cookies: Ensure these popsicles are enjoyed by everyone by choosing a gluten-free cookie option.
- Nutty Crunch: Finely chopped nuts like pistachios, almonds, or macadamia nuts could add an interesting texture and flavor dimension.
- Fruity Additions: Consider swirling in some raspberry puree or finely diced mango into the base mixture for an extra burst of fruit flavor.
Can’t Get Enough Key Lime Pie?
If you’re a true key lime pie aficionado, you absolutely must try our Easy Coconut Key Lime Pie Bars! These bars feature a delicate, flaky crust made with almond flour, shredded coconut, and a touch of honey, all crowned with an ultra-moist and perfectly decadent key lime pie filling. They’re a crowd-pleaser and we guarantee you’ll be obsessed!
Try This Simple Hack!
Make Smoothie Popsicles!
Did you know smoothie popsicles are one of our favorite meal prep hacks? Simply pour any leftover smoothie into a plastic popsicle mold and freeze for later! It’s an easy way to enjoy a nutritious snack.
Tips for Easy & Perfect Popsicle Making
Freeze Popsicles for at Least 8 Hours, or Preferably Overnight. Patience is key for the best results! This ensures they are completely solid and firm, making them much easier to remove from the mold without breaking. Rushing the freezing process can lead to soft, fragile popsicles.
Run Warm Water Over the Mold Before Removing. This is a game-changer! Before attempting to pull out your frozen treats, quickly run the bottom and sides of the popsicle mold under warm tap water for about 10-20 seconds. This gentle warmth helps to slightly loosen the popsicle from the mold, allowing for a smooth and easy release without any struggle.
Ensure Popsicle Sticks Are Securely Placed. After pouring your mixture into the molds and adding the topping, make sure to insert your popsicle sticks straight and deep enough into the mixture before the final freeze. If they shift or are too shallow, it could make removal difficult and might even cause the popsicle to fall off the stick.
Prevent Freezer Burn: Once fully frozen and removed from their molds, wrap individual popsicles tightly in plastic wrap or place them in an airtight container or freezer bag. This prevents ice crystals from forming and preserves their creamy texture and fresh flavor.
Make Ahead: Popsicles are the ultimate make-ahead dessert! Prepare a large batch a day or two before a party or gathering. This frees up your time and ensures you have plenty of refreshing treats ready to go.
How to Store Your Coconut Key Lime Pie Popsicles
Proper storage is essential to keep your homemade Coconut Key Lime Pie Popsicles fresh and delicious for as long as possible. Once the popsicles are completely frozen and you’ve removed them from their molds, store them in an airtight container or a heavy-duty freezer-safe plastic bag. This prevents freezer burn and keeps unwanted freezer odors at bay. When stored correctly, these delightful treats should last for up to 2 weeks in the freezer, ready to be enjoyed whenever a craving strikes!
More of our Favorite…
Cool & Refreshing Summer Desserts
- High-Protein Strawberry Shortcake Ice Cream Bars
- Blueberry Cheesecake Protein Smoothie
- Lemon Cheesecake Nice Cream
- Peanut Butter Chocolate Cottage Cheese Cheesecake Cups
Coconut Key Lime Pie Popsicles Recipe
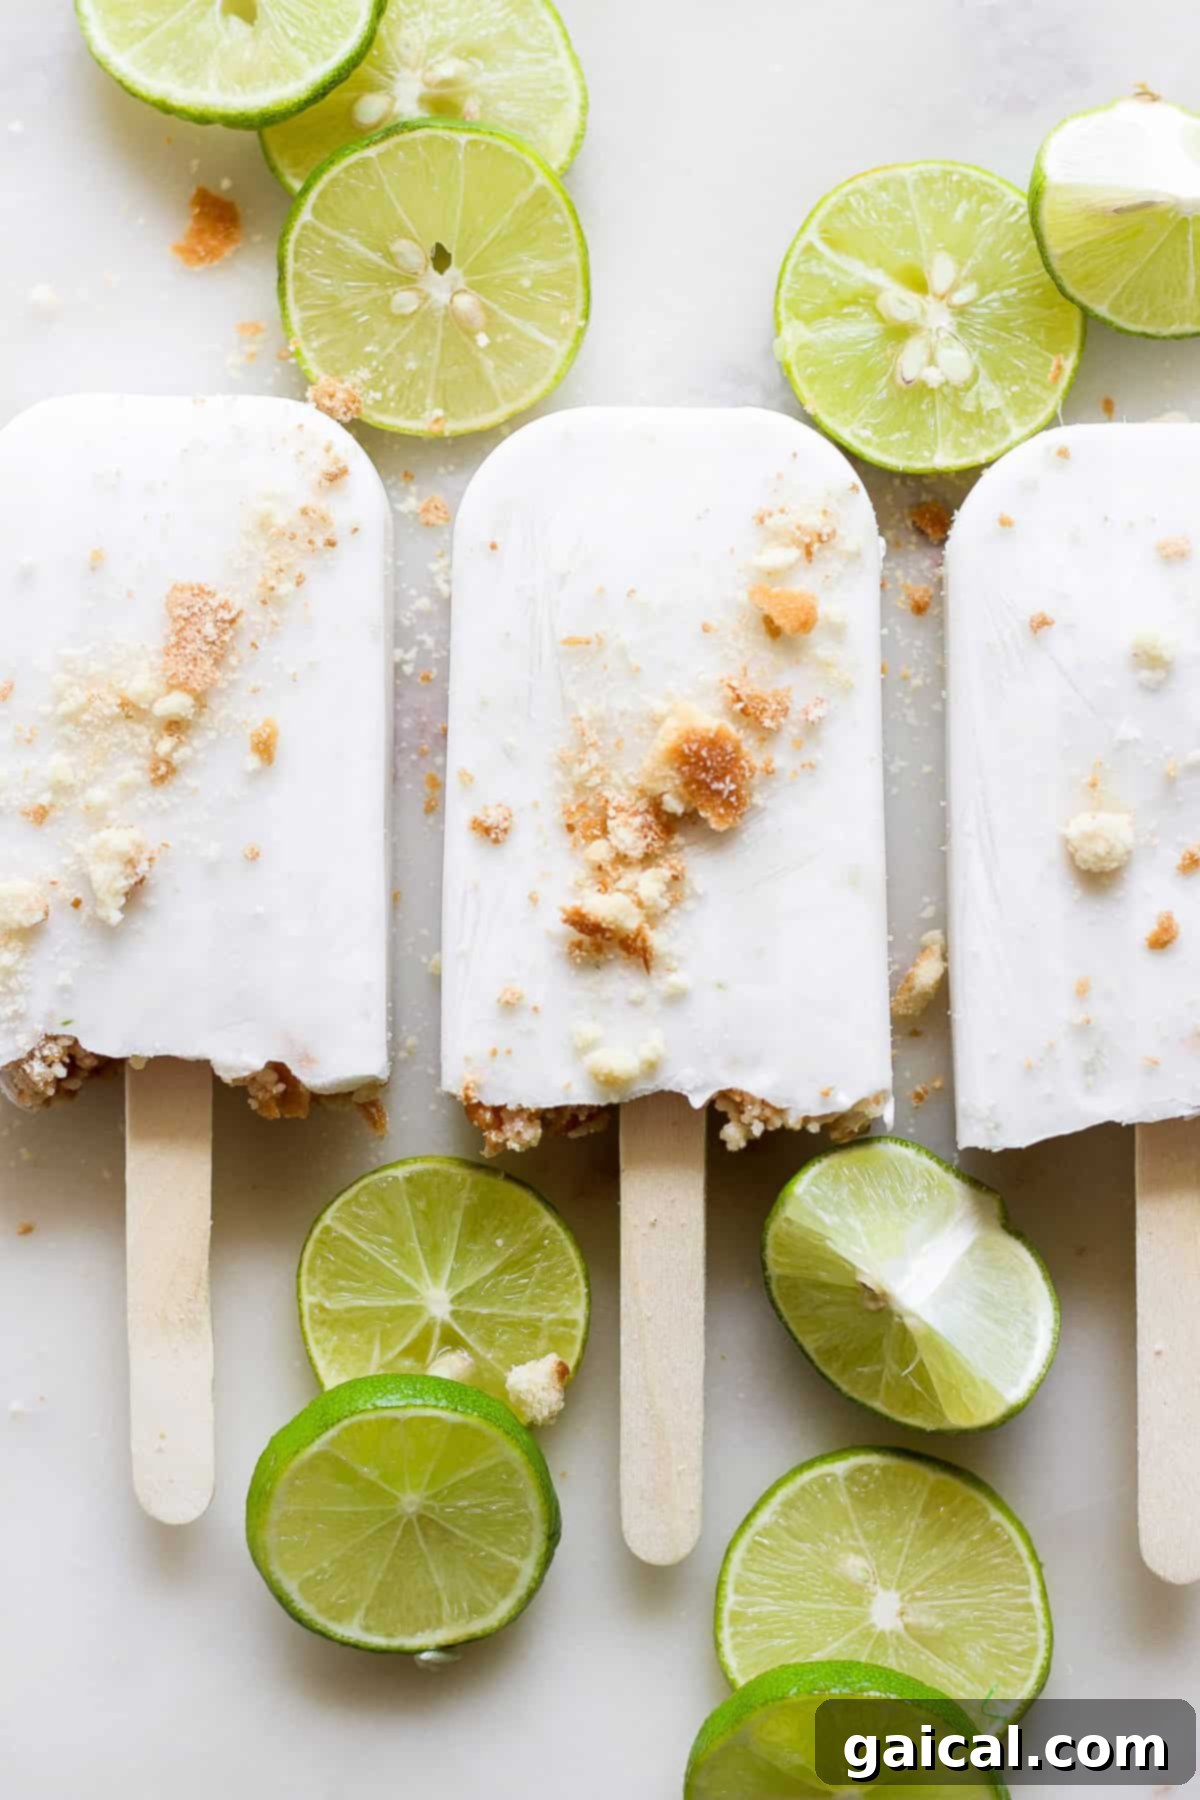
Cool down this summer with these incredibly delicious Coconut Key Lime Pie Popsicles! Crafted with a smooth, creamy coconut base, vibrant tangy key lime juice, and finished with a satisfyingly crunchy Nilla wafer “crust” layer, these homemade popsicles are the epitome of a refreshing summer treat. Easy to make and bursting with tropical flavor!
By: Emily Richter
Servings: 12
Ingredients
- 2 (15 oz.) cans full-fat coconut cream
- 2 tablespoons agave nectar (or maple syrup)
- ¼ cup fresh lime juice (from 2-3 limes)
- 1 tablespoon fresh lime zest (from 2-3 limes)
- ¼ cup white chocolate chips, divided
- 1 teaspoon coconut oil
- 6 Nilla wafers, finely crumbled
Instructions
-
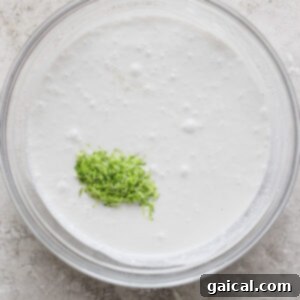
In a medium mixing bowl, combine the chilled coconut cream (scoop out the thick cream from the top of the cans), agave nectar, fresh lime juice, lime zest, and 2 tablespoons of the white chocolate chips. Whisk thoroughly until all ingredients are well combined and the mixture is smooth. Ensure any solid coconut cream lumps are broken down.

-
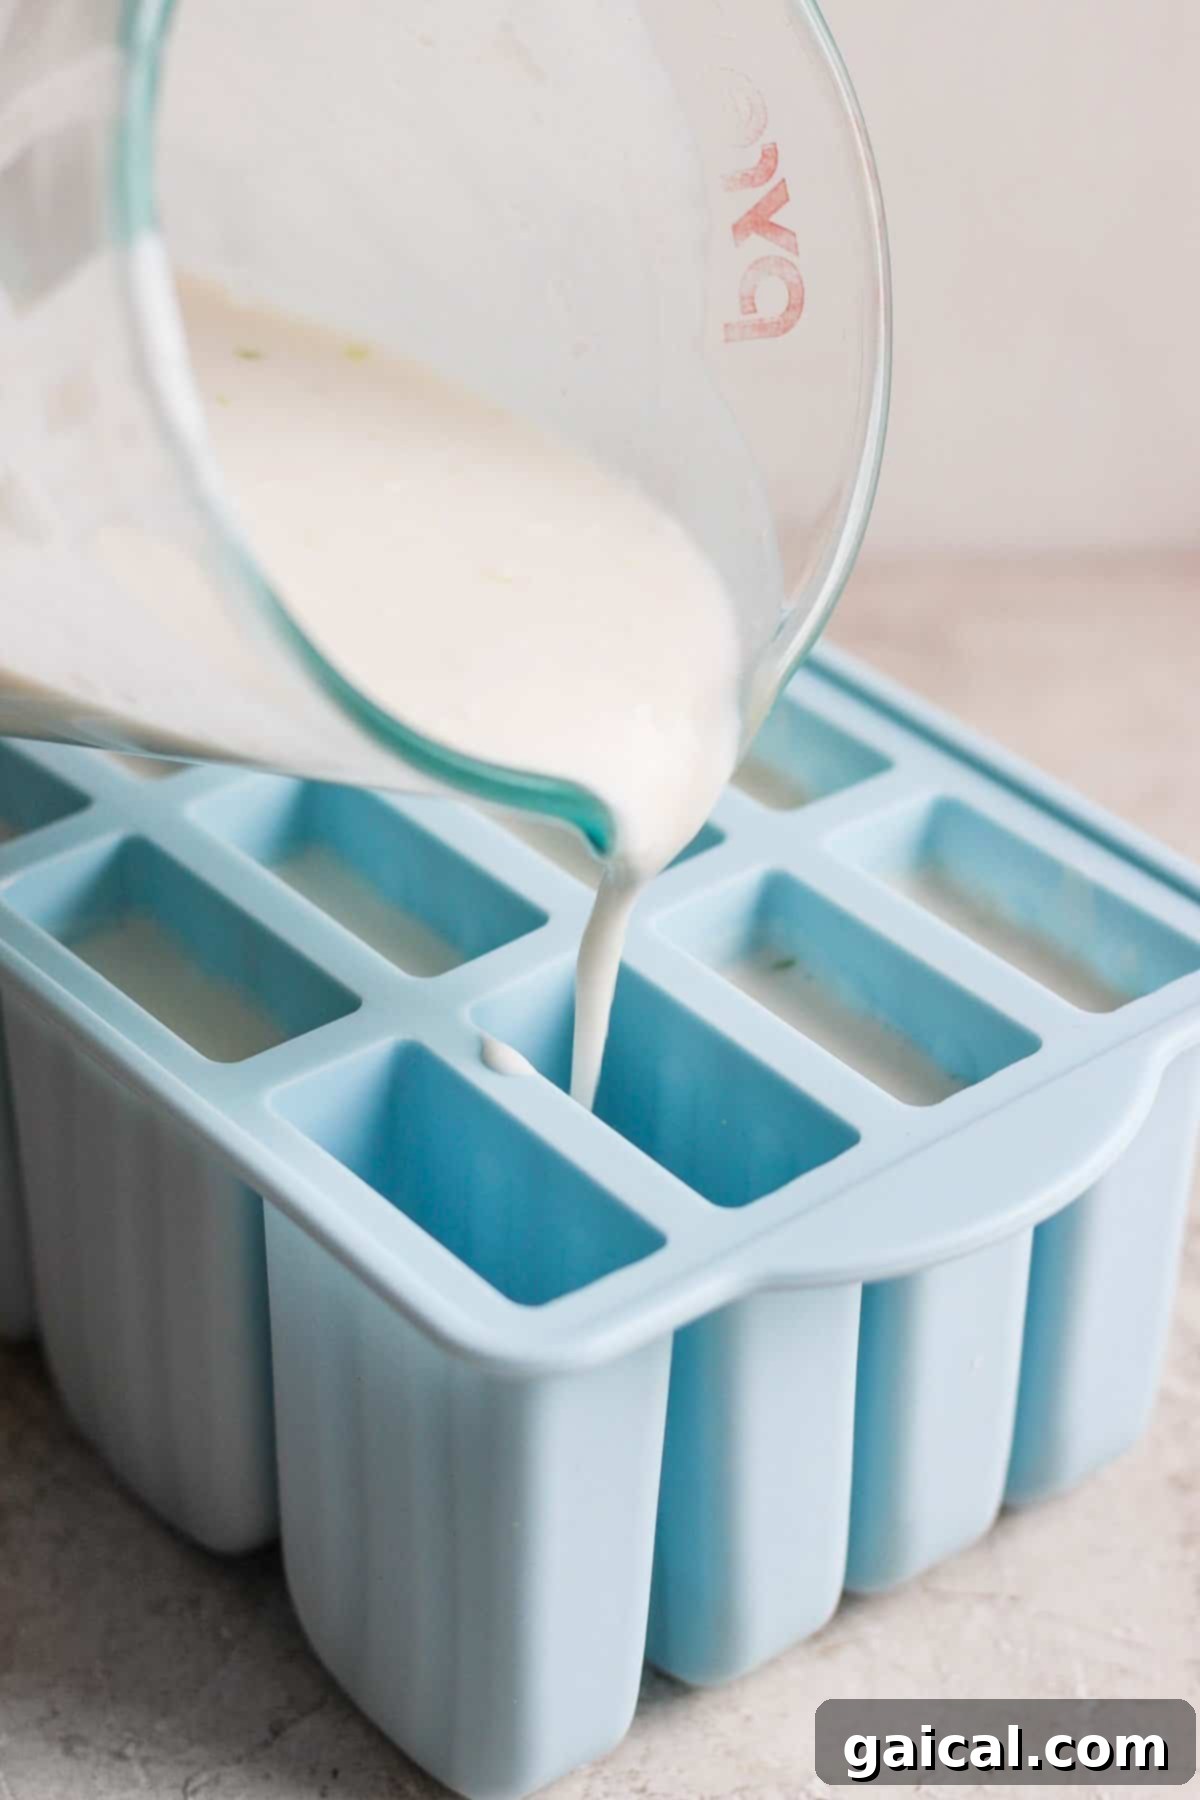
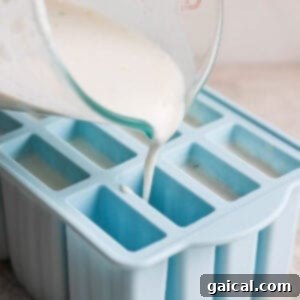
Carefully transfer the coconut-lime mixture into a spouted measuring cup or a pitcher. This will make pouring the mixture into the popsicle molds much easier and less messy.
-
Pour the prepared coconut cream mixture evenly into your popsicle molds. Remember to leave approximately ¼ inch of space at the top of each mold; this gap is essential for adding the delicious white chocolate and wafer topping later.
-
Place the filled popsicle molds into the freezer. Allow them to freeze for approximately 1 hour. This initial freezing time will firm up the base mixture enough to support the popsicle sticks and the topping without them sinking.
-
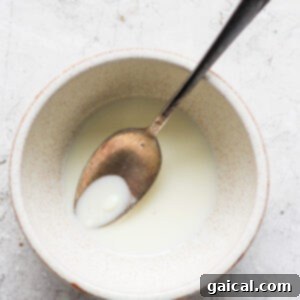
After the popsicles have been freezing for about an hour, it’s time to prepare the delightful white chocolate topping. In a small microwave-safe bowl, combine the remaining white chocolate chips and the coconut oil. Heat in the microwave in short 15-second intervals, stirring well after each interval, until the white chocolate is completely melted and smooth. Be careful not to overheat the chocolate.
-
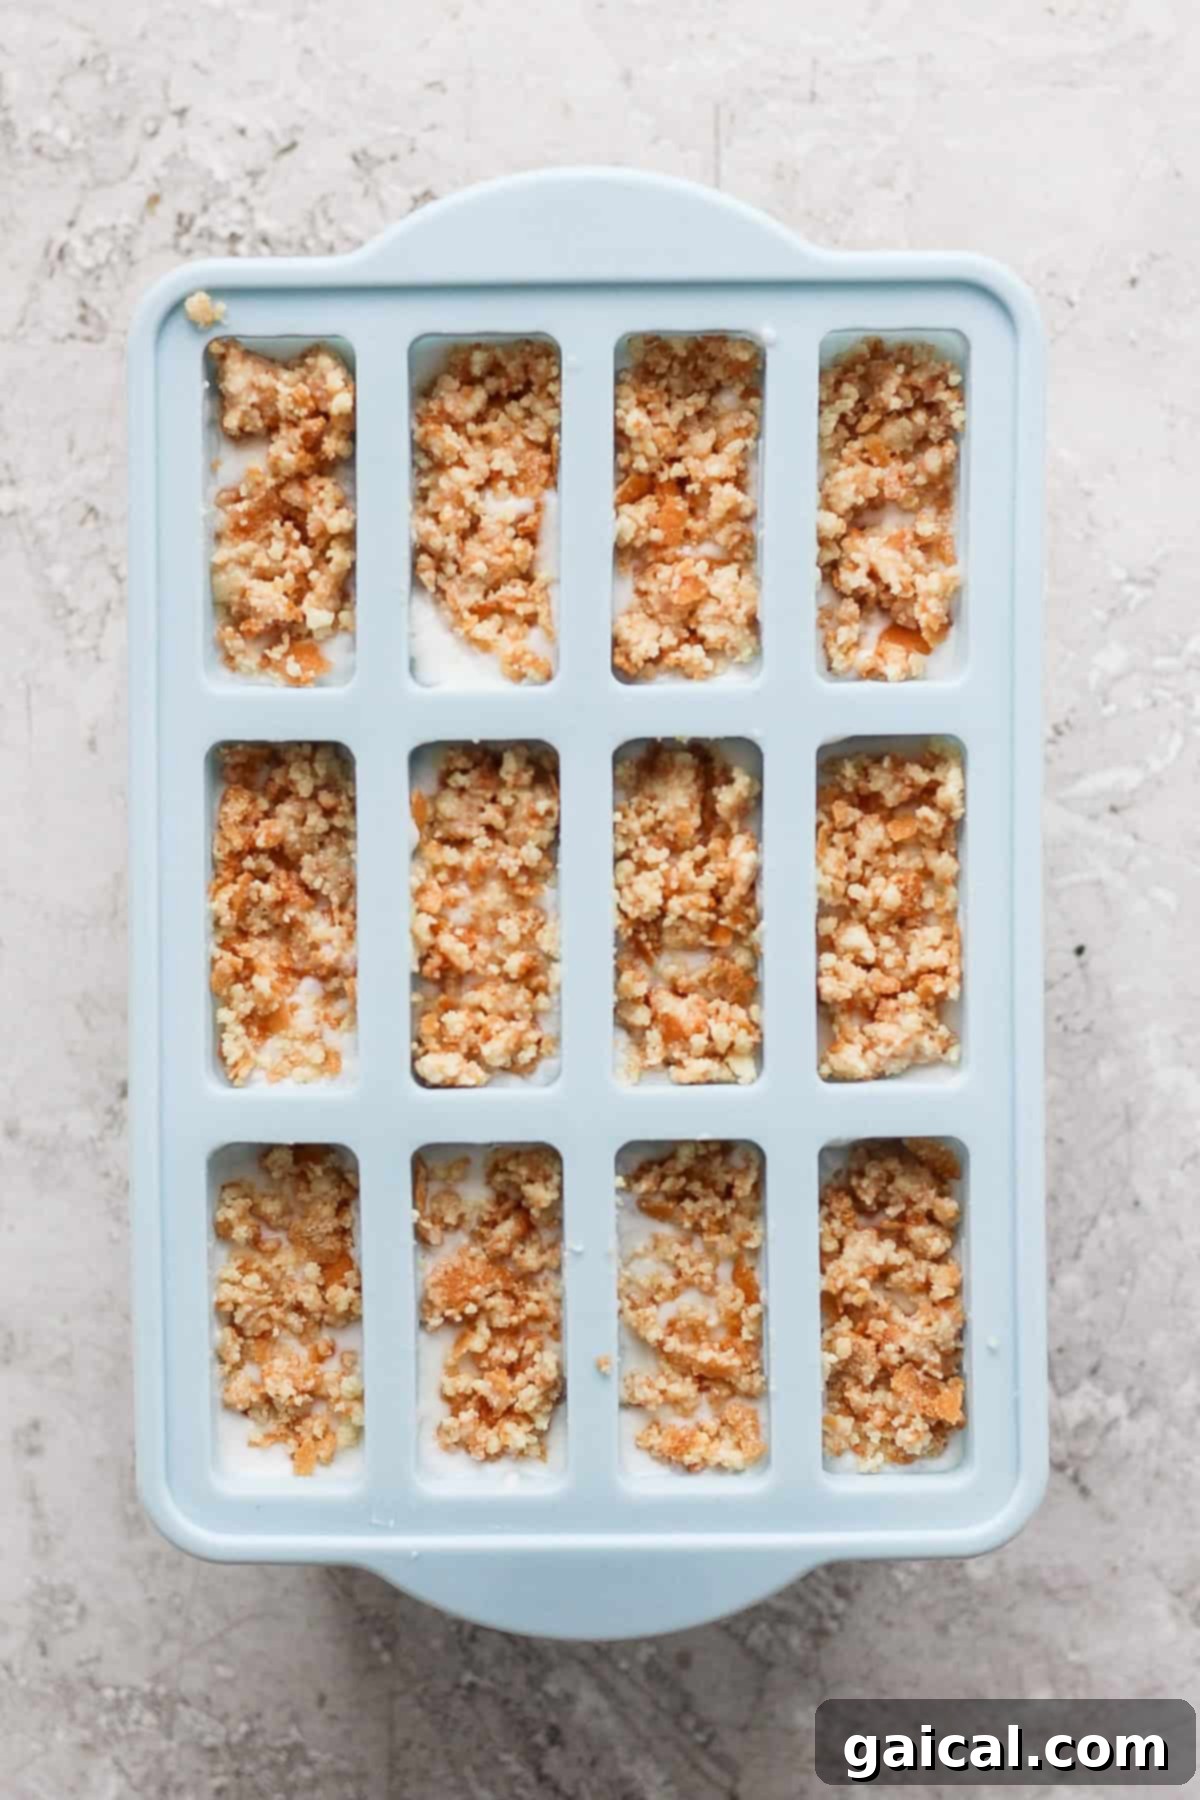
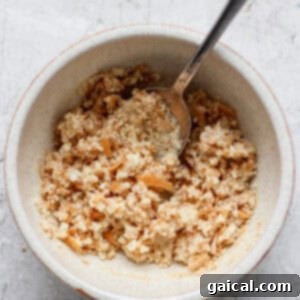
Once the white chocolate is melted, gently fold in the finely crumbled Nilla wafers. Mix until the wafer crumbs are evenly coated in the chocolate. This creates our ‘pie crust’ layer.
-
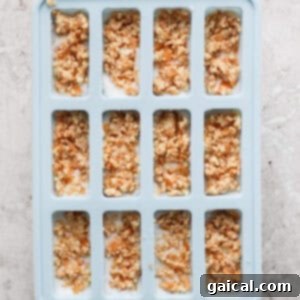
Retrieve the partially frozen popsicle molds from the freezer. Spoon about 1 teaspoon of the white chocolate and Nilla wafer mixture onto the top of each popsicle, spreading it gently to cover the surface. Immediately after adding the topping, insert a popsicle stick into the center of each mold, pushing it down until it’s about two-thirds of the way into the popsicle. The cold popsicle will help the white chocolate topping harden quickly, securing the stick in place.
-
Return the popsicle molds to the freezer for a final freeze. Allow them to freeze for a minimum of 8 hours, or ideally, overnight, to ensure they are completely solid and perfectly set before serving.
Watch How to Make It
Prefer to follow along visually? Check out this video demonstrating the steps to create these delicious Coconut Key Lime Pie Popsicles:
(Original content had a video player here, but has been removed as per instructions to strip Javascript and complex plugin elements.)
Nutrition Information (Approximate per serving)
Calories: 283 kcal, Carbohydrates: 12 g, Protein: 3 g, Fat: 27 g, Fiber: 2 g, Sugar: 6 g
Nutrition information is automatically calculated and should only be used as an approximation.
Love this recipe? Leave a comment below!
Don’t forget to tag your posts on social media with the hashtag #fitfoodiefinds, we’d love to see what delicious creations you’re up to!
Photography by: The Wooden Skillet