
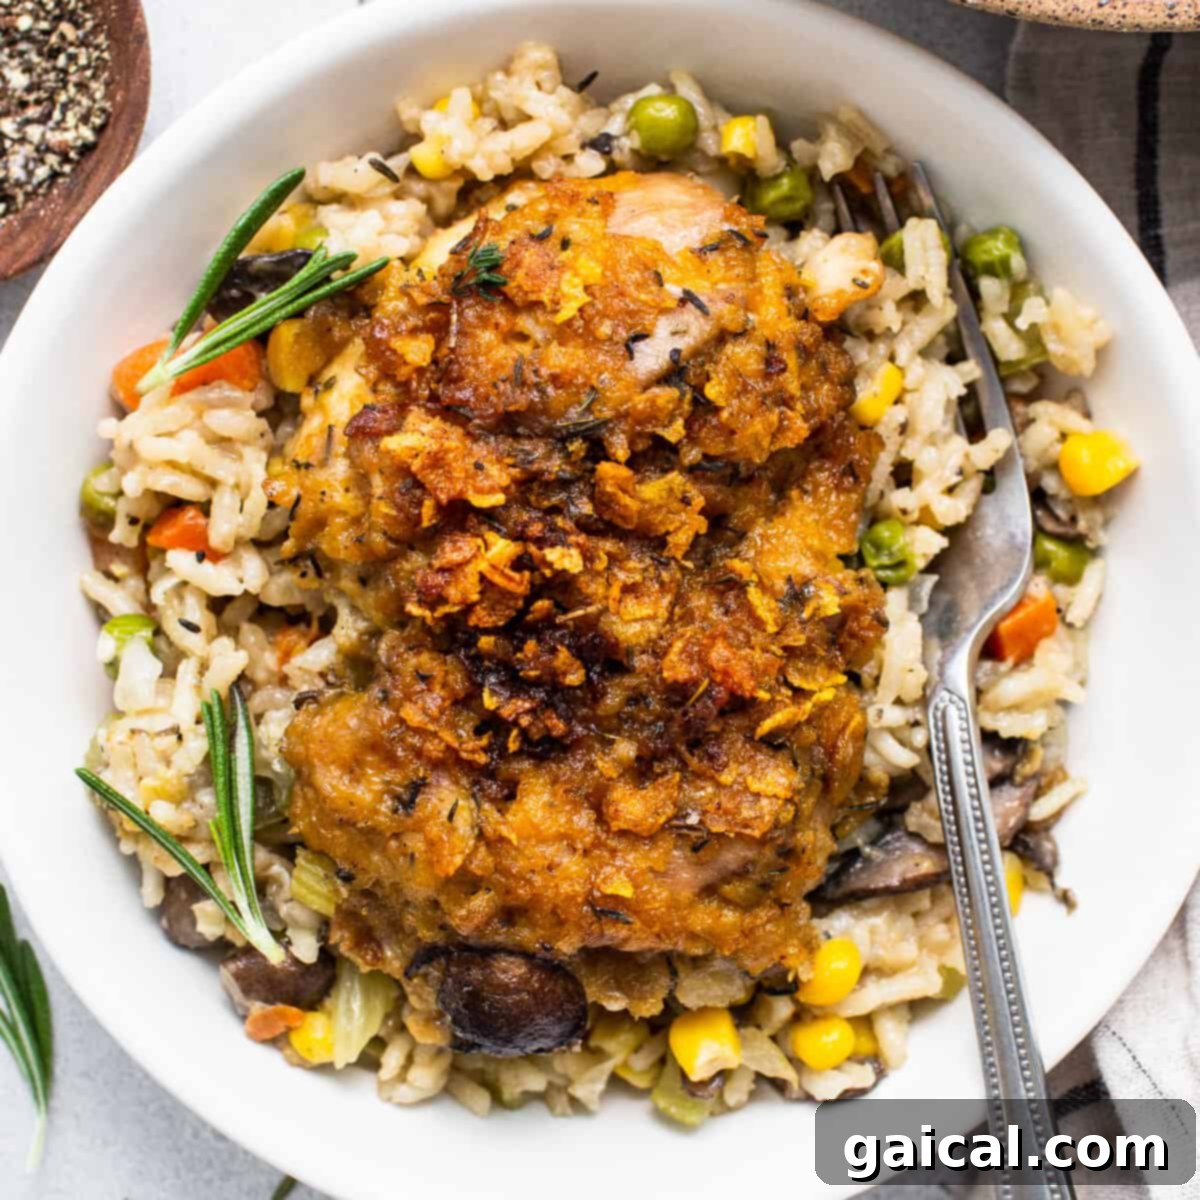
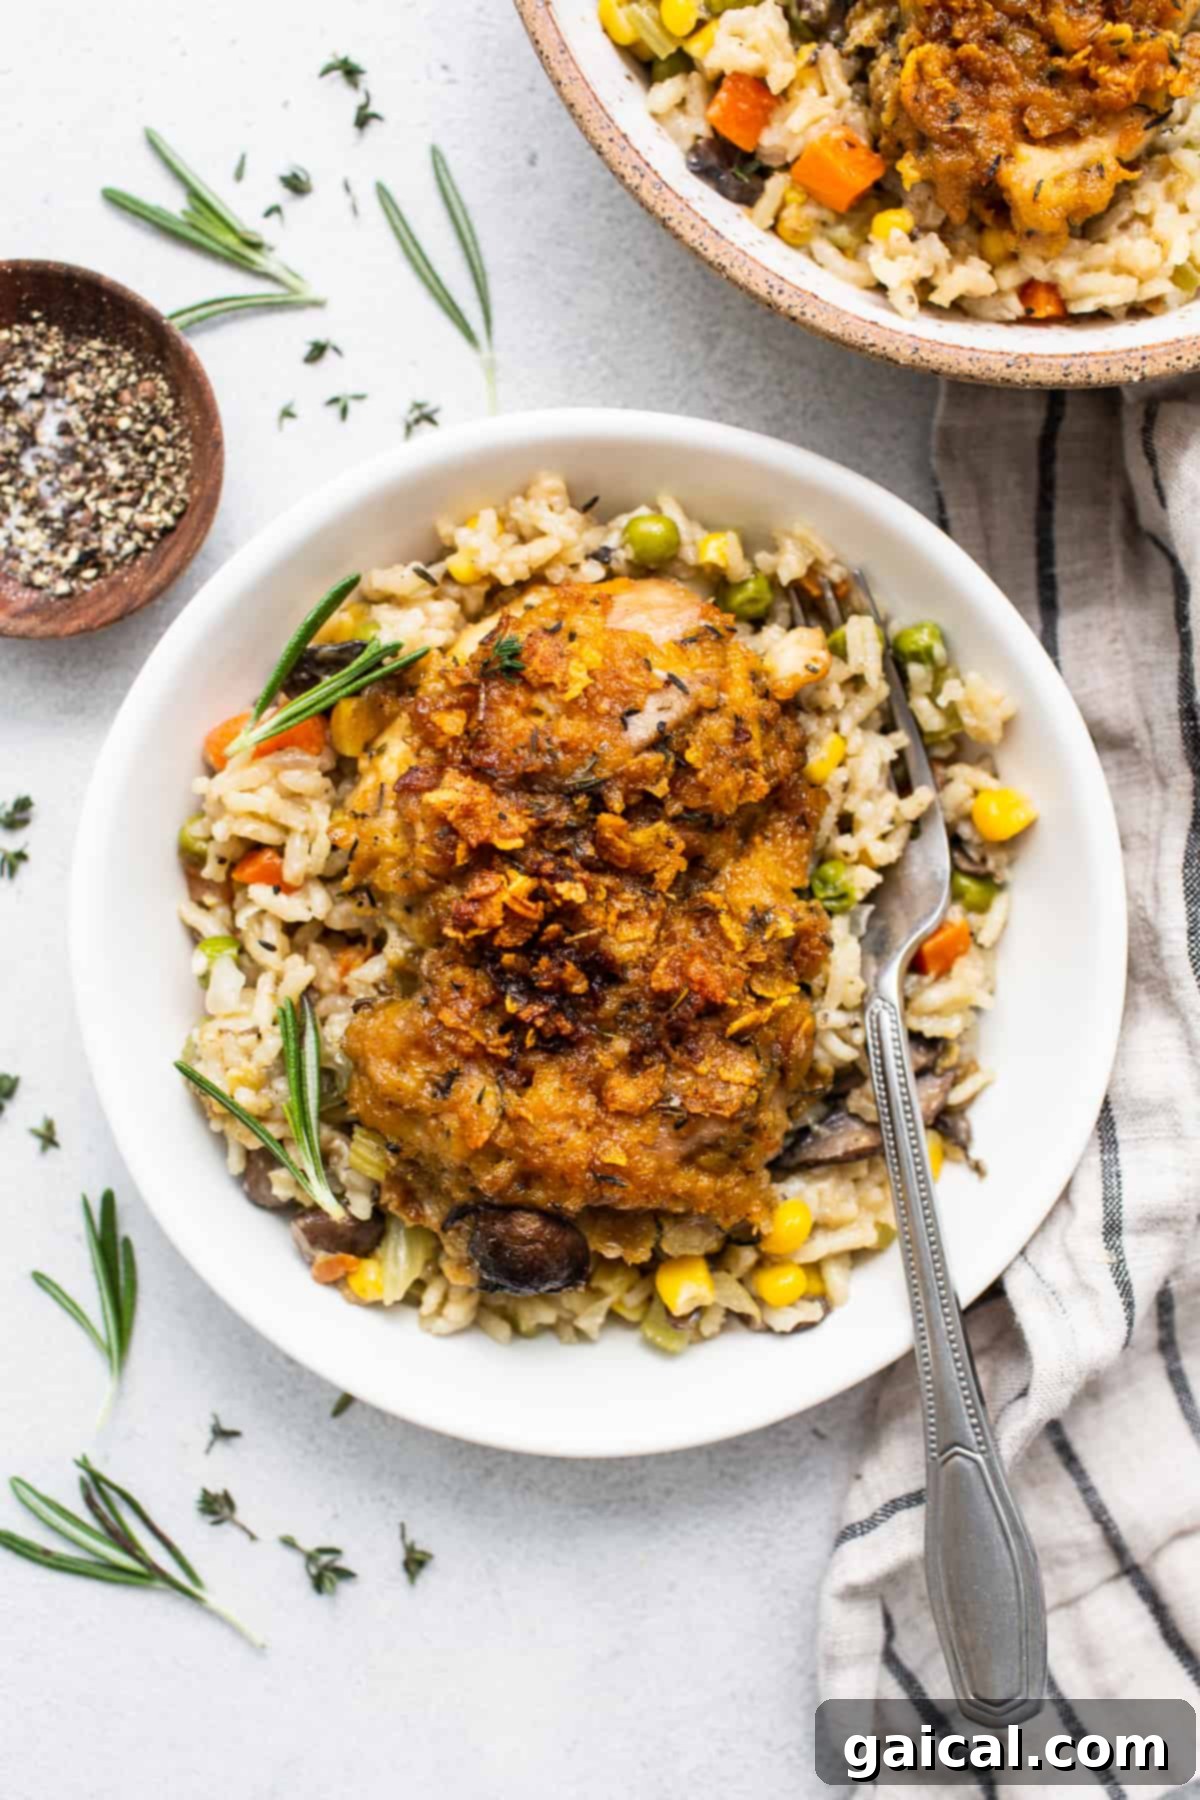
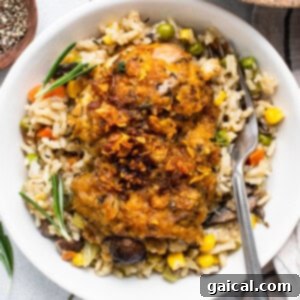
Dinner has never looked, smelled, or tasted so incredibly good! Our **Ultimate Chicken Pot Pie Skillet** redefines comfort food, offering a hearty, satisfying meal that effortlessly feeds a crowd. Best of all, this entire culinary masterpiece comes together in just one skillet, simplifying both the cooking process and the dreaded cleanup. Prepare to be amazed by this flavorful twist on a classic!
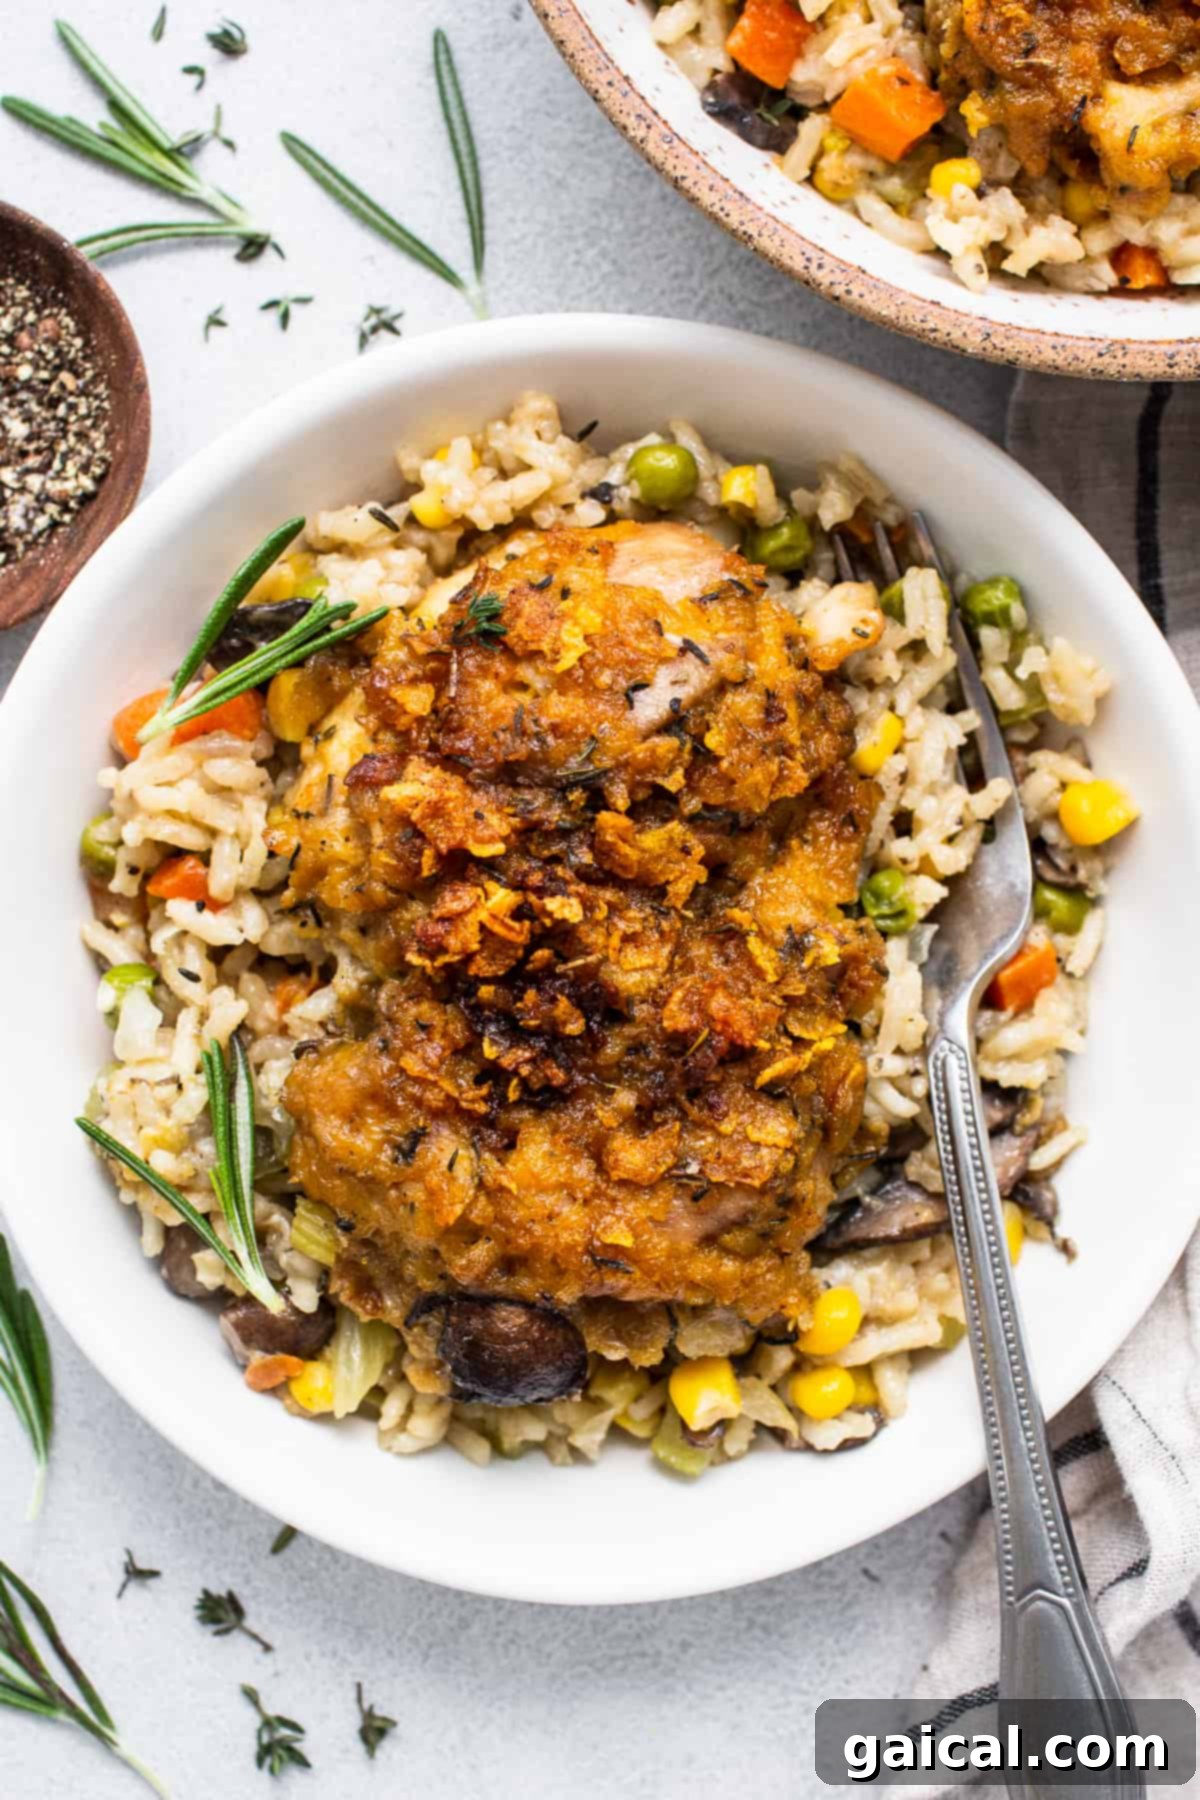
Ultimate One-Pan Chicken Pot Pie Skillet: Your New Weeknight Favorite
Craving a dish that’s both deeply comforting and surprisingly simple to prepare? Look no further than this incredible chicken pot pie skillet! It’s quickly become one of my absolute favorite go-to recipes for busy weeknights. The magic truly lies in its one-pan nature, which means minimal cleanup – a huge win in any kitchen. My toddler adores it, and I love that it’s bursting with fantastic flavor and packed with essential protein and wholesome vegetables. This robust dish is designed to satisfy the entire family, making it an undeniable crowd-pleaser. What could be better than a delicious, nutritious, and easy-to-clean-up dinner?
Why You’ll Absolutely Love This Skillet Pot Pie
This isn’t just another dinner recipe; it’s a culinary solution designed for modern life. Here’s why this Chicken Pot Pie Skillet is destined to become a staple in your kitchen:
- **Effortless One-Pot Wonder:** Say goodbye to stacks of dirty dishes! Preparing this entire meal in a single skillet means significantly less time spent scrubbing and more time enjoying your delicious creation.
- **Incredibly Versatile Ingredients:** Don’t have every item on hand? No problem! This recipe is highly adaptable, allowing for easy substitutions with your favorite vegetables or whatever you have in your pantry.
- **Ready in Record Time:** From prep to plate, you can have this savory meal on your table in approximately 90 minutes. It’s perfect for busy evenings when you need a hearty dinner without spending hours in the kitchen.
- **Feeds the Whole Family (and then some!):** This generous recipe is designed to serve a crowd, ensuring everyone leaves the table feeling full and satisfied. It’s ideal for family gatherings, potlucks, or simply enjoying delicious leftovers throughout the week.
- **A Healthier Twist on a Classic:** We’ve replaced the traditional high-fat pastry crust with a lighter, yet equally delicious and crispy cornflake breading for the chicken, making it a smarter comfort food choice.
- **Packed with Flavor:** A rich, creamy sauce infused with fresh herbs and garlic, combined with tender chicken and an array of vegetables, creates a symphony of flavors that will tantalize your taste buds.
Essential Ingredients for Your Chicken Pot Pie Skillet
Crafting the perfect chicken pot pie requires a thoughtful selection of ingredients. Our recipe focuses on fresh, high-quality components that come together to create a harmonious and deeply satisfying flavor profile. We’ll break down what you need for both the star of the show – the crispy chicken – and the rich, creamy pot pie filling.
For the Irresistible Cornflake-Crusted Chicken
Instead of traditional biscuits or a pastry crust, we’re taking a unique and utterly delicious approach by breading boneless, skinless chicken thighs in a savory cornflake mixture. This ingenious substitution not only adds incredible flavor and a delightful crunch but also makes the entire dish a one-skillet marvel. The crispy chicken pieces nestle beautifully into the creamy filling, offering a textural contrast that elevates every bite. Here’s what you’ll need for this standout component:
- **Cornflakes:** The foundation of our crispy coating.
- **Garlic Powder:** Adds a savory depth to the breading.
- **Dried Thyme:** A classic herb that complements chicken beautifully.
- **Paprika:** For a hint of color and mild, sweet pepper flavor.
- **Salt:** Essential for seasoning the chicken from the outside in.
- **All-Purpose Flour:** Helps the breading adhere to the chicken.
- **Eggs:** The binder that holds the cornflake mixture to the chicken.
- **Boneless, Skinless Chicken Thighs:** Chosen for their tenderness and rich flavor; they hold up well to searing and baking.
- **Olive Oil:** For searing the breaded chicken to a golden perfection.
For the Rich and Creamy Pot Pie Filling
Our filling is a luxurious blend of traditional chicken pot pie elements, made exceptionally creamy and flavorful thanks to a generous touch of heavy cream and a thoughtfully balanced combination of aromatic spices and fresh herbs. Each ingredient plays a crucial role in building the deep, savory character of this beloved comfort food. You’ll need:
- **Chicken Broth:** The liquid base for our savory sauce.
- **White Onion:** Provides a sweet and pungent aromatic foundation.
- **Bella Mushrooms:** Adds an earthy, umami depth to the filling.
- **Garlic:** An indispensable flavor enhancer, minced for maximum impact.
- **Celery:** Offers a subtle crispness and fresh, herbaceous notes.
- **Unsalted Butter:** Creates richness and helps thicken the sauce.
- **Frozen Vegetable Medley:** A convenient mix of carrots, peas, and corn, providing color, texture, and nutrition.
- **All-Purpose Flour:** Used to create a roux, thickening the sauce to a perfect consistency.
- **Long-Grain Rice:** Cooked directly in the skillet, absorbing all the delicious flavors and adding hearty substance.
- **Heavy Cream:** The secret to an incredibly velvety and luxurious sauce.
- **Salt & Pepper:** To season the filling to perfection.
- **Fresh Thyme & Rosemary:** Essential fresh herbs tied together, infusing the entire dish with their aromatic essence.
Want to Use Different Veggies? Absolutely!
While this recipe traditionally features a classic frozen vegetable medley, feel free to make it your own! The beauty of this skillet pot pie lies in its flexibility. You can easily substitute or add your favorite frozen vegetables, such as green beans, diced potatoes, or even spinach. If you choose to incorporate fresh vegetables, we recommend steaming or sautéing them lightly ahead of time. This is crucial because the liquid content and cooking duration of this recipe are designed for quicker-cooking elements; raw, harder vegetables might not cook completely through in the allotted time, leaving them unpleasantly firm. Experiment and find your perfect vegetable blend!
How to Make Your Ultimate Chicken Pot Pie Skillet: Step-by-Step Guide
Creating this magnificent one-pan chicken pot pie is simpler than you might think. Follow these detailed steps to achieve a perfectly balanced, flavorful, and deeply satisfying meal.
Step 1: Prepare the Chicken Breading
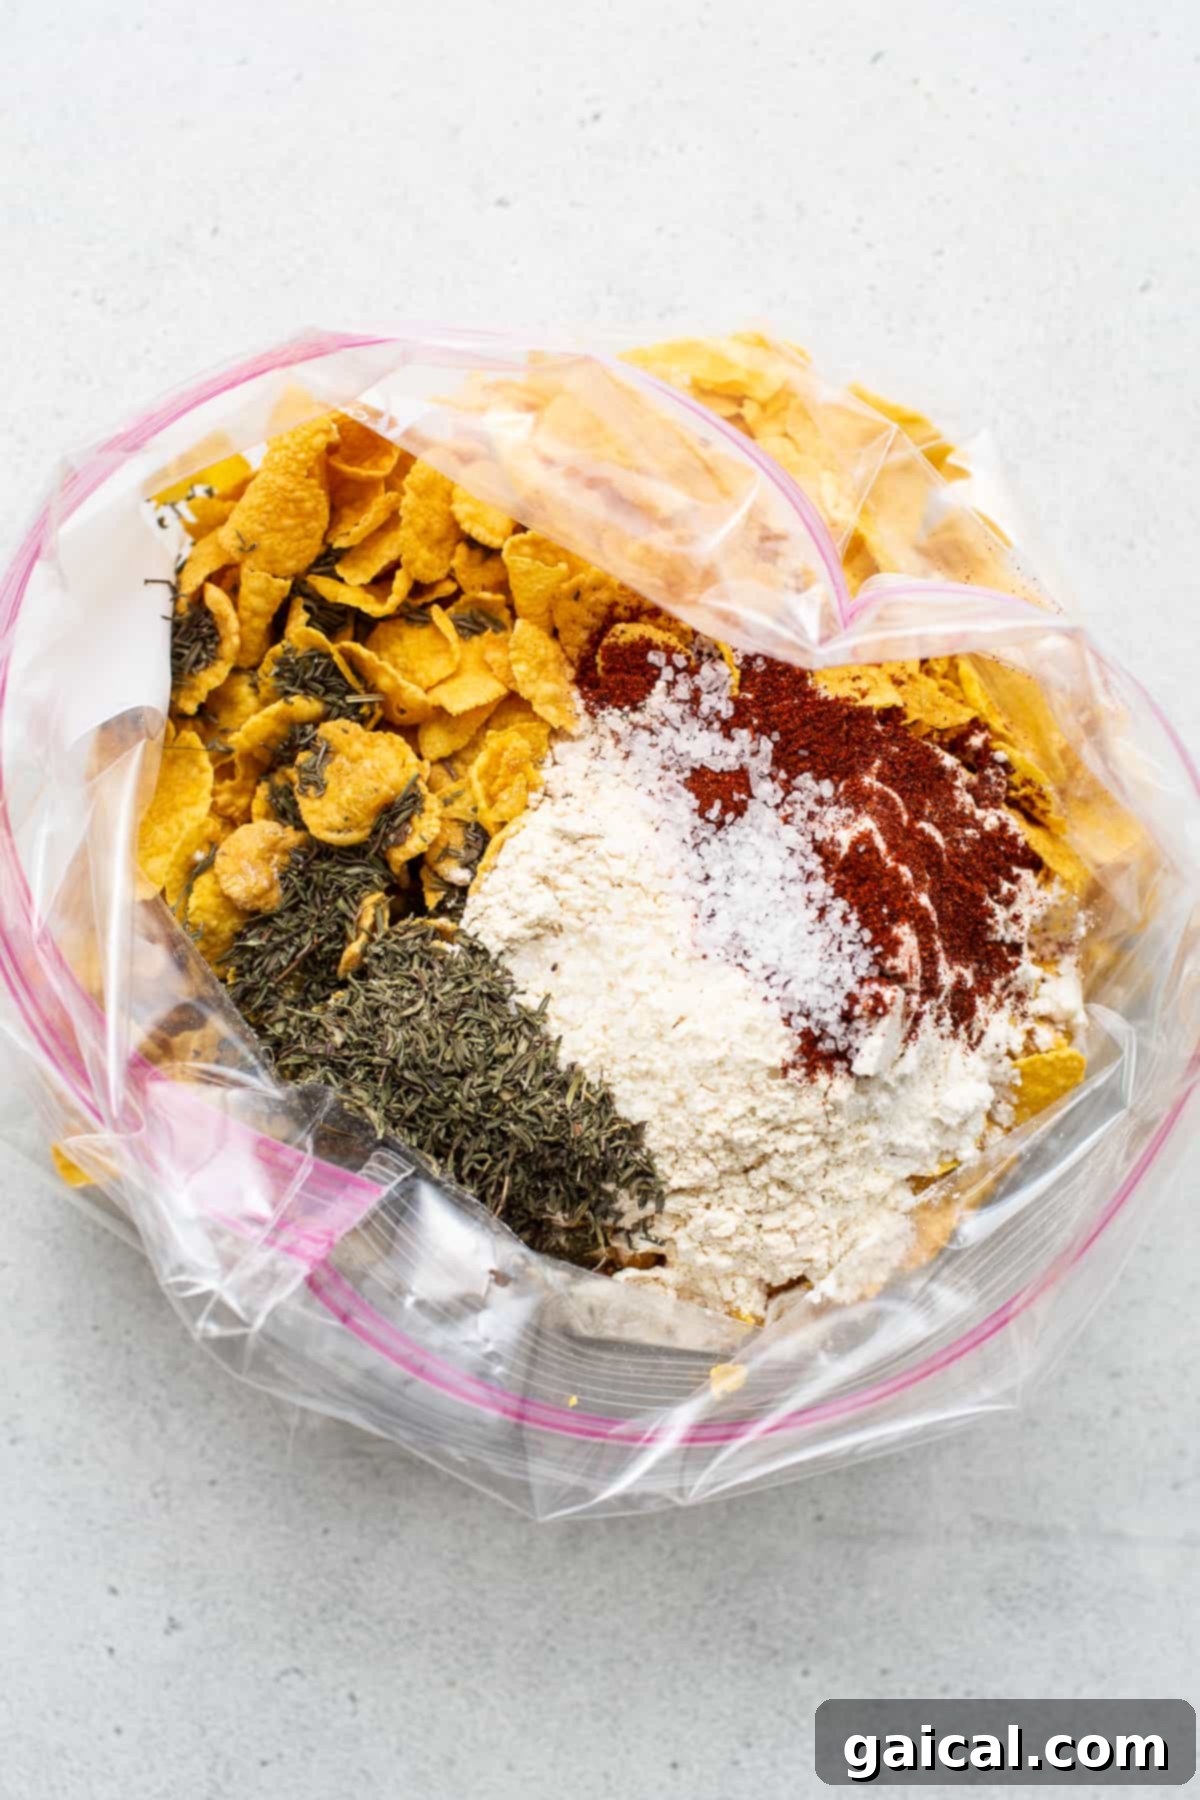
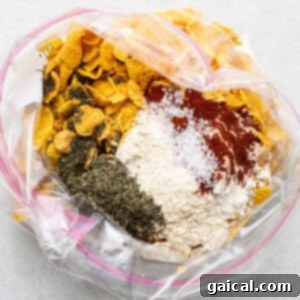
First, preheat your oven to 375ºF (190ºC). In a large gallon-sized resealable bag, combine the cornflakes, garlic powder, dried thyme, paprika, and 1 teaspoon of coarse salt along with 2 tablespoons of all-purpose flour. Seal the bag and, using your hands, carefully crush all the ingredients together. The goal is a mixture with a good balance of fine crumbs and some larger cornflake chunks for varied texture – avoid turning it all into a fine powder. Set this flavorful breading mixture aside.
Step 2: Bread the Chicken Thighs
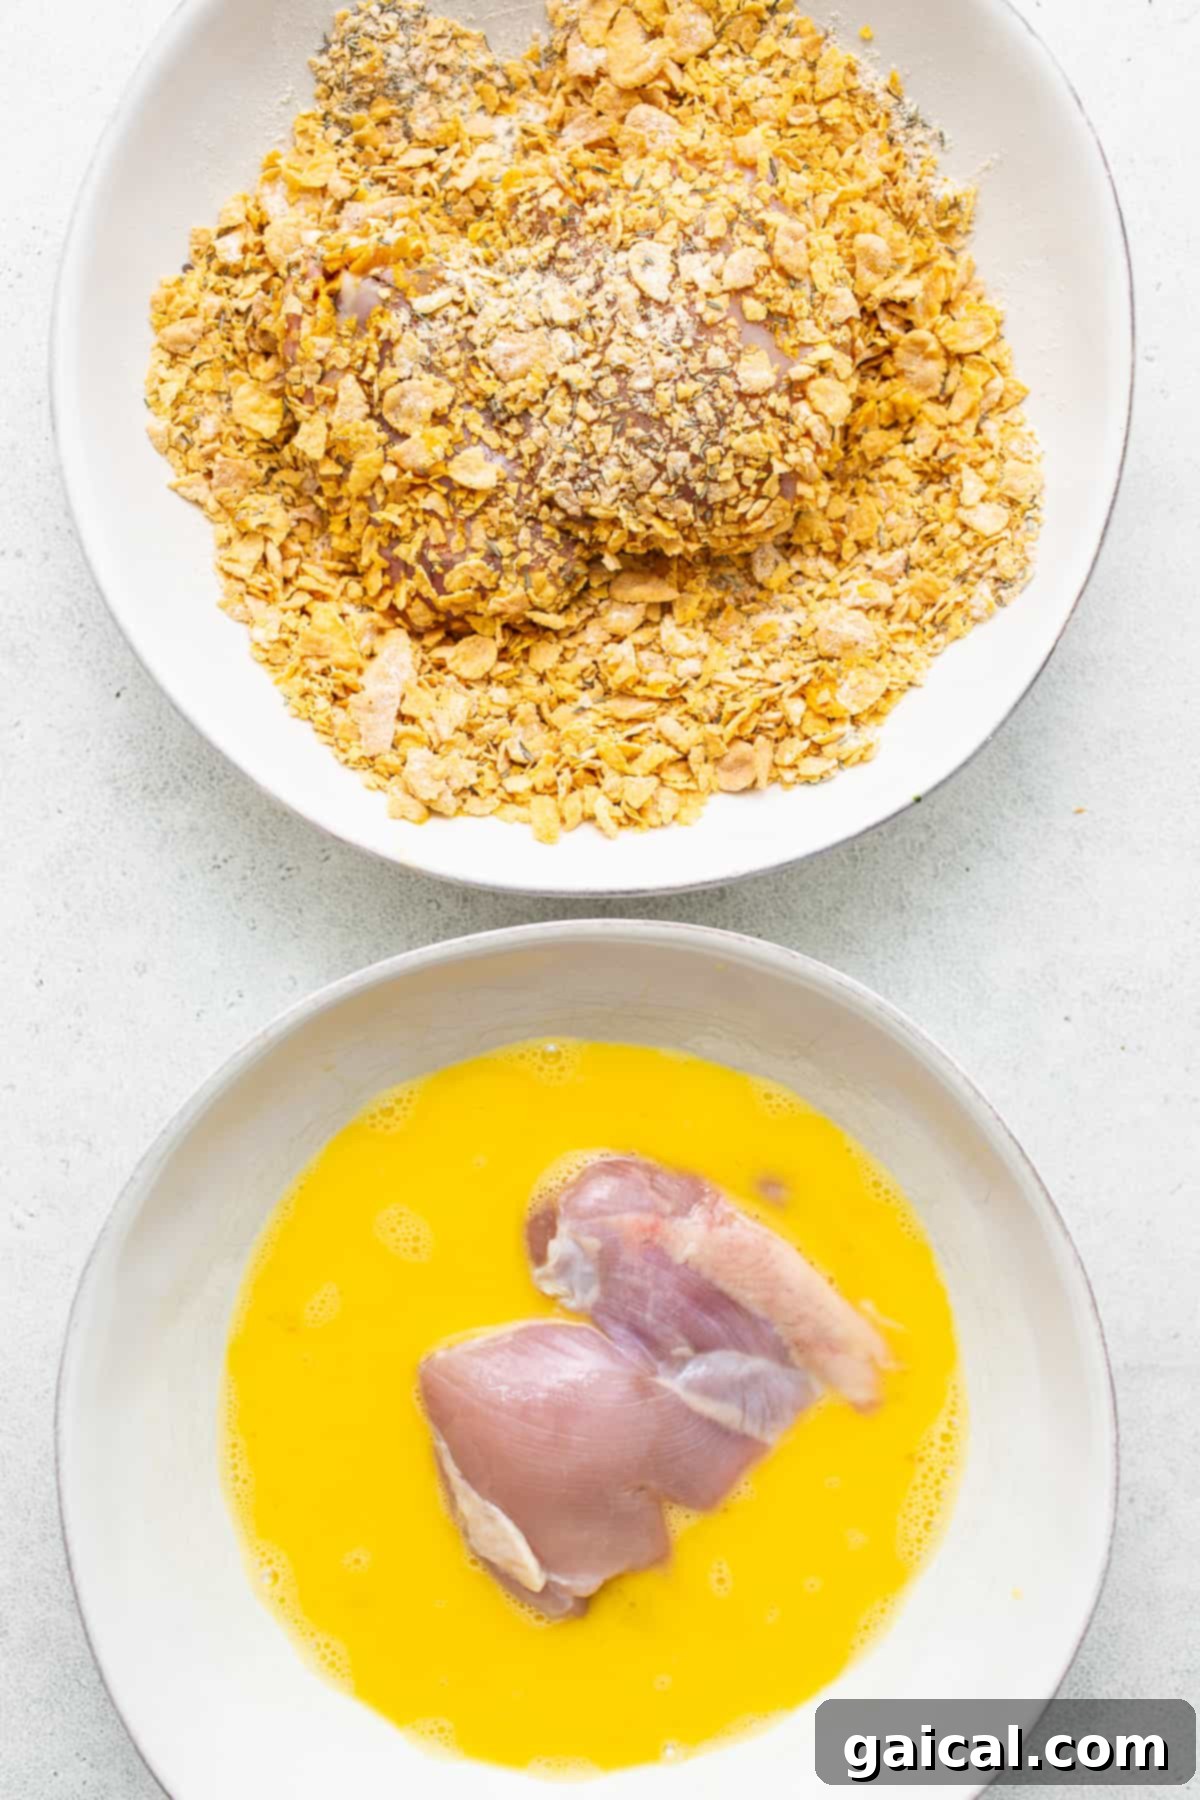
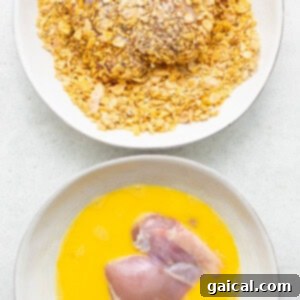
In a large mixing bowl, crack and whisk three large eggs until well combined. Take each boneless, skinless chicken thigh and first dredge it thoroughly through the whisked egg mixture, ensuring it’s completely coated. Then, transfer the chicken thigh to the prepared cornflake mixture (you can even keep the mixture in the bag for easier coating). Press firmly to ensure each chicken thigh is fully and evenly coated with the crispy cornflake breading. Place the breaded chicken thighs on a clean plate and repeat with the remaining chicken.
Step 3: Sear the Breaded Chicken
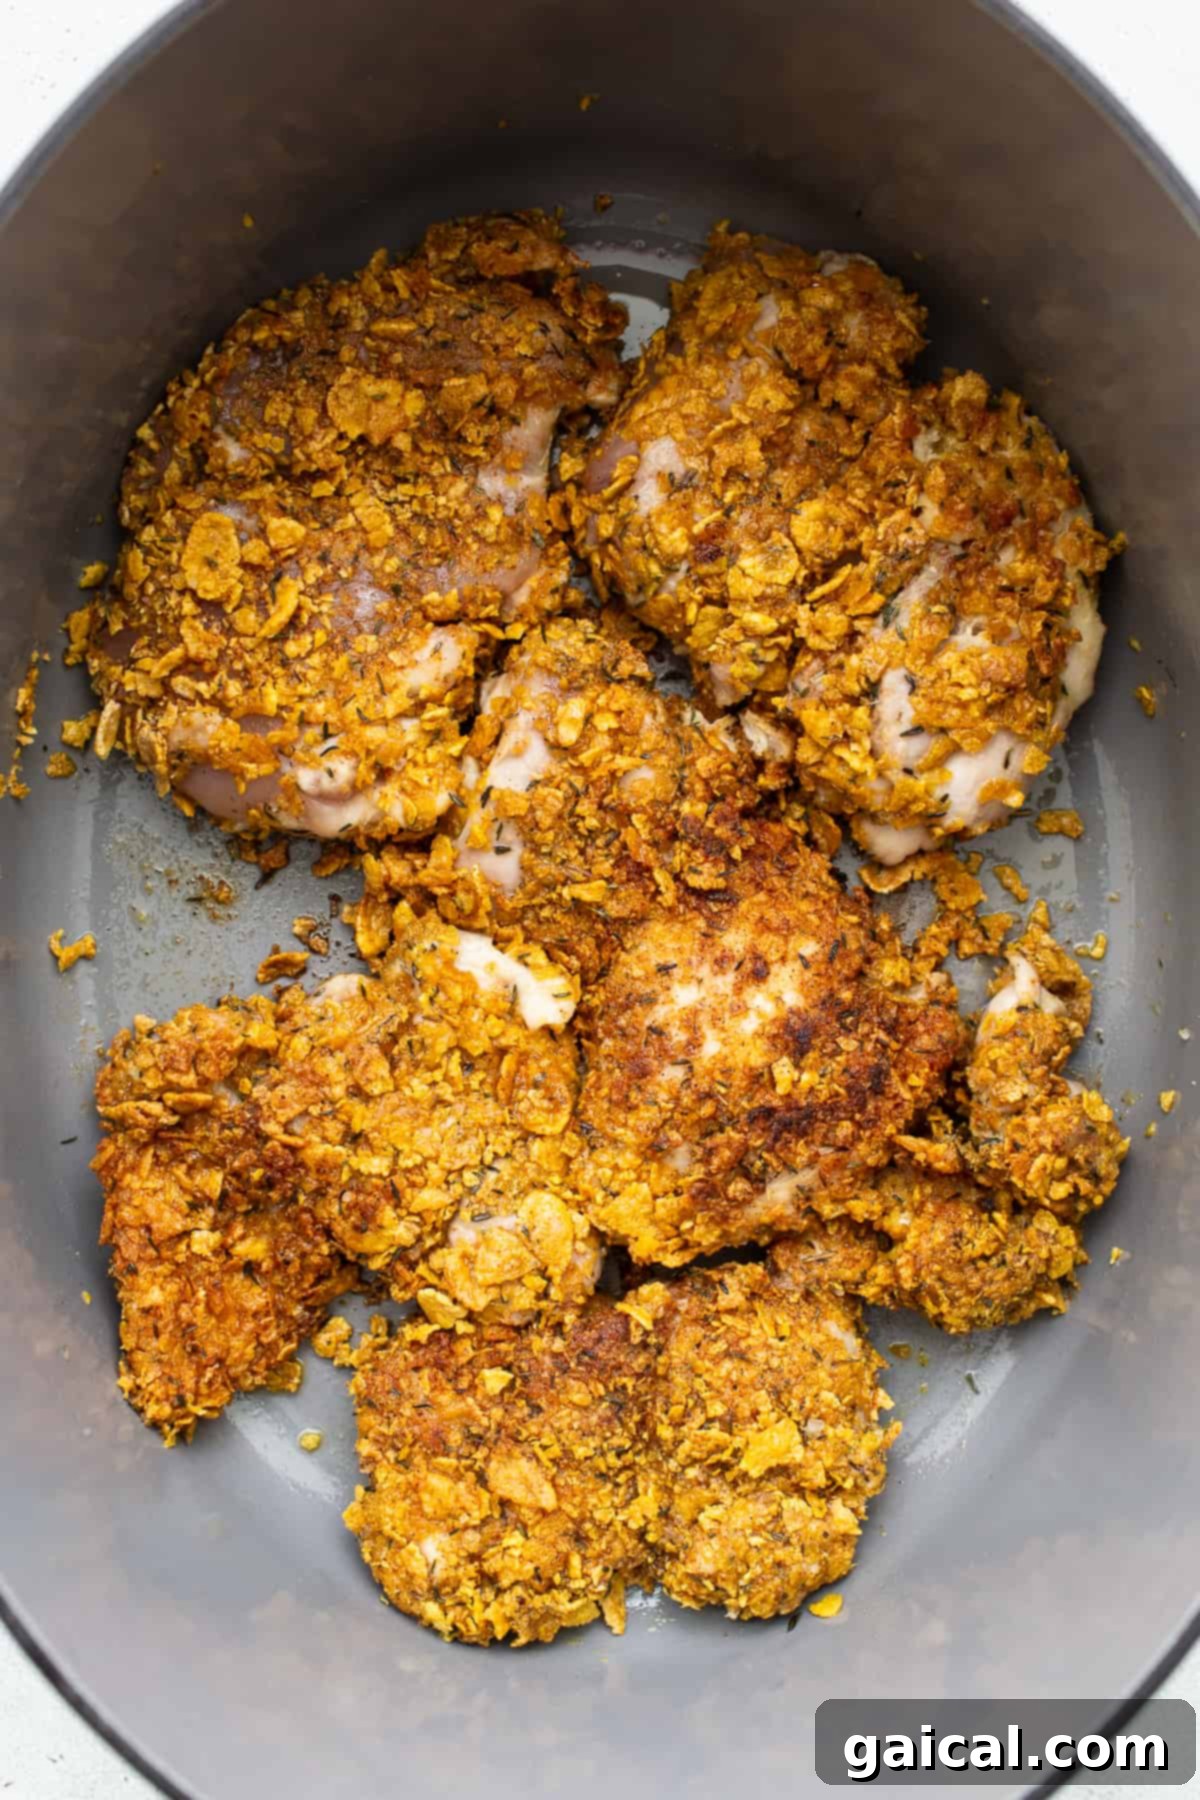
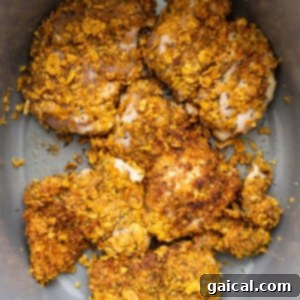
Heat a large oven-safe skillet (cast iron is ideal for even heat distribution) with high sides over medium-high heat. Add 3 tablespoons of olive oil. Once the olive oil is shimmering and fragrant, carefully add the breaded chicken thighs to the hot skillet in a single layer, ensuring not to overcrowd the pan (you may need to work in batches). Sear the chicken for about 3 minutes per side, or until each side develops a beautiful golden-brown and crispy crust. Gently move the thighs as they sear to prevent sticking. Use a spatula to swiftly and carefully flip the chicken, making sure the breading remains intact. Once both sides are golden brown, remove the seared chicken from the pan and set aside on a clean plate.
Step 4: Prepare the Pot Pie Filling
Using the same skillet, deglaze the pan by pouring in ½ cup of chicken broth and gently scraping up any browned bits from the bottom – these bits are packed with flavor! Add 1 tablespoon of olive oil, then add the minced white onion to the skillet and season with ¼ teaspoon of salt. Sauté the onion for 3-4 minutes until softened and translucent. Next, add the sliced Bella mushrooms and continue to sauté for another 3 minutes until they begin to release their moisture and brown slightly.
Stir in the minced garlic, chopped celery, and 3 tablespoons of unsalted butter. Mix everything together and cook for another 3-4 minutes, allowing the butter to melt and the mixture to begin thickening slightly. Pour in the 2.5 cups of frozen vegetable medley and toss to combine. Sprinkle 2 tablespoons of all-purpose flour over all the ingredients in the skillet and toss vigorously until everything is thoroughly coated in flour; this will help create a rich, thick sauce.
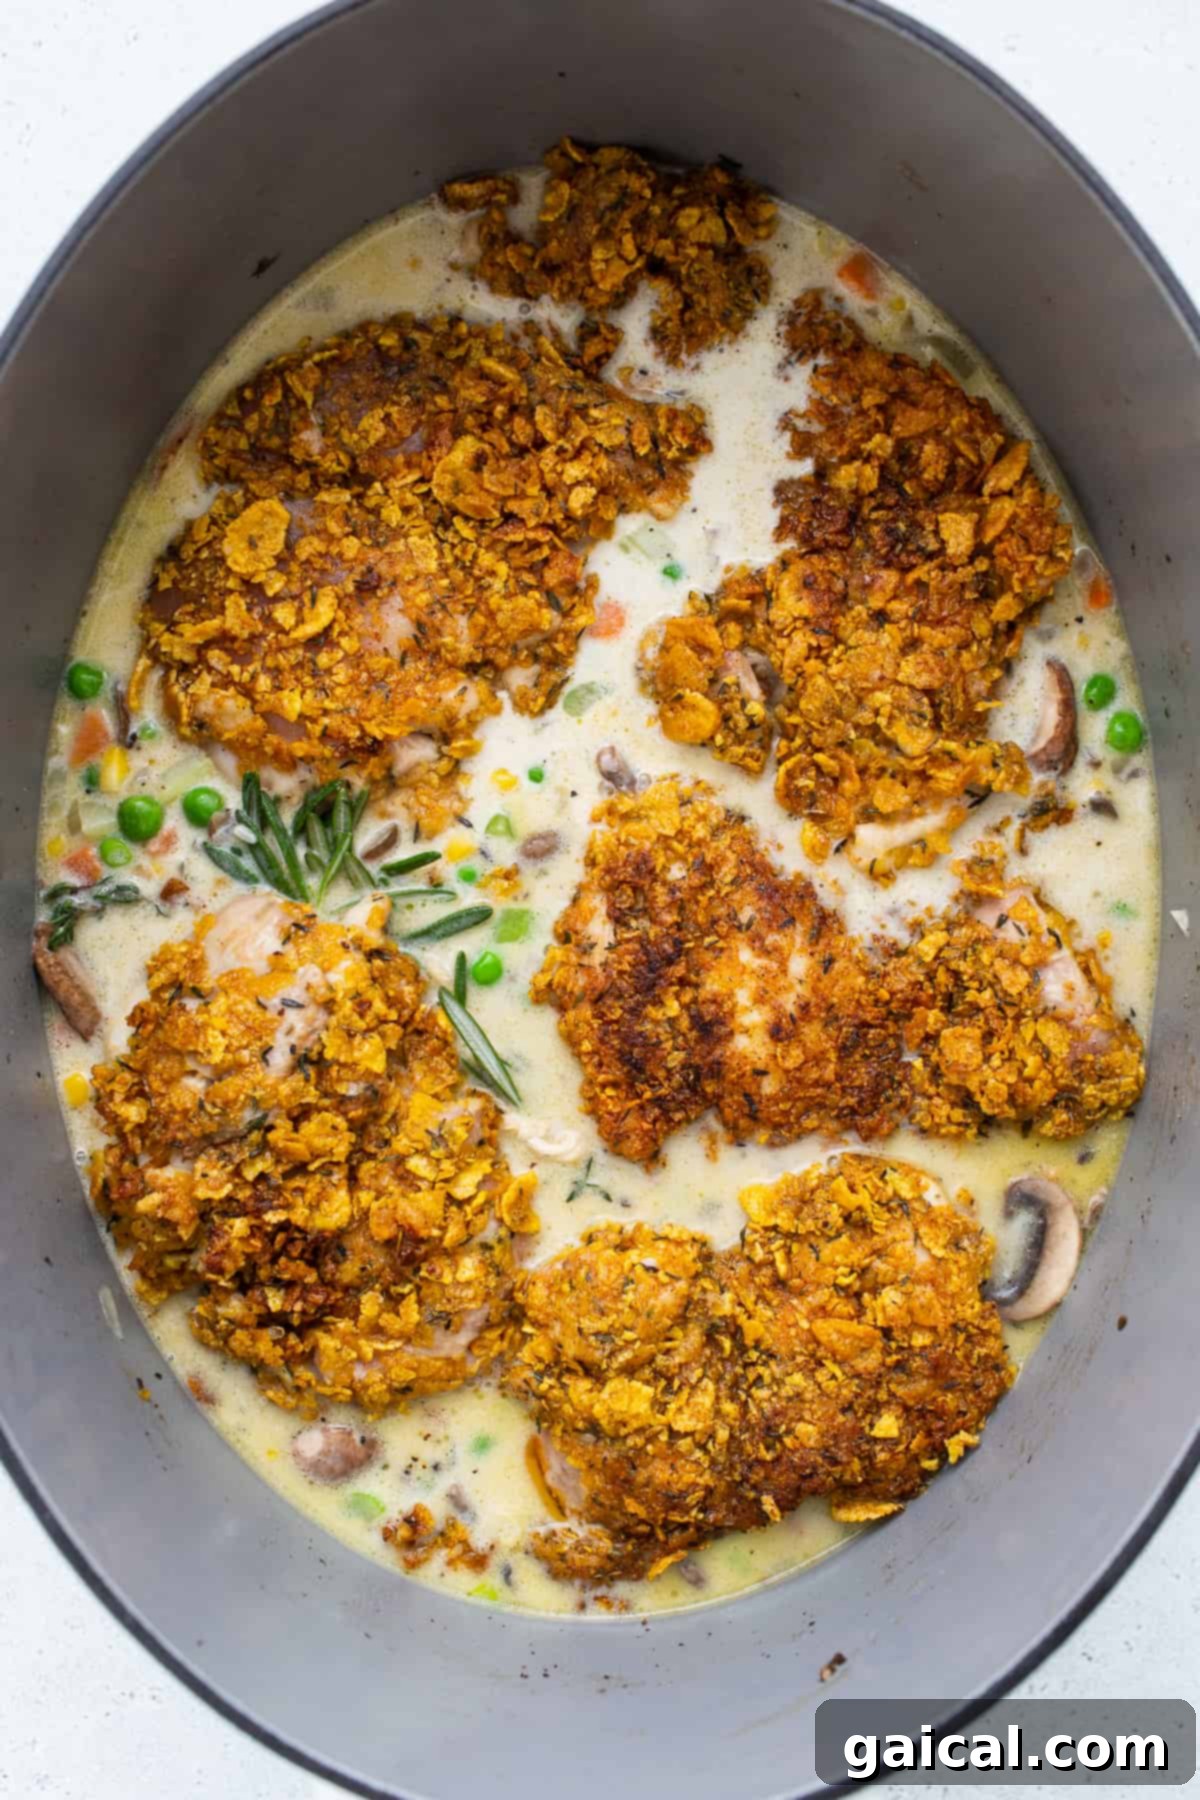
Now, add the 1 cup of uncooked long-grain rice, the remaining salt, and the rest of the chicken broth (2 cups) to the skillet and mix well. Gradually pour in the ½ cup of heavy cream, stirring constantly to ensure it incorporates smoothly without clumping. For an aromatic boost, tie the fresh thyme and rosemary sprigs together with cooking twine and submerge the herb bundle into the liquid. Finally, carefully arrange the seared chicken thighs on top of the entire mixture in the skillet, ensuring they are partially nestled into the filling. Cover the skillet tightly with a lid or aluminum foil.
Step 5: Bake the Chicken Pot Pie Skillet
Transfer the covered skillet to your preheated oven and bake for 35 minutes. After 35 minutes, carefully remove the lid or foil, increase the oven temperature to 450ºF (230ºC), and return the uncovered skillet to the oven. Continue baking for another 5-10 minutes, or until the chicken topping is beautifully golden brown and crispy, and the internal temperature of the thickest part of the chicken reaches 165ºF (74ºC). Use a reliable meat thermometer to ensure food safety. Once the chicken is perfectly cooked and golden, remove the skillet from the oven.
Step 6: Serve & Enjoy!
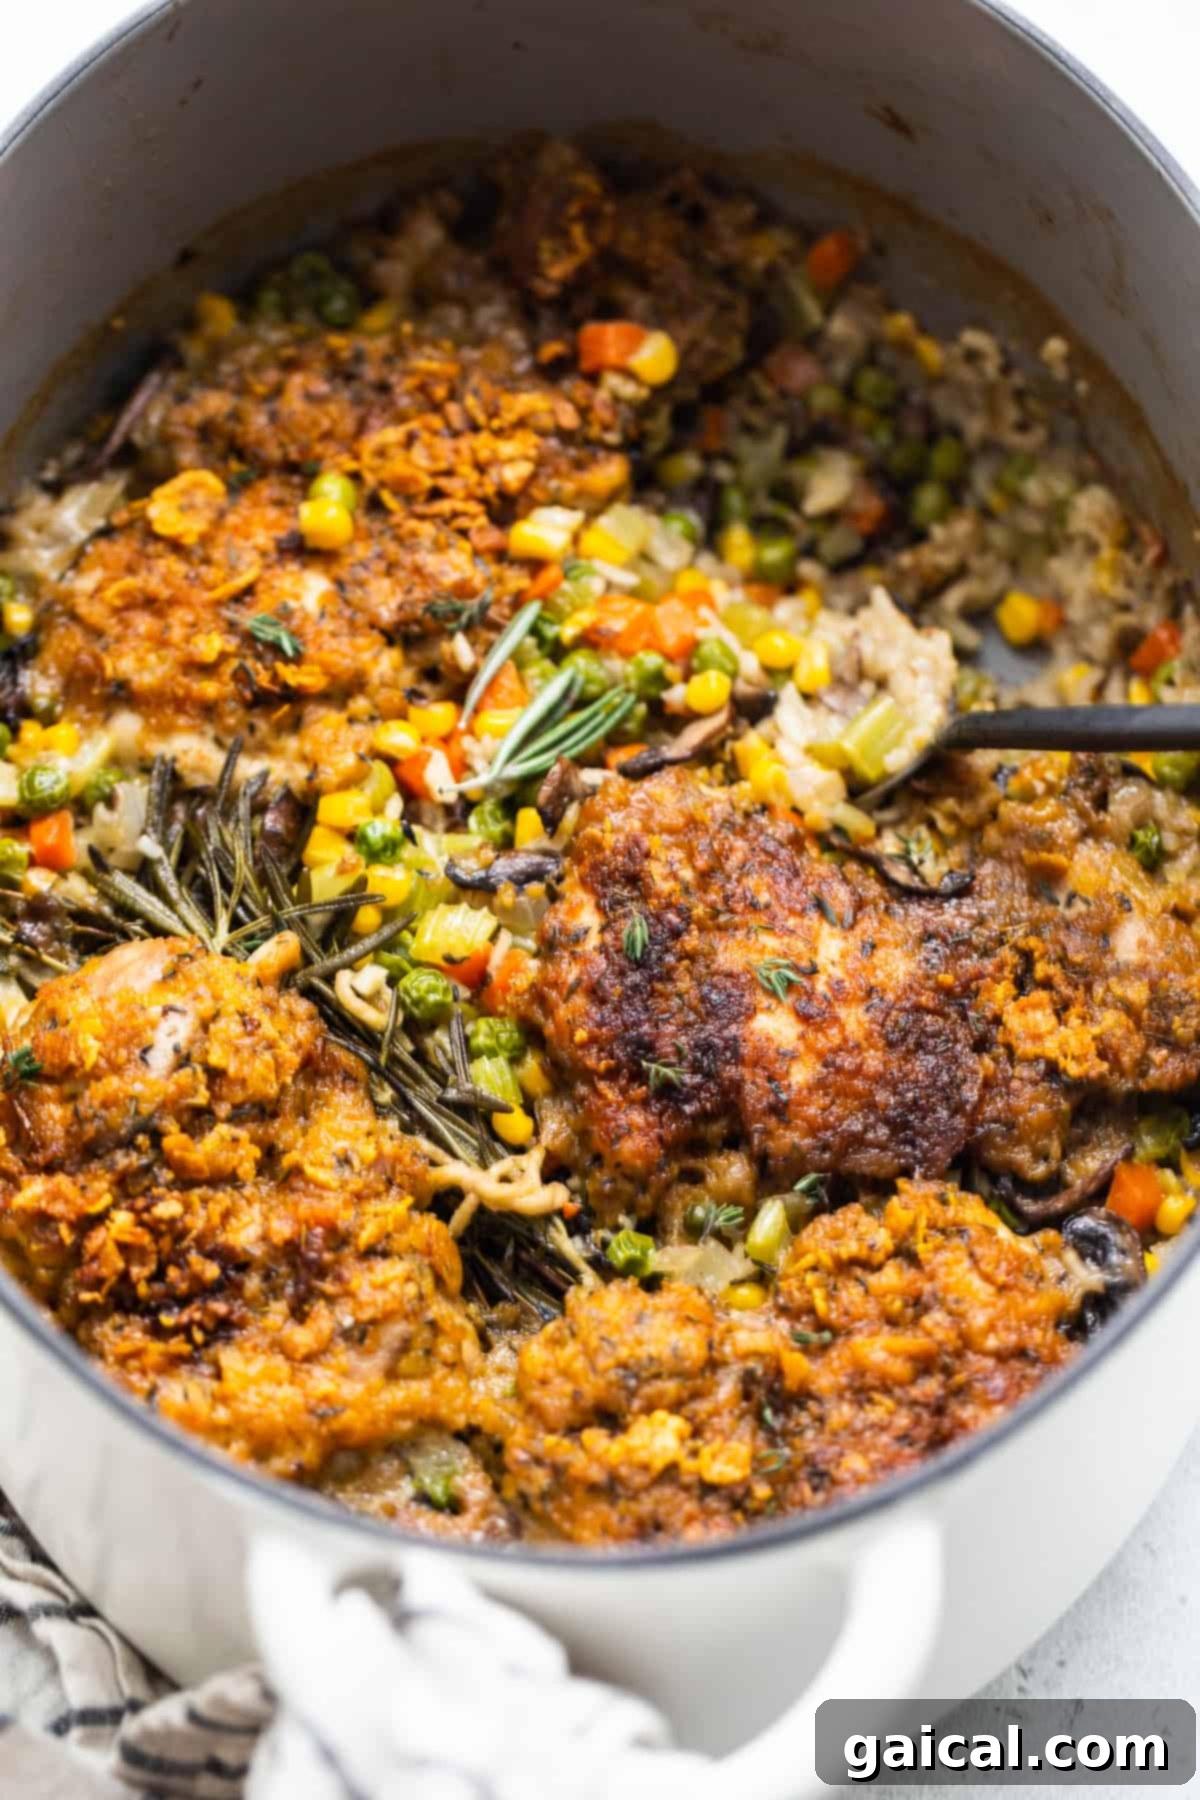
Resist the urge to dig in immediately! Allow the entire casserole to rest in the skillet for 10 minutes before serving. This crucial resting period allows the flavors to meld, the sauce to thicken further, and the rice to fully absorb any remaining liquid, resulting in a perfectly set and delicious pot pie.
Top Tips for a Perfect Chicken Pot Pie Skillet
Achieving a truly exceptional chicken pot pie skillet is easy with a few insider tips:
- **Read the Entire Recipe First:** This recipe involves several distinct steps, and understanding the full process before you begin will help ensure a smooth and successful cooking experience. Take a moment to familiarize yourself with each stage.
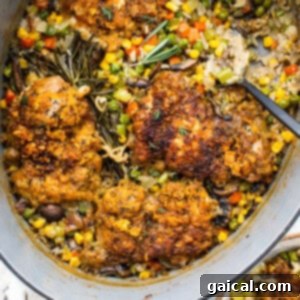
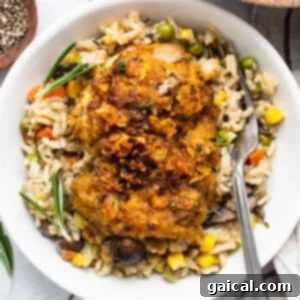
- **Embrace the “Biscuit-Like” Chicken:** Remember, the breaded chicken thighs are designed to mimic the golden, crispy texture of biscuits found in traditional pot pies. Ensure they are thoroughly breaded and allowed to achieve a beautiful golden-brown crust during both searing and the final baking phase. This crispiness is key to the dish’s unique charm.
- **Tackling Crunchy Rice:** If, after removing the skillet from the oven, you find the rice is still a bit crunchy, don’t fret! Simply remove the cooked chicken thighs from the skillet, add an additional ½ cup of chicken broth to the rice mixture, stir gently, and cover the skillet again. Let the rice sit, covered, for an extra 15 minutes. This allows the rice to absorb more liquid and steam, resulting in perfectly tender grains.
- **Choose the Right Skillet:** An oven-safe skillet with high sides (at least 3 inches deep) is essential. Cast iron or heavy-bottomed stainless steel skillets work best for even searing and baking.
- **Don’t Overcrowd the Pan:** When searing the chicken, ensure there’s enough space between each thigh. Overcrowding will steam the chicken instead of searing it, preventing that desired golden, crispy crust. Work in batches if necessary.
- **Fresh Herbs Make a Difference:** Tying the fresh thyme and rosemary together with cooking twine makes it easy to infuse the sauce with their fragrant oils and then remove the sprigs before serving, preventing bits of herb from being left in the dish.
- **Internal Temperature is Key:** Always use a meat thermometer to confirm the chicken has reached a safe internal temperature of 165ºF (74ºC). This ensures both safety and optimal doneness.
- **For Extra Creaminess:** If you prefer an even richer, wetter, and creamier rice mixture, feel free to add an additional ½ cup of heavy cream along with the initial amount. This small adjustment can make a big difference in the sauce’s texture.

Pro Tip!
The Thermoworks Thermapen
We can’t stress enough the importance of using a reliable meat thermometer when cooking any cut of meat. The Thermapen is our absolute favorite and go-to tool for ensuring perfectly cooked, safe, and delicious results every single time.
Storage and Reheating Made Easy
This chicken pot pie skillet is just as delicious the next day, making it perfect for meal prep or enjoying leftovers. Proper storage ensures its freshness and flavor.
Once your chicken pot pie skillet has cooled completely to room temperature, transfer any leftovers into a large, airtight container. Ensure it’s sealed properly to maintain freshness. It can then be refrigerated for up to 3-5 days, making it an excellent option for meal planning throughout the week.
**Freezing Instructions:** If you’re looking to extend the life of this delightful dish, we highly recommend cooking it all the way through first before freezing. Once fully cooked and completely cooled, transfer portions into freezer-safe airtight containers or heavy-duty freezer bags. It can be frozen for up to 2-3 months.
**To Thaw & Reheat:** When you’re ready to enjoy your frozen pot pie, allow it to thaw in the refrigerator overnight. Once thawed, transfer it back into an oven-safe dish (if not already in one) and bake uncovered at 350ºF (175ºC) for 20-30 minutes, or until it’s heated through to the middle and the cornflake topping has regained its desired crispiness. The exact reheating time will vary depending on the amount you are reheating, so keep an eye on it!
More of our Favorite…
Effortless One-Pot Recipes
If you loved the ease and flavor of this skillet pot pie, you’re in for a treat! Discover more fantastic one-pot wonders that simplify mealtime without compromising on taste:
- One Pot Moroccan Chicken: An exotic and aromatic dish made in a single pan.
- Dutch Oven Chicken Thighs with Brussels Sprouts: A comforting and hearty meal, perfect for cooler evenings.
- Most Flavorful Chicken and Rice: A classic combination elevated with incredible taste.
- One Pot Coconut Curry Chicken and Rice: A creamy, vibrant, and satisfying curry that’s surprisingly easy.
Chicken Pot Pie Skillet
Print Recipe
Ingredients
Chicken
- 3 cups cornflakes
- 2 tablespoons garlic powder
- 1 tablespoon dried thyme
- 1 teaspoon paprika
- 1 teaspoon coarse salt
- 2 tablespoons all-purpose flour
- 3 large eggs
- 1.25 lbs. boneless, skinless chicken thighs
- 3 tablespoons olive oil
Other Ingredients (Filling)
- 2.5 cups chicken broth, separated
- 1 tablespoon olive oil
- 1 teaspoon salt
- ½ large white onion, minced
- 8 oz. Bella mushrooms, sliced
- 4 cloves garlic, minced
- 3 stalks celery, chopped (~1 cup)
- 3 tablespoons unsalted butter
- 2.5 cups frozen vegetable medley (carrots, peas, corn, etc.)
- 2 tablespoons all-purpose flour
- 1 cup uncooked long-grain rice
- ½ cup heavy cream
- ½ teaspoon ground black pepper
- 4 sprigs fresh thyme
- 4 sprigs fresh rosemary
Instructions
- 1. Preheat the oven to 375ºF (190ºC).
- 2. Add the corn flakes, garlic powder, dried thyme, paprika, salt, and 2 tablespoons flour to a large gallon bag. Carefully crush all of the ingredients together with your hands, leaving some larger chunks of corn flake. Set aside.

- 3. Crack 3 eggs in a large mixing bowl and whisk them together. Dredge the chicken thighs through the egg, then through the cornflake mixture, ensuring full coating. Place on a plate. Repeat for all chicken thighs.
- 4. Heat a large oven-safe skillet over medium/high heat and add 3 tablespoons olive oil. Sear the chicken thighs for about 3 minutes per side until golden brown. Gently move thighs to prevent sticking. Remove chicken from the pan.
- 5. Deglaze the skillet with ½ cup of broth and add 1 tablespoon olive oil. Add onion and ¼ teaspoon salt; sauté for 3-4 minutes. Add mushrooms; sauté for another 3 minutes.
- 6. Add garlic, celery, and butter; cook for 3-4 minutes until butter melts and thickens. Pour in vegetable medley and toss. Add 2 tablespoons flour and toss until coated.
- 7. Add rice, remaining salt, and remaining broth to the skillet; mix. Slowly add heavy cream, stirring constantly. Tie fresh thyme and rosemary together with twine and submerge. Place cooked chicken thighs on top of the mixture and cover.
- 8. Bake the covered skillet for 35 minutes. Uncover, increase heat to 450ºF (230ºC), and bake for another 5-10 minutes until chicken is golden brown and internal temperature reaches 165ºF (74ºC). Remove from oven.
- 9. Let the entire casserole sit for 10 minutes before serving.

Tips & Notes
- If the rice is still crunchy after baking, remove chicken, add an additional ½ cup of broth to the skillet, mix, cover, and let sit for 15 minutes to allow the rice to cook further.
- The breaded chicken thighs are meant to have a biscuit-like appearance and texture, so ensure they are golden brown and crispy after cooking.
- For an extra creamy and moist rice mixture, add an additional ½ cup of heavy cream to the recipe.
Nutrition
Nutrition information is automatically calculated and should be used as an approximation only.
Loved this recipe? Leave a comment below!
Don’t forget to tag your posts on social media with the hashtag #fitfoodiefinds – we’d absolutely love to see your delicious creations!