
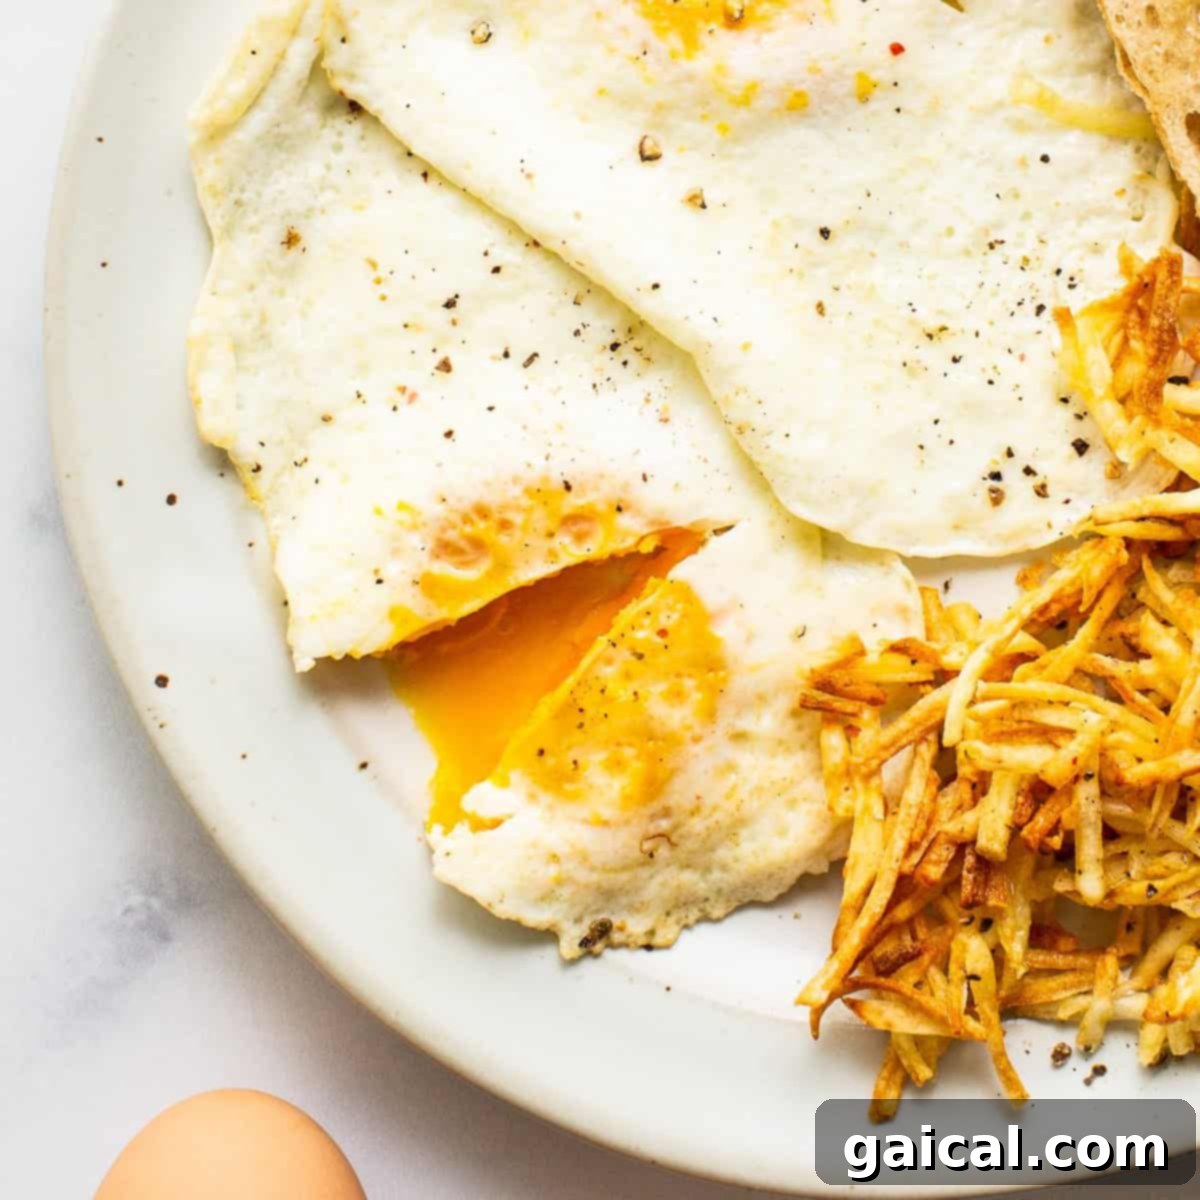
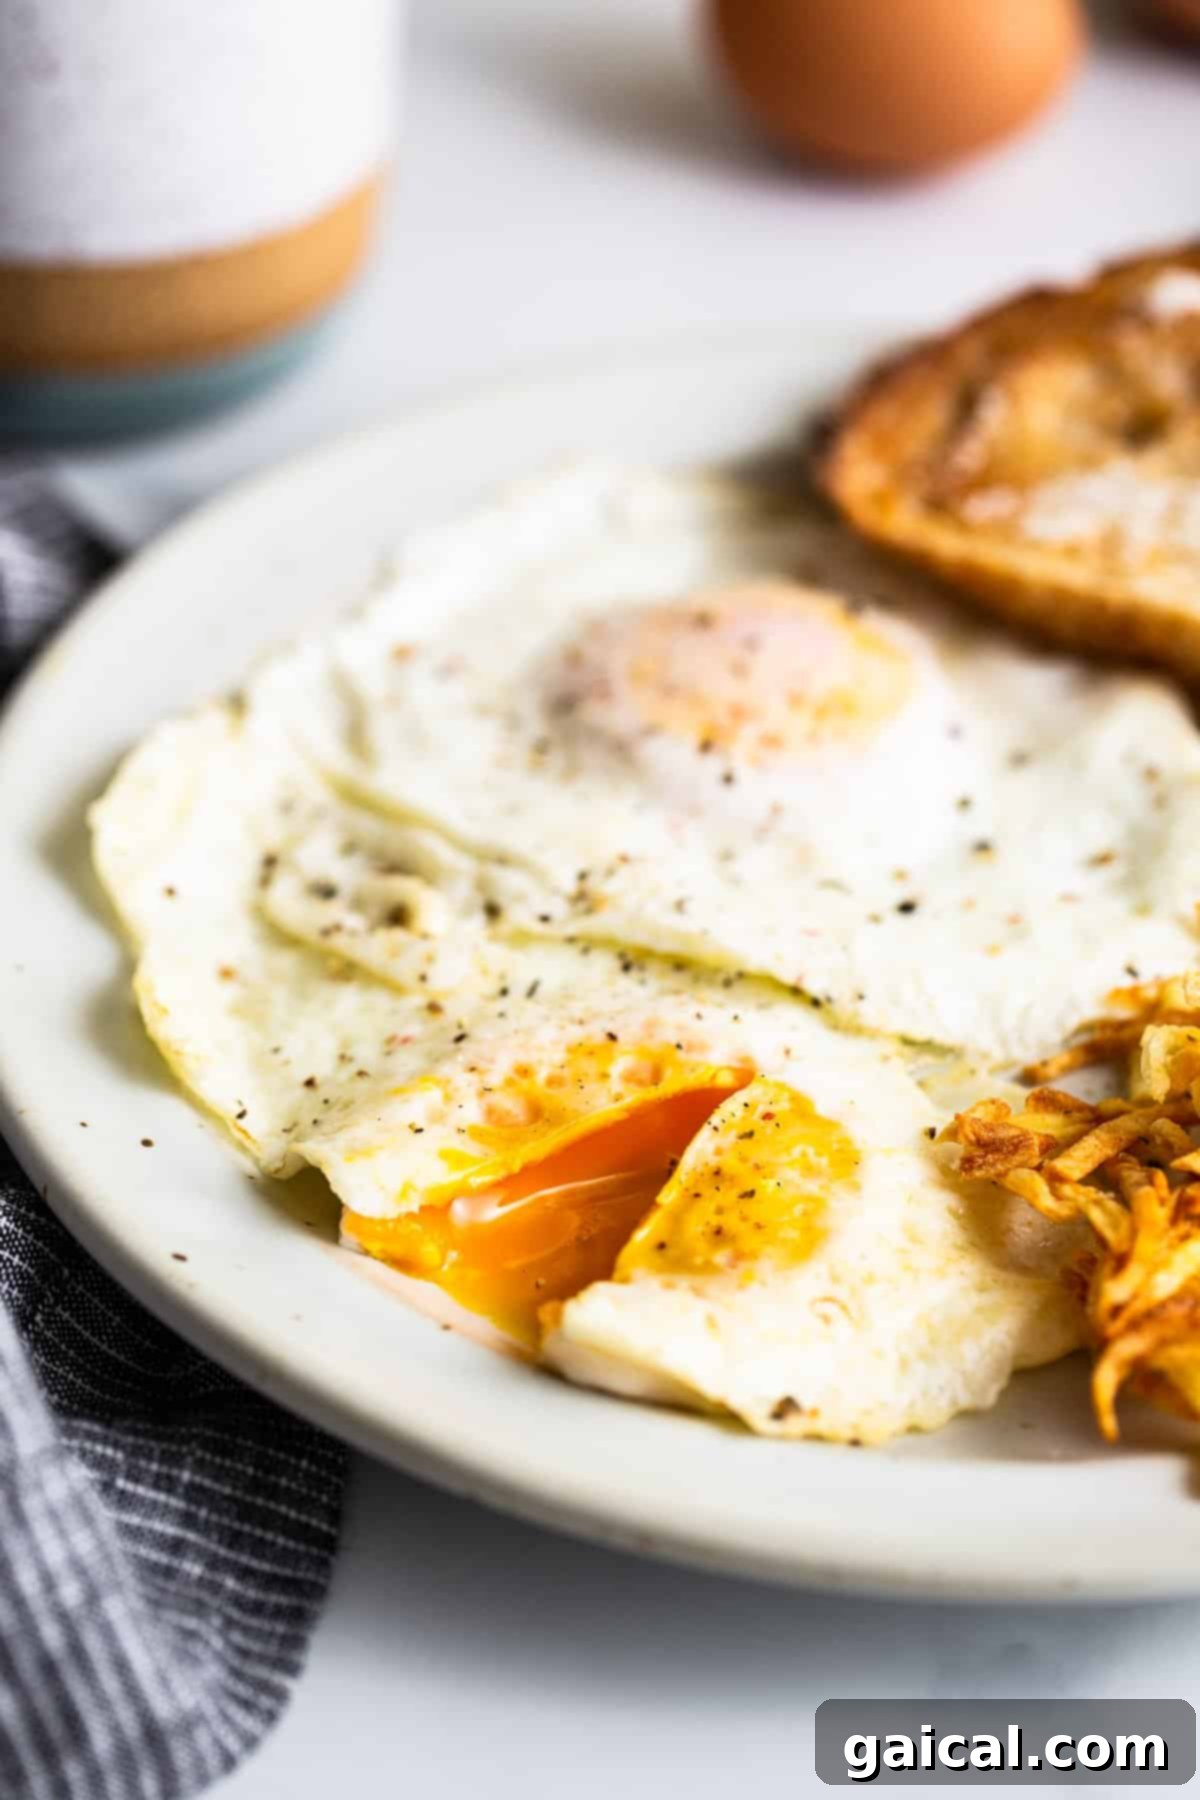
There’s an undeniable culinary sweet spot when it comes to fried eggs, and for many, it’s the coveted over medium egg. This style perfectly balances the texture spectrum, offering fully set, firm egg whites alongside a rich, lusciously jammy yolk that’s just waiting to be savored. It’s the ideal choice for those who appreciate a yolk that’s still soft and gooey enough to swirl into toast or absorb into other breakfast delights, without being overly runny like its over easy counterpart. I distinctly remember my early attempts to articulate this preference at restaurants – fumbling to describe that perfect ‘in-between’ consistency, somewhere between a fully cooked over hard and a vibrant sunny-side up. Luckily, mastering this delightful egg preparation at home is far simpler than describing it.
This comprehensive guide will walk you through everything you need to know to make the perfect over medium eggs consistently. Forget complicated techniques; we’re focusing on simple, foolproof instructions to help you achieve beautifully firm whites and an irresistible, jammy yolk every single time. It’s a breakfast staple that’s not only incredibly satisfying but also a healthy and delicious way to kickstart your day.
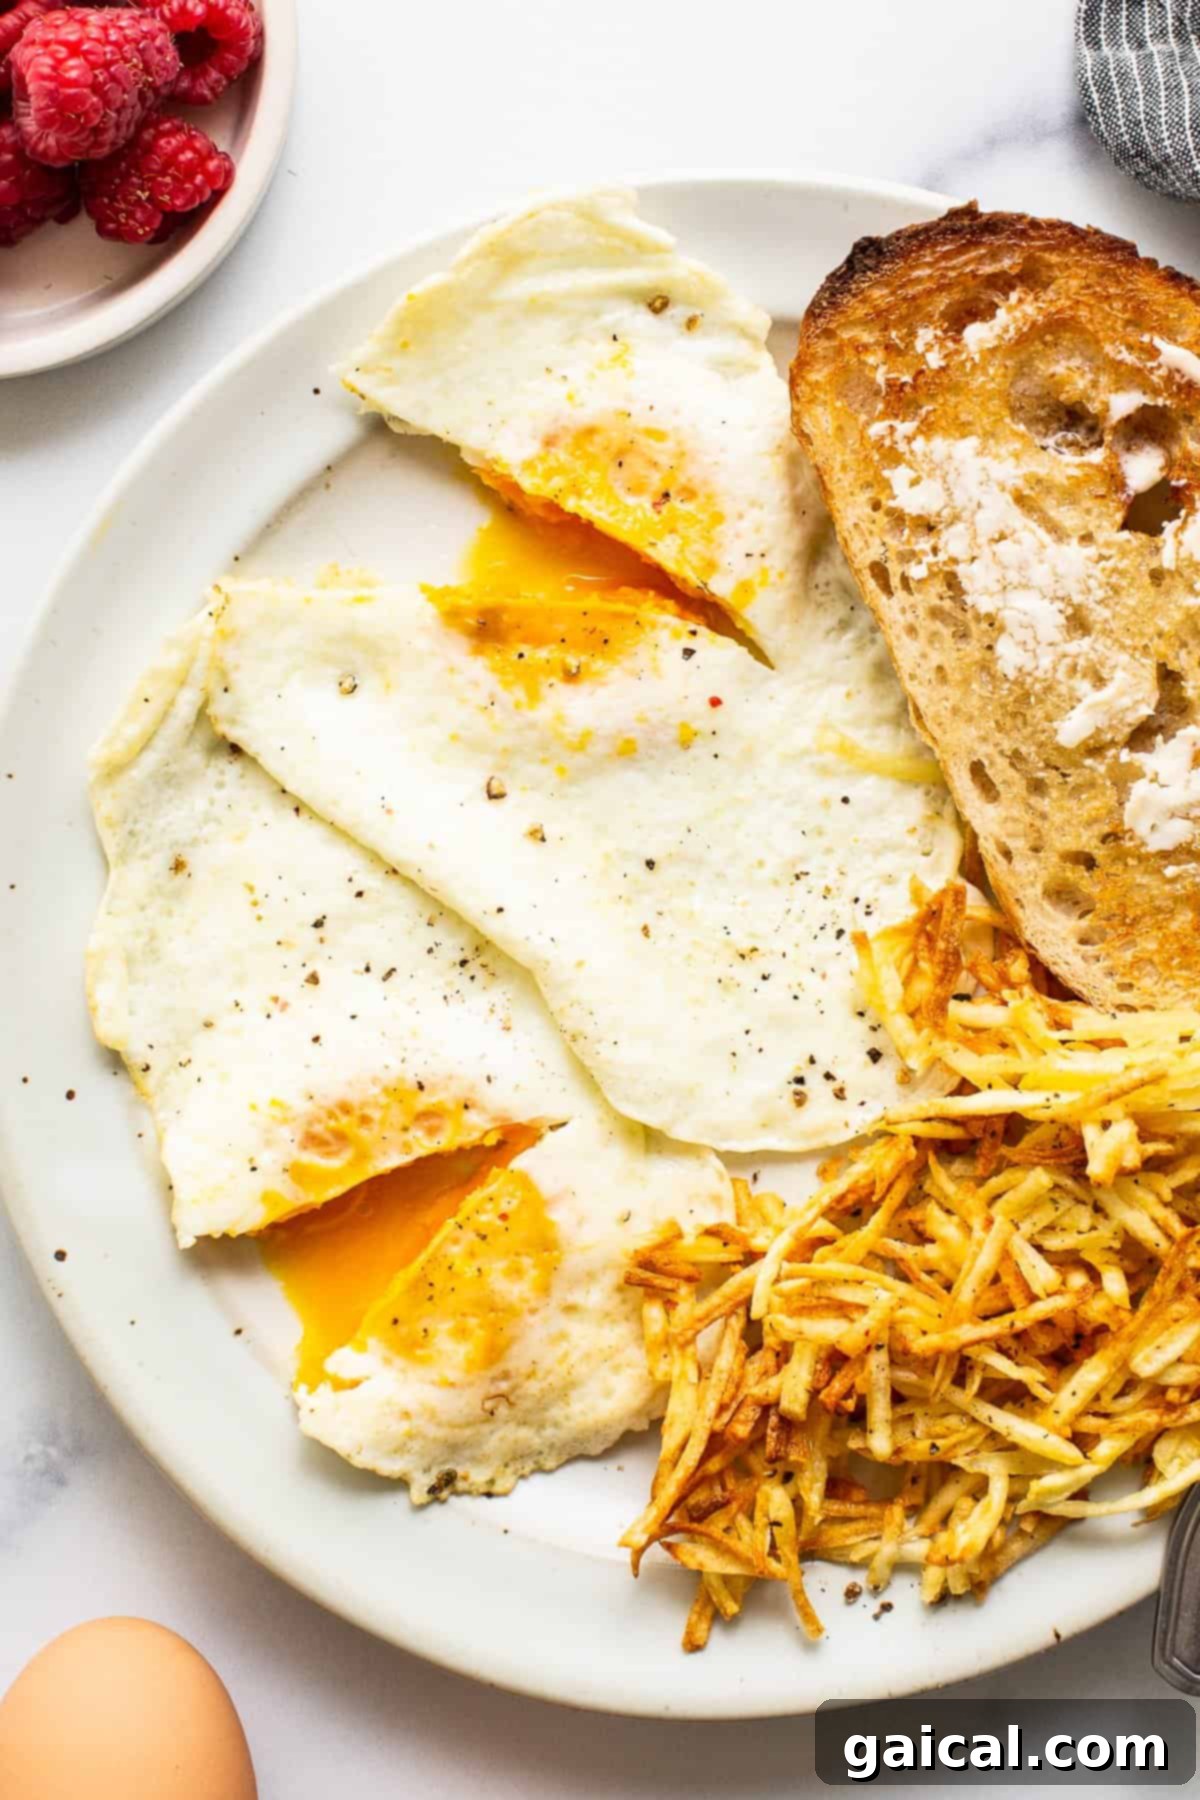
Imagine starting your morning with a plate of these golden beauties: perfectly cooked egg whites providing a pleasant texture, contrasting with the warm, velvety yolk. Placed atop a piece of crispy toast, perhaps with a dash of your favorite hot sauce, it’s a simple pleasure that feels incredibly indulgent yet is remarkably easy to prepare. Let’s dive into the secrets of achieving this breakfast perfection.
Essential Tips for Flawless Over Medium Eggs
While the process of cooking over medium eggs is straightforward, a couple of key pieces of advice can make all the difference in achieving consistently perfect results. These aren’t just suggestions; they are game-changers for frying eggs of any style, but especially for over medium where precision is key.
- Invest in a Quality Nonstick Pan: This is paramount. A good nonstick surface ensures your eggs glide effortlessly, preventing sticking and allowing for easy flipping without breakage. This dramatically reduces frustration and improves the final presentation of your eggs.
- Choose Butter Over Olive Oil: While oil can work, butter imparts a superior flavor and contributes to a better aesthetic for over medium eggs. It creates a rich, nutty flavor profile and promotes even cooking without excessive browning or crispy edges, which are typically not desired for this style.
Beyond these two foundational tips, the cooking duration is crucial: aim for 2-3 minutes on the first side until the whites begin to set, then a quick flip and approximately 1 more minute on the second side to firm up the whites and allow the yolk to warm through to that beautiful jammy consistency.
The Butter vs. Oil Debate: Flavor and Texture
The choice of fat you use to fry your eggs significantly impacts both their taste and appearance. We strongly advocate for using butter when making over medium eggs for specific reasons, though oil certainly has its place for different preferences. Here’s a breakdown of how each affects your fried eggs:
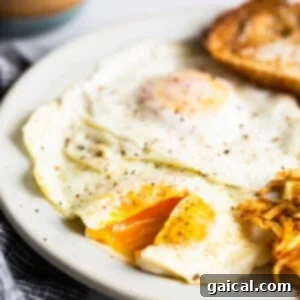
- Butter: Opting for butter results in an egg with a delightful, nutty undertone. It creates minimal browning on the whites, allowing for a cleaner, more uniformly cooked appearance, which is typically desired for an over medium egg. The slow, even heat conduction with butter helps the whites set smoothly around the yolk, producing that classic, appealing look you see in our photos.
- Oil (Avocado or Olive Oil): If you use oils like avocado or olive oil, you’ll often find yourself with egg whites that are more bubbly and develop those characteristic crisp, browned edges. Some people absolutely adore this texture in a fried egg, finding the slight crunch a welcome addition. However, for a traditional over medium egg, where the focus is on a tender white and a jammy yolk, butter often yields a more refined result. The flavor profile with oil will also be less rich and more neutral, letting the egg’s natural taste dominate.
Choosing the Best Pan for Over Medium Eggs
While almost any pan can technically fry an egg, the type of pan you choose can greatly influence the ease of cooking and the final outcome of your over medium eggs. Each material has its unique properties that can either aid or hinder your quest for egg perfection.
Non-stick Pan: Without a doubt, a good quality non-stick pan is your best friend when frying eggs. Its slick surface ensures that the eggs won’t stick, making them incredibly easy to flip and slide off the pan once cooked. This simplifies the entire process, making even the trickiest flips effortless and ensuring your delicate whites remain intact. This is especially important for achieving a clean, unblemished over medium egg.
Cast Iron Skillet: Cast iron skillets are renowned for their ability to heat up quickly and retain heat exceptionally well. This makes them suitable for frying, but they require a bit more attention. When using cast iron for over medium eggs, it’s crucial to ensure it’s well-seasoned and that you use an ample amount of butter or oil to create a non-stick barrier. Be vigilant and frequently check the edges of your eggs with a spatula to prevent sticking, as hot spots can sometimes lead to uneven cooking and sticking.
Stainless Steel Pan: If a stainless steel pan is your only option, don’t despair—you can still make delicious over medium eggs. However, be prepared to be extra diligent. Stainless steel can heat inconsistently, often developing very hot spots that can cause eggs to stick and burn if not managed carefully. To mitigate this, ensure your pan is adequately preheated, use a generous amount of butter, and keep a close eye on the cooking process. Gently moving the eggs around with a spatula can also help prevent sticking and promote more even cooking.
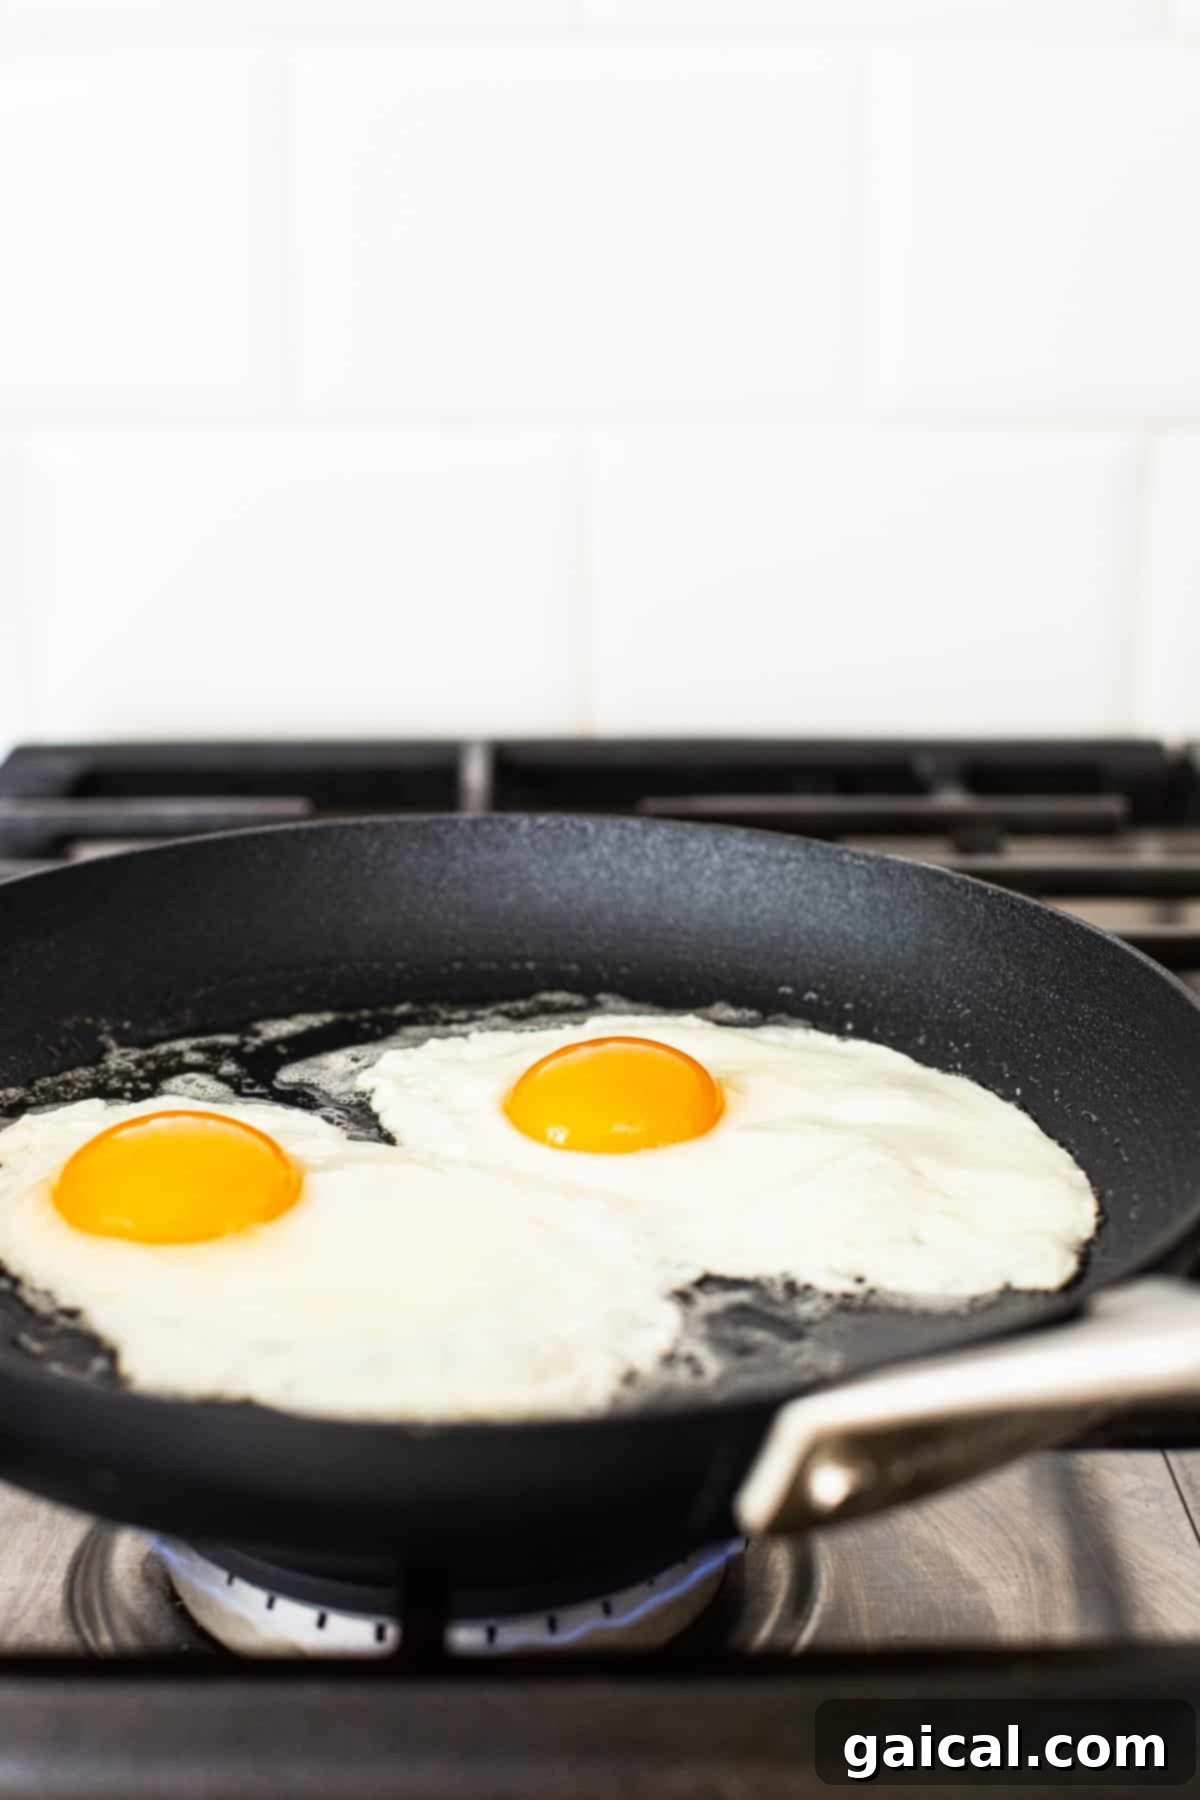
Pro Tips for Achieving Over Medium Egg Perfection
Beyond the basics, these expert tips will elevate your over medium egg game, ensuring consistently delightful results that impress every time. Pay attention to these small details, and you’ll be frying perfect eggs like a seasoned chef.
Use Fresh Eggs: The quality of your ingredients is fundamental. Fresh eggs not only taste better but also hold their shape more effectively, especially the yolk. Older eggs tend to have runnier whites that spread more in the pan, making it harder to achieve that neat, compact shape characteristic of a perfect fried egg. Always check the date on your eggs to ensure maximum freshness before frying.
Embrace Patience: Rushing the cooking process is a common mistake when frying eggs. High heat can lead to burnt whites and an undercooked yolk, or vice versa. Cooking your over medium eggs over medium-low heat allows for gentle, even cooking, giving you more control over the desired doneness of both the whites and the yolk. The more patient you are, the better your egg will turn out, with beautifully set whites and a perfectly jammy center.
Actively Check the Edges: As your egg fries, especially if you’re using a pan that isn’t perfectly non-stick, the whites can sometimes adhere to the pan. Use a thin, flexible spatula to gently lift and pull up the edges of the egg white periodically. This not only prevents sticking but also ensures that the entire white cooks evenly and separates cleanly from the pan when it’s time to flip or serve.
Never Forget to Season: A touch of seasoning can transform a good egg into a great one. Always finish your over medium eggs with a sprinkle of salt and freshly cracked black pepper. This simple addition elevates all the natural flavors of the egg, bringing out its richness and making every bite more enjoyable. Season immediately after cooking for the best flavor integration.
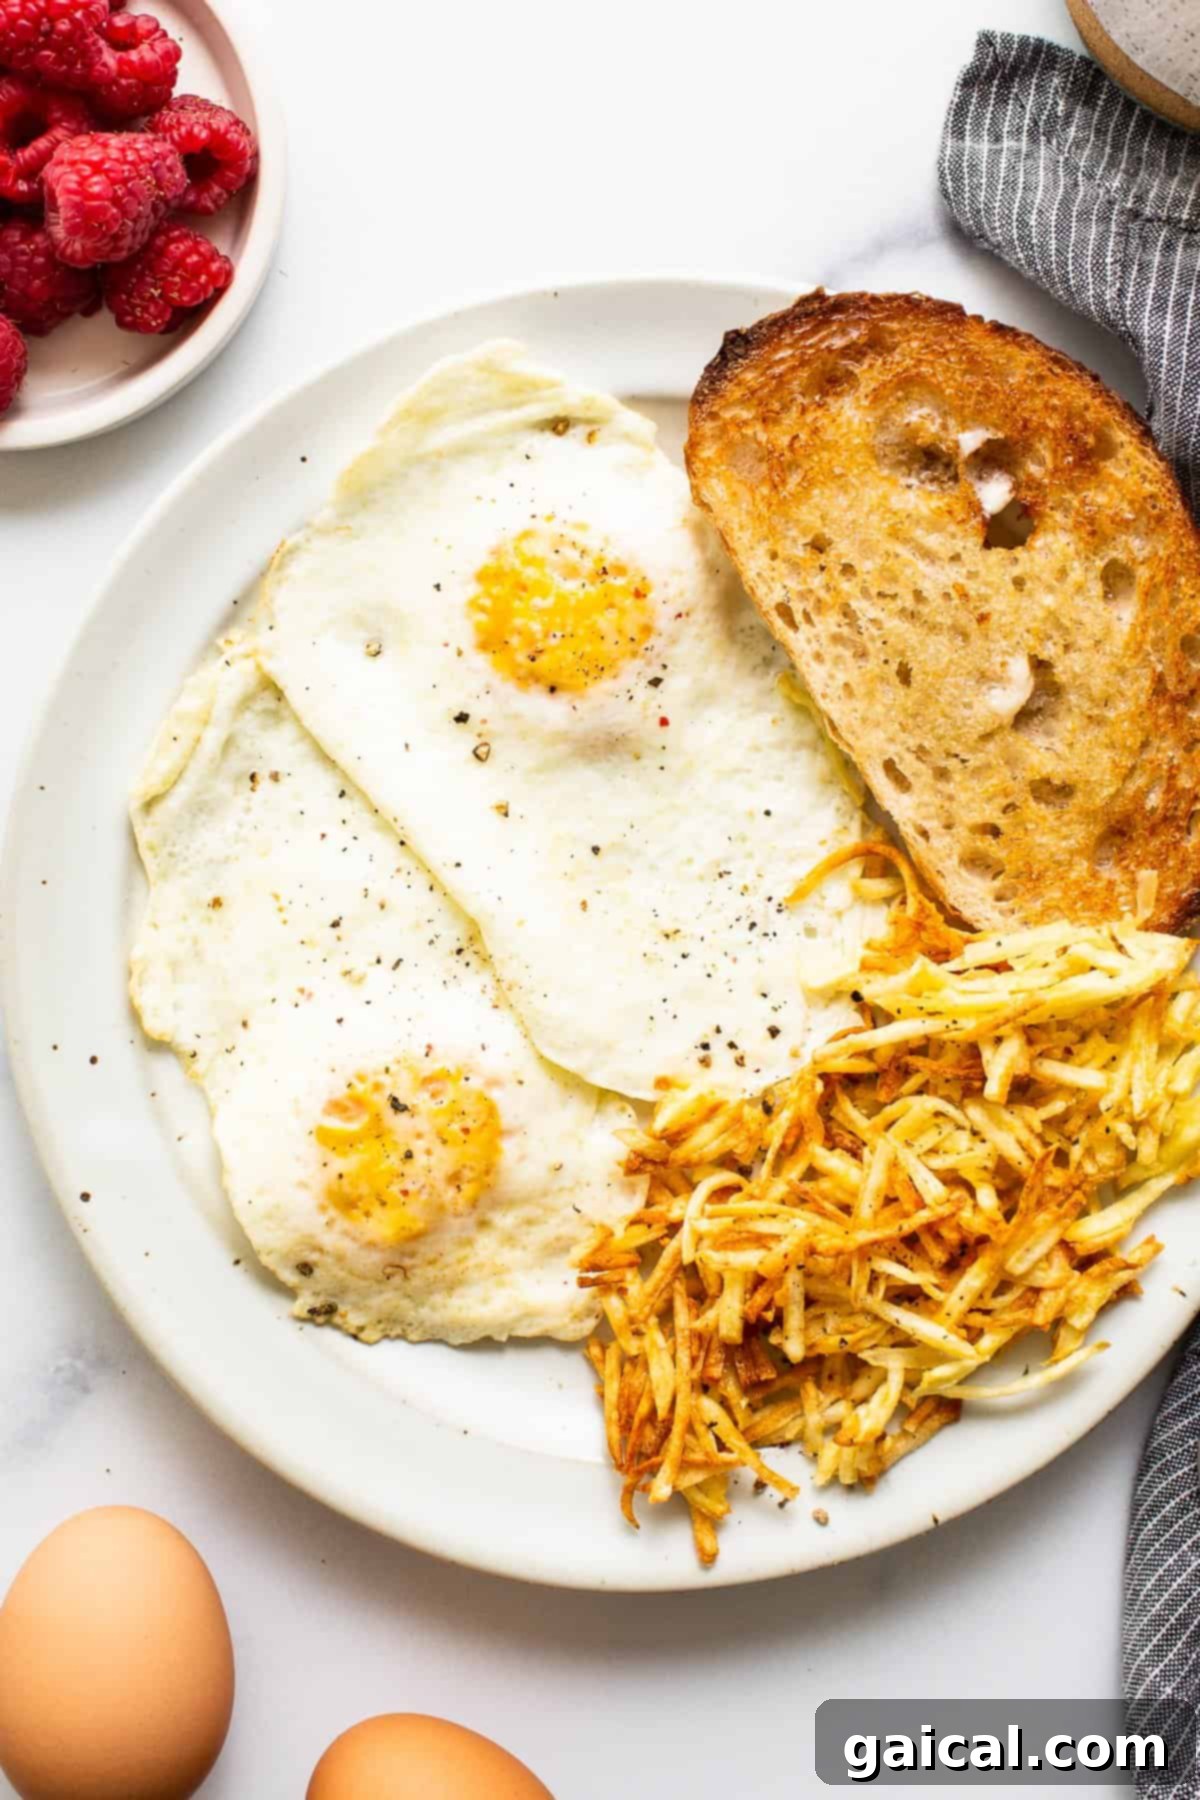
Step-by-Step Guide: How to Make Over Medium Eggs
Follow these simple, precise steps to create over medium eggs with perfect jammy yolks every time. This method focuses on controlled heat and careful timing for optimal results.
Step 1: Prepare Your Pan
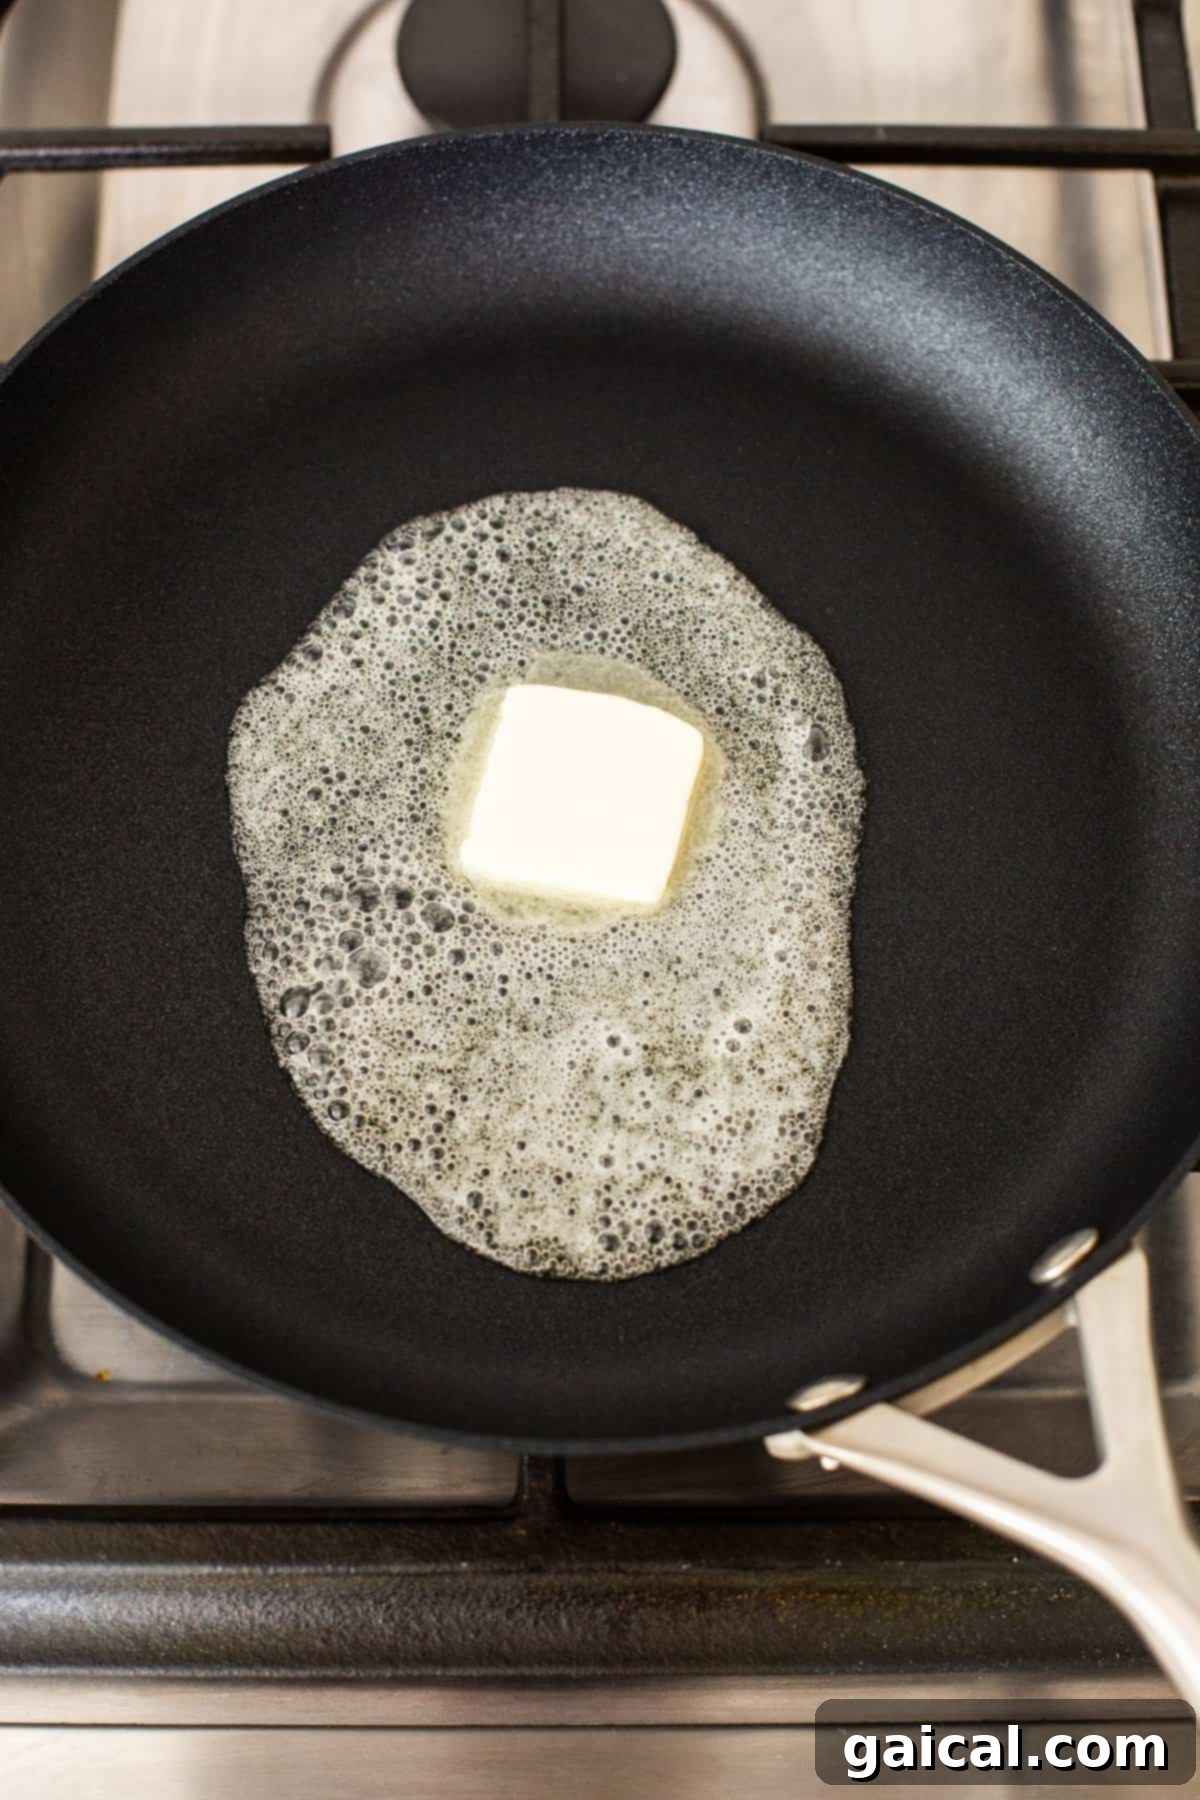
Place a non-stick frying pan (an 8-inch or 10-inch pan works best for 1-2 eggs) over medium-low heat. Add 2 tablespoons of unsalted butter to the pan and allow it to melt completely, coating the bottom evenly. Ensure the butter is shimmering but not browning too quickly, which indicates the heat is too high.
Step 2: Cook Your Eggs
- Crack the Eggs: Once the butter has fully melted and the pan is perfectly heated, carefully crack your eggs directly into the pan. For best results and even cooking, avoid overcrowding the pan; we recommend cooking no more than two eggs at a time in a standard-sized pan.
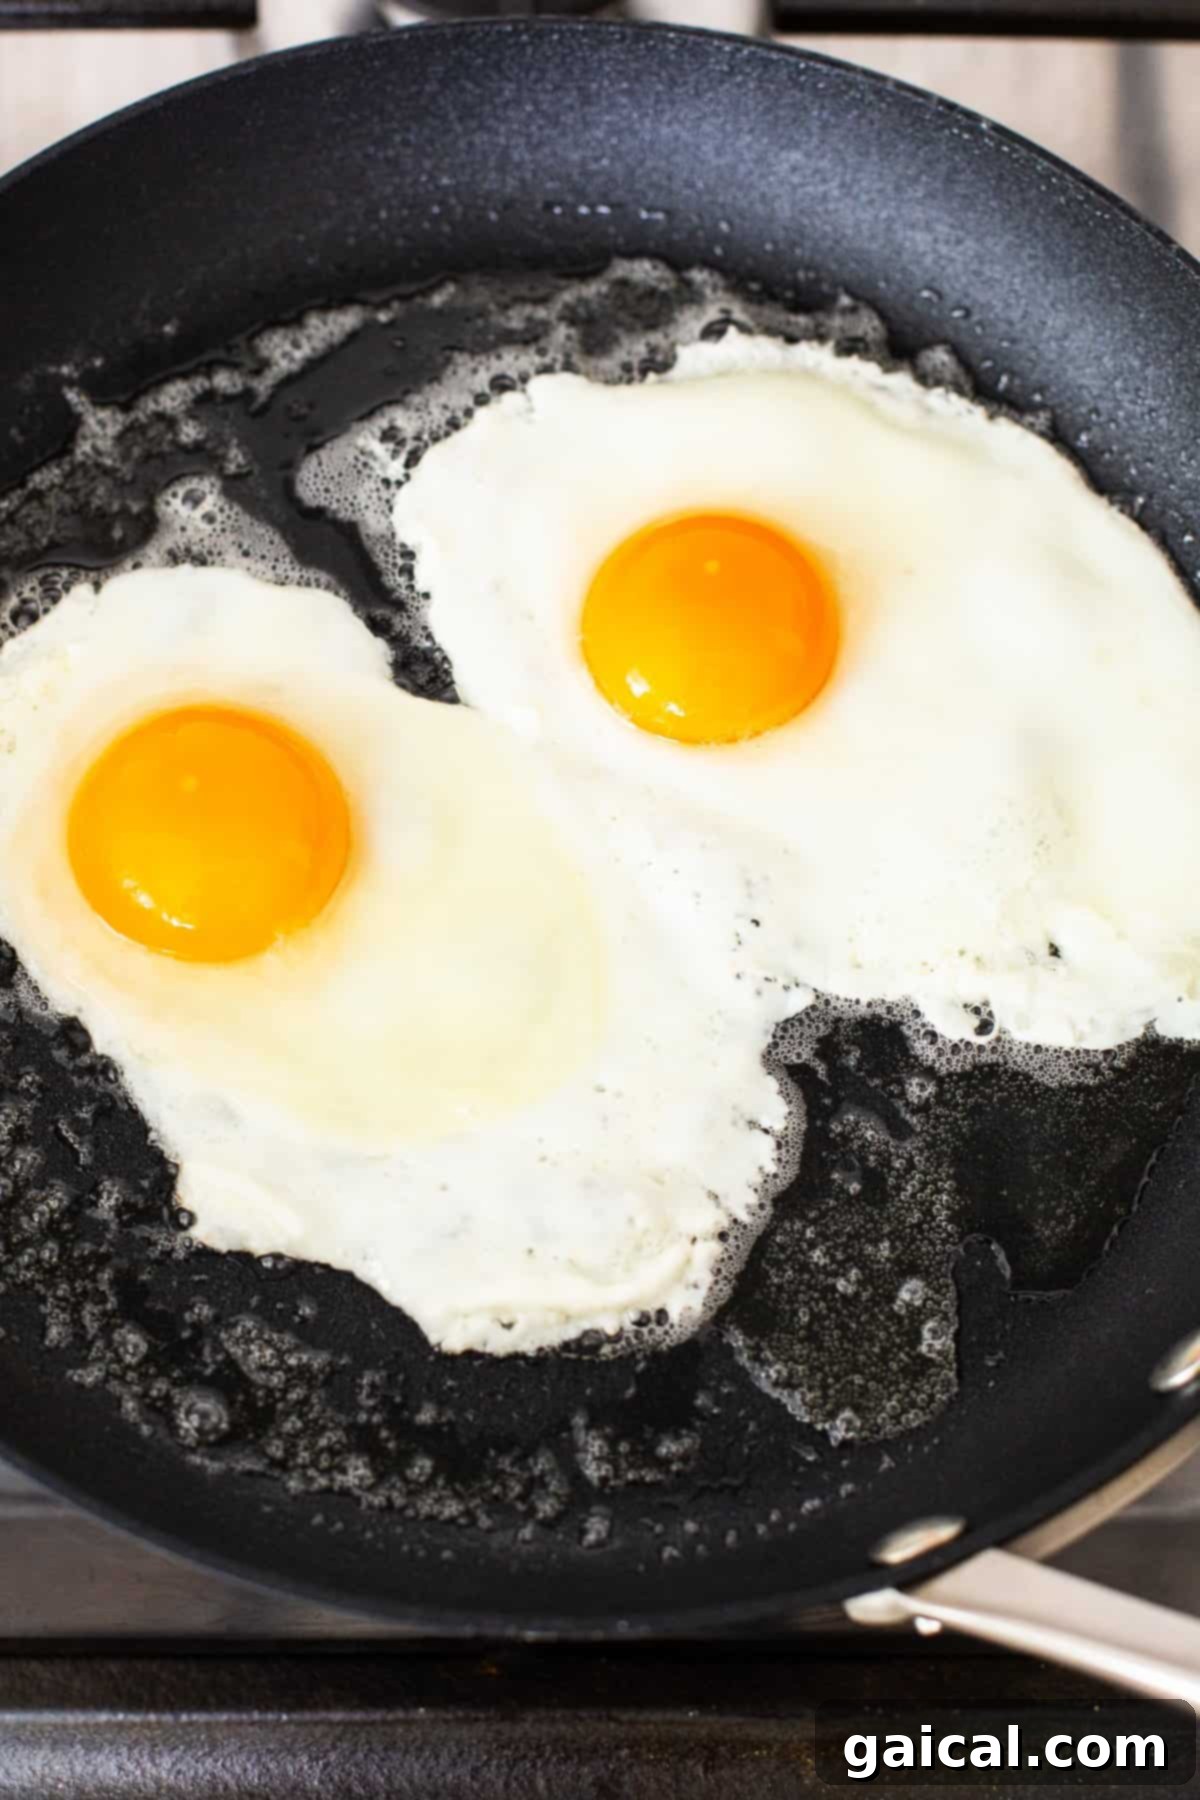
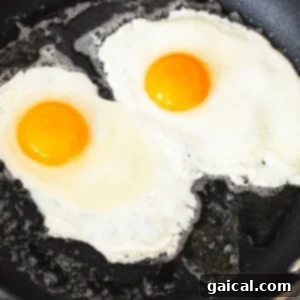
- First Cook: Allow the eggs to cook undisturbed over medium-low heat for 2-3 minutes. During this time, the egg whites will begin to set and turn opaque around the edges and underneath. The goal is for the whites to be mostly set but still slightly jiggly near the yolk, and the yolk itself should still be very runny.
- The Flip: Using a thin, flexible spatula, carefully slide it under each egg. In one swift, confident motion, gently flip the eggs over. Immediately reduce the heat slightly if needed.
- Second Cook: Cook the flipped eggs for an additional 45 seconds to 1 minute. This short burst of cooking allows the top of the whites to fully set and provides just enough heat to warm the yolk through, transforming it into that signature jammy consistency without becoming hard. The yolk should yield slightly when gently pressed but hold its shape.
Step 3: Serve and Enjoy
Once cooked to your desired jammy yolk perfection, carefully remove the eggs from the pan using your spatula. If you have more eggs to cook, repeat the process. Immediately season your over medium eggs with a generous sprinkle of salt and freshly ground black pepper. Serve them hot alongside your favorite breakfast accompaniments.
Storage and Reheating Over Medium Eggs
Over medium eggs, like most fried eggs, are undoubtedly best enjoyed immediately after cooking. The fresh texture of the firm whites and the warm, jammy yolk is at its peak right off the pan. However, if you find yourself with leftovers, you can certainly store them for a short period.
For storage, place your cooked over medium eggs in an airtight container and refrigerate them for up to 3 days. While they won’t have the exact same fresh-from-the-pan quality, they will still be delicious.
To reheat: Reheat eggs gently on low power in the microwave. Be careful not to overheat them, as this can quickly turn your jammy yolk hard and make the whites rubbery. Alternatively, you can gently warm them in a non-stick pan over very low heat for a minute or two until heated through, again being cautious not to overcook.
More of our Favorite…
Explore More Egg Tutorials
Eggs are incredibly versatile, and mastering different cooking styles can open up a world of culinary possibilities. If you’ve enjoyed perfecting your over medium eggs, why not explore other egg preparations?
- Perfect Hard Boiled Eggs
- Over-Medium Eggs
- Soft Boiled Eggs
- How to Make Poached Eggs
- Over Easy Eggs
- Over Hard Eggs
- Baked Eggs in the Oven
- How to Make Fluffy Scrambled Eggs
- Sunny Side Up Eggs
- Classic Fried Eggs
- Air Fryer Hard Boiled Eggs
Delightful Pairings: What to Serve Your Over Medium Egg With
Over medium eggs are incredibly versatile and pair beautifully with a wide array of breakfast, brunch, and even light lunch dishes. Their jammy yolks add a wonderful richness and texture to almost anything. Here are some fantastic ideas to complete your meal:
- Toast or Bagels: The classic choice! The jammy yolk is perfect for dipping and soaking into a slice of crispy toast or a warm, toasted bagel.
- Crispy Bacon: The salty crunch of bacon is a timeless complement to the tender egg. Try cooking bacon in the oven for easy cleanup!
- Maple Breakfast Sausage: Sweet and savory sausage patties make for a hearty and flavorful pairing.
- Sheet Pan French Toast: For a more substantial and sweet breakfast, serve your eggs alongside a slice of delicious French toast.
- Cinnamon Roll Waffles: Indulgent and delightful, the sweetness of waffles can be balanced by the savory egg.
- Fluffy Banana Oatmeal Pancakes: A healthier pancake option that still provides a satisfying backdrop for your eggs.
- Greek Yogurt and Steel Cut Oatmeal Parfait: For a lighter, nutrient-packed side, a parfait offers a refreshing contrast.
- Blueberry Orange Granola with Yogurt: A crunchy, fruity, and zesty side that adds freshness to your breakfast spread.
- Healthy Smoothies: A vibrant smoothie can provide a refreshing and nutritious beverage to accompany your savory eggs.
- Avocado Toast: A modern favorite, the creamy avocado on toast is excellent for soaking up that delicious yolk.
- Roasted Potatoes or Hash Browns: Hearty and comforting potato sides are a perfect addition to any egg dish.
- Fresh Fruit Salad: A simple bowl of fresh berries or sliced fruit adds a bright, contrasting element.
5 from 1 vote
Over Medium Eggs Recipe
You only need two simple ingredients—eggs and butter—and a nonstick skillet to create perfectly jammy over medium eggs!

Ingredients
- 4 large eggs
- 2 tablespoons unsalted butter
- Salt and freshly ground black pepper (for seasoning)
Instructions
-
Heat a non-stick frying pan (an 8-inch or 10-inch works best) over medium-low heat. Add 2 tablespoons of unsalted butter and allow it to melt completely.

-
When the butter has melted and is shimmering, carefully crack the eggs into the pan. Try not to overcrowd; cook no more than 2 eggs at a time for even results.
-
Cook the eggs over medium-low heat for 2-3 minutes, or until the egg whites begin to set and turn opaque but are not yet fully cooked through, and the yolk is still runny.
-
Using a thin spatula, carefully flip the eggs. Let them cook for an additional 45 seconds to 1 minute to allow the yolk to warm and become jammy, but not hard. The whites should be fully set.
-
Remove the cooked eggs from the pan and repeat with any remaining eggs if cooking more than two.
-
Serve immediately with a sprinkle of salt and freshly ground black pepper. Enjoy with your favorite breakfast sides.
Tips & Notes
- Pan Choice: For the best results, we highly recommend using a non-stick skillet. This ensures a slippery surface, making the eggs easy to move, flip, and preventing sticking. Cast iron can be tricky due to potential sticking.
- Butter is Best: We use unsalted butter as the cooking fat for its superior flavor and to achieve consistently cooked whites with minimal browning. If you prefer crispier edges on your egg whites and a more neutral flavor, olive oil can be used instead.
- Don’t Overcrowd: To ensure even cooking, avoid putting too many eggs in the skillet at once. If you’re cooking for a crowd, use a larger skillet or cook in batches.
- Heat Control: Maintaining a medium-low heat is crucial. Too high heat can lead to burnt whites and undercooked yolks, while too low heat can result in tough, rubbery eggs.
Nutrition
Carbohydrates: 1 g
Protein: 11 g
Fat: 20 g
Sugar: 1 g
Nutrition information is automatically calculated and should only be used as an approximation. Actual values may vary based on specific ingredients and preparation.
Love this recipe? Leave a comment below!
Don’t forget to tag your delicious creations on social media with the hashtag #fitfoodiefinds – we’d love to see what you’re cooking up!