
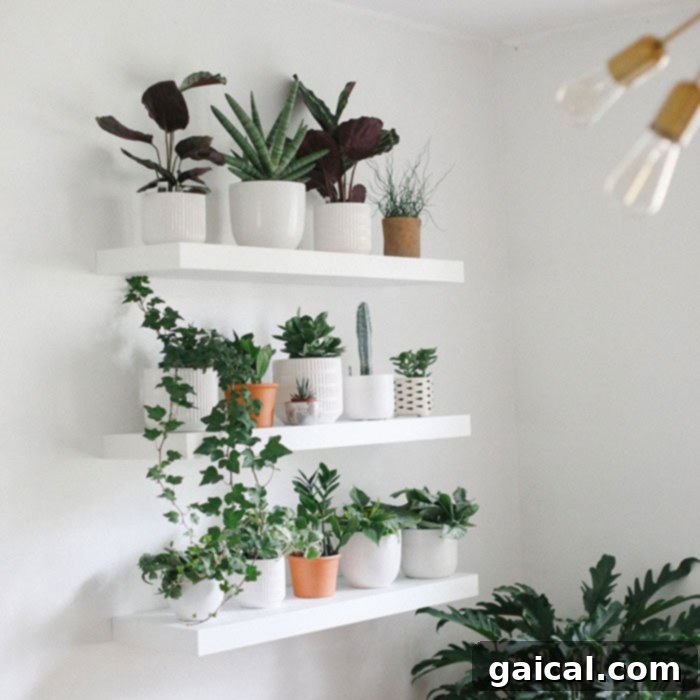
Transform your living space into a vibrant, oxygen-rich sanctuary with a stunning indoor plant wall. This comprehensive guide will walk you through every step of creating your own vertical garden, from selecting the perfect location and choosing the right plants to maintaining their health and vitality. Prepare to cultivate not just plants, but a beautiful, natural focal point that enhances your home’s aesthetic and air quality.
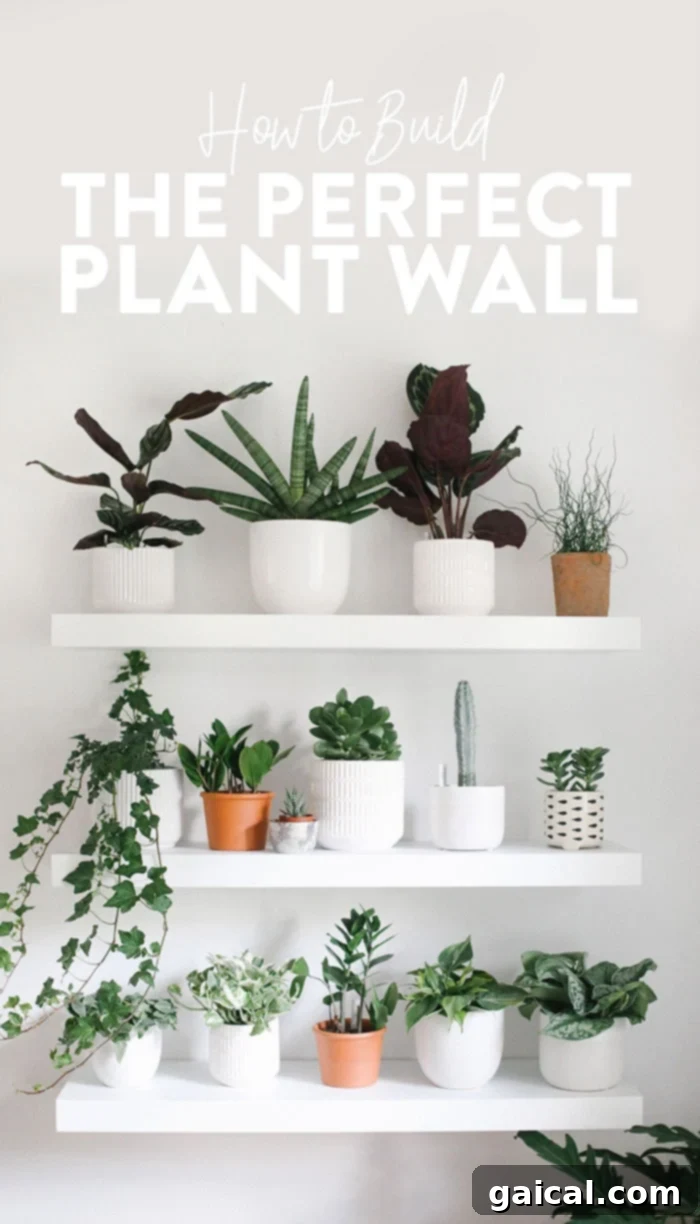
Step 1: Finding the Ideal Location for Your Plant Wall
Selecting the right wall for your indoor living wall is the foundational step, directly influencing the types of plants you can successfully grow. While it might seem straightforward, strategic placement is crucial for your plant’s long-term health and your wall’s visual appeal. We highly recommend identifying a wall that receives abundant indirect sunlight. This means the sun’s rays should not directly strike the wall for prolonged periods throughout the day. For instance, an adjacent wall to an east-facing window often provides ideal conditions, benefiting from the gentler, less intense morning light without the harshness of direct afternoon sun.
Understanding light exposure is key. East-facing windows offer bright, indirect light for several hours in the morning. North-facing windows provide consistent, soft indirect light, perfect for plants that prefer shadier conditions. South and West-facing windows, conversely, deliver intense, direct light for much of the day, which can be too strong for many common houseplants, leading to scorched leaves or excessive drying. If your only option is a wall with more direct light, don’t despair! You can still create a beautiful plant wall, but you’ll need to be more selective with your plant choices, opting for sun-loving varieties, or supplementing with sheer curtains to diffuse the light, and adjusting your watering schedule more frequently. Always assess the natural light patterns in your chosen spot over a full day to make an informed decision.
Step 2: Selecting and Installing Your Shelves
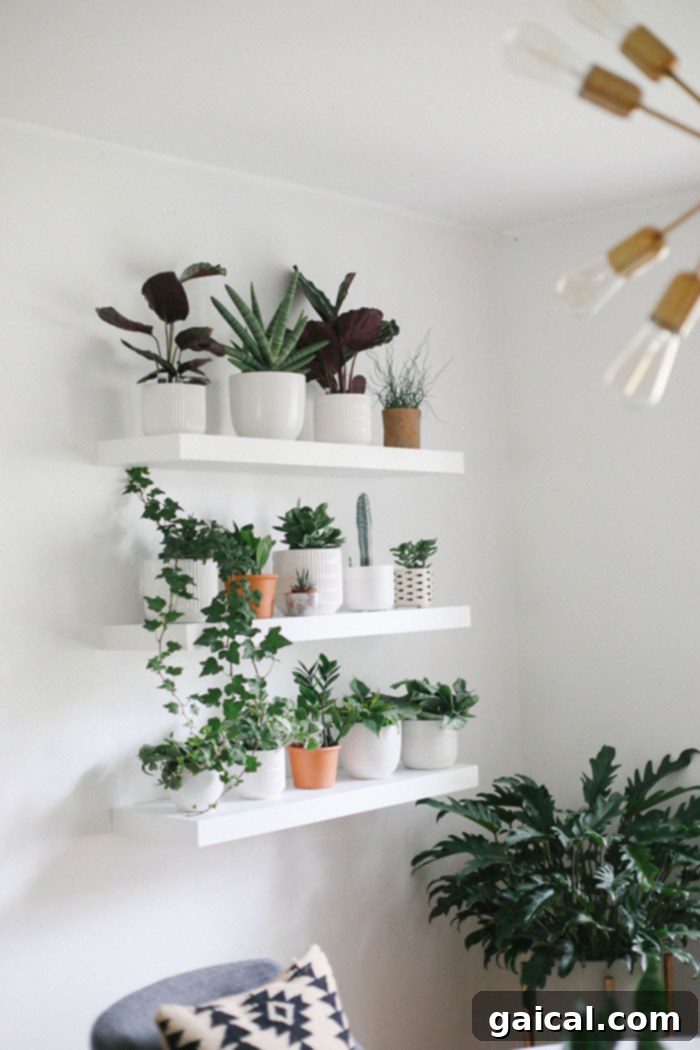
Once you’ve chosen your wall, it’s time to find the perfect shelves to display your green companions. The size and style of your room will naturally guide your shelf selection. For larger rooms, longer shelves can create a grand, expansive display, while smaller spaces benefit from more compact designs. For example, in a smaller office setting, 36-inch white floating shelves can provide adequate space without overwhelming the room. You can source quality shelving from a wide range of retailers, both online and in physical stores.
Crucially, ensure the shelves you purchase are deep enough to accommodate your plant pots comfortably. We strongly recommend shelves that are at least 8 inches deep; ideally, 10 inches provides ample room for various pot sizes, allowing plants to grow without feeling cramped and providing stability. Deeper shelves also give you more flexibility in arranging your plants, mixing different sizes and styles for a dynamic display. When considering materials, wood offers a classic, warm aesthetic, while metal can provide a more modern, industrial look. Glass shelves offer a sleek, minimalist option that allows more light to pass through.
Shelf Spacing: Achieving Balance and Growth
The spacing of your shelves is vital for both aesthetics and the healthy growth of your plants. While it might seem daunting, achieving proper spacing is quite simple with a clever trick. Our interior design expert, Sam, shares an invaluable rule of thumb:
- Begin by placing your central shelf at approximately 56 inches (about 142 cm) above the floor. This height generally aligns with eye level for most people, creating a natural focal point.
- For the shelves above and below the center, aim for a consistent 12-inch (about 30 cm) separation. This distance is carefully chosen to provide sufficient vertical clearance for a variety of medium-sized plants to thrive without touching the shelf above. It also allows enough room for trailing plants to cascade beautifully and for you to easily water and maintain your collection. Measuring carefully and using a level during installation will ensure your shelves are perfectly aligned and secure. Consider using stud finders to mount shelves directly into wall studs for maximum stability, especially given the combined weight of pots, soil, and plants.
Step 3: Choosing the Right Pots for Your Plant Wall
Pots, pots, pots! They are not just functional containers; they are key elements that contribute significantly to the overall personality and texture of your plant wall. The market is overflowing with incredible pot designs these days, offering an endless array of choices. To create visual interest and dynamic appeal, we recommend acquiring a variety of sizes, shapes, and materials.
The pots in our featured plant wall, for instance, range from a compact 3.5 inches tall to a more substantial 6 inches tall. This size range allows for a mix of smaller, delicate plants and larger, more prominent specimens. A crucial tip: your pot choices will directly dictate the size of the plants you can purchase. Therefore, it’s always best practice to buy your pots first. This way, when you go plant shopping, you can bring your pots (or at least their measurements) to ensure a perfect fit, preventing any last-minute compromises or incompatible purchases.
Where to Find Your Perfect Plant Pots
To help you start your collection, here are some favorite places known for their diverse and stylish pot selections:
- Anthropologie: Known for unique, artisanal, and often bohemian-inspired designs.
- CB2: Offers modern, minimalist, and sleek contemporary pots.
- West Elm: A great source for mid-century modern and globally inspired pottery.
- IKEA: Excellent for affordable, functional, and stylish options.
- Overstock: A vast selection often at competitive prices, great for finding variety.
- Target: Offers trendy and accessible pots, often with seasonal collections.
- Local Greenhouses/Nurseries: Support local businesses and discover unique, often handmade, pottery while getting expert advice.
Curated Pot Recommendations (3.5″ – 6″)
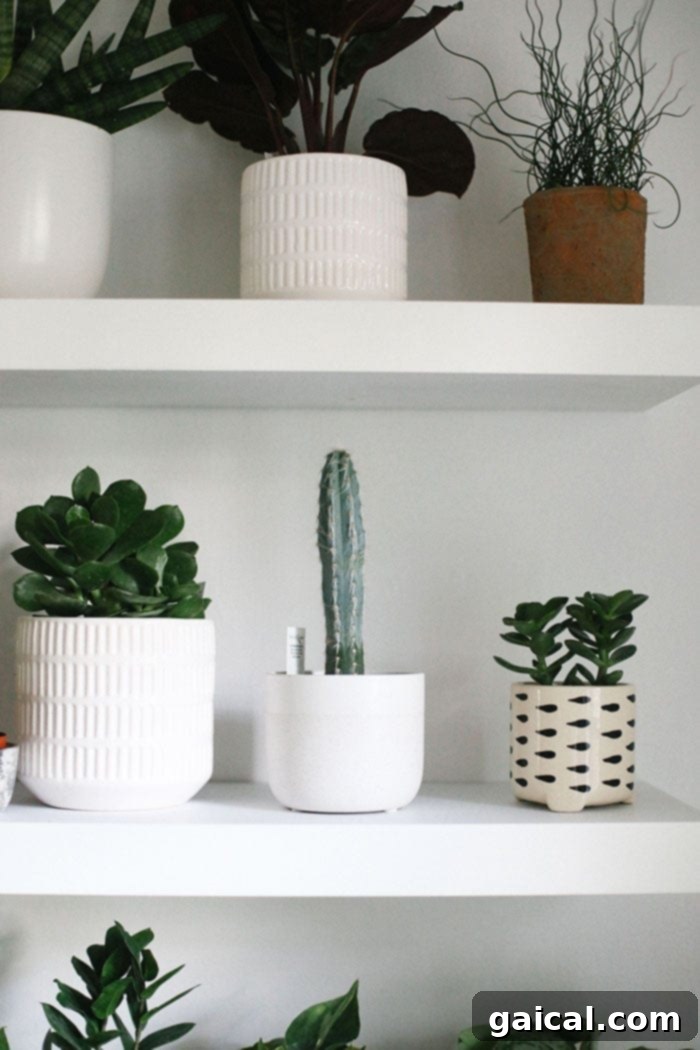
Many of the beautiful pots adorning our plant wall were sourced from Overstock, offering a blend of style and practicality. Here’s a glimpse at some of our favorites, starting from the top left and moving to the bottom right of our display:
Pot 1, Pot 2, Pot 3, Pot 4 (from Tonkadale Greenhouse), Pot 5, Pot 6 (from Tonkadale Greenhouse), Pot 7, Pot 8, Pot 9, Pot 10, Pot 11, Pot 12 (from Tonkadale Greenhouse), Pot 13, Pot 14.
Remember to prioritize pots with drainage holes to prevent root rot, a common issue for indoor plants. If a pot lacks drainage, consider using it as a decorative cachepot and keeping your plant in a smaller, nursery pot with holes inside it.
Step 4: Selecting the Perfect Plants: Low to Medium-Light Varieties
The type of plants you choose is intrinsically linked to your plant wall’s location, as discussed in Step 1. Since our featured plant wall thrives on a low-light wall with minimal direct sun exposure, our selection heavily favors low and medium-light plants. A fantastic bonus for beginners or those with busy schedules is that plants requiring less light often also demand less intensive care, making them ideal companions for a beginner-friendly indoor garden.
As emphasized earlier, your pot sizes will influence your plant choices, which is why we recommend securing your pots before hitting the nursery. We even brought our empty pots with us when purchasing plants to ensure a perfect match in size and visual harmony!
Top Low and Medium-Light Plant Recommendations for Your Wall
Here are some of our personal favorites – the very plants thriving on our own indoor living wall – that excel in conditions without intense direct sunlight:
- Snake Plant (Sansevieria trifasciata): An exceptionally resilient low-light plant, known for its upright, sword-like leaves. It tolerates neglect and is excellent for air purification.
- ZZ Plant (Zamioculcas zamiifolia): Another incredibly low-maintenance option, thriving in low light and tolerating drought. Its glossy, dark green leaves add a sophisticated touch.
- Calathea (Calathea spp.): These beauties require medium light and higher humidity, known for their stunning patterned leaves. They’re a bit more particular but rewarding.
- Pothos (Epipremnum aureum): A classic trailing plant that tolerates low to medium light. Pothos varieties are incredibly versatile and easy to care for, perfect for shelves where they can cascade.
- California Branching Ivy (Hedera helix ‘California’): A lovely medium-light trailing plant, ivies can add a delicate, cascading element to your wall. Ensure good airflow to prevent pests.
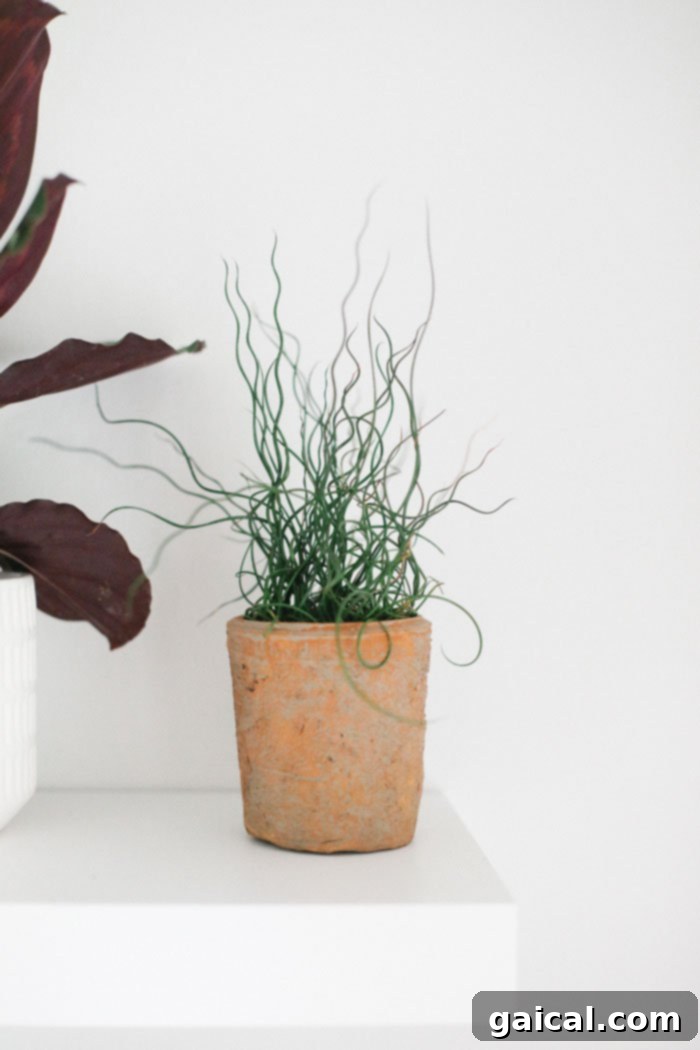
- Corkscrew Rush (Juncus effusus ‘Spiralis’): This unique plant, with its whimsical, spiraling stems, can tolerate a wide range from low to full light, making it quite adaptable. It prefers consistently moist soil.
You might notice some cacti and succulents on our wall and wonder how they survive in low light. It’s true; these desert dwellers typically crave copious amounts of direct sunlight! To keep these particular “babies” happy and healthy, we periodically move them into a spot that receives direct sun every day or every other day, ensuring they get the intense light they need to thrive. This dedicated rotation is crucial for their survival in an otherwise low-light environment.
A final, heartfelt recommendation: always consider supporting your local greenhouses for plant purchases. We owe a huge thank you to Tonkadale Greenhouse for providing many of the gorgeous plants on our wall. Local nurseries like Tonkadale offer plants that are often better acclimated to local climates, higher quality, and come with the invaluable expertise of passionate staff. If you’re ever unsure about which plants are best for your specific light conditions or need care advice, don’t hesitate to ask the friendly experts at your local greenhouse. If you’re in the Minnetonka, MN area, we wholeheartedly recommend checking out Tonkadale – their staff, particularly Bethann, are simply amazing!
Step 5: Mastering Watering Schedules for a Thriving Plant Wall
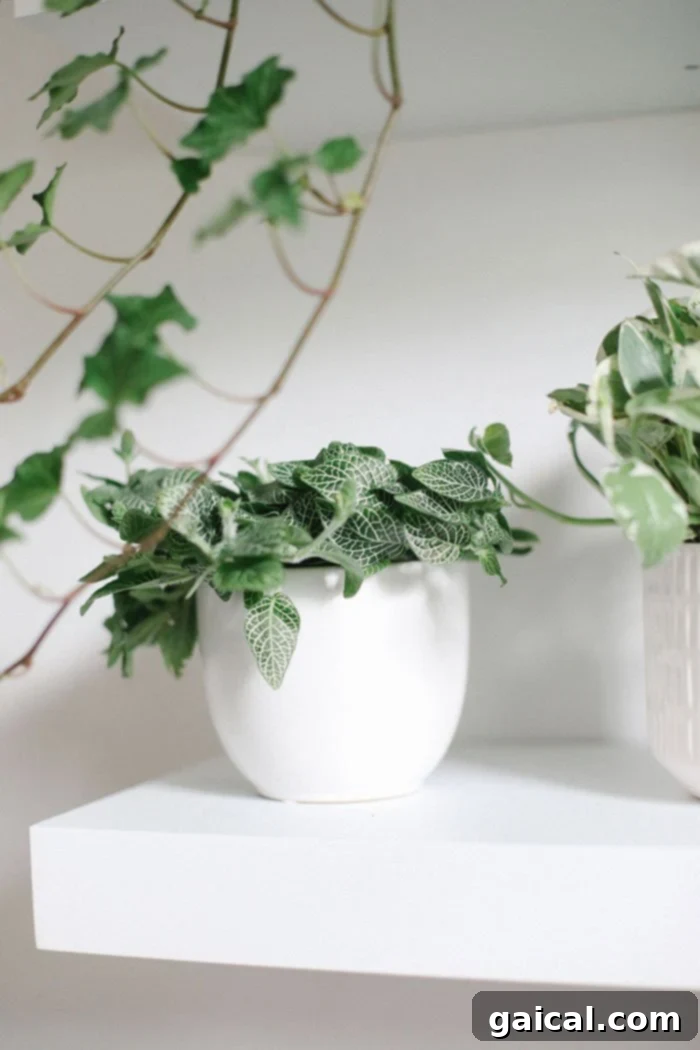
This step is arguably the most critical for the long-term success of your plant wall: establishing and adhering to proper watering schedules. I’ll admit, becoming a confident “plant person” often involves a period of trial and error, and yes, even losing a few plants along the way. The golden rule of plant care is that watering needs will vary significantly from one plant to another, so diligent research for each individual plant on your wall is non-negotiable.
Thankfully, most new plants come with a helpful tag detailing their preferred watering frequency and light conditions. For example, a Corkscrew Rush thrives in consistently moist soil, never wanting to dry out completely. Conversely, a Pothos prefers its soil to dry out between waterings, signaling when it’s ready for another drink. Overwatering is a more common killer of houseplants than underwatering, often leading to root rot. To avoid this, always check the soil moisture before watering. A simple “finger test” – sticking your finger about an inch or two into the soil – can tell you if it’s dry enough. Alternatively, a moisture meter offers a precise reading.
Beyond individual schedules, consider the overall environment. Indoor plant walls, especially with many plants, can create a microclimate. You might need to adjust watering frequency based on room temperature, humidity levels, and seasonal changes. In dry indoor environments, especially during winter with heating, plants may require more frequent watering or benefit from increased humidity. Techniques like misting, using pebble trays filled with water, or placing a small humidifier nearby can help. It will take some practice to get it just right, but investing a little time in understanding each plant’s unique needs will ensure your magnificent plant wall flourishes.
Step 6: Ongoing Care and Maintenance for a Lush Vertical Garden
Building your plant wall is a rewarding achievement, but its beauty and vitality depend on consistent ongoing care. A thriving vertical garden isn’t just about watering; it’s about creating a holistic environment where your plants can flourish. Here are some essential maintenance tips to keep your plant wall looking its best:
- Monitoring for Pests: Regularly inspect your plants for signs of common houseplant pests like spider mites, mealybugs, or aphids. Early detection is key to preventing infestations. Gently wipe leaves with a damp cloth or use insecticidal soap as needed.
- Pruning and Trimming: Periodically prune your plants to encourage bushier growth, remove leggy stems, or trim back dead or yellowing leaves. This not only keeps your wall looking tidy but also promotes healthier plant development.
- Dusting Leaves: Dust accumulation on leaves can hinder photosynthesis. Gently wipe down leaves with a soft, damp cloth every few weeks to keep them clean and allow them to absorb light efficiently.
- Fertilization: Most houseplants benefit from fertilization during their active growing season (typically spring and summer). Use a balanced liquid houseplant fertilizer diluted to half strength, following the product’s instructions. Reduce or stop fertilizing during dormant periods.
- Repotting: As your plants grow, they may become root-bound, meaning their roots have filled the pot. Signs include water draining too quickly, stunted growth, or roots appearing through drainage holes. Repot into a slightly larger pot with fresh potting mix when necessary, usually every 1-2 years.
- Rotation: If some plants on your wall are receiving less light than others, consider rotating their positions occasionally to ensure even growth and exposure.
By integrating these maintenance practices into your routine, you’ll ensure your indoor plant wall remains a vibrant, healthy, and ever-evolving feature in your home for years to come. Enjoy the therapeutic process of nurturing your green haven!
Disclaimer: This post contains affiliate links. Both Overstock and Tonkadale provided product for this post, but there was no monetary exchange.