

These easy deviled eggs are a timeless classic, offering a perfect blend of creamy, tangy, and savory flavors that everyone adores. Quick to prepare with straightforward ingredients, they are an ideal appetizer for any occasion. Master this beloved recipe today and impress your guests with a batch of delicious, crowd-plepleasing deviled eggs!
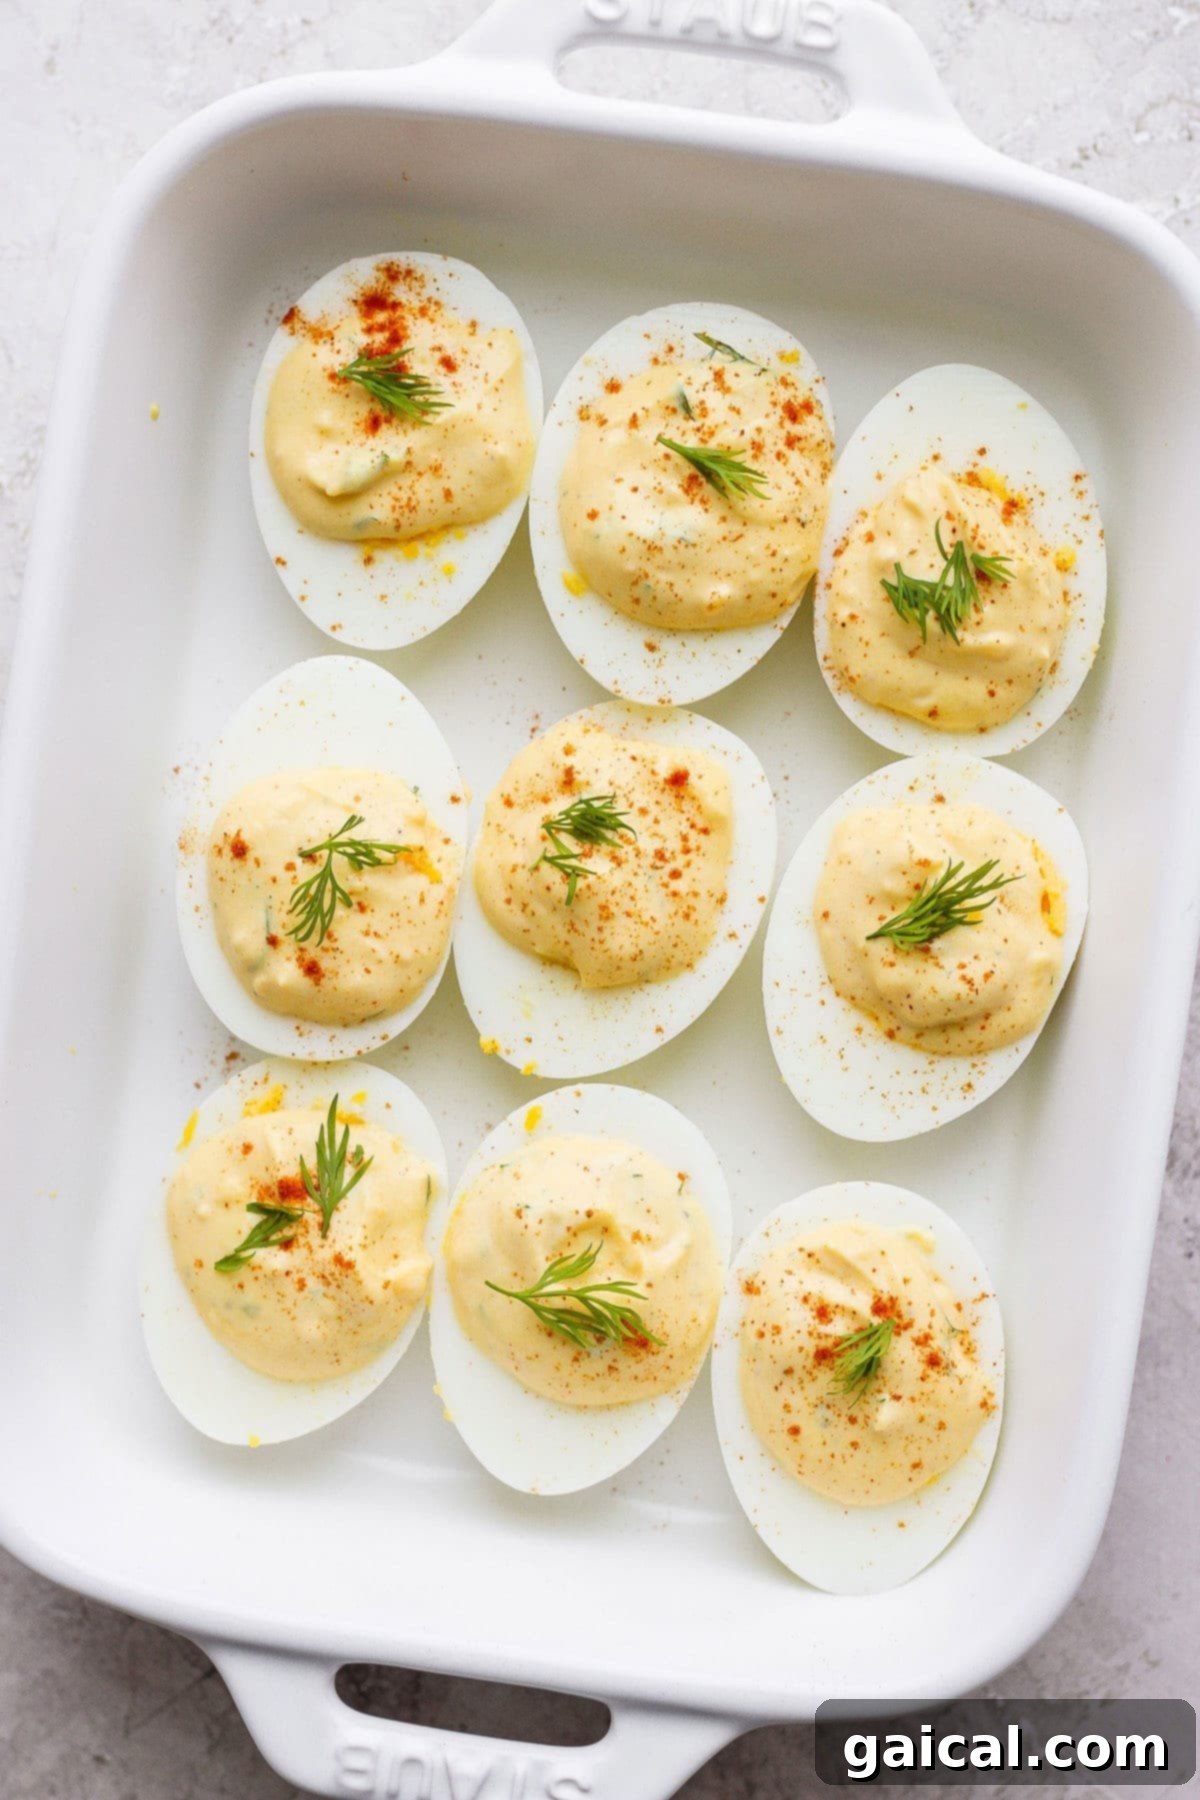
Deviled Eggs Made Easy: Your Ultimate Appetizer Guide
Deviled eggs hold a special place in the hearts of many, revered as a classic appetizer that’s not only effortless to share but also undeniably delicious. Their widespread appeal stems from their satisfying texture and vibrant, tangy flavor profile. Beyond their taste, they offer a fantastic, protein-packed, and naturally low-carb option, making them a smarter choice for health-conscious individuals.
From summer picnics to festive holiday gatherings, deviled eggs are a staple across the country, enjoyed year-round. They consistently prove to be a crowd-pleasing appetizer, perfect for game days, family reunions, or any casual get-together. But their utility extends even further; they can easily transform into a convenient grab-and-go snack, elevating your usual hard-boiled egg routine into something much more exciting.
Our recipe for easy deviled eggs truly lives up to its name. Featuring a simple, yet incredibly flavorful filling and a foolproof method for achieving perfect hard-boiled eggs, success is virtually guaranteed. You simply cannot go wrong with this delightful appetizer that promises to be a hit every time.
Hosting a larger crowd? This recipe is incredibly flexible and scales beautifully. Feel free to easily double or even triple the ingredients to accommodate more guests.
Cooking for just one or two? Don’t let extra hard-boiled eggs go to waste! We offer excellent suggestions below for repurposing any leftover hard-boiled eggs, effectively turning this into a true two-for-one recipe where nothing is wasted.
What Exactly Are Deviled Eggs? A Culinary Classic Explained
At their core, deviled eggs are a beloved appetizer crafted from hard-boiled eggs. The magic happens when the yolks are carefully removed, mashed, and then blended with a rich, tangy, and creamy mixture. This delectable filling typically includes staple ingredients like mustard, mayonnaise, and a hint of acidity—in our case, we embrace the zesty kick of pickle juice! The mixture is then piped back into the hollowed-out egg white halves, creating a visually appealing and utterly scrumptious bite-sized treat.
Are Deviled Eggs a Healthy Choice? Nutritional Benefits Explored
Yes, deviled eggs can absolutely be a healthy option, especially when prepared with mindful ingredients. They are inherently a low-carb and high-protein appetizer, making them an excellent choice for those focusing on protein intake or managing carbohydrate consumption. Eggs themselves are a powerhouse of nutrition, packed with essential vitamins, minerals, and healthy fats. By opting for ingredients like Greek yogurt (as we do) and healthy fats such as olive oil in place of excessive mayonnaise, you can further enhance their nutritional profile, transforming them into a genuinely better-for-you snack or starter.
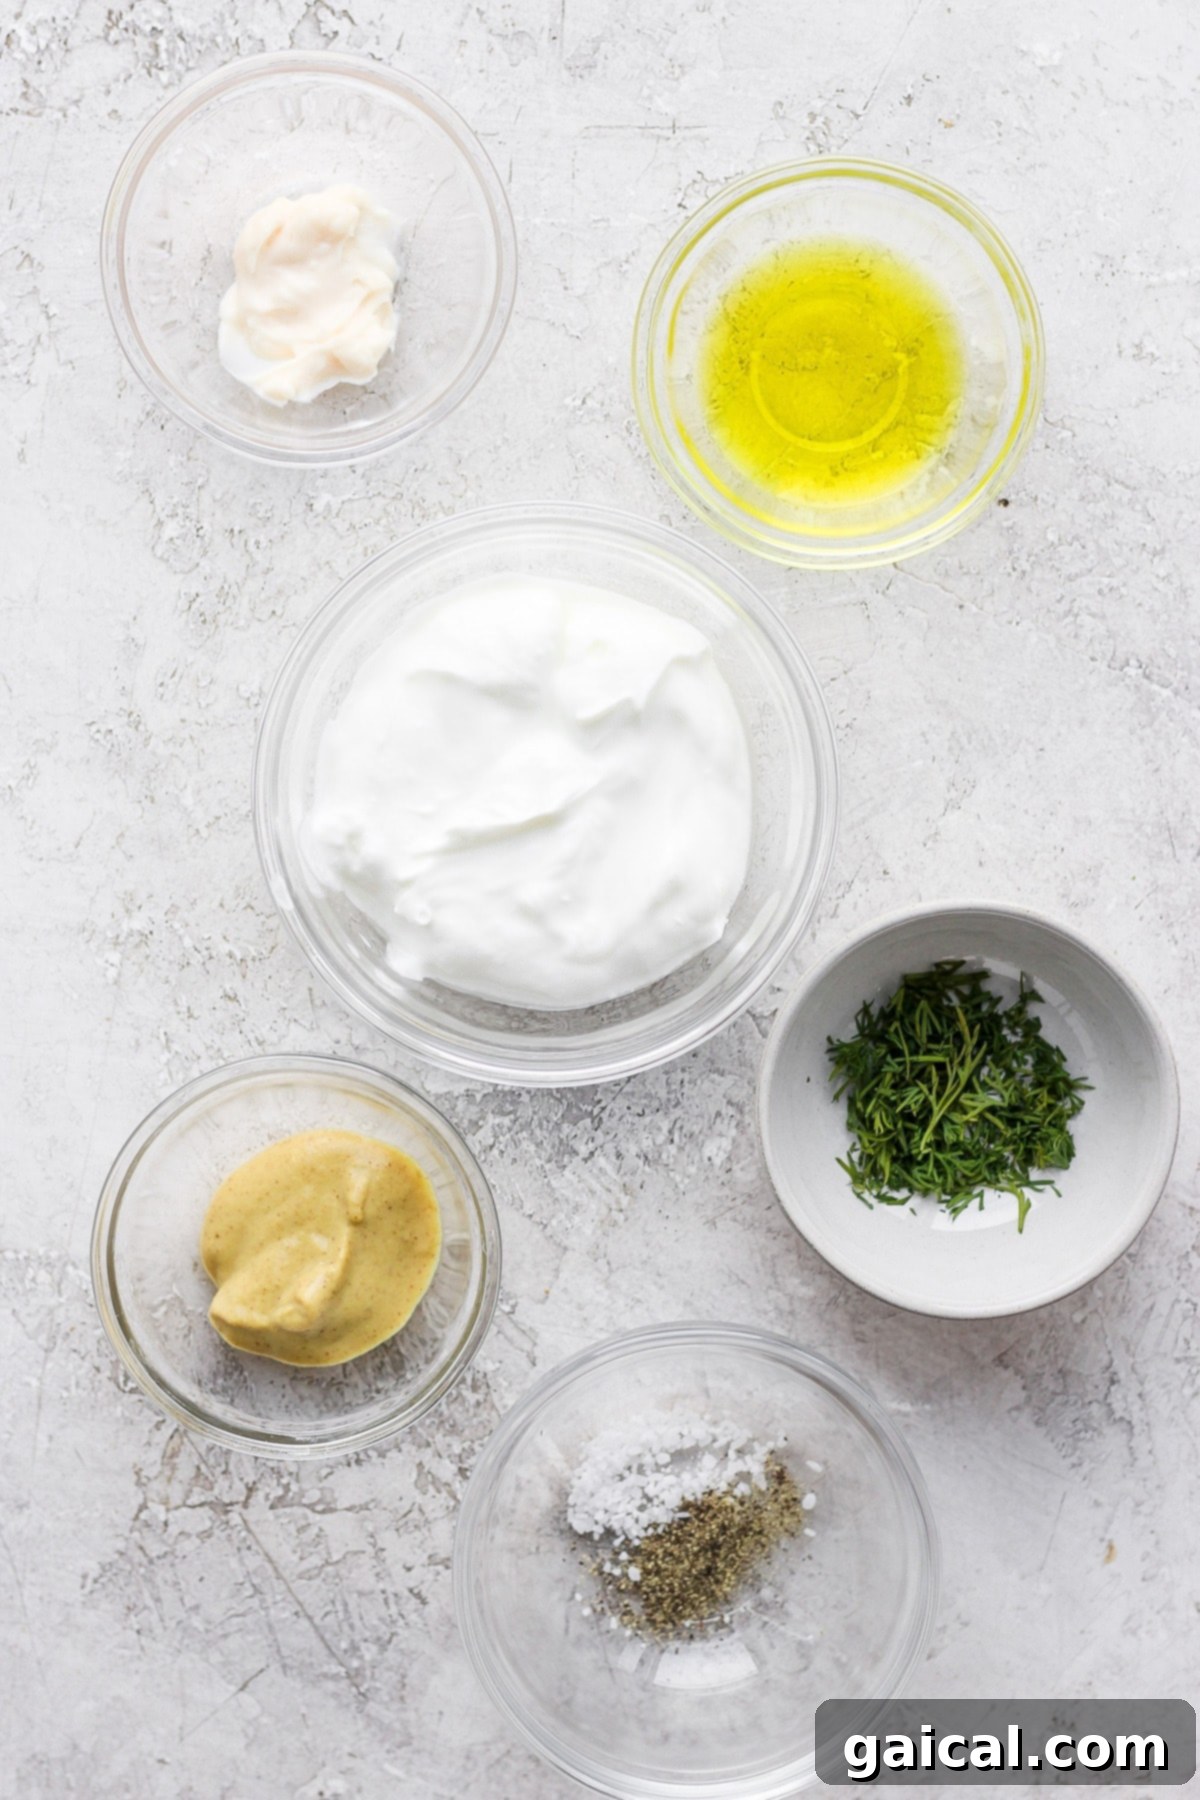
Essential Tools and Ingredients for Perfect Deviled Eggs
Crafting delicious deviled eggs begins with gathering the right tools and fresh, high-quality ingredients. Here’s a comprehensive breakdown of what you’ll need to create this irresistible appetizer:
Medium to Large Pot: The size of your pot will depend on the number of eggs you plan to hard-boil. For this specific recipe, which yields 6 deviled eggs (requiring 6 hard-boiled eggs), a medium pot is sufficient. However, if you’re planning to cater to a larger gathering and intend to double or triple the recipe, ensure you have a sufficiently large pot to comfortably submerge all your eggs without overcrowding. This allows for even cooking.
Alternatively, if you’re making extra hard-boiled eggs for other purposes (we’ll share some fantastic ideas below!), choose a pot that can handle your desired quantity. The key is to avoid stacking the eggs, which can lead to uneven cooking and cracks.
Large Eggs: Our recipe specifically calls for large-sized eggs. While you can use any variety of large eggs available to you—be it organic, free-range, white, brown, or speckled—the single most crucial tip for superior deviled eggs is to use fresh eggs. Fresh eggs not only cook more consistently but also boast a richer flavor and contribute to a brighter yolk color. Additionally, contrary to popular belief, slightly older eggs (a week or so after purchase) can sometimes be easier to peel than extremely fresh ones, as the membrane has had a little time to separate from the shell. However, for flavor and yolk color, fresh is best.
- Organic for enhanced flavor and ethical sourcing.
- Free-range for eggs from hens with outdoor access.
- Any shell color (white, brown, or speckled) will work; the color of the shell does not impact the flavor or internal quality.
A Bowl of Ice Water (for an Ice Bath): This is a non-negotiable step for achieving perfectly cooked and easily peelable hard-boiled eggs. You’ll need a medium-sized bowl filled generously with ice cubes and cold water. An ice bath serves two vital purposes: it rapidly halts the cooking process, preventing the dreaded green ring around the yolk, and it helps the egg whites contract, making the shells significantly easier to peel. This ensures your yolks remain a vibrant, appealing yellow.
Delicious Deviled Egg Filling Ingredients: The heart of any deviled egg lies in its flavorful filling. Our recipe features a short, yet incredibly potent list of ingredients that guarantee a satisfyingly tangy and creamy experience you’ll absolutely love:
- Dijon Mustard: Adds a sophisticated, sharp, and slightly spicy kick that elevates the overall flavor profile beyond basic yellow mustard.
- Plain Greek Yogurt: A secret ingredient for added creaminess and a subtle tang, while also boosting protein content and reducing the amount of mayonnaise needed.
- Mayonnaise (or Olive Oil for a lighter touch!): Provides the classic richness and smooth texture. For a lighter, healthier alternative, a good quality extra virgin olive oil can be substituted.
- Pickle Juice: Our preferred secret weapon for acidity! It contributes a unique, savory tang that vinegar simply can’t match, infusing a delightful pickle-y essence into every bite.
- Minced Fresh Dill: Offers a bright, herbaceous freshness that perfectly complements the rich egg mixture. Fresh herbs are crucial for vibrant flavor.
- Spices: A simple blend of salt, pepper, and a final sprinkle of paprika for color and a hint of smoky flavor.
How to Make Easy Deviled Eggs — A Step-by-Step Guide for Perfection
With all your essential tools and fresh ingredients ready, it’s time to dive into the simple, yet rewarding process of making these incredible deviled eggs. Follow these steps for perfect results every time!
Step 1: Bring Water to a Rolling Boil
Begin by selecting a medium to large pot, ensuring it’s appropriately sized for the number of eggs you intend to cook. Fill the pot with enough water to fully submerge the eggs, leaving about an inch or two of water above them. Bring this water to a rapid, rolling boil over high heat. The vigorous boil is crucial for consistent cooking.
Step 2: Carefully Add Eggs and Cook
Once your water has reached a full boil, gently lower the large eggs into the boiling water. You can use a slotted spoon to prevent cracking. Once all eggs are in, maintain a steady boil and continue cooking for precisely 9 minutes. This timing is key for firm, yet not rubbery, whites and perfectly set yolks without a green ring.
Step 3: The Crucial Ice Water Bath
As soon as the 9-minute cooking time is up, immediately remove the pot from the heat. Without delay, transfer the hot hard-boiled eggs straight into your prepared bowl of ice water. Let the eggs chill completely in this ice bath for a full 15 minutes. This rapid temperature change is vital for the next steps.
Is an Ice Bath Truly Necessary for Hard-Boiled Eggs?
While you can skip it, we strongly, unequivocally recommend using an ice bath for several compelling reasons:
Effortless Peeling: The sudden transition from boiling hot water to icy cold water causes the egg white to contract rapidly. This contraction helps to separate the inner membrane from the shell, making the eggs significantly easier to peel without tearing the whites. Say goodbye to frustrating, stubborn shells!
Vibrant Yellow Yolks: The immediate cooling effect of the ice bath halts the cooking process instantly. This prevents the iron and sulfur compounds in the egg from reacting excessively, which is what typically causes the unattractive greenish-gray ring around the yolk. By using an ice bath, you preserve the beautiful, bright yellow color of the yolk, which is essential for visually appealing deviled eggs.
Explore More Appetizer Delights
Rainbow Grilled Gnocchi Skewers
Easy Deviled Pickles
Ground Beef Cottage Cheese Queso
Salmon Meatballs with Sesame Ginger BBQ Sauce
Chili Crisp Cashew Tofu Skewers
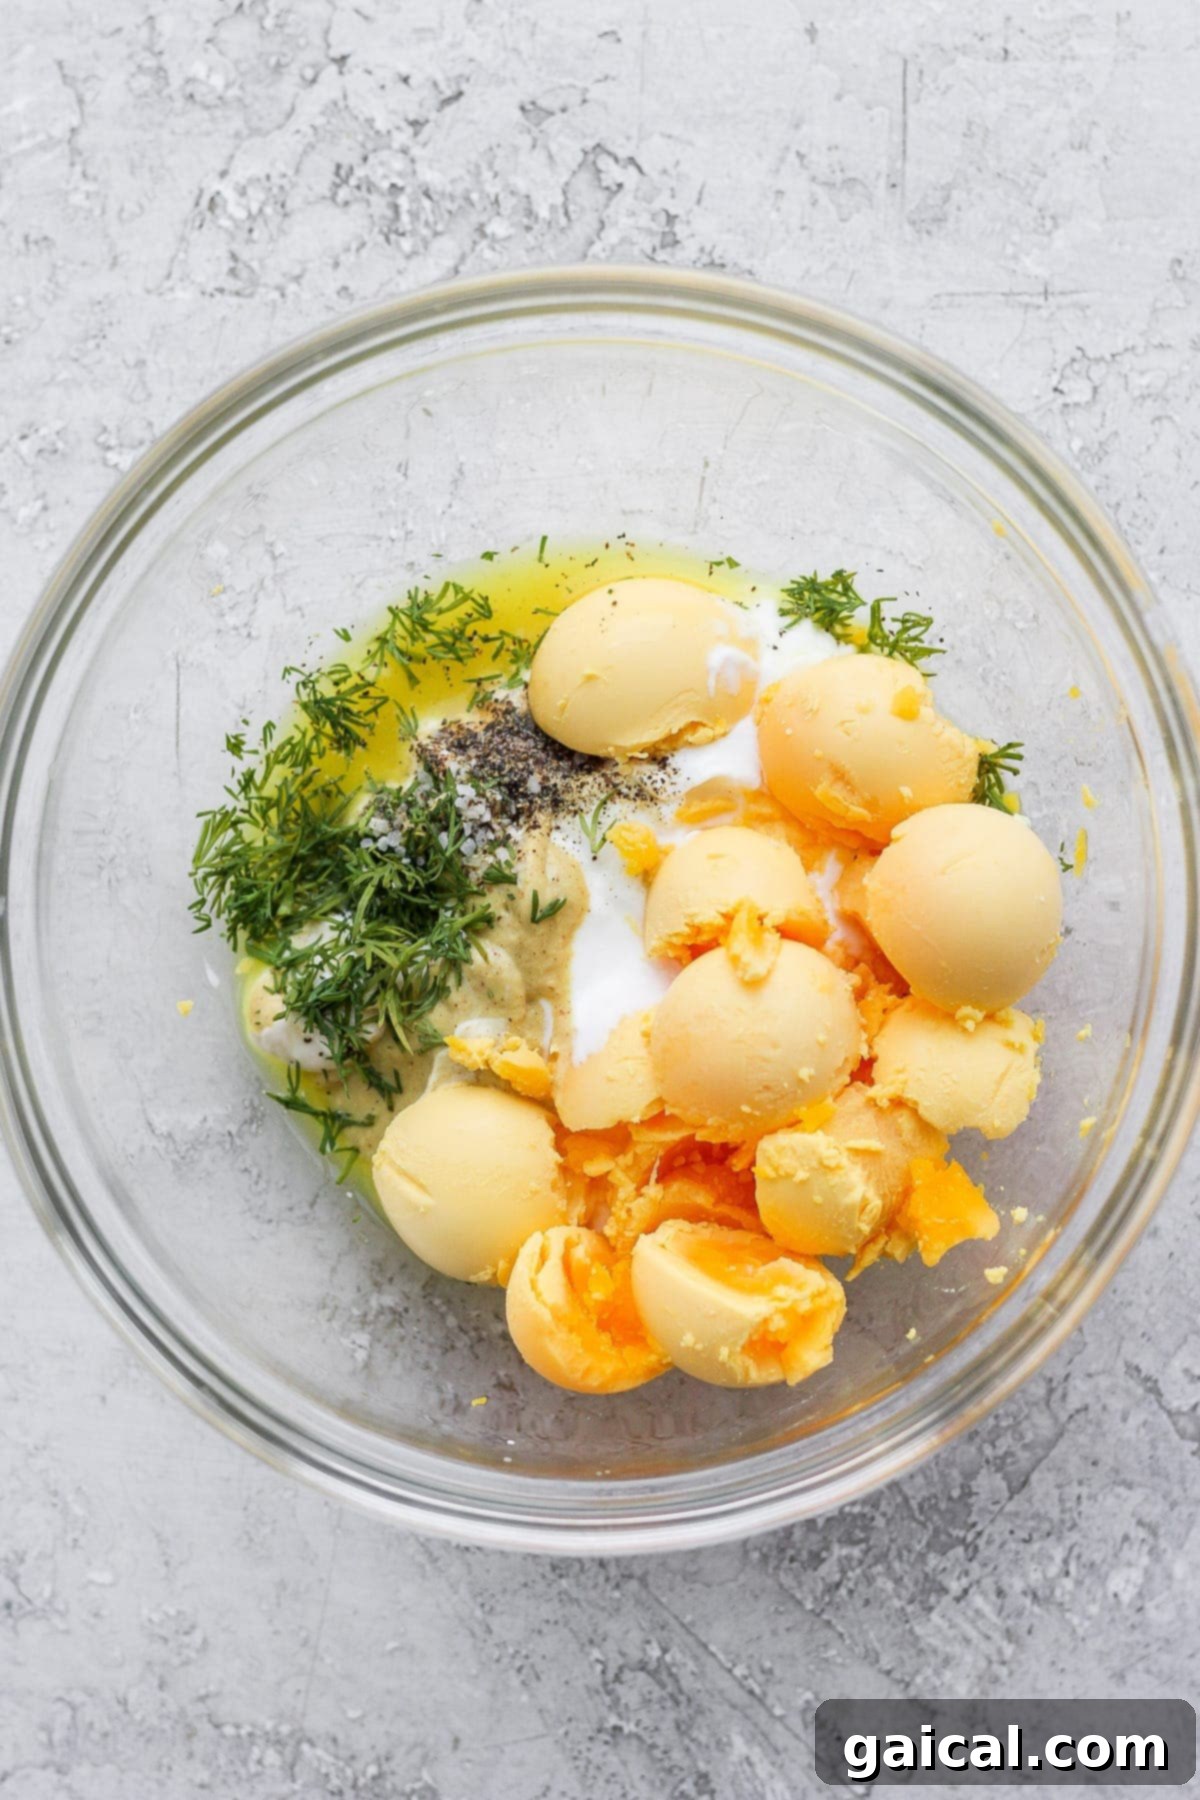
Step 4: Prepare the Delicious Deviled Egg Filling
While your hard-boiled eggs are chilling in their ice bath, you can start on the star of the show: the egg yolk mixture! In a medium mixing bowl, combine the following ingredients:
- Creamy Greek yogurt
- Smooth mayonnaise
- Tangy pickle juice
- Fragrant fresh dill, minced
- A pinch of salt & black pepper to taste
Mix all these ingredients thoroughly until they are well combined and smooth. Set this flavorful base aside, ready for the yolks.
Step 5: Peel and Carefully Slice the Eggs
Once your hard-boiled eggs are completely chilled from their ice bath (approximately 15 minutes), it’s time to peel them. Thanks to the ice bath, they should be relatively easy to peel. Our preferred method is to gently crack the egg on the countertop to loosen the shell, then use your fingers to carefully peel it off under a trickle of cool running water. This helps wash away small shell fragments. Once peeled, carefully slice each egg cleanly in half lengthwise with a sharp knife.
Step 6: Add Yolks to the Filling and Prepare for Piping
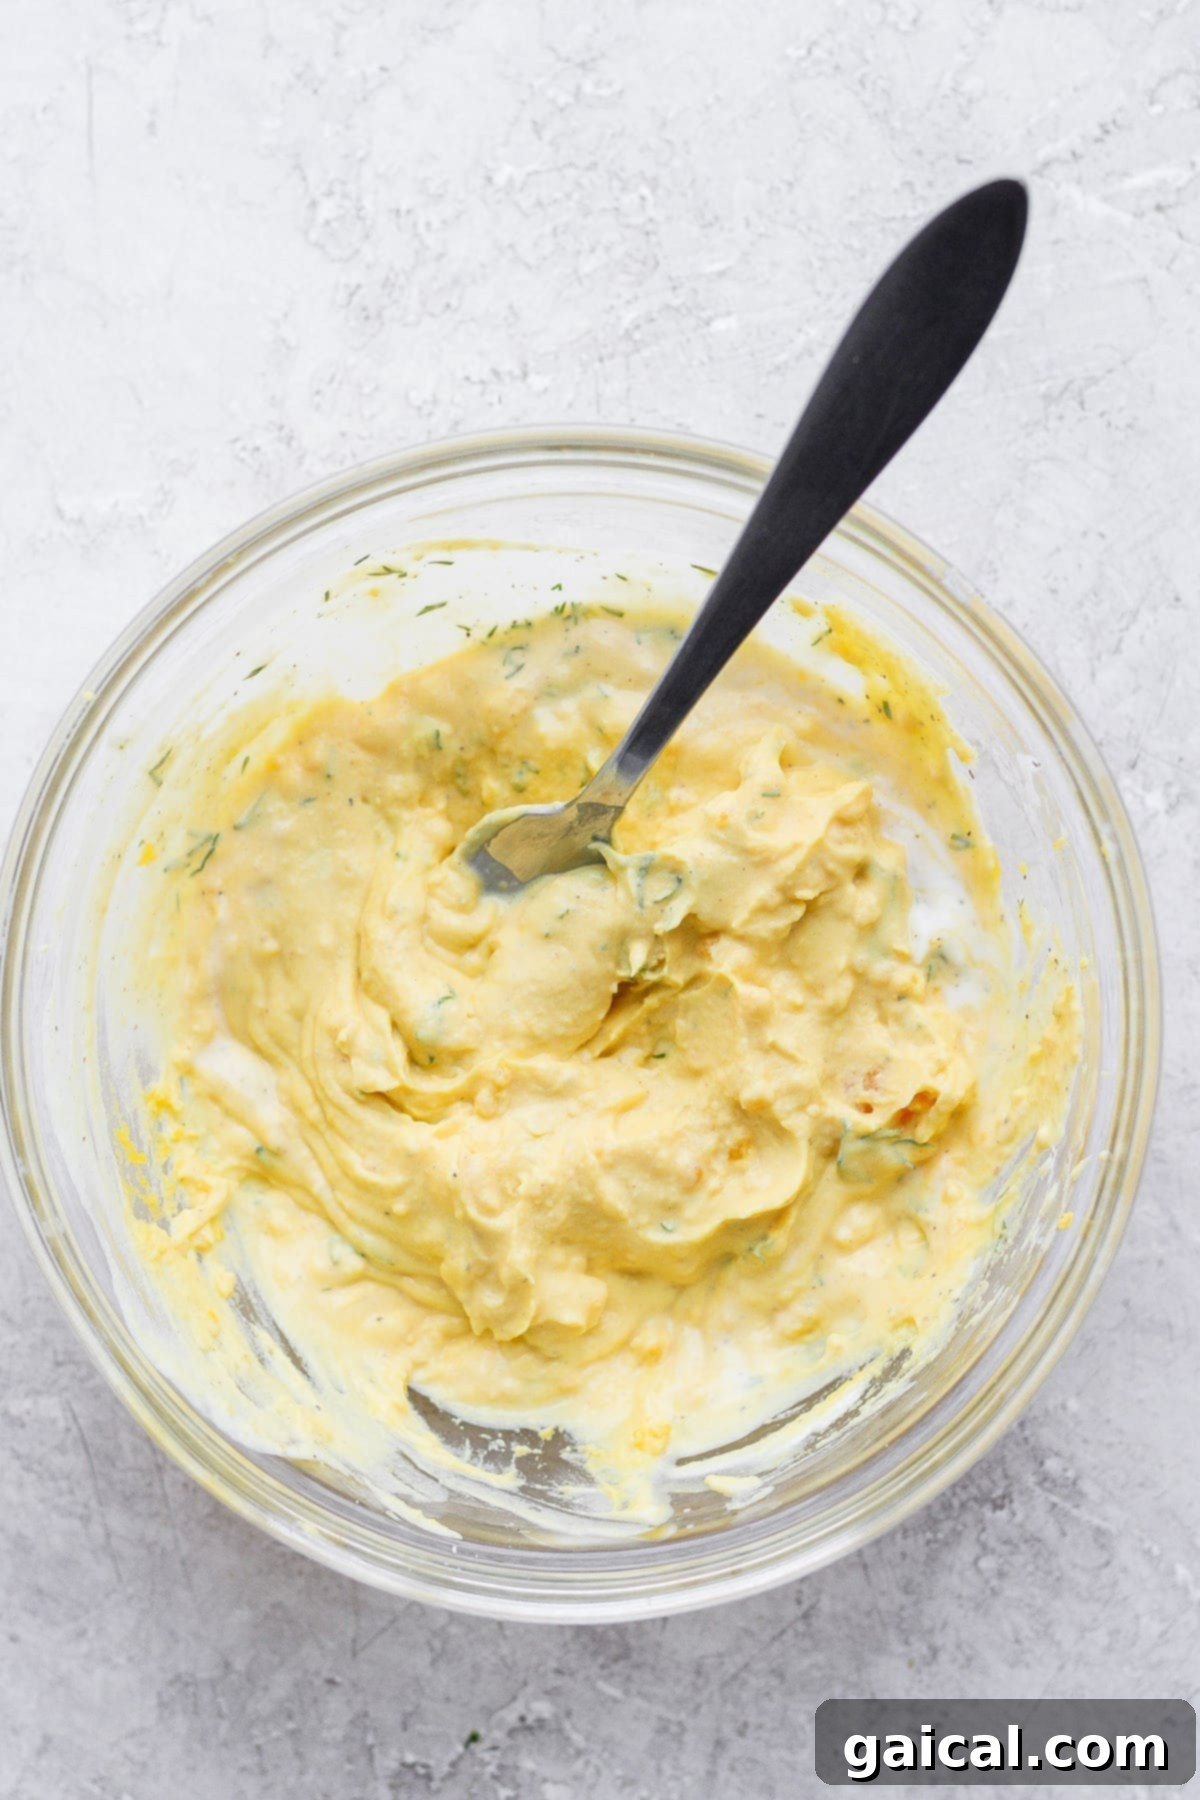
Using a small spoon, delicately scoop out the bright yellow yolks from the center of each egg white half. Transfer these yolks into the mixing bowl containing your prepared creamy filling. Mash the yolks thoroughly with a fork or a potato masher, then stir them into the Greek yogurt mixture until the entire filling is smooth, creamy, and free of any large yolk chunks.
For a beautiful presentation, transfer the smooth yolk mixture into a sturdy Ziploc bag. Gently squeeze all the filling down into one corner of the bag. Snip off a small tip of that corner (about ¼ inch) to create a piping opening. Before piping, twist the top of the bag to remove any excess air, creating pressure that will allow the mixture to squeeze out easily and cleanly.
Step 7: Pipe the Filling into Egg Whites
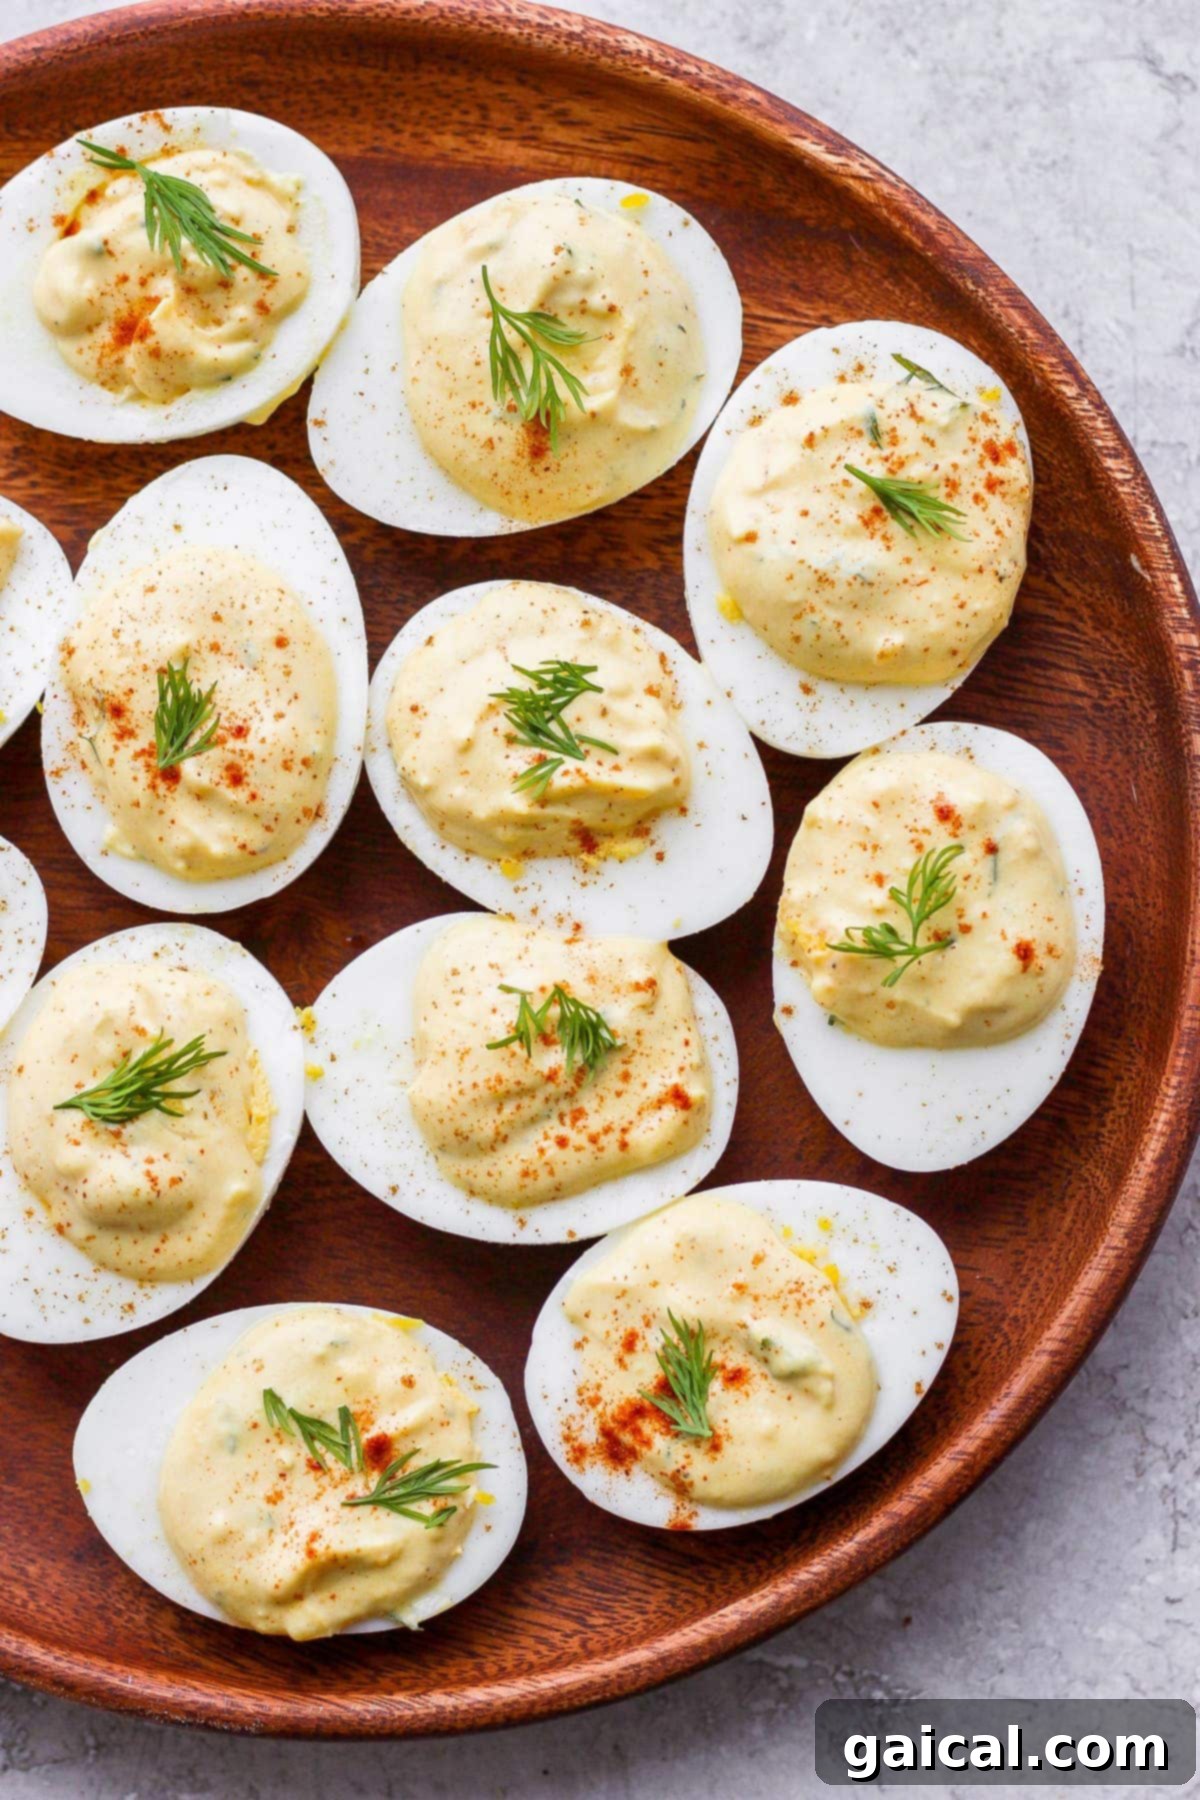
Arrange the hollowed-out hard-boiled egg white halves on your serving plate. Carefully pipe the creamy yolk mixture into the center wells of each egg white. Apply gentle, steady pressure to the Ziploc bag, creating an appealing mound of filling in each half. You can experiment with different piping techniques, such as a simple swirl or a classic dome shape.
Step 8: Garnish and Savor Your Creation!
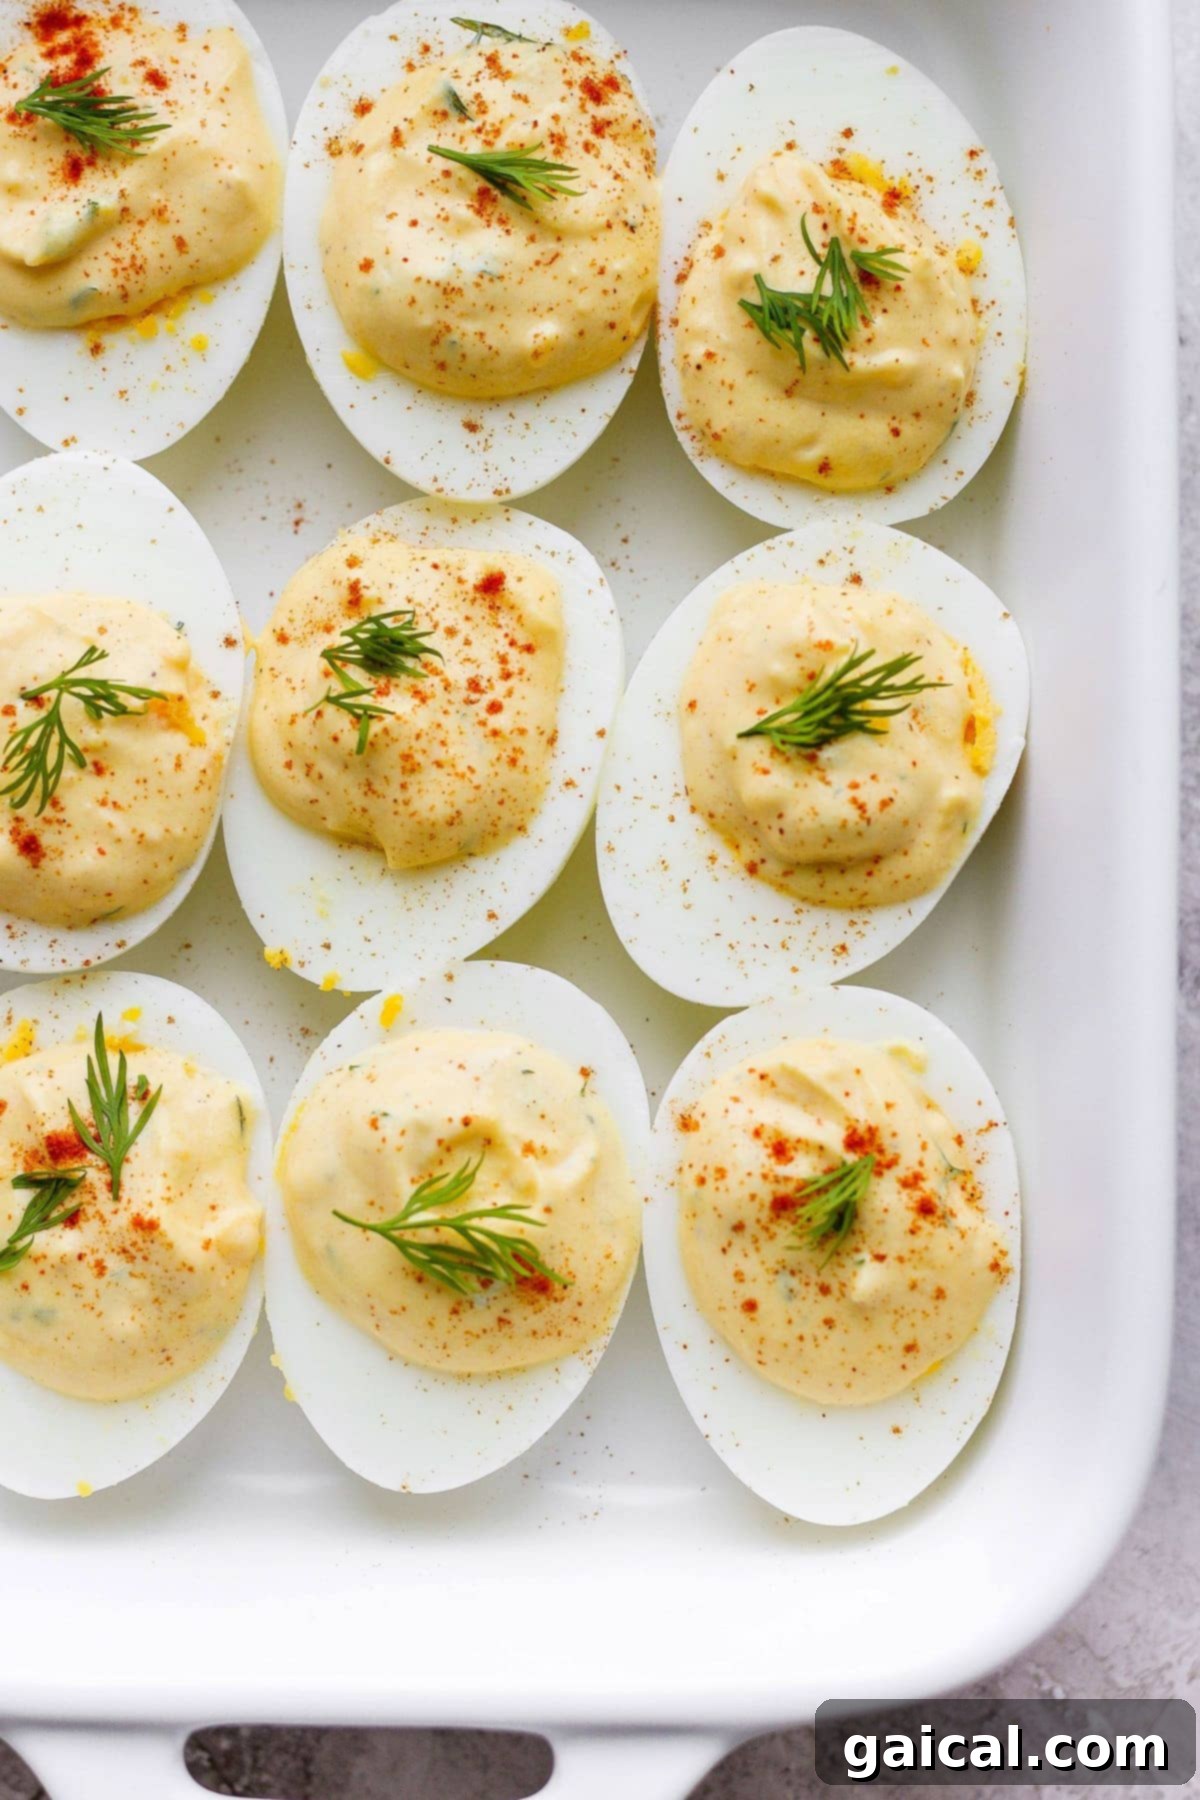
The final touch for your perfect deviled eggs is the garnish. Lightly sprinkle the filled eggs with a dash of salt and freshly ground black pepper to enhance the flavors. Then, for that signature deviled egg look and a hint of smoky sweetness, dust them with paprika. A small sprig of fresh dill on top of each egg adds a burst of vibrant green color and an extra layer of herbaceous freshness. Now, your delicious easy deviled eggs are ready to be served and enjoyed!
Exciting Variations to Elevate Your Deviled Eggs
While our classic recipe is perfection, deviled eggs are incredibly versatile. Feel free to get creative with these delicious variations:
- Kick up the Spice: For those who love a bit of heat, finely dice a few jalapeños and fold them into the filling mixture. A dash of cayenne pepper or hot sauce can also achieve a similar fiery kick.
- Irresistible Bacon Bits: Everything is better with bacon! Crisp up some bacon, crumble it, and sprinkle generously over your deviled eggs just before serving. The smoky, salty crunch is a game-changer.
- Add a Delightful Crunch: Since you’ve likely got pickle juice on hand, why not utilize the pickles themselves? Finely dice a few pickles and mix them into the filling for an unexpected and satisfying textural contrast.
- Smoked Paprika Power: Replace regular paprika with smoked paprika for a deeper, richer, and more complex flavor profile that hints at a barbecue without any cooking required.
- Herbal Infusion: Experiment with other fresh herbs like chives, parsley, or even a hint of tarragon to add different aromatic dimensions to your filling.
- Mediterranean Twist: Stir in a small amount of crumbled feta cheese and finely chopped sun-dried tomatoes for a unique, savory flavor.
Your Top Deviled Egg Questions Answered (Q&A)
For perfectly firm whites and creamy yolks, it generally takes around 9-10 minutes to hard boil an egg once the water is at a rolling boil. Remember to follow with an immediate ice bath!
Vinegar (or our preferred pickle juice) is added to deviled eggs primarily for its acidity. This tanginess helps to cut through the richness of the egg yolks and mayonnaise, balancing out all the flavors in the filling and adding a bright, zesty contrast that makes each bite more refreshing.
Deviled eggs are best enjoyed fresh, but you can certainly prepare them up to 24 hours in advance. For optimal freshness and presentation, we recommend storing the egg white halves and the filling mixture separately in airtight containers in the refrigerator. Assemble and garnish them just before serving.
If you don’t have regular vinegar on hand, pickle juice is an excellent and often preferred substitute! It provides the necessary acidity with an added layer of savory, briny flavor that truly complements the eggs. Lemon juice can also work in a pinch for a citrusy tang.
The green or grayish-green ring around the yolk is caused by a chemical reaction between sulfur in the egg white and iron in the yolk when eggs are overcooked. An immediate ice bath after boiling helps prevent this by rapidly stopping the cooking process and cooling the eggs quickly.
For safe transport, especially for parties or picnics, consider investing in a deviled egg carrier. Alternatively, place the filled eggs snugly on a tray and cover tightly with plastic wrap. If transporting the filling and whites separately, keep them chilled and assemble just before serving at your destination.
Optimal Storage for Deviled Eggs to Maintain Freshness
To keep your deviled eggs tasting their best, proper storage is key. Store any leftover deviled eggs in an airtight container in the refrigerator for up to 2 days. While they are undoubtedly best when enjoyed fresh, if you’re preparing them a day in advance for a special gathering, we highly recommend waiting to add the garnishes (such as salt, pepper, paprika, and fresh dill) until just before you plan to serve them. This prevents the garnishes from becoming soggy or losing their vibrant appearance, ensuring your deviled eggs look and taste as appealing as possible.
Beyond Deviled Eggs: Creative Uses for Leftover Hard-Boiled Eggs
We’re confident you’ll adore this easy deviled eggs recipe, but if you’ve made a large batch of hard-boiled eggs or have some leftover, there are plenty of other fantastic ways to enjoy them. Hard-boiled eggs are incredibly versatile and can elevate many dishes:
Classic Egg Salad: A staple use for hard-boiled eggs! Create a creamy, savory egg salad by mashing the eggs and mixing them with a base of Greek yogurt, mayonnaise, and a hint of mustard. Try our favorite Healthy Egg Salad recipe for a nutritious and delicious meal.
Elevate Your Cobb Salad: Hard-boiled eggs are a star ingredient in a traditional Cobb salad. They not only contribute a wonderful texture and rich flavor but also add a significant protein boost, making the salad more substantial and satisfying. Incorporate them into our Rotisserie Chicken Cobb Salad or the vibrant Spring Cobb Salad.
Simple & Satisfying on Toast or a Bagel: For a quick and easy breakfast or snack, simply slice hard-boiled eggs and arrange them on your favorite piece of toast or a bagel. Add a sprinkle of everything bagel seasoning, a dash of hot sauce, or a slice of avocado for extra flavor and healthy fats.
Green Salads & Bowls: Chop hard-boiled eggs and add them to any green salad, grain bowl, or Buddha bowl for an instant protein boost and creamy texture. They pair wonderfully with a variety of dressings and vegetables.
Nutritious Snack: Keep a few peeled hard-boiled eggs in your fridge for a convenient, healthy snack. They’re excellent on their own, perhaps with a sprinkle of salt and pepper, or dipped in a little hummus.
More of our Favorite…
Delicious Recipes Featuring Hard-Boiled Eggs
- Healthy Egg Salad
- Tuna Egg Salad
- Perfectly Hard-Boiled Eggs
- Hard-Boiled Eggs in the Oven
- ALLRecipes with Eggs
Easy Deviled Eggs Recipe
Pin
Ingredients
- 6 large eggs
- 2 teaspoons dijon mustard
- ⅓ cup 2% Plain Greek yogurt
- 1 teaspoon mayo*
- 3 teaspoons pickle juice
- 1 teaspoon fresh dill, minced
- ⅛ teaspoon salt
- ⅛ teaspoon pepper
- Pinch of paprika
Instructions
- Bring a large pot of water to a boil, then carefully add eggs to the pot.
- Let the eggs boil for 9 minutes, then immediately transfer them into an ice bath for 15 minutes.
- Meanwhile, add the Greek yogurt, mayo, pickle juice, fresh dill, salt, and pepper to a mixing bowl and mix ingredients thoroughly. Set aside.
- Remove the eggs from the ice bath and gently peel each egg.
- Cut the peeled eggs in half lengthwise and carefully remove the yolks from the middle of the eggs, placing the yolks in the mixing bowl with the prepared filling base.
- Stir and mash the yolks into the Greek yogurt mixture until the filling is completely smooth and free of any yolk chunks.
- Then, carefully spoon the yolk mixture into a Ziploc bag and move the filling to the bottom of one corner of the bag.
- Snip the corner of the bag (about ¼ inch) and remove all the air from the bag by twisting the top, ensuring the yolk mixture will squeeze out easily and cleanly.
- Place the hard-boiled egg white halves on a plate and carefully fill each egg half with the yolk mixture, piping it from the cut corner of the Ziploc bag.
- Sprinkle the finished deviled eggs with an additional pinch of salt, pepper, paprika, and fresh dill for garnish. Enjoy!
Tips & Notes
- *If you prefer not to use mayonnaise, a good quality olive oil can be substituted for a slightly different texture and flavor.
- For extra creamy filling, press the mashed yolks and mixture through a fine-mesh sieve before piping.
- Always use fresh, quality ingredients for the best flavor results.
Nutrition
Carbohydrates: 0 g,
Protein: 7 g,
Fat: 6 g,
Fiber: 0 g,
Sugar: 0 g
Nutrition information is automatically calculated and should only be used as an approximation. Actual values may vary based on specific ingredients and preparation methods.
Loved this recipe? Share your thoughts in a comment below!
Don’t forget to tag your culinary creations on social media with the hashtag #fitfoodiefinds – we’re always thrilled to see what you’re cooking up!
Photography by: The Wooden Skillet