
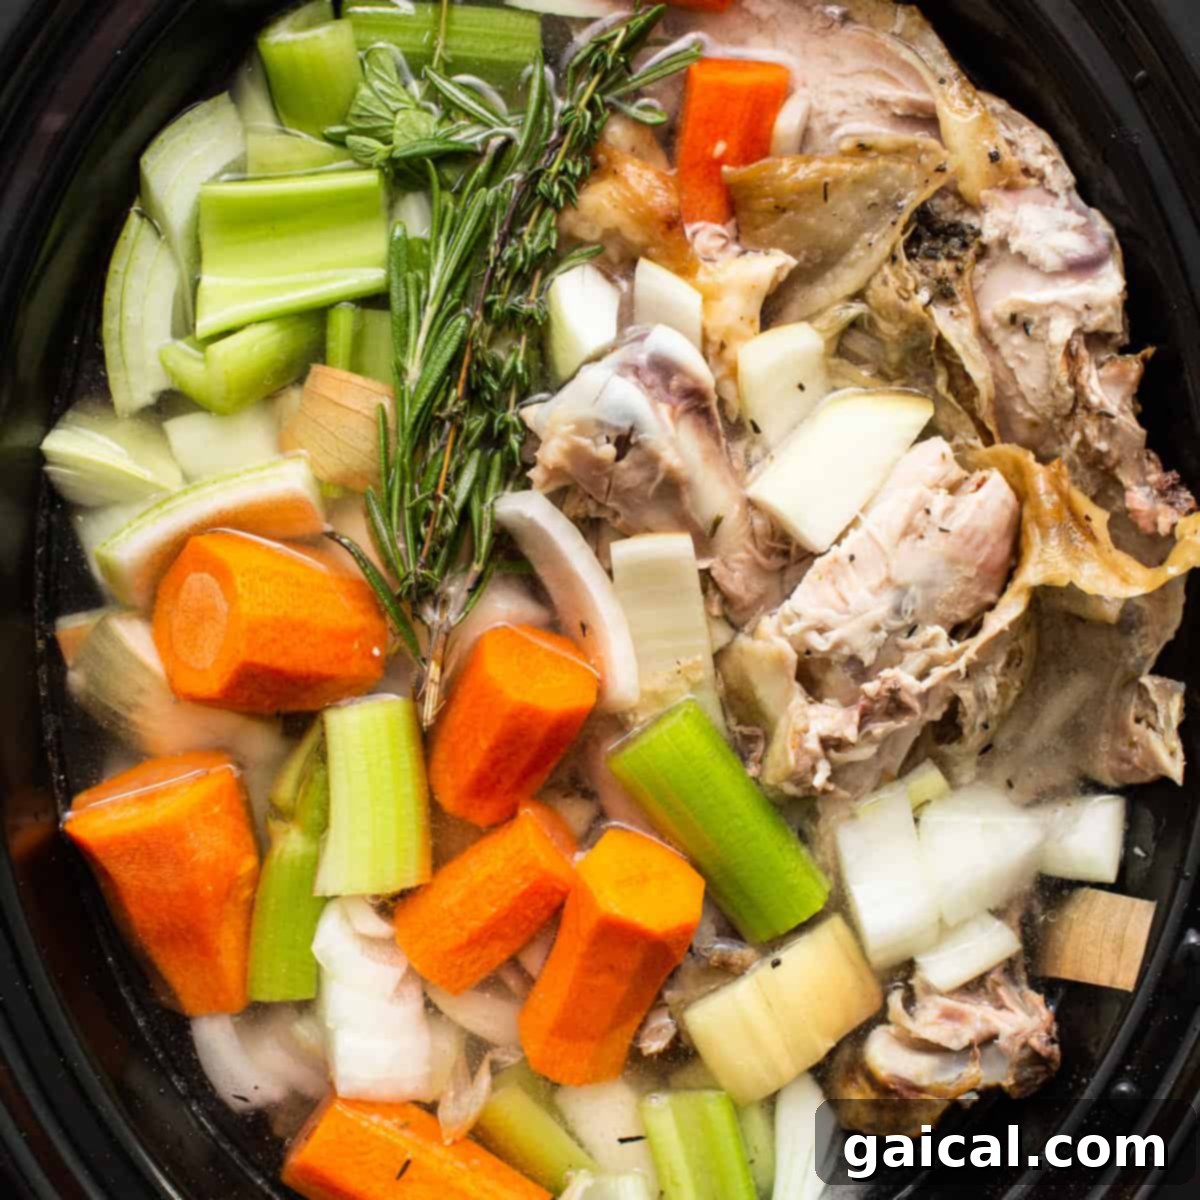
Transform your holiday leftovers into a rich, aromatic foundation for countless delicious meals with this incredibly easy recipe for homemade turkey stock. Far superior in flavor and nutrition to any store-bought alternative, this recipe is perfect for utilizing every last bit of your roasted turkey carcass and any forgotten vegetables lurking in your fridge. It’s a sustainable, budget-friendly, and deeply satisfying way to reduce food waste while elevating your culinary game. Once you experience the depth of flavor a homemade stock brings, you’ll never go back! Use it as a robust base for heartwarming soups, flavorful gravies, or freeze it in convenient portions to have liquid gold on hand whenever inspiration strikes.
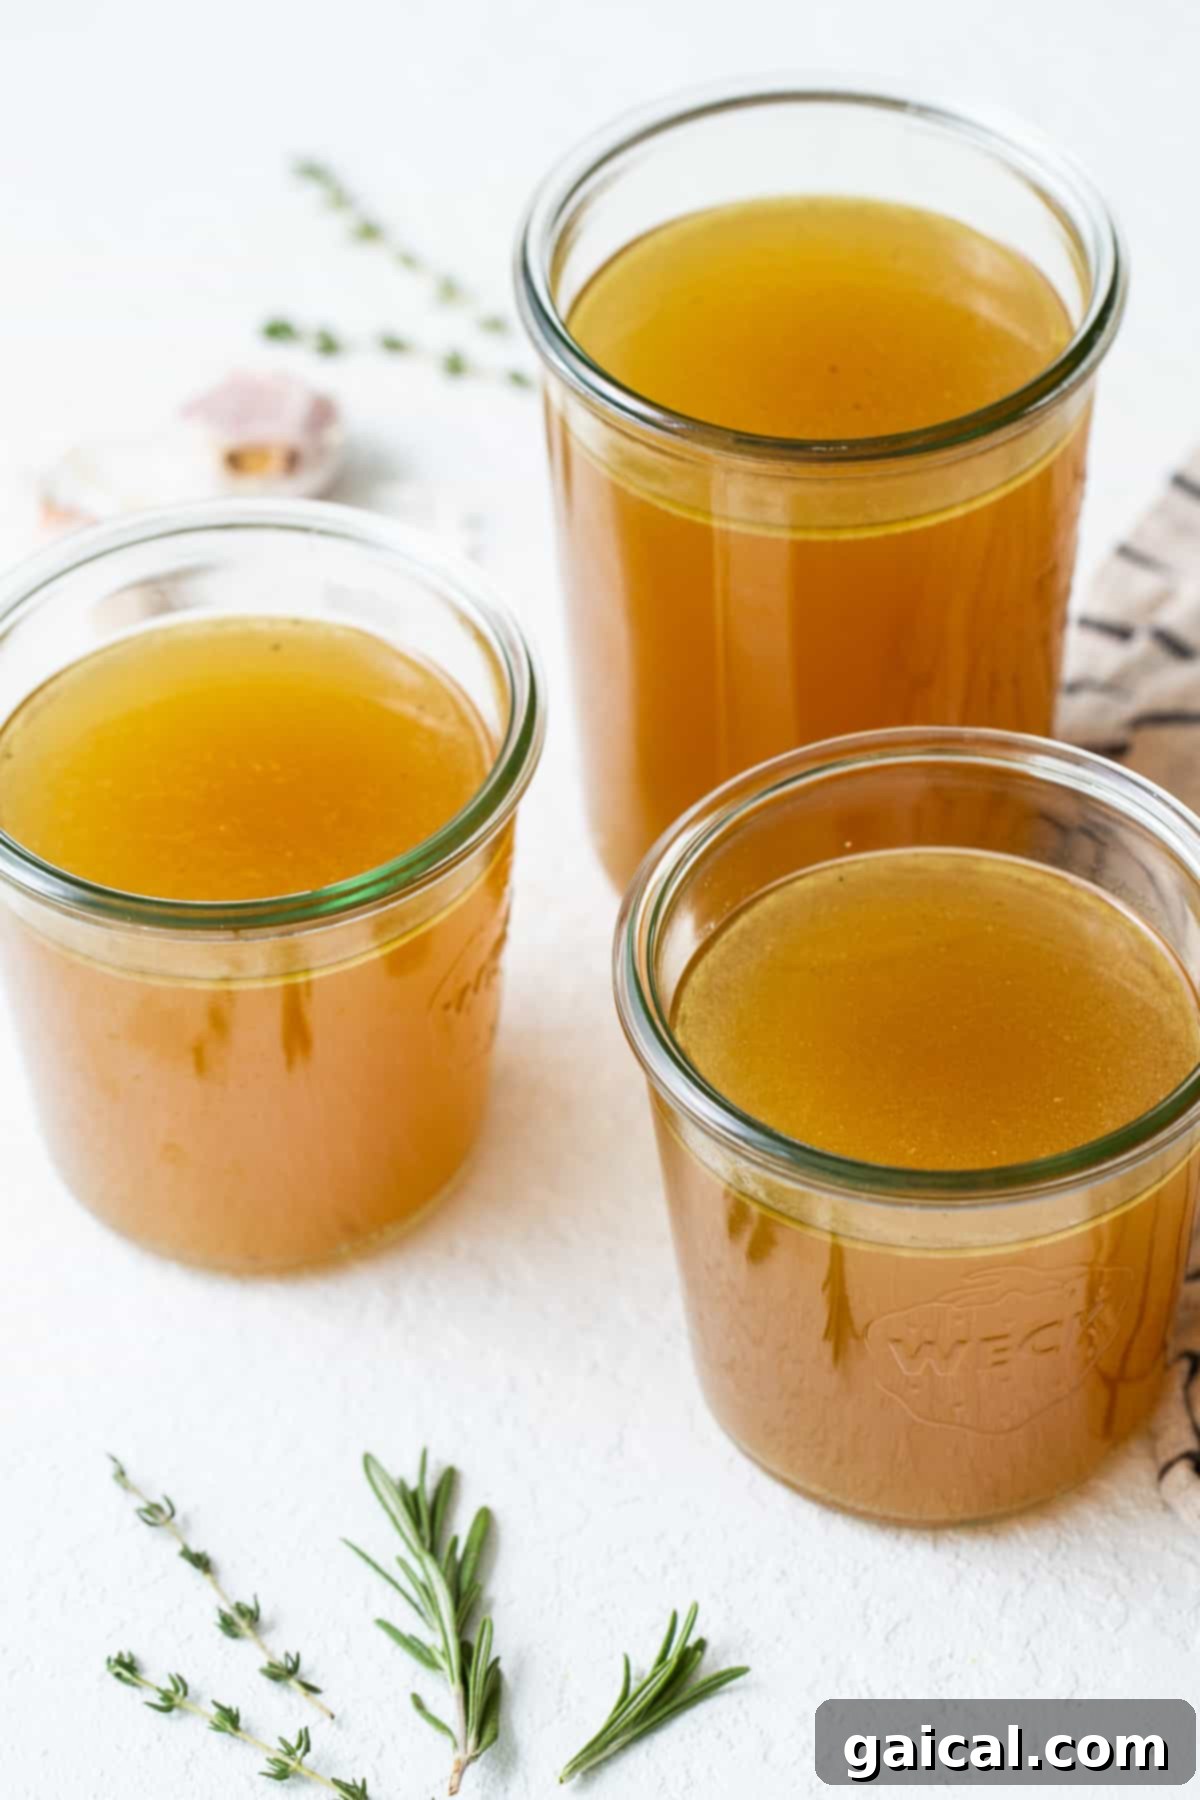
Easy & Flavorful Homemade Turkey Stock from Scratch
There’s simply no comparison between the vibrant, complex flavors of homemade stock and the often bland, one-dimensional taste of store-bought versions. This homemade turkey stock recipe leverages the rich remnants of your holiday feast – specifically, the leftover turkey carcass (bones, skin, and any clinging bits of meat) – along with a medley of fresh or leftover vegetables. This isn’t just a recipe; it’s a testament to mindful cooking and the incredible potential of ingredients often discarded. By slowly simmering these components, you unlock an unparalleled depth of flavor that forms the perfect foundation for an array of dishes, ensuring no part of your holiday bird goes to waste.
Embrace the simplicity and reward of simmering all ingredients together to create a truly delicious, nutrient-rich stock.
Why You’ll Adore This Homemade Turkey Stock Recipe!
Preparing your own turkey stock offers a multitude of benefits, making it an essential skill for any home cook:
- Sustainable Cooking & Waste Reduction: This recipe is an incredible way to minimize food waste. Instead of discarding the turkey carcass and vegetable scraps, you transform them into a valuable culinary asset. It’s a truly sustainable approach that maximizes the use of your ingredients and reduces what ends up in the bin.
- Unmatched Flavor & Culinary Versatility: The profound flavor of homemade turkey stock is unparalleled. It infuses your dishes with a depth and richness that store-bought broth simply cannot replicate. It’s the ultimate base for hearty soups (like a comforting leftover turkey noodle soup or a classic chicken and vegetable soup), luscious gravies, risottos, braises, and even for cooking grains like rice or quinoa.
- Effortless Slow Cooker Method: Forget about constantly monitoring a pot on the stovetop. Our recipe utilizes the convenience of a slow cooker, allowing you to simply combine all the ingredients, cover them with water, set it, and virtually forget it. This hands-off approach makes creating exquisite stock incredibly easy, fitting seamlessly into even the busiest schedules.
- Nutrient-Rich Goodness: Homemade stock is packed with beneficial nutrients. The slow simmering process extracts collagen, amino acids, and minerals from the bones, offering potential benefits for gut health, joint support, and a boosted immune system. It’s nourishing food in its purest form.
- Economical & Cost-Effective: Making stock from ingredients you might otherwise discard is incredibly budget-friendly. You’re getting an expensive pantry staple for practically free, saving money while enjoying superior quality.
Key Ingredients for Superior Turkey Stock
Crafting exceptional turkey stock begins with selecting the right ingredients. While the core components are simple, their quality and preparation significantly impact the final flavor.
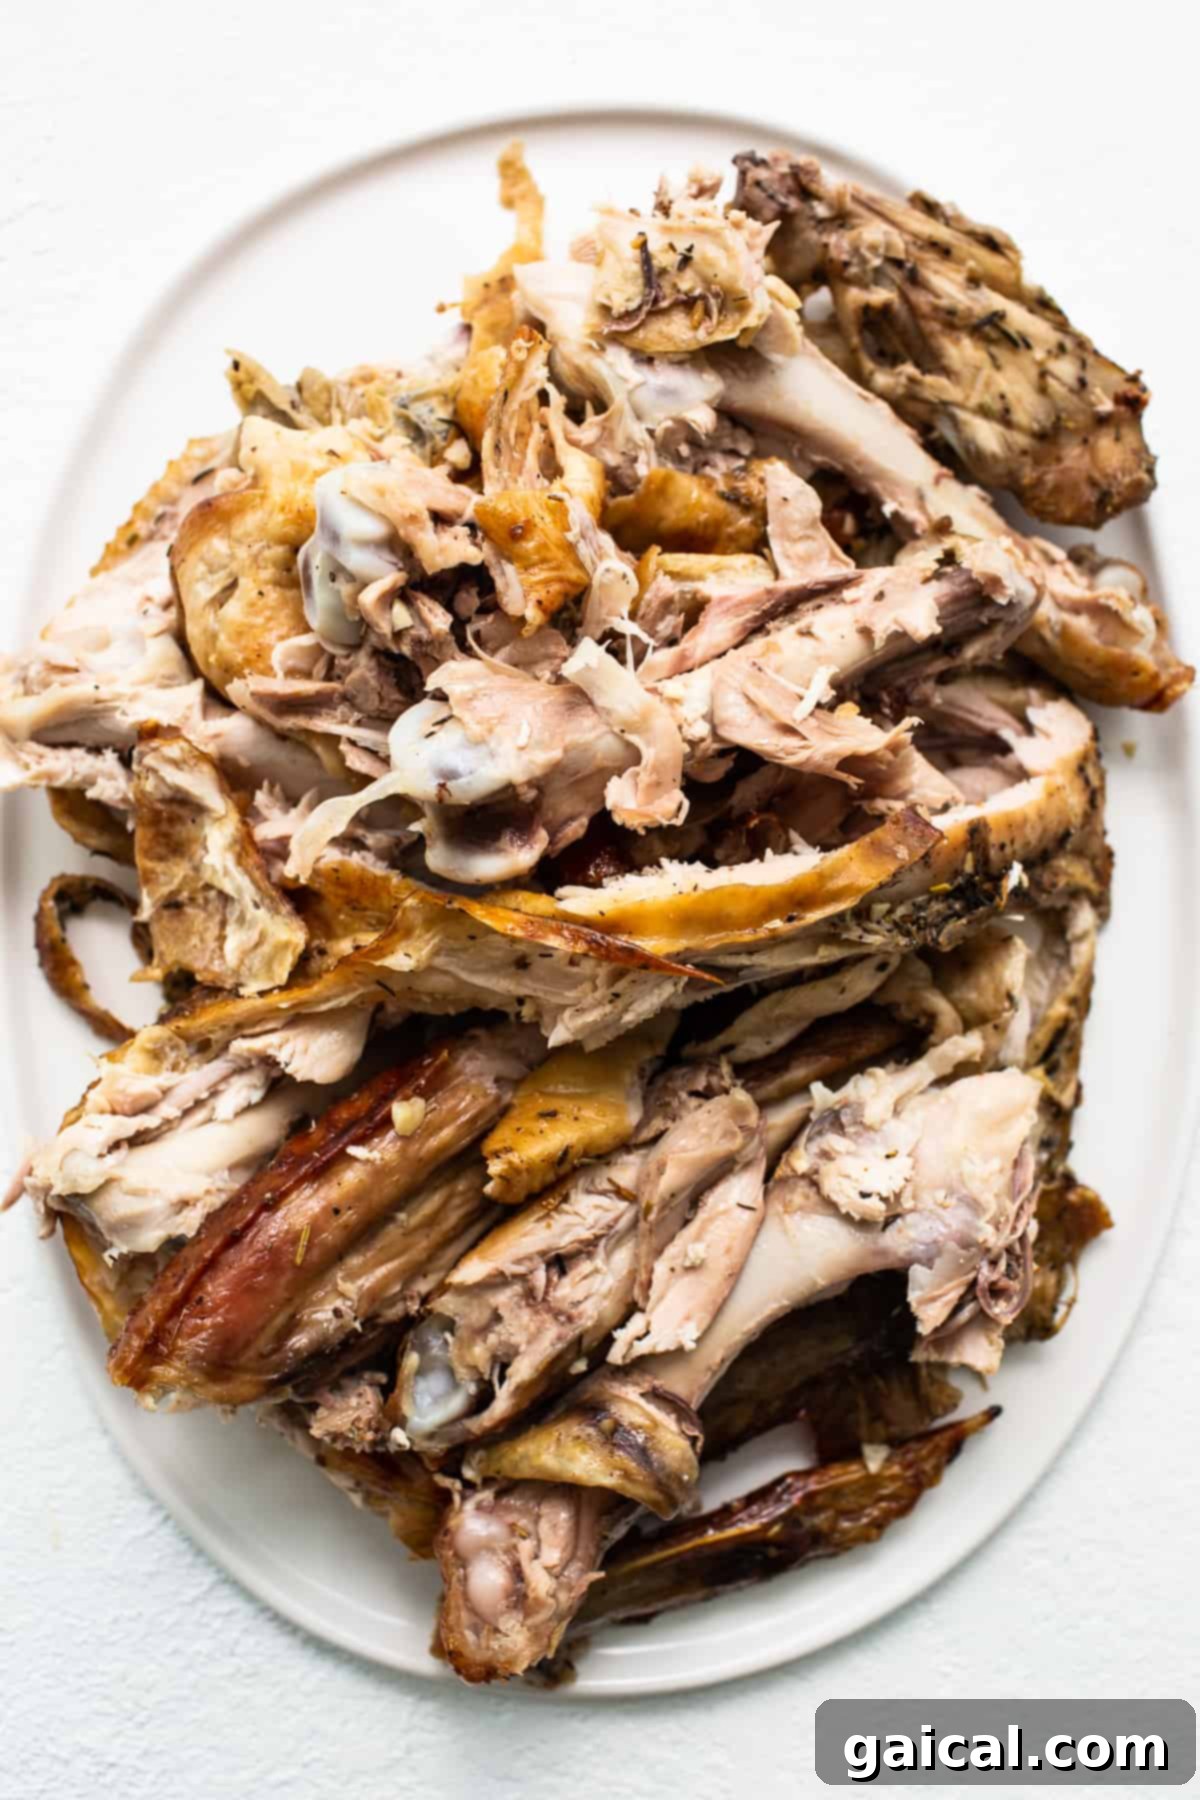
Turkey Carcass: The star of this recipe is the leftover carcass from a roasted whole turkey. After carving off the majority of the meat for your holiday meal, you’re left with bones, cartilage, skin, and often some small bits of delicious turkey meat. These are precisely what you need! This blend of bone, fat, and connective tissue is crucial for developing a gelatinous, full-bodied stock rich in collagen and flavor. Don’t worry if you don’t have an entire carcass; you can also use:
- Turkey wings, necks, or legs (great for supplemental flavor)
- Turkey giblets (excluding the liver, which can make stock bitter)
- Any frozen turkey bones or scraps accumulated over time (perfect for year-round stock making)
- Pieces of turkey skin and any rendered fat contribute to a richer mouthfeel.
Tip: If a turkey carcass isn’t available, this recipe works beautifully with a chicken carcass from roasting a whole chicken, yielding a similarly rich and versatile poultry stock.
Aromatic Vegetables: These vegetables form the foundational “mirepoix” for savory stocks, contributing essential sweetness, earthiness, and depth without overpowering the turkey flavor. We typically use:
- Carrots: Provide natural sweetness and a lovely golden hue.
- Celery: Adds a subtle saltiness and herbaceous note.
- Onion: Contributes a savory, slightly pungent base. You can even leave the papery skin on for extra color and nutrients, just ensure they are clean.
This is also a fantastic opportunity for “scrap cooking.” Feel free to toss in other vegetable odds and ends that you might otherwise discard, such as leek greens, mushroom stems, parsnip peels, or even potato skins. Just be mindful to avoid cruciferous vegetables like broccoli or cabbage, as they can impart a strong, sometimes bitter, flavor to your stock.
Fresh Herbs: A fragrant bundle of fresh herbs elevates the stock from good to extraordinary. They infuse subtle botanical notes that complement the richness of the turkey. Our preferred combination includes:
- Fresh Thyme: Earthy and slightly peppery.
- Fresh Rosemary: Piney and aromatic.
- Fresh Oregano: Pungent and slightly sweet.
- Bay Leaf: Adds a subtle herbal foundation.
- Consider adding fresh parsley stems for a bright, clean finish.
Salt: Often overlooked, salt is a featured ingredient because a bland stock is truly disappointing. Proper seasoning is essential for drawing out and enhancing the natural flavors of all the components. We recommend adding some kosher salt at the beginning of the cooking process to start building flavor. You can always adjust and add more to taste after the stock has finished simmering and been strained. Remember, you’ll be reducing and concentrating this flavor, so don’t over-salt initially.
Water: The solvent that extracts all the wonderful flavors. Use cold, filtered water if possible, as it helps to slowly draw out impurities and flavors from the bones and vegetables, resulting in a clearer, cleaner-tasting stock.
Optional Additions for Extra Depth:
- Black Peppercorns: A handful of whole peppercorns adds a gentle warmth and spice.
- Apple Cider Vinegar: A splash (1-2 tablespoons) can help draw more minerals from the bones, though it’s not strictly necessary in a slow cooker, low-and-slow method.
Step-by-Step Guide to Making Perfect Turkey Stock in a Slow Cooker
Creating flavorful turkey stock in a slow cooker is incredibly straightforward, requiring minimal active participation. Follow these simple steps for a truly rewarding culinary experience.
- Prepare Your Ingredients: Begin by gathering your turkey carcass (or other turkey parts), carrots, celery, onion, and garlic. Roughly chop the carrots and celery into large chunks. Halve or quarter the onion (no need to peel if clean, as the skin adds color). Lightly smash the garlic cloves with the side of a knife; you can leave the paper on. Gather your fresh herb sprigs.
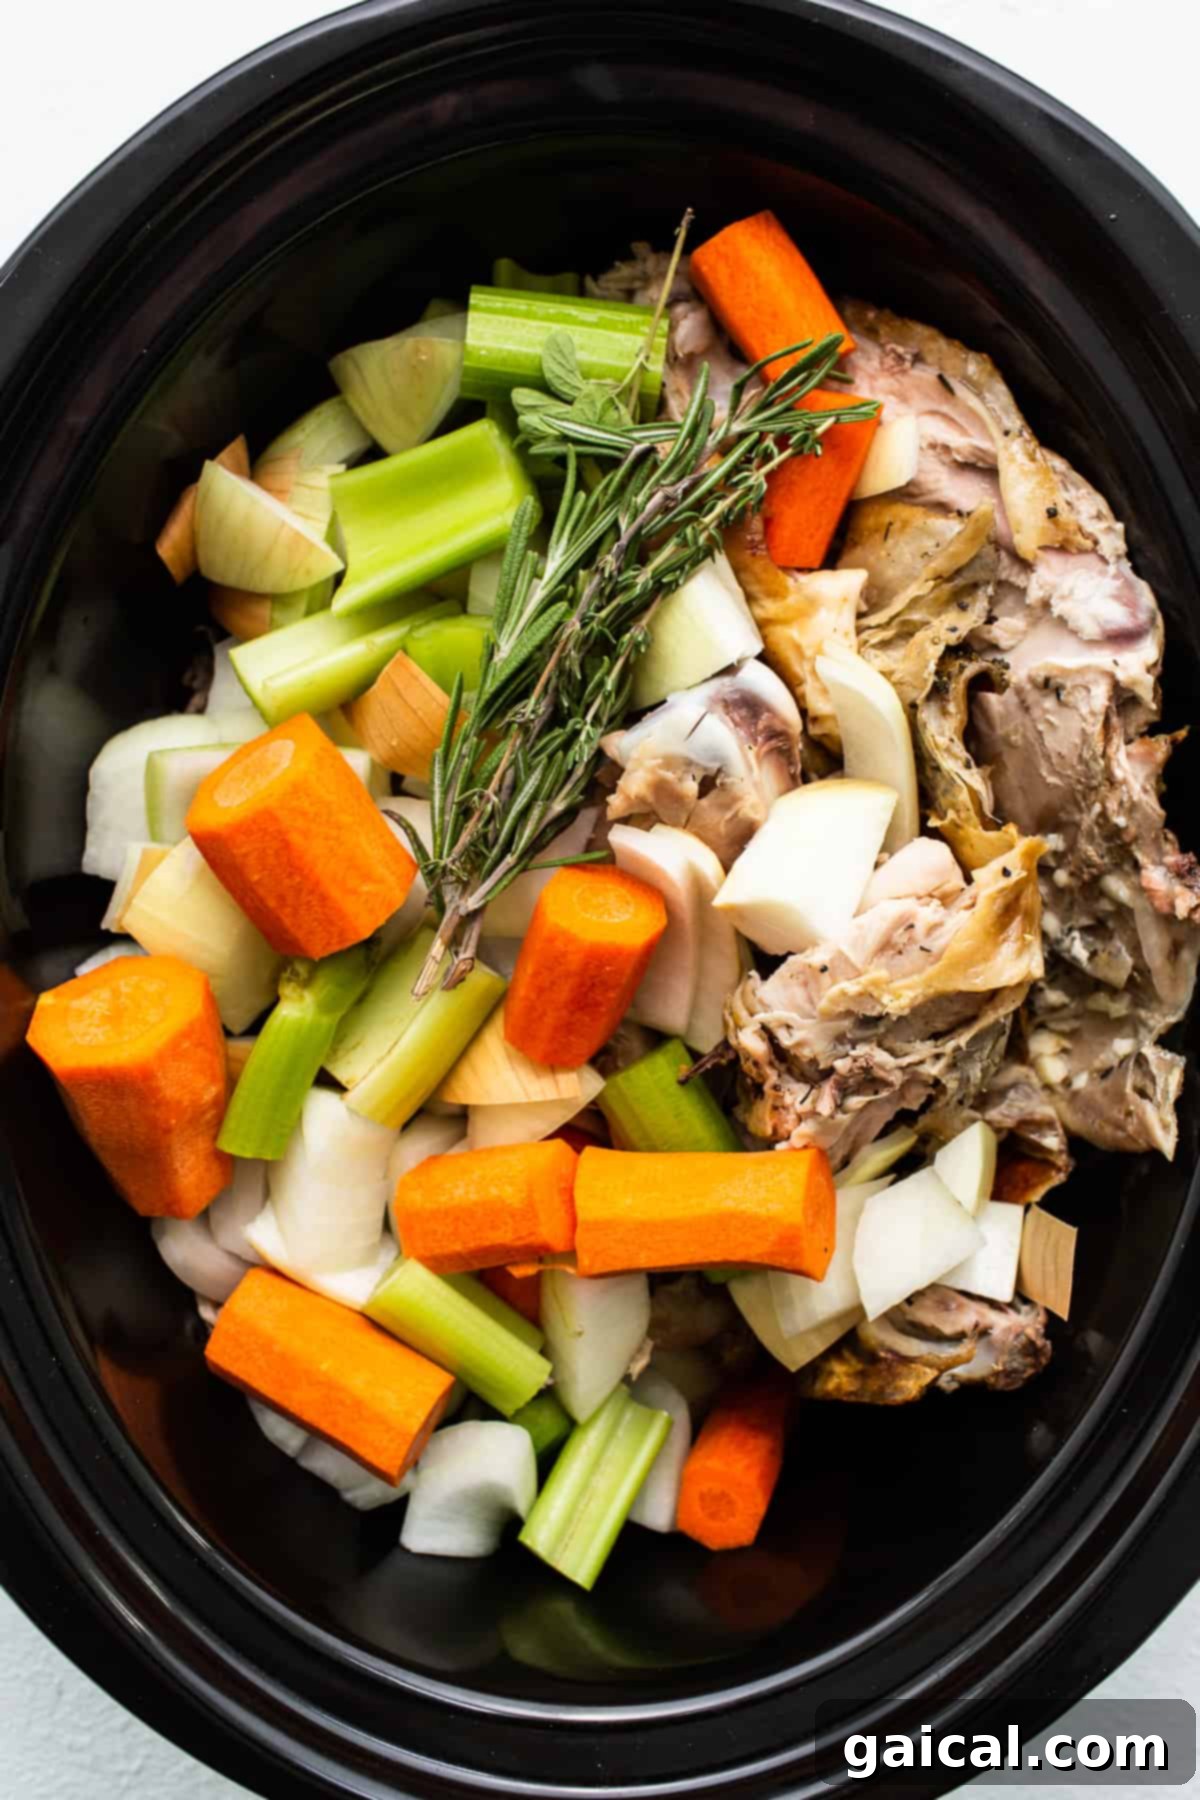
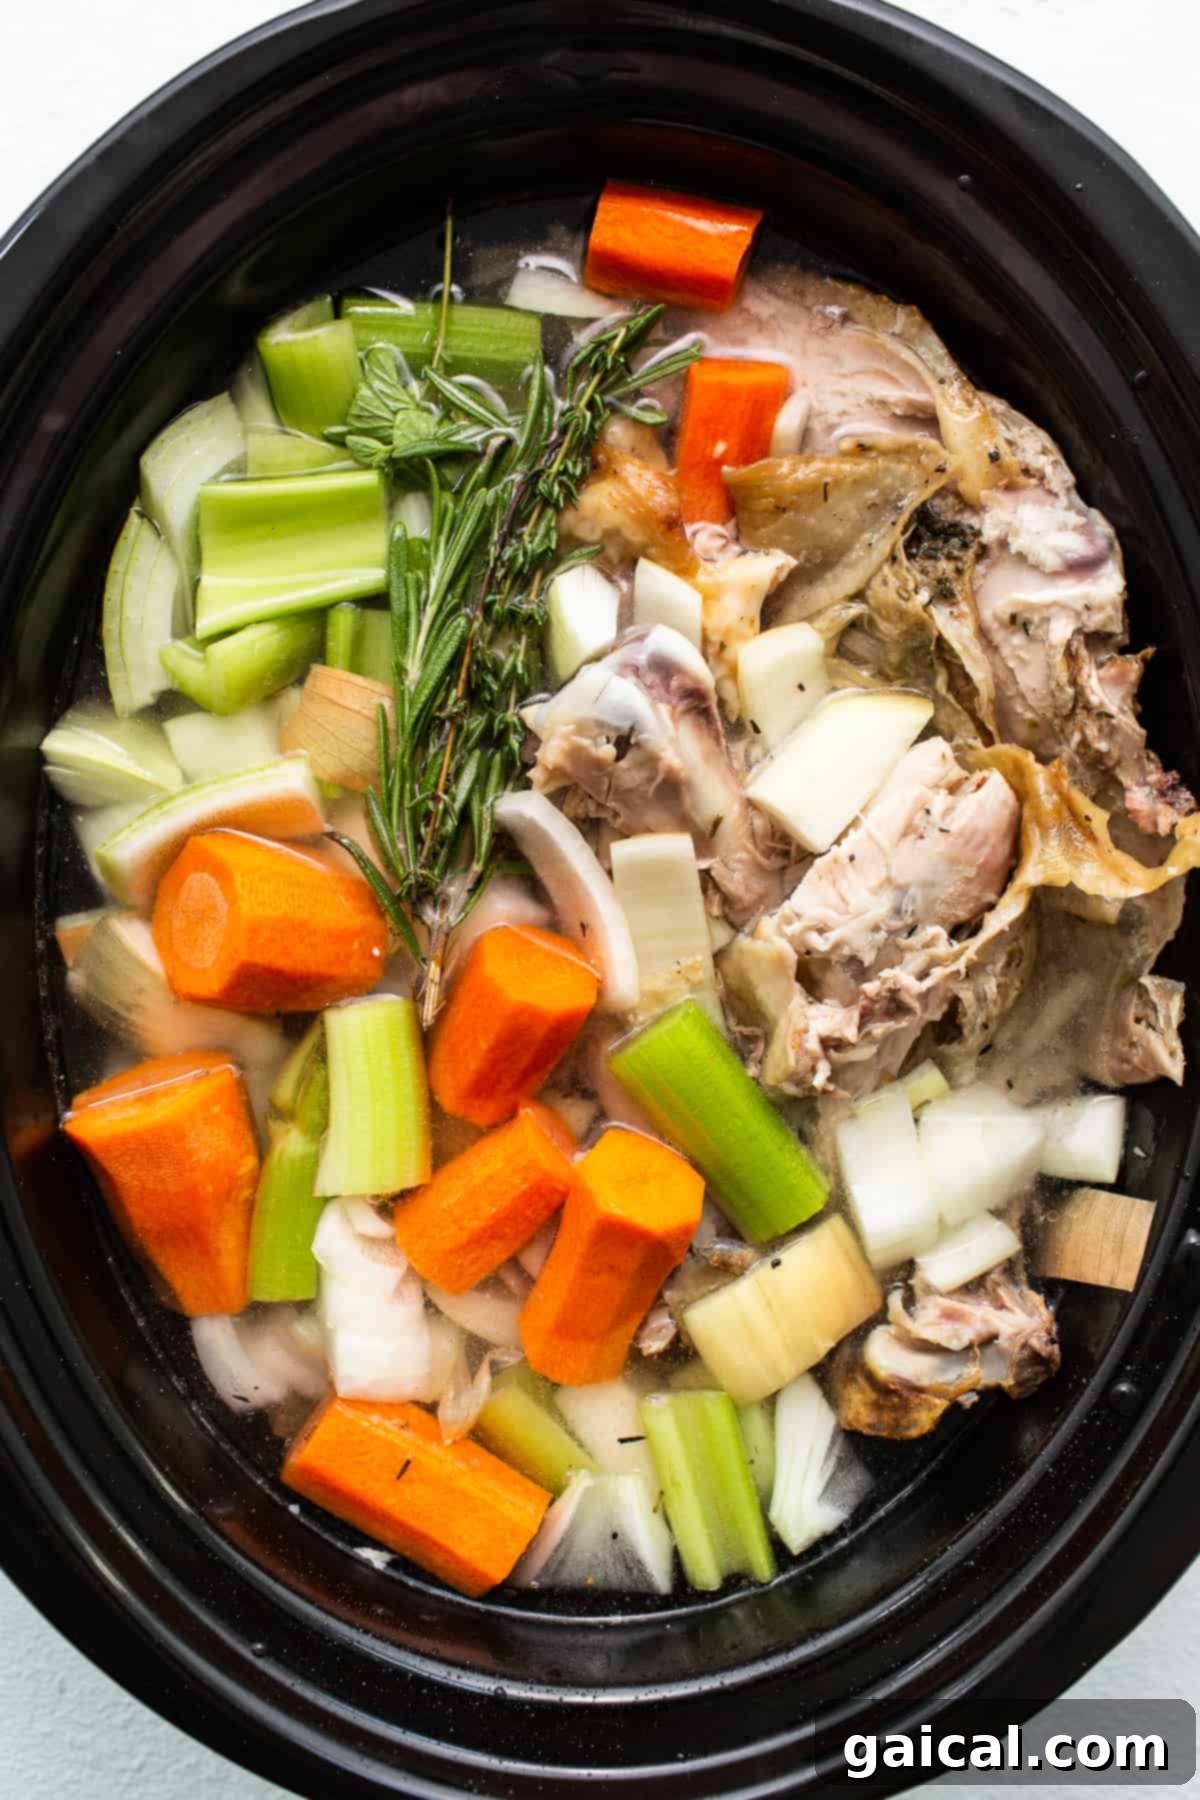
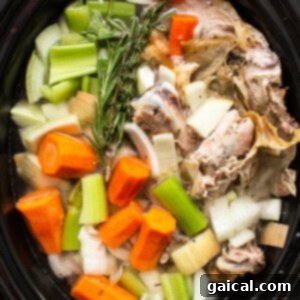
- Load the Slow Cooker: Carefully transfer the turkey carcass and any other turkey pieces (bones, skin, meat scraps) into your large slow cooker. Arrange the chopped carrots, celery, onion, garlic, and fresh herbs around the turkey parts. Don’t be afraid to pack them in; a full slow cooker makes good use of space. This is also the stage to add any additional vegetable scraps or optional ingredients like peppercorns.
- Add Water and Seasoning: Pour cold water over all the ingredients until they are completely submerged. The exact amount of water will depend on the size of your slow cooker, but typically it will be between 10-12 cups. Next, add about ½ to 1 tablespoon of kosher salt. It’s better to under-salt at this stage, as you can always adjust the seasoning after the stock is finished and concentrated.
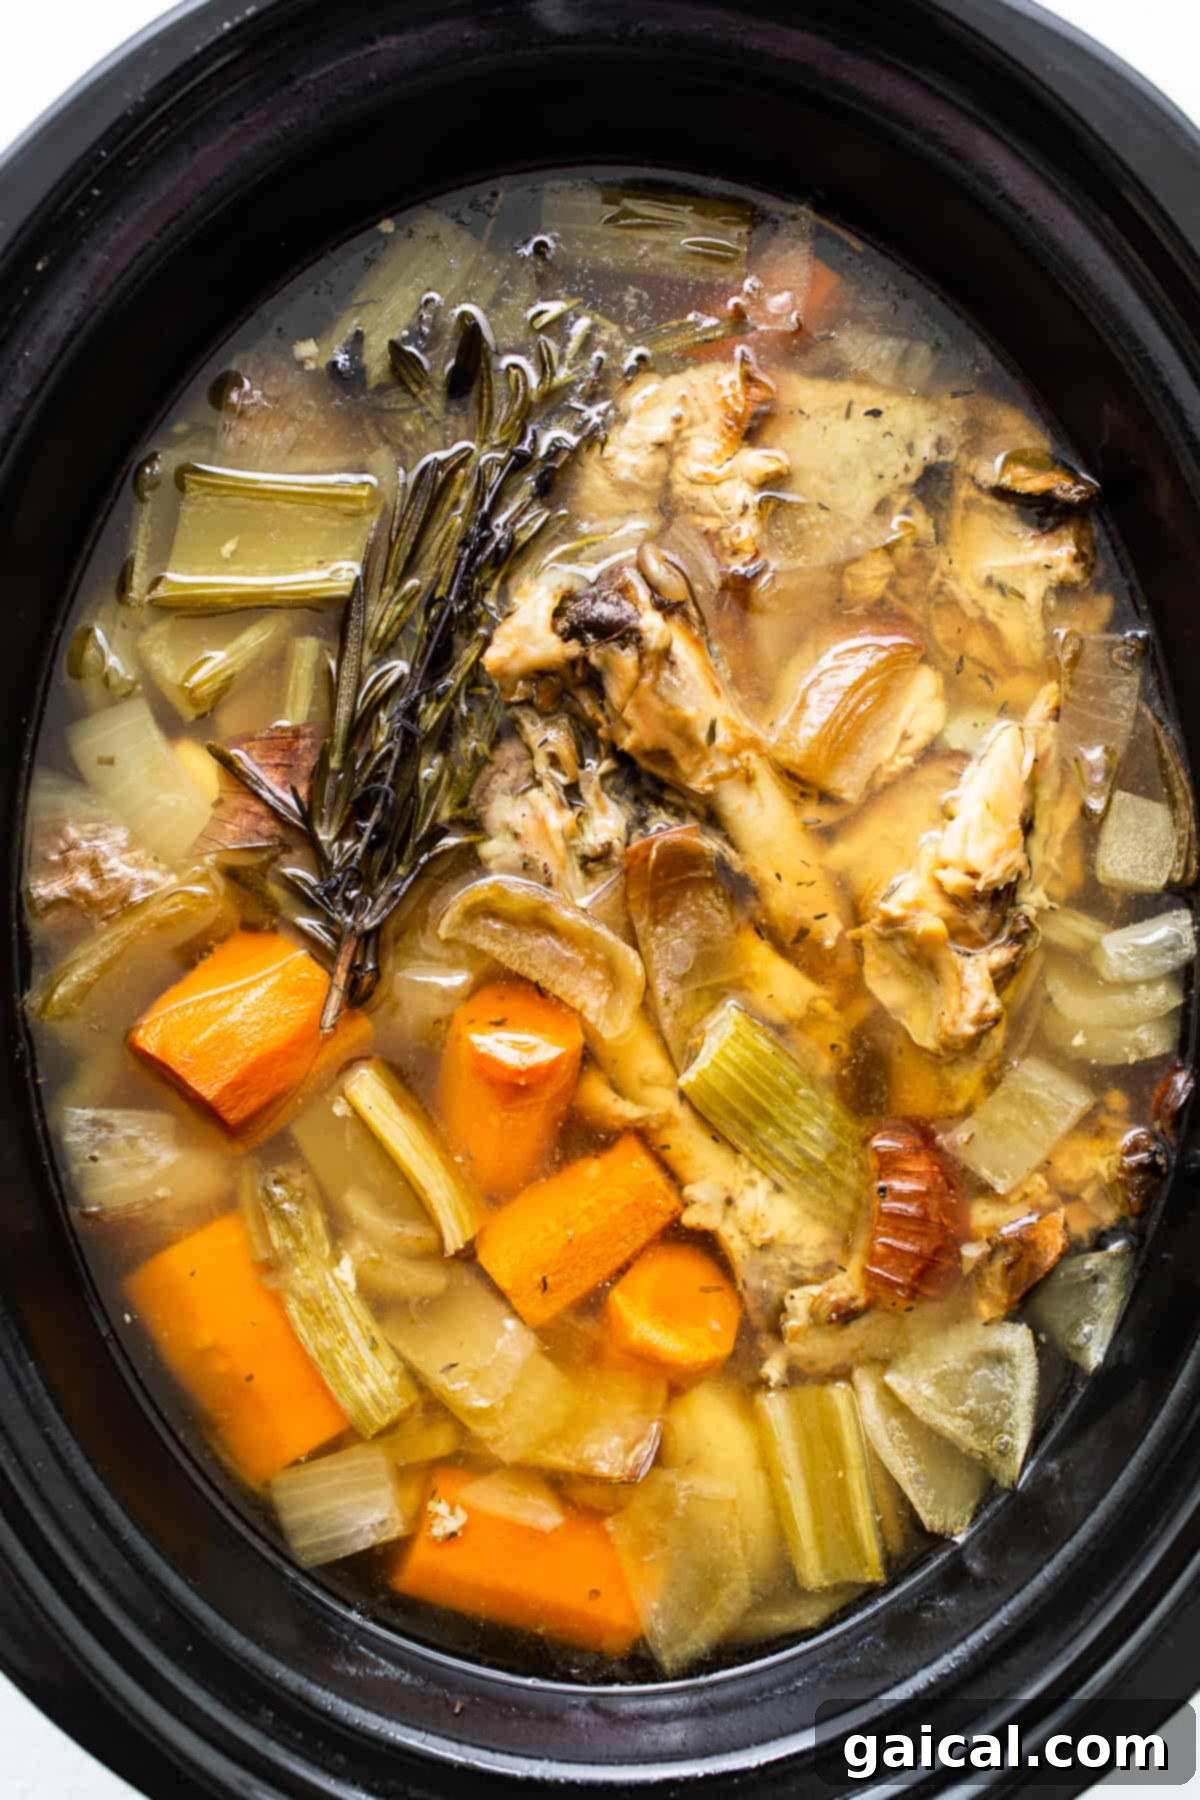
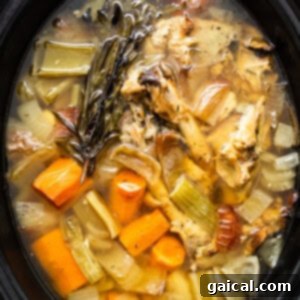
- Slow Cook to Perfection: Secure the lid on your slow cooker. Set the appliance to cook on the “low” setting for 8 to 12 hours. The “low and slow” method is crucial here, as it gently extracts flavors and nutrients without boiling them vigorously, which can lead to cloudy stock. You can even let it simmer overnight, filling your home with a wonderful aroma.
- Strain the Stock: Once the cooking time is complete, turn off the slow cooker. Carefully remove the large chunks of turkey bones, vegetables, and herbs using tongs or a slotted spoon and discard them. Next, place a large fine-mesh sieve or colander lined with cheesecloth over a large heat-proof bowl or another clean pot. Slowly and carefully pour the entire contents of the slow cooker into the sieve, allowing the liquid (your golden stock) to drain into the bowl below.
- Maximize Flavor Extraction: Once most of the liquid has drained, gently press down on the solids in the strainer with the back of a spoon or a spatula. This helps to extract any remaining flavorful liquid from the softened vegetables and turkey bits. Be careful not to mash too vigorously, as this can force small particles through the sieve and make your stock cloudy.
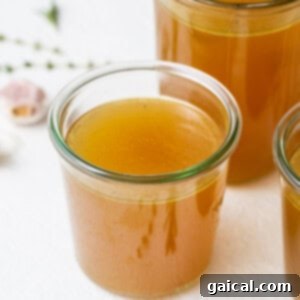
- Cool and Store: Your homemade turkey stock is now ready! Allow it to cool completely at room temperature before transferring it to airtight containers. At this point, you can use the stock immediately for your favorite recipes, or prepare it for longer-term storage.
Discover More Delicious Turkey Recipes
Juicy Thanksgiving Meatballs (With Raspberry Sauce!)
Easy Oven-Roasted Turkey Tenderloin
Vibrant Egg Roll in a Bowl
Italian Grinder Sliders
Egg and Croissant Breakfast Casserole
Expert Tips for the Best Homemade Turkey Stock
While making turkey stock is simple, a few expert tips can elevate your results to truly exceptional levels:
- Embrace Vegetable Variety: Don’t limit yourself to just carrots, celery, and onion. The more diverse your vegetable contributions, the deeper and more nuanced your stock will be. Think about adding leek ends, mushroom stems, parsnip trimmings, or even corn cobs (for a touch of sweetness). Just remember to avoid strong-flavored vegetables like broccoli, cauliflower, or cabbage, which can make your stock bitter.
- Roast Your Carcass First (Optional but Recommended): For an even richer, deeper-colored, and more intensely flavored stock, consider roasting your turkey carcass and any other bones at a high temperature (around 400°F or 200°C) for 30-45 minutes until they are beautifully browned. This caramelization process adds incredible complexity before they even hit the slow cooker.
- Skim the Fat for a Cleaner Stock: After your stock has cooled completely in the refrigerator, a layer of fat will solidify on the surface. This fat can be easily skimmed off and discarded (or saved for other culinary uses, like roasting vegetables!). Removing the fat results in a clearer, less greasy stock, which is preferable for most recipes.
- Never Boil, Always Simmer: The “low and slow” method is key. A vigorous boil can emulsify fats, break down solids too much, and lead to a cloudy, sometimes greasy stock. A gentle simmer, where you see small bubbles occasionally breaking the surface, is ideal for extracting maximum flavor and collagen while keeping the stock clear.
- Don’t Overcrowd the Pot: While you want to fill your slow cooker, be mindful not to overcrowd it to the point where water can’t circulate effectively. Ensure there’s enough room for all ingredients to be fully submerged and for the heat to penetrate evenly.
- Season Thoughtfully: As mentioned, proper salting is crucial. Taste your stock at the end, before storage, and adjust as needed. Remember that if you plan to reduce the stock significantly for a sauce or gravy, it will become saltier, so keep that in mind during initial seasoning.
- Make a Big Batch: Turkey carcasses aren’t an everyday occurrence! When you have one, take full advantage. Make a large batch of stock. It’s incredibly convenient to have portions of homemade stock stored in the freezer, ready to transform a weeknight meal into something extraordinary.
- Get Creative with Flavorings: While classic aromatics are great, don’t hesitate to experiment! Add dried mushrooms for umami, a bit of dried chili for a subtle kick, or different fresh herbs like marjoram or sage. A bay leaf or a few whole black peppercorns are always welcome additions.

Master the Main Dish
Our Ultimate Thanksgiving Turkey Recipe
Before you make the stock, you need a magnificent bird! Discover our best Thanksgiving turkey recipe for a juicy, flavorful centerpiece. Roast your turkey to perfection, create a delectable homemade gravy, and set the stage for your next batch of incredible stock.
Frequently Asked Questions About Homemade Turkey Stock
Homemade turkey stock is an incredibly versatile culinary asset! It’s an essential base for creating rich and comforting soups (from classic turkey noodle to hearty vegetable stews), flavorful gravies to accompany any roast, and moistening stuffings. Beyond the obvious, it’s excellent for braising meats and vegetables, making creamy risottos, cooking grains like couscous or rice for added depth, and even for deglazing pans to capture flavorful fond. Many also enjoy sipping warm turkey broth, especially when feeling under the weather, for its comforting and nourishing qualities.
While often used interchangeably, there’s a subtle distinction between stock and broth. Traditionally, stock is made primarily from bones, aiming to extract collagen, gelatin, and minerals, resulting in a richer mouthfeel and often a thicker consistency when chilled. Broth, on the other hand, is typically made with more meat and vegetables, and fewer bones, leading to a lighter, more savory liquid. However, in home cooking, the terms are frequently used synonymously, and for most recipes, turkey stock and turkey broth can be used interchangeably without a significant impact on the final dish.
Absolutely! Drinking turkey broth can be quite beneficial for your health. The slow simmering process extracts a wealth of nutrients, including collagen, amino acids, and various minerals. Collagen is known for supporting joint health, skin elasticity, and gut lining integrity. Warm broth is also a fantastic way to stay hydrated and consume easily digestible calories and electrolytes, making it particularly soothing and nourishing when you’re feeling sick or simply need something warm and comforting on a chilly day. It’s a natural, wholesome tonic.
Yes, you absolutely can! While this recipe focuses on the slow cooker for its hands-off, overnight convenience, an Instant Pot (or any pressure cooker) is an excellent alternative for making turkey stock much faster. Typically, you would follow the same ingredient ratios, but cook on high pressure for about 60-90 minutes, followed by a natural pressure release. This method yields a deeply flavored stock in a fraction of the time, perfect for when you’re short on time but still crave homemade goodness.
Storing Your Homemade Turkey Stock
Proper storage is crucial to ensure your homemade turkey stock remains fresh and safe for future use:
- Refrigeration: Once the stock has cooled completely to room temperature, transfer it to airtight containers. Glass jars or food-grade plastic containers with tight-fitting lids work well. Store the stock in the refrigerator for up to 5 days. You might notice a layer of solidified fat on top; this acts as a natural seal, further preserving the stock, but it can be easily skimmed off before reheating.
Freezing Your Homemade Turkey Stock for Long-Term Enjoyment
Freezing is the best way to preserve your homemade turkey stock for extended periods, ensuring you always have a supply of this flavorful liquid on hand.
- Preparation for Freezing: Ensure the stock has cooled completely before freezing. Pouring hot or even warm stock into the freezer can affect its quality and potentially raise the temperature of other frozen foods.
- Freezer-Safe Containers: Use freezer-safe containers such as plastic freezer bags (lay them flat for efficient storage), sturdy plastic containers, or even ice cube trays for smaller, individual portions. For ice cube trays, freeze until solid, then transfer the cubes to a larger freezer bag.
- Headroom: Remember to leave some “headroom” in containers (about an inch) to allow for expansion as the liquid freezes, preventing cracks or spills.
- Labeling: Always label your containers with the date and contents (“Turkey Stock”) so you know exactly what you have and when it was made.
- Freezer Lifespan: Properly frozen turkey stock can be stored in the freezer for up to 3 months, or even longer if kept at a consistent sub-zero temperature, though quality might slowly degrade after 6 months.
- Thawing: Thaw frozen stock in the refrigerator overnight, or gently warm it on the stovetop or in the microwave.

Essential Kitchen Tutorial
Master the Art of Freezing Soup & Chili
Extend the life of your culinary creations! Learn how to perfectly freeze soup and chili with our comprehensive How to Freeze Soup tutorial. We’ll share all our tried-and-true tips and clever tricks for making sure your freezer meals are always perfect.
More of our Favorite…
Creative Leftover Turkey Recipes
Don’t let any of that delicious turkey go to waste! Explore these fantastic recipes designed to make the most of your holiday leftovers, ensuring every bite is as enjoyable as the last:
- Leftover Thanksgiving Turkey Quesadilla: A quick and cheesy way to repurpose your turkey.
- Hearty Leftover Turkey Salad: Perfect for sandwiches, wraps, or as a light meal.
- Savory Turkey Sweet Potato Enchilada Skillet: A comforting and flavorful one-pan meal.
- Classic Leftover Turkey Pot Pie: A beloved dish to transform your turkey into a comforting casserole.
- Sweet & Savory Turkey Cranberry Sliders: Easy appetizers or mini-sandwiches for post-holiday gatherings.
Homemade Turkey Stock Recipe
Prep Time: 10 mins
Cook Time: 12 hrs
Total Time: 12 hrs 10 mins
Pin Recipe
Print Recipe
(Email form functionality not included in this static HTML output.)
Ingredients
- Carcass of 1 cooked large turkey, meat removed (keep all fat, skin, and unused turkey parts for maximum flavor)
- 2 large carrots, roughly chopped into chunks
- 2 stalks celery, roughly chopped into chunks
- 1 medium-sized onion, roughly chopped (you can leave the paper and skin on if clean)
- 3 garlic cloves, smashed (you can leave the paper on)
- 2 sprigs fresh thyme
- 2 sprigs fresh rosemary
- 2 sprigs fresh oregano
- 10-12 cups cold water, or enough to cover all ingredients
- ½-1 tablespoon kosher salt, or to taste
- Optional: A few whole black peppercorns, 1 bay leaf
Instructions
-
1. Combine Ingredients: Place the turkey carcass and any other turkey parts (bones, skin, meat scraps) into a large slow cooker. Arrange the roughly chopped carrots, celery, onion, smashed garlic cloves, and fresh herbs (thyme, rosemary, oregano) around the turkey parts. If using, add a bay leaf and a few whole black peppercorns now.

-
2. Cover with Water and Season: Pour enough cold water over all the ingredients until they are completely submerged. This will typically be between 10-12 cups, depending on your slow cooker size. Add ½ to 1 tablespoon of kosher salt. You can always add more salt later, so start conservatively.
-
3. Slow Cook: Cover the slow cooker with its lid. Set the slow cooker to cook on the “low” setting for a minimum of 8 hours, and ideally 10-12 hours, or even overnight. A longer, gentler simmer will extract more flavor and nutrients, resulting in a richer, more gelatinous stock.
-
4. Remove Solids: Once the cooking cycle is complete, turn off the slow cooker. Carefully remove and discard all the large pieces of turkey bones, cooked vegetables, and spent herbs using tongs or a slotted spoon. These ingredients have now given all their flavor to the stock.
-
5. Strain the Stock: Place a large, heat-proof pot or bowl in your sink. Position a fine-mesh sieve (or a colander lined with several layers of cheesecloth for extra clarity) over the pot. Carefully pour the remaining liquid (your glorious turkey stock) through the sieve, allowing the strainer to catch any small bits of herbs or vegetable sediment. Gently press down on any solids in the sieve with a spatula to extract all remaining liquid, but avoid mashing them vigorously to keep the stock clear.
-
6. Cool, Adjust, & Use: Discard all remaining solids. Let the homemade turkey stock cool completely to room temperature. Taste the stock and adjust salt levels if necessary. Your flavorful, golden stock is now ready to be used as a base for gravy, your favorite soups, casseroles, or any recipe that calls for chicken or turkey broth.
Chef’s Notes & Customization Tips
- Personalize Your Broth: The beauty of homemade stock lies in its customizability. Feel free to make this broth truly your own! Experiment with different vegetable scraps, add a wider array of fresh or dried herbs (like parsley or sage), or introduce whole spices such as star anise or fennel seeds for an adventurous twist.
- Browning for Depth: For an even deeper, more roasted flavor, consider roasting your turkey carcass and vegetables in the oven for about 30-45 minutes until lightly browned before adding them to the slow cooker.
- Skim the Fat: After the stock has cooled in the refrigerator, a solid layer of fat will form on top. You can easily remove this fat for a clearer, lighter stock, or leave some for added richness, depending on your preference and the intended use.
Nutrition Information (per serving)
Carbohydrates: 3 g,
Protein: 1 g,
Fat: 0.2 g,
Fiber: 1 g,
Sugar: 1 g
Nutrition information is automatically calculated and should be used as an approximation only.
Love This Recipe? Leave a Comment Below!
We’d be thrilled to hear about your experience making this homemade turkey stock. Don’t forget to tag your culinary creations on social media with the hashtag #fitfoodiefinds – we love seeing what you’re cooking up!
Photography: The stunning photographs featured in this post were expertly captured by Ashley McGlaughlin from The Edible Perspective, enhancing the visual appeal of our recipe.