
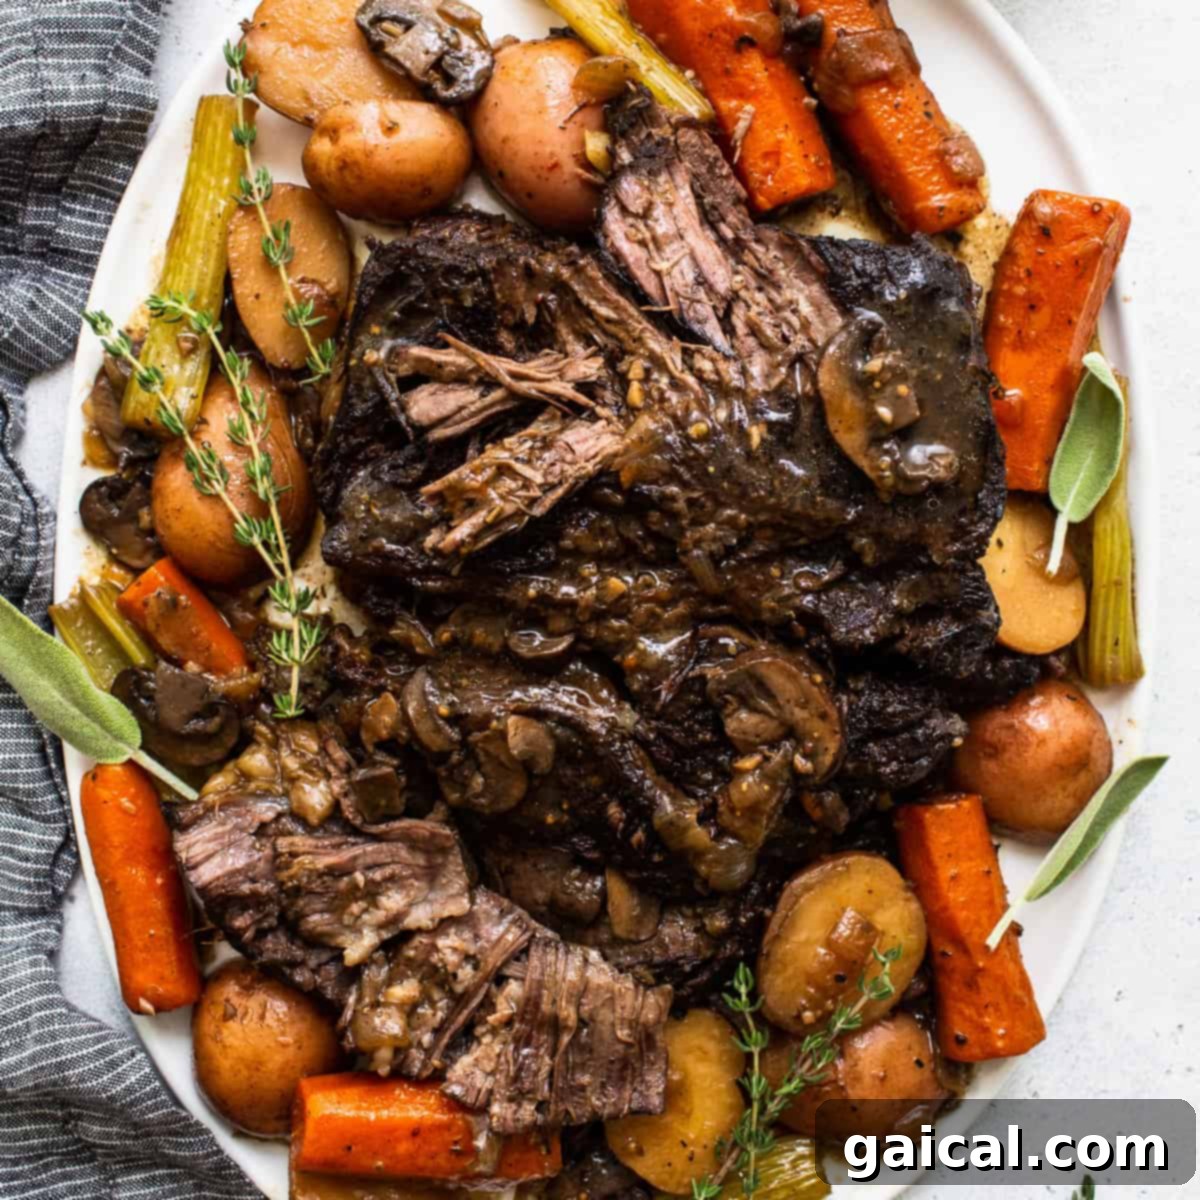
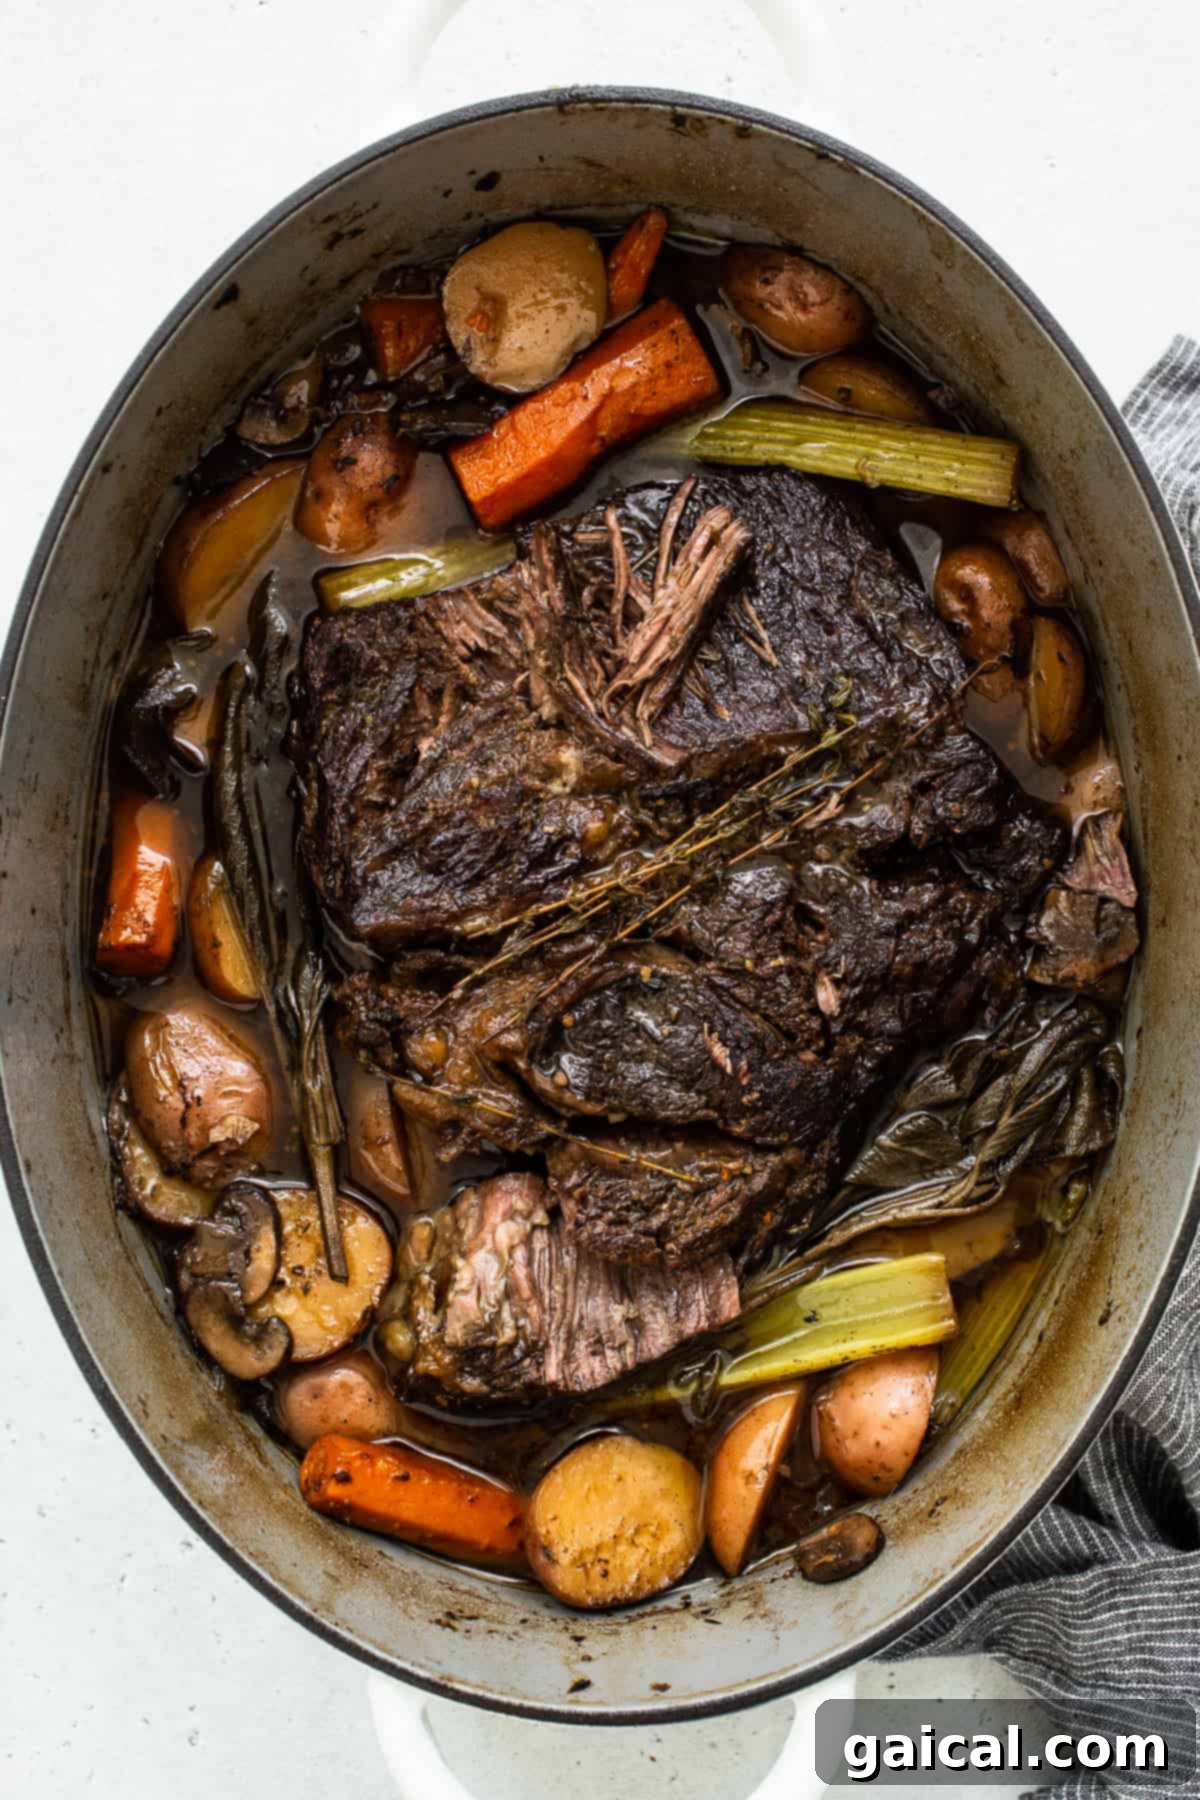
There are few dishes that evoke the feeling of warmth, comfort, and home quite like a perfectly executed pot roast. This isn’t just any pot roast; this is **the ultimate Dutch oven pot roast**, a recipe meticulously crafted to deliver a truly unforgettable culinary experience. Imagine a generous cut of succulent chuck roast, infused with a harmonious blend of aromatic spices, slow-braised until it reaches an incredible, fall-apart tender perfection. Accompanied by wholesome, earthy root vegetables and crowned with a rich, luscious gravy, this meal isn’t just food – it’s an embrace, a culinary masterpiece that will fill your home with irresistible aromas and your family with hearty satisfaction.
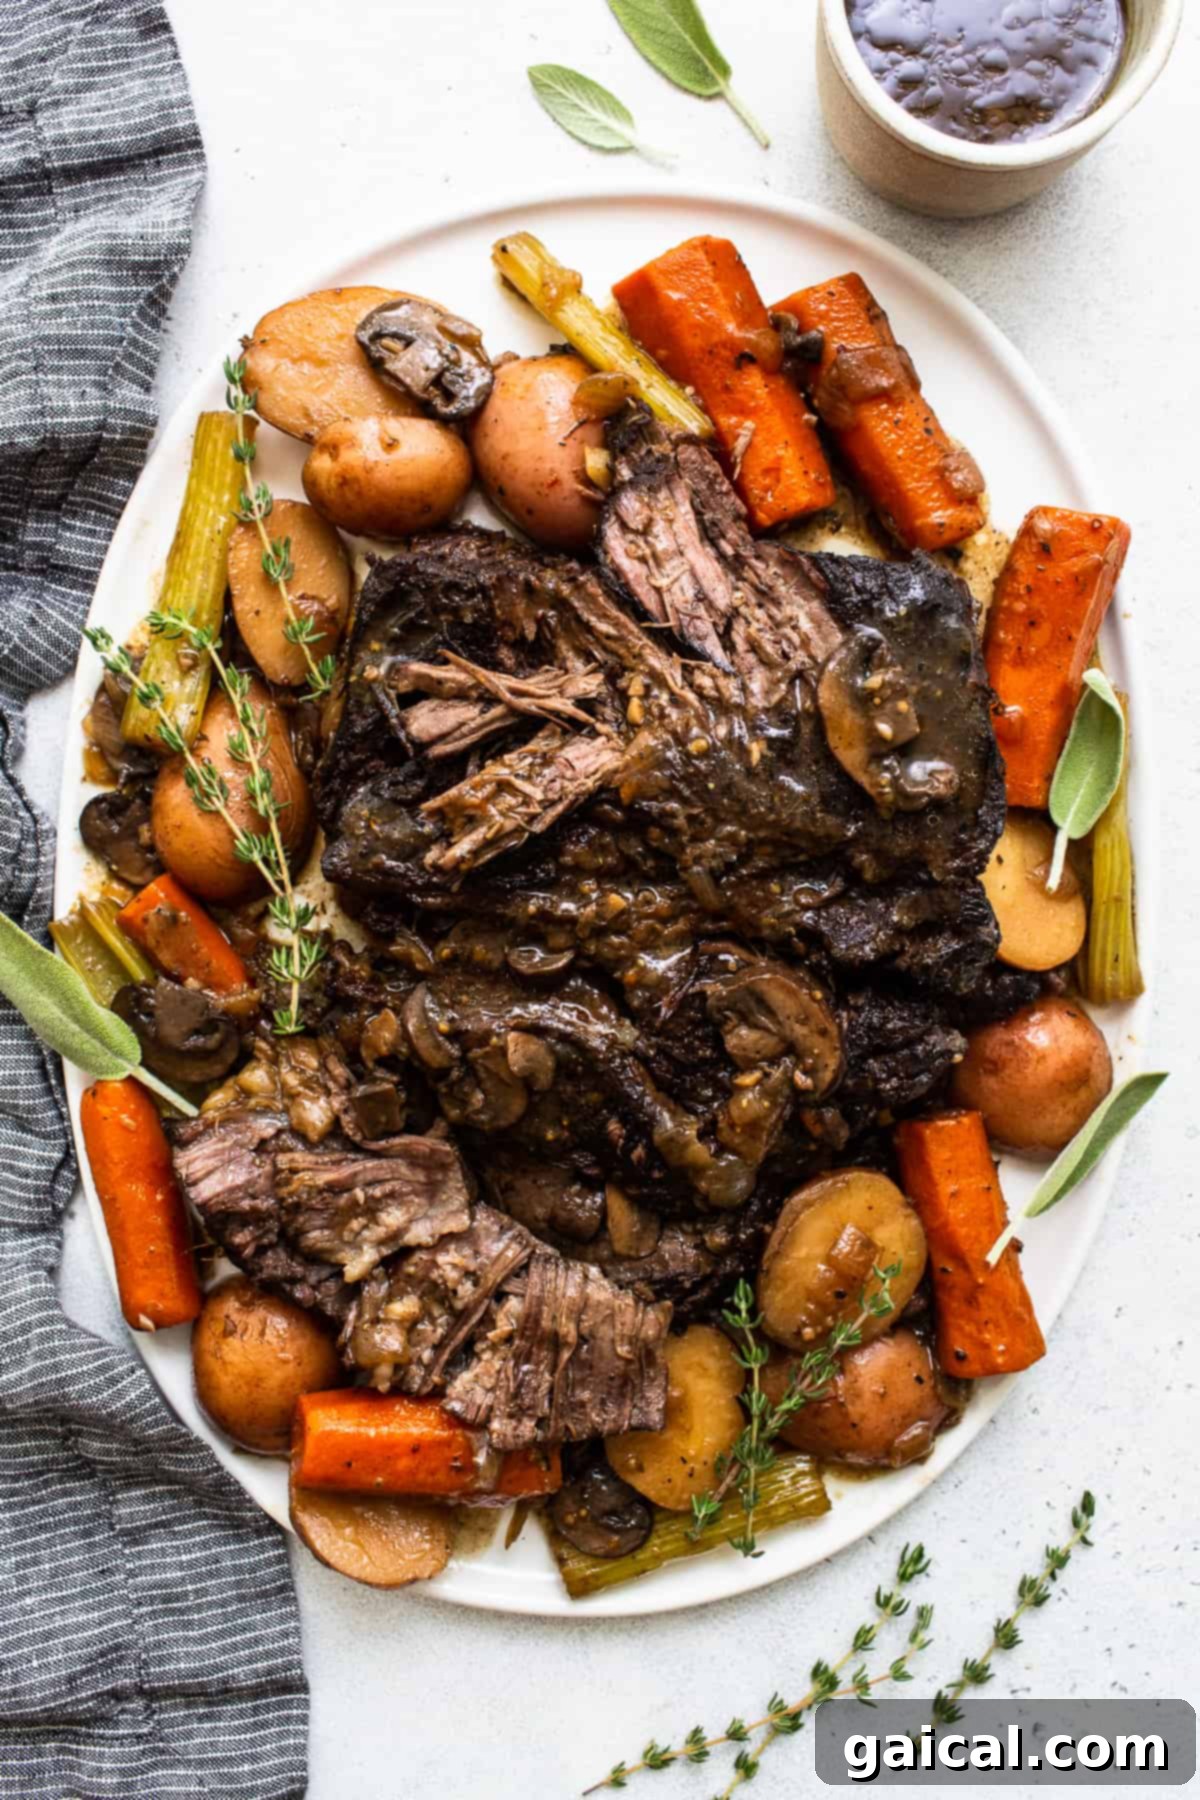
Unveiling the Secret to Our Signature Dutch Oven Pot Roast
We believe a great pot roast should be more than just a meal; it should be an experience. Our journey to perfecting this Midwestern classic has been a delicious one, constantly refining flavors and techniques to bring you a recipe that stands out. First published in 2022 and revisited with enhanced perfection in 2025, this recipe has consistently proven itself to be a true showstopper. What sets our braised pot roast apart, making it a consistent 10/10 favorite among our community? It boils down to two critical elements that guarantee success every time: our bespoke spice blend and the masterful art of low-and-slow braising.
- **The Exquisite Pot Roast Seasoning:** Our homemade seasoning blend is the heart and soul of this dish, meticulously developed to infuse every fiber of the meat with an unparalleled depth of flavor. It’s a symphony of savory notes, with prominent tones of garlic and onion, delicately balanced by a touch of brown sugar for a hint of sweetness, and carefully selected smoky ingredients that add an incredible, complex dimension. This carefully crafted mix not only coats the chuck roast beautifully but also develops a wonderfully crispy, caramelized crust during the initial searing. This crucial step locks in moisture and builds a robust flavor foundation that permeates the entire dish as it braises.
- **The Art of Braising in a Dutch Oven:** Braising is the culinary magic that transforms a seemingly tough cut of meat into an incredibly tender, melt-in-your-mouth delight. By slowly cooking our beef pot roast submerged in a rich, flavorful broth within the confines of a heavy, tightly covered Dutch oven, we achieve unparalleled tenderness and juiciness. This method ensures that the meat remains succulent while simultaneously cooking the accompanying root vegetables to perfection, allowing them to absorb all the wonderful aromas. The cornerstone of successful braising? A thorough, golden-brown sear on all sides of the meat before introducing any liquid. This crucial step creates a beautiful exterior, enhancing both the texture and the complex, umami-rich flavors that will permeate the entire dish, making every bite a true pleasure.
Pot Roast vs. Chuck Roast: Understanding Your Meat Cuts for the Best Results
Often, people use “pot roast” and “chuck roast” interchangeably, but there’s an important distinction that can significantly elevate your cooking and understanding of this beloved dish. A **chuck roast** refers to a specific, identifiable cut of beef, typically sourced from the shoulder of the steer. This particular cut is renowned for its rich marbling – those tiny streaks of fat that melt into the meat during cooking – and its abundant connective tissue. While these characteristics might make it seem tough if cooked quickly, they are precisely what make chuck roast ideal for slow, moist cooking methods, transforming it into incredibly tender and flavorful beef.
A **pot roast**, on the other hand, isn’t a particular cut of meat at all; rather, it describes a versatile and forgiving cooking method. It’s the technique of slowly braising any suitable cut of beef (or other meat) in a covered pot with a generous amount of flavorful liquid, such as savory beef broth, robust red wine, or even a combination, until it’s exceptionally juicy, tender, and easily shredded with a fork. While chuck roast is indeed the most popular and often recommended cut for pot roast due to its ideal fat content and structure for slow cooking, other cuts like brisket, round roast, or even shoulder steaks can also be transformed into a delectable pot roast using the same patient braising method.
The enduring beauty of the pot roast method lies in its remarkable versatility and forgiving nature. Whether you’re utilizing the speed of an Instant Pot, the convenience of a slow cooker, or our preferred method using a heavy Dutch oven, the result is consistently a rich, deeply flavored, and exquisitely tender roast that truly falls apart with the slightest touch of a fork. This flexibility makes pot roast a perfect choice for both novice and experienced cooks seeking a comforting, hearty meal.
How to Master the Dutch Oven Pot Roast: A Comprehensive Step-by-Step Guide
Crafting the perfect Dutch oven pot roast is an accessible and incredibly rewarding culinary endeavor. Each step is designed to build layers of flavor, ensuring a truly memorable meal that will impress everyone at your table. Follow these detailed instructions to achieve a pot roast masterpiece.
Step 1: Season Your Chuck Roast for Maximum Flavor Infusion
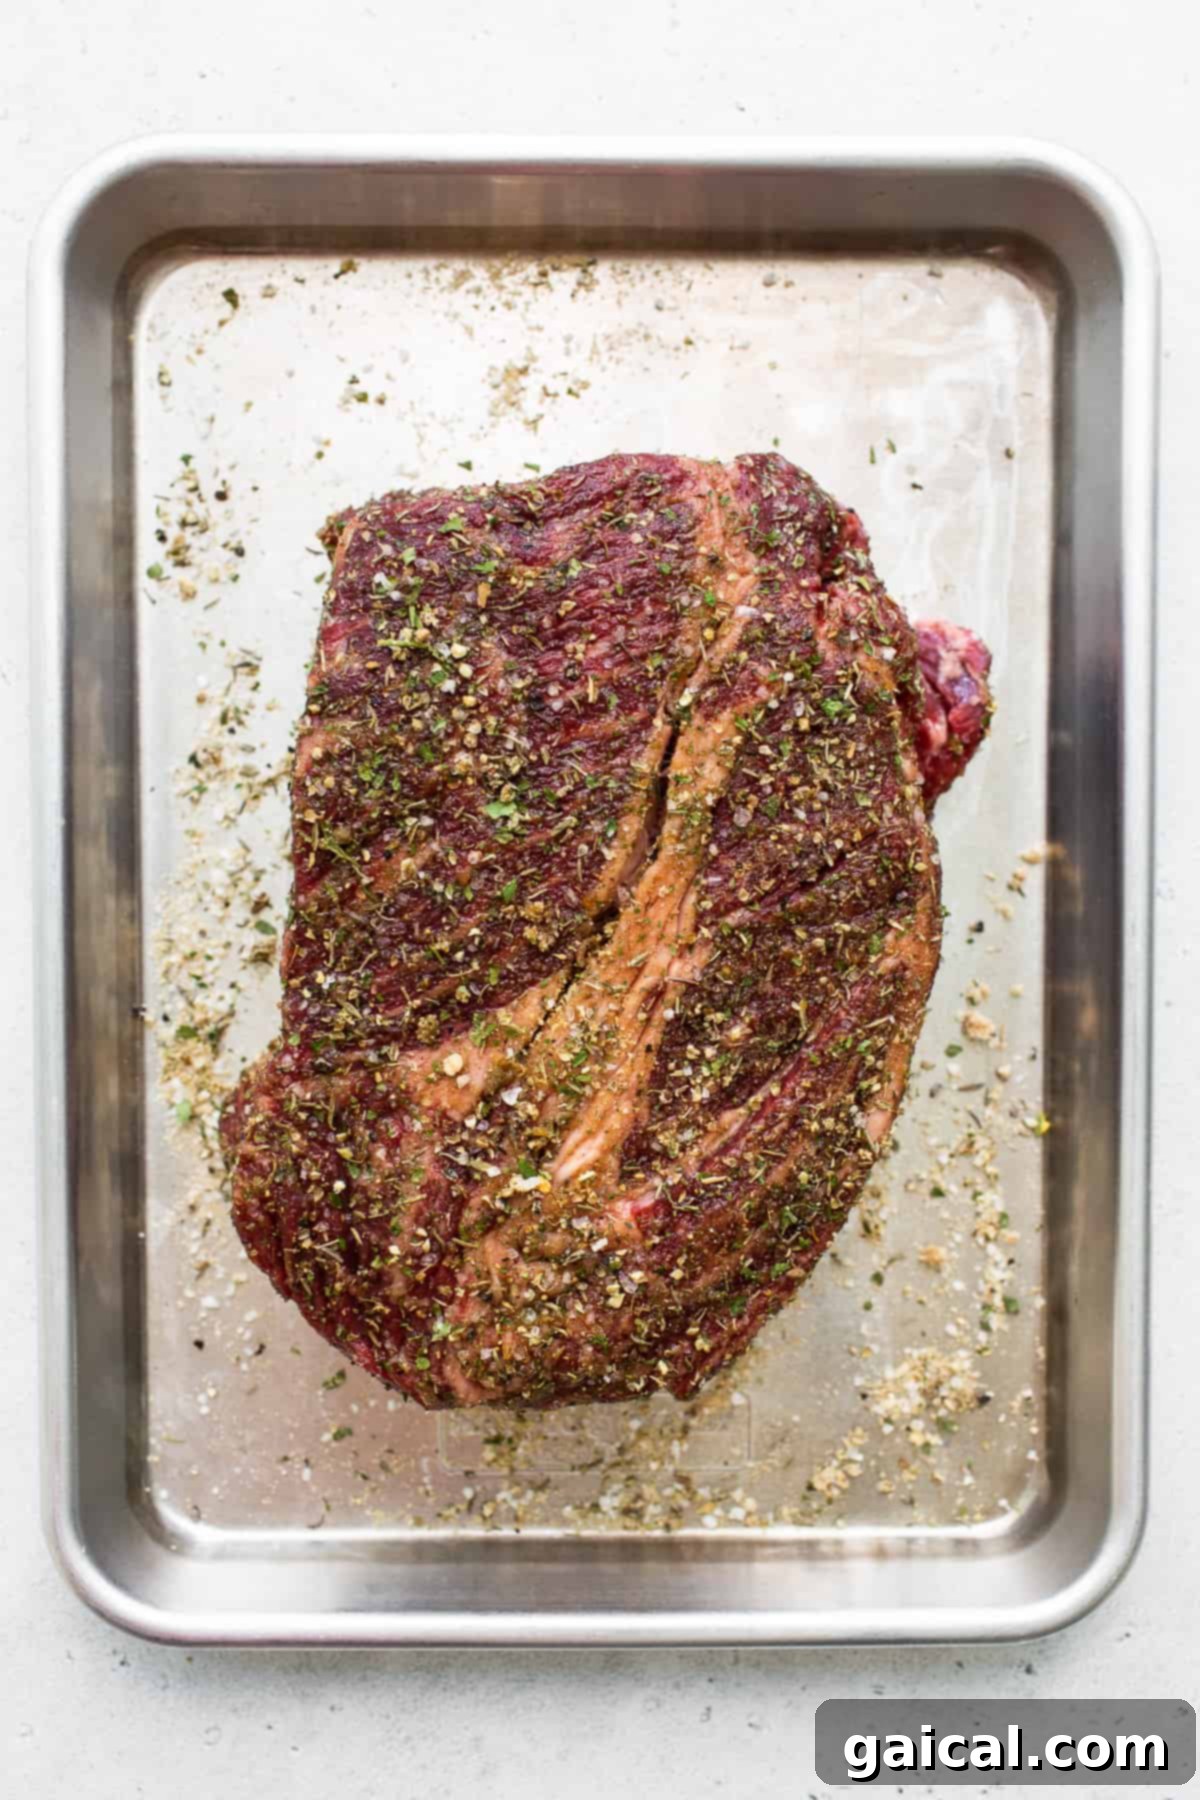
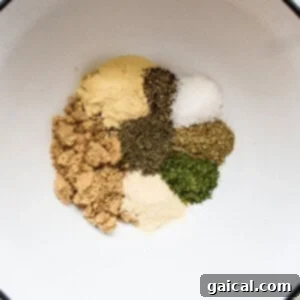
The foundation of an outstanding pot roast begins with proper and generous seasoning. In a small bowl, combine all the ingredients for your homemade pot roast seasoning blend. Once thoroughly mixed, generously sprinkle this aromatic blend over every surface of your boneless chuck roast, ensuring complete and even coverage. Take a moment to gently massage the seasoning into the meat with your hands; this helps it adhere firmly and allows the robust flavors to penetrate deeper into the beef fibers. After seasoning, let the roast rest at room temperature for at least 30 minutes. This crucial resting period allows the salt to draw moisture out of the meat, which is then reabsorbed along with the spices, resulting in a more tender and profoundly flavorful end product.
Step 2: Preheat Oven and Sear the Meat for a Rich, Caramelized Crust
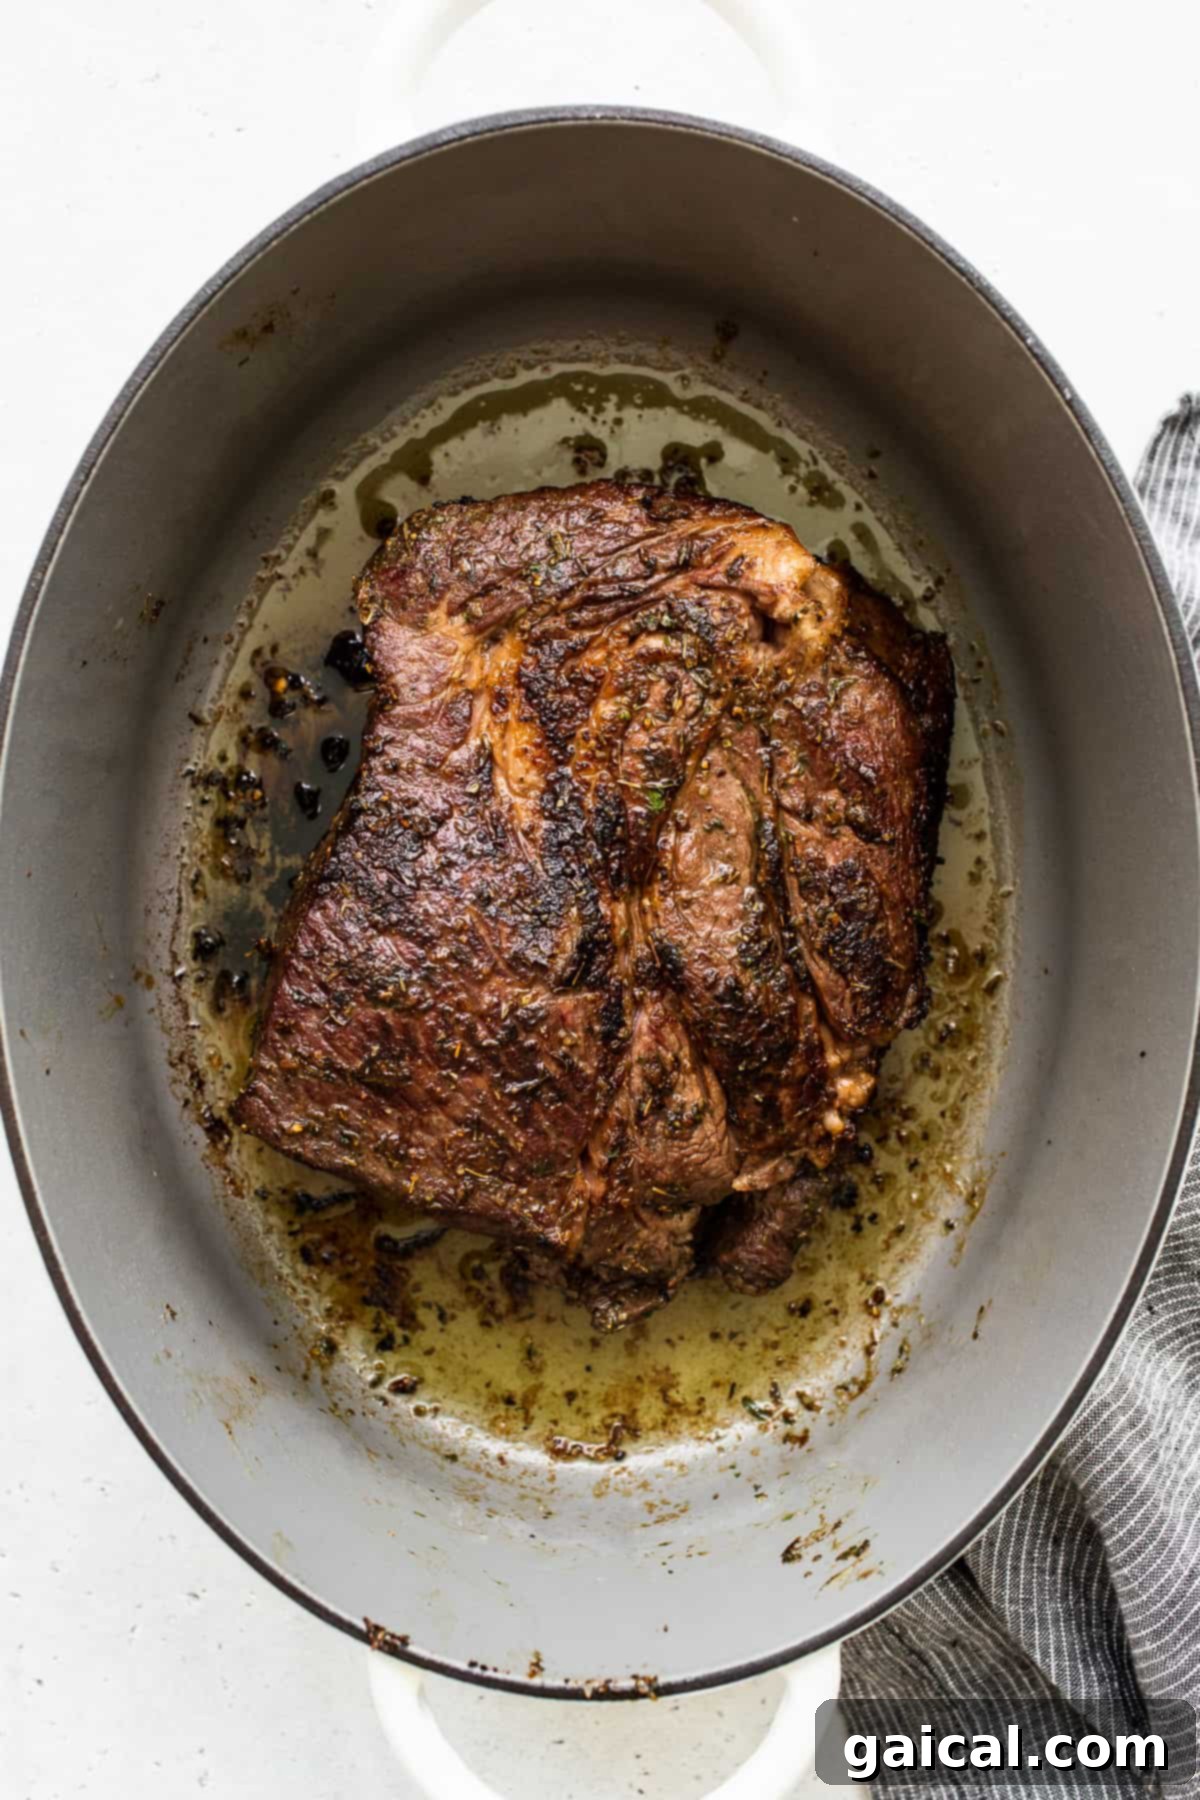
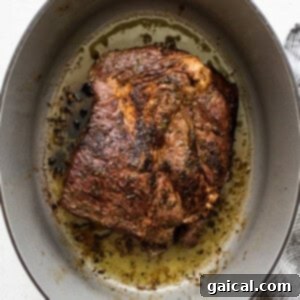
Begin by preheating your oven to 300°F (150°C). While the oven heats, place a large, heavy-bottomed Dutch oven (with its lid nearby) over medium-high heat on your stovetop. Add about 3 tablespoons of olive oil to the hot pot. Once the oil is shimmering, visibly fragrant, and just beginning to show wisps of smoke, carefully place the seasoned chuck roast into the Dutch oven. Sear the meat vigorously on all sides for 3-4 minutes per side, rotating it to ensure an even, deep golden-brown crust forms. This searing process, a vital chemical reaction known as the Maillard reaction, is absolutely essential for developing rich, complex, and savory flavors that cannot be achieved through braising alone. Once perfectly seared and beautifully browned, carefully remove the roast from the Dutch oven and set it aside on a clean plate.
Step 3: Deglaze the Pot, Capturing Every Bit of Flavorful Fond
With the seared roast now resting, you’ll undoubtedly notice a treasure trove of delicious brown bits (known as fond) stuck to the bottom of the Dutch oven. These caramelized fragments are packed with concentrated flavor, and we absolutely want to capture them. Carefully pour in about ½ cup of red wine (such as a robust Cabernet Sauvignon or Merlot) into the hot pot. Using a sturdy wooden spoon or a heat-resistant spatula, vigorously scrape the bottom of the Dutch oven to release all those intensely flavorful browned bits. This process is called deglazing, and it’s an indispensable step for creating a deeply flavored braising liquid and preventing any fond from burning later in the cooking process. The wine not only adds a wonderful depth and acidity to the overall flavor profile but also efficiently helps to dissolve the fond, incorporating all that goodness back into your developing sauce.
What is deglazing and why is it essential for pot roast? Deglazing is a crucial culinary technique where a liquid (in this recipe, red wine, followed by beef broth and Worcestershire sauce) is added to a hot pan or pot to loosen and dissolve the caramelized food bits, or “fond,” that naturally cling to the bottom after searing meat or sautéing vegetables. These fond bits are incredibly concentrated sources of umami flavor. Deglazing ensures they are fully incorporated into your sauce, enriching the entire dish, rather than being left behind or potentially scorching. It’s a fundamental step for building rich, complex, and multi-layered tastes in your pot roast and preventing any undesirable bitterness from burnt residue.
Step 4: Sauté the Aromatic Vegetables to Build a Flavorful Foundation
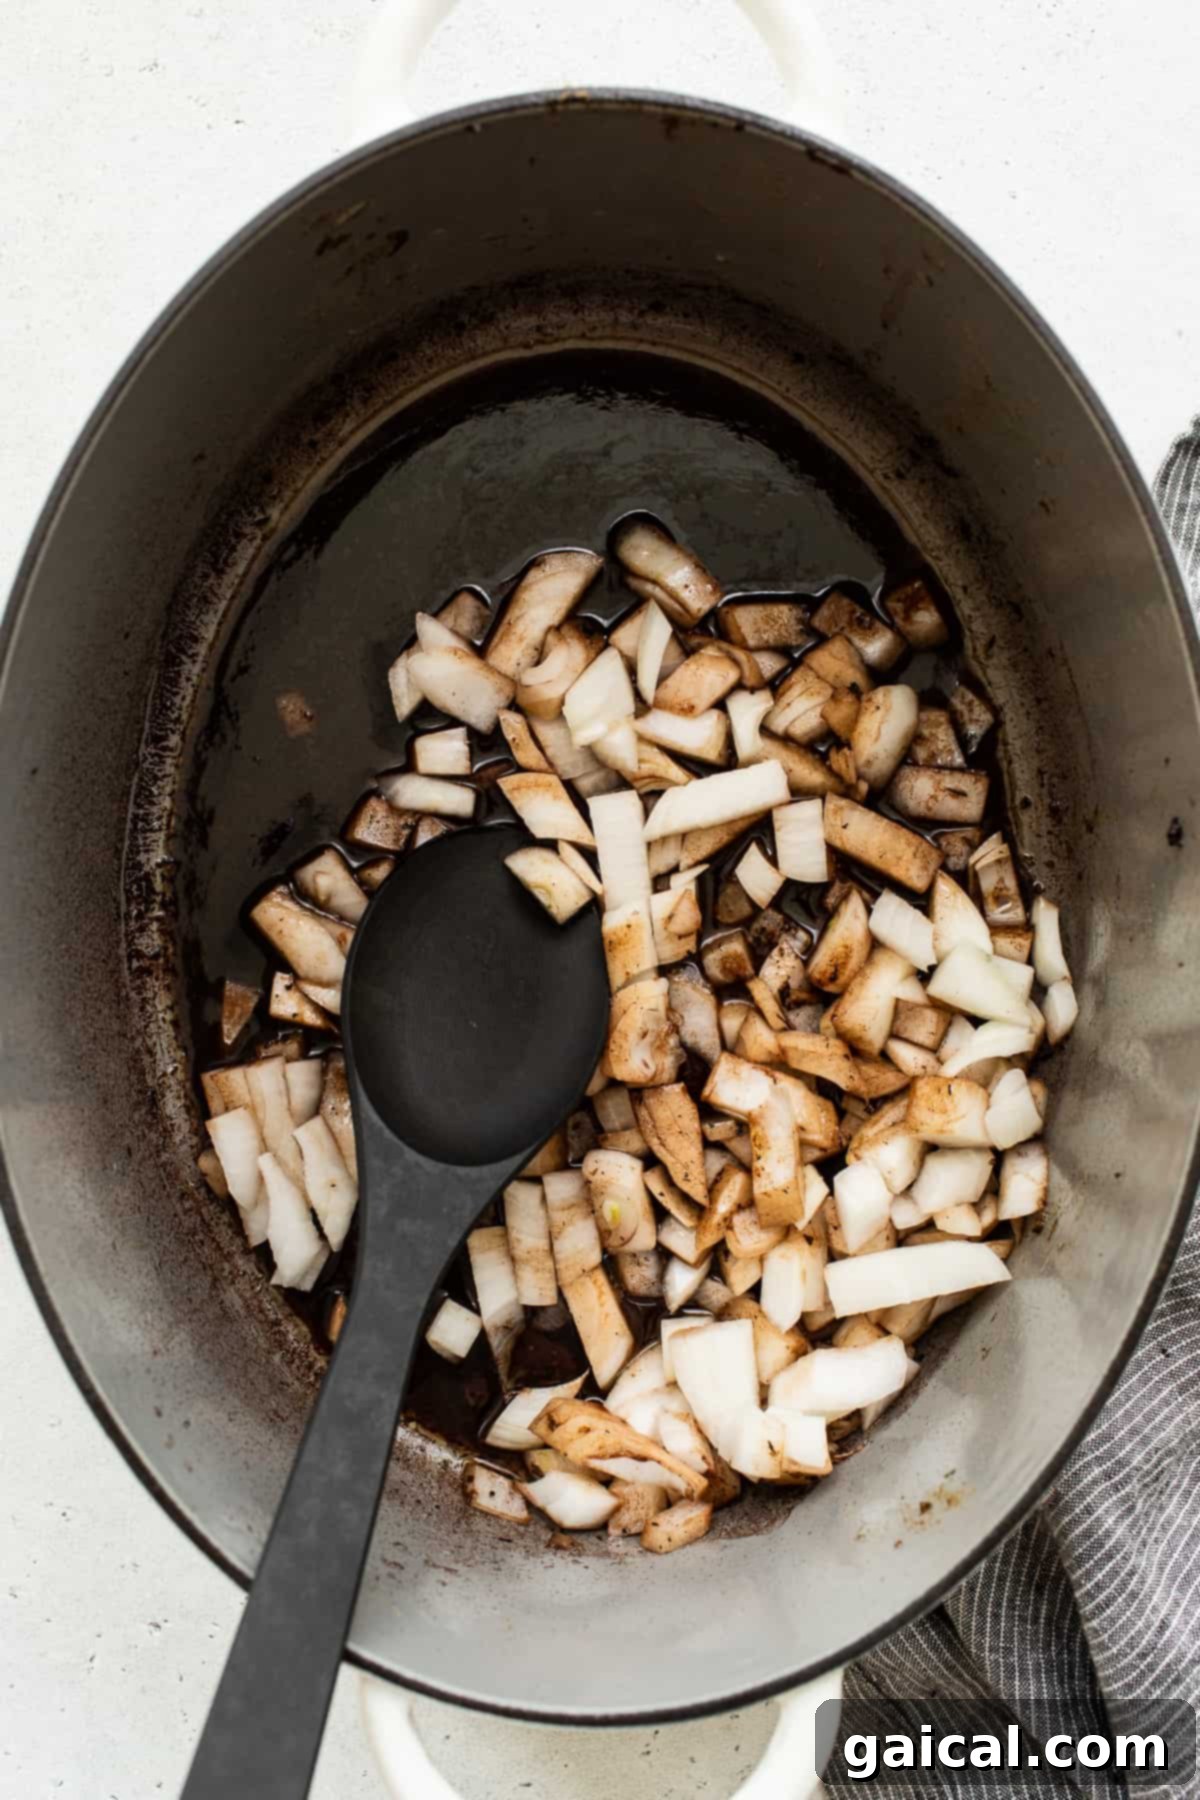
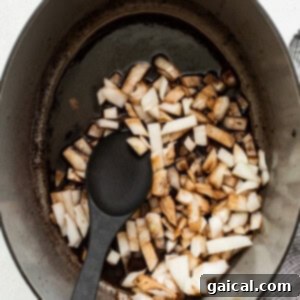
Once the pot has been thoroughly deglazed and all the fond is incorporated, it’s time to build the next layer of flavor with your aromatics. Add the diced white onion to the wine-infused liquid in the Dutch oven. Season with a generous pinch of salt and sauté for 2-3 minutes until the onions begin to soften and become delightfully translucent. Next, introduce the minced garlic and cook for an additional minute, stirring constantly, until it releases its fragrant aroma. Be vigilant at this stage to prevent the garlic from burning, which can lead to a bitter taste. Then, incorporate your hearty root vegetables: the peeled and cut carrots, celery stalks, and halved baby potatoes. If you’re using them, add the sliced bella mushrooms at this stage as well. Stir everything together thoroughly, allowing the vegetables a brief sauté for 4-5 minutes. This gentle cooking softens them slightly and helps them release their own aromatic compounds, further enriching your braising liquid and setting the stage for truly tender vegetables.
Pro tip: For impeccably even cooking and a beautiful, cohesive presentation, it is highly recommended to slice and chop all your root vegetables, especially carrots and potatoes, into roughly similar-sized pieces. This consistency guarantees that all your vegetables reach the same tender doneness at the end of the long braising process, preventing some from becoming mushy while others remain undercooked.
Step 5: Build the Braising Broth and Begin the Slow Roast
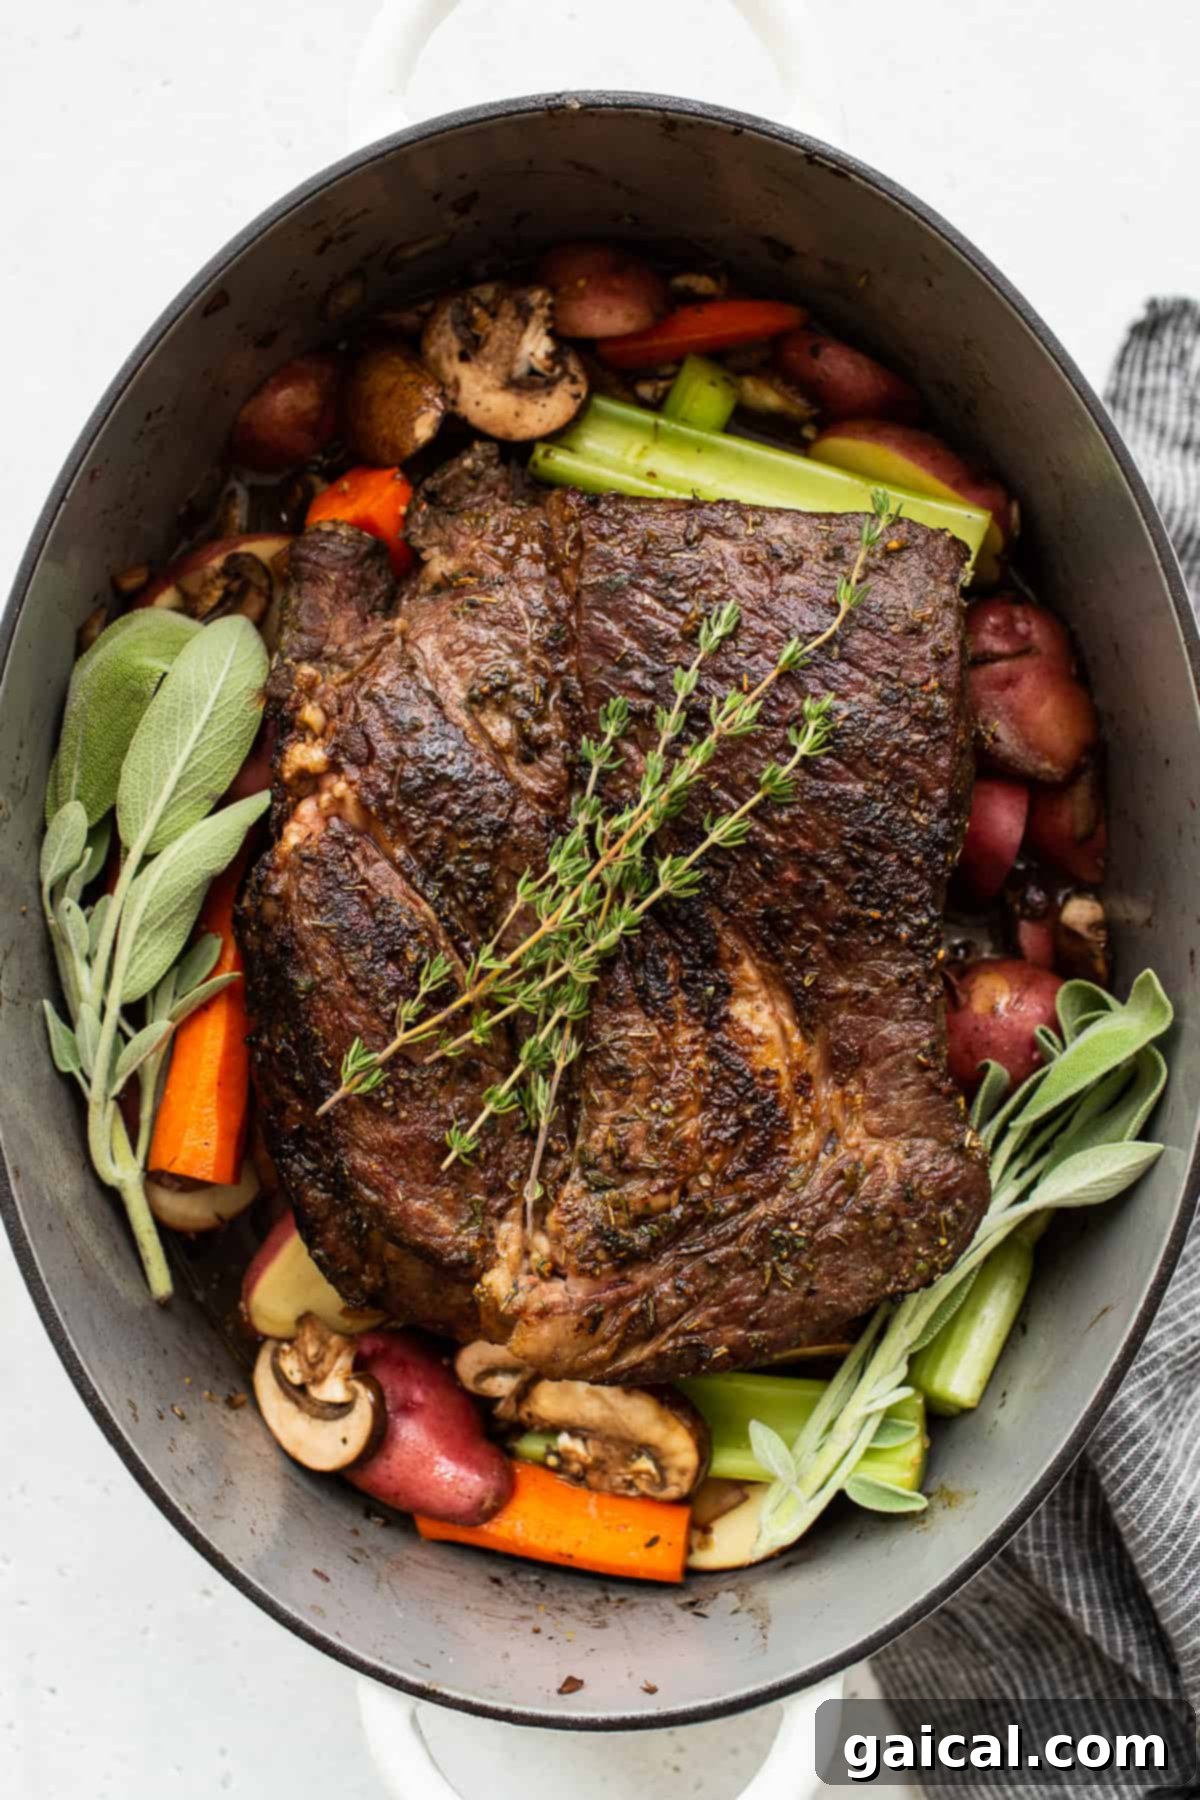
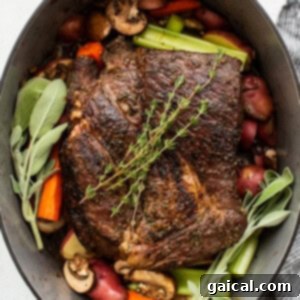
In a separate, medium-sized bowl, whisk together the beef broth, stone-ground mustard, and Worcestershire sauce until well combined. This carefully prepared concoction will form the rich, flavorful liquid that tenderizes your roast and bathes your vegetables. Carefully pour this savory liquid mixture over the sautéed vegetables in the Dutch oven. Then, gently place the perfectly seared chuck roast back into the pot, nestling it comfortably among the vegetables. Finally, artfully lay fresh sprigs of thyme and sage on top of the roast and vegetables; these aromatic herbs will slowly release their earthy, comforting aromas throughout the extended cooking process, infusing the entire dish with their essence.
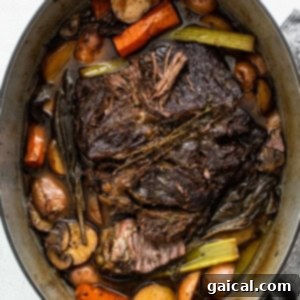
Cover your Dutch oven tightly with its heavy lid, ensuring minimal steam escapes, and carefully transfer it to the preheated oven. Bake for an impressive 3-4 hours, or until the roast is exceptionally tender and easily falls apart with the gentle prod of a fork. For optimal and even braising, remember to carefully flip the roast after approximately two hours of cooking. This ensures that each side has ample opportunity to absorb the savory braising liquid, resulting in maximum tenderness and consistent flavor throughout the meat.
How do you know your pot roast is truly done and perfectly tender? The ultimate, unmistakable test for a perfect pot roast is its tenderness. It should be so incredibly tender that it practically melts in your mouth and can be effortlessly shredded using just two forks. If you encounter any resistance, indicating the meat is still tough, patience is absolutely key! Let it continue to cook, as those tough connective tissues require more time to break down into rich gelatin, which is what creates that coveted fall-apart texture. For ultimate accuracy, aim for an internal temperature of 190-195°F (88-91°C) when checked with a meat thermometer; this range guarantees optimal shreddability and tenderness.
Size & Cook Time Variability: Please be aware that the total cook time in your Dutch oven can vary significantly based on several factors, including your specific oven’s calibration and, most importantly, the exact size and thickness of your meat cut. A smaller roast (around 2.5 lbs) might be ready closer to the 3-hour mark, while a larger cut (4 lbs or more) could easily require the full 4 hours or even slightly longer. Always prioritize the meat’s tenderness over strict adherence to the clock.

Pro Tool Alert!
Thermoworks Thermapen
For unparalleled accuracy, speed, and peace of mind when cooking any cut of meat, we wholeheartedly recommend investing in a high-quality meat thermometer. The Thermapen is our trusted companion in the kitchen, delivering instant and precise temperature readings every single time, ensuring your pot roast is cooked to absolute perfection without guesswork. It’s an indispensable tool for achieving consistent, tender results.
Step 6: Craft the Velvety Gravy to Perfection
Once your magnificent pot roast has finished its long, tenderizing bake, carefully remove the Dutch oven from the oven. Gently transfer the fall-apart meat and the perfectly cooked root vegetables to a separate serving platter and tent loosely with foil to keep them warm. Carefully discard the spent herb stems (thyme, sage) from the rich braising liquid remaining in the Dutch oven. Now, for the glorious gravy! If the braising liquid is still piping hot, sprinkle 2-3 teaspoons of cornstarch directly into the pot and whisk vigorously and continuously until it is completely dissolved and the liquid begins to thicken into a luxurious, smooth gravy. The residual heat should be sufficient to activate the cornstarch. However, if the liquid has cooled down, simply bring it to a rolling boil over high heat on your stovetop before whisking in the cornstarch. Once thickened to your desired consistency, return the tender roast and vegetables to the pot, allowing them to luxuriate in the freshly made, rich gravy, ready for the final shredding and serving.
Pro tip for Perfect Gravy: The timing and method of adding cornstarch are crucial for a smooth, lump-free gravy! Never, under any circumstances, add cornstarch directly to a cold or lukewarm liquid, as it will inevitably clump and create an undesirable texture. Always ensure your braising liquid is hot – ideally simmering or at a boil on the stovetop – before incorporating the cornstarch. Whisk it in thoroughly and continuously for a beautifully smooth, lump-free gravy.
Step 7: Shred, Serve, and Savor Your Culinary Masterpiece!
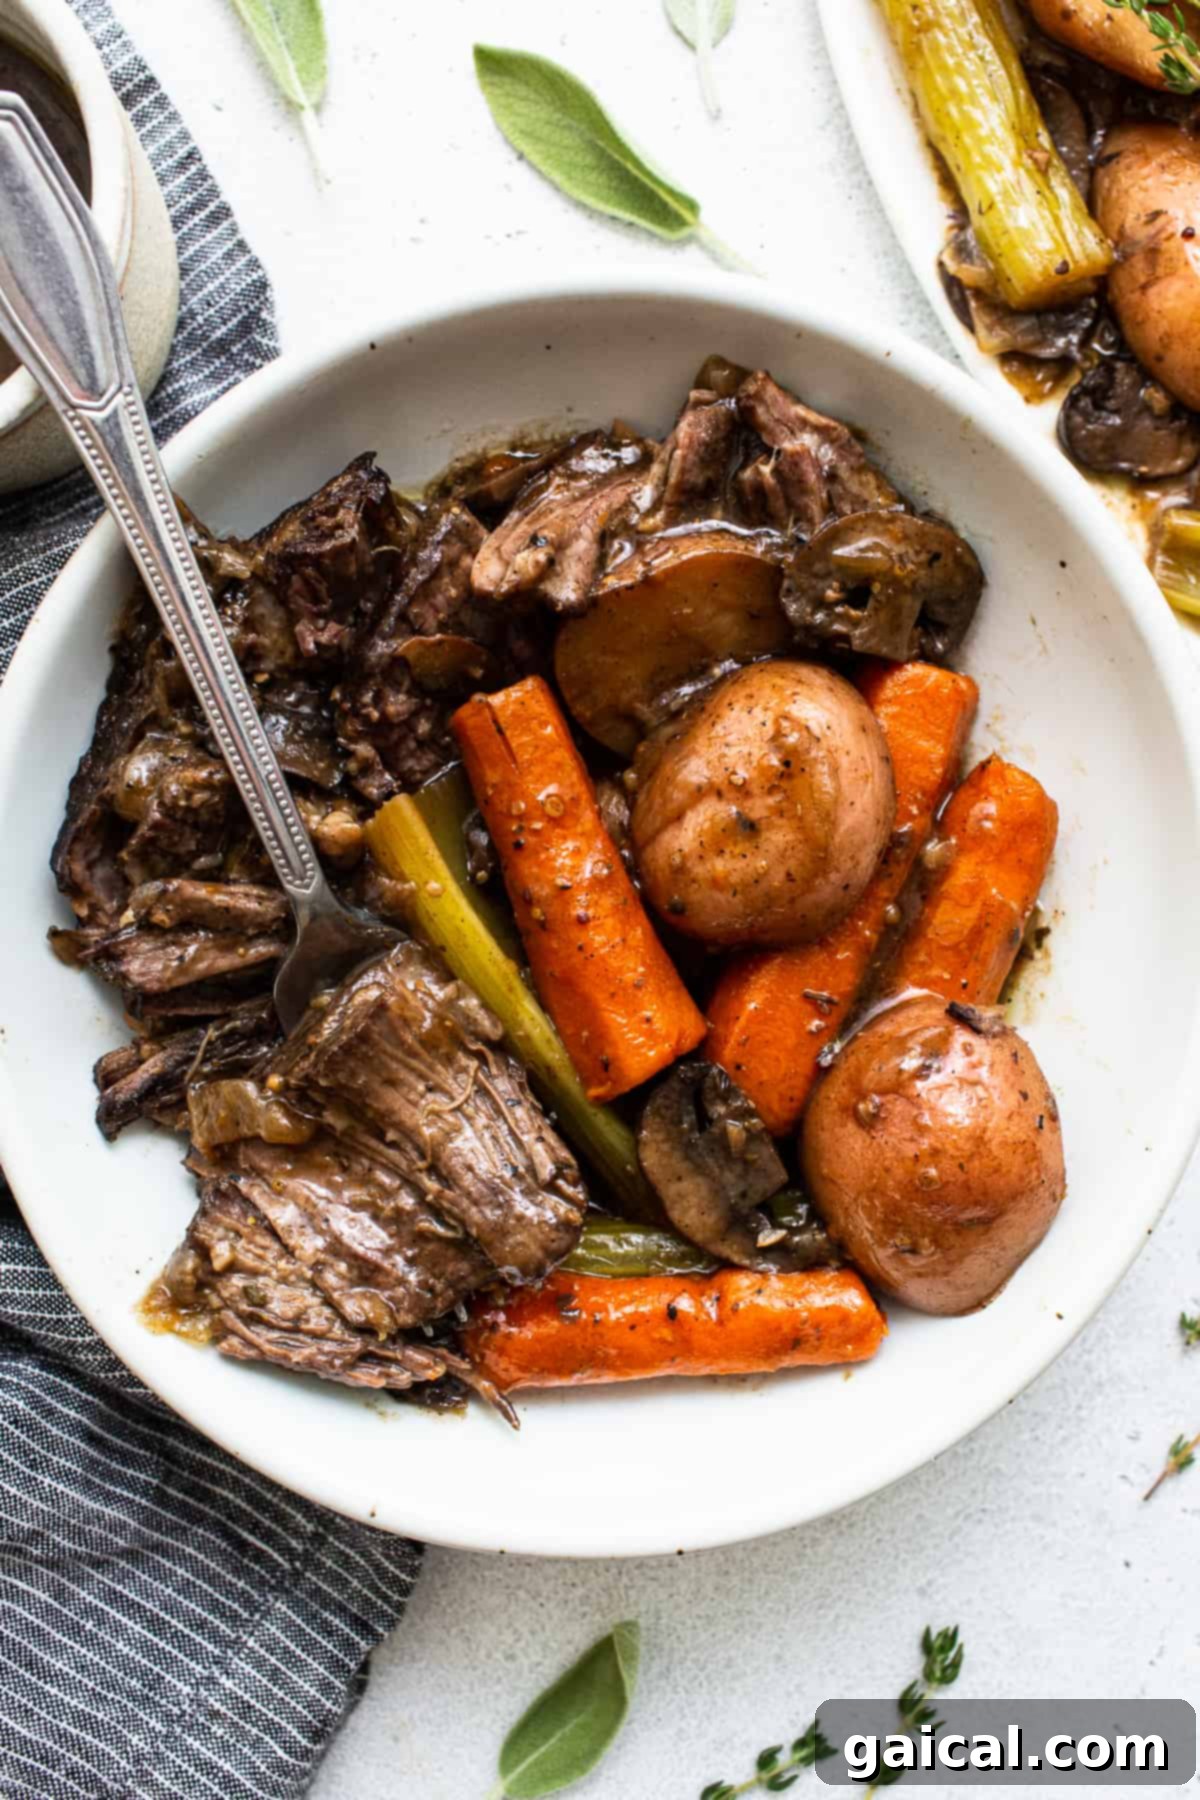
The moment of truth and pure culinary satisfaction has arrived! With your vegetables perfectly cooked, your rich and velvety gravy prepared, and your meat transformed into an incredibly tender delight, it’s time for the final, satisfying act. Using two sturdy forks, gently shred the pot roast into large, succulent, rustic chunks. We highly recommend generously drizzling a good amount of that flavorful, freshly made gravy over the shredded beef. This crucial step ensures every single bite remains incredibly juicy, moist, and bursting with the full spectrum of the dish’s rich taste. Before presenting your masterpiece, take a quick moment to discard any sizable chunks of fat that may remain on the shredded meat, ensuring a cleaner, more appealing, and ultimately more enjoyable eating experience.
Pro tip: Always take a moment to carefully remove any large pieces of fat from the shredded beef before serving. While some fat contributes essential flavor during the cooking process, discarding excess fat results in a cleaner, more palatable, and ultimately more enjoyable final dish.
Congratulations! You’ve just created a classic Dutch oven pot roast recipe that is not only bound to impress but will undoubtedly become a cherished family favorite for generations to come. Gather your loved ones and enjoy every delicious, comforting bite of this extraordinary meal!
Storing Your Delicious Beef Pot Roast for Future Enjoyment
One of the many delightful benefits of cooking a pot roast is how wonderfully it reheats, often tasting even better the next day as the flavors have more time to meld and deepen! To properly store any leftovers, first allow the pot roast and vegetables to cool completely to room temperature. Transfer them to an airtight container, ensuring that a good amount of the rich gravy is included. The gravy is crucial for keeping the meat moist and flavorful during storage. This will keep fresh and delicious in the refrigerator for up to 5 days. For longer storage options, you can easily freeze your pot roast in an airtight, freezer-safe container or heavy-duty freezer bag for up to 3 months. When ready to enjoy, simply thaw overnight in the refrigerator before proceeding with reheating.
Reheating Pot Roast for Optimal Enjoyment and Tenderness
Reheating pot roast properly is key to maintaining its exquisite tenderness and rich flavor, ensuring it tastes just as good as it did fresh from the oven. For oven reheating, carefully place your leftover pot roast and vegetables in an oven-safe dish. Cover it tightly with aluminum foil to trap moisture, and reheat at 325°F (160°C) for 10-15 minutes, or until thoroughly warmed through to the center. The foil is essential here, as it helps to retain moisture and prevent the meat from drying out. If you prefer the stovetop method, which is quicker for smaller portions, gently warm your leftovers. Place the pot roast and veggies in a heated pan with a splash of olive oil or a bit of extra beef broth to prevent sticking, and sauté over medium heat until completely warm. Always avoid high heat when reheating, as this can quickly dry out the tender meat and diminish its quality.
Featured Cookware
The Great Jones Dutchess
This 6.75-quart enameled cast iron Dutch oven is an absolute game-changer in any kitchen. Not only is it incredibly high-quality, durable, and designed for superior heat retention and distribution, but its gorgeous aesthetic also makes it a stylish countertop staple. It’s perfectly sized for braising, simmering, and slow-cooking, ensuring your pot roast turns out spectacular, juicy, and tender every single time you use it. A truly essential piece for serious home cooks.
Dutch Oven Pot Roast: Frequently Asked Questions for Perfect Results
For your pot roast to achieve that coveted, fall-apart tender texture that effortlessly shreds with a fork, it typically needs to reach an internal temperature between 190-195°F (88-91°C). At this specific temperature range, the tough collagen and connective tissues within the meat fully break down and transform into rich, succulent gelatin, resulting in a supremely tender texture that practically melts in your mouth. Using a reliable, instant-read meat thermometer is absolutely essential for achieving this precision and ensuring consistent results every time.
While several beef cuts can be successfully used for a pot roast, we consistently find that a boneless chuck roast is the unequivocal gold standard. Its ample marbling (intramuscular fat) and generous amount of connective tissue are perfectly suited for the slow, moist cooking method of braising, yielding incredibly juicy, tender, and intensely flavorful results. Excellent alternative cuts that will also deliver delicious results with proper braising include shoulder steak, chuck shoulder, chuck seven-bone roast, beef chuck arm, and even brisket. The key is choosing a cut that benefits from long, slow cooking.
While technically optional, skipping the crucial searing step can significantly impact the final flavor profile, texture, and visual appeal of your pot roast. Without the initial sear, the meat won’t develop the deep, richly caramelized crust that results from the Maillard reaction. This means a less complex, less developed flavor, a potentially paler and less appetizing appearance, and an overall “flat” taste compared to a properly seared roast. Searing adds vital layers of savory richness, creates a delicious “fond” for your gravy, and contributes an appealing exterior texture that makes all the difference in a truly exceptional pot roast.
Yes, despite being a slow-cooked dish, it is indeed possible to overcook pot roast, although it is less common with gentle braising than with other, faster cooking methods. An overcooked pot roast will often taste noticeably dry, stringy, and somewhat chalky, severely lacking the succulent juiciness and tender, melt-in-your-mouth quality you’re aiming for. To prevent this unfortunate outcome, ensure there’s always a sufficient amount of braising liquid in the pot, as this prevents the meat from drying out. Most importantly, monitor the internal temperature. Stop cooking once your meat consistently hits that ideal 190-195°F (88-91°C) range for ultimate tenderness without dryness. For smaller roasts (under 3 pounds), begin checking for doneness after approximately two hours; for larger roasts, start checking after three hours.
Discover More of Our Favorite…
Hearty Roast Recipes You’ll Love!
If you’ve loved preparing and enjoying this exquisite Dutch oven pot roast, you’ll surely enjoy exploring other delicious and comforting roast recipes from our extensive collection. Whether you’re craving succulent pork, flavorful chicken, or another delectable beef variation, we have a roast recipe perfectly suited for every occasion and palate. Expand your culinary repertoire with these proven favorites!
- The Ultimate Pork Roast
- Instant Pot Pot Roast (for a quicker take!)
- Herby Whole Roasted Chicken
- Slow Roasted Pork Shoulder
★
★
★
★
Classic Dutch Oven Pot Roast Recipe
Our classic braised pot roast is crafted with a boneless chuck roast, our signature easy beef seasoning, and a vibrant medley of root vegetables. It’s slow-braised in the oven until it achieves unparalleled fall-off-the-bone tenderness, creating a comforting and flavorful meal perfect for any occasion.
Pin Recipe
Print Recipe
Enter your email to receive this recipe directly in your inbox, plus enjoy weekly doses of recipe inspiration!
Ingredients
Pot Roast Seasoning
- 1/4 cup brown sugar
- 2 tablespoons garlic powder
- 1.5 tablespoons onion powder
- 2 teaspoons dried oregano
- 2 teaspoons dried thyme
- 2 teaspoons dried parsley
- 1.5 tablespoons coarse salt
- 2 teaspoons pepper
Other Ingredients
- 2.5-4 lbs. boneless chuck roast, not chuck steak
- ⅓ – ½ cup pot roast seasoning, depending on the size of the roast
- 3 tablespoons olive oil
- ½ cup red wine, we used cabernet; substitute beef broth if preferred
- 1 large white onion, diced
- 5 cloves garlic, minced
- ½ teaspoon salt
- 5 large carrots, peeled and cut into thirds
- 3 celery stalks, cut into thirds
- 2 lbs. baby potatoes, cut in half
- 8 oz. bella mushrooms, sliced (optional, but highly recommended for umami)
- 2 cups beef broth
- 1 tablespoon stone ground mustard
- 1 tablespoon Worcestershire sauce
- 5 sprigs fresh thyme
- 2 sprigs fresh sage
- 2-3 teaspoons cornstarch, for gravy (adjust for desired thickness)
Instructions
-
**Prepare the Seasoning:** In a small bowl, thoroughly mix all the ingredients for the pot roast seasoning. Remove the chuck roast from its packaging and generously sprinkle the seasoning over all sides. Massage the seasoning into the meat with your hands to ensure complete coverage. Allow the seasoned roast to rest at room temperature for at least 30 minutes, or even longer for deeper flavor penetration.

-
**Preheat Oven & Sear Roast:** Preheat your oven to 300ºF (150°C). Place a large Dutch oven with a lid over medium-high heat on your stovetop. Add 3 tablespoons of olive oil. Once the oil is shimmering and fragrant, carefully place the seasoned chuck roast into the Dutch oven. Sear the roast for 3-4 minutes on each side until a deep golden-brown crust forms. Remove the seared roast from the Dutch oven and set it aside on a clean plate.
-
**Deglaze & Sauté Onions:** Pour the red wine into the hot Dutch oven. Use a spatula to scrape up all the flavorful browned bits from the bottom of the pot. Add the diced white onion to the wine and season with ½ teaspoon of salt. Sauté the onion for 2-3 minutes until it begins to soften. Then, add the minced garlic and cook for an additional minute until aromatic, being careful not to burn it.
-
**Add Remaining Vegetables:** Add the peeled and cut carrots, celery stalks, and halved baby potatoes (and sliced mushrooms, if using) to the Dutch oven. Stir all the ingredients together, allowing the vegetables to cook and absorb flavors for 4-5 minutes.
-
**Prepare Braising Liquid & Assemble:** In a separate bowl, whisk together the beef broth, stone ground mustard, and Worcestershire sauce. Pour this liquid mixture over the vegetables in the Dutch oven. Carefully place the seared chuck roast back on top of the vegetables. Arrange the fresh sprigs of thyme and sage over the roast and vegetables.
-
**Braise to Perfection:** Cover the Dutch oven tightly with its lid and transfer it to the preheated oven. Bake for **3-4 hours**, or until the roast is incredibly tender and easily falls apart with a fork. To ensure even cooking and flavor absorption, gently flip the roast after approximately 2 hours. Continue cooking until your pot roast reaches that desired fall-off-the-bone tender consistency. Remember, actual cook time may vary depending on your oven and the exact size of your roast.
-
**Rest the Roast:** Once cooked, remove the Dutch oven from the oven. Carefully transfer the tender roast and vegetables to a serving platter and tent loosely with foil. Let the roast rest for at least 10 minutes. Discard the herb stems before proceeding to make the gravy or serving immediately.
-
**Make the Gravy:** With the roast and vegetables removed, carefully discard the spent herb stems from the braising liquid remaining in the Dutch oven. If the liquid is still piping hot, sprinkle 2-3 teaspoons of cornstarch directly into the pot and whisk continuously until the liquid thickens into a rich, velvety gravy. If the liquid has cooled, bring it to a rolling boil over high heat on the stovetop *before* adding the cornstarch, then whisk until thickened.
-
**Combine & Serve:** Return the shredded pot roast and vegetables to the Dutch oven, allowing them to warm through and mingle with the freshly made gravy. Stir gently to coat everything. Serve immediately, perhaps with some crusty bread or mashed potatoes, and savor your classic, comforting pot roast!
Tips & Notes for the Perfect Pot Roast
- We typically use a 2.5-lb. chuck roast and approximately ⅓ cup of our pot roast seasoning. Feel free to use more or less seasoning as needed to generously coat your entire roast. Any leftover seasoning can be stored in an airtight container for future use, ready for your next culinary adventure.
- **Patience is a Virtue:** The total baking time for your roast can vary significantly based on your specific oven’s calibration and, most importantly, the exact size and thickness of your meat cut. If, after the recommended time, your meat is still tough or not easily shredded, simply return it to the oven and continue cooking until it reaches that desired fork-tender stage. Don’t rush perfection! A truly tender pot roast is worth the wait.
- **Vegetable Sizing for Evenness:** To ensure all your root vegetables cook perfectly and reach the same tender doneness without some becoming mushy while others remain firm, it’s essential to cut them into roughly similar sizes. This consistency ensures a harmonious texture in every bite.
- **Internal Temperature for Precision:** For the absolute best and most consistent results, investing in a good quality, instant-read meat thermometer is invaluable. Aim for an internal temperature of 190-195°F (88-91°C) to ensure the tough connective tissues have completely broken down, guaranteeing an incredibly tender and juicy roast every single time.
- **Wine Choice Flexibility:** While we often recommend Cabernet Sauvignon for its robust flavor contribution, any dry red wine that you enjoy drinking will work beautifully in this recipe. Its acidity helps to tenderize the meat and adds complexity. If you prefer to omit alcohol, an equal amount of high-quality beef broth can be substituted for the red wine without compromising too much on flavor.
Nutrition Information (Approximate per Serving)
Carbohydrates: 39 g
Protein: 32 g
Fat: 22 g
Fiber: 5 g
Sugar: 11 g
Nutrition information is an estimate calculated automatically and should be used as an approximation. Actual values may vary significantly based on ingredients, preparation methods, and serving sizes.
Loved this recipe? Share your culinary triumphs!
We’d absolutely love to see your creations! Don’t forget to tag your delicious pot roast posts on social media with the hashtag #fitfoodiefinds. Your culinary journey inspires us all. Happy cooking and enjoy your sensational meal!