
Irresistible Orange Loaf Cake with Zesty Glaze: A Burst of Sunshine in Every Bite
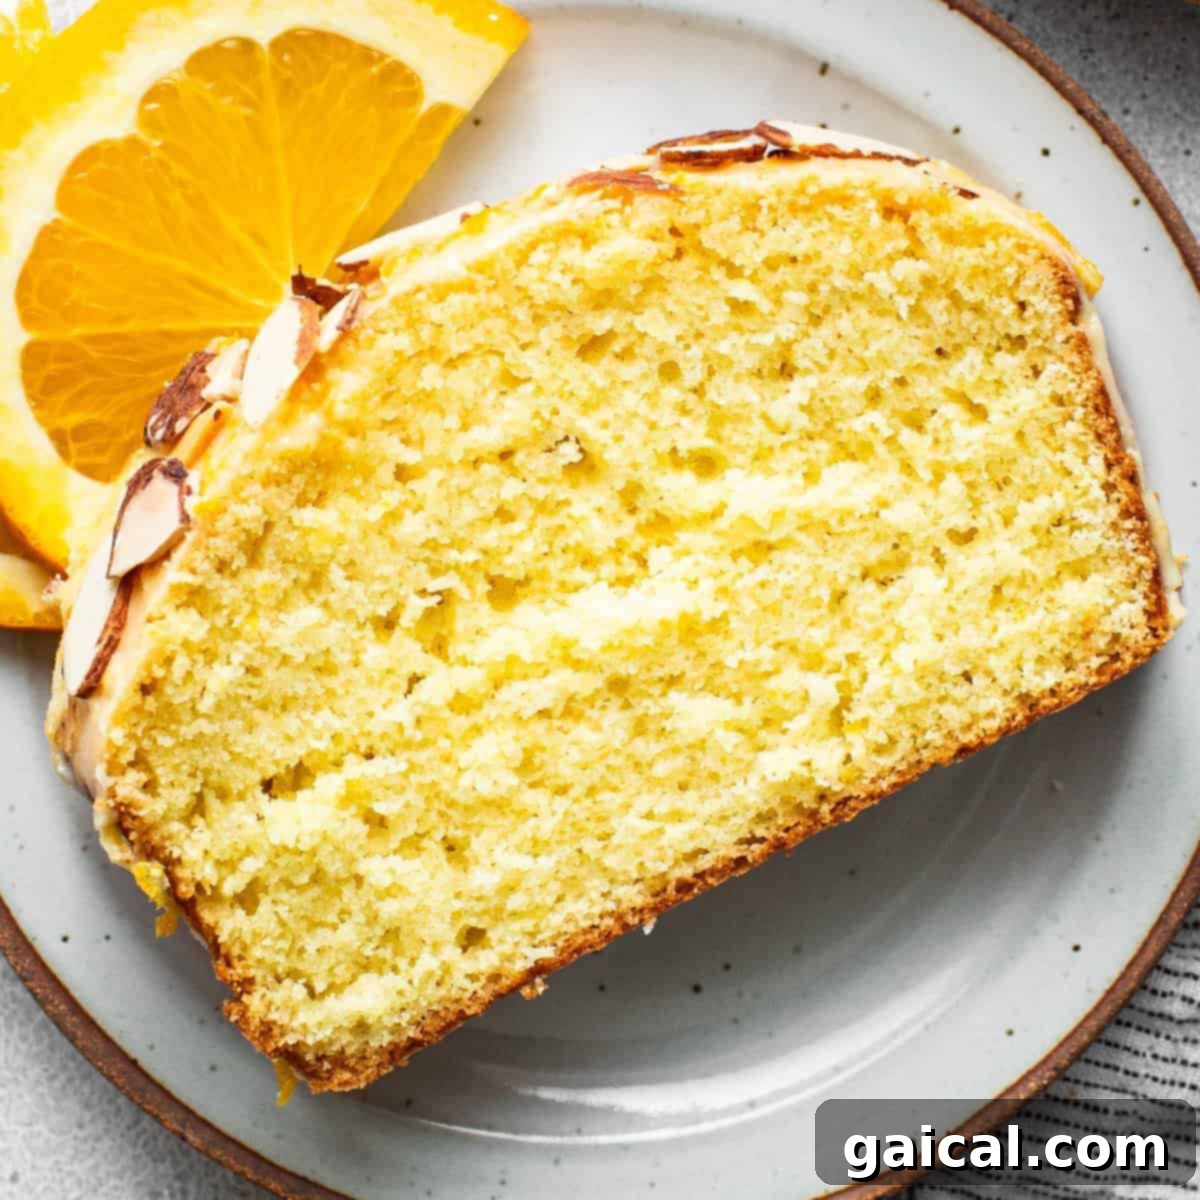
Prepare to fall in love with your new go-to citrus dessert! This magnificent orange loaf cake is a true celebration of fresh, vibrant orange flavor. Crafted with both fresh orange juice and aromatic orange zest, the cake itself is incredibly moist and tender. But the magic doesn’t stop there – a luscious, silky orange glaze blankets the top, ensuring an exhilarating burst of citrus in every single forkful. Whether you’re seeking a delightful treat for your morning coffee, a show-stopping brunch centerpiece, or a light and refreshing dessert, this orange cake delivers pure sunshine.
Why This Orange Loaf Cake Will Become Your New Favorite
Seriously, I can’t stop raving about how utterly delightful this orange cake is! It strikes the perfect balance between citrusy zest and sweet indulgence, thanks to the generous inclusion of fresh orange juice and vibrant orange zest, all beautifully crowned with a simple yet sensational orange glaze. This isn’t just any cake; it’s a versatile masterpiece that’s equally perfect for a leisurely breakfast alongside your coffee or as an elegant dessert to round off any meal – trust me, I speak from personal experience! Beyond its incredible taste, you’ll adore how straightforward and quick this orange cake is to prepare; the entire process, from mixing to baking, comes together in under an hour. And whatever you do, please don’t even think about skipping that incredible orange glaze. It truly is the perfect “icing on the cake,” elevating its flavor and appearance to another level.
Essential Ingredients for Your Zesty Orange Cake
Creating this spectacular orange loaf cake requires a thoughtful blend of pantry staples and fresh, vibrant citrus. Each ingredient plays a crucial role in achieving the moist texture, balanced sweetness, and powerful orange flavor that defines this recipe. Here’s a breakdown of what you’ll need, categorized for clarity:
Dry Ingredients: The Foundation
- All-Purpose Flour: This forms the structural base of our loaf cake, providing tenderness and stability. Proper measurement is key here; use the spoon-and-level method to avoid a dense cake.
- Baking Powder: Our primary leavening agent, ensuring that the cake rises beautifully and achieves that light, airy crumb texture we all adore in a perfect loaf.
- Kosher Salt: A pinch of salt is crucial for balancing the sweetness and enhancing all the other flavors, particularly the bright citrus notes. Don’t underestimate its importance!
Wet Ingredients: The Heart of the Flavor
- Unsalted Butter (Room Temperature): Creamy, softened butter is essential for a rich flavor and tender crumb. Room temperature butter creams better with sugar, incorporating air for a light texture.
- Granulated Sugar: Provides sweetness and also helps to tenderize the cake and create a lovely golden crust.
- Almond Extract: This adds a subtle, sophisticated depth of flavor that beautifully complements the orange, enhancing its brightness without overpowering it.
- Orange Zest: The true star of the show! Zest contains essential oils that pack an intense orange flavor and aroma, much more potent than juice alone. Don’t skimp on this vibrant ingredient.
- Large Eggs (Room Temperature): Eggs contribute to the cake’s structure, moisture, and richness. Using room temperature eggs ensures they emulsify better with the butter and sugar, creating a smoother batter.
- Fresh Orange Juice: Provides additional moisture and a burst of authentic orange flavor. Freshly squeezed is always best for the most vibrant taste.
Silky Orange Glaze: The Perfect Finishing Touch
- Powdered Sugar: Also known as confectioners’ sugar, this fine sugar dissolves easily to create a smooth, pourable glaze with no graininess.
- Almond Extract (for glaze): Just a touch in the glaze mirrors the flavor in the cake, creating a cohesive taste experience.
- Orange Zest (for glaze): A little extra zest in the glaze adds a visual appeal and intensifies the fresh orange aroma and taste.
- Fresh Orange Juice (for glaze): Used to thin the glaze to the perfect consistency while adding a final layer of citrusy brightness.
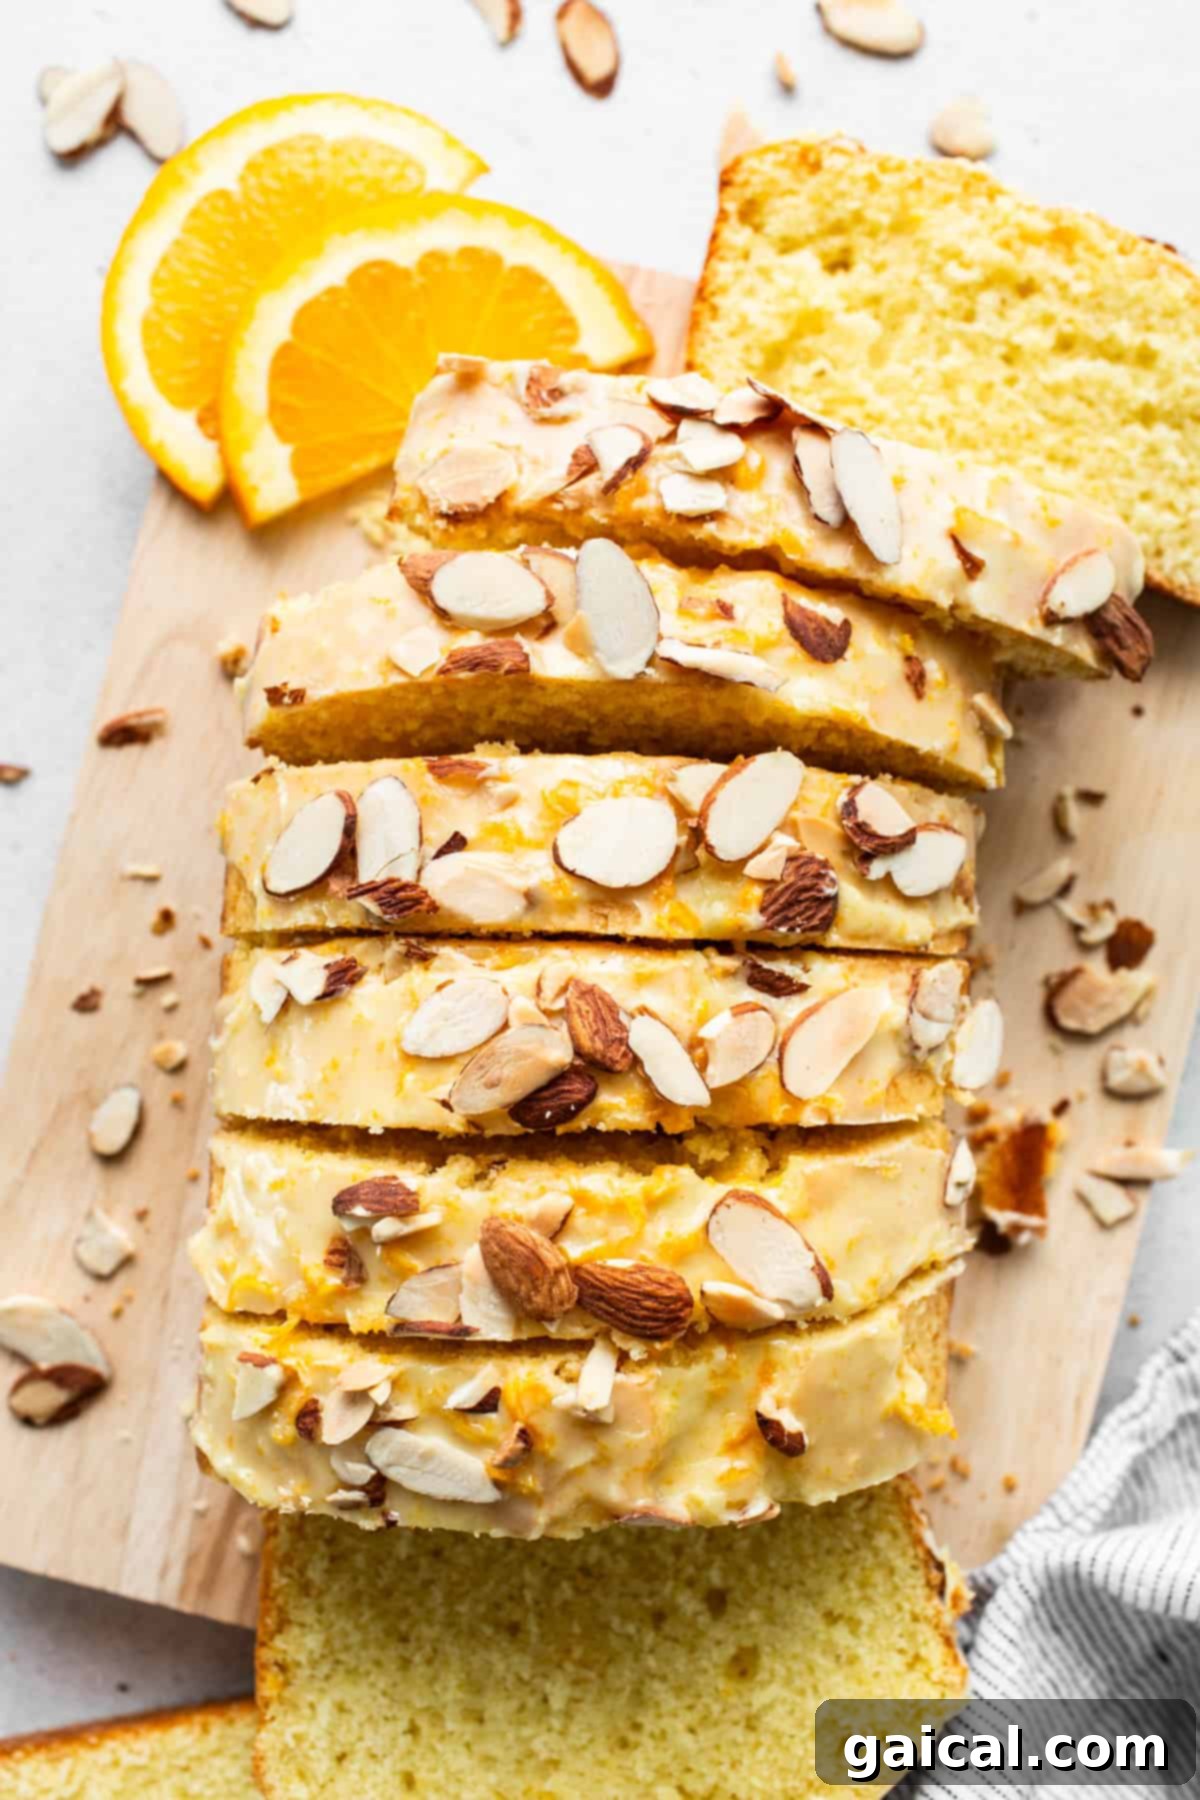
- Slivered Almonds (Garnish): Optional, but highly recommended for a beautiful presentation and a delightful textural crunch that contrasts wonderfully with the soft cake.
Is This Orange Cake Super Sweet? Achieving the Perfect Balance
When developing this recipe, our goal was to create an orange cake that truly lets the natural, bright flavors of the orange shine through, without being overly sweet. We’ve carefully calibrated the sugar content in the cake batter to achieve this delicate balance. The result is a cake where the tart, fresh orange notes are prominent and incredibly enjoyable.
However, we understand that sweetness is a matter of personal preference! If you have a sweeter tooth and prefer a more indulgent treat, don’t hesitate to “go crazy” with the glaze on top. You can easily double the glaze recipe or apply a thicker layer to satisfy your cravings. Remember, the glaze is where you can truly customize the final sweetness to your liking, ensuring every bite is exactly how you want it.
Easy Ingredient Swaps and Customizations for Your Orange Loaf Cake
One of the best things about this orange cake recipe is its adaptability. Feel free to make a few simple swaps to suit your dietary needs or personal preferences without compromising on flavor or texture. Baking should be fun and flexible!
- Butter –> Coconut Oil: If you’re aiming for a dairy-free orange cake, you’re in luck! This recipe was thoroughly tested with softened coconut oil in place of butter, and the results were excellent. It’s a fantastic alternative that still delivers a moist and flavorful cake. Just ensure your coconut oil is softened, not melted, for the best creaming consistency.
- Almond Extract –> Vanilla Extract: The almond extract adds a unique subtle note that perfectly complements the orange. However, if almond flavor isn’t your preference, or if you simply don’t have it on hand, vanilla extract works beautifully as a direct 1:1 substitute. It will still provide a lovely warmth and depth to the cake.
- Slivered Almonds: We adore the elegant look and delicate crunch that slivered almonds add to this cake, both as a garnish and for a little textural contrast. However, if you’re not a fan of almonds, have a nut allergy, or prefer to omit them, feel free to do so. You could also swap them out for another finely chopped nut like pistachios or walnuts if desired.
- Other Citrus Varieties: While this is an orange cake, don’t be afraid to experiment! Lemon zest and juice or a combination of orange and lemon could create a different, equally delightful citrus loaf.
- Add-ins: For extra texture and flavor, consider folding in 1/2 cup of mini chocolate chips, dried cranberries, or even poppy seeds (about 1-2 tablespoons) into the batter before baking.
Top Tips for a Perfectly Baked Orange Loaf Cake
Achieving a bakery-quality orange cake at home is easier than you think, especially with these expert tips:
- Room Temperature Ingredients are Key: For the best results, ensure your butter and eggs are at room temperature. This allows them to emulsify properly, creating a smooth, homogenous batter that traps air efficiently, leading to a lighter and more tender cake.
- Proper Flour Measurement: Always spoon your flour into the measuring cup and then level it off with a straight edge. Scooping directly with the measuring cup can pack too much flour, resulting in a dry, dense cake.
- Don’t Overmix the Batter: Once you add the dry ingredients to the wet, mix only until just combined. Overmixing develops the gluten in the flour, which can lead to a tough cake. A few lumps are perfectly fine!
- Altitude Adjustments May Be Necessary: If you are baking at a higher altitude, it’s important to be aware that the bake time may vary. Higher altitudes can cause baked goods to rise faster and dry out more quickly. Our photographer, for instance, baked this recipe in Denver (a high-altitude city), and it took closer to 50 minutes to fully bake compared to the standard 35-40 minutes. Always rely on visual cues and the toothpick test.
- Test for Doneness: The cake is done when a wooden skewer or toothpick inserted into the center comes out clean or with a few moist crumbs attached, but no wet batter. The top should also spring back gently when lightly pressed.
- Cool Completely Before Glazing: This is a non-negotiable step! You must wait for the cake to cool completely before pouring on the glaze. If the cake is even slightly warm, the glaze will melt, run off the sides, and soak into the cake, instead of forming that beautiful, silky layer on top. Patience is a virtue here!
- Zest Before Juicing: Always zest your oranges before you cut and juice them. It’s much easier to get all that flavorful zest from a whole orange.
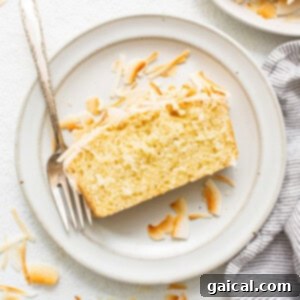
try it!
Coconut Loaf Cake
Love this orange cake? Then you HAVE to try our light and fluffy coconut loaf cake recipe for another incredible loaf.
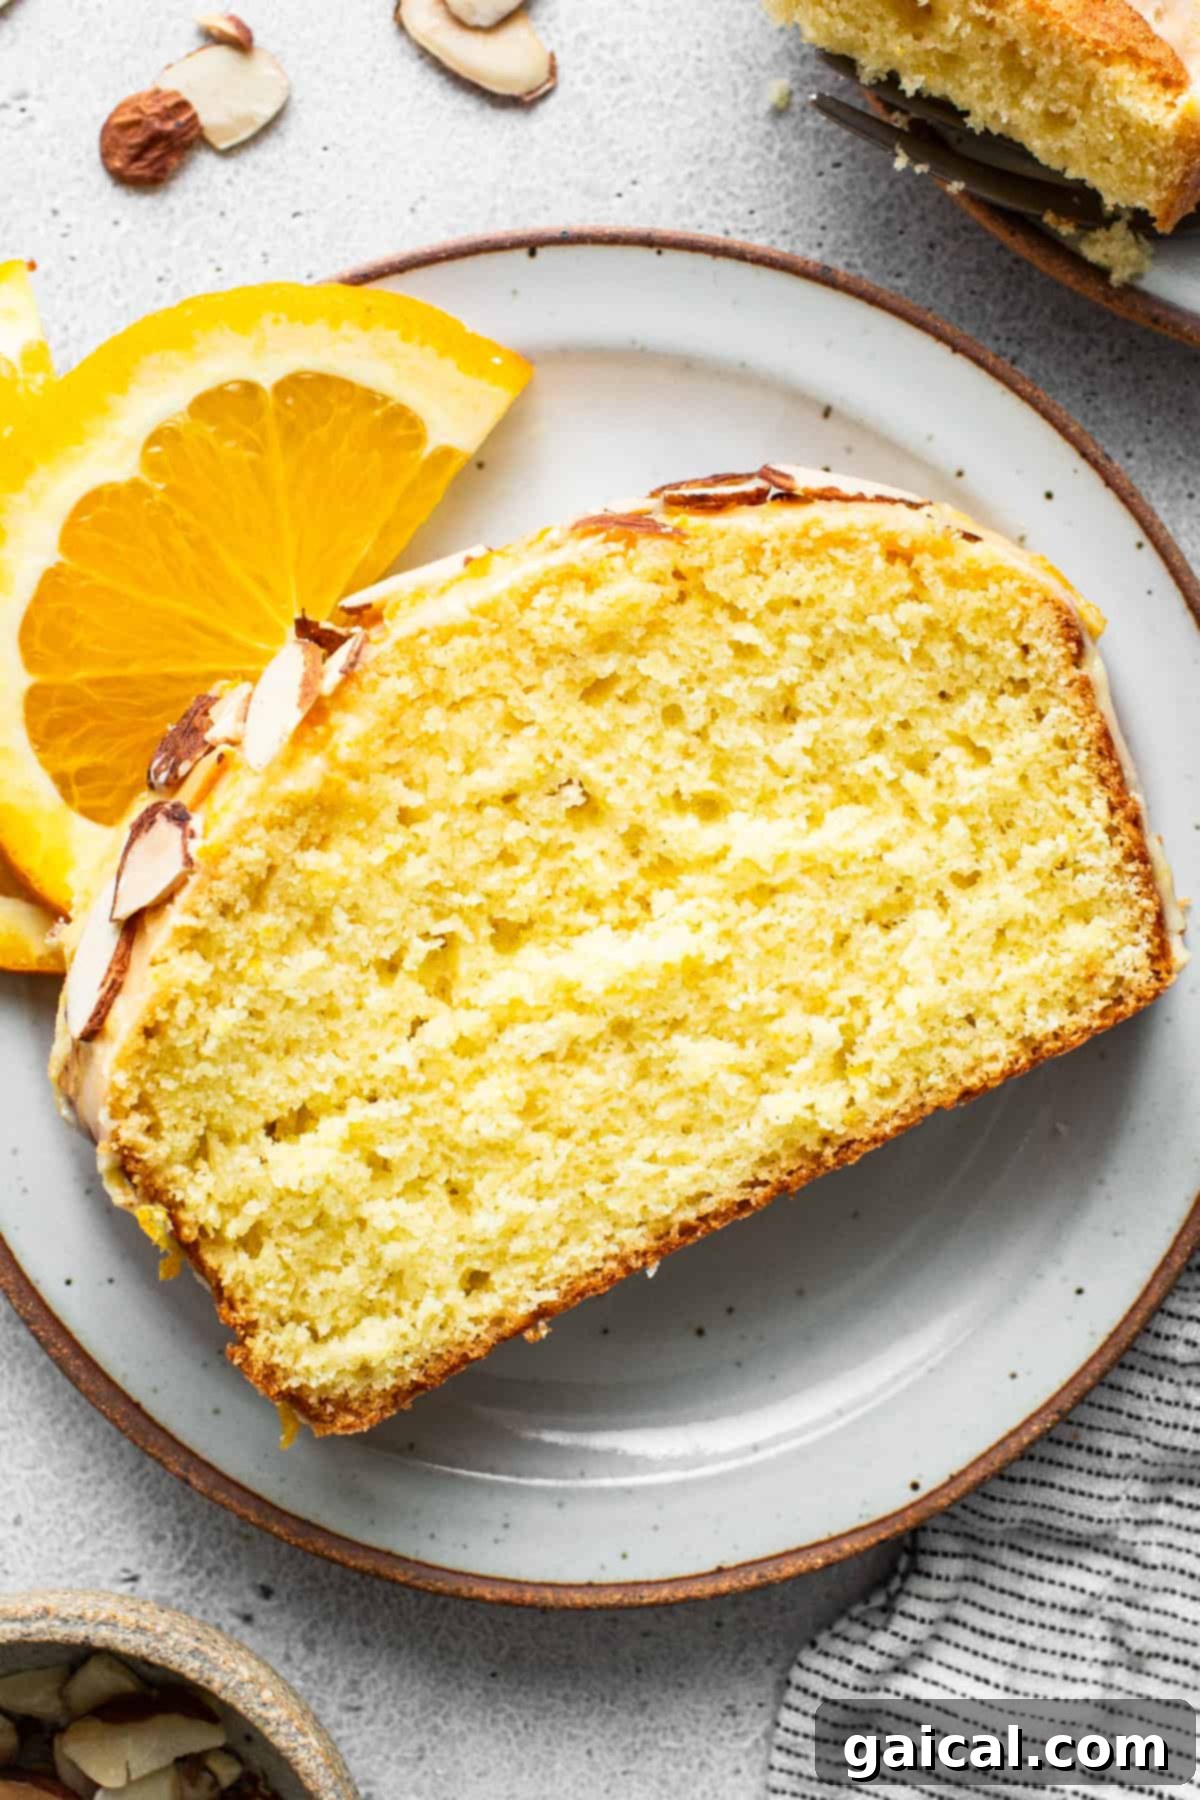
Storage and Freezer Instructions for Your Orange Loaf Cake
Proper storage ensures your delicious orange cake stays fresh and enjoyable for as long as possible, whether you plan to savor it over a few days or save it for a future craving.
- Room Temperature Storage: This orange cake keeps beautifully. Store it in an airtight container at room temperature, in a cool, dark place, for up to 3 days. This prevents it from drying out and maintains its wonderful texture and flavor.
- Refrigeration: While not strictly necessary, if you live in a very warm climate or prefer your cakes chilled, you can refrigerate it. Just be aware that refrigeration can sometimes alter the cake’s texture slightly, making it a bit firmer. Always bring it back to room temperature before serving for the best flavor experience.
- Freezing for Later Enjoyment: This cake is an excellent candidate for freezing, allowing you to enjoy a homemade treat whenever the mood strikes. If you’re planning to freeze this orange loaf, we highly recommend freezing it before frosting it.
- First, allow the baked cake to cool completely to room temperature.
- Once cooled, tightly wrap the entire loaf with several layers of plastic wrap, followed by a layer of aluminum foil. This double-layer protection helps prevent freezer burn and keeps it fresh.
- Label the package with the date, and freeze for up to 3 months.
- When you’re ready to enjoy it, thaw the cake overnight in the refrigerator, or at room temperature for a few hours. Once thawed, you can then prepare and apply the fresh orange glaze.
- Individual slices can also be frozen in the same manner, wrapped tightly, for convenient single servings.
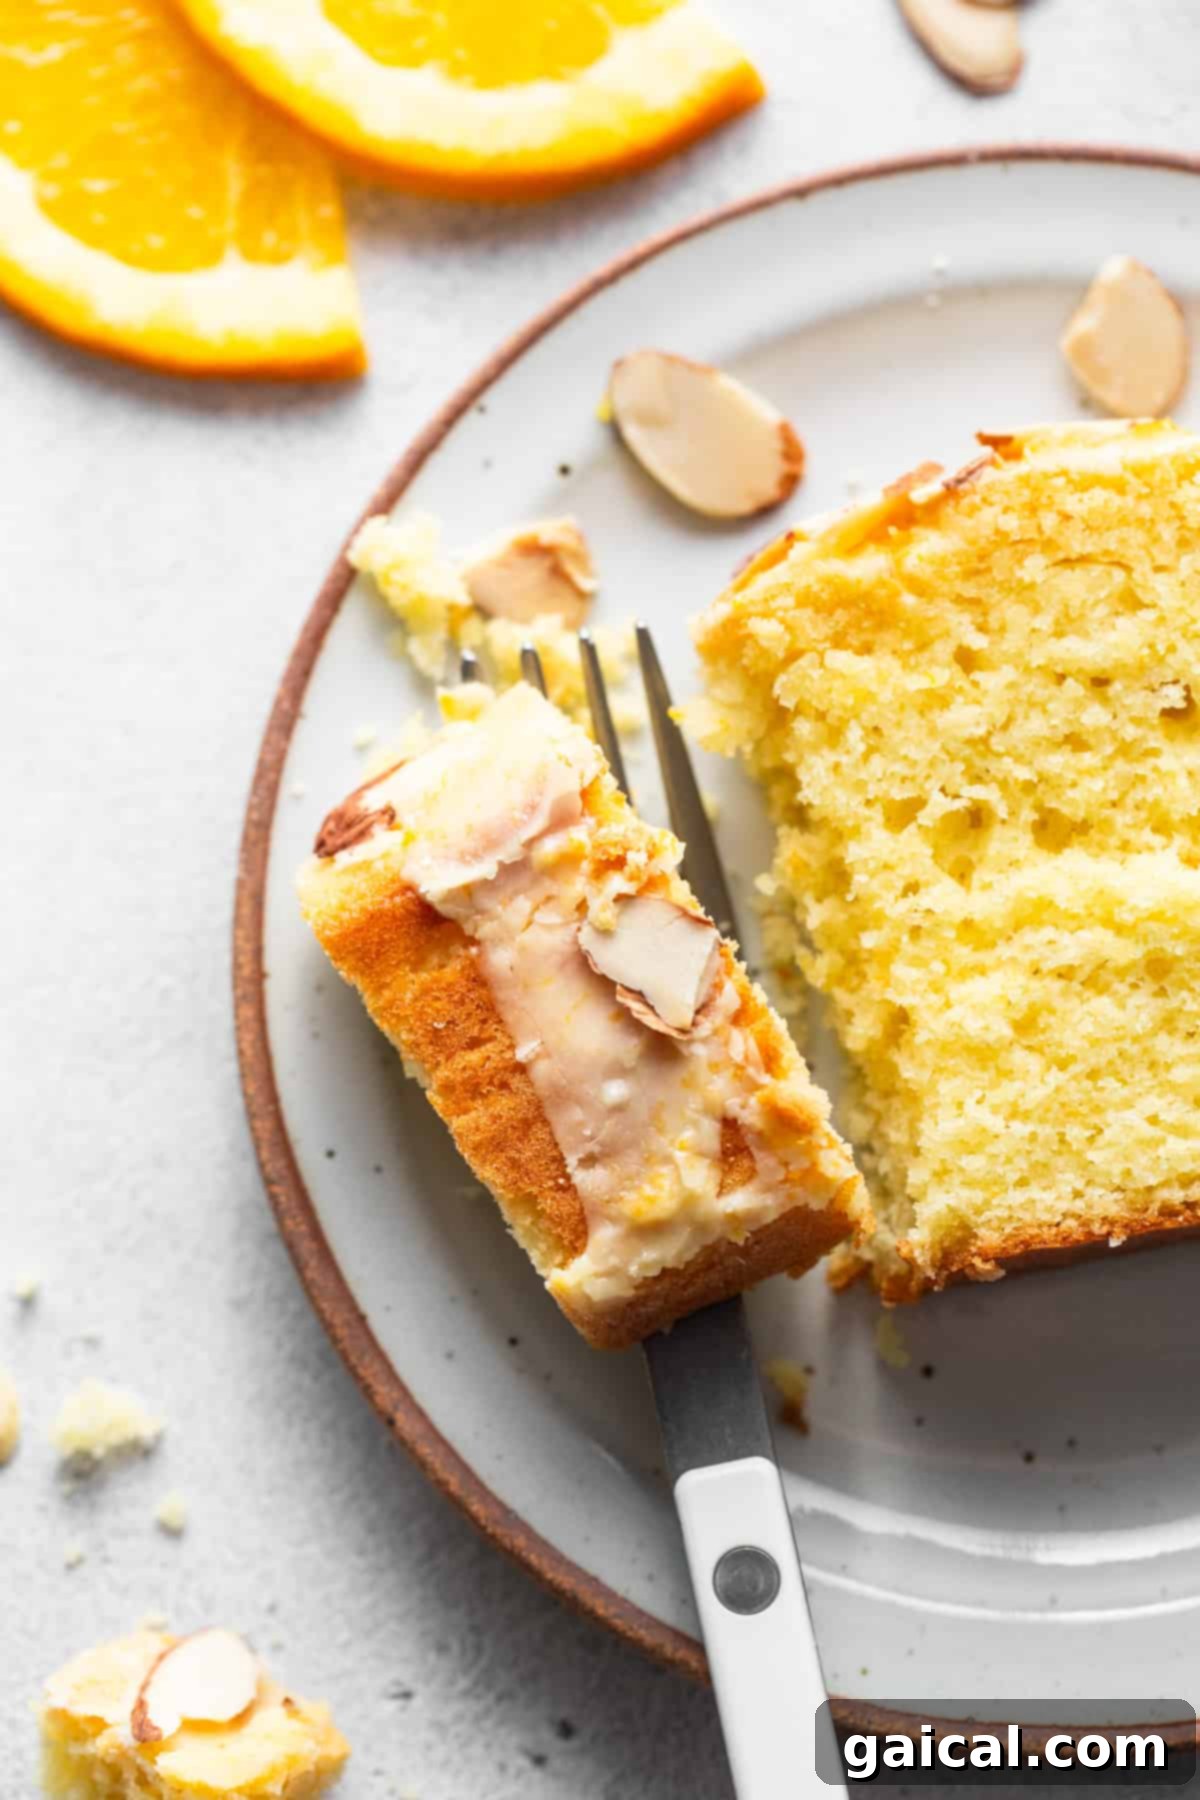
Frequently Asked Questions About Orange Loaf Cake
Here are answers to some common questions that might pop up while you’re baking this delicious orange loaf cake:
- Can I use bottled orange juice? While freshly squeezed orange juice provides the most vibrant and authentic flavor, you can certainly use bottled orange juice in a pinch. Opt for a high-quality, 100% pure orange juice without added sugars or concentrates for the best taste.
- What kind of oranges are best for this recipe? Any sweet, juicy orange will work wonderfully! Navel oranges are a great all-around choice. Valencia oranges are also excellent, especially for juicing. Blood oranges could add a beautiful color and unique flavor twist.
- My cake batter is very thick, is that normal? Yes, absolutely! This recipe yields a thicker batter than some other cake recipes. This is normal and contributes to the cake’s dense yet moist and tender crumb. Don’t worry, it will bake beautifully.
- Can I make this orange cake gluten-free? We haven’t specifically tested a gluten-free version of this recipe. However, many readers have success substituting all-purpose flour with a 1:1 gluten-free baking flour blend (one that contains xanthan gum). Results may vary slightly in texture.
- How do I get enough orange zest? To get the most zest, use a microplane or the fine side of a box grater. Gently rub the orange, rotating it as you go, to only get the brightly colored outer layer (the zest), avoiding the bitter white pith underneath.
- What if my glaze is too thin/thick? If your glaze is too thin, add powdered sugar gradually, 1 teaspoon at a time, until it reaches the desired thick, pourable consistency. If it’s too thick, add more fresh orange juice, 1/4 teaspoon at a time, until it’s perfect.
- Can I bake this in a round cake pan? This recipe is specifically designed for a loaf pan. If you want to use a round cake pan, you might need to adjust baking times and potentially the recipe quantity. For a standard 8 or 9-inch round cake pan, the bake time will likely be shorter (around 25-35 minutes), and you may need to bake two smaller layers if you want a layered cake.
More of Our Favorite Cake Recipes
If you’ve fallen in love with this orange loaf cake, you’re in for a treat! We have a wide array of delicious cake recipes that are just as easy to make and equally delightful. Explore these other fantastic options to satisfy your sweet cravings:
- Apple Cake with Cream Cheese Frosting
- Lightened Carrot Cake
- Coconut Loaf Cake
- Pumpkin Sheet Cake
- Upside Down Peach Cake
- ALLCakes & Cupcakes
Orange Cake Recipe
Crafted with fresh orange juice, aromatic orange zest, and a luscious orange glaze, this stunning orange cake promises a burst of vibrant citrus in every delectable slice. It’s a remarkably easy recipe, perfect for any occasion.
By: Emily Richter
Prep time: 15 mins
Cook time: 35 mins
Total time: 50 mins
Yields: 9 servings

Ingredients
Dry Ingredients
- 2 cups all-purpose flour
- 2 teaspoons baking powder
- ½ teaspoon kosher salt
Wet Ingredients
- ½ cup unsalted butter, room temperature
- ¾ cup granulated sugar
- 1 teaspoon almond extract
- 1 tablespoon orange zest (from about 1-2 oranges)
- 2 large eggs, room temperature
- ¾ cup fresh orange juice (from about 2-3 oranges)
Glaze
- ½ cup powdered sugar
- ¼ teaspoon almond extract
- 2 teaspoons orange zest
- 1 tablespoon fresh orange juice (add more if needed)
- ¼ cup slivered almonds, for garnish (optional)
Instructions
- Step 1: Prepare the Pan and Oven. Preheat your oven to 350ºF (175ºC). Lightly grease a standard loaf pan (approximately 9×5 inches) and line it with parchment paper, leaving an overhang on the longer sides. This will make it easier to lift the baked loaf out later.
- Step 2: Combine Dry Ingredients. In a large bowl, add the all-purpose flour, baking powder, and kosher salt. Whisk these dry ingredients together thoroughly to ensure they are well combined and evenly distributed. Set this bowl aside.
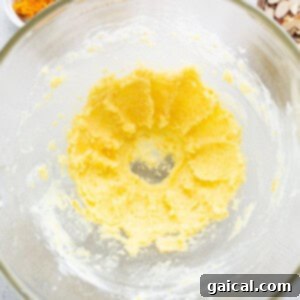
- Step 3: Cream Wet Ingredients. In a separate large bowl, add the softened unsalted butter. Beat it with an electric hand mixer or a stand mixer on medium speed until creamy (about 1-2 minutes). Add the granulated sugar, 1 teaspoon almond extract, and 1 tablespoon orange zest to the butter. Continue to beat until the mixture is light, fluffy, and pale in color, scraping down the sides of the bowl as needed (about 2-3 minutes).
- Step 4: Add Eggs. Add the large eggs one at a time to the butter mixture, beating well after each addition until fully combined. Make sure each egg is incorporated before adding the next.
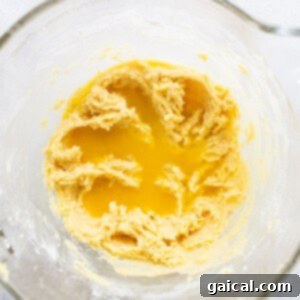
- Step 5: Combine Wet and Dry. Gradually add the dry ingredients mixture to the wet ingredients, mixing on low speed. Scrape down the sides of the mixing bowl a few times to ensure everything is well incorporated. The batter will be quite thick at this stage. Once the dry ingredients are mostly incorporated, pour in the ¾ cup of orange juice and mix on low speed until just combined. Be careful not to overmix.
-

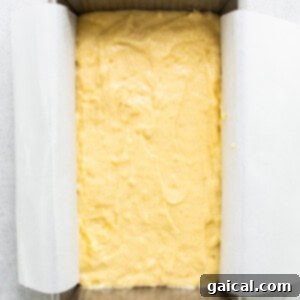
The thick, rich orange cake batter, ready for the pan. The batter will be thick. - Step 6: Bake the Cake. Transfer the thick orange cake batter into the prepared loaf pan, spreading it evenly. Bake for 20 minutes. After 20 minutes, carefully turn the loaf pan 180 degrees (this helps with even baking), and continue to bake for another 15-20 minutes, or until the top of the bread is golden brown and springs back when you gently poke it. A wooden skewer or toothpick inserted into the center should come out clean.
-
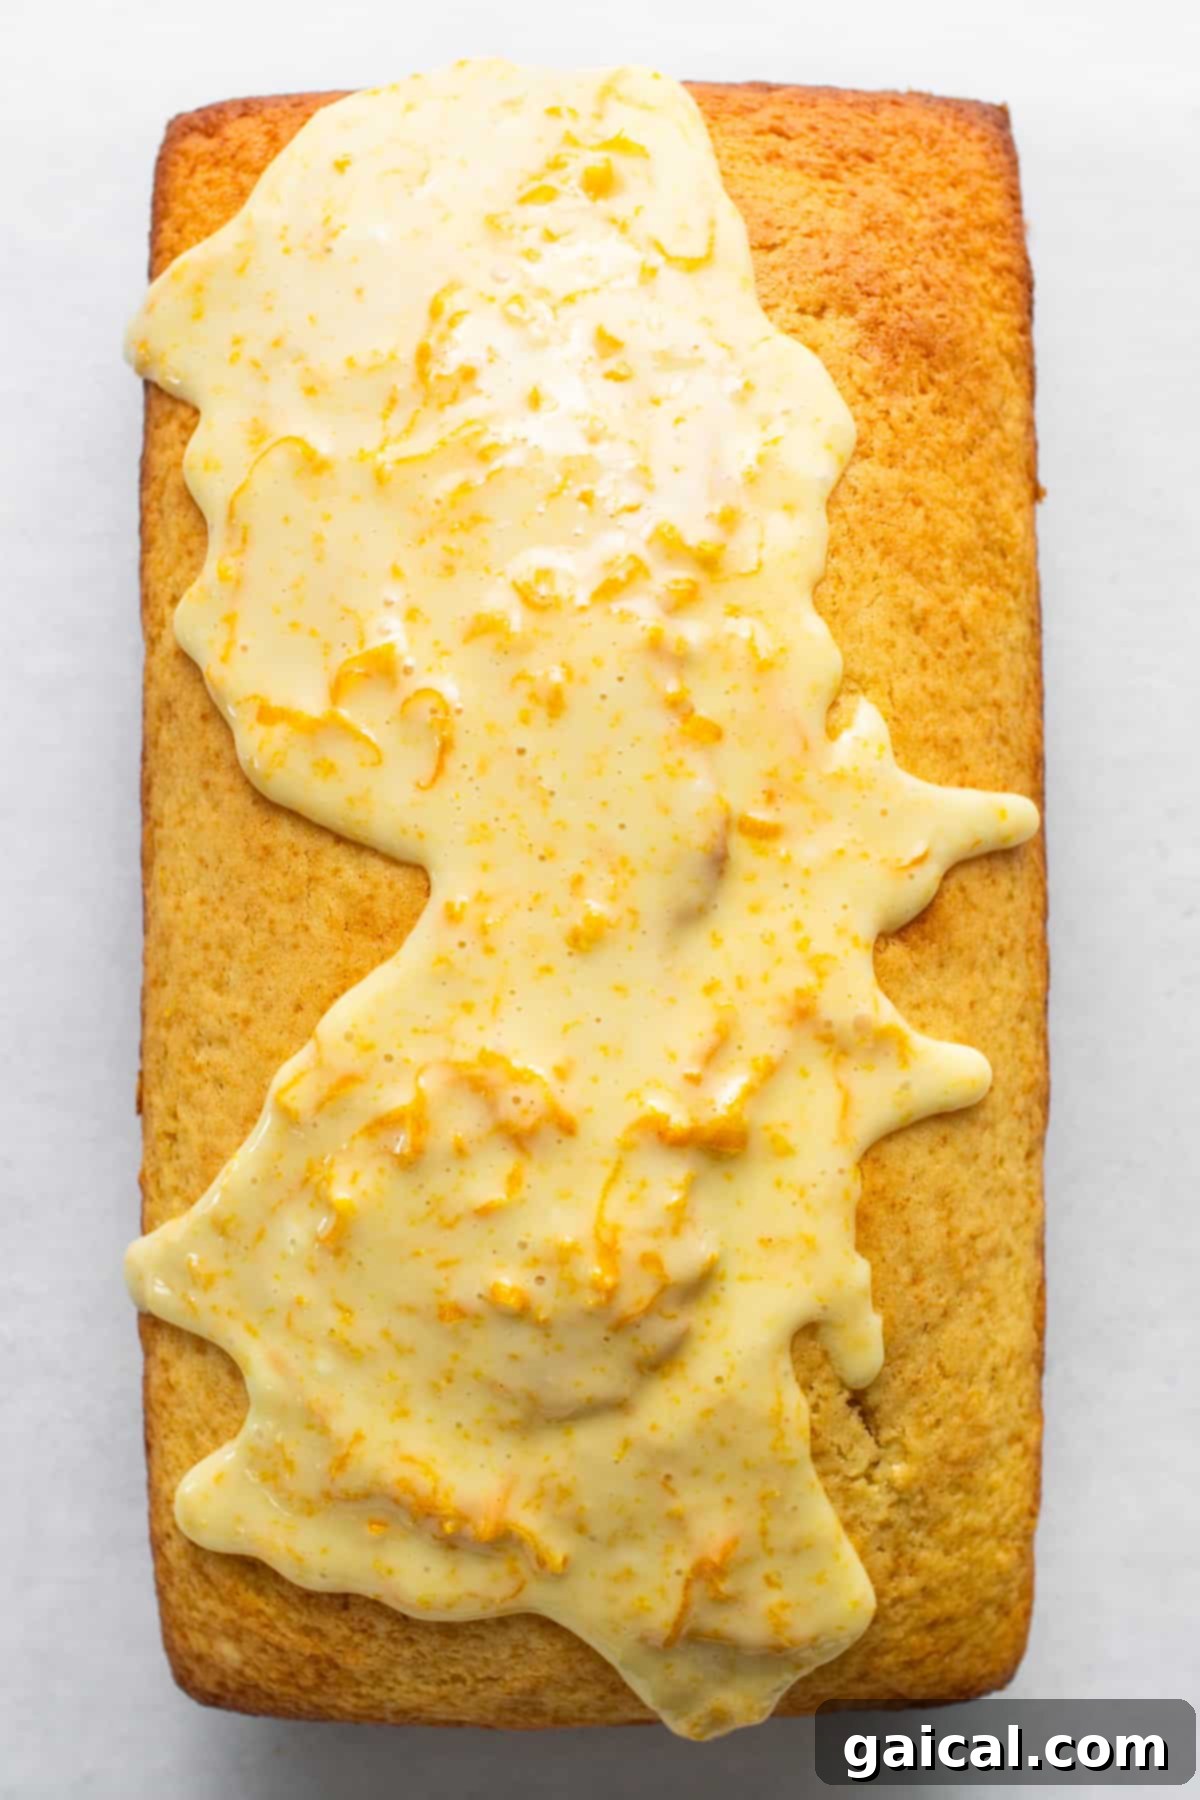
The orange cake baking beautifully in the loaf pan. - Step 7: Prepare the Glaze. While the cake is baking and cooling, prepare the vibrant orange glaze. In a small bowl, combine the powdered sugar, ¼ teaspoon almond extract, and 2 teaspoons orange zest. Begin by adding 1 tablespoon of fresh orange juice, whisking until thick and smooth. If the glaze is too thick, add more orange juice, ¼ teaspoon at a time, until you reach your desired pourable consistency.
-
Ingredients for the silky orange glaze being mixed. - Step 8: Cool and Glaze. Once baked, remove the loaf from the oven and let it sit in the pan for about 2 minutes. Then, gently lift the loaf out of the pan by holding the edges of the parchment paper and transfer it to a wire cooling rack. Allow the cake to cool completely to room temperature before pouring the prepared glaze generously over the top.
-
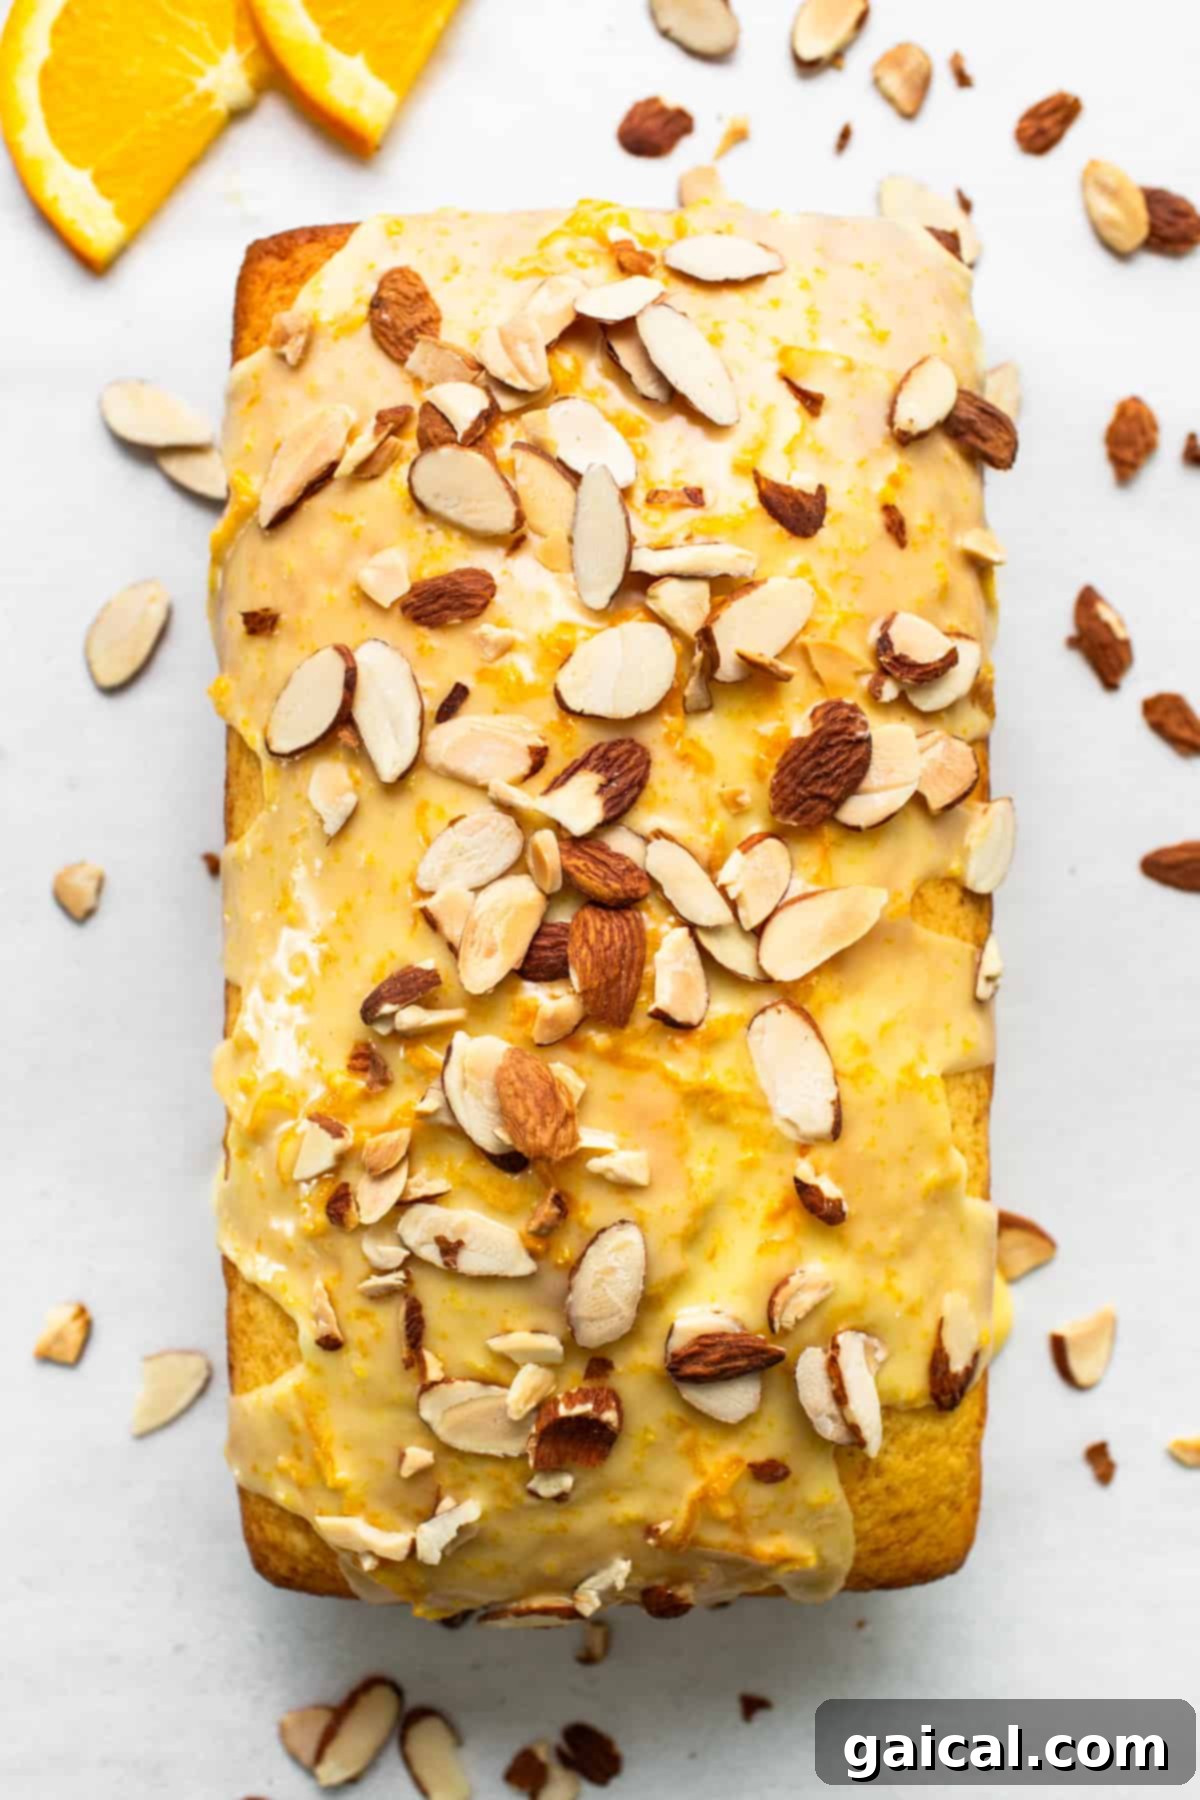
The finished glazed orange loaf cake, ready for serving. Top the wet glaze with a sprinkle of slivered almonds (if using) for a beautiful finish. Slice and serve your irresistible orange loaf cake. Enjoy!

Tips & Notes
- This recipe was successfully tested with softened coconut oil in place of butter, making it a great dairy-free option.
- If you’re not a fan of almond extract, vanilla extract can be used as a delicious alternative.
- Baking at high altitude may require adjustments to bake time. If you’re above sea level, your cake might take longer to bake (e.g., up to 50 minutes in Denver).
- It is absolutely crucial to let the cake cool completely before applying the glaze; otherwise, the glaze will melt and be absorbed by the cake instead of creating a lovely topping.
- For the most intense citrus flavor, ensure you’re using fresh oranges for both the zest and juice.
Watch It
See how this delightful orange cake comes to life in our step-by-step video:
Note: If the video above does not load, please search “Orange Cake Recipe” on YouTube for a visual guide.
Nutrition Information
Calories: 326 kcal, Carbohydrates: 48 g, Protein: 5 g, Fat: 13 g, Fiber: 1 g, Sugar: 25 g
Nutrition information is automatically calculated and should be used as an approximation. Actual values may vary based on specific ingredients and preparation methods.
Don’t forget to tag your beautiful creations on social media with the hashtag #fitfoodiefinds – we’d absolutely love to see what you’re up to and feature your baking triumphs!
Photography: Photos in this post were taken by Ashley McGlaughlin from The Edible Perspective.