
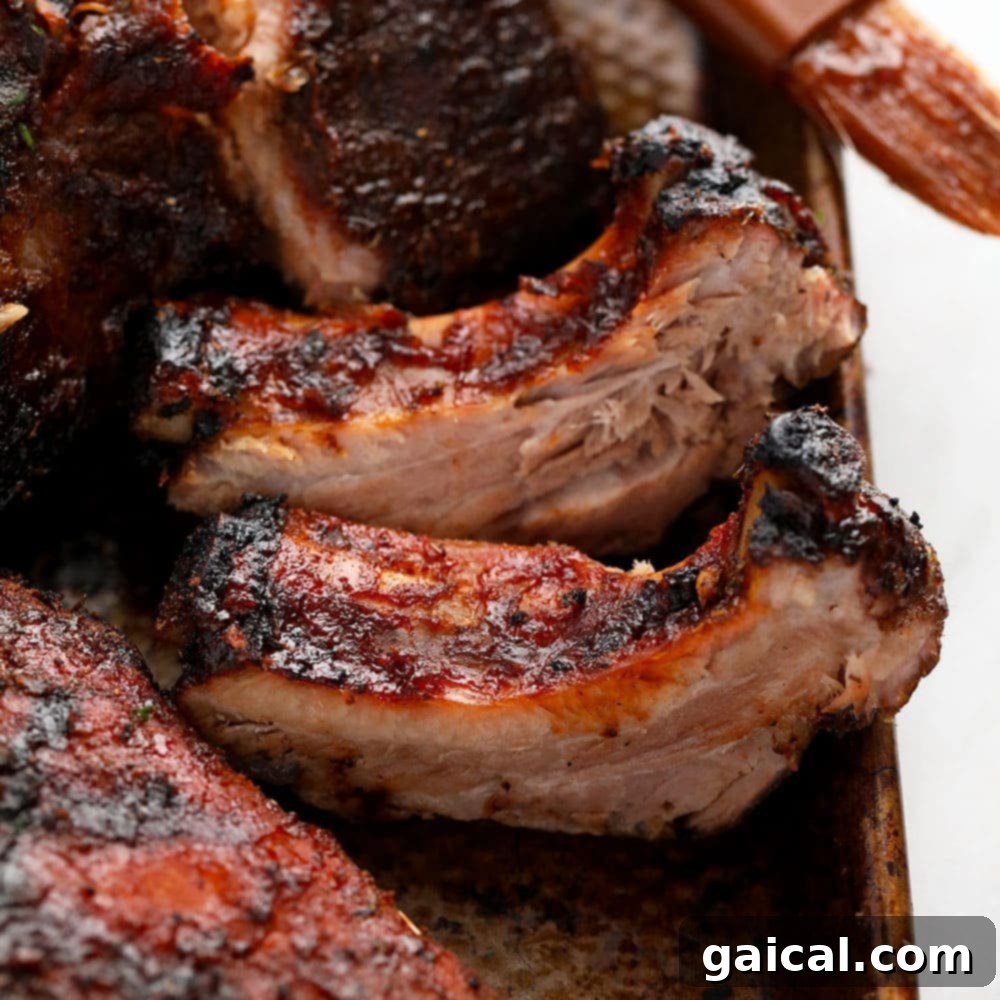
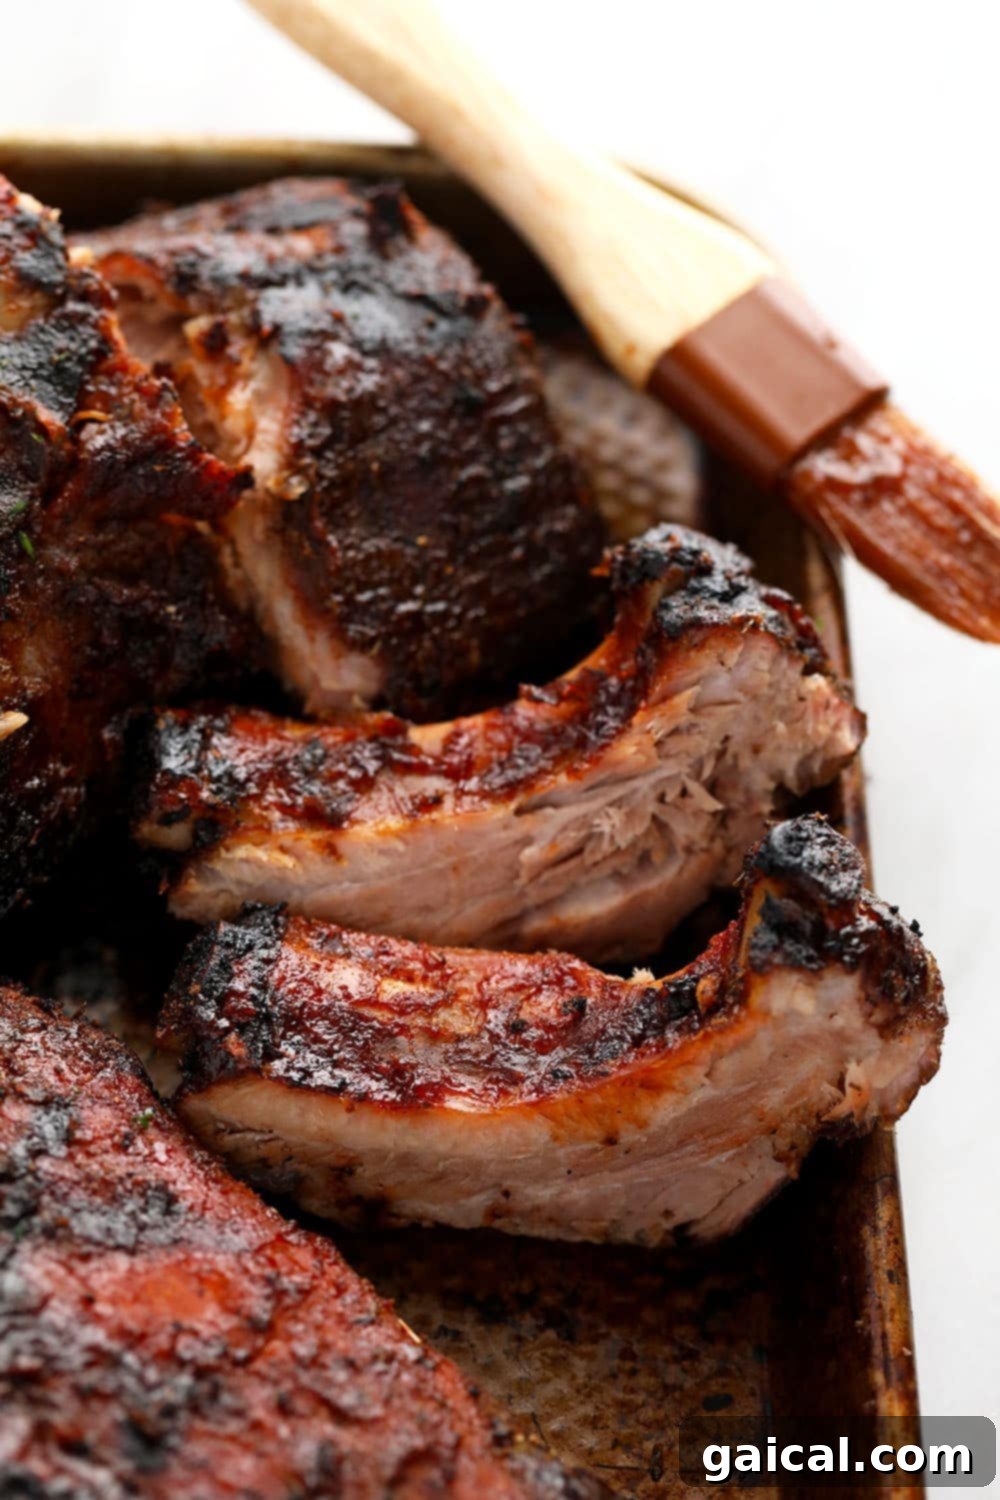
Preparing ribs that are truly fall-off-the-bone tender and bursting with flavor has always been a culinary quest for many home cooks. For us, the journey led to one extraordinary method: the 24-hour sous vide technique. This recipe, a beloved creation of my husband Mark, has become a staple for our cabin gatherings, consistently earning rave reviews from everyone who tries it. It’s not just a meal; it’s an experience of ultra-tender, succulent ribs that practically melt in your mouth, making it the definitive way to cook perfect BBQ ribs.
Our method involves coating your pork ribs with a rich, smokey dry rub, then precisely cooking them in a sous vide water bath for a full 24 hours. This extended, low-temperature cooking is the secret to their incredible tenderness. Finally, the ribs are generously slathered with your favorite BBQ sauce and grilled to caramelized perfection, creating a sublime balance of smoky, sweet, and tangy flavors.
Featured Comment: A True Fan Favorite!
“I don’t think I’ve ever left a comment on a cooking website before, but after making these ribs, I felt obligated because they were so dang good. Followed the recipe exactly, except I broiled them in the oven rather than grilling. The meat fell right off the bone. My very picky partner is already asking when I’m going to make them again. Thanks for posting this recipe!” – John A
Crafting the Best Ribs: A Culinary Revelation
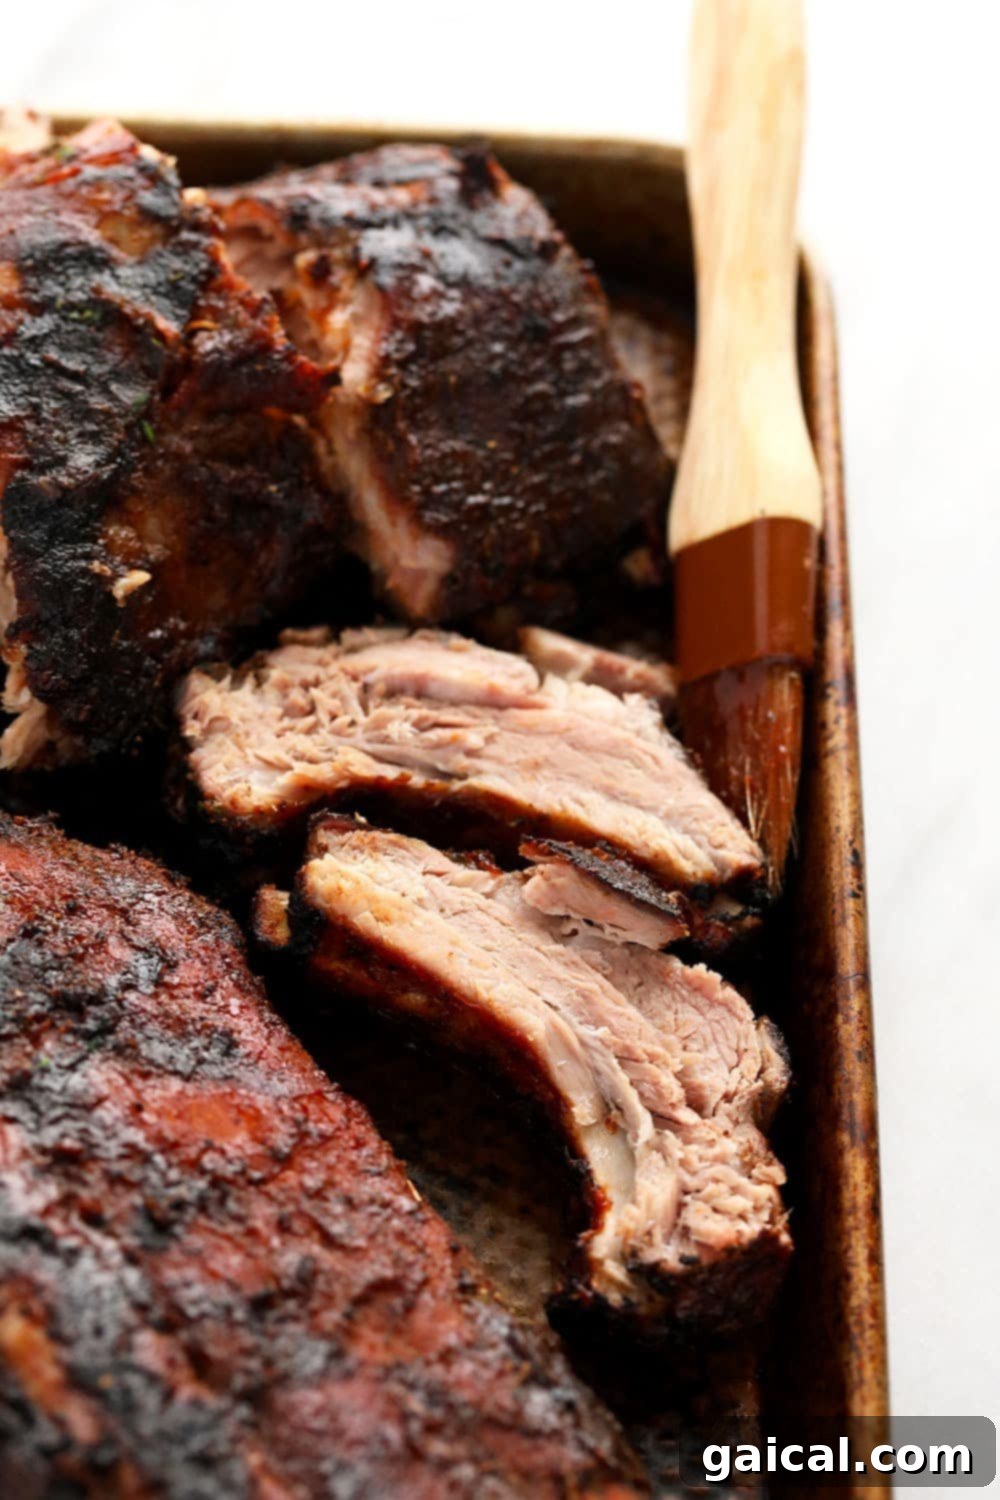
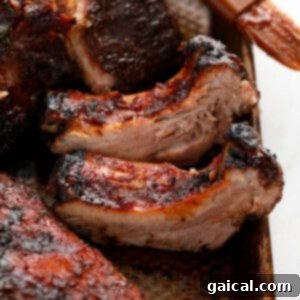
When “rib night” rolls around in our household, it’s always a special occasion. But when it’s sous vide rib night, it transforms into an unforgettable feast. Imagine pork ribs so incredibly tender that the meat literally slides off the bone with the slightest touch – not just fall-off-the-bone, but truly melt-in-your-mouth delicious. These aren’t just ribs; they’re a testament to precision cooking, delivering a flavor and texture profile that’s utterly finger-licking good.
The culinary world often engages in lively debates about the ultimate method for cooking baby back ribs. Some enthusiasts swear by smoking for that deep, woody essence, others prefer the char and sizzle of the grill, while a significant number advocate for the consistent heat of the oven. While I appreciate ribs prepared in any of these traditional ways, our absolute favorite and, in our experience, the very best method, is undoubtedly Sous Vide Ribs…specifically, our signature 24-hour sous vide ribs! This technique elevates rib cooking to an art form, guaranteeing perfection every time.
24-HOUR Sous Vide Ribs: Unlocking Unparalleled Tenderness
Yes, you read that correctly! This comprehensive guide will walk you through the process of cooking an entire rack of ribs in a sous vide water bath for a full 24 hours. You might wonder, “Why such a long cooking time?” The extended 24-hour immersion in a precisely heated water bath is paramount to achieving the distinctive qualities that make these ribs legendary. This prolonged sous vide duration ensures two critical outcomes that traditional cooking methods often struggle to deliver:
- Perfectly Cooked to Medium: With sous vide, the fear of overcooking or undercooking your ribs becomes a thing of the past. The consistent, controlled temperature of the water bath gently cooks the meat evenly from edge to edge, ensuring a flawless medium doneness throughout. This precision guarantees optimal flavor and texture without any dry spots or uncooked areas.
- Unbelievable Fall-Off-The-Bone Tenderness: There’s nothing more disappointing than a chewy, tough rib. Our 24-hour sous vide method guarantees ribs that are so incredibly tender, the meat practically detaches from the bone on its own. This extended cooking duration at a stable temperature meticulously breaks down the tough collagen in the rib meat, transforming it into gelatin and resulting in an unparalleled succulent texture that will amaze your taste buds.
For these sous vide ribs, the magic lies in a three-fold approach: first, infusing the meat with a flavorful rub; second, the precise and extended sous vide cooking time; and third, a final high-heat grill or broil to develop a beautiful, caramelized crust and set the BBQ sauce. Let’s delve deeper into each essential step to master this exceptional recipe!
Essential Kitchen Tools for Sous Vide Ribs
Before embarking on this incredibly rewarding recipe, ensure you have the necessary kitchen essentials. While sous vide cooking might sound complex, the right tools make it incredibly straightforward and foolproof, guaranteeing professional-grade results from your home kitchen.
- Sous Vide Immersion Circulator: This is the heart of your sous vide setup. We highly recommend an Anova Sous Vide, known for its exceptional precision, reliability, and user-friendly interface. A quality circulator is crucial for maintaining the exact water temperature needed for 24 hours, ensuring perfectly cooked ribs.
- Sous Vide Container or Large Cooler: You’ll need a vessel large enough to fully submerge an entire rack of ribs (or even multiple racks). While a large stock pot can work, we often use an insulated cooler. A cooler provides excellent heat retention, which minimizes water evaporation and helps the immersion circulator maintain a stable temperature more efficiently over the extended cooking period.
- Vacuum Sealer: For consistent and safe sous vide cooking, a vacuum sealer is highly recommended. It removes all air from the bag, ensuring optimal heat transfer and preventing the ribs from floating. If you plan on regular sous vide cooking, investing in a good Food Saver Machine is a wise choice.
- Vacuum Sealer Bags: Make sure you have bags that are long enough and robust enough to comfortably fit an entire rack of ribs. Using bags specifically designed for vacuum sealing and sous vide ensures durability and prevents leaks during the long cooking process.
Step-by-Step Guide: Crafting Unforgettable Sous Vide Ribs
Step 1: Prepare the Ribs and Remove the Membrane
The first crucial step to perfectly tender ribs is proper preparation. Begin by carefully removing your rack of pork ribs from its packaging and placing it on a clean cutting board or baking sheet. The most important initial task is to locate and remove the thin, white membrane on the backside of the ribs. This silvery layer, known as the pleura, is tough and will prevent your ribs from achieving that desired fall-off-the-bone texture if left intact. To remove it, gently slide a knife or the handle of a spoon under the membrane at one end of the rack to lift it. Once you have a good grip, use a paper towel to pull the membrane away from the bones. It should peel off in one satisfying piece. This step significantly enhances the eating experience, making the ribs much more enjoyable. As a time-saving tip, don’t hesitate to ask your butcher to remove the membrane for you when you purchase the ribs.
Step 2: Generously Season Ribs with a Flavorful Dry Rub
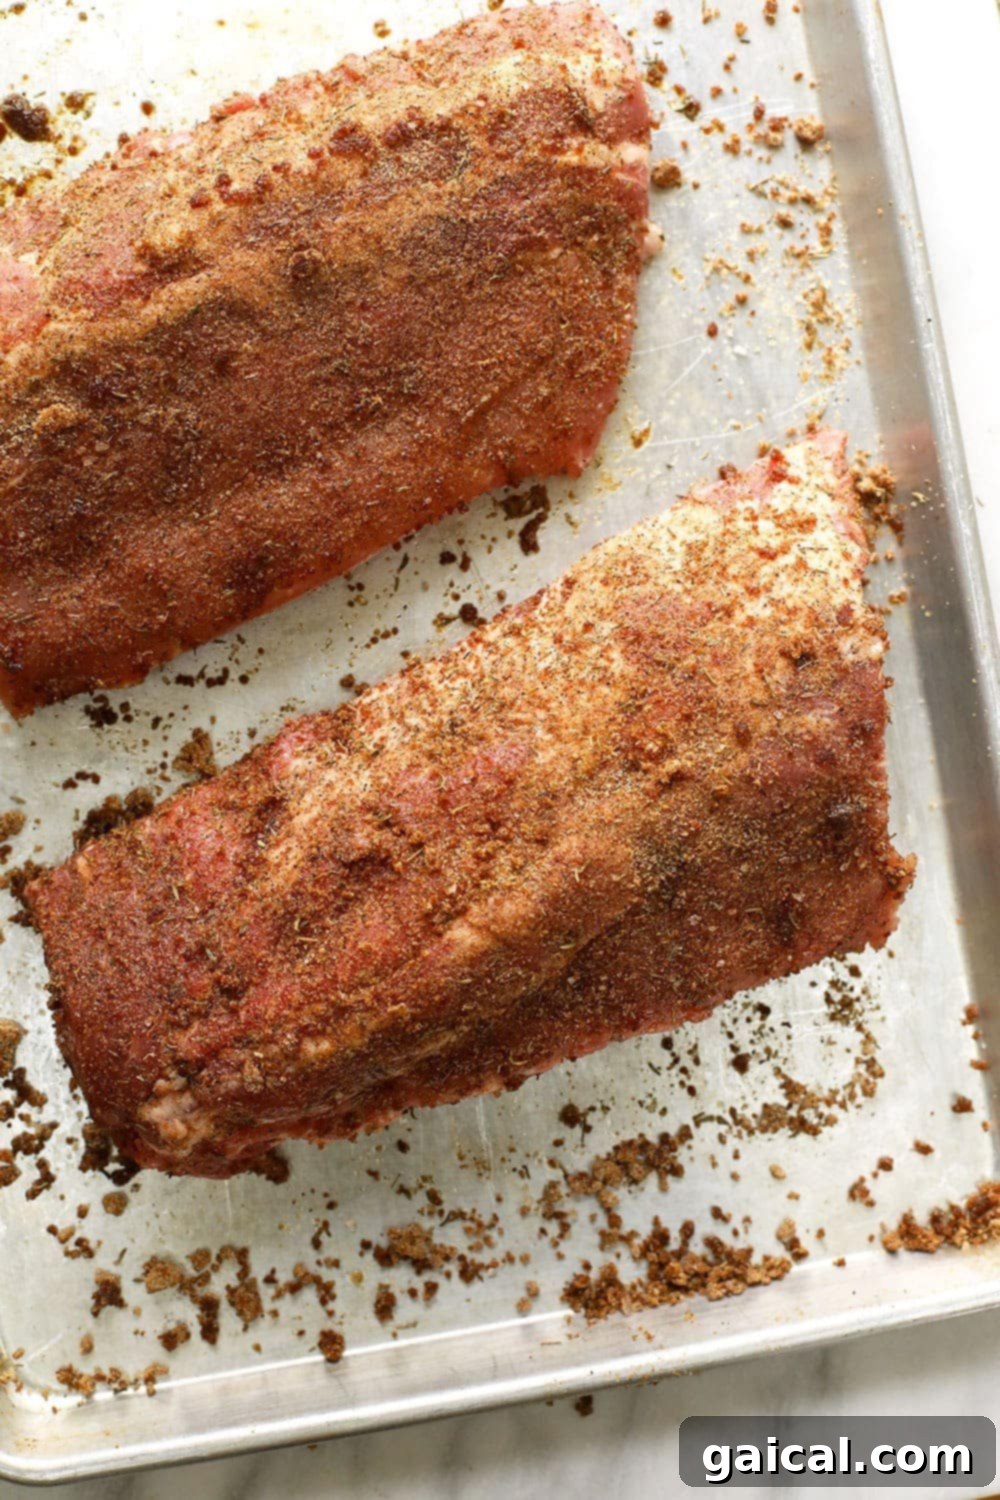
With the ribs prepped, it’s time to build incredible flavor with a homemade spice rub. We rely on our tried-and-true dry rub for pork, which strikes a sublime balance between savory depth and a touch of sweetness. This blend is versatile, but if you prefer an even smokier profile, a generous pinch of smoked paprika can be a wonderful addition. The dry rub is not just about flavor; it’s an integral part of the tenderizing process.
Why is a Dry Rub Essential for Sous Vide Ribs?
- Intense Flavor Infusion: The spices and herbs in a dry rub penetrate deep into the meat during the long sous vide cook, creating a complex and rich flavor foundation that’s impossible to achieve with just a simple seasoning.
- Tenderization Power: The salt and sugar present in a well-balanced dry rub play a crucial role in tenderizing the meat. Salt helps break down muscle fibers and aids in moisture retention, while sugar contributes to both flavor and the eventual caramelization on the grill.
For this specific sous vide pork ribs recipe, we implement a two-stage seasoning approach. You’ll apply the majority of the dry rub before the sous vide bath, and then again right before grilling to amplify the flavor and create a perfect crust. Therefore, be sure to reserve about 1/4 cup of your prepared dry rub for the final grilling step!
Pro Tip for Maximum Flavor
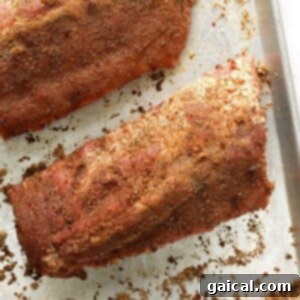
To ensure every inch of your ribs absorbs that delicious rub, be sure to generously coat the entire rack, both front and back. Don’t be shy – use your hands to massage the dry rub deeply into the meat, working it into all the crevices. This hands-on approach ensures an even distribution and superior flavor penetration.
Step 3: Securely Package and Seal the Ribs
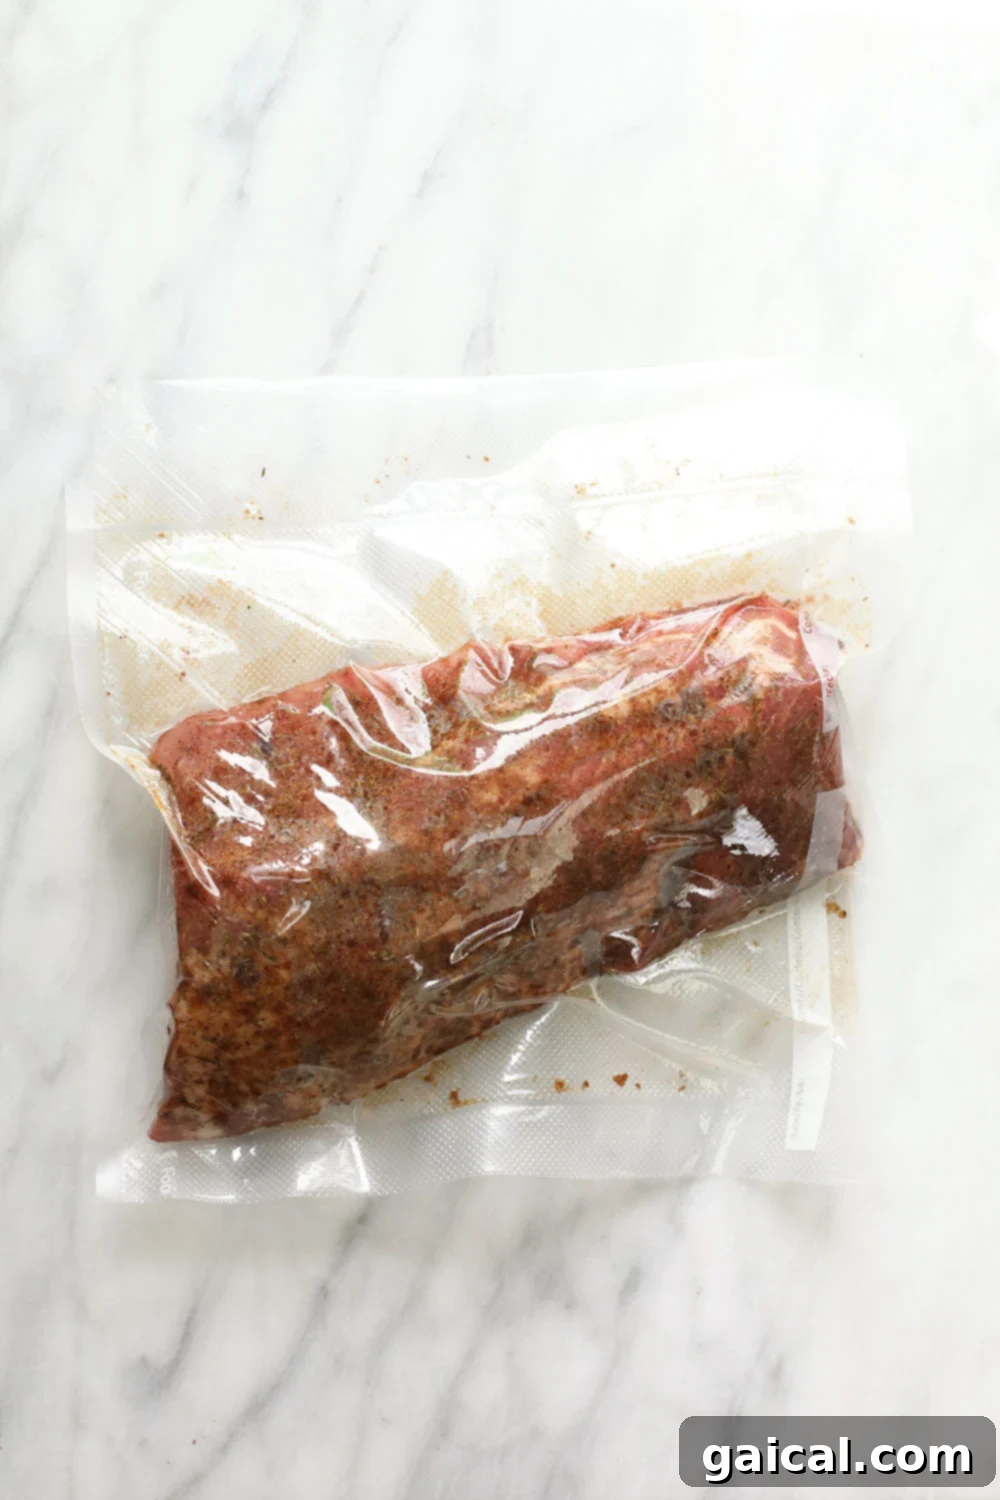
Once your ribs are thoroughly coated with the dry rub, the next critical step is to seal them in an airtight bag. This is paramount for the sous vide process, as the ribs will be submerged in a water bath for an extended 24-hour period. Ensuring the bag is completely sealed prevents any water from entering and, equally important, locks in all the flavorful juices and seasonings.
We highly recommend using a Food Saver bag in conjunction with a Food Saver Machine for the most reliable, vacuum-sealed results. This method removes virtually all air, which is ideal for efficient heat transfer and preventing the bag from floating.
However, if you don’t own a vacuum sealer, don’t worry! High-quality Ziploc freezer bags can work effectively. To achieve a good seal with a Ziploc, place the seasoned ribs into the bag, then slowly lower the bag into the water bath, leaving a small corner unsealed at the top. The water pressure will naturally push the air out of the bag. Once most of the air has been expelled, seal the remaining corner. A large Stasher bag is another excellent reusable option for sous vide. You may need to cut your rack of ribs into two or three pieces to ensure they fit comfortably and are fully submerged.
Extra Precaution for Peace of Mind
If you’re new to sous vide or simply prefer an extra layer of security, feel free to double-bag your ribs. Placing your sealed bag inside another larger, sealed bag provides added protection against leaks, ensuring your ribs cook perfectly without any mishaps. It’s always better to be safe than sorry, especially for a 24-hour cook.
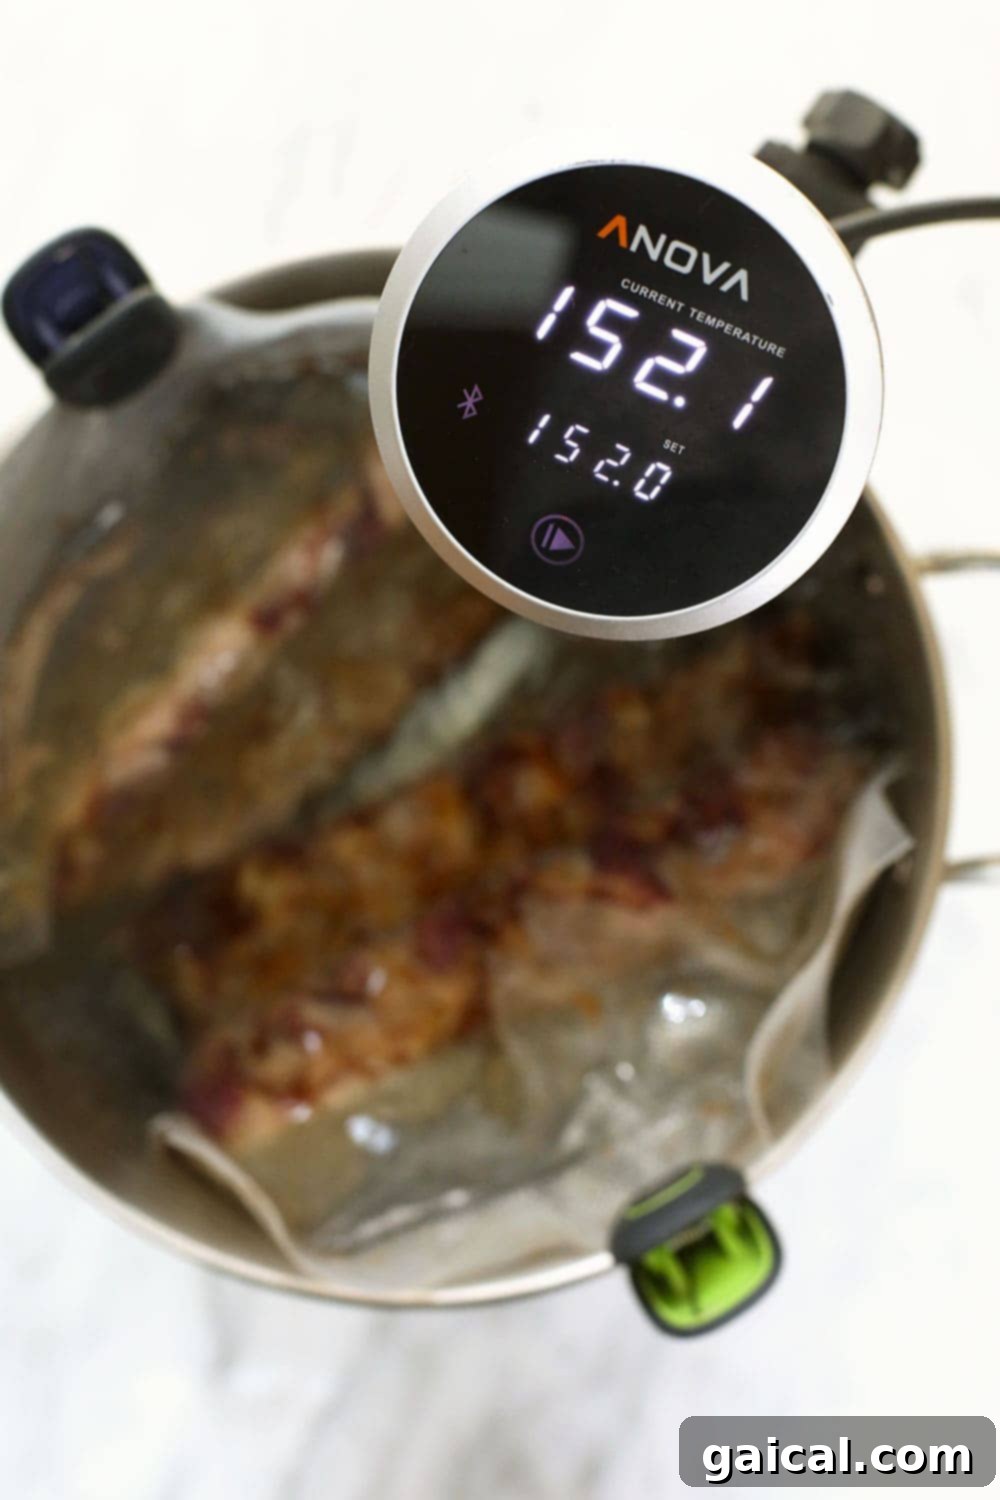
Step 4: Prepare the Water Bath and Commence the 24-Hour Cook
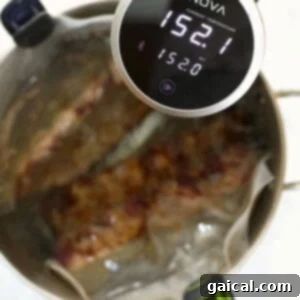
With your ribs perfectly sealed, it’s time for their long, gentle bath. Fill your sous vide container or large pot with water, ensuring it’s deep enough to fully submerge your rib bags. Attach your immersion circulator to the side of the container and set the temperature. We’ve found that the ideal temperature for our fall-off-the-bone sous vide ribs is precisely 152ºF (66.5ºC). While pork ribs are considered safely cooked at an internal temperature of 145ºF, we intentionally increase the temperature slightly and extend the cooking time to maximize the breakdown of tough connective tissues and achieve that characteristic, incredibly tender, melt-away texture.
Once the water bath reaches the target temperature, carefully submerge your sealed rib bags, making sure they are completely underwater. Set your sous vide timer for a full 24 hours, and let the magic happen! This long, slow cook is where the ribs transform into their magnificent, tender state.
Essential Tips for a Successful 24-Hour Sous Vide Cook
- Preventing Water Evaporation with Tin Foil: Over a 24-hour period, a significant amount of water can evaporate from your open sous vide bath, potentially exposing the ribs. To combat this, cover your pot or container with tin foil. Simply create a small opening for the immersion circulator. This simple trick dramatically reduces evaporation, maintaining a consistent water level.
- Regular Water Level Checks: Even with foil, it’s wise to periodically check your water level every 6-12 hours. If you notice the water line has dropped and the rib bags are no longer fully submerged, carefully add more hot water to the bath until the ribs are covered again. Ensuring continuous submersion is key to even cooking.
- Keeping Bags Submerged with Clips: Sometimes, sealed bags might try to float, especially if there’s any residual air. Bag clips or even sturdy clothespins are excellent tools for securing your rib bags to the side of the pot or container, ensuring they remain fully submerged for the entire cooking duration. This guarantees uniform heat transfer to all parts of the ribs.
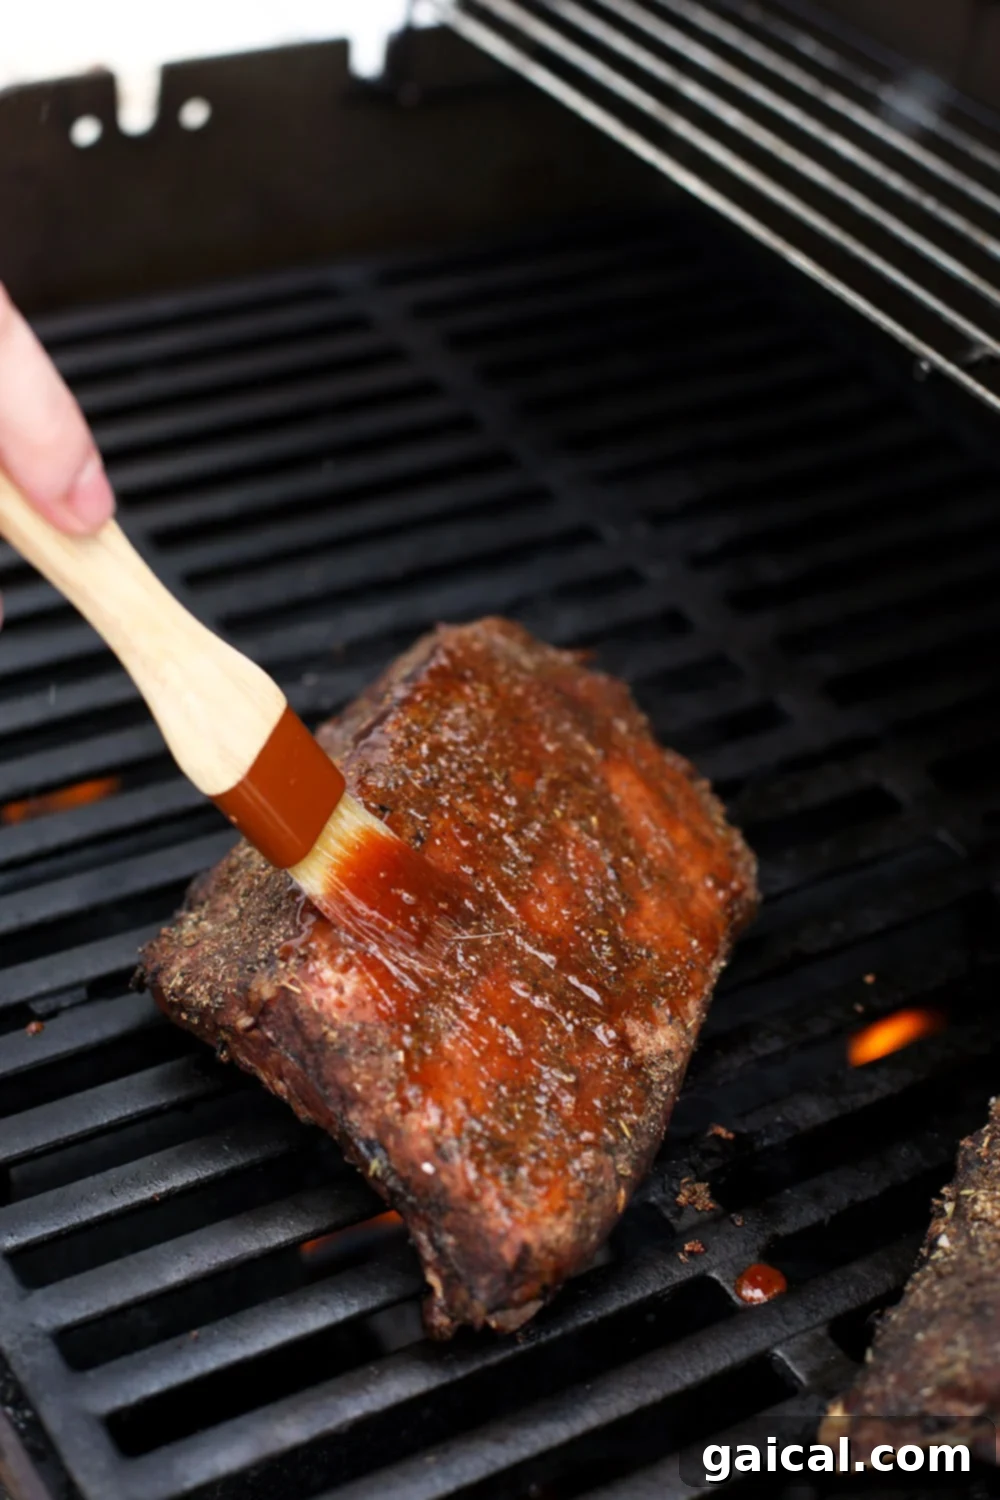
Step 5: The Grand Finale – Grilling and Saucing for Perfection
Congratulations! After 24 hours of precise sous vide cooking, your ribs are incredibly tender and fully cooked. The final stage is all about developing that irresistible smoky char, a delicious crust, and caramelizing the BBQ sauce to create a truly spectacular finish.
- Preheat Your Grill: Begin by preheating your grill to a high temperature, around 450ºF (232ºC). The goal here is a quick, intense sear to create a beautiful crust and char marks without further cooking the interior of the already-perfect ribs.
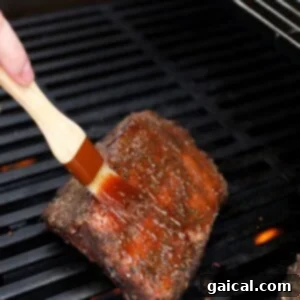
- Prepare Ribs for Grilling: Carefully remove the ribs from the sous vide bath and gently cut open the bags. Discard any accumulated juices. Place the ribs on a baking sheet lined with paper towels and thoroughly blot them dry with additional paper towels. Removing excess moisture is crucial for achieving a crispy, caramelized exterior. Now, apply the reserved 1/4 cup of dry rub to both sides of the ribs for an extra layer of flavor. Finally, use a basting brush to generously slather your favorite BBQ sauce over all surfaces of the ribs.
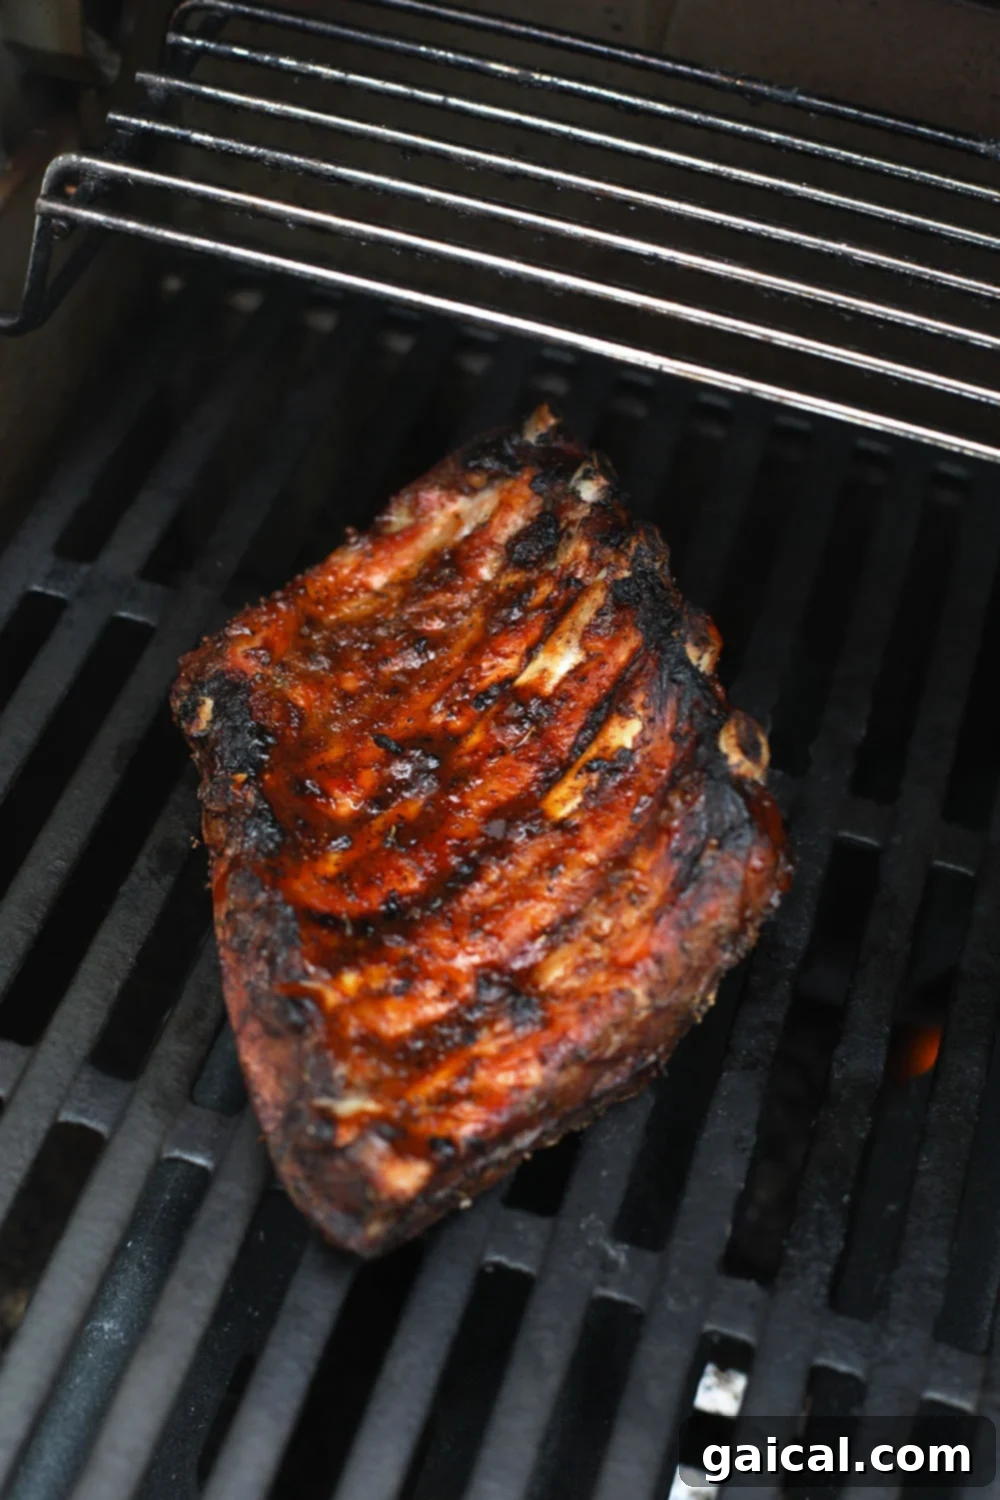
- Sear to Perfection: Transfer the sauced ribs to the preheated grill. Sear each side for approximately 5-6 minutes, or until the BBQ sauce caramelizes, darkens, and distinct char marks begin to form. Watch them closely to prevent burning, as sugars in the sauce can caramelize quickly.
Important Reminder: At this stage, your ribs are already perfectly cooked and safe to eat, having exceeded the USDA-approved internal temperature. This final grilling or broiling step is solely for enhancing the texture, adding smoky flavor, and caramelizing the BBQ sauce, transforming the tender sous vide ribs into a visually stunning and flavor-packed masterpiece.
Our Favorite BBQ Sauce Recommendations
The right BBQ sauce can elevate your sous vide ribs from great to absolutely extraordinary. Here are some of our top picks that perfectly complement the rich flavor of the pork:
- Sweet Baby Ray’s: A classic for a reason, offering a fantastic balance of sweet, tangy, and smoky flavors that appeal to everyone.
- Stubbs: Known for its more robust, savory, and less sweet profile, Stubbs is excellent for those who prefer a traditional, vinegar-forward Texas-style BBQ taste.
- Wee Willy’s: A lesser-known gem that often surprises with its unique blend of spices and deep, complex flavor.
- Homemade BBQ Sauce: For the adventurous, a homemade sauce allows you to tailor the sweetness, heat, and smokiness to your exact preference, creating a truly bespoke rib experience.
Frequently Asked Questions About Sous Vide Ribs
How long should I sous vide ribs for ultimate tenderness? For truly tender, juicy, and fall-off-the-bone ribs, we unequivocally recommend cooking your ribs in the sous vide for a full 24 hours. This extended period allows the connective tissues to completely break down, resulting in an unmatched texture.
What is the best temperature for sous vide ribs? The optimal temperature to sous vide ribs for our desired tenderness is 152ºF (66.5ºC). While the USDA states that pork is safely cooked at an internal temperature of 145ºF, cooking at 152ºF for 24 hours ensures maximum tenderization and an incredibly succulent result.
How can I prevent my sous vide water bath from evaporating over 24 hours? Preventing water evaporation during such a long cook is crucial. The simplest and most effective method is to cover the top of your pot or container with tin foil, leaving a small gap for the immersion circulator. This creates a barrier that traps steam and significantly reduces water loss. If you don’t have tin foil, a quirky yet effective trick is to cover the surface of the water with ping pong balls! They create an insulating layer that dramatically slows down evaporation.
What kind of ribs are best for sous vide? Both baby back pork ribs and St. Louis-style pork ribs work wonderfully with this sous vide method. Baby back ribs are typically leaner and more curved, while St. Louis-style ribs are flatter, meatier, and often contain more fat, leading to a richer flavor. The choice often comes down to personal preference.
Can I shorten the sous vide cooking time for ribs? While you can cook ribs for shorter durations (e.g., 8-12 hours), the full 24-hour cook is what delivers the truly exceptional fall-off-the-bone texture described in this recipe. Shorter times will result in tender ribs, but perhaps not the same level of melt-in-your-mouth perfection.
Can I prepare sous vide ribs in advance? Absolutely! One of the great benefits of sous vide is meal prep. After the 24-hour sous vide bath, you can plunge the sealed rib bags into an ice bath to rapidly cool them, then store them in the refrigerator for up to 3-4 days. When ready to serve, reheat them in a warm water bath (or the sous vide) for an hour, then proceed with the grilling and saucing steps.
Expand Your Sous Vide Horizons with More Recipes!
Our Favorite Sous Vide Recipes
If you’ve enjoyed the precision and incredible results of sous vide cooking for ribs, you’ll love exploring these other fantastic recipes:
- Mongolian Steak Sous Vide Flank Steak: Achieve perfectly tender and flavorful flank steak for an Asian-inspired delight.
- Crispy Sous Vide Chicken Thighs: Experience incredibly juicy chicken thighs with a deliciously crispy skin.
- Sous Vide Salmon: Cook delicate salmon to flaky perfection every single time.
- Sous Vide Chicken Breast: Say goodbye to dry chicken breast with these foolproof recipes.
24-Hour Sous Vide Ribs
Lee Funke
20 mins
1 day
1 day 20 mins
4
Print Recipe
Ingredients
- 1 rack of baby back pork ribs, St. Louis-style works too
- 1/2 tablespoon olive oil
- 3/4 cup pork dry rub*, divided
- 1/2 cup BBQ sauce, or more, to taste
Instructions
-
First, fill a large pot or insulated container (a cooler works best for multiple racks) with water. Attach your sous vide immersion circulator and preheat the water bath to 152ºF (66.5ºC).
-
Next, prepare your pork dry rub by combining all desired spices in a medium bowl. Set aside.
-
Then, remove the rack of ribs from its packaging and place it onto a large baking sheet. If needed, cut the rack in half to better fit your bags and container. Flip the ribs over and carefully remove the tough white membrane from the bone side by peeling it back with the help of a knife or paper towel. Discard the membrane.
-
Generously season the ribs with your dry rub. Use approximately 1/2 cup of the rub at this stage, reserving the remaining 1/4 cup for later. Use your hands to thoroughly massage the rub into both the front and back of the ribs.

-
Transfer each half rack of ribs into a separate vacuum sealable bag (Food Saver or high-quality Ziploc). Remove as much air as possible before sealing. Carefully submerge the sealed bags into the preheated sous vide water bath. Use clips or clothespins to secure the bags to the side of the container, ensuring they remain fully submerged. Cover the pot with a piece of tin foil, leaving an opening for the sous vide circulator, to prevent water evaporation during the long cooking process.
-
Set the sous vide timer for 24 hours. Periodically check the water level every 6-12 hours to ensure it hasn’t evaporated significantly. If the water level drops, add more hot water to maintain full submersion of the ribs.
-
Once the 24 hours are complete, carefully remove the bags from the water bath. Cut open the bags, discard any liquid, and remove the ribs. Place the ribs on paper towels and gently blot away any excess moisture from all surfaces. This step is crucial for achieving a crispy exterior during grilling.
-
Evenly season the front and back of the ribs again with the reserved 1/4 cup of dry rub. Then, use a brush to apply a generous layer of your favorite BBQ sauce. Adjust the amount of BBQ sauce to your personal preference.
-
Preheat your grill to 450ºF (232ºC). Lightly rub the grill grates with olive oil or spray with nonstick cooking spray to prevent sticking. Place the sauced ribs on the hot grill and sear each side for 5-6 minutes, or until the sauce caramelizes and you achieve a beautiful charred edge.
-
Allow the grilled ribs to rest for 5-10 minutes before slicing and serving. This resting period helps the juices redistribute, ensuring maximum tenderness and flavor.
Tips & Notes for Perfect Ribs
- If your ribs are cool when you start the grilling process (e.g., if refrigerated after sous vide), we suggest preheating your grill to about 350ºF (175ºC) and gently warming the rack for 10 minutes before applying the sauce and turning the heat up to 450ºF (232ºC) for the final sear.
- This recipe has been successfully made with both baby back pork ribs and St. Louis-style pork ribs. Both yield incredibly tender results.
- Preventing Evaporation (Tin Foil): Covering your sous vide pot with tin foil is a simple yet effective way to prevent significant water evaporation over the long 24-hour cooking period. This helps maintain a consistent water level and temperature.
- Keeping Bags Submerged (Clips): To ensure your ribs are fully and evenly cooked, use bag clips or clothespins to attach the sealed bags to the side of your pot or container. This prevents them from floating and ensures consistent heat transfer.
- Water Level Monitoring: Regularly check your water bath every 6-12 hours during the 24-hour cook. If the water level has dropped, carefully add more hot water to ensure the ribs remain completely submerged.
Nutrition (Per Serving)
Calories: 360 kcal
,
Carbohydrates: 31 g
,
Protein: 51 g
,
Fat: 17 g
,
Fiber: 2 g
,
Sugar: 14 g
Nutrition information is automatically calculated and should be used as an approximation.
Looking for More Sous Vide Wisdom?
Your Comprehensive Guide to Sous Vide Cooking
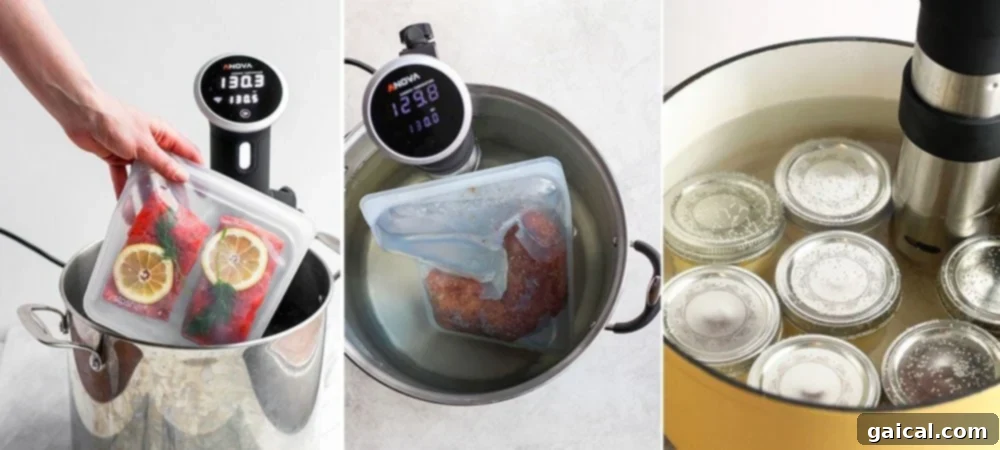
Eager to master the art of precision cooking? Dive deeper into the world of sous vide with our comprehensive Guide to Sous Vide Cooking. We share everything you need to know, from foundational principles to advanced techniques, helping you confidently prepare a wide array of dishes with restaurant-quality results every time.