
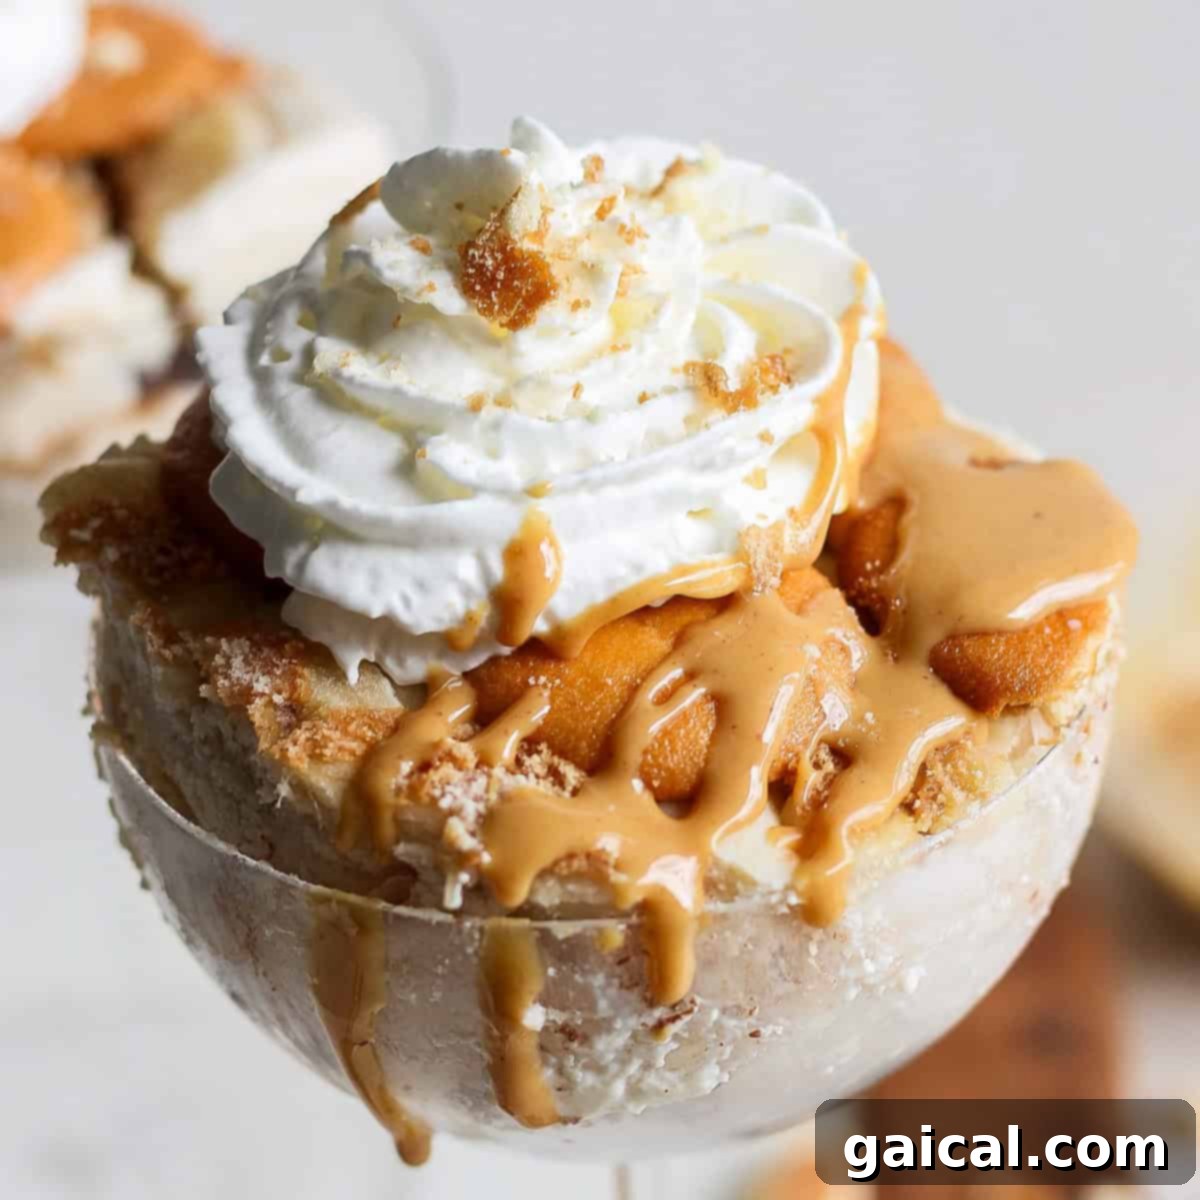
Escape the summer heat and treat yourself to a slice of pure bliss with our incredible Peanut Butter Banana Ice Box Cake. This dreamy, creamy dessert requires absolutely no baking, making it the ultimate warm-weather indulgence. Imagine luscious layers of ripe banana, classic vanilla wafers, and a surprisingly delightful secret ingredient: cottage cheese! Blended seamlessly with rich peanut butter and sweet maple syrup, this cake transforms into a high-protein version of a beloved classic, offering a guilt-free indulgence that’s both satisfying and utterly delicious.
Forget turning on the oven on those sweltering summer days. When the craving for something sweet hits, my go-to is always an easy, no-bake solution. While I adore No-Bake Peanut Butter Oat Cups and the refreshing Cookie Dough Banana Nice Cream, this Peanut Butter Banana Ice Box Cake has quickly risen to the top of my favorites list. It’s not just a hit with me – the kids absolutely adore it too, making it a perfect family-friendly dessert for any occasion, from backyard barbecues to quiet evenings at home.
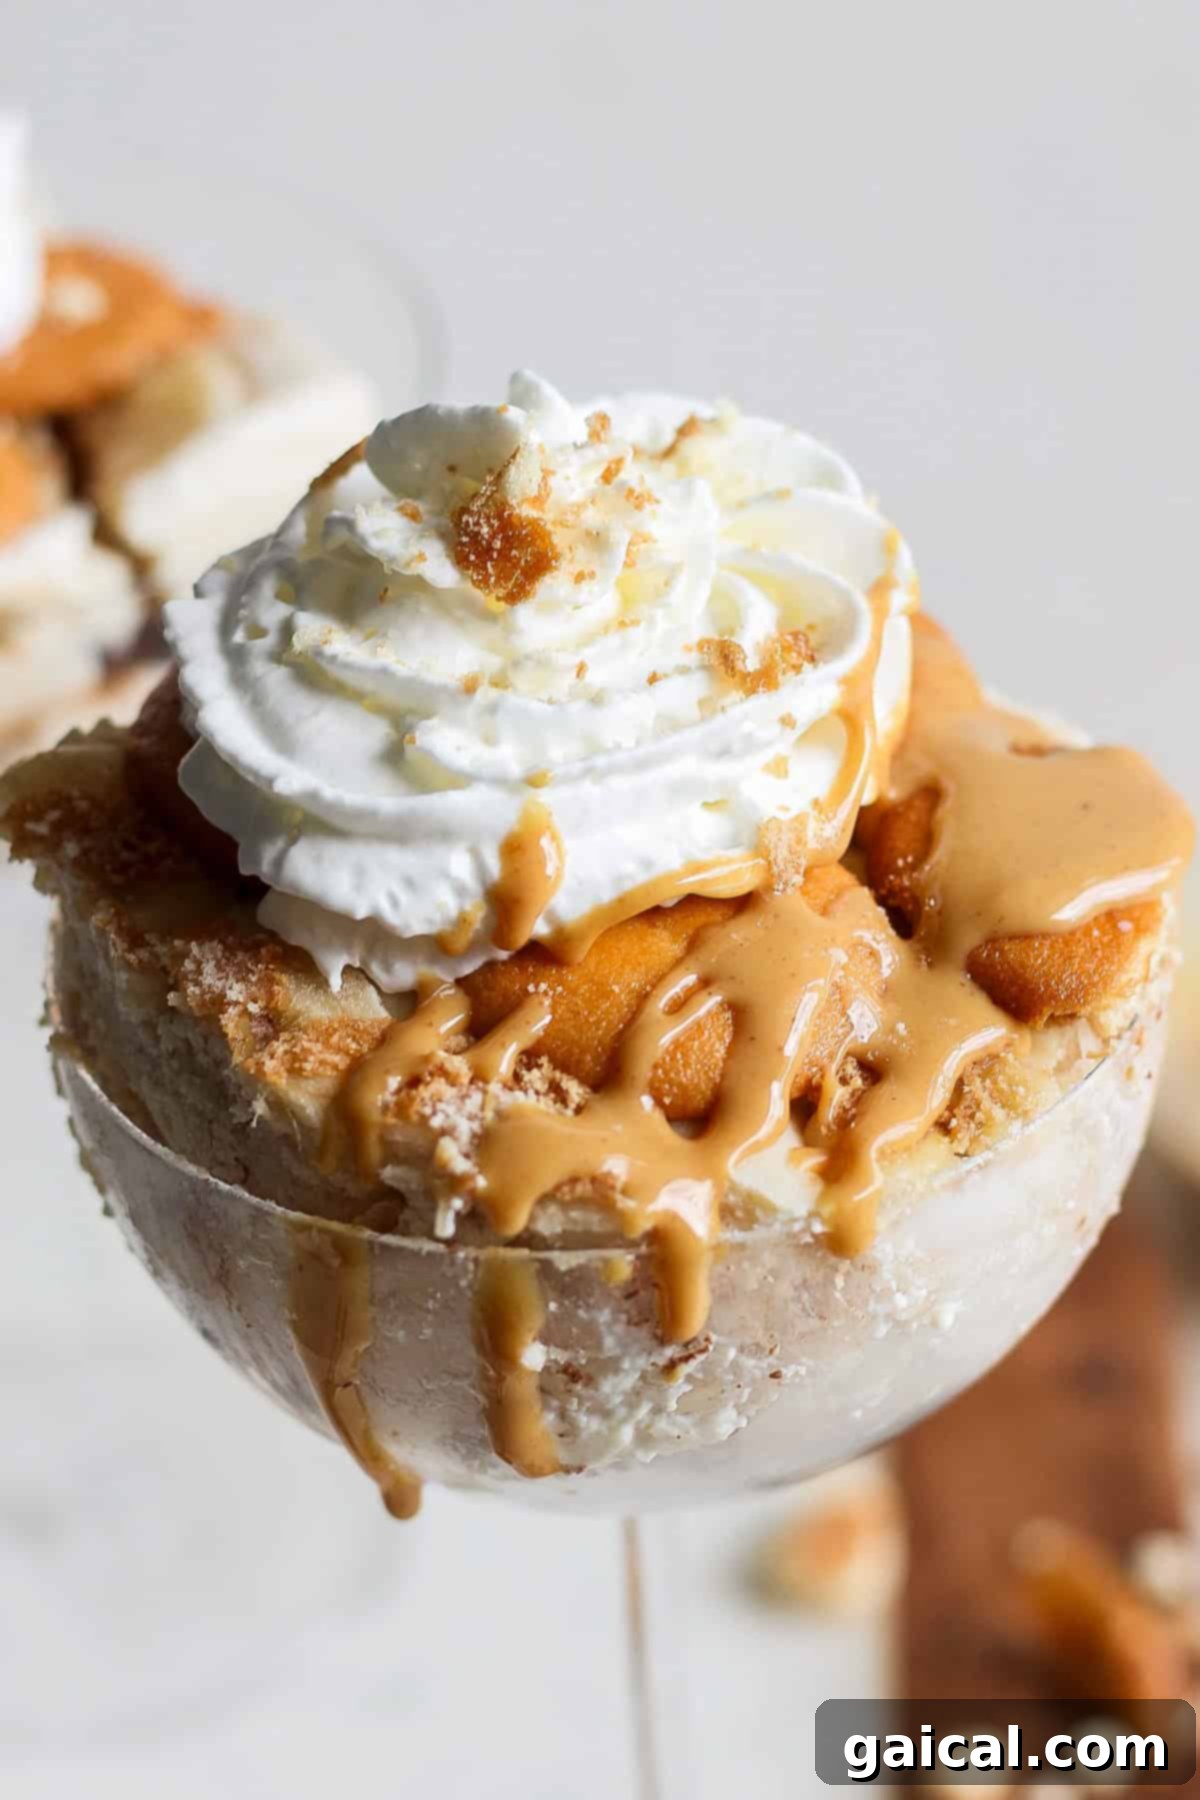
Crafting this irresistible dessert is incredibly straightforward. The process involves three simple steps: blend the creamy cottage cheese mixture, meticulously layer your ingredients, then freeze. It’s so simple that the most challenging part is undoubtedly the anticipation of waiting the recommended 8 hours for it to freeze solid. My top tip? Prepare it before bed, and you’ll wake up to a perfectly chilled, ready-to-enjoy treat. This minimal effort-to-maximum reward ratio makes it a standout recipe that you’ll want to revisit all summer long.
Key Ingredients for Your Perfect Peanut Butter Banana Ice Box Cake
Achieving the perfect balance of flavor and texture in this ice box cake starts with selecting the right ingredients. Each component plays a vital role in creating a dessert that’s both decadent and surprisingly wholesome.
- Cottage Cheese: This is the hero ingredient that elevates our ice box cake. While it might seem unconventional for a dessert, blending cottage cheese until perfectly smooth creates an incredibly creamy, rich base that’s packed with protein. It provides a luxurious texture akin to cheesecake filling, without any trace of its original curds, and makes this dessert far more satisfying and nourishing than traditional versions.
- All-Natural, Drippy Peanut Butter: For the best results, opt for an all-natural peanut butter that separates, allowing you to easily stir the oil back in. Its drippy consistency is crucial for blending smoothly with the cottage cheese, ensuring a uniform and delightful peanut butter flavor throughout the cake. Plus, the deep, earthy notes of natural peanut butter perfectly complement the sweet bananas.
- Maple Syrup: We favor maple syrup as a natural sweetener, as its rich, caramel-like notes beautifully enhance the peanut butter and banana combination. It provides a balanced sweetness without overpowering the other flavors. You could also experiment with honey or agave nectar if you prefer.
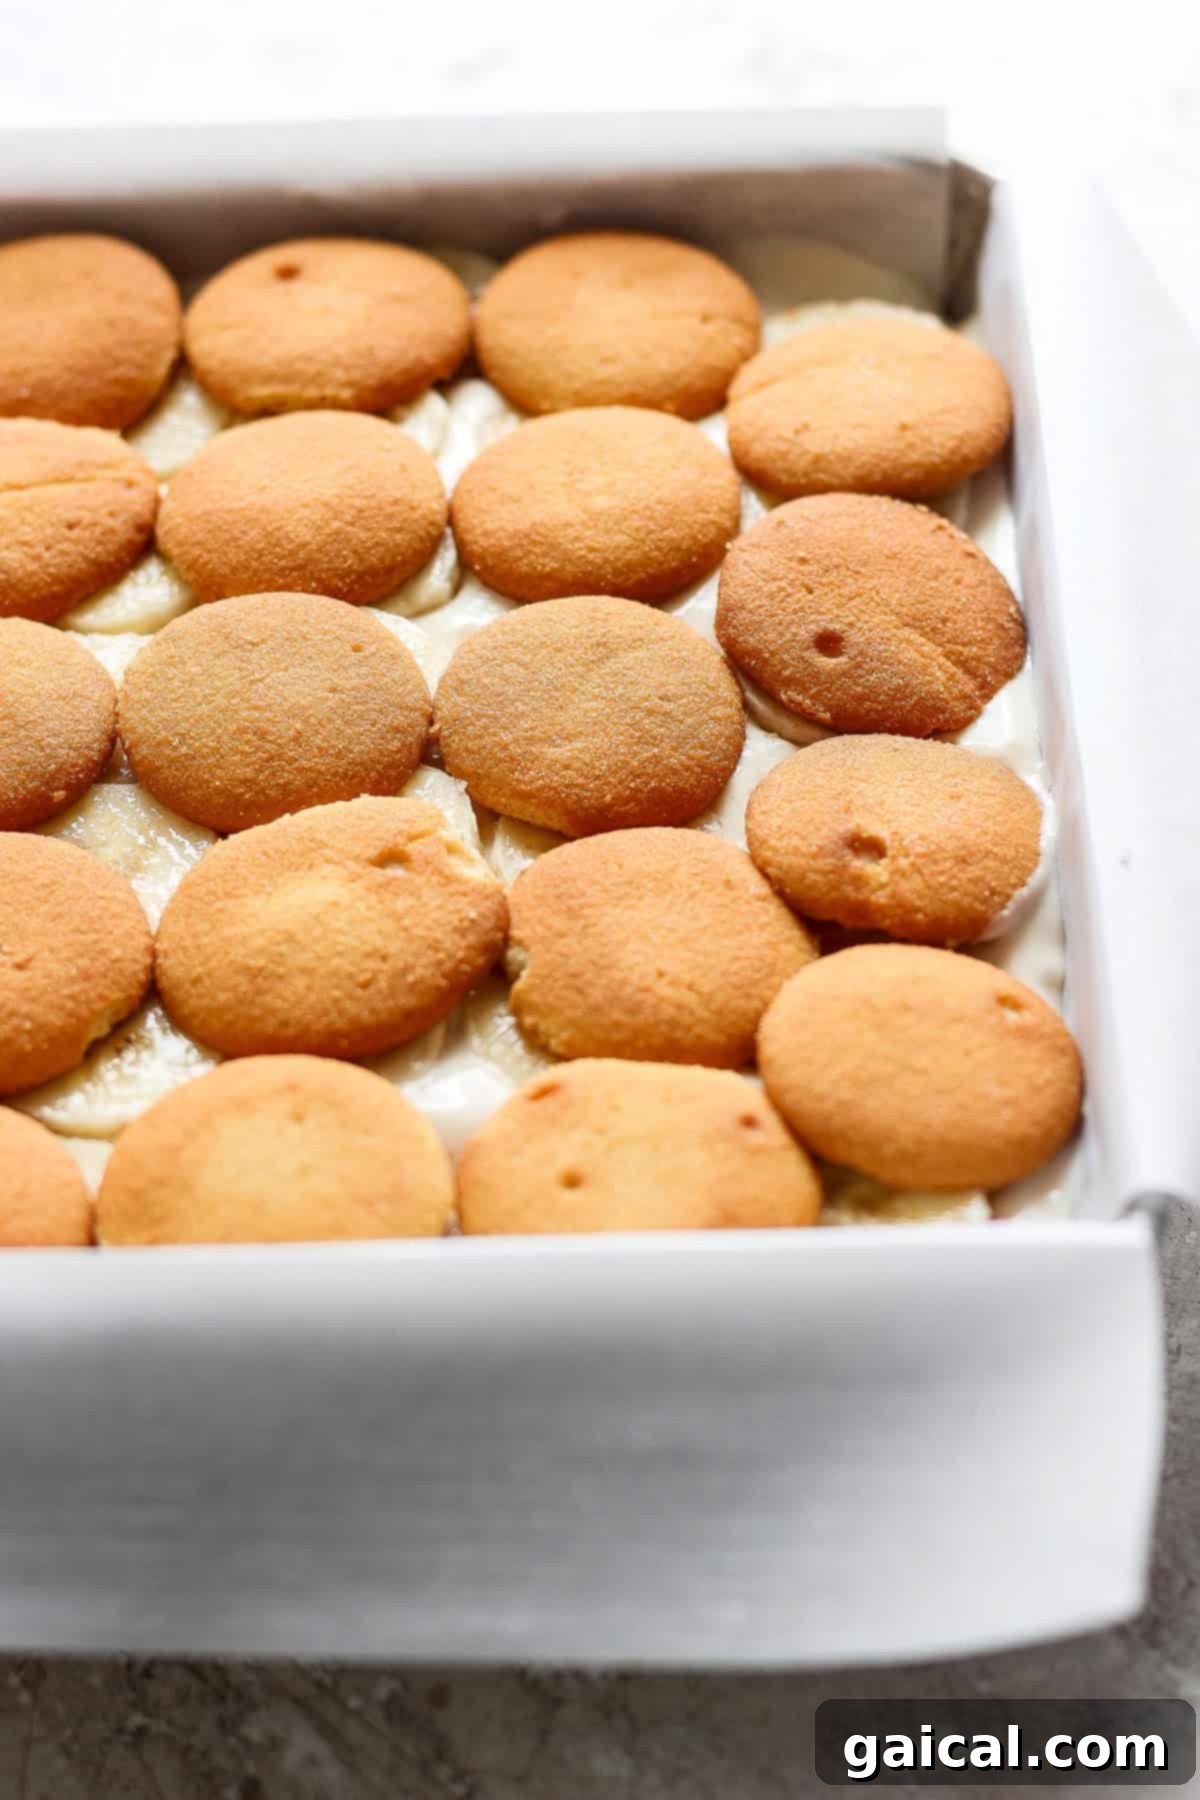
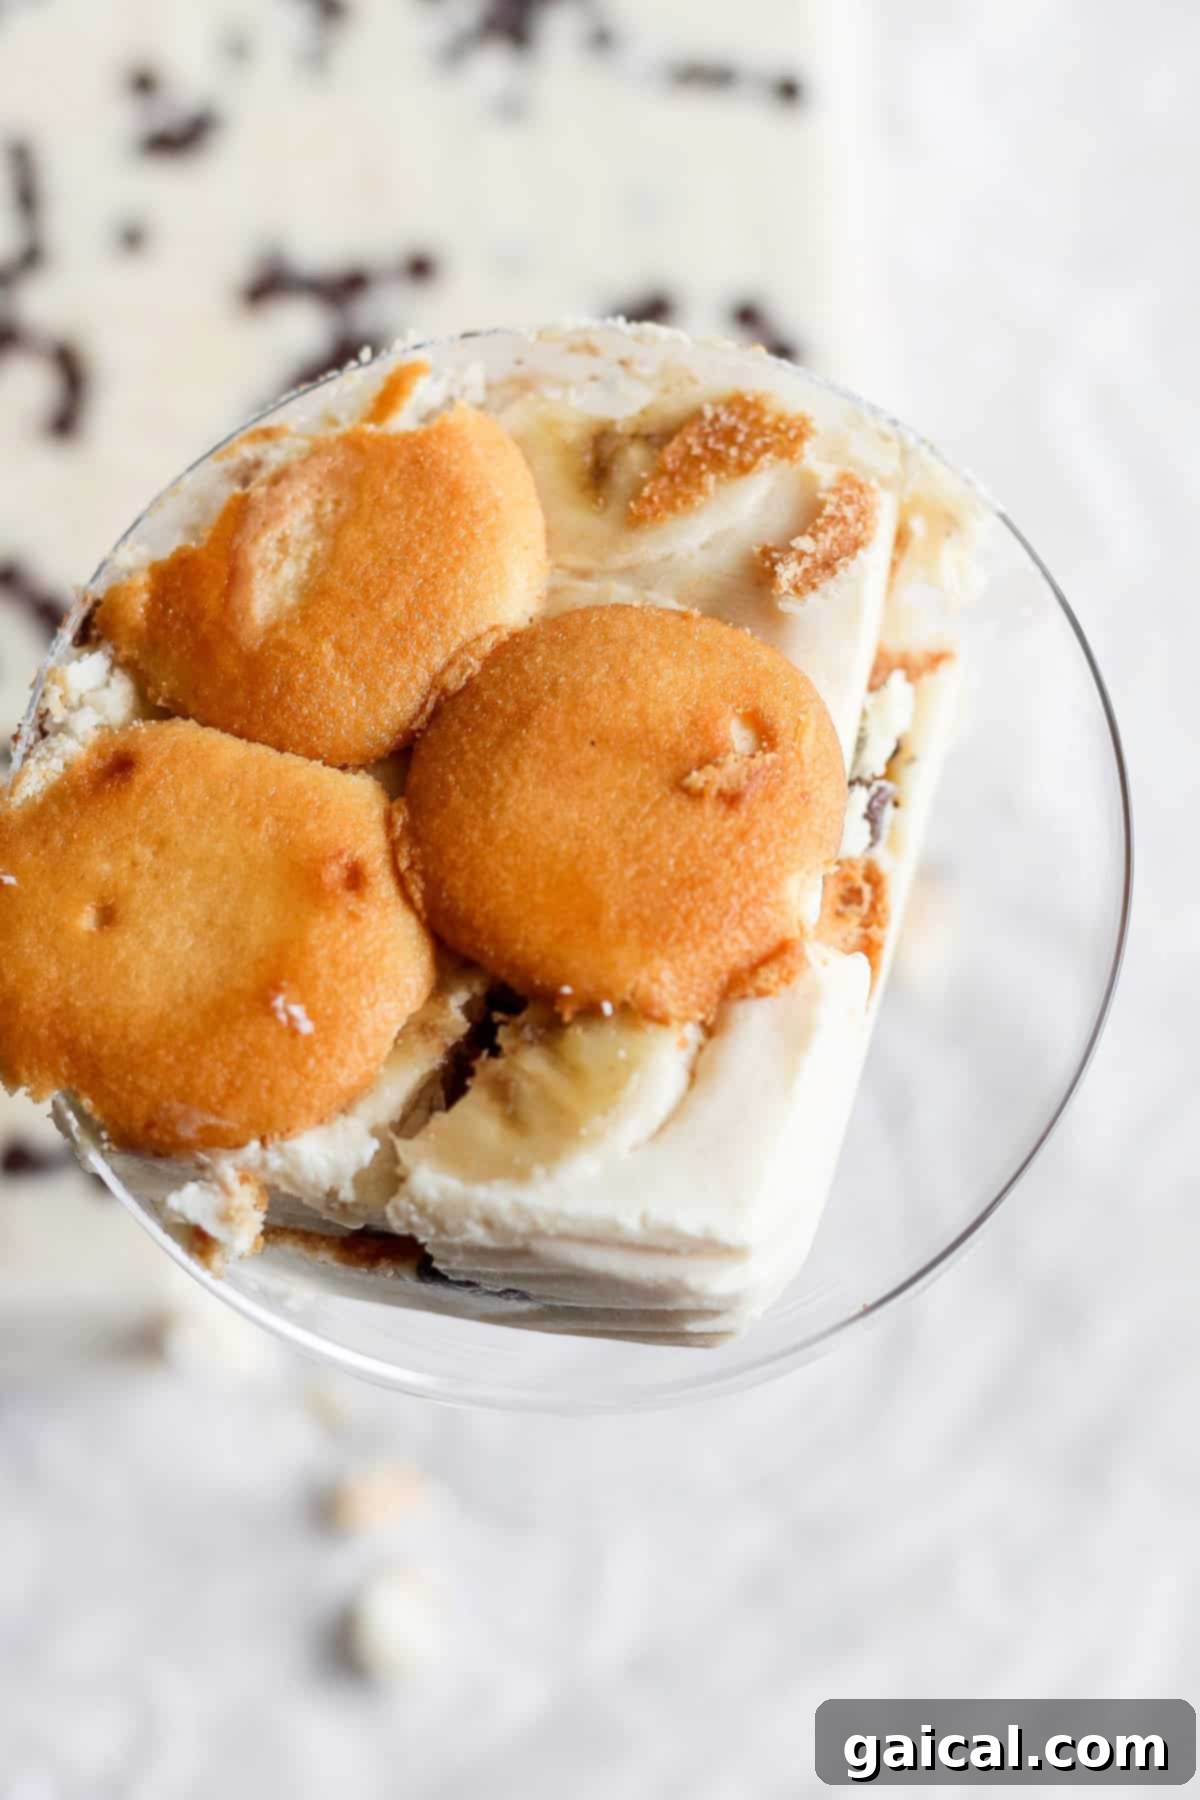
- Vanilla Wafers: These classic cookies are essential for their ability to soften beautifully as the cake chills, transforming into a tender, cake-like layer that melts in your mouth. They provide a delicate vanilla backdrop and a subtle structural element to the layers.
- Mini Chocolate Chips: Layered generously throughout the cake, these mini chocolate chips offer delightful bursts of chocolatey indulgence in every bite. They add a pleasant texture contrast and a touch of extra sweetness that pairs wonderfully with peanut butter and banana.
- Bananas: The star of the show! Make sure to use ripe, but not overly mushy, bananas. Their natural sweetness and soft texture are key to the cake’s flavor profile. Slicing them uniformly ensures an even distribution in each layer.
- Blender: A high-speed blender is essential for achieving the silky-smooth cottage cheese and peanut butter mixture. This ensures there are no curds, resulting in a perfectly creamy filling.
Elevate Your Dessert with Optional Toppings
While this cake is magnificent on its own, a few simple toppings can take it to the next level, adding extra flavor and a beautiful presentation.
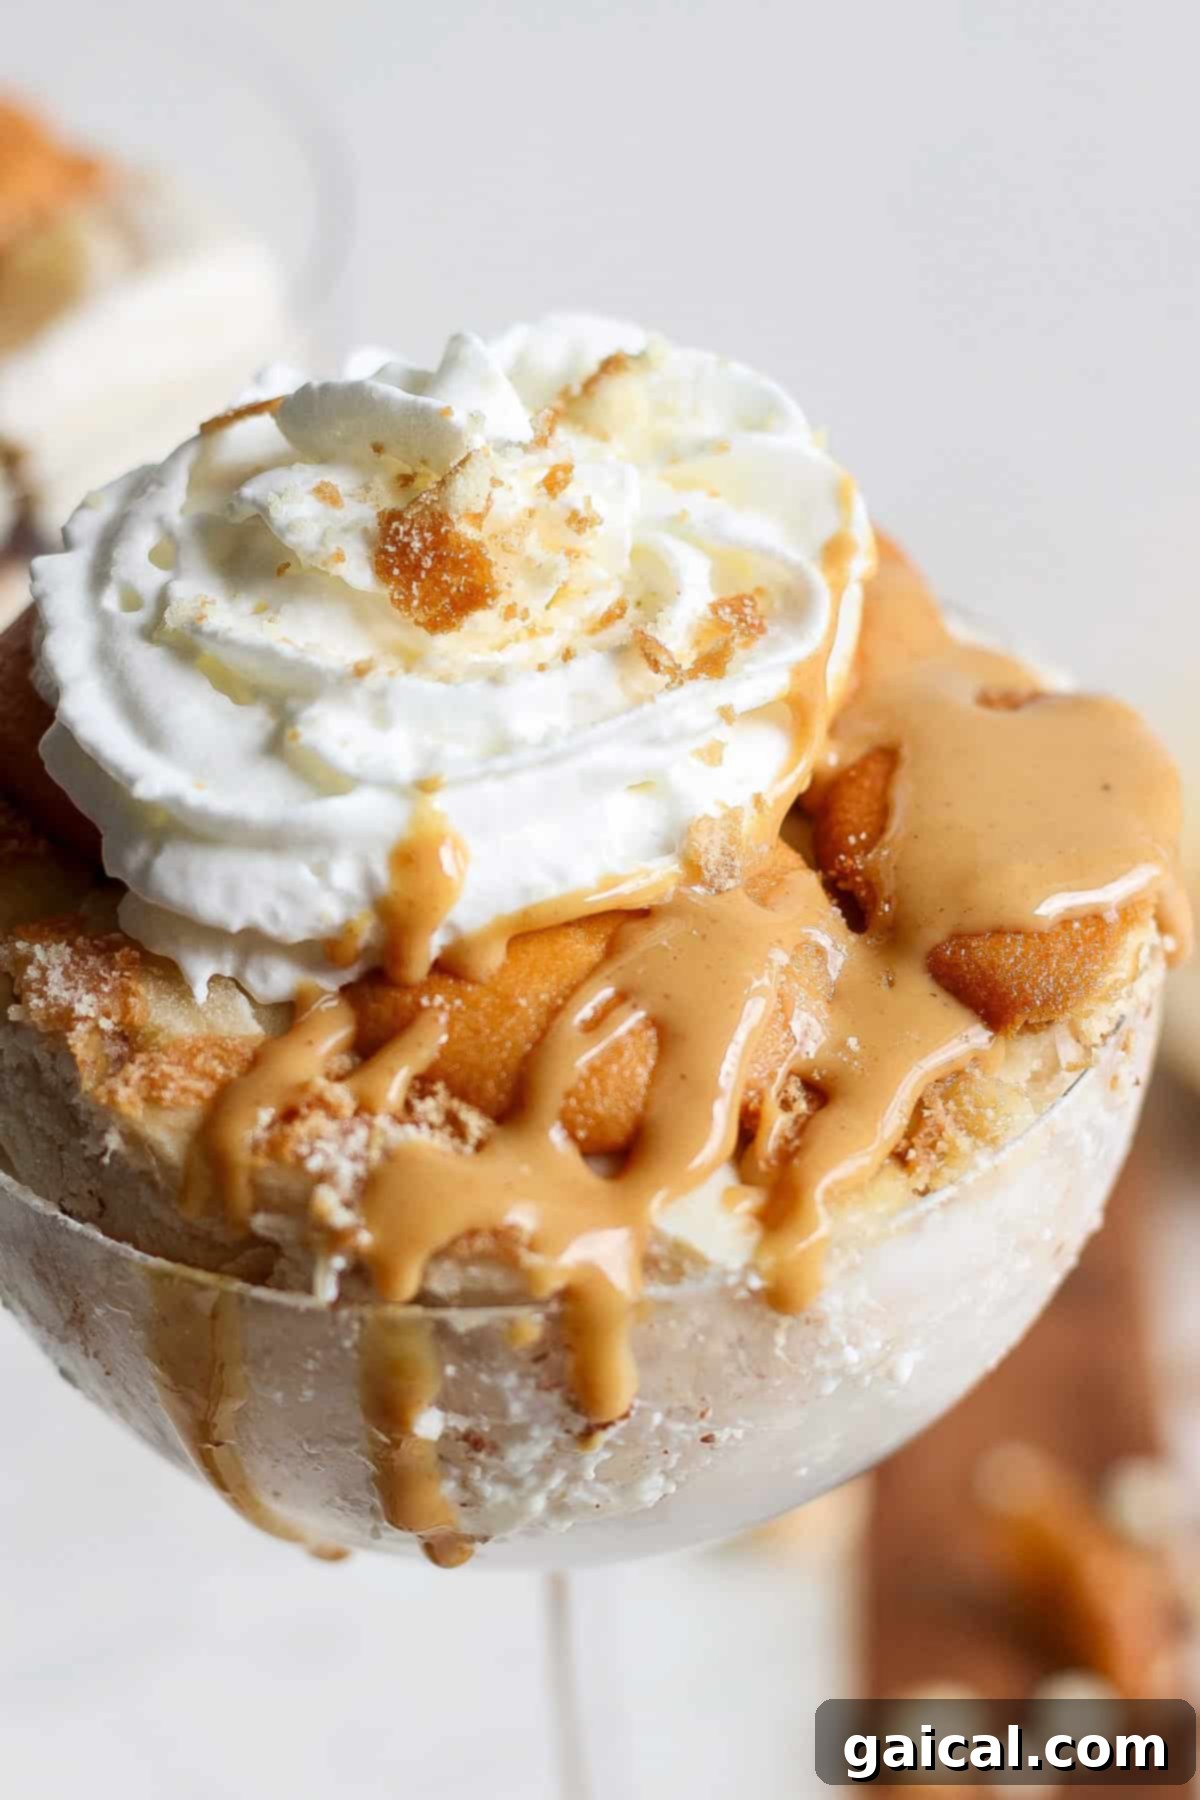
- Fresh Whipped Cream: A light, airy dollop of freshly whipped cream adds a perfect creamy finish and a touch of elegance to each slice. Its subtle sweetness provides a lovely contrast to the rich cake.
- Melted Peanut Butter Drizzle: For an extra boost of peanut butter goodness, warm a spoonful of peanut butter until it’s drippy and drizzle it over the top just before serving.
- Crushed Wafer Cookies: Sprinkle some crushed vanilla wafers or graham crackers on top for added texture and a pleasing visual appeal.
- Chocolate Shavings or Cocoa Powder: A dusting of cocoa powder or delicate chocolate shavings can add a sophisticated touch and an extra layer of chocolate flavor.
- Chopped Peanuts: For a delightful crunch and enhanced peanut flavor, sprinkle some finely chopped roasted peanuts.
Exploring Cookie Alternatives for Your Ice Box Cake
While vanilla wafers are a classic choice for their ability to soften beautifully and absorb flavor, don’t hesitate to get creative with your cookie selection. The right cookie can introduce new textures and flavor profiles to your ice box cake.
Beyond vanilla wafers, you can successfully use:
- Graham Crackers: These are a popular and versatile alternative, offering a slightly different texture and a subtle honeyed flavor that pairs well with many fillings.
- Shortbread Cookies: For a buttery, richer base, shortbread cookies can be a fantastic choice. They’ll soften beautifully and add a gourmet touch.
- Digestive Biscuits: These offer a wholesome, slightly nutty flavor and a satisfying crunch that mellows when frozen.
- Ginger Snaps: If you’re looking for a spicy kick, ginger snaps can create a wonderful contrast with the sweet and creamy layers.
- Chocolate Wafers: For a more intense chocolate experience, particularly if you’re a chocolate lover, chocolate wafers can replace vanilla wafers for a rich flavor profile.
Experiment with different combinations to find your favorite. Just ensure the cookies are relatively thin and absorb moisture well, as this is key to their transformation into tender cake-like layers.
Other Yummy Ice Box Cake Variations to Try
The beauty of ice box cakes lies in their incredible versatility. Once you’ve mastered the basic technique, you can easily adapt the flavors to suit any craving or season. Here are a few irresistible variations:
Chocolate Strawberry Ice Box Cake: For a decadent fruit-forward option, swap out the vanilla wafers for chocolate wafers. Layer them with generous slices of fresh, sweet strawberries and a creamy chocolate or vanilla pudding mixture. The combination of chocolate and strawberry is a timeless delight, perfect for a romantic dessert or a summer celebration.
Lemon Blueberry Ice Box Cake: Craving something bright and tangy? This refreshing summer dessert replaces peanut butter and bananas with vibrant lemon curd and juicy fresh blueberries. Use lemon-flavored shortbread cookies or plain vanilla wafers to let the citrus and berry flavors shine. It’s a light and zesty treat that will truly awaken your palate.
Oreo Cookies and Cream Ice Box Cake: A dream come true for all Oreo enthusiasts! Instead of vanilla wafers, use crushed Oreo cookies for both the layers and a sprinkle on top. Combine them with a creamy vanilla or cream cheese filling. This rich, chocolatey, and creamy concoction is pure indulgence and a guaranteed crowd-pleaser.
Tropical Mango Coconut Ice Box Cake: For an exotic twist, use graham crackers or plain biscuits, layered with a creamy filling made from coconut milk, cream cheese, and pureed ripe mango. Garnish with toasted coconut flakes for a taste of paradise.
Pumpkin Spice Ice Box Cake: A perfect autumnal treat. Use gingersnap cookies or spiced graham crackers, layered with a pumpkin puree and cream cheese filling, infused with warm pumpkin pie spices. Top with a dollop of whipped cream and a sprinkle of cinnamon.
How to Master the Peanut Butter Banana Ice Box Cake
This recipe is not only incredibly delicious but also genuinely fun to assemble! Since there’s no baking involved, it’s a fantastic activity to enjoy with children, allowing them to help with the layering without the dangers of a hot oven. Follow these detailed steps to create your perfect no-bake dessert:
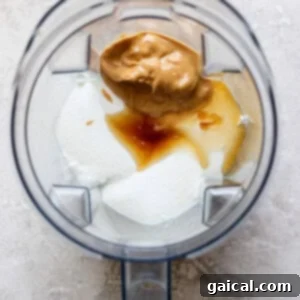
- Prepare the Creamy Cottage Cheese Mixture: Begin by placing the full 24 ounces of cottage cheese into your blender. Blend on high speed until the cottage cheese is completely smooth and creamy, with no visible curds. This step is crucial for the luxurious texture of your cake. Once smooth, add the ¼ cup of all-natural drippy peanut butter and 4 tablespoons of maple syrup. Blend again until all ingredients are thoroughly combined and the mixture is uniformly smooth and well-incorporated. Set this velvety mixture aside.
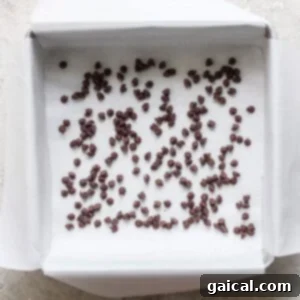
- Set Up Your Baking Dish: Take an 8×8-inch baking dish and line it completely with parchment paper, allowing an overhang on two sides. This overhang will serve as “handles” later, making it incredibly easy to lift the frozen cake out of the dish. Next, sprinkle 2 tablespoons of mini chocolate chips evenly across the bottom of the parchment-lined dish. These first chocolate chips will form a delightful base and prevent the first layer of cookies from sticking.
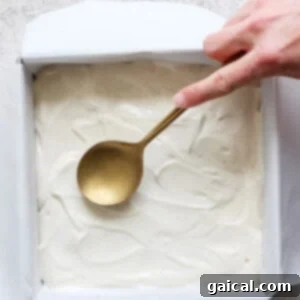
- First Cottage Cheese Layer: Carefully pour exactly half of your prepared cottage cheese mixture over the chocolate chips in the baking dish. Using a spatula, gently spread the mixture evenly from edge to edge, ensuring a smooth and consistent layer.
- Add Banana Slices: Arrange half of your sliced bananas in a single, flat layer over the cottage cheese mixture. Try to cover as much surface area as possible without significant overlapping, ensuring every slice gets a taste of banana.
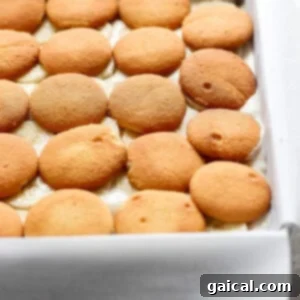
- Lay the Vanilla Wafers: Now, carefully place 24 of the vanilla wafers on top of the banana slices. Arrange them in a neat, single layer, ensuring they lie flat and are not overlapping. This creates a solid, cake-like base for the next layer.
- Repeat for the Second Layer: Repeat steps 3, 4, and 5 for the second layer. Pour the remaining half of the cottage cheese mixture over the vanilla wafers, spread it evenly, then lay the remaining banana slices, and finally, place another 24 vanilla wafers on top.
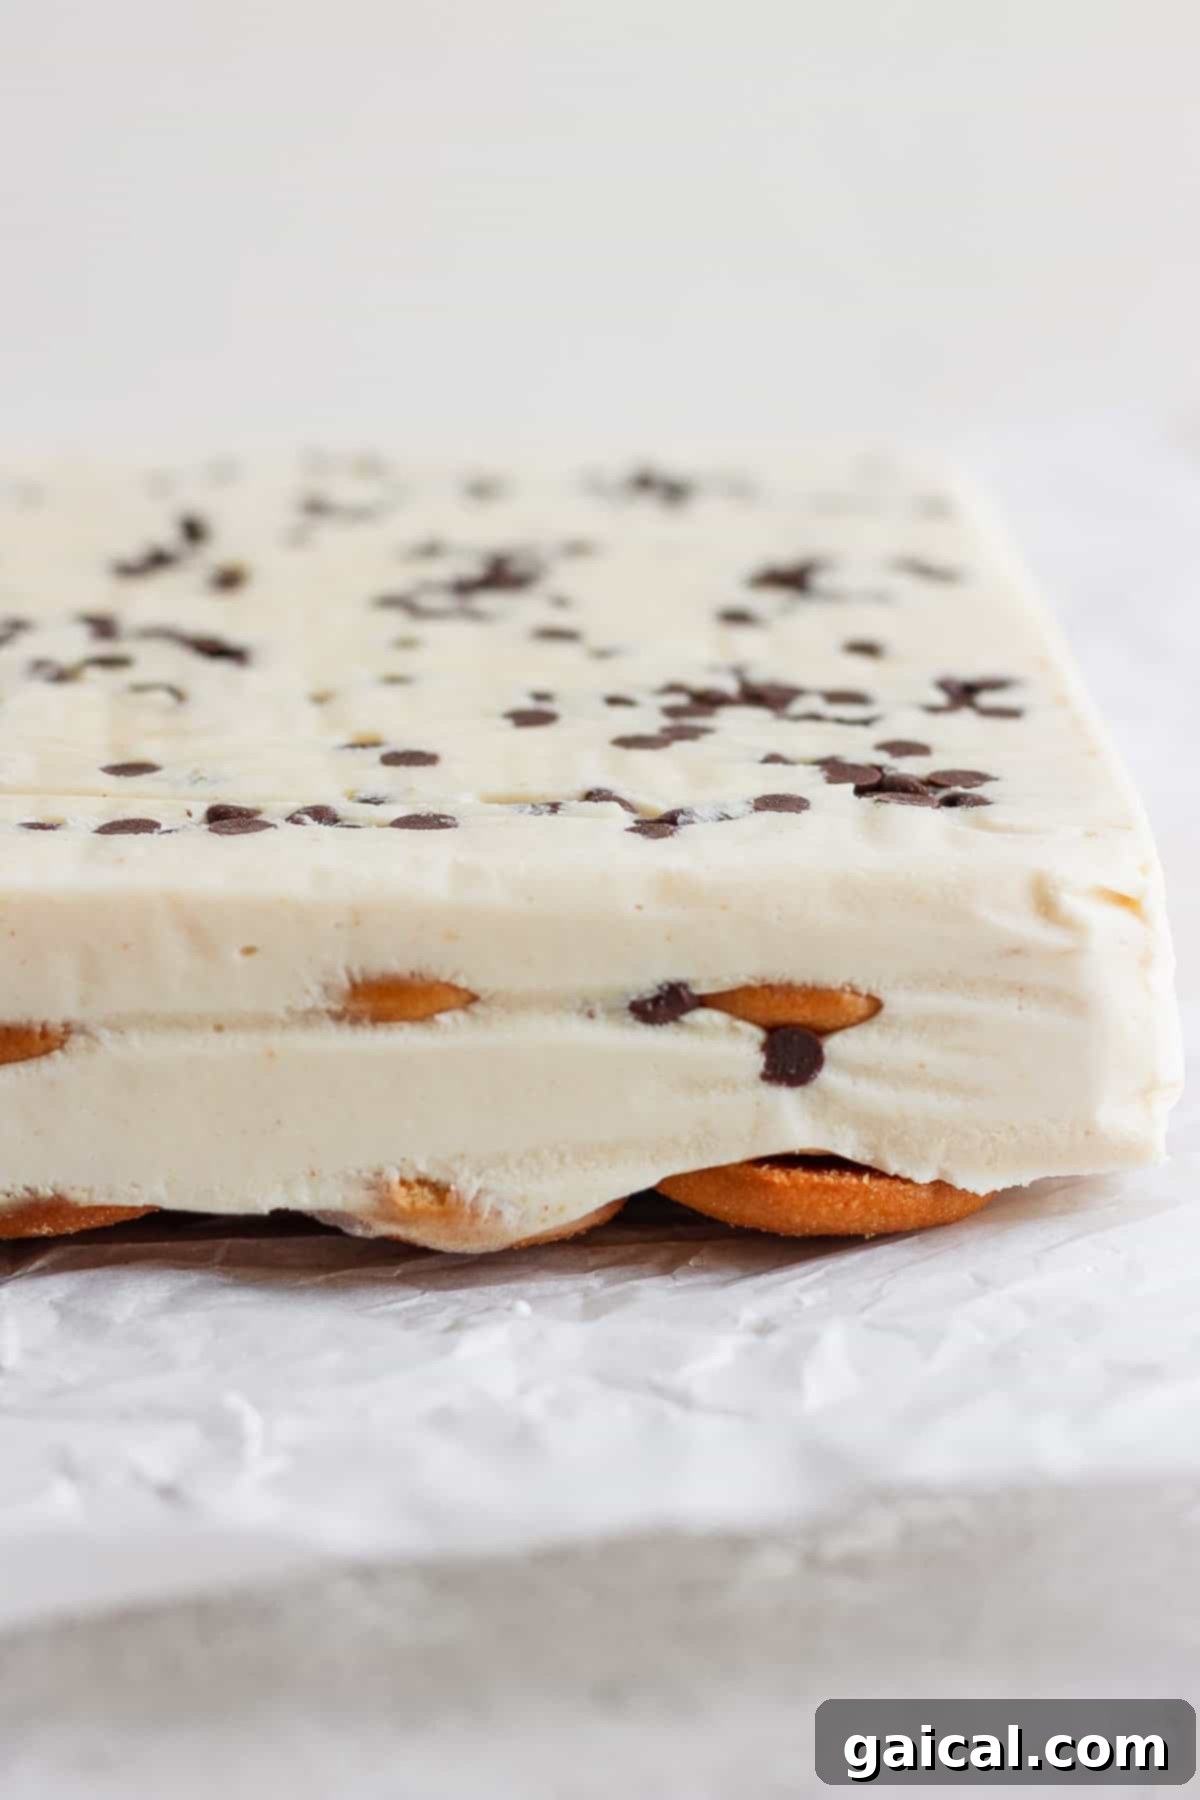
- Cover and Freeze: Once all layers are assembled, gently press down on the final layer of vanilla wafers to ensure everything is compact. Cover the baking dish tightly with plastic wrap or aluminum foil. Place the covered dish in the freezer for a minimum of 8 hours, or ideally, overnight. This extended freezing time is essential for the cake to set properly and for the wafers to soften to that delightful cake-like consistency.
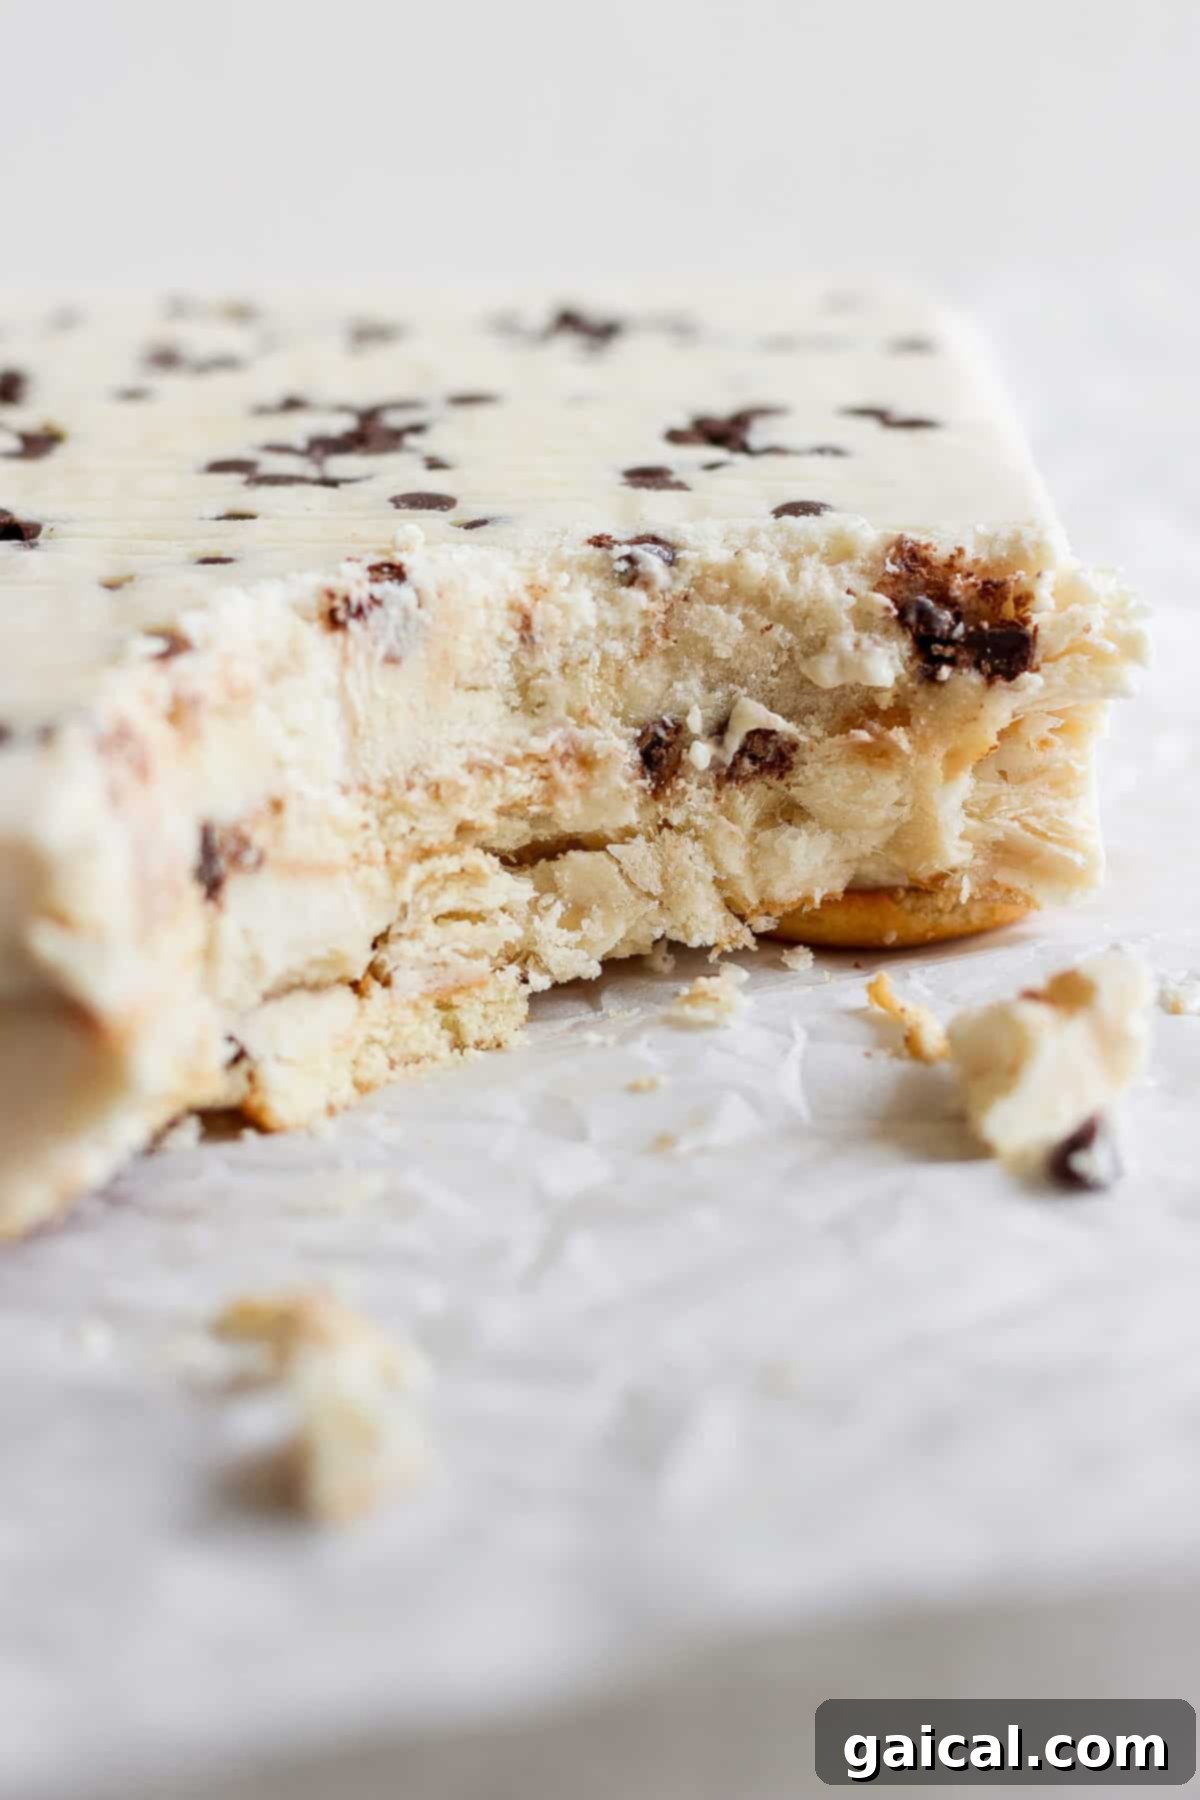
- Serve and Enjoy: When ready to serve, remove the dish from the freezer. Use the parchment paper overhangs to carefully lift the entire frozen cake out onto a cutting board. Allow the ice box cake to sit at room temperature for about 30 minutes before slicing. This brief thawing period will make it easier to cut into neat slices and ensure the perfect creamy texture. Add your desired optional toppings, slice, and savor every indulgent bite!
Our Top Tips for the Best Ice Box Cake Experience
Creating an exceptional ice box cake is simple, but a few key tips can ensure your dessert is absolutely perfect every time.
- Always Line Your Pan with Parchment Paper: This is our number one tip! Lining your 8×8-inch pan with parchment paper, leaving an overhang on the sides, makes removing the frozen cake incredibly easy. You simply lift it out, flip it onto a cutting board, and peel away the paper. This ensures clean edges and prevents any sticking.
- Achieve Ultimate Creaminess: Don’t rush the blending process for the cottage cheese mixture. Blend until it’s absolutely silky smooth, with no curds remaining. This is what gives the cake its luxurious, creamy texture, indistinguishable from a traditional dessert filling.
- Allow Ample Freezing Time: While 8 hours is the minimum, freezing overnight is ideal. This allows the vanilla wafers sufficient time to fully absorb moisture from the filling, transforming them into soft, cake-like layers rather than crunchy cookies.
- Even Layers are Key: Try to spread your cottage cheese mixture and arrange your bananas and wafers in even layers. This ensures a beautiful presentation and a balanced bite every time.
- Use Ripe Bananas: Ripe bananas (those with a few brown spots) will offer the best natural sweetness and flavor, enhancing the overall taste of your cake.
- Thaw Briefly Before Serving: Don’t serve directly from the freezer. Letting the cake sit at room temperature for 20-30 minutes makes it much easier to slice and brings the filling to a perfect, creamy consistency.
How to Store Your Peanut Butter Banana Ice Box Cake
Storing your ice box cake correctly is crucial to maintain its delightful texture and flavor. This dessert is designed to be kept frozen, ensuring its refreshing quality and longevity.
- Freezer Storage: The cake should always be stored in the freezer. Once sliced or as a whole, place it in an airtight container or wrap it very tightly with multiple layers of plastic wrap, followed by aluminum foil. This dual-layer protection helps prevent freezer burn and keeps the cake fresh.
- Shelf Life: When properly stored in the freezer, your Peanut Butter Banana Ice Box Cake will remain delicious for up to 2 weeks. While it might last longer, the quality and texture are best within this timeframe.
- Thawing Leftovers: If you have leftover slices, you can simply take them out of the freezer about 15-20 minutes before you plan to eat them to allow them to soften slightly for the perfect creamy texture.
- Make-Ahead Friendly: This recipe is perfect for making ahead of time for parties or meal prep. Simply assemble the cake and freeze it, then pull it out the day of your event, allowing the initial 30-minute thaw before slicing.
More of our Favorite…
Innovative Desserts Featuring Cottage Cheese
Cottage cheese isn’t just for savory dishes anymore! Its creamy texture and high protein content make it a fantastic, healthier base for a variety of delicious desserts. It adds richness and a nutritional boost without heavy fats or excessive sugar. If you loved its use in this ice box cake, you’ll want to explore these other delightful cottage cheese dessert recipes:
- Cookies and Cream Protein Cottage Cheese Ice Cream
- Cottage Cheese Chocolate Chip Cookies
- High-Protein Cottage Cheese Pancakes
- Blackberry Cheesecake Cottage Cheese Ice Cream
Peanut Butter Banana Ice Box Cake Recipe
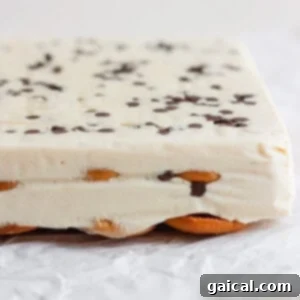
This Peanut Butter Banana Ice Box Cake is a perfect summer dessert that requires no baking and only 6 ingredients. It’s rich, creamy, and packed with protein, thanks to the cottage cheese and peanut butter!
Prep Time: 8 hrs 30 mins
Total Time: 8 hrs 30 mins
Servings: 9
Ingredients
Cottage Cheese Layer
- 24 oz. cottage cheese
- ¼ cup all-natural drippy peanut butter
- 4 tablespoons maple syrup
Other Ingredients
- ~48 vanilla wafers
- ¼ cup mini chocolate chips, divided
- 4 medium sliced bananas
Toppings (Optional)
- fresh whipping cream
- melted peanut butter
- crushed wafer cookies
Instructions
-
Place the cottage cheese into a blender and blend until completely smooth. Then add the peanut butter and maple syrup and blend again until well combined and creamy. Set aside.

-
Lay parchment paper into an 8×8-inch baking dish, ensuring there is an overhang on two sides for easy removal.
-
Sprinkle 2 tablespoons of mini chocolate chips evenly on the bottom of the parchment-lined baking dish.
-
Pour half of the smooth cottage cheese mixture on top of the chocolate chips, spreading it evenly to cover the bottom.
-
Lay half of the banana slices flat across the top of the cottage cheese mixture, covering as much surface as possible.
-
Next, layer 24 of the vanilla wafers on top of the bananas, making sure to keep them flat and not overlapping.
-
Repeat the above steps (cottage cheese mixture, bananas, and vanilla wafers) for the second layer, using the remaining ingredients.
-
Gently press the final layer of vanilla wafers into the dish. Cover the dish tightly with plastic wrap or tin foil.
-
Freeze the ice box cake for at least 8 hours, or preferably overnight, to allow it to set completely and the wafers to soften.
-
To serve, use the parchment paper overhangs to flip the baking dish onto a cutting board. Remove the parchment paper. Allow the icebox cake to sit for 30 minutes at room temperature before cutting into slices. Add your desired toppings and enjoy!
Tips & Notes
- Be sure to line the 8×8-inch pan with parchment paper. It will be much easier to lift and cut the cake after it’s frozen.
- While vanilla wafers are recommended, graham crackers or other thin, absorbent cookies can also be used.
- Ensure your cottage cheese is blended until completely smooth for the best creamy texture.
- Allow the full freezing time for optimal results; this ensures the cookies soften perfectly.
Nutrition
Calories: 360 kcal
Carbohydrates: 49 g
Protein: 12 g
Fat: 14 g
Fiber: 2 g
Sugar: 28 g
Nutrition information is automatically calculated, so should only be used as an approximation.
Love this? Leave a comment below!
Don’t forget to tag your posts on social media with the hashtag #fitfoodiefinds, we’d love to see what you’re up to!
Photography by: The Wooden Skillet