
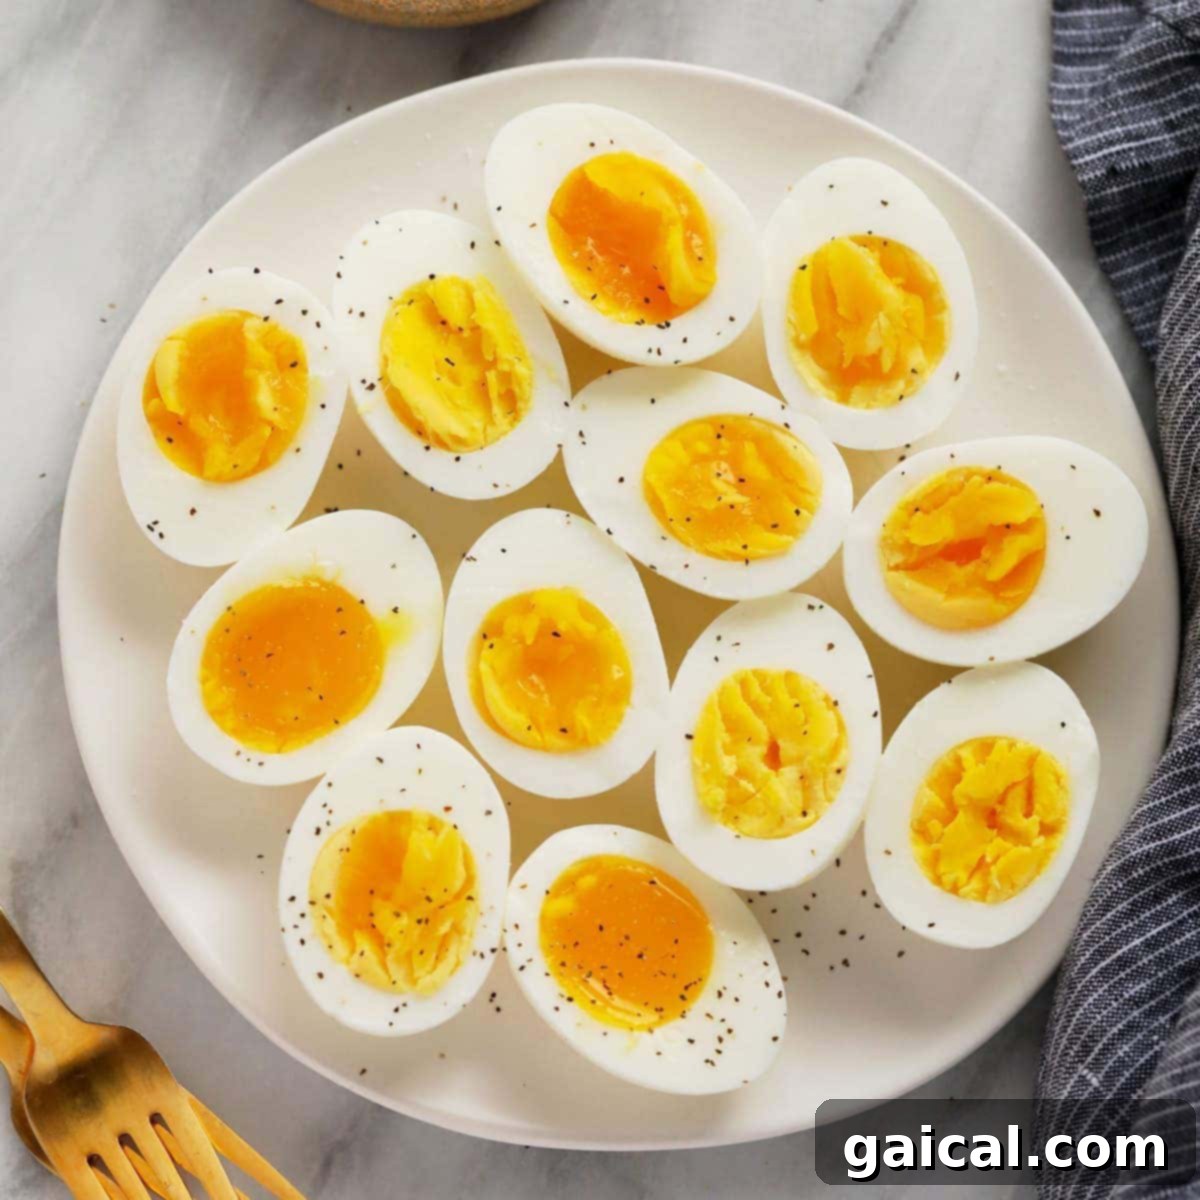
Forget everything you thought you knew about boiling eggs. As devoted fans of high-protein snacks and efficient meal prep, we consider ourselves experts in crafting the perfect hard-boiled eggs. And yes, our preferences vary! Sometimes a beautifully runny yolk is exactly what you crave, while other times, a firmer texture is essential for dishes like a creamy egg salad. This comprehensive guide is designed to empower you with the knowledge and techniques to achieve your desired egg consistency effortlessly, ensuring an easy peel and vibrant yolks every single time.
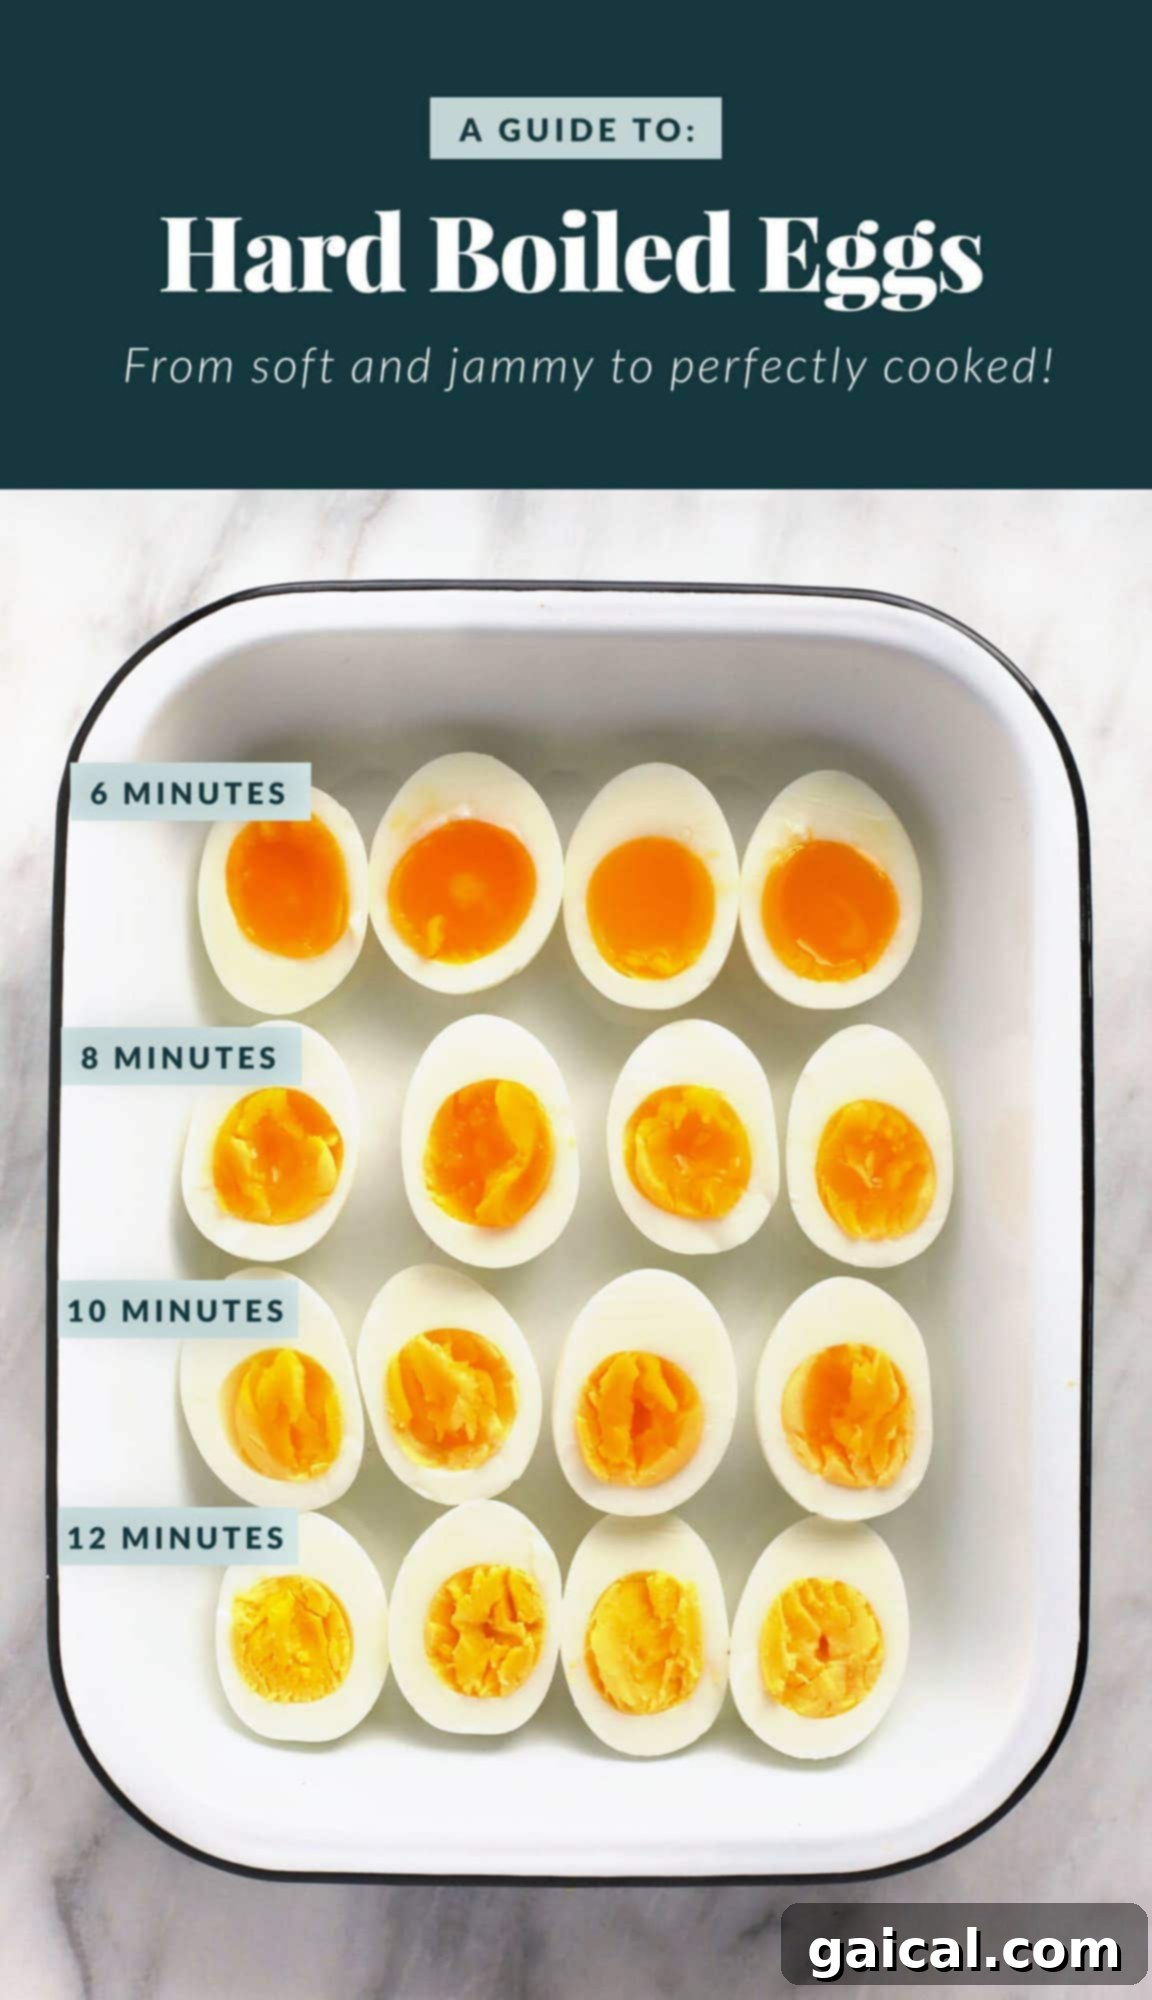
Whether you’re aiming to whip up a delicious healthy egg salad, seeking a quick and satisfying protein-rich snack, or simply looking to master a fundamental cooking skill, you’ve landed in the ideal spot to learn how to make perfect hard-boiled eggs! Our foolproof method promises not just perfectly cooked eggs, but also the coveted “easy peel” experience that can often be the most frustrating part of the process. Say goodbye to struggling with stubborn shells and embrace beautifully smooth eggs!
The Foolproof Method for Perfect Hard-Boiled Eggs
Our acclaimed method for creating consistently perfect hard-boiled eggs is straightforward and highly effective, relying on two critical steps: precise boiling time and an immediate ice bath. This combination guarantees not only your preferred yolk doneness but also ensures the shells practically slide off.
Step 1: The Boiling Process
Start by bringing a pot of water to a rolling boil. It’s crucial that the water is actively boiling before you introduce your eggs. Once the water is ready, gently lower your eggs into the pot. You can use a slotted spoon to prevent them from cracking upon impact with the bottom of the pot. From this point, the cooking time will determine your yolk’s consistency, ranging from 6 minutes for a soft, creamy center to 12 minutes for a firm, fully cooked yolk. Our preferred “magic number” for beautifully bright yellow, firm-but-not-chalky yolks is 10 minutes.
Step 2: The Essential Ice Bath
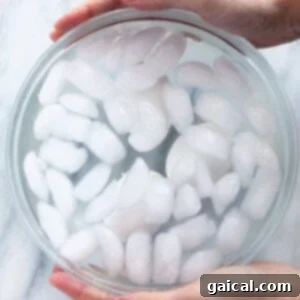
As soon as your eggs have finished boiling, they must be transferred *immediately* into a large bowl filled with ice water. This rapid temperature change is not just a suggestion; it’s the secret weapon for achieving truly easy-to-peel eggs and preserving their vibrant yellow yolks. We’ll delve deeper into the science behind this vital step shortly.
Pro Tip: Did you know that older eggs are significantly easier to peel than very fresh, farm-direct eggs? This is a common culinary secret! Fresher eggs have a membrane that adheres more strongly to the shell, making peeling a challenge. So, if you have eggs nearing their expiration date, they are perfect candidates for hard-boiling!
Essential Tools & Ingredients for Hard-Boiled Eggs
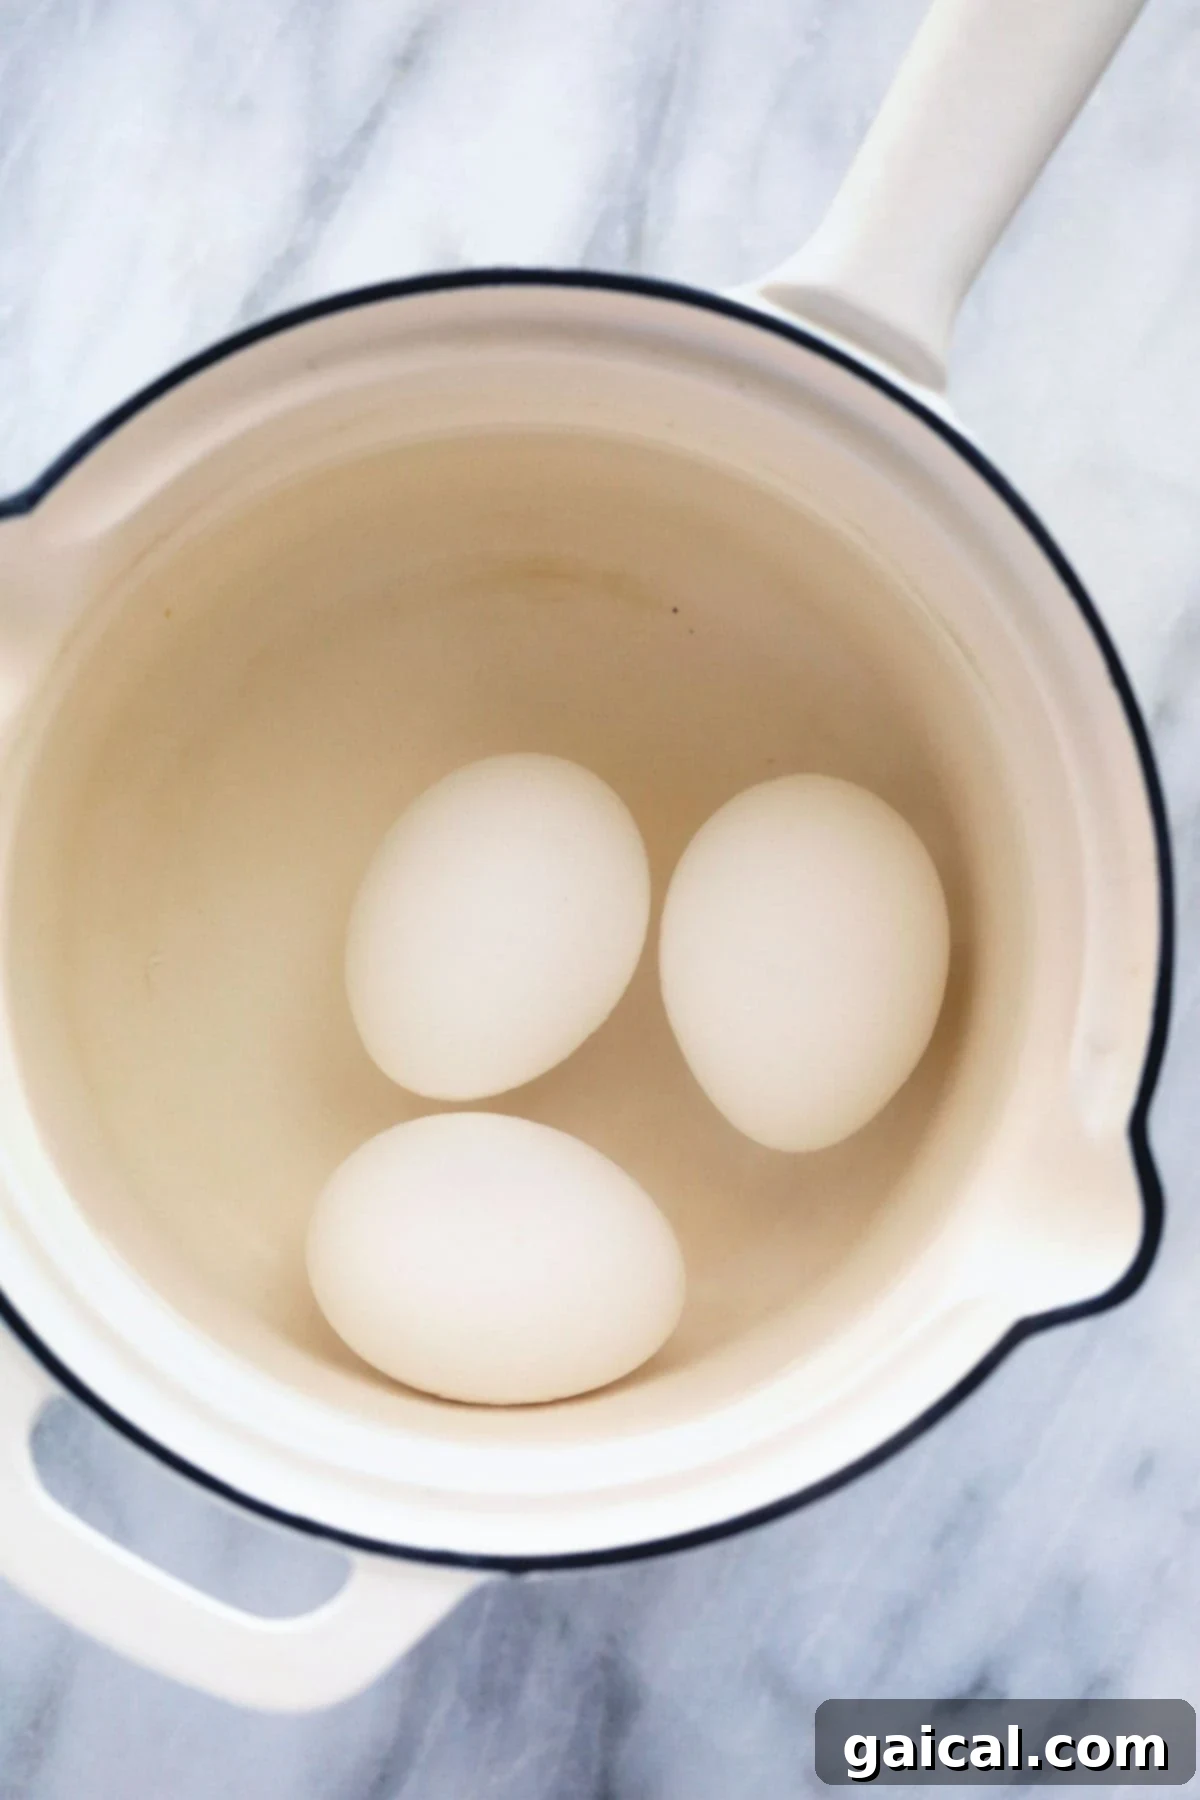
Making excellent hard-boiled eggs doesn’t require a lot of fancy equipment, but having the right basics on hand will make the process smoother and more successful. Here’s what you’ll need for this simple yet rewarding kitchen task:
- A Sturdy Pot: The size of your pot should be appropriate for the number of eggs you plan to boil. The key is to ensure that all eggs can be fully submerged in water in a single layer without overcrowding. An overcrowded pot can lead to uneven cooking and cracked shells as eggs bump against each other during boiling. A medium-sized saucepan is typically ideal for 3-6 large eggs.
- Large Eggs: Our recipe is calibrated for large-sized eggs. While any size will work, you might need to slightly adjust boiling times for smaller or jumbo eggs. As mentioned earlier, store-bought eggs that are a bit older (around 7-10 days past purchase) will generally peel much easier than very fresh, farm-fresh eggs due to changes in their pH balance. Don’t worry about bringing them to room temperature; our method works perfectly with eggs straight from the fridge.
- A Generous Bowl of Ice Water: This is a non-negotiable component of our easy-peel method. Prepare a large bowl with plenty of ice cubes, then fill it with cold water. This ice bath serves two crucial purposes: it immediately halts the cooking process, preventing overcooked, greyish yolks, and it helps the egg membrane separate from the shell, making peeling remarkably simple. Have this ready *before* your eggs finish boiling.
Customizing Your Yolk: How Long to Boil Eggs?
The beauty of hard-boiled eggs lies in their versatility, especially when it comes to yolk consistency. Whether you prefer a delicately soft center or a fully set, firm yolk, adjusting the boiling time is key. Use this quick guide to achieve your perfect hard-boiled egg every single time:
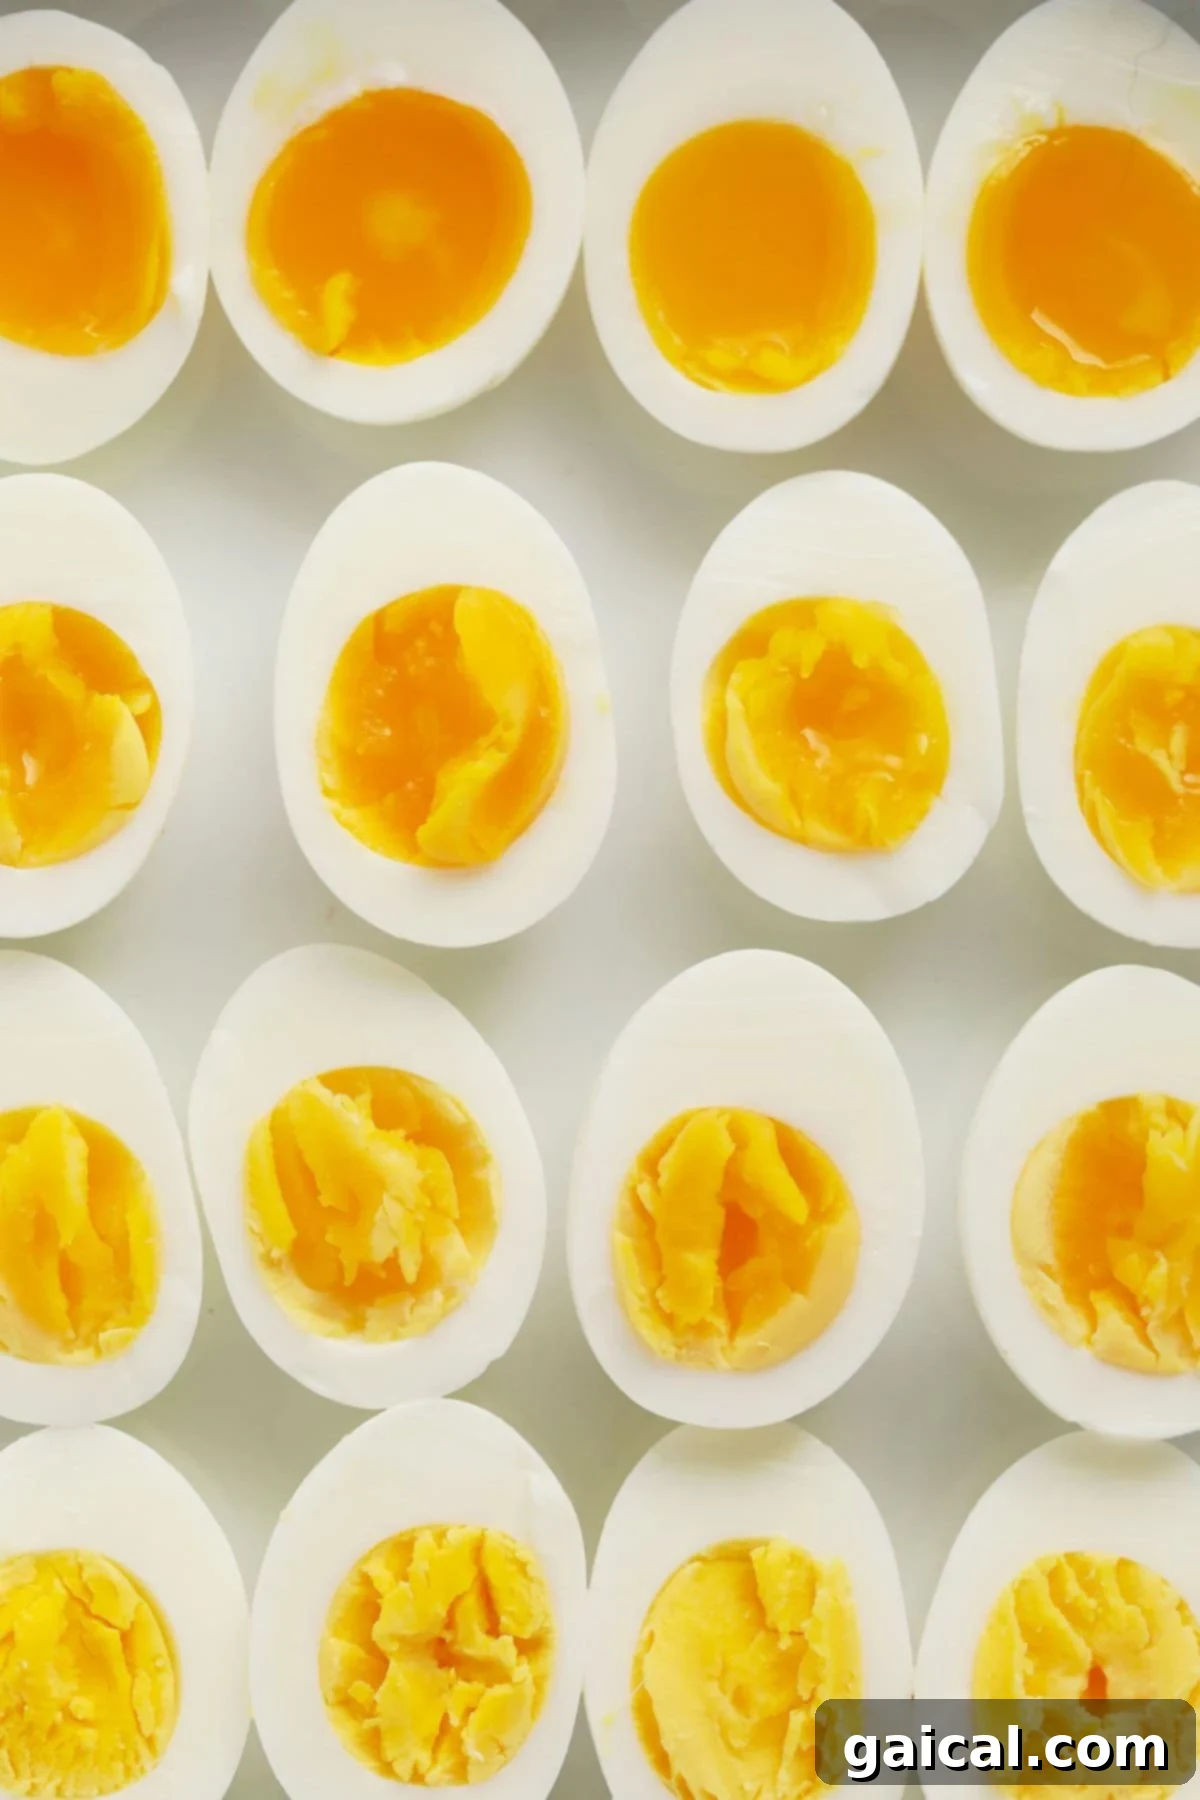
- 6 minutes: Soft-Boiled Eggs – Experience a perfectly set white with a beautifully runny, creamy yolk. Ideal for dipping toast soldiers or topping ramen.
- 8 minutes: Jammy Hard-Boiled Eggs – The whites are fully firm, and the yolks are wonderfully soft and custardy, with a vibrant yellow hue. This “jammy” consistency is fantastic for salads or avocado toast.
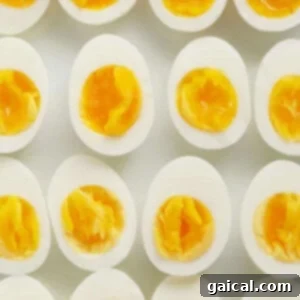
- 10 minutes: Just Right Hard-Boiled Eggs – Our go-to for a classic hard-boiled egg. The yolks are firm but still moist, bright yellow, and not dry or crumbly. Perfect for egg salad, deviled eggs, or a straightforward snack.
- 12 minutes: Well-Done Hard-Boiled Eggs – For those who prefer a completely firm, solid yolk. While fully cooked, our ice bath method helps prevent the dreaded greenish ring often associated with overcooked eggs.
Remember, these timings are guidelines for large eggs. You might need slight adjustments based on your altitude, the strength of your boil, and the size of your eggs.
The Science Behind the Ice Bath: Your Secret to Easy Peeling & Bright Yolks
The ice bath is not just a cooling step; it’s a critical technique that transforms the hard-boiling experience. Transferring your eggs directly from boiling water to an ice bath serves multiple vital functions:
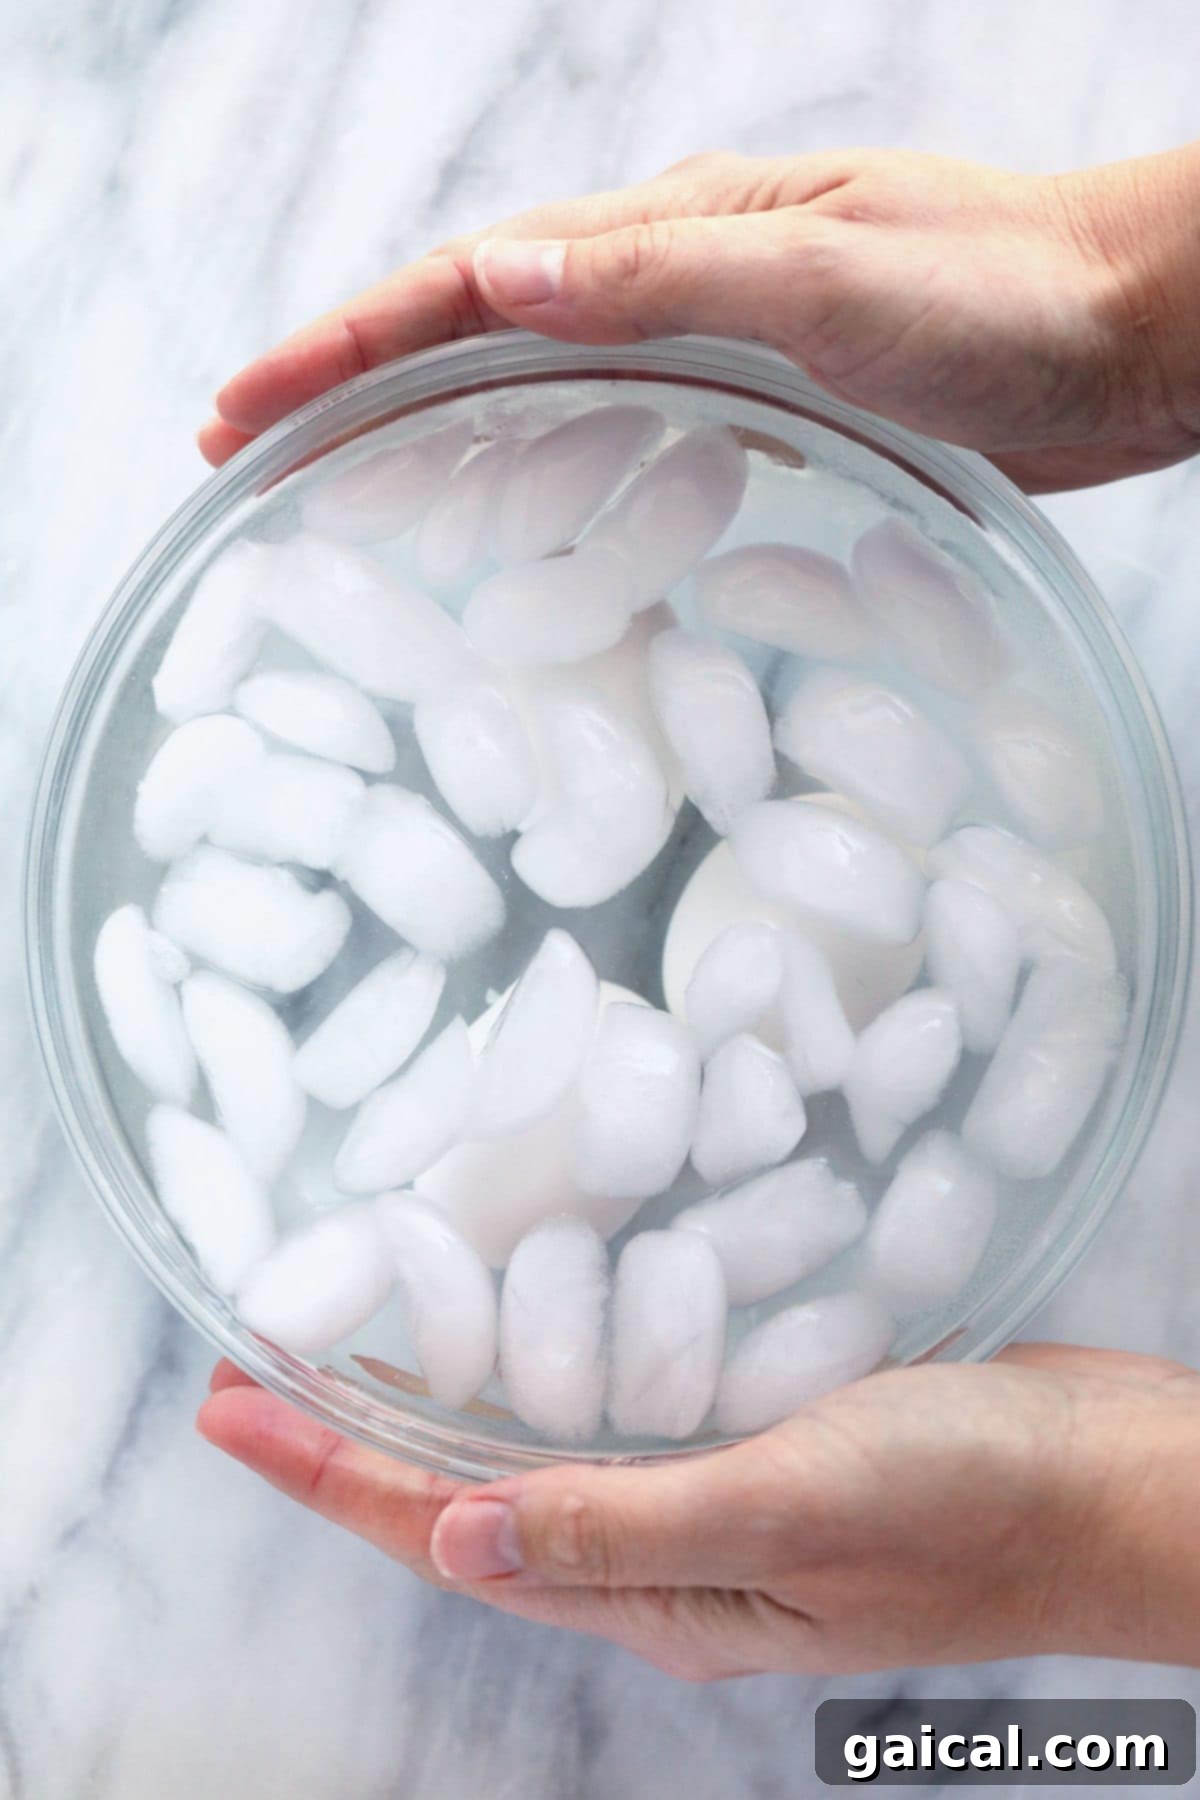
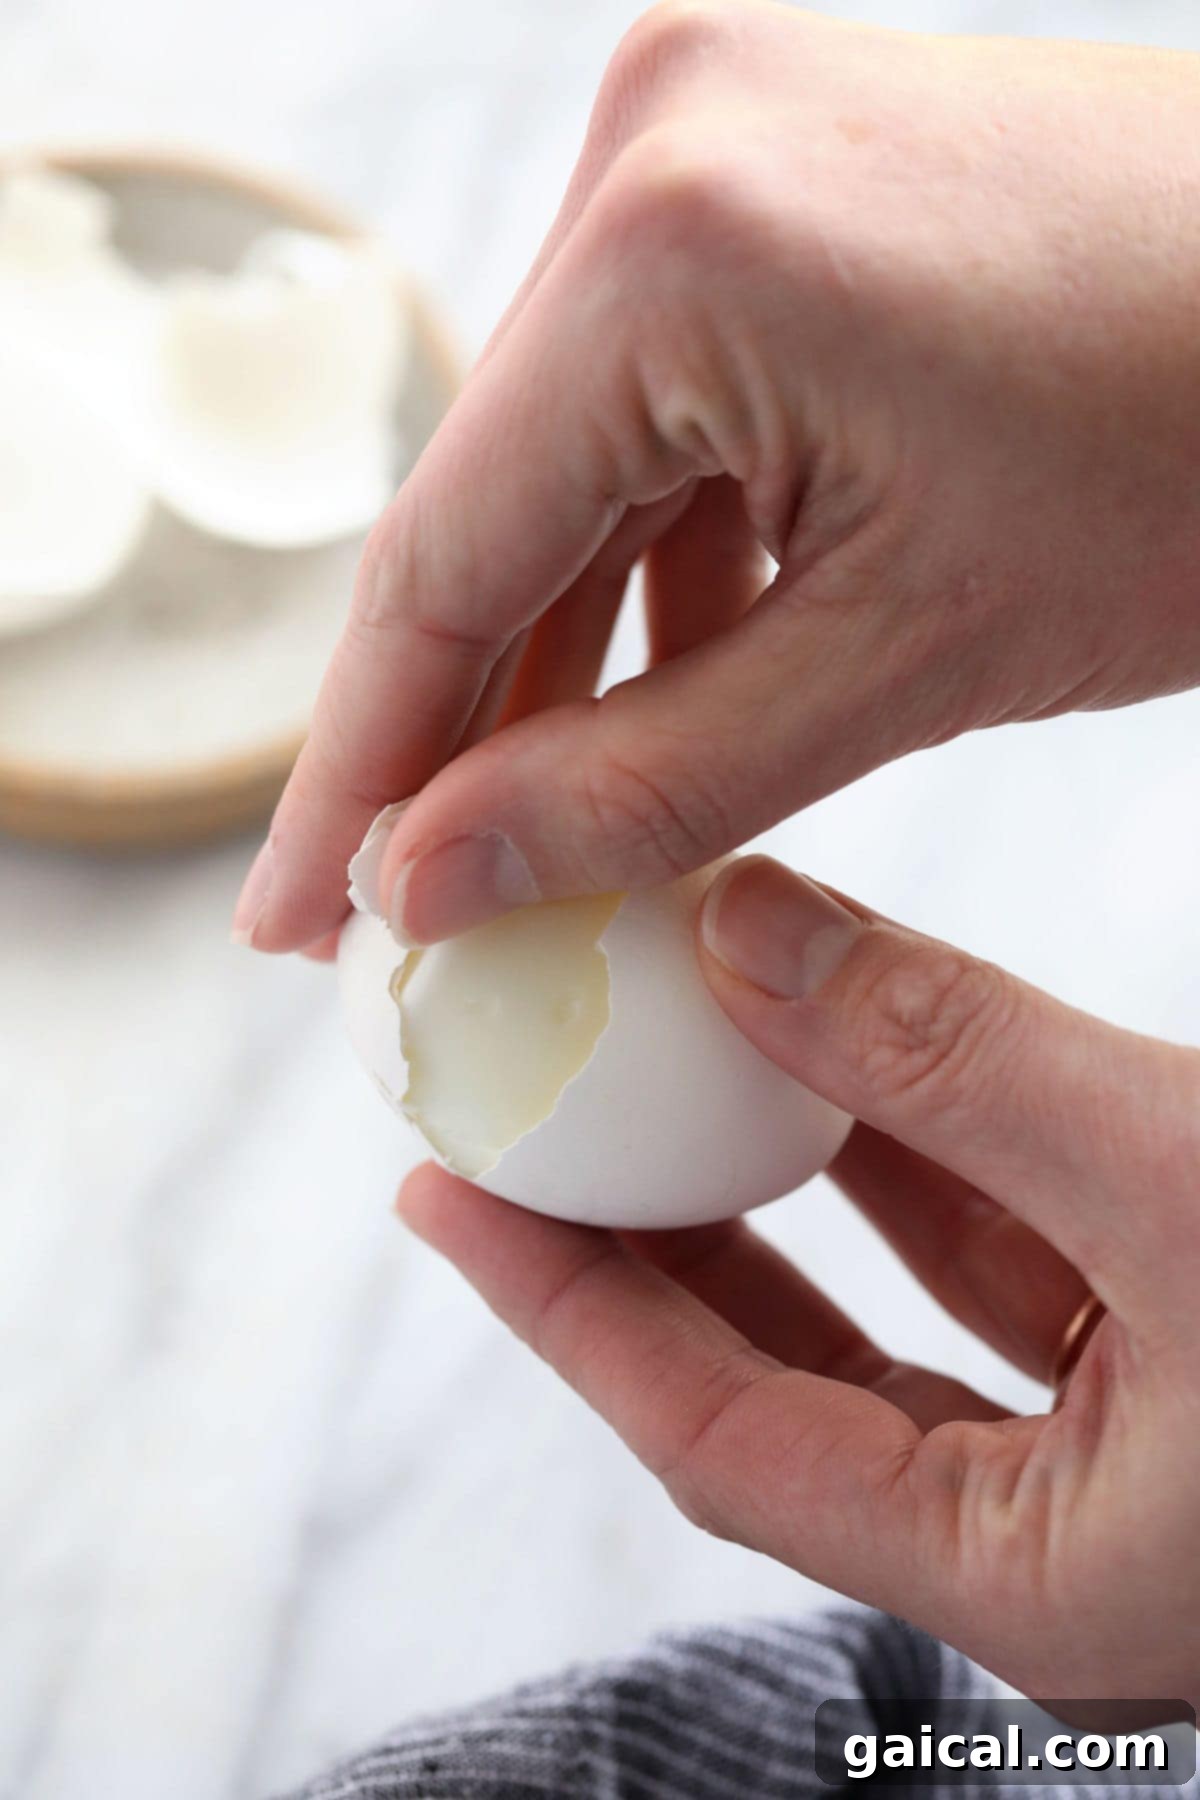
- Effortless Peeling: This is arguably the most celebrated benefit! The rapid shift from extreme heat to extreme cold causes the egg white to contract quickly, pulling away from the inner membrane and the shell. This swift contraction creates a tiny pocket of air between the egg and its shell, effectively “unsticking” the membrane and making the shell incredibly easy to peel off in large pieces. This eliminates the frustration of tearing away bits of egg white along with the shell, ensuring a smooth, beautiful egg.
- Vibrant Yellow Yolks: The immediate cooling effect of the ice bath also plays a crucial role in preserving the attractive, bright yellow color of your egg yolks. Without an ice bath, eggs continue to cook from residual heat after being removed from the stove. This overcooking often leads to a chemical reaction between the iron in the yolk and the sulfur in the egg white, resulting in a greenish-grey ring around the yolk – a clear sign of an overcooked egg. The ice bath instantly halts this process, locking in that desirable golden hue.
- Prevents Overcooking: As mentioned, the ice bath effectively stops the cooking process. This means your eggs won’t overcook while they cool down, ensuring that whether you aim for a jammy or a fully firm yolk, it remains exactly as you intended.
For these reasons, the ice bath is not an optional step; it’s fundamental to achieving truly perfect, easy-to-peel hard-boiled eggs with vibrant, appealing yolks.
Proper Storage for Freshness and Convenience
Knowing how to store your hard-boiled eggs properly is just as important as knowing how to cook them. Correct storage ensures they remain fresh, safe to eat, and convenient for your meal prep needs.
- Refrigeration (Unpeeled): Unpeeled hard-boiled eggs can be safely stored in the refrigerator for up to 7 days. Keeping the shell on provides a natural protective barrier against bacteria and odors. You can even write the date on the shell with a marker to keep track of freshness! (As recommended by the FDA).
- Refrigeration (Peeled): While you *can* peel your eggs before storing, we generally recommend against it unless you plan to consume them quickly. Once peeled, eggs tend to absorb refrigerator odors, and their surface can dry out. If you do peel them, store them in an airtight container with a damp paper towel to maintain moisture, and consume within 2-3 days for best quality.
- Countertop Storage: Cooked eggs should never be left at room temperature for more than 1-2 hours. Beyond this timeframe, bacteria can multiply rapidly, making the eggs unsafe to eat and potentially causing illness. Always refrigerate promptly after they’ve cooled.
- Freezing Hard-Boiled Eggs: Yes, you can freeze hard-boiled eggs, but with a caveat: only the yolks freeze well. The whites tend to become rubbery and watery upon thawing. If you wish to freeze, peel your hard-boiled eggs, separate the yolks, and store them in a freezer-safe bag or airtight container for up to 3 months. This is a great option if you make a large batch and primarily use the yolks for recipes.
How long can I leave my hard-boiled eggs on the counter?
The FDA recommends letting your hard-boiled eggs sit on the counter outside of the fridge for no more than 1-2 hours before bacteria can start to grow and cause illness. Always refrigerate cooked eggs promptly.
How do I prevent my eggs from cracking while boiling?
Make sure to carefully lower your eggs into the boiling water using a slotted spoon instead of dropping them. This prevents them from hitting the bottom of the pot or each other with too much force, which often causes cracks. Also, ensure your pot is not overcrowded.
Should I store my eggs peeled or still in the shell?
Feel free to store your eggs either way, but we prefer to store them with the shell still on. The shell provides a natural protective layer, helps prevent the egg from absorbing odors from the fridge, and makes it easy to write the date on it so you know how long they’ve been stored. Peeled eggs should be stored in an airtight container with a damp paper towel and consumed within 2-3 days.
Can you freeze hard-boiled eggs?
Yes, you can freeze hard-boiled egg yolks. However, hard-boiled egg whites can become rubbery and watery after freezing and thawing, so we generally recommend against freezing the whole egg. To freeze yolks, simply peel your eggs, separate the yolks, and transfer them into a freezer-safe gallon-size bag or airtight container. Remove as much air as possible and freeze for up to 3 months. Thaw in the refrigerator before using.
Delicious Ways to Enjoy Your Perfect Hard-Boiled Eggs
Once you’ve mastered the art of making perfect hard-boiled eggs, the culinary possibilities are endless! Beyond a simple sprinkle of salt and pepper, these versatile protein powerhouses can elevate countless dishes. Here are some of our favorite ways to repurpose and enjoy your batch of perfectly cooked eggs:
Classic Egg Salad: A timeless favorite! Hard-boiled eggs are the star of this creamy, satisfying dish. We love mixing them with Greek yogurt for a healthier twist, a touch of mayo for richness, and a hint of Dijon mustard for tang. Serve it on toast, in lettuce wraps, or as a dip. Try our amazing Easy Egg Salad Recipe or make delightful Egg Salad Sandwiches.
Elegant Deviled Eggs: Perfect for appetizers or parties, deviled eggs are always a crowd-pleaser. Halve your hard-boiled eggs, scoop out the yolks, mix with mayo, mustard, and seasonings, then pipe back into the whites. They’re tangy, savory, and surprisingly simple to make.
Try it!
Deviled Eggs
These easy deviled eggs are seriously simple to make with minimal ingredients and irresistible flavor. Create a batch of these delightful deviled eggs today!
Nutrient-Rich Cobb Salad: Hard-boiled eggs are a quintessential ingredient in a classic Cobb salad, adding not just flavor and texture but also a significant boost of protein. Pair them with chicken, bacon, avocado, tomatoes, and a vibrant dressing for a complete meal. Explore our Rotisserie Chicken Cobb Salad or a refreshing Spring Cobb Salad.
Elevated Toast & Bagels: Keep it simple yet satisfying by slicing or mashing hard-boiled eggs and topping your favorite toast or bagel. Add avocado, everything bagel seasoning, or a sprinkle of chili flakes for an extra kick.
Try it!
Avocado Toast
Enhance your avocado toast with your choice of soft-boiled to hard-boiled eggs for an excellent protein boost!
Potato Salad Enhancement: Hard-boiled eggs are a fantastic addition to potato salad, adding creaminess and protein. Dice them and fold them into your favorite potato salad recipe for extra richness and flavor. Try them in our Loaded Baked Potato Salad.
Quick & Healthy Snack: Sometimes, the simplest way is the best. A plain hard-boiled egg with a dash of salt and pepper is a satisfying, low-calorie, high-protein snack that keeps you full and energized throughout the day.
Recipe: How to Make Perfect Hard-Boiled Eggs
How to Make Hard-Boiled Eggs
Ingredients
- 3-6 large eggs
- Water (for boiling)
- Ice cubes
Instructions
-
First, prepare your ice bath. Fill a medium bowl halfway with ice cubes and cover the ice cubes with cold water. Set this aside near your stovetop.

-
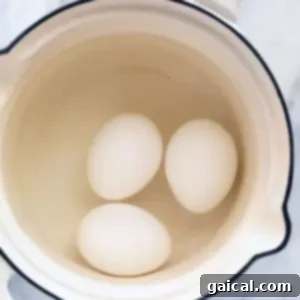
Fill a medium saucepan with enough water to fully submerge your eggs. Bring the water to a rapid, rolling boil over high heat.
-
Gently add the eggs to the actively boiling water using a slotted spoon to avoid cracking. Set your timer based on your desired yolk consistency:
- 6 minutes: Soft-boiled (runny, bright yellow yolks)
- 8 minutes: Jammy (custardy, yellow yolks)
- 10 minutes: Medium hard-boiled (firm but moist, bright yellow yolks)
- 12 minutes: Fully cooked hard-boiled (solid, lighter yellow yolks)
-
As soon as the timer goes off, carefully drain the hot water from the saucepan and immediately transfer the cooked eggs into the prepared ice bath. Let them chill for at least 5-10 minutes. This step is crucial for easy peeling and preventing green yolks.
-
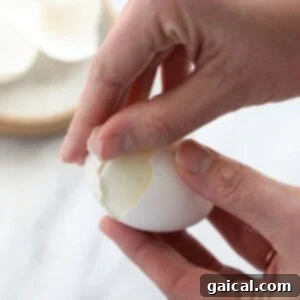
Once thoroughly chilled, carefully peel the shell from each egg. If you encounter any stubborn spots, try peeling the egg under cool running water; the water can help loosen the shell.
-
Cut the egg in half, season with salt and pepper if desired, and enjoy your perfectly hard-boiled eggs!
Tips & Notes
- Store unpeeled hard-boiled eggs in the refrigerator for up to 7 days. Peeled eggs should be eaten within 2-3 days and stored in an airtight container with a damp paper towel.
- Don’t overcrowd your pot. Cook eggs in batches if necessary to ensure even cooking and prevent cracking.
- Older eggs (about a week old) tend to peel more easily than very fresh eggs.
Watch The Recipe
Watch this quick video to see our foolproof method for making perfect hard-boiled eggs!
Nutrition
Calories: 70 kcal
Carbohydrates: 1 g
Protein: 6 g
Fat: 5 g
Fiber: 0 g
Sugar: 0 g
Nutrition information is automatically calculated, so should only be used as an approximation and is per serving.
Love this recipe? Leave a comment below!
Don’t forget to tag your posts on social media with the hashtag #fitfoodiefinds – we’d love to see your perfect hard-boiled eggs!
Discover More of Our Favorite…
Egg Tutorials & Recipes
Eggs are incredibly versatile, and mastering different cooking methods opens up a world of culinary possibilities. Here are more of our expert guides to preparing eggs:
- Healthy Egg Salad
- Tuna Egg Salad
- Deviled Egg Salad
- Loaded Baked Potato Salad
- Spring Cobb Salad
- How to Make Perfect Over-Medium Eggs
- Guide to Soft-Boiled Eggs
- Mastering Poached Eggs
- Flawless Over Easy Eggs
- Perfect Over Hard Eggs
- Simple Baked Eggs in the Oven
- The Best Scrambled Eggs Recipe
- Achieving Sunny Side Up Eggs
- How to Fry an Egg Perfectly
- Air Fryer Hard Boiled Eggs: A Modern Method