
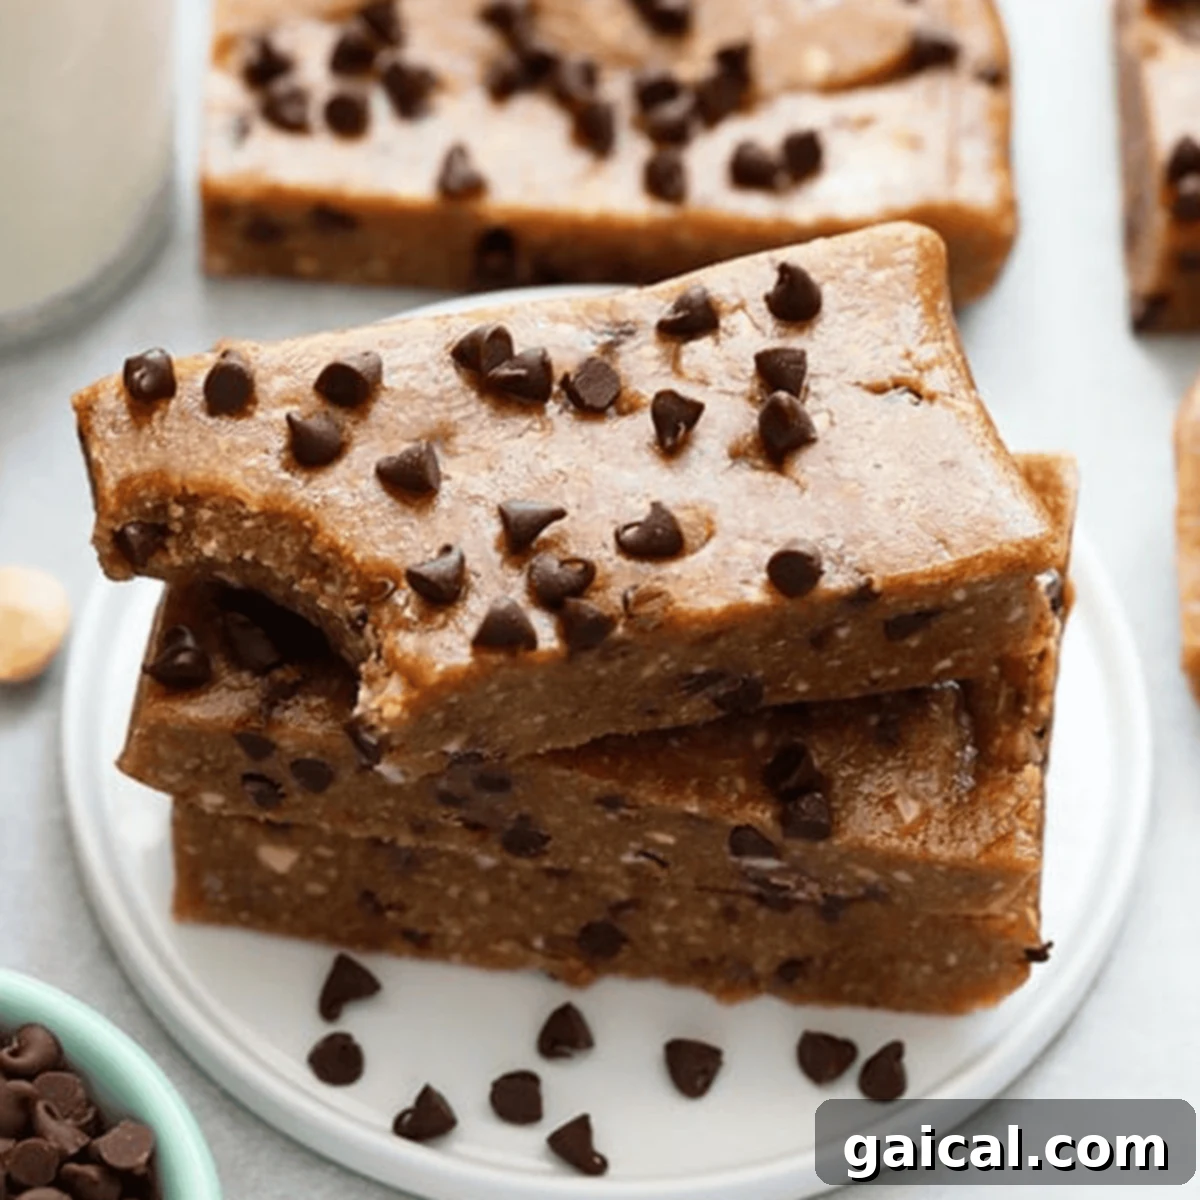
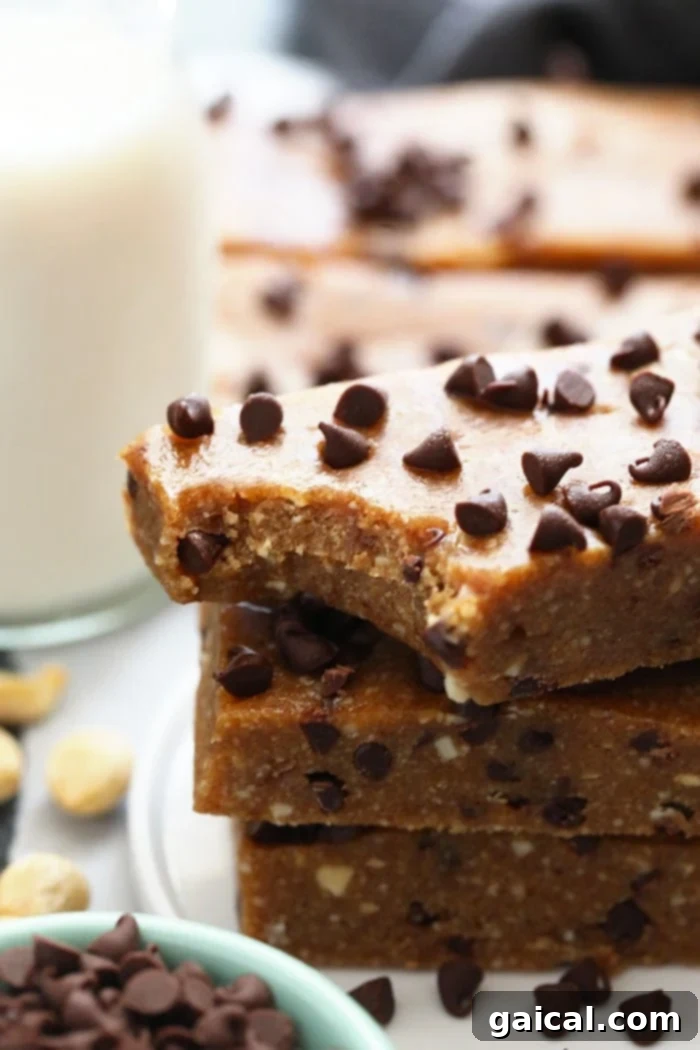
Craving a wholesome, satisfying snack that’s quick to prepare and made with simple, real-food ingredients? Look no further! These irresistible homemade Peanut Butter Chocolate Chip Larabars are your answer. Whether you’re a long-time fan of store-bought Larabars or simply seeking an easy, nutritious snack, you’ll be amazed at how effortlessly these come together. They are not only incredibly delicious but also completely vegan, gluten-free, and paleo-friendly, making them a perfect choice for almost any dietary need.
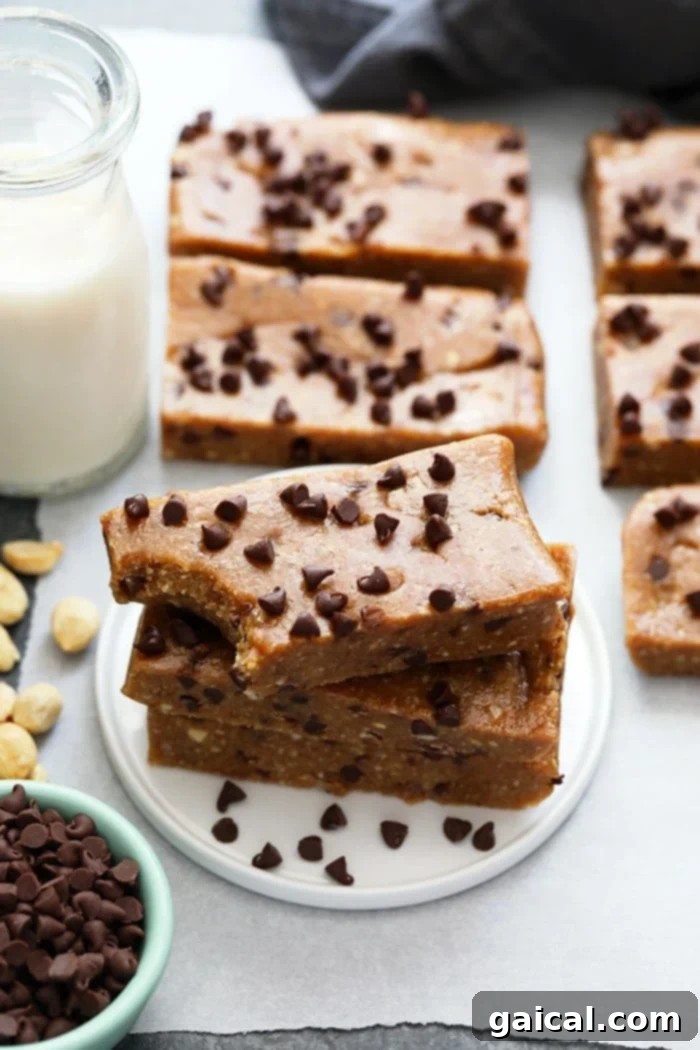
My journey with Larabars started back in college, where I found myself drawn to their impressively short and clean ingredient lists. The convenience and natural goodness were a huge win. But what if I told you that recreating that magic at home is not only possible but incredibly simple? This copycat Larabar recipe delivers on taste, texture, and convenience, proving that something this good can indeed be this easy to make from scratch.
Why Make Your Own Larabars? The Smart Snack Choice
Beyond the sheer joy of creating something delicious in your own kitchen, making your own homemade energy bars offers significant advantages. One of the most compelling reasons is the cost savings. By purchasing your core ingredients in bulk – think large bags of Medjool dates and peanuts – you can dramatically reduce the per-bar cost. Many health food stores and co-ops, like Whole Foods or Fresh Thyme, feature fantastic bulk sections where you can find high-quality ingredients for a fraction of the price.
Did you know that crafting these wholesome bars yourself can bring the cost down to less than $1 per bar? This makes them a far more economical option compared to their store-bought counterparts, which often retail for $2-$3 each. This budget-friendly approach allows you to enjoy premium, natural snacks without breaking the bank. Plus, you gain complete control over the quality and freshness of every single ingredient, ensuring no hidden additives or unwanted surprises. It’s a win for your wallet and your well-being!
Essential Ingredients for Your Homemade Larabars
The beauty of these no-bake energy bars lies in their minimal, yet impactful, ingredient list. Just four simple, whole-food items come together to create a chewy, flavorful snack that’s hard to resist. Here’s what you’ll need to gather:
- Medjool Dates: These are truly the backbone of this recipe, acting as both the natural sweetener and the binder. For optimal results, ensure your Medjool dates are fresh and soft. Their natural stickiness is what holds the bars together and gives them their signature chewy texture. If your dates happen to be older or firmer, don’t fret! A quick soak in warm water for about 10-15 minutes, or simply adding a few teaspoons of water during blending, can help them soften up perfectly. Always remember to pit them before adding them to your food processor.
- Unsalted Peanuts: Providing a rich, nutty depth of flavor, unsalted peanuts are crucial for our Peanut Butter Chocolate Chip Larabars. When blended with the dates, they create a wonderfully indulgent base that mirrors the classic Larabar texture. Using unsalted peanuts allows you to control the overall sodium content, and a pinch of added sea salt later will enhance all the flavors beautifully.
- Mini Chocolate Chips: Is there a more iconic duo than peanut butter and chocolate? We think not! Mini chocolate chips are folded into the mixture, adding delightful pockets of sweetness and a touch of decadence. They melt slightly from the warmth of blending, distributing their rich flavor throughout the bars, making every bite a heavenly experience.
- Sea Salt: Often underestimated, a mere pinch of sea salt makes an extraordinary difference. It doesn’t just add saltiness; it brilliantly balances the sweetness of the dates and chocolate, while also amplifying the roasted notes of the peanuts. This small addition elevates the overall flavor profile, transforming a good bar into a truly great one.
Essential Equipment: Food Processor: To achieve that perfectly smooth, dough-like consistency characteristic of Larabars, a robust food processor is indispensable. It will effortlessly blend the dates and peanuts into a uniform mixture, ensuring your copycat Larabars are consistently soft and easy to form. While a high-speed blender might work with a tamper, a food processor is generally preferred for its ability to handle thick, sticky mixtures more effectively.
Sourcing the Best Medjool Dates for Your Recipe
The quality of your Medjool dates directly impacts the success and texture of your homemade Larabars. For the freshest and softest dates, we highly recommend purchasing them from the produce section of your local grocery store or health food market. Dates found in the produce aisle are typically much moister and more pliable than those pre-packaged in the dry goods section. Softer dates are a dream to work with in a food processor, as they pulverize easily and bind all the ingredients together smoothly. Always opt for plump, shiny dates that feel tender to the touch for the best results in your no-bake date bars.
What Our Readers Are Saying!
“OMGGGGG I JUST MADE THEM AND HOLYYYYY THEY TASTE SO GOOODDDD I LOVE HOW INEXPENSIVE THIS RECIPE WAS AND HOW EASY IT WAS!! NGL BLENDING THE DATES AND PEANUTS TOOK A BIT OF TIME BUT WHEN IT FINALLY BLENDED I WAS SO HAPPYYYYYY! THE BARS ARE SO NICE AND MOIST I WILL DEFINITELY MAKE AGAIN! THANK YOU FOR THIS RECIPE!!” – Yoshi
Yoshi’s enthusiastic feedback perfectly captures the joy and satisfaction that comes from making these incredible bars. We love hearing how much you enjoy the simplicity and deliciousness of this recipe!
Customizing Your Homemade Larabars: Ingredient Swaps and Variations
One of the greatest benefits of making your own healthy snack bars is the freedom to customize them to your exact preferences and dietary needs. While the peanut butter chocolate chip combination is a classic for a reason, don’t hesitate to get creative with your base ingredients and mix-ins.
-
Nut Swaps: If peanuts aren’t your favorite, or if you’re looking for a different flavor profile, feel free to swap them out.
- For a delightful change, try using cashews to create a delicious DIY cashew Larabar. Our 3-Ingredient Cashew Date Bars recipe is a fantastic starting point and proves how versatile these bars can be!
- Alternatively, almonds can be used to craft a rich and nutty homemade almond Larabar, offering a distinct flavor and nutritional boost. Hazelnuts or pecans could also work for unique variations.
-
Boost with Mix-ins: Once you have your date and nut base, the possibilities for additional flavors and textures are endless.
- Incorporate various dried fruits like raisins, cranberries, apricots, or even dried cherries for extra sweetness and chewiness.
- Add shredded coconut flakes for a tropical twist and a lovely texture.
- For an extra boost of nutrition, especially if you’re making these as a post-workout snack, mix in a scoop of your favorite protein powder (vanilla or chocolate flavors work exceptionally well).
- Consider adding a hint of vanilla extract, a pinch of cinnamon, or even some orange zest for complex aromatic notes.
- Seeds like chia, flax, or hemp can also be stirred in for added fiber and omega-3s.
Experimentation is key! These bars are incredibly forgiving, allowing you to tailor them to your palate. Just remember that altering the nuts might slightly change the amount of water needed if your base becomes too dry or sticky.
Optimal Storage for Long-Lasting Freshness
Once you’ve crafted your batch of delightful homemade Larabars, proper storage is essential to keep them fresh and ready for whenever a snack craving strikes. Here’s a comprehensive guide to ensure your bars maintain their perfect texture and flavor:
Room Temperature Storage: If you’re preparing these bars for immediate consumption or as a convenient grab-and-go snack for the next few days, storing them at room temperature is perfectly fine. Place them in an airtight container or a sealed bag. They will remain fresh and delicious for up to 5 days. This is ideal for lunchboxes, gym bags, or a quick desk snack.
Refrigerator Storage: For extended freshness, the refrigerator is your best friend. Store your bars in an airtight container in the fridge, and they will stay wonderfully fresh for up to 2 weeks. Chilling them can also firm up their texture slightly, which some people prefer, especially in warmer climates. This method is great for meal prepping snacks for the week ahead.
Freezer Storage: To maximize their shelf life and have a ready supply of these healthy treats, freezing is an excellent option. Simply wrap each bar individually in plastic wrap, or place them in a single layer in an airtight freezer-safe container. When properly frozen, these vegan energy bars can last for up to 3 months. To enjoy, simply pull one out and let it thaw at room temperature for a few minutes, or enjoy it chilled directly from the freezer for a firmer, almost candy-like bite. This is perfect for batch cooking and ensuring you always have a wholesome snack on hand.
These homemade bars are incredibly versatile, offering both immediate gratification and long-term convenience through smart storage. No matter how you choose to keep them, they’re sure to be a hit!
Explore More of Our Favorite…
Delicious & Nutritious Bar Recipes to Try Next
If you’ve fallen in love with the ease and deliciousness of these homemade date bars, you’ll be thrilled to discover more of our favorite bar recipes. Perfect for meal prep, healthy snacking, or a quick energy boost, these recipes are packed with flavor and wholesome ingredients:
- No-Bake Chocolate Coconut Energy Bars: A tropical escape in every bite, combining rich chocolate with sweet coconut.
- Peanut Butter Protein Bars: For those looking for an extra protein punch, these bars are satisfying and delicious.
- Copycat Cashew Cookie Larabars: The simplicity of cashews and dates creates a wonderfully addictive treat.
- Chocolate Chip Peanut Crunch Clif Bars: Recreate a classic energy bar with wholesome ingredients at home.
Each recipe is designed to be straightforward and rewarding, offering a variety of flavors and nutritional benefits to keep your snack game strong.
Homemade Peanut Butter Chocolate Chip Larabars
Lee Funke
Prep:
10
Cook:
0
Total:
10
8
Print Recipe
Ingredients
- 20 Medjool Dates, pitted (fresh & soft preferred)
- 2 cups unsalted peanuts
- 1/2 cup mini chocolate chips
- pinch of sea salt
Instructions
-
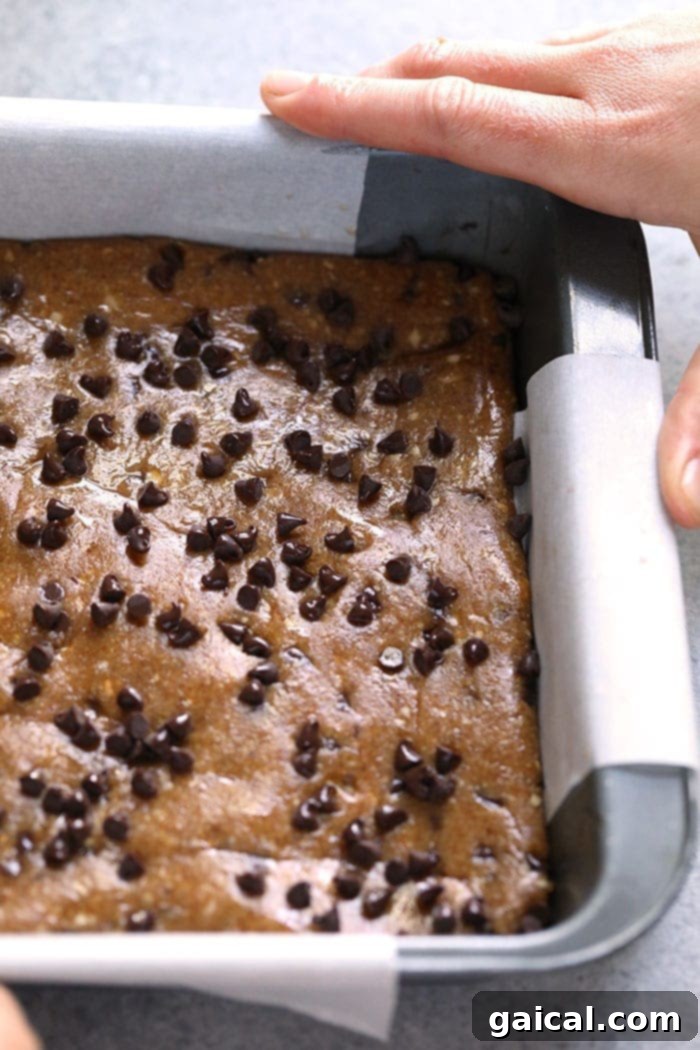
First, prepare an 8×8 inch square cake pan by lining it with parchment paper, leaving an overhang on the sides for easy removal. Set this aside.
-
Next, ensure all 20 Medjool dates are pitted. Transfer the pitted dates into your food processor.
-
Add the unsalted peanuts and the pinch of sea salt to the food processor with the dates. Blend on high speed until a cohesive, dough-like mixture forms. You may need to pause and scrape down the sides of the processor bowl a few times to ensure everything is evenly incorporated. The final dough should be sticky but not overly wet. If it’s too dry, add a teaspoon of water at a time until it reaches the desired consistency.
-
Transfer the food processor bowl (with the dough) into the refrigerator for about 5-10 minutes. This slight chilling step is important to prevent the chocolate chips from melting too much when you add them. Once the dough has cooled slightly, add the mini chocolate chips and pulse a few times in the food processor, just until they are evenly distributed. Be careful not to overmix.
-
Transfer the chocolate chip-studded dough into the prepared cake pan. Use your hands to press the mixture out evenly into a compact layer. For less sticking, lightly spray your hands with cooking spray before handling the dough.
-
Place the entire cake pan into the freezer for 1-2 hours. This will allow the bars to firm up, making them much easier to cut and handle.
-
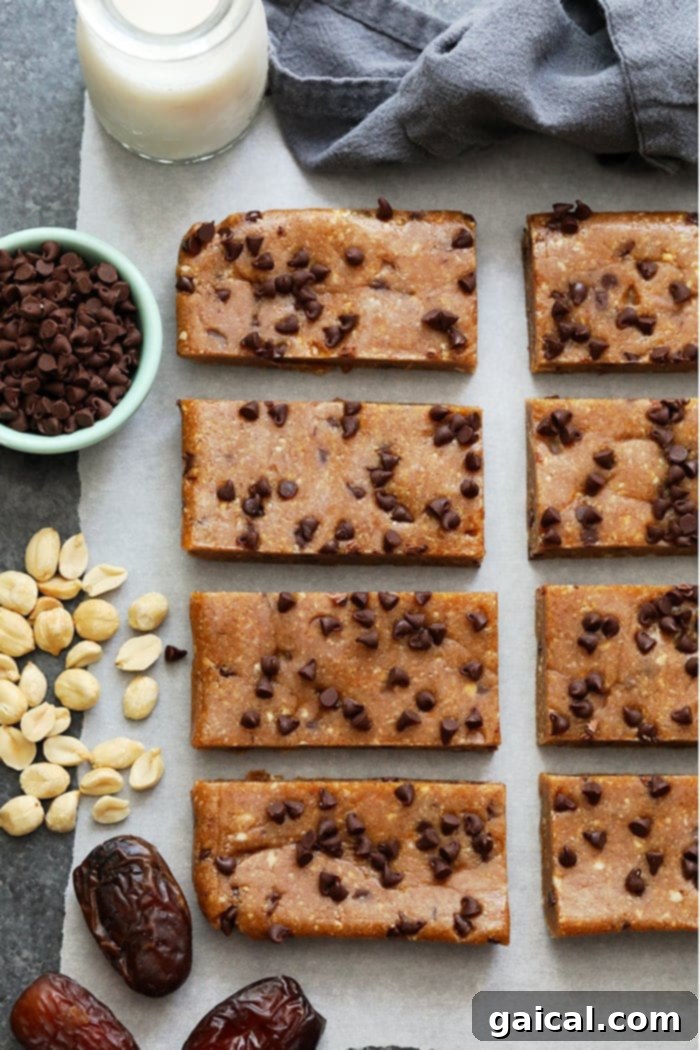
Remove the pan from the freezer and let it sit at room temperature for about 5 minutes. This brief resting period helps the bars to loosen from the parchment paper. Carefully lift the parchment paper with the bar mixture out of the pan. Using a sharp knife, cut the large slab into 8 evenly sized bars. Serve and enjoy!
Tips & Notes for Success
- Date Quality is Key: Always prioritize soft, fresh Medjool dates. If yours are a bit dry, a quick soak in warm water before pitting can make them easier to blend. Drain them thoroughly after soaking.
- Troubleshooting Sticky Dough: If your dough is too sticky to handle, try chilling it for an additional 10-15 minutes in the freezer before pressing it into the pan. Lightly oiling your hands with a neutral oil or cooking spray can also help significantly.
- Storage Suggestions: Store these delightful bars in an airtight container in the refrigerator for up to 2 weeks. For longer storage, freeze them for up to 3 months. Individual wrapping before freezing helps prevent them from sticking together.
- Portion Control: This recipe yields 8 substantial bars. If you prefer them as smaller, more frequent snacks, feel free to cut the serving size in half to make 16 total bars. They’re equally satisfying in smaller portions!
- Achieving the Perfect Blend: Be patient with your food processor. Depending on its power, it might take a few minutes for the dates and nuts to break down and form a smooth, uniform dough. Stop and scrape the sides often to ensure everything is incorporated.
Nutrition Facts (per serving)
Carbohydrates: 57 g,
Protein: 8 g,
Fat: 17 g,
Fiber: 4 g,
Sugar: 46 g
Nutrition information is automatically calculated, so should only be used as an approximation.
Love this recipe? Leave a comment below!
We absolutely love seeing your creations! Don’t forget to share your posts on social media and tag them with the hashtag #fitfoodiefinds. We’d be thrilled to see how your homemade Larabars turn out!
Frequently Asked Questions About Homemade Larabars
Making your own energy bars can sometimes bring up a few questions. Here are answers to some common queries to help you master this recipe:
- Can I use other types of dates besides Medjool? While Medjool dates are highly recommended for their soft, plump texture and natural sweetness, you can experiment with other varieties like Deglet Noor dates. However, Deglet Noor dates are typically firmer and less sweet, so you might need to soak them longer in warm water before blending and potentially add a tiny bit more sweetener (like a touch of maple syrup) if preferred. The texture of the final bar might also be slightly different.
- How do I prevent the dough from being too sticky? If your date-nut mixture is too sticky to handle, several factors could be at play. Ensure your Medjool dates aren’t overly moist. Chilling the dough in the refrigerator for 10-15 minutes before pressing it into the pan can significantly help. Also, lightly coating your hands with cooking spray or a neutral oil (like coconut oil) before pressing the mixture can make a huge difference in preventing sticking.
- Can I make these bars nut-free? To make a nut-free version of these Larabars, you would need to replace the peanuts with a seed-based alternative. Sunflower seeds or pumpkin seeds (pepitas) are excellent choices. Blend them with the dates as directed. Be aware that the flavor profile will change, but you’ll still achieve a delicious and wholesome snack. Always check that your seeds and chocolate chips are certified nut-free if severe allergies are a concern.
- What if my food processor isn’t powerful enough? If your food processor struggles to create a smooth dough, ensure your dates are very soft (soak them if necessary). Process in smaller batches if your machine has a limited capacity. You can also try adding a tablespoon of water at a time while processing to help create a smoother mixture, but be careful not to make it too wet. Patience and frequent scraping of the sides are key!