
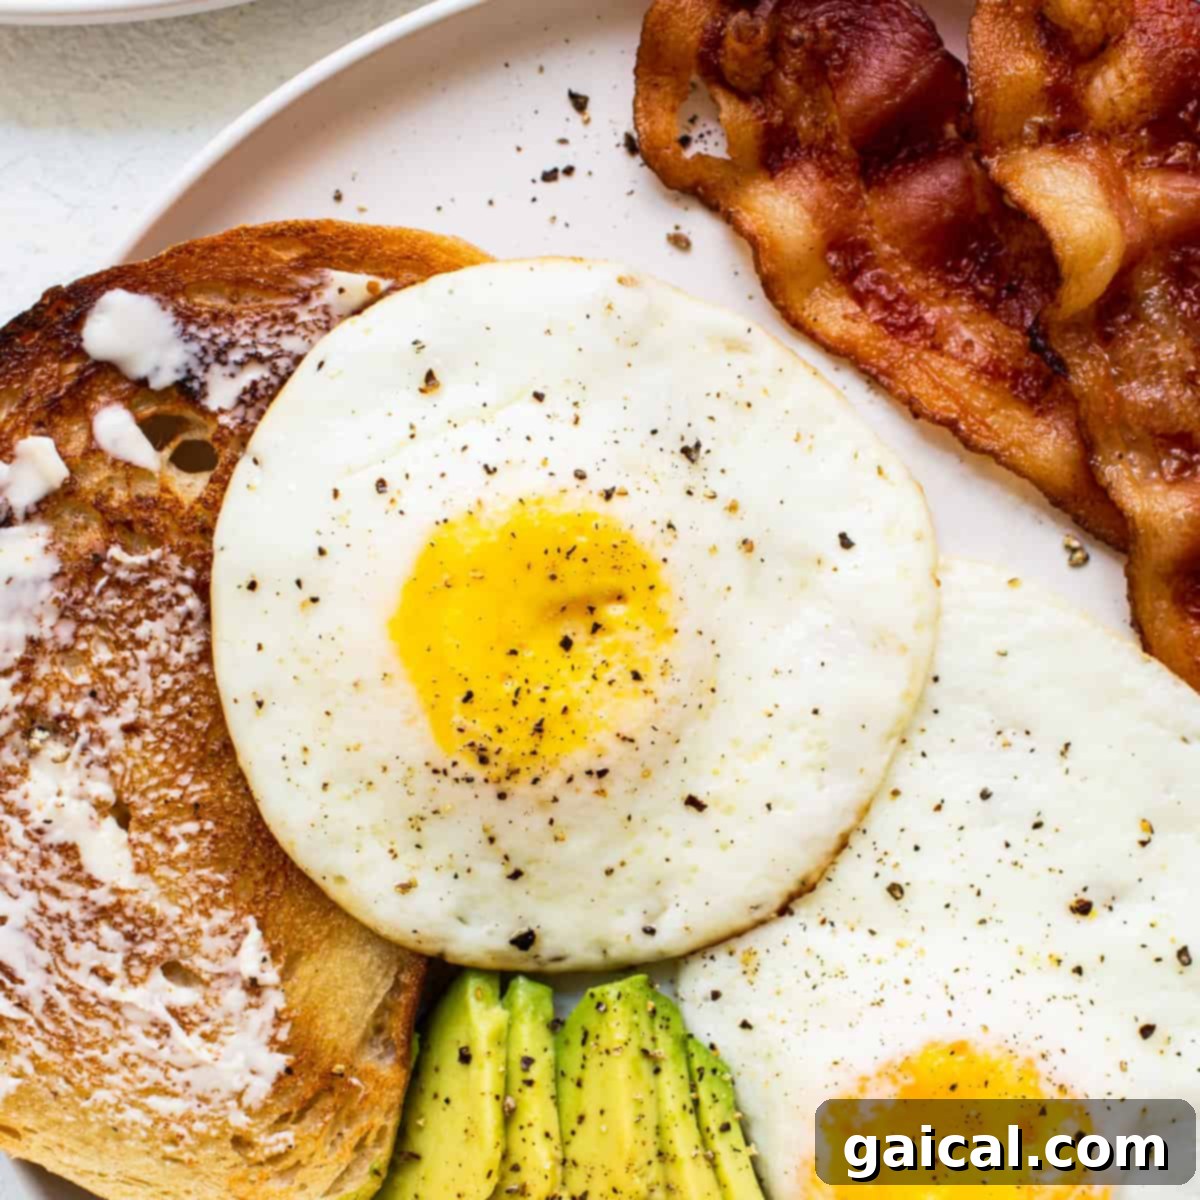
Master the art of breakfast with this definitive over hard eggs recipe, designed for consistently perfect results every single time. Bid farewell to undercooked yolks and scorched whites with our comprehensive, step-by-step instructions. Whether you’re a novice in the kitchen or a seasoned home cook looking to refine your technique, this guide ensures you’ll create the best over hard eggs you’ve ever tasted, embodying simplicity and culinary excellence.
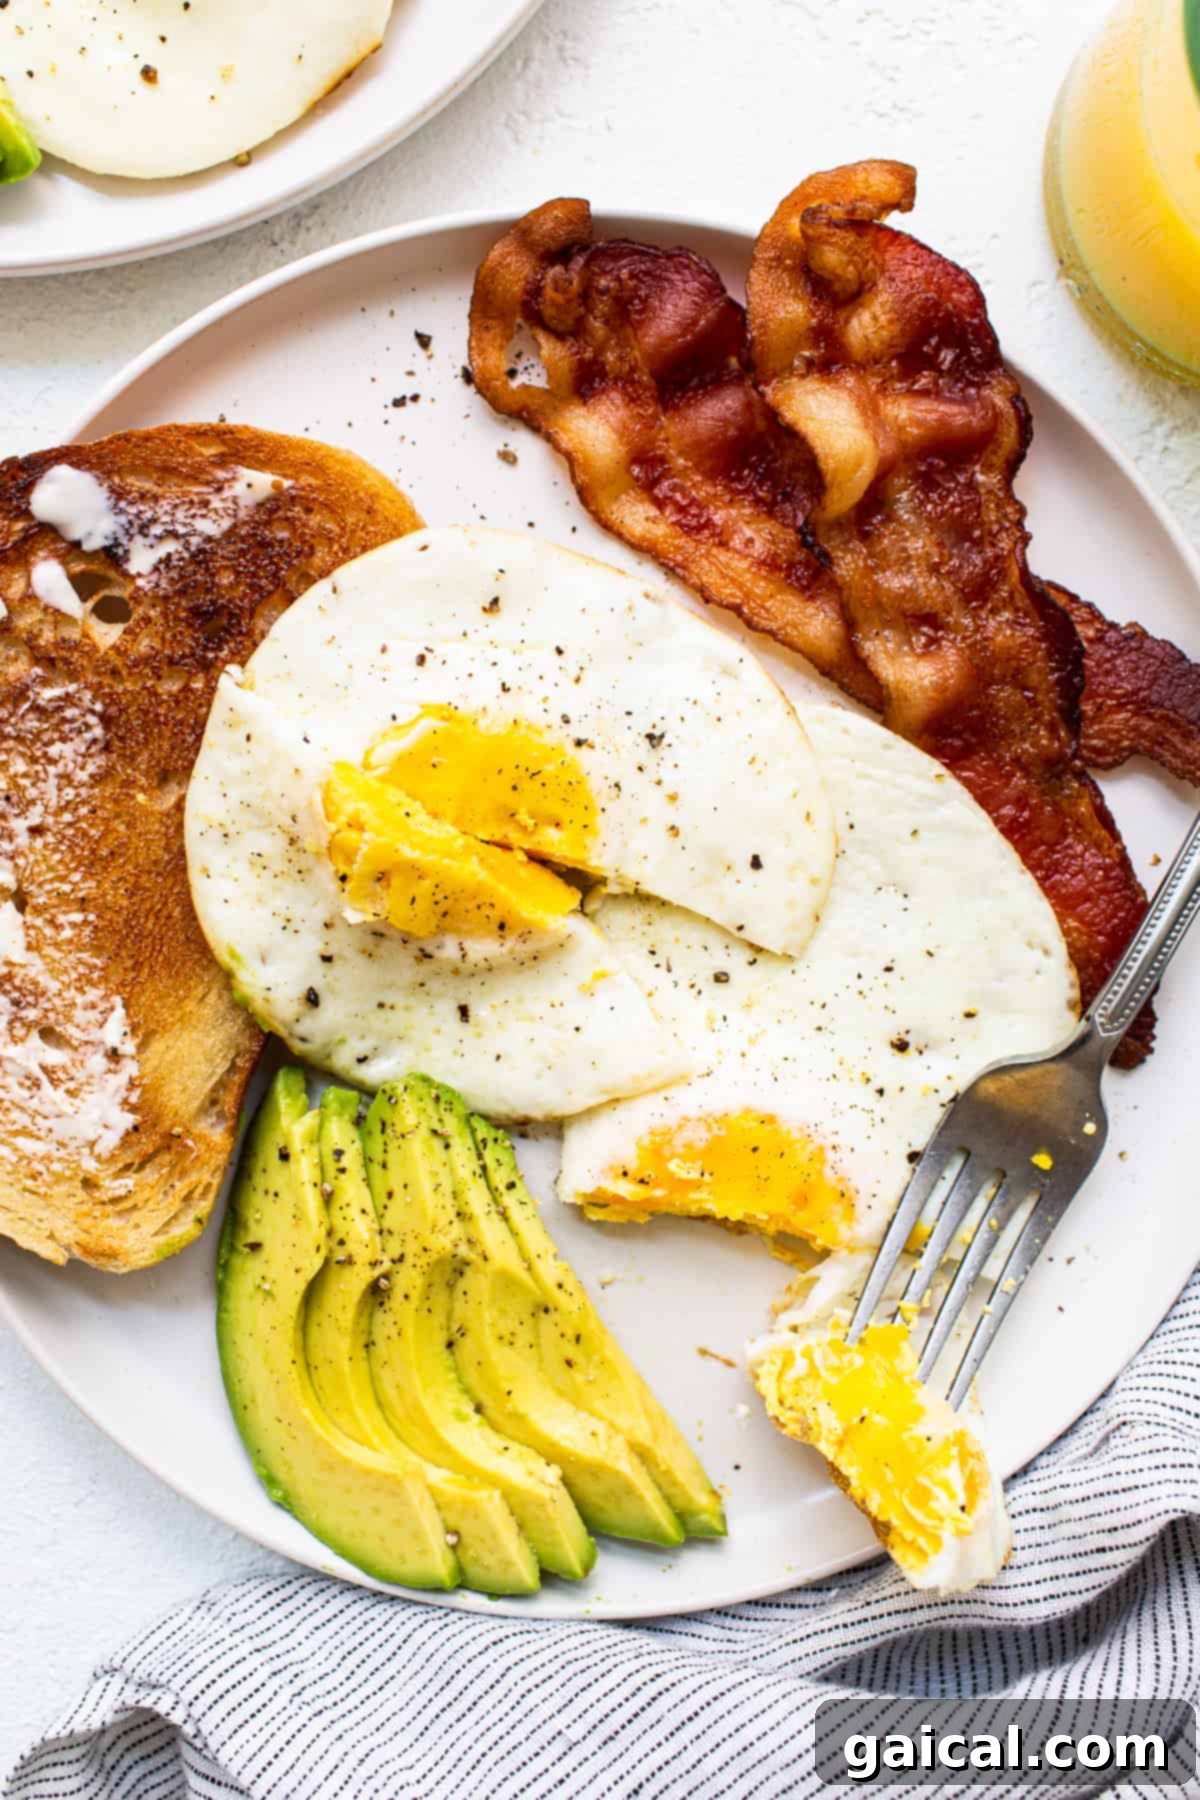
Achieving Perfectly Cooked Over Hard Eggs
Is there any greater satisfaction than starting your day with eggs cooked precisely to your preference? For many, the idea of a runny yolk is simply unappealing, and that’s perfectly fine! Over hard eggs offer a satisfyingly firm, fully cooked yolk, making them a fantastic choice for those who prefer their eggs completely set. This method ensures uniform cooking, transforming a simple ingredient into a breakfast masterpiece. We’re here to guide you through the process, empowering you to create reliably delicious over hard eggs without compromise. Embrace the joy of a perfectly executed, non-runny egg, cooked just the way you like it, every single morning.
Why This Over Hard Eggs Recipe Will Become Your Favorite!
Our meticulously detailed, step-by-step instructions eliminate guesswork, guaranteeing perfectly cooked over hard eggs consistently, transforming you into an egg-frying expert.
This technique ensures a fully cooked yolk and thoroughly set whites without any undesirable crispy, burnt edges, achieving a beautiful, even golden finish every time.
Beyond just cooking, we’re providing expert recommendations for complementary dishes, helping you build a well-rounded and delightful breakfast spread that elevates your morning meal.
Over hard eggs are incredibly versatile and packed with protein, making them an excellent foundation for a satisfying and nutritious meal that keeps you feeling full and energized.
This recipe is quick and requires minimal cleanup, making it ideal for busy weekdays when you crave a homemade breakfast without a fuss.
Essential Ingredients for Your Over Hard Eggs
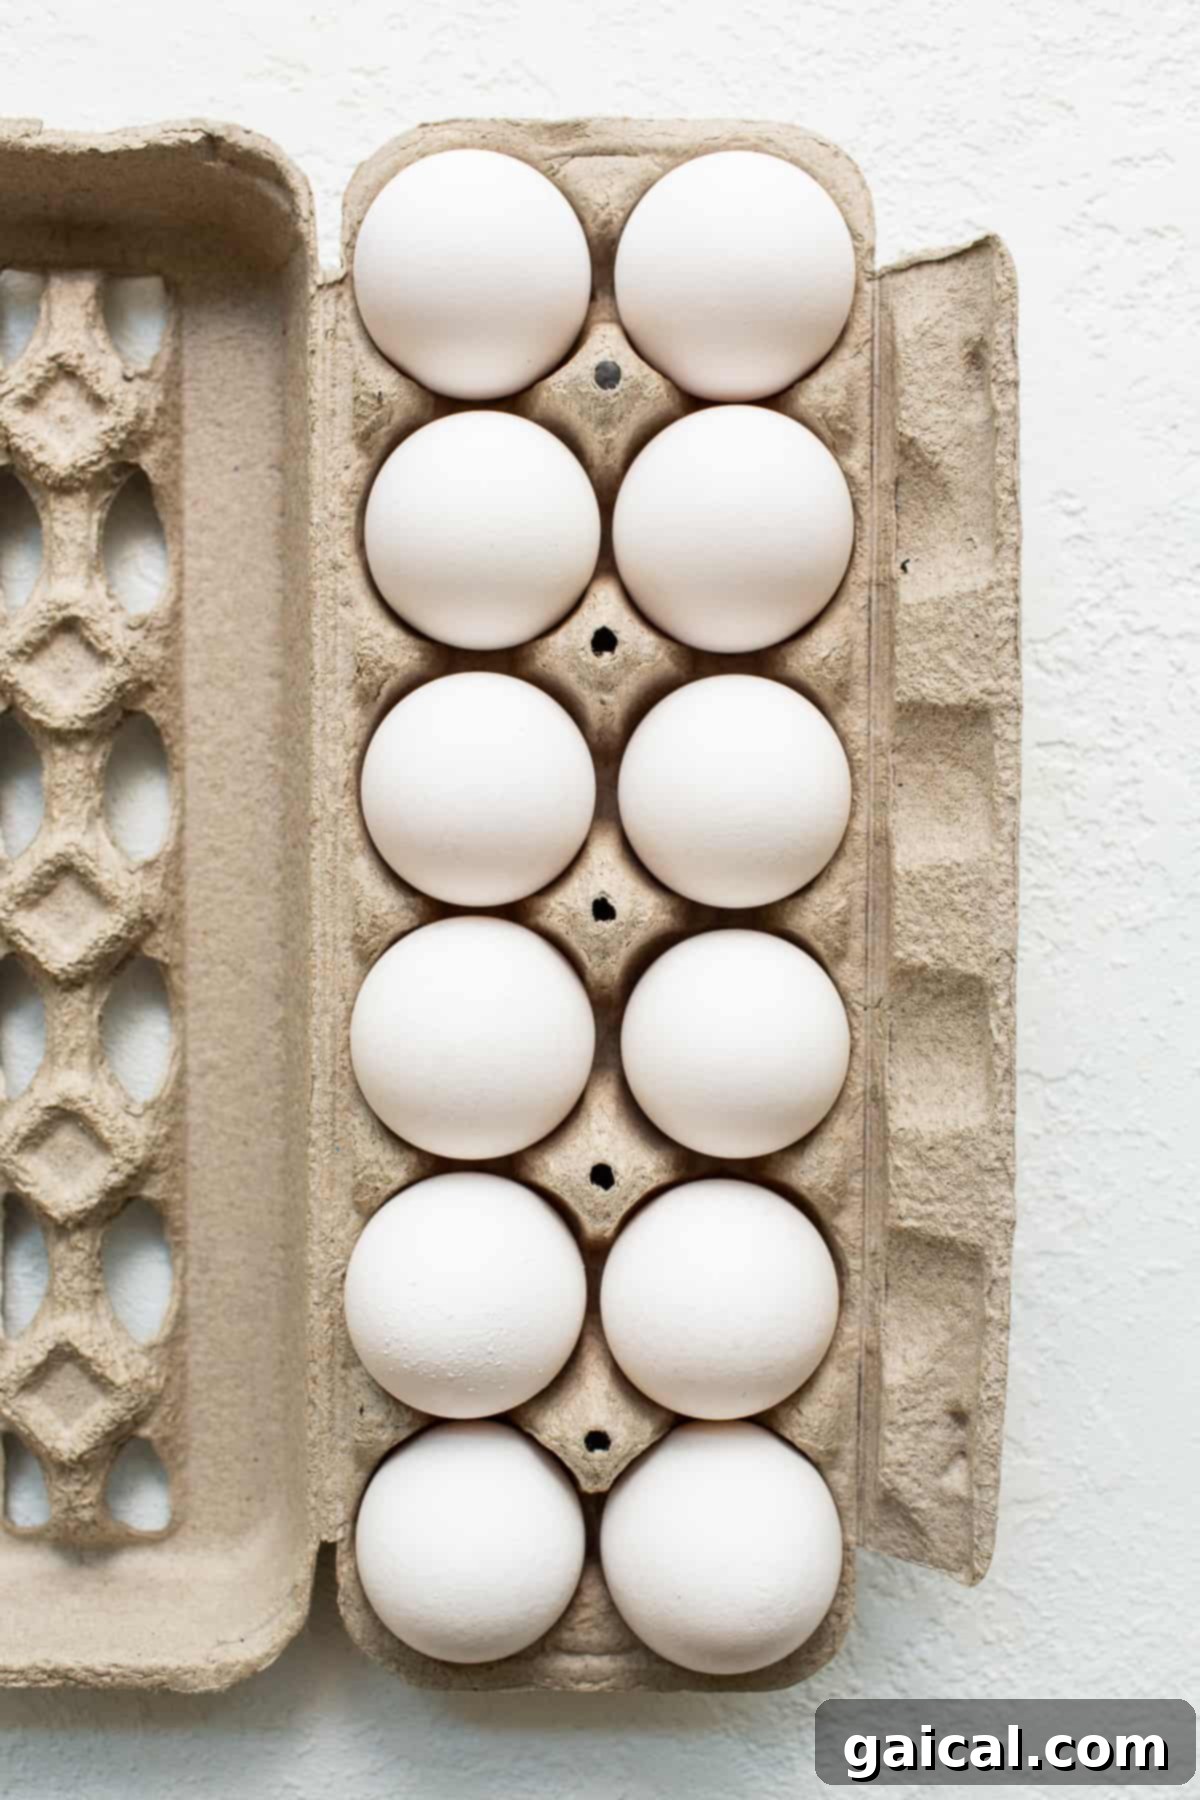
Crafting the perfect over hard egg requires surprisingly few ingredients, emphasizing quality over quantity. With just two primary components, you’re well on your way to a delightful breakfast. Gather these simple items from your pantry and refrigerator:
- Large Eggs: The foundation of our recipe. While large eggs are our standard recommendation, any size will work beautifully. Just remember that smaller eggs, such as medium, will naturally cook faster, while extra-large eggs might require a minute or two longer on the heat. Opt for the freshest eggs you can find, as freshness significantly impacts both the flavor and the structural integrity of the egg white and yolk during cooking. Fresher eggs tend to hold their shape better, leading to a neater, more appealing finished product.
- Unsalted Butter: Our preferred fat for frying, unsalted butter contributes a rich, nutty flavor to the eggs without adding excessive sodium. Using unsalted butter grants you complete control over the seasoning, allowing you to add salt to taste after cooking. If salted butter is your only option, simply be mindful of its inherent salt content and adjust your post-cooking seasoning accordingly to avoid over-salting your dish. Butter also promotes a beautiful, even browning of the egg whites.
To truly enhance the flavors, don’t forget the final touches. You’ll definitely want to serve your impeccably cooked eggs with a sprinkle of freshly ground salt and pepper. We recommend a flaky sea salt for texture and freshly cracked black pepper for its aromatic kick.
Butter vs. Oil: The Optimal Choice for Over Hard Eggs
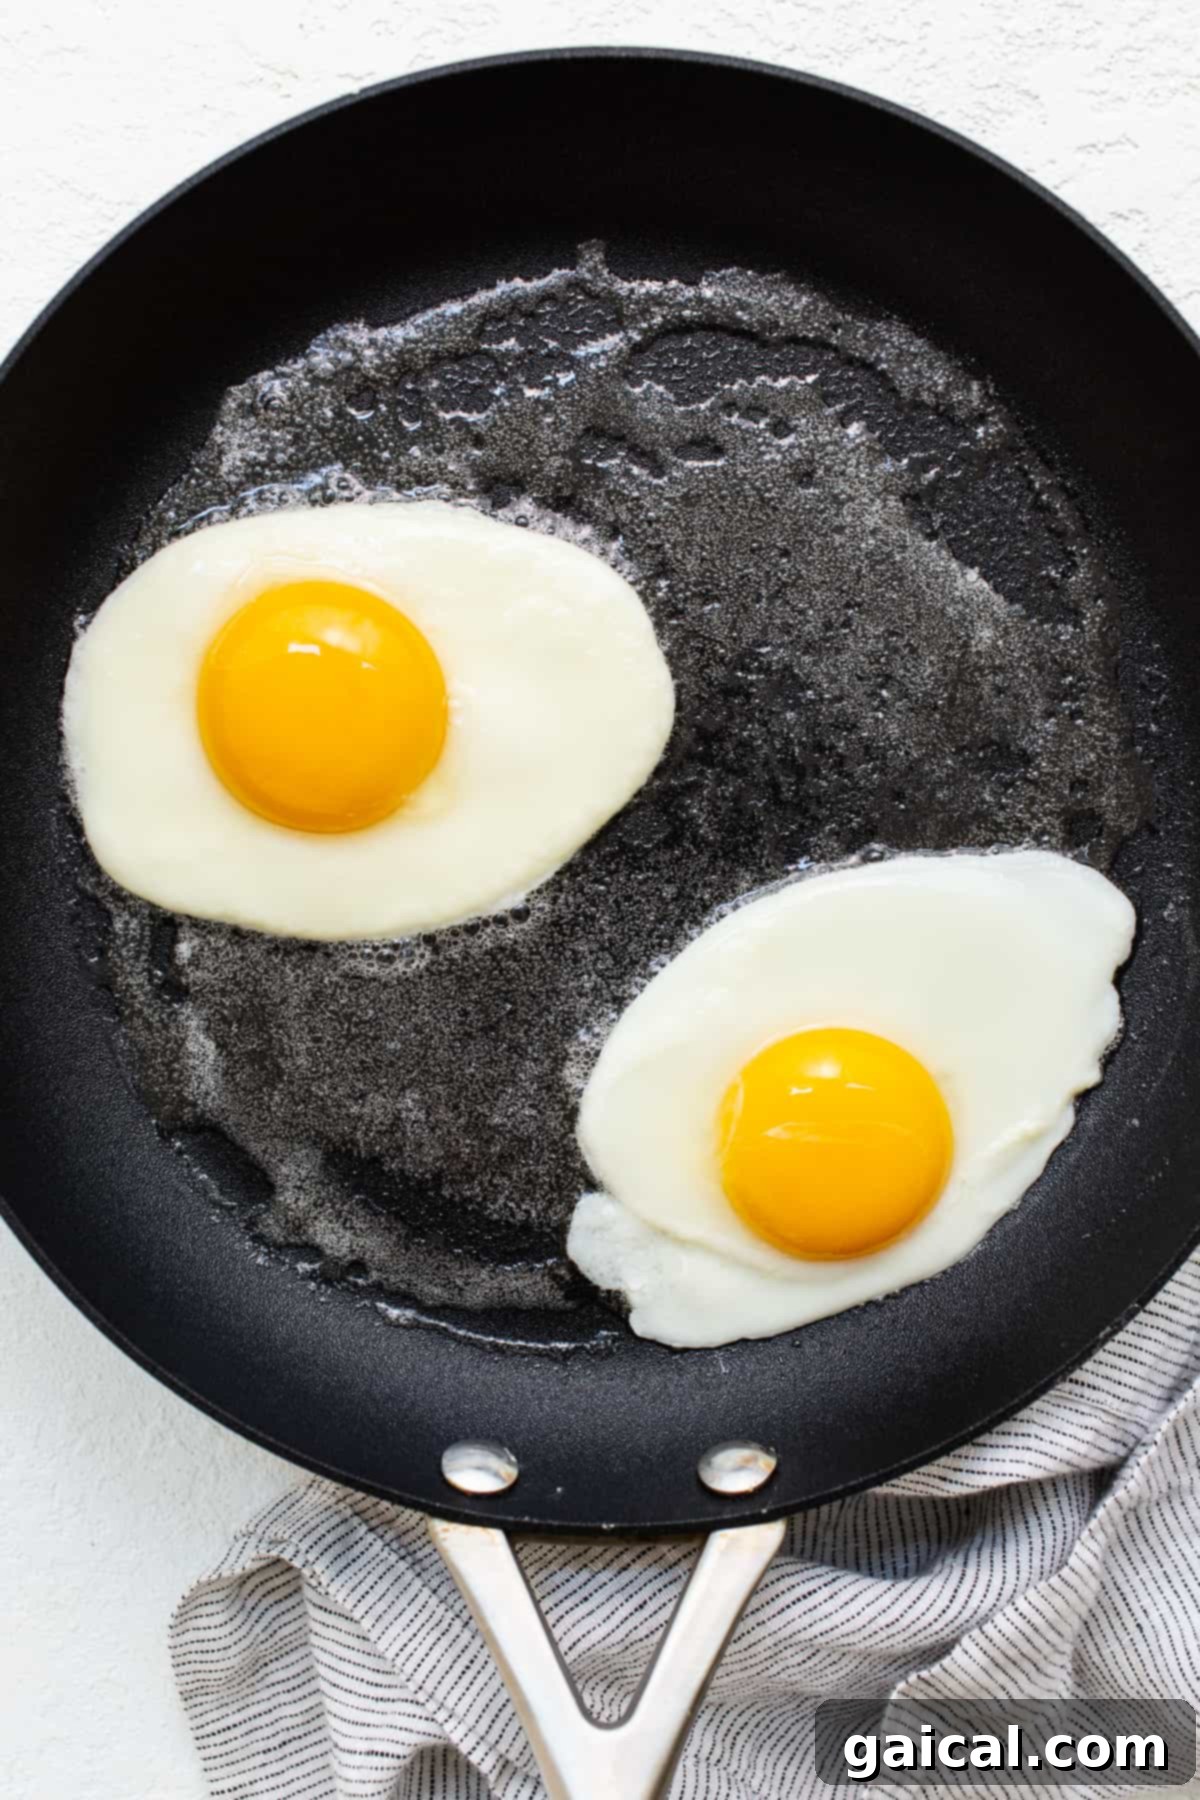
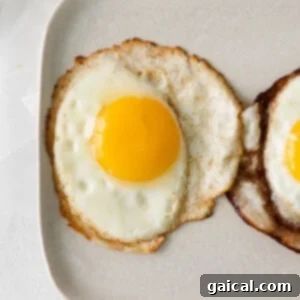
When it comes to frying eggs, the choice of fat significantly influences the final taste, texture, and appearance. For these over hard eggs, we strongly advocate for the use of butter. While various oils can certainly get the job done, butter provides a superior culinary experience, as illustrated in the accompanying photographs. Let’s delve into the distinctive characteristics each fat imparts:
Using Butter: Opting for unsalted butter yields a remarkably tender egg white and a subtly nutty, rich flavor profile that complements the egg beautifully. Butter ensures minimal browning of the egg white, resulting in a cleaner, more delicate appearance, free from crispy, dark edges. It creates a soft, almost velvety texture that many find irresistible, making it the ideal choice for a classic over hard egg.
Using Oil (e.g., Avocado Oil, Olive Oil): If you choose a neutral oil like avocado oil or a flavorful one like olive oil, you’ll notice different results. Oils typically have a higher smoke point than butter, allowing for hotter cooking temperatures. This often leads to a more “bubbly” or foamy egg white with distinctly crispy, sometimes even charred, edges. Some individuals genuinely adore this texture and flavor in a fried egg, embracing the contrast of crispy edges and a set yolk. However, for a uniformly cooked, tender over hard egg without aggressive browning, butter remains the unrivaled champion.
More Delicious Egg Recipes to Explore
Easy Sheet Pan Scrambled Eggs
Cottage Cheese Egg Salad
Egg and Croissant Breakfast Casserole
Cottage Cheese Baked Eggs
Savory Breakfast Galette
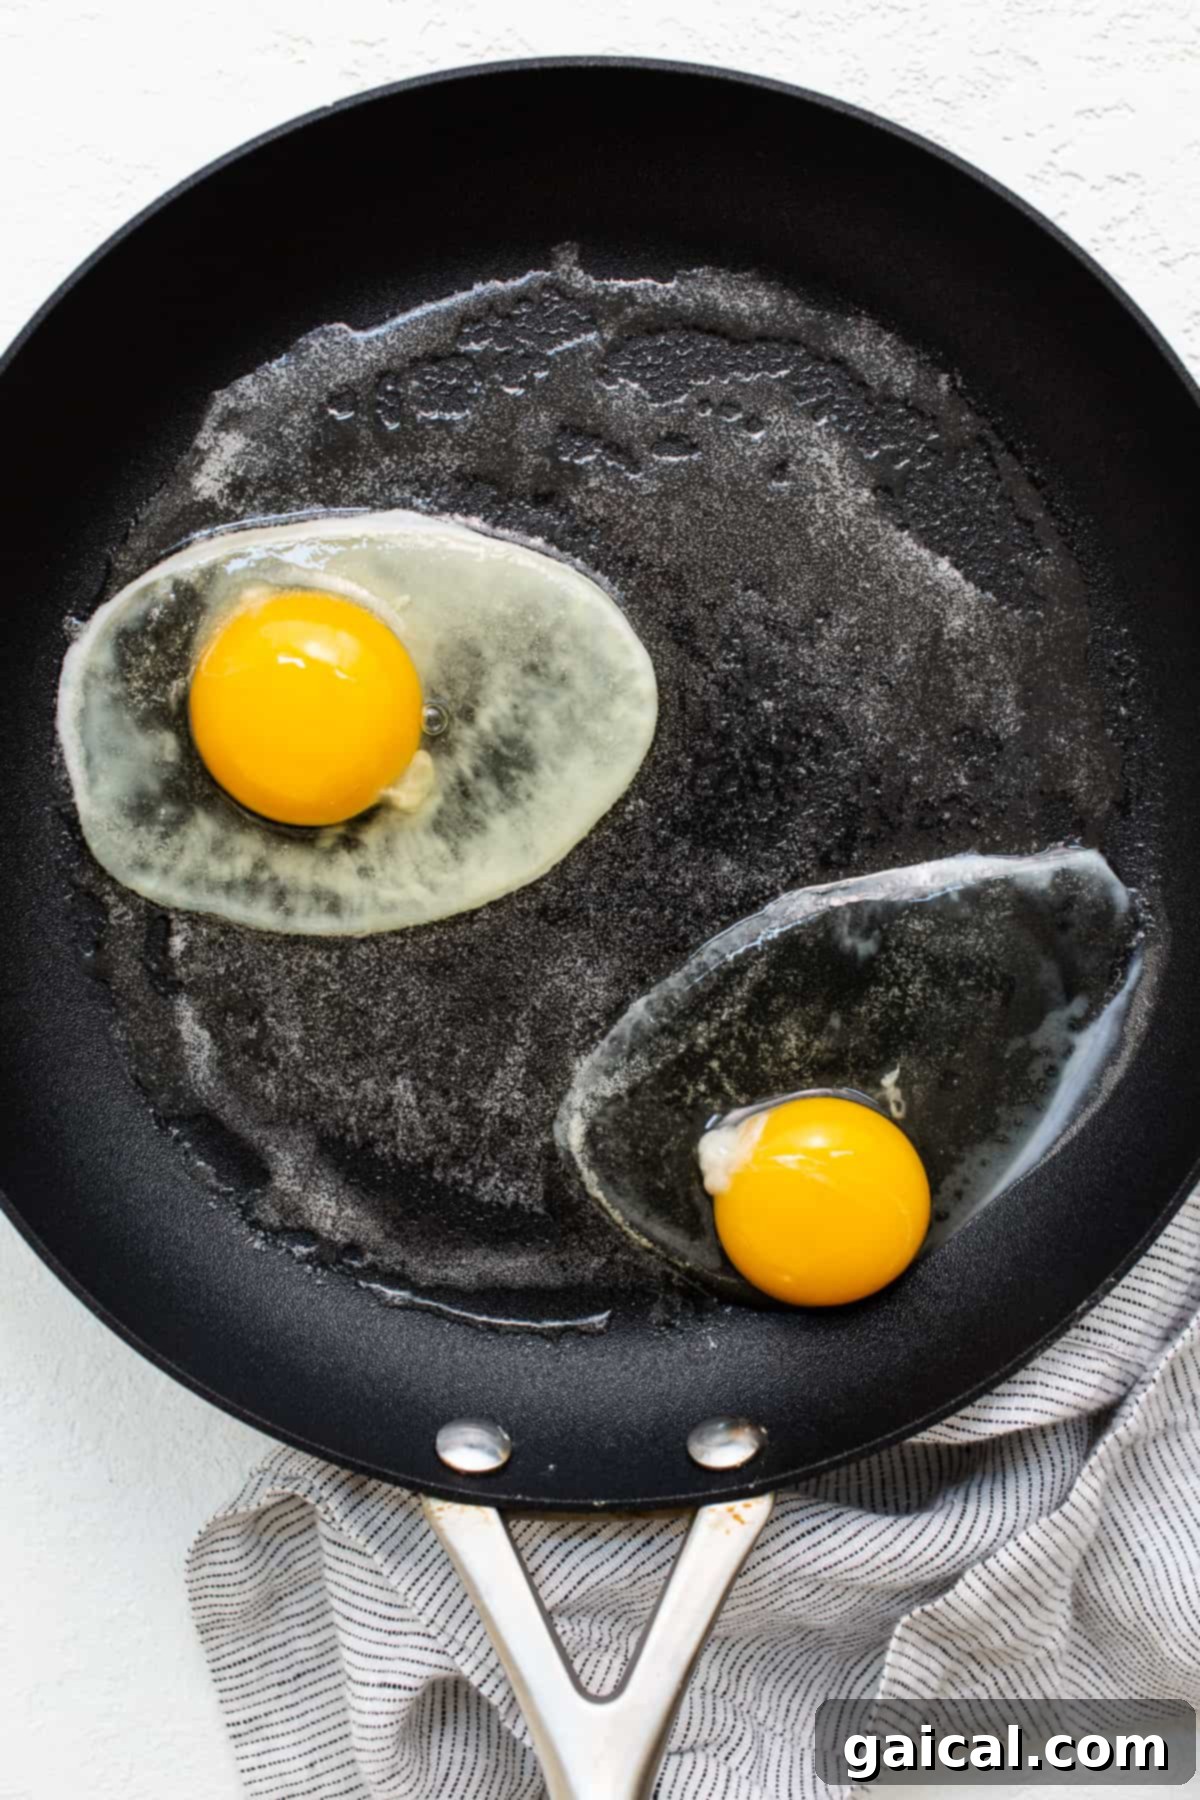
Choosing the Right Pan for Flawless Over Hard Eggs
While almost any pan can technically fry an egg, selecting the right cookware can significantly enhance your experience and the quality of your over hard eggs. Different materials offer unique advantages and challenges. Here’s a breakdown of the best pans and essential tips for each:
Non-Stick Frying Pan: Without a doubt, a high-quality non-stick pan is your optimal choice for frying eggs, especially over hard. Its primary benefit is the effortless release of the egg, preventing sticking and tearing, which is crucial for achieving that clean flip. Non-stick surfaces also require less fat, contributing to a slightly healthier dish, and ensure even heat distribution, reducing the risk of scorched whites while the yolk slowly cooks through. An 8-inch or 10-inch non-stick pan is ideal for cooking 1-2 eggs at a time, preventing overcrowding.
Cast Iron Skillet: A well-seasoned cast iron skillet can also produce excellent over hard eggs, thanks to its exceptional heat retention properties. Cast iron heats up quickly and maintains a consistent temperature, which is beneficial for even cooking. However, it requires a generous amount of butter or oil and careful attention to seasoning to prevent sticking. Always preheat your cast iron slowly and thoroughly over medium-low heat, and be sure to check the edges of your egg frequently with a spatula to ensure they aren’t adhering to the pan surface.
Stainless Steel Pan: If a non-stick or cast iron pan isn’t available, a stainless steel pan can still be used, but it demands more diligence. Stainless steel can sometimes heat inconsistently, leading to hot spots that might burn parts of the egg white. To mitigate this, ensure the pan is adequately preheated over medium-low heat and use a sufficient amount of butter or oil. You’ll need to be very attentive, constantly monitoring the egg and adjusting the heat as necessary to achieve that perfect, non-runny yolk without overcooking the whites.
Delicious Pairings: What to Serve with Your Over Hard Eggs
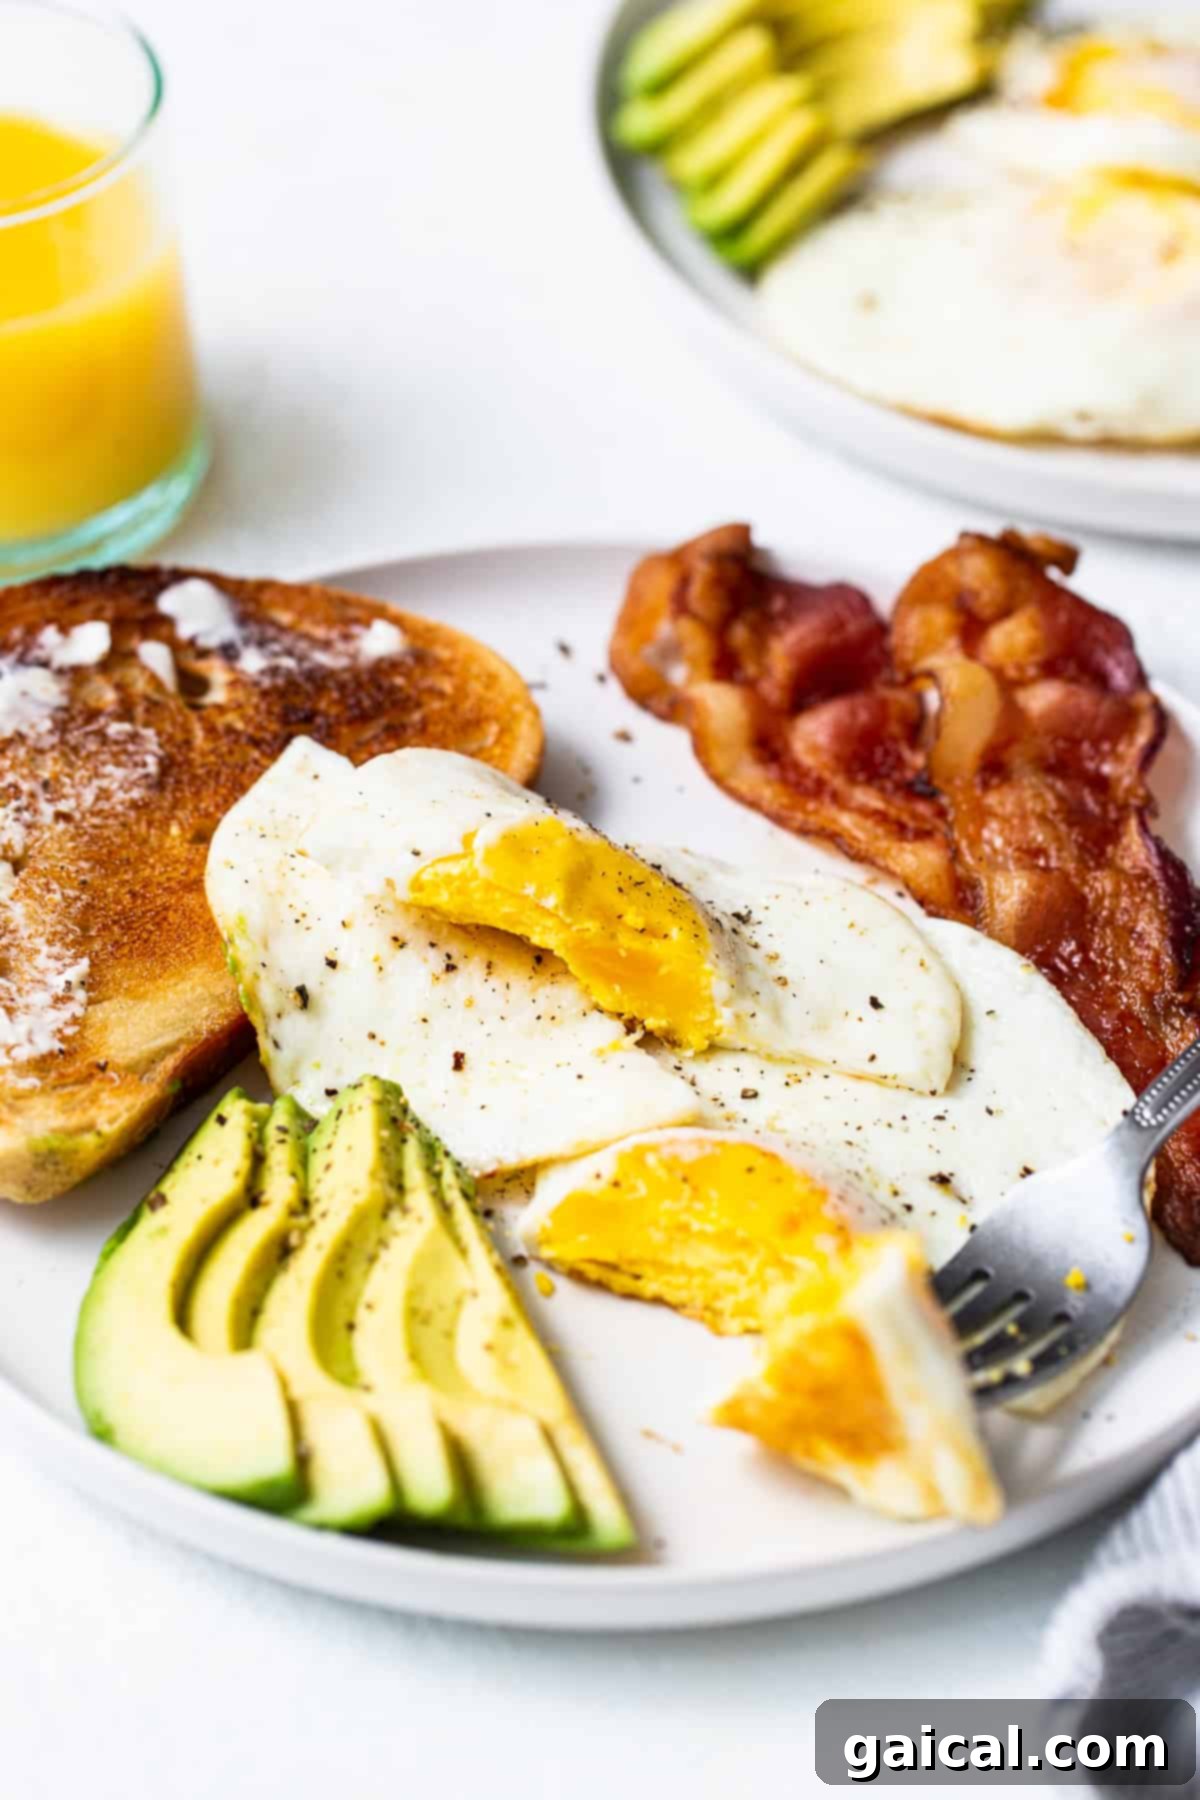
Over hard eggs are incredibly versatile and make a fantastic addition to almost any breakfast or brunch spread. Their firm texture and rich flavor complement a wide array of dishes, allowing you to create a satisfying and well-rounded meal. Here are some of our favorite recommendations:
- Classic Carbs: Pair your eggs with slices of toasted artisanal bread, warm, buttered bagels, or a hearty English muffin for a comforting and fulfilling start to your day.
- Crispy Bacon: The salty, savory crunch of bacon is a timeless partner for eggs, creating a truly irresistible flavor combination. Try our oven-baked bacon for easy cleanup!
- Maple Breakfast Sausage: The subtle sweetness and spice of homemade breakfast sausage offer a delightful contrast to the richness of the eggs.
- Sheet Pan French Toast: For a heartier meal, combine your savory eggs with sweet and fluffy French toast, easily prepared for a crowd on a single sheet pan.
- Cinnamon Roll Waffles: Elevate your breakfast with these decadent waffles, offering a delightful twist on classic cinnamon rolls, providing a sweet counterpoint to your savory eggs.
- Banana Oatmeal Pancakes: A wholesome and flavorful option, these pancakes add natural sweetness and a good source of fiber to your breakfast plate.
- Greek Yogurt and Steel Cut Oatmeal Parfait: For a lighter, yet equally satisfying side, a creamy yogurt parfait layered with wholesome oatmeal adds freshness and a probiotic boost.
- Blueberry Orange Granola + Yogurt: A bright and crunchy option, this granola with a dollop of creamy yogurt offers vibrant flavors and satisfying texture.
- Fresh Avocado Slices: Creamy avocado adds healthy fats and a smooth texture that complements the firm eggs beautifully.
- Hot Sauce or Sriracha: A dash of your favorite hot sauce can awaken the flavors and add a zesty kick.
- Shredded Cheese: Sprinkle some cheddar, Monterey Jack, or a sharp provolone on top for an extra layer of flavor and melty goodness.
- Breakfast Potatoes or Hash Browns: Crispy potatoes are a beloved breakfast staple that pairs wonderfully with any style of egg.
- Fresh Fruit Salad: A bowl of seasonal berries, melon, or sliced oranges provides a refreshing and vibrant contrast to the richness of the eggs.
try it!
Fried Eggs — Cooked Every Way!
Elevate your egg-frying game by learning how to master every style! Our comprehensive guide teaches you how to make over easy eggs, over medium, over well, and of course, perfectly over hard eggs every single time. Discover the nuances that make each style unique and find your favorite!
Expert Tips for Achieving Perfect Over Hard Eggs
To ensure your over hard eggs turn out flawlessly every time, keep these essential tips in mind. They address common pitfalls and guide you toward breakfast perfection:
Always Use Fresh Eggs: The quality of your eggs significantly impacts the outcome. Fresher eggs have tighter whites and yolks that hold their shape better, leading to a more aesthetically pleasing and easier-to-manage fried egg. Before cooking, always check the date on your egg carton to ensure optimal freshness.
Cultivate Patience with Low Heat: It can be tempting to crank up the heat to speed up the cooking process, but patience is truly a virtue when frying over hard eggs. Cooking on a consistent medium-low heat allows the whites to set gently and the yolks to cook through thoroughly without burning the edges or turning the egg rubbery. Rushing the process often results in unevenly cooked eggs or scorched whites.
Regularly Check the Edges: As your egg fries, it’s crucial to ensure it isn’t sticking to the pan. Periodically, and gently, use a thin, flexible spatula to lift around the edges of the egg white. This prevents sticking and guarantees a clean flip, which is vital for achieving a perfectly cooked over hard egg.
Don’t Forget to Season Thoughtfully: A simple sprinkle of salt and freshly ground black pepper can dramatically enhance the flavor of your over hard eggs. Seasoning after cooking allows you to tailor the flavor to your preference and prevents the salt from drawing out moisture during cooking, which can sometimes make the eggs tough. A pinch of flaky sea salt adds a delightful textural contrast.
Preheat Your Pan Properly: A common mistake is adding eggs to a cold pan. Always allow your pan to preheat thoroughly with the butter over medium-low heat. This ensures even cooking and prevents the egg from sticking from the start. You’ll know it’s ready when the butter is melted and slightly shimmering.
Choose the Right Spatula: A thin, flexible spatula, preferably metal or heat-resistant silicone, is your best tool for flipping eggs. Its design allows it to easily slide under the delicate egg without tearing it, ensuring a smooth and confident flip.
Avoid Overcrowding the Pan: For best results, cook no more than two eggs at a time in a standard 8-10 inch frying pan. Overcrowding lowers the pan’s temperature, leads to uneven cooking, and makes flipping much more challenging. Give each egg ample space to cook undisturbed.
Frequently Asked Questions About Over Hard Eggs
An over hard egg is a fried egg cooked until both the egg white and the yolk are completely firm and solid. There is no liquid or creamy consistency in the yolk, making it the most well-done style of fried egg.
Yes, absolutely. Over hard eggs are the epitome of a “well done” fried egg, characterized by a fully set, non-runny yolk. This cooking style is perfect for those who prefer no liquid consistency in their egg yolk.
A perfectly cooked over hard egg will have a fully opaque and firm white, with no translucent areas. The yolk, when cut, will be solid and crumbly, much like a hard-boiled egg yolk, typically a pale yellow color throughout. The edges should be tender and not excessively crispy or burnt.
Typically, cooking over hard eggs takes about 3 minutes per side on medium-low heat, totaling 6 minutes. However, this can vary based on egg size, pan type, and stovetop heat. The key is to watch for the whites to be fully set and the yolk to feel firm when gently pressed.
While you can cook eggs “sunny-side up” until the yolk is firm by covering the pan and steaming, achieving a true “over hard” egg usually requires flipping. Flipping ensures direct heat exposure to both sides, guaranteeing a thoroughly cooked and firm yolk without a raw film on top.
Rubbery eggs are often a result of cooking at too high a temperature or for too long. High heat causes the egg proteins to seize up rapidly, expelling moisture and leading to a tough, rubbery texture. Always use medium-low heat and cook until just set, then remove from the pan.
These terms refer to the doneness of the yolk after flipping: Over Easy has a very runny yolk. Over Medium has a slightly runny, jammy yolk. Over Well has a mostly firm yolk with a hint of creaminess. Over Hard, as discussed, has a completely firm and solid yolk, with no liquid at all.
Proper Storage and Reheating for Over Hard Eggs
While over hard eggs are undoubtedly at their best when enjoyed immediately after cooking, you might find yourself with leftovers. Proper storage ensures they remain safe to eat, though their texture may change slightly upon reheating. Follow these guidelines:
Store any leftover over hard eggs in an airtight container in the refrigerator for up to 3 days. It’s crucial to cool them completely before placing them in the fridge to prevent condensation and maintain quality.
To Reheat: The key to reheating eggs is gentle, low heat to avoid overcooking and turning them rubbery. We recommend reheating on low power in the microwave, in short 15-30 second bursts, flipping once, until just warmed through. Alternatively, you can reheat them gently in a lightly buttered skillet over very low heat until warm. Avoid high heat, as it will dry out the eggs and make them tough.
More of our Favorite…
Delicious Recipes Featuring Eggs
- Perfect Hard Boiled Eggs
- Over Easy Eggs
- How to Make Scrambled Eggs
- Instant Pot Egg Bites
- Sheet Pan Sweet Potato Hash
- Salmon and Eggs Scramble
- ALLRecipes with Eggs
Over Hard Eggs
Prep: 2 minutes
Cook: 6 minutes
Total: 8 minutes
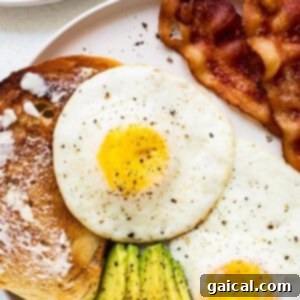
Pin
Ingredients
- 4 large eggs
- 2 tablespoons unsalted butter
Instructions
-
Begin by heating your preferred non-stick frying pan (an 8-inch or 10-inch pan works best for 1-2 eggs) over a consistent medium-low heat. Once the pan is gently warmed, add the unsalted butter, allowing it to melt completely and shimmer, but not brown.
-
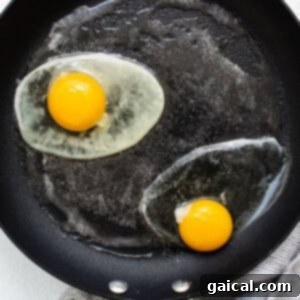
Carefully crack the eggs directly into the melted butter in the pan. To ensure even cooking and prevent overcrowding, we recommend frying no more than 2 eggs at a time. This allows each egg ample space to cook properly without merging.

-
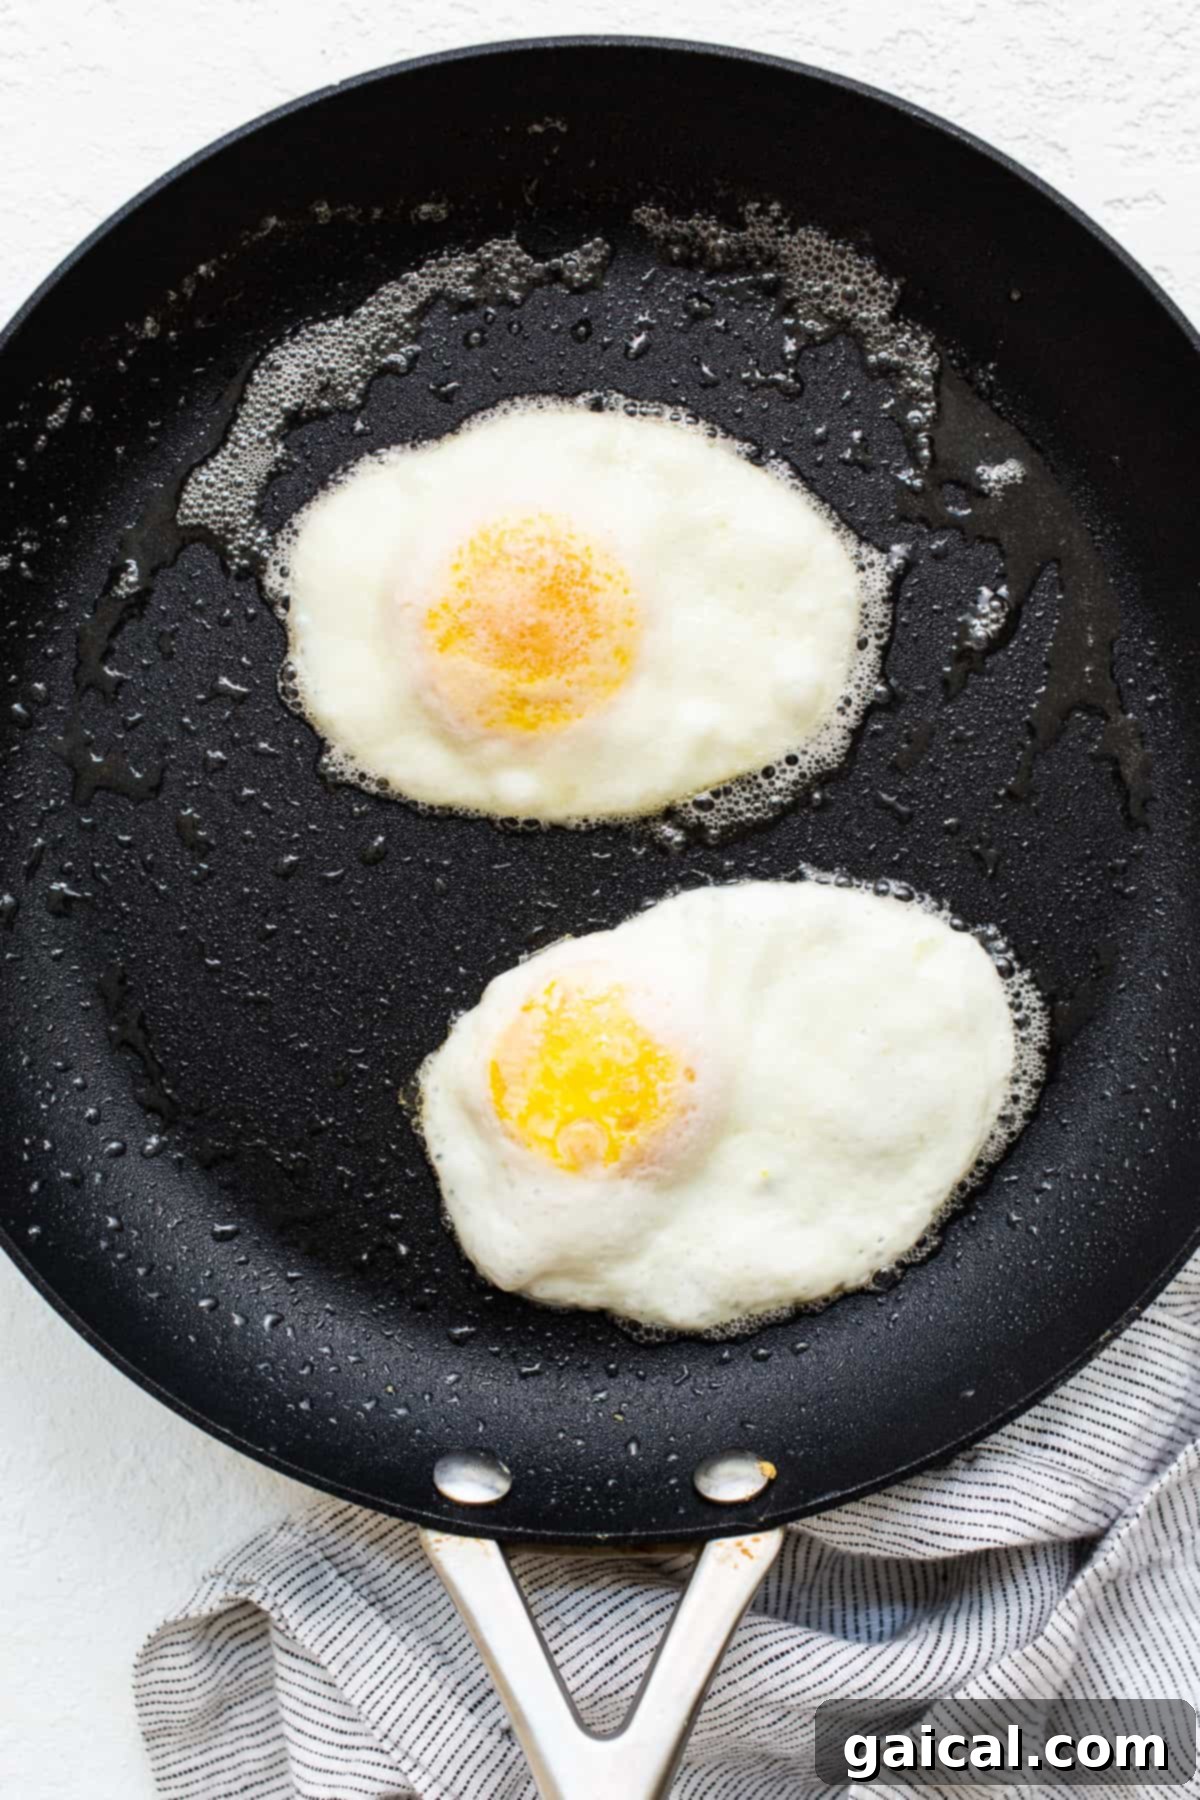
Cook the eggs undisturbed over medium-low heat for approximately 3 minutes. During this initial stage, the egg whites should begin to solidify and turn opaque around the edges and bottom, but the yolk should still appear mostly uncooked and perhaps slightly jiggly.
-
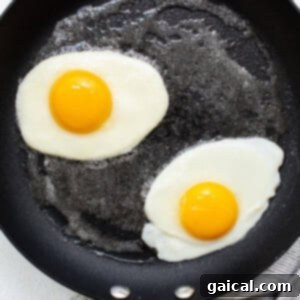
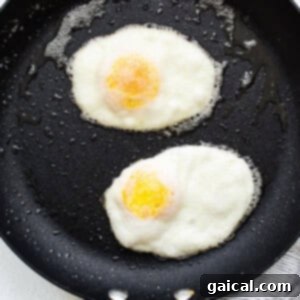
Once the whites are mostly set, use a thin, flexible spatula to gently but decisively flip the eggs. Continue to cook on the second side for an additional 3 minutes. This crucial step ensures the yolk receives direct heat, cooking it completely through until it is firm and solid, without any runny consistency.
-
When the eggs are cooked to your desired firmness, carefully remove them from the pan. If you’re cooking more than two eggs, repeat steps 1-3 with the remaining eggs, adding fresh butter as needed for each batch.
-
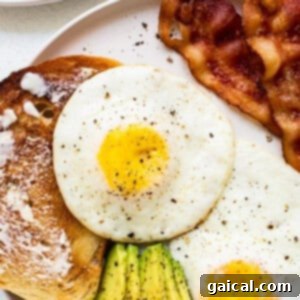
Serve your perfectly cooked over hard eggs immediately. Enhance their natural flavors with a generous sprinkle of salt and freshly ground black pepper. Enjoy them on their own or as part of a larger breakfast spread!
Tips & Notes
- We’ve developed and tested this recipe using standard large eggs. If you opt for medium or extra-large eggs, please be aware that the cooking times will need to be adjusted accordingly. Smaller eggs will cook faster, while larger ones will require slightly more time to achieve that firm, fully cooked yolk.
- Cooking times can vary significantly based on your specific stovetop, the type of pan you are using, and even the ambient temperature of your kitchen. The ultimate goal is to cook the egg white just enough for a clean flip, and then allow the egg to remain in the skillet only until the yolk is completely solid. Constant vigilance is key to ensure the egg is fully cooked without becoming tough or rubbery.
- To prevent sticking and ensure a beautiful, unblemished egg, ensure your pan is adequately preheated and that you’ve used enough butter or a suitable fat. A well-lubricated surface is your best defense against sticky situations.
- Consider using a lid after flipping for the last minute of cooking if you find the top of the yolk isn’t firming up quickly enough. This creates a steamy environment that helps cook the yolk through without excessively browning the underside.
Watch It
Nutrition Information
Nutrition information is automatically calculated and should be considered an approximation based on the ingredients and preparation methods. It may vary depending on specific brands and serving sizes.
Love this recipe? Share your thoughts below!
We absolutely love seeing your culinary creations! Don’t forget to tag your posts on social media with the hashtag #fitfoodiefinds. We can’t wait to see what delicious dishes you’re whipping up!