
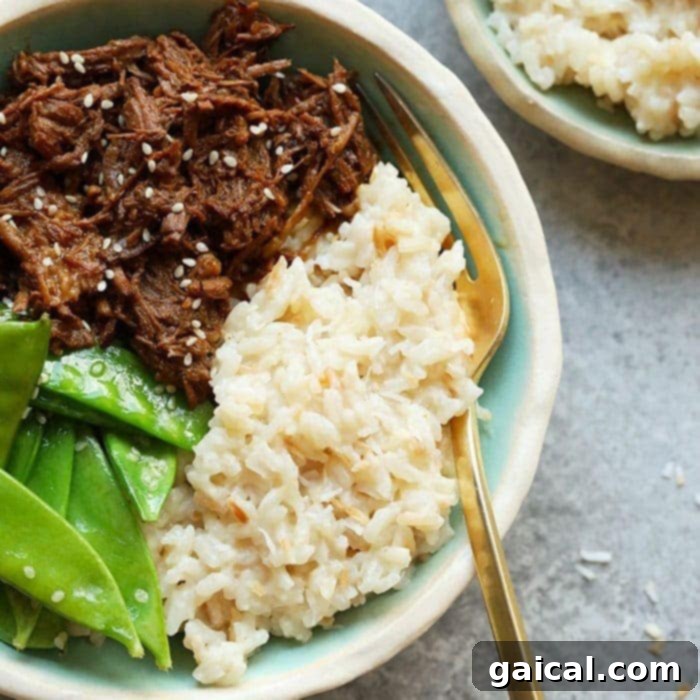
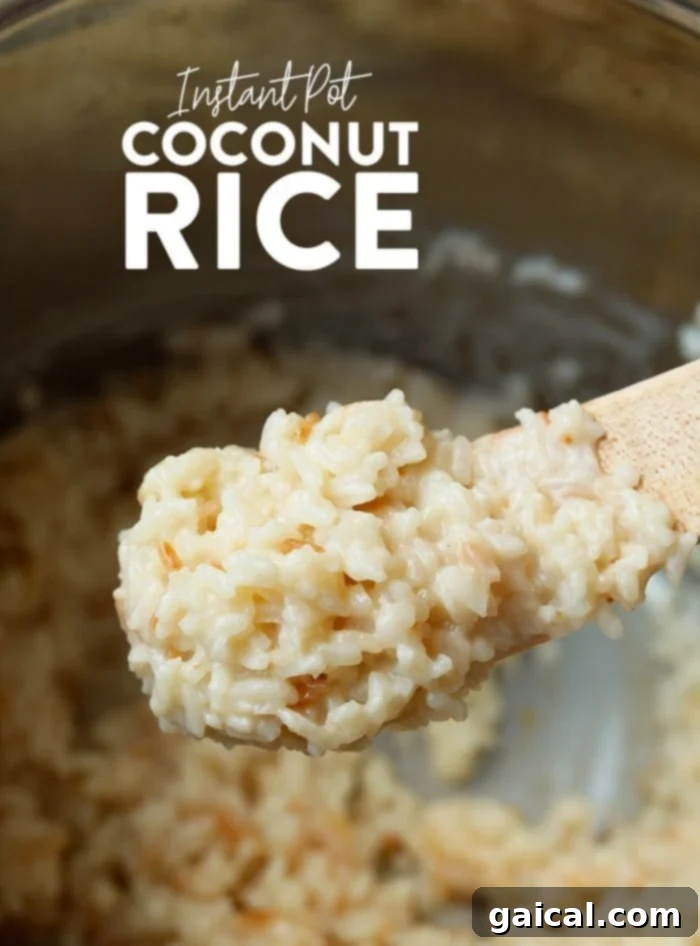
Transform your dinner routine with the ultimate side dish: Instant Pot Coconut Rice. This incredibly easy and irresistibly creamy recipe is a fan favorite, delivering perfectly cooked, aromatic rice in under 20 minutes. Say goodbye to sticky pans and uneven cooking; your pressure cooker will handle all the heavy lifting, leaving you with a delightful accompaniment to a wide range of meals. Whether you’re craving an exotic touch for your main course or a sweet, fragrant base for a savory dish, this Instant Pot method guarantees success every time.
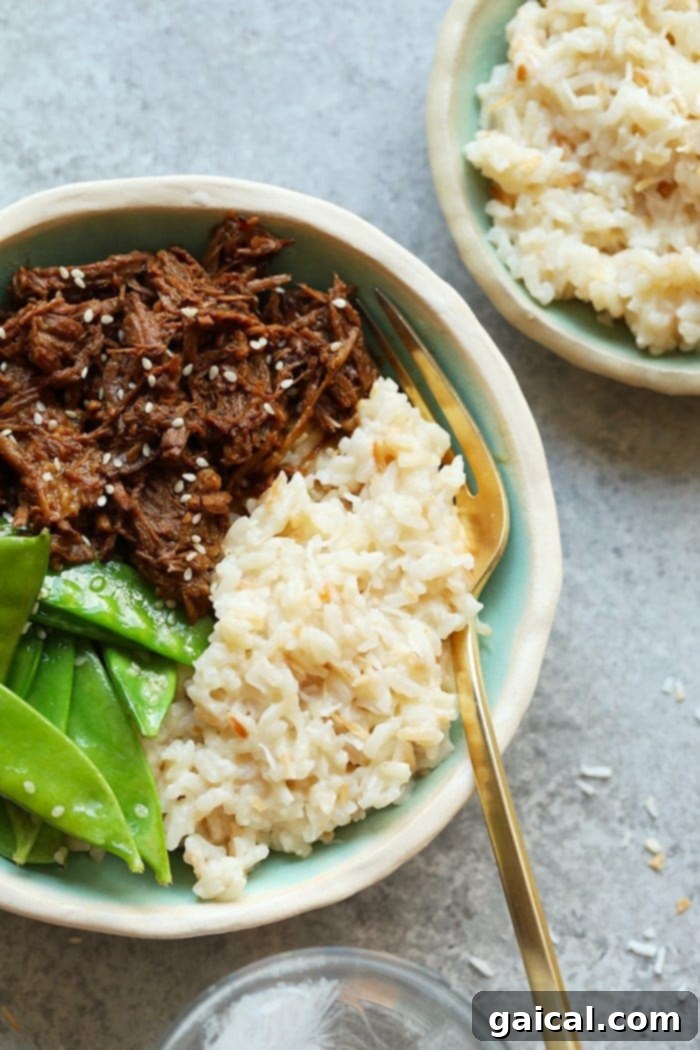
Effortlessly Delicious Instant Pot Coconut Rice: Your New Go-To Side
Why complicate things when perfection can be so simple? Our Instant Pot Coconut Rice recipe is designed for maximum flavor with minimal effort, coming together with just four core ingredients and ready to serve in less than 20 minutes. This dish isn’t just a side; it’s a culinary experience that brings a taste of the tropics to your table, adding a rich, subtle sweetness and unparalleled creaminess that traditional rice cooking methods often struggle to achieve so consistently. It’s the ideal companion for busy weeknights and special occasions alike, promising a satisfying result that will impress family and friends.
We absolutely adore pairing this fragrant coconut rice with a diverse array of main courses. Some of our top recommendations include succulent Instant Pot Honey Garlic Chicken Thighs, the slow-cooked goodness of Slow Cooker Honey Garlic Chicken, and the warming spices of Coconut Curry Chicken. Its versatile flavor profile also makes it an excellent match for various stir-fries, grilled fish, or even a simple plate of roasted vegetables. The subtly sweet and rich notes of the coconut milk elevate any dish, creating a harmonious balance that makes every bite memorable.
So, let’s get cooking and whip up some of the most delicious, fluffy, and aromatic Instant Pot Coconut Rice you’ve ever tasted!
Why Choose the Instant Pot for Your Coconut Rice?
The Instant Pot isn’t just a kitchen gadget; it’s a game-changer, especially when it comes to cooking rice. For coconut rice, specifically, it offers several distinct advantages that make it the superior choice:
- Unmatched Speed: Traditional stovetop methods can be finicky and time-consuming, requiring constant monitoring. The Instant Pot drastically cuts down cooking time, allowing you to have creamy, perfectly cooked coconut rice on your plate in less than 20 minutes, including the time it takes for the pot to come to pressure.
- Consistent Results: One of the biggest challenges with stovetop rice is achieving that perfect texture without burning or undercooking. The Instant Pot’s sealed environment ensures even heat distribution and precise pressure control, leading to consistently fluffy, tender grains every single time. No more guesswork!
- Hands-Off Cooking: Set it and forget it! Once you’ve added your ingredients and selected the pressure cook setting, the Instant Pot takes over. This frees up your valuable time to focus on preparing your main dish or simply relaxing.
- Optimal Flavor Infusion: The high-pressure environment of the Instant Pot allows the rich, sweet flavors of the coconut milk and honey to deeply infuse into each grain of rice, creating a more pronounced and delicious taste compared to other cooking methods.
- Less Mess: Cooking in a single pot means less cleanup. No more scrubbing burnt rice off the bottom of a saucepan!
If you’ve been hesitant to try making coconut rice at home, the Instant Pot eliminates all the common challenges, making it an accessible and enjoyable cooking experience.
Essential Ingredients for Perfect Instant Pot Coconut Rice
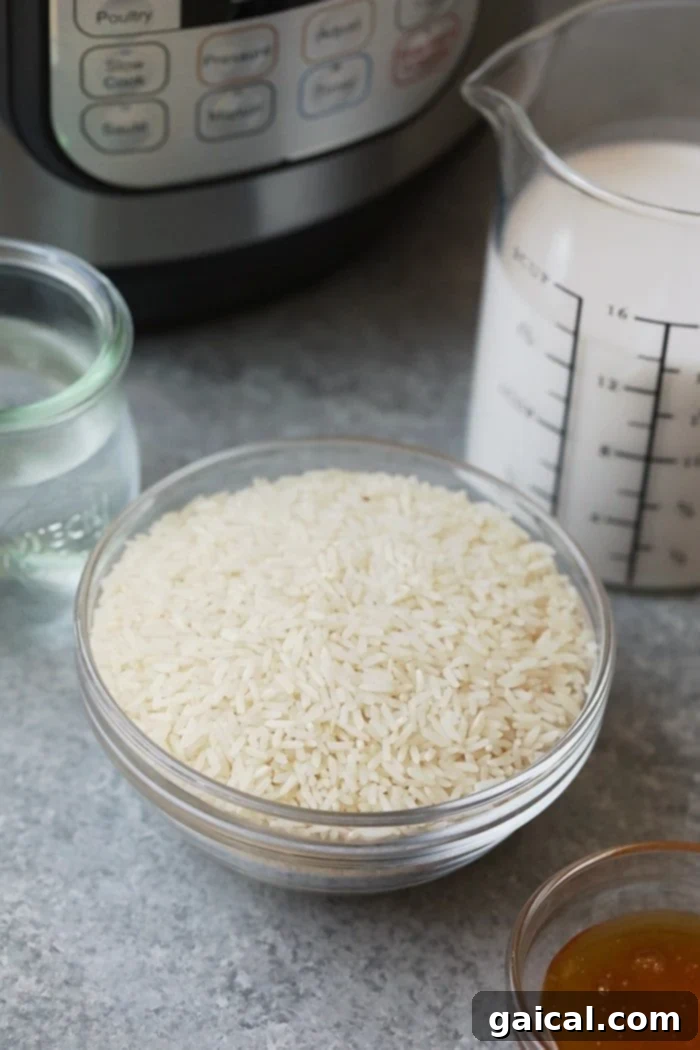
Crafting delicious Instant Pot coconut rice requires just a handful of simple, high-quality ingredients. Each component plays a crucial role in achieving that sought-after creamy texture and rich, sweet flavor profile. Here’s a closer look at what you’ll need and why:
- Long-Grain White Rice: For this particular recipe, we strongly recommend using long-grain white rice varieties like basmati or jasmine rice. These types of rice are known for their distinct aroma, delicate texture, and ability to cook up fluffy and separate, rather than sticky or clumpy. While brown rice is a healthier alternative in many dishes, its longer cooking time and different liquid absorption rate make it unsuitable for this specific recipe, which is optimized for white rice. Rinsing your rice thoroughly under cold water before cooking is an optional but highly recommended step. This helps remove excess starch, preventing the rice from becoming too sticky and ensuring a lighter, fluffier result.
- Full-Fat Coconut Milk: This is the star ingredient that imparts the signature creamy texture and rich, tropical flavor. We are huge proponents of using full-fat canned coconut milk because it delivers an unparalleled depth of flavor and luscious consistency. The fat content contributes significantly to the rice’s mouthfeel and overall richness. If you’re looking to reduce calories or fat, a “lite” version can be used, but be aware that it might result in a slightly less creamy and flavorful outcome. Always give the can a good shake before opening to ensure the cream and liquid are well combined.
- Water: Even though coconut milk provides a significant amount of liquid, a small amount of water (just 1/4 cup for this recipe) is essential. This precise addition helps to achieve the ideal rice-to-liquid ratio in the Instant Pot, ensuring the rice cooks evenly and absorbs all the beautiful flavors without becoming mushy or dry. The Instant Pot’s sealed environment retains moisture, so less additional water is needed compared to stovetop methods.
- Honey (or Maple Syrup): A touch of sweetness is key to balancing the richness of the coconut milk and enhancing the overall tropical profile of the dish. Honey is our preferred natural sweetener, lending a beautiful golden hue and a complex, floral sweetness. However, if you prefer a vegan option or a different flavor, pure maple syrup works just as wonderfully, providing a distinct earthy sweetness. This recipe is designed to be refined sugar-free, making it a healthier choice without compromising on taste. Adjust the amount to your personal preference for sweetness.
- A Pinch of Salt (Optional, but Recommended): While not explicitly listed in the original, a small pinch of salt (about 1/4 teaspoon) is a secret weapon that elevates the flavors in almost any dish, even sweet ones. It helps to balance the sweetness of the honey and brings out the natural nuances of the coconut milk, preventing the dish from tasting flat.
With these few, carefully selected ingredients, you’re well on your way to creating an unforgettable Instant Pot Coconut Rice experience.
Coconut Rice Serving Suggestions and Meal Pairings
Instant Pot Coconut Rice is incredibly versatile, making it a fantastic accompaniment to a vast array of global cuisines. Its subtly sweet and creamy profile beautifully complements both savory and spicy dishes, adding a touch of exotic flavor to any meal. Here are some of our favorite meal combinations and ideas to inspire your next dinner:
- Asian-Inspired Mains: This rice truly shines alongside dishes from Asian cuisine. Our absolute first choice, and a highly recommended pairing, is our flavorful Instant Pot Korean Beef. The savory, slightly spicy notes of the beef are perfectly balanced by the sweet coconut rice. Other excellent options include Honey Sriracha Chicken for a sweet and spicy kick, or a fragrant Ginger Chicken Stir Fry. For those who enjoy classic Chinese-American flavors, it pairs wonderfully with Healthy Kung Pao Chicken.
- Seafood Delights: Coconut rice is a natural partner for many seafood dishes. Try it with a vibrant Sheet-Pan Salmon Stir Fry, grilled shrimp, pan-seared scallops, or even a light white fish baked with a touch of lime and cilantro. The creamy rice provides a delightful contrast to the fresh flavors of the ocean.
- Curries and Stews: The richness of coconut rice makes it an ideal base for various curries, especially those with a strong aromatic profile like Thai Green Curry, Indian Butter Chicken, or a vegetarian lentil curry. It helps to soak up the delicious sauces and mellow out any intense spices.
- Grilled Meats: For a simple yet satisfying meal, serve coconut rice alongside grilled chicken, pork tenderloin, or even a flavorful steak. A squeeze of lime over the entire dish can brighten the flavors beautifully.
- Vegetarian Options: Enhance your vegetarian meals by serving this rice with roasted vegetables (like broccoli, bell peppers, or sweet potatoes), black bean burgers, or a quick tofu stir-fry. It adds a delightful creaminess and flavor dimension.
- Tropical Flair: Garnish your coconut rice with toasted coconut flakes, a sprinkle of fresh cilantro, a dash of red pepper flakes for a hint of heat, or even some chopped mango or pineapple for an extra tropical twist.
No matter what you choose to pair it with, Instant Pot Coconut Rice is guaranteed to elevate your meal and add a delicious, comforting element.
Storage and Reheating Tips for Instant Pot Coconut Rice
Proper storage is key to enjoying your delicious Instant Pot Coconut Rice for days to come. After cooking, allow any leftover rice to cool completely at room temperature, ideally within an hour, to prevent bacterial growth. Once cooled, transfer the rice into an airtight container. It can then be safely stored in the refrigerator for up to 3 to 5 days. For longer storage, you can freeze coconut rice in freezer-safe bags or containers for up to 3 months. Thaw overnight in the refrigerator before reheating.
When reheating, sprinkle a tablespoon or two of water or a splash of coconut milk over the rice before warming it. This helps to reintroduce moisture and prevent it from drying out. You can reheat it gently in the microwave in short bursts, stirring occasionally, or on the stovetop over low heat in a covered pan until heated through. The goal is to restore its fluffy texture and creamy consistency without overcooking.
More of Our Favorite Recipes
Other Delightful Rice Recipes to Explore
If you’ve fallen in love with the convenience and deliciousness of Instant Pot Coconut Rice, you’ll be thrilled to discover more of our favorite rice-based dishes. From savory to sweet, and simple to elaborate, there’s a rice recipe for every occasion:
- How to Cook Wild Rice: A hearty and nutritious alternative, perfect for salads and side dishes.
- Instant Pot Brown Rice: Master cooking this healthy whole grain perfectly in your pressure cooker.
- Cilantro Lime Rice: A zesty and refreshing side, inspired by your favorite Mexican restaurants.
- Cauliflower Rice: A low-carb, grain-free option that’s incredibly versatile.
- Chicken Fried Rice: A classic takeout favorite, made healthier and easily at home.
- Instant Pot Mexican Rice: Spicy, flavorful, and a perfect complement to tacos or fajitas.
- Easy Lemon Herb Rice: A light and aromatic side that pairs well with poultry and fish.
Expand your culinary repertoire and enjoy the endless possibilities that rice brings to your kitchen!
Instant Pot Coconut Rice
This Instant Pot Coconut Rice is a quick and easy recipe made with long-grain white rice, creamy coconut milk, a splash of water, and a touch of honey for a perfectly sweetened and aromatic side dish. Ready in just 20 minutes!
By:
Lee Funke
Prep Time:
5 mins
Cook Time:
20 mins
Total Time:
25 mins
Yields:
4 servings
Ingredients
- 1 cup long-grain white rice, we recommend Jasmine or Basmati
- 1 (15-oz.) can full-fat coconut milk
- 1/4 cup water
- 1 tablespoon honey, or maple syrup
- 1/4 teaspoon salt (optional, but recommended for flavor balance)
Instructions
-
Rinse Rice (Optional): For fluffier rice, rinse the long-grain white rice under cold running water in a fine-mesh sieve until the water runs clear. Drain well.
-
Combine Ingredients: Pour the rinsed (or unrinsed) rice, full-fat coconut milk, water, honey (or maple syrup), and salt (if using) into the Instant Pot insert. Stir gently to combine all ingredients, ensuring the rice is evenly distributed and not sticking to the bottom.
-
Pressure Cook: Secure the lid on your Instant Pot and set the valve to the “Sealing” position. Select the “Manual” or “Pressure Cook” setting and set the cooking time to 5 minutes on high pressure. The Instant Pot will take approximately 8-10 minutes to build sufficient pressure before the countdown begins.
-
Natural Release: Once the 5-minute cooking cycle is complete, allow the pressure to natural release for 10 minutes. This means you do nothing and let the pressure come down gradually on its own. After 10 minutes, carefully switch the valve to “Venting” for a quick release of any remaining pressure.
-
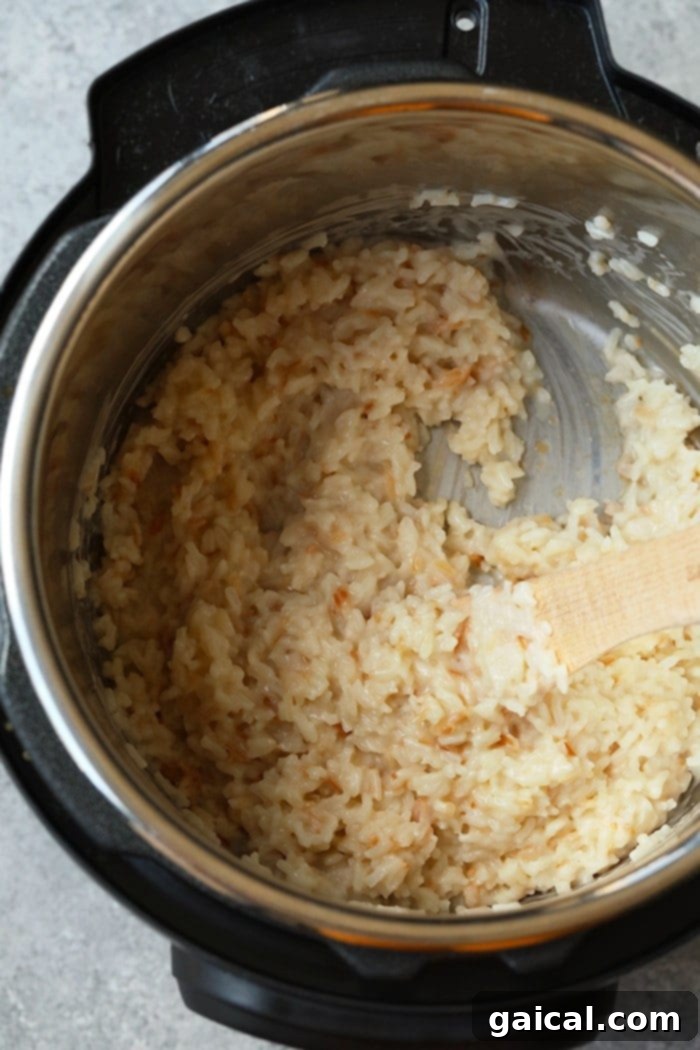
Fluff and Serve: Carefully remove the lid. The liquid should be fully absorbed, and the rice should appear tender and fluffy. Use a fork to gently fluff the coconut rice, mixing the bottom layers upwards. Serve warm as a delicious side dish.

Expert Tips & Notes for Success
- Don’t Overstir: While an initial gentle stir is good, avoid excessive stirring after the ingredients are combined. Over-stirring can activate too much starch, leading to stickier rice.
- Precision is Key: For perfectly cooked rice in the Instant Pot, precise liquid-to-rice ratios are crucial. Stick to the measurements provided in this recipe.
- The Magic of Natural Release: Allowing for a 10-minute natural pressure release is vital. This gentle process allows the rice to fully absorb the remaining moisture and settle, resulting in a more tender and separate grain. Skipping this step can lead to undercooked or dry rice.
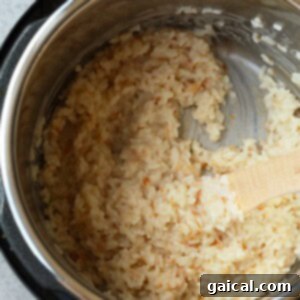
- Embrace the Caramelization: You might notice a few slightly browned pieces of rice at the bottom of the pot after cooking. This is perfectly normal and happens as the honey caramelizes. Far from being a flaw, these little crispy bits are often considered the best part, adding a delightful texture and deeper flavor!
- Adjust Sweetness: Taste the rice after cooking and adjust the sweetness if desired. You can stir in a little more honey or maple syrup while the rice is still warm, or add a pinch of sugar.
- Add Aromatics: For an extra layer of flavor, consider adding a strip of lime zest, a small piece of pandan leaf (if available), or a thin slice of fresh ginger to the pot before cooking. Remove them before serving.
- Refined Sugar-Free: This recipe utilizes natural sweeteners (honey or maple syrup) making it a great refined sugar-free option for a healthier side dish.
Watch the Recipe Video
To see this delicious Instant Pot Coconut Rice come to life, watch our step-by-step video tutorial. It covers all the essential techniques to ensure you get perfect results every time.
(Video placeholder: Imagine a high-quality video demonstrating each instruction step, from combining ingredients to fluffing the finished rice.)
Nutrition Information (Approximate Per Serving)
Calories: 178 kcal,
Carbohydrates: 28 g,
Protein: 2 g,
Fat: 6 g,
Fiber: 0 g,
Sugar: 4 g
Nutrition information is automatically calculated and should be used as an approximation. Actual values may vary based on specific ingredients and preparation methods.
Frequently Asked Questions (FAQs)
- Can I use brown rice for this recipe?
- This recipe is specifically developed for long-grain white rice (like Jasmine or Basmati) due to its unique liquid absorption and cooking time in the Instant Pot. Brown rice requires more liquid and a longer cooking time, so substituting it directly would not yield the same results. For a brown rice version, we recommend consulting a recipe specifically designed for Instant Pot brown rice.
- Do I need to rinse the rice before cooking?
- Rinsing the rice is an optional but recommended step. It helps remove excess starch, which can lead to stickier rice. For a fluffier, more separate grain, we suggest rinsing it under cold water until the water runs clear. If you prefer a slightly creamier texture, you can skip this step.
- Can I double or halve this recipe?
- Yes, you can easily double this recipe! The cooking time for rice in the Instant Pot often remains the same, regardless of quantity. Just ensure your Instant Pot is large enough to accommodate the increased volume without exceeding the max fill line. Halving the recipe is also possible, maintaining the same cooking time.
- What if my coconut rice is too dry or too wet?
- If your rice is too dry, it might be due to not enough liquid or releasing the pressure too quickly. Ensure your Instant Pot lid is sealed properly. If it’s too wet or mushy, you might have used too much liquid or didn’t allow for enough natural pressure release. Precise measurements and following the natural release time are crucial for best results.
- Is this recipe dairy-free and gluten-free?
- Yes, as written, this Instant Pot Coconut Rice recipe is both dairy-free (using coconut milk) and naturally gluten-free (using white rice). It’s a fantastic option for those with dietary restrictions.
Loved this Recipe? Share Your Thoughts!
We’d be thrilled to hear about your experience making this Instant Pot Coconut Rice! Leave a comment below with your feedback, tips, or any creative twists you added. Your input helps our community of food lovers!
And don’t forget to tag your culinary creations on social media with the hashtag #fitfoodiefinds. We love seeing what you’re cooking up in your kitchen!