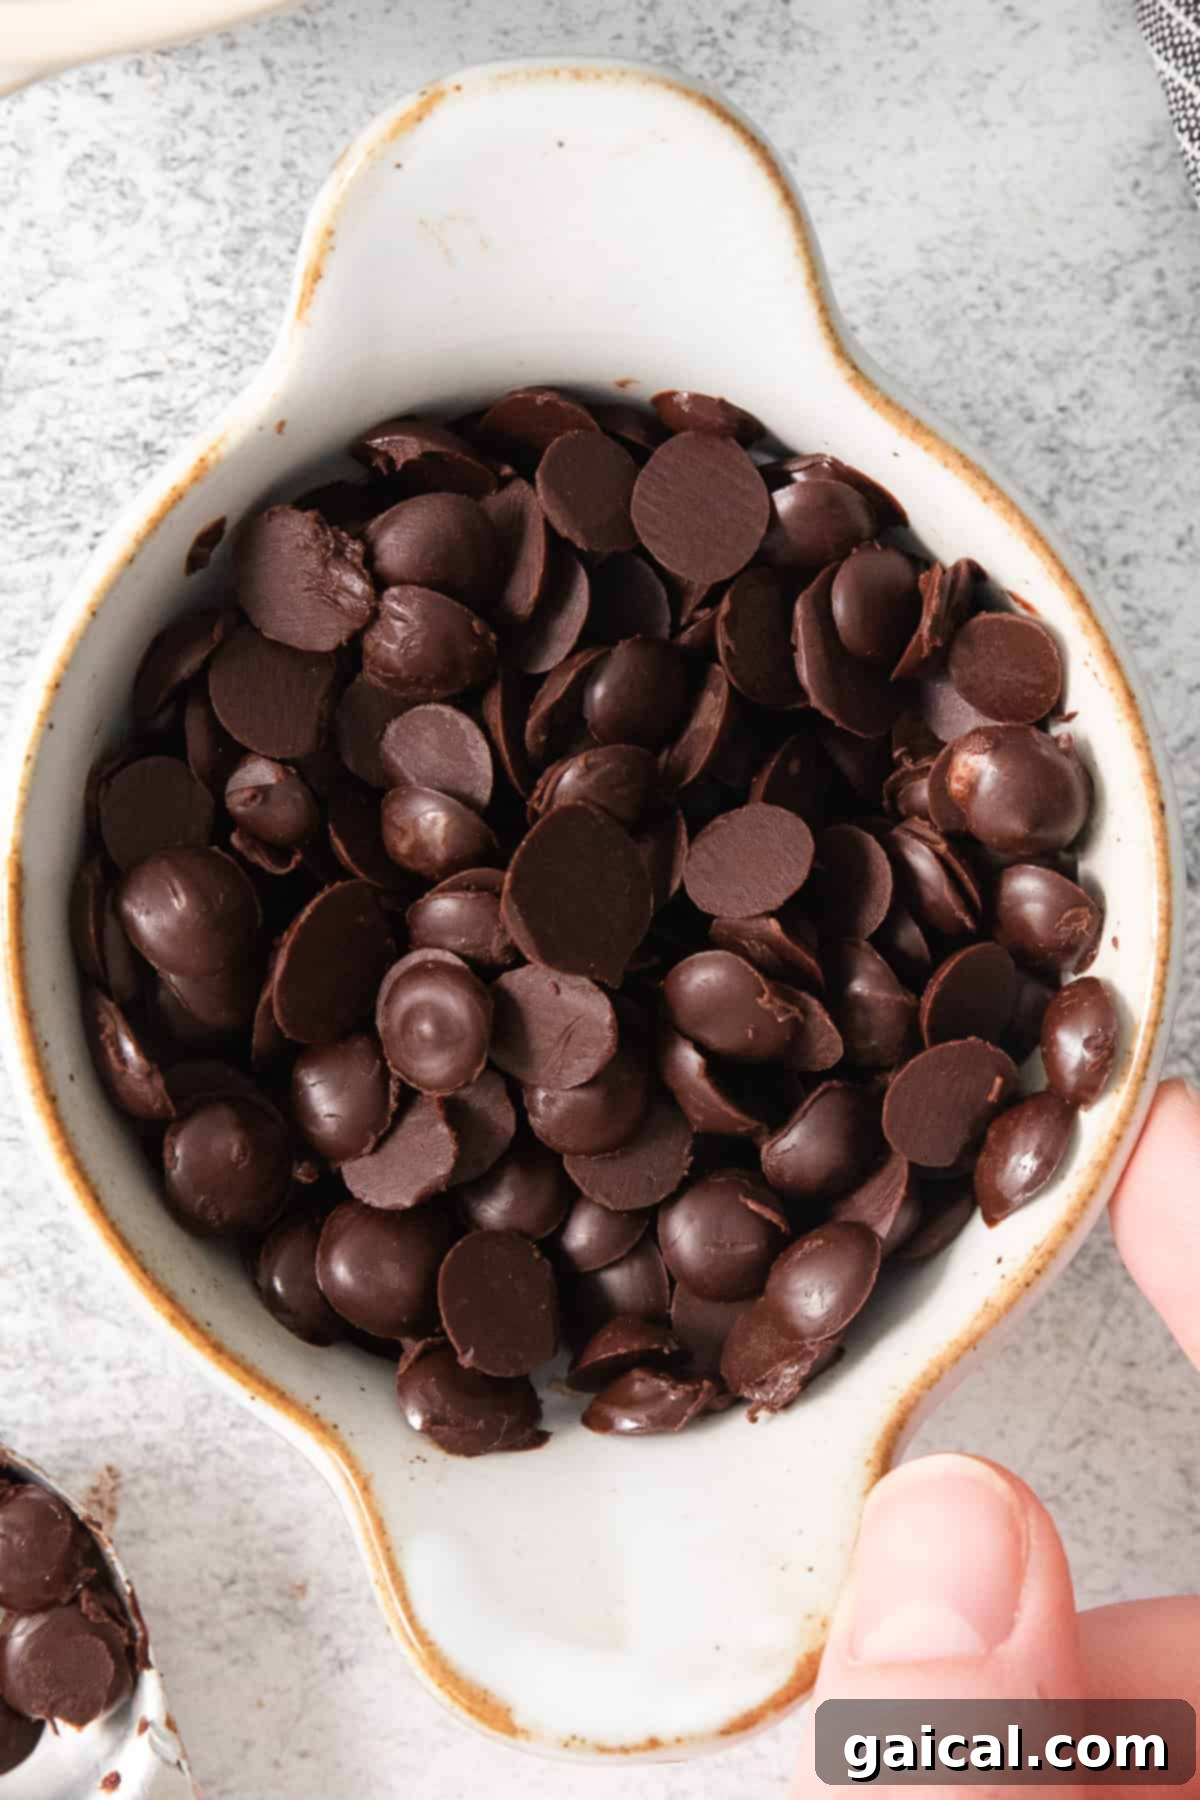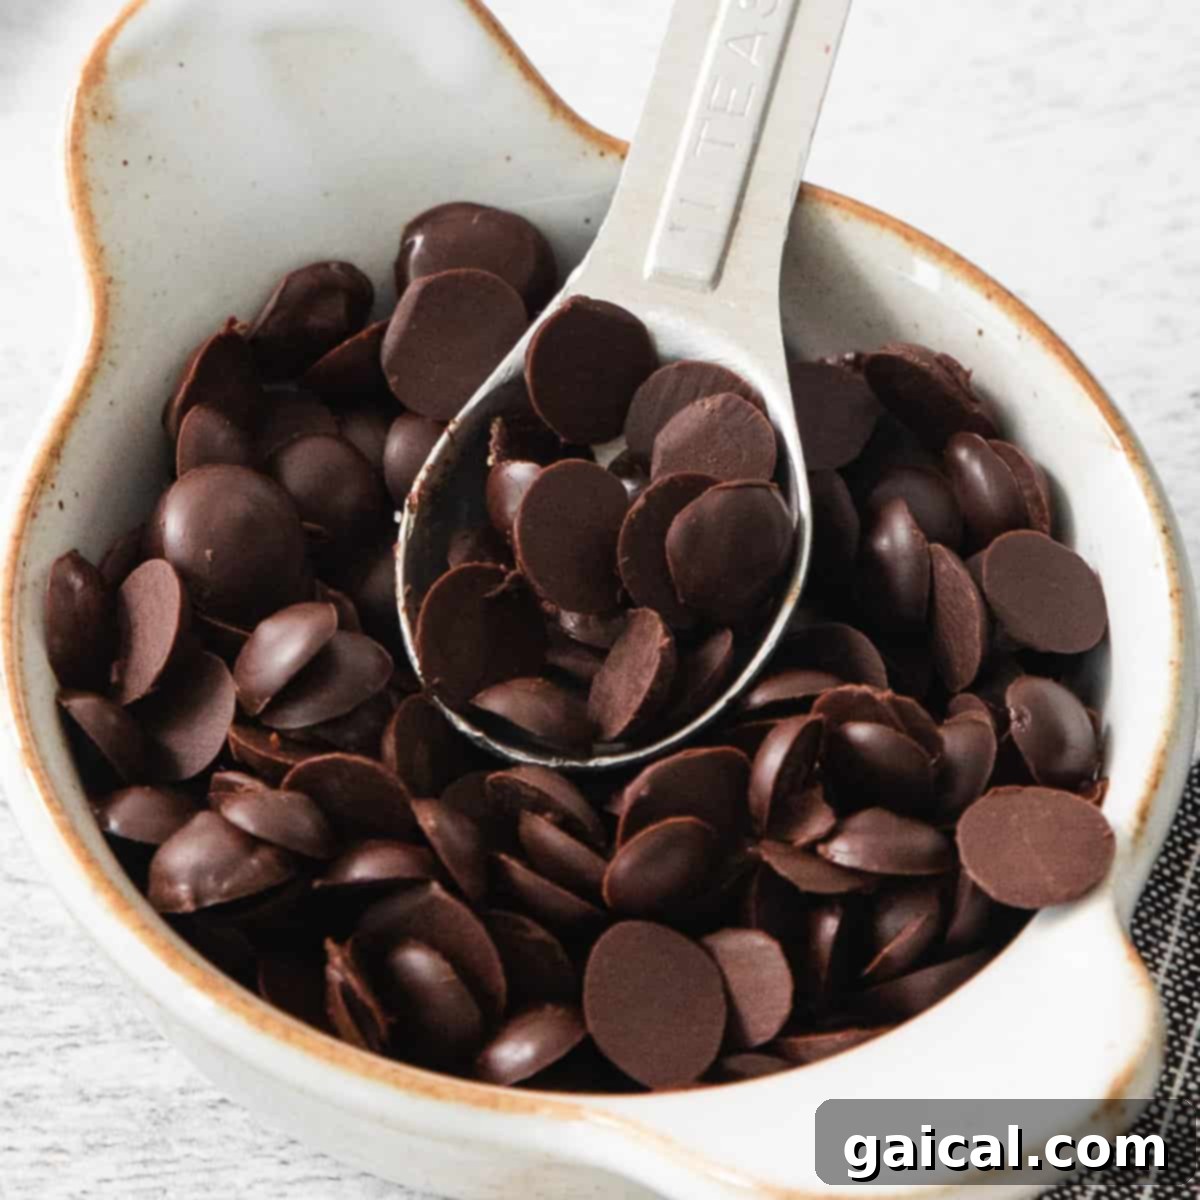
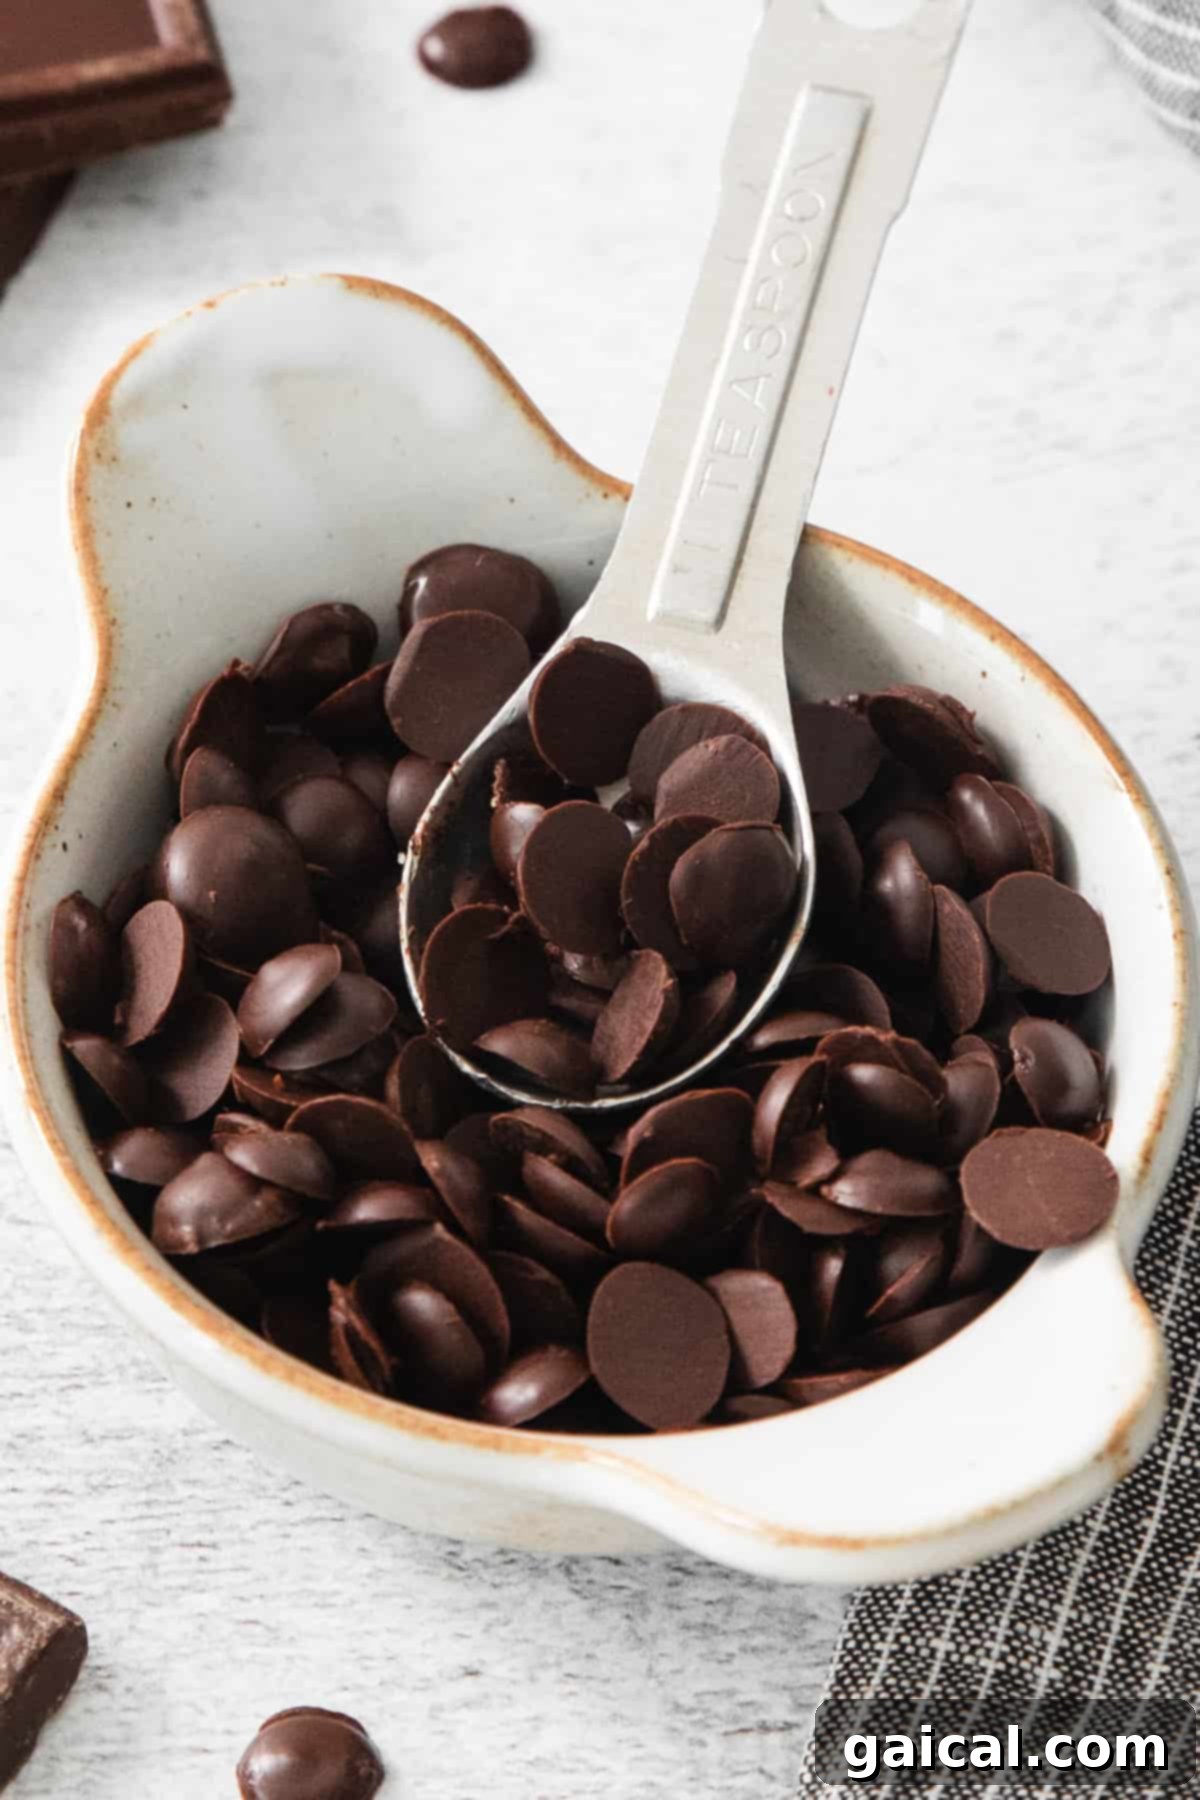
Unlock the secret to creating your very own luscious, dairy-free, and gluten-free vegan chocolate chips right in your kitchen! This incredibly simple recipe requires just three core ingredients: 100% unsweetened baking chocolate, coconut oil, and maple syrup. Whether you’ve run out of your favorite store-bought brand or you’re seeking a healthier, more controlled ingredient option, this guide will show you how to whip up a batch of perfect vegan chocolate chips with ease.
This recipe was originally posted on November 30, 2014. It was redeveloped and rigorously tested on November 17, 2023, to ensure the best possible results and updated information for our readers.
Ever found yourself in the middle of a baking project, only to realize you’re missing that crucial bag of vegan chocolate chips? Panic no more! This straightforward, 3-ingredient recipe for homemade vegan chocolate chips is your ultimate solution. Not only is it quick and easy, but it also gives you complete control over the quality of ingredients, ensuring a wholesome, delicious product every time.
Why Make Your Own Vegan Chocolate Chips?
There are numerous compelling reasons to venture into making your own vegan chocolate chips. Beyond the sheer satisfaction of a DIY project, creating your chips at home offers significant advantages:
- Dietary Control: If you have specific dietary needs, allergies, or preferences (like avoiding soy, excessive sugar, or certain additives often found in commercial brands), making your own ensures you know exactly what goes into them. This recipe is naturally dairy-free, gluten-free, and refined sugar-free.
- Freshness & Quality: Homemade always tastes fresher. You get to select high-quality ingredients, like premium unsweetened cacao, which contributes to a superior flavor profile in your finished chips and any baked goods they’re used in.
- Cost-Effective: Buying specialized vegan chocolate chips can sometimes be more expensive. Crafting them from basic pantry staples can be a more economical choice, especially if you bake frequently.
- Customization: Want your chocolate chips sweeter or less sweet? A little hint of vanilla or a dash of mint? When you make them yourself, you have the freedom to experiment and adjust the flavor to your exact liking.
- Always Available: No more last-minute grocery runs! With just a few pantry staples, you can conjure up a batch whenever the craving strikes or your recipe demands.
Key Ingredients for Perfect Vegan Chocolate Chips
Achieving the perfect vegan chocolate chip texture and flavor is all about understanding the role of each simple ingredient. Here’s a closer look at what you’ll need:
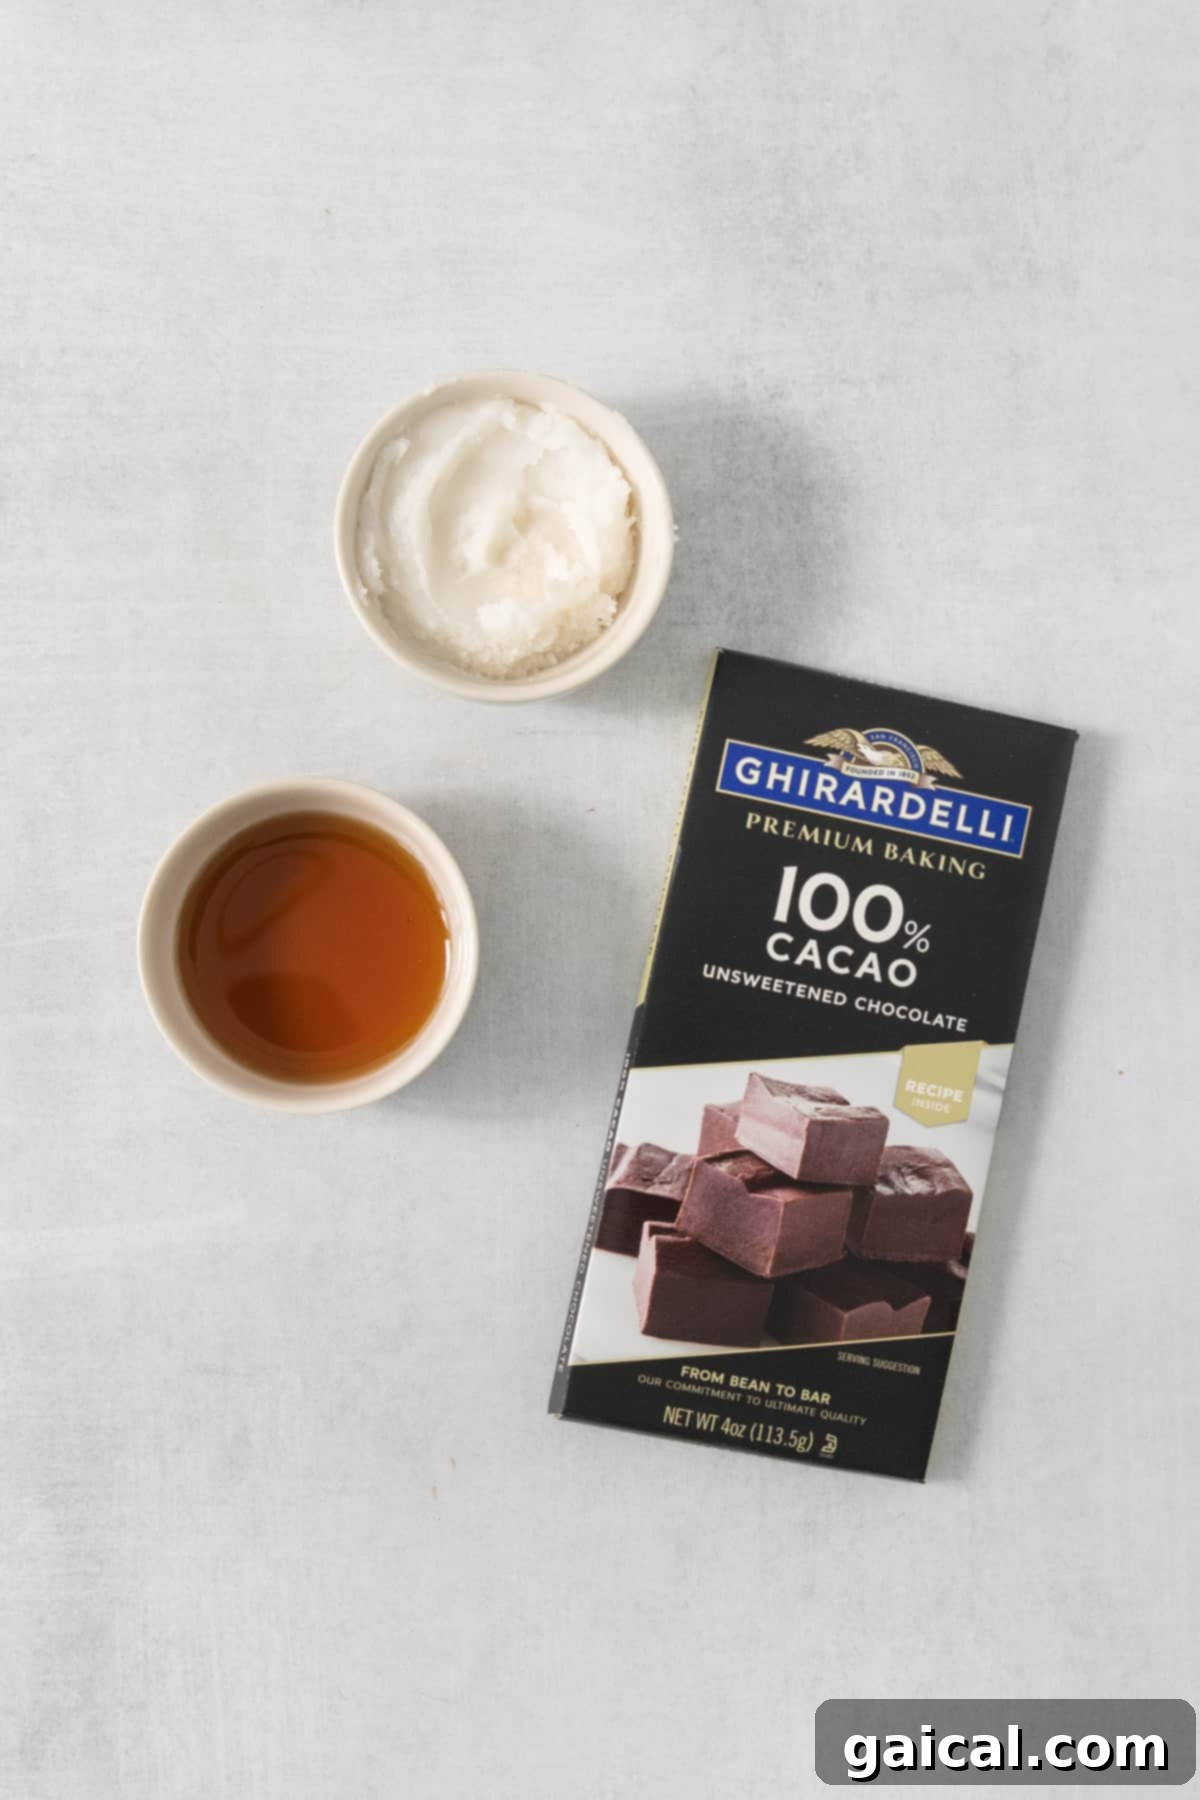
- 100% Unsweetened Baking Chocolate: The foundation of our chips! Using 100% unsweetened baking chocolate, often labeled as cacao, ensures a rich, deep chocolate flavor without any added sugars. This allows us to control the sweetness level precisely with our chosen sweetener. We highly recommend Ghirardelli’s Cacao Unsweetened Chocolate for its exceptional quality and smooth melting properties. It’s crafted from high-quality cocoa beans and is completely free of added sugar or dairy, making it an ideal choice for vegan recipes. If Ghirardelli isn’t available, look for any reputable brand of unsweetened baker’s chocolate or pure cacao mass.
- Coconut Oil: This versatile plant-based fat is essential for achieving the right consistency. Coconut oil helps to thin out the solid baking chocolate, making it malleable enough to pipe into chip shapes. Crucially, it also allows the chocolate to firm up beautifully once cooled, giving our chips their characteristic snap. You can use either refined or unrefined coconut oil; refined will have a neutral flavor, while unrefined will impart a subtle coconut note, which can be a delicious addition to the chocolate.
- Maple Syrup: To sweeten our unsweetened chocolate, we’ve opted for pure maple syrup. This natural liquid sweetener is not only delicious but also keeps our chocolate chips entirely refined sugar-free, aligning with healthier eating goals. Its rich, nuanced flavor complements the deep notes of the cacao perfectly. If you don’t have maple syrup on hand, or prefer a different taste, agave nectar works wonderfully as a direct substitute. When substituting, remember that agave can be slightly sweeter, so you might want to start with a little less and adjust to taste.
Essential Kitchen Tools Needed
While the ingredients are few, having the right tools on hand will make the process of crafting your homemade vegan chocolate chips even smoother and more enjoyable:
- 2 parchment-lined baking sheets: Parchment paper is crucial here to prevent sticking and allow for easy removal of the hardened chips.
- Microwave-safe bowl or medium pot: For melting your chocolate mixture. Choose a method that you’re most comfortable with.
- Spatula: Essential for stirring the melting chocolate and scraping down the sides of the bowl.
- Piping bag with a 1/16″-1/8″ tip or gallon-sized bag: This is key for creating uniform, perfectly shaped chocolate chips. A small, round tip is ideal, but a trimmed Ziploc bag works just as well in a pinch.
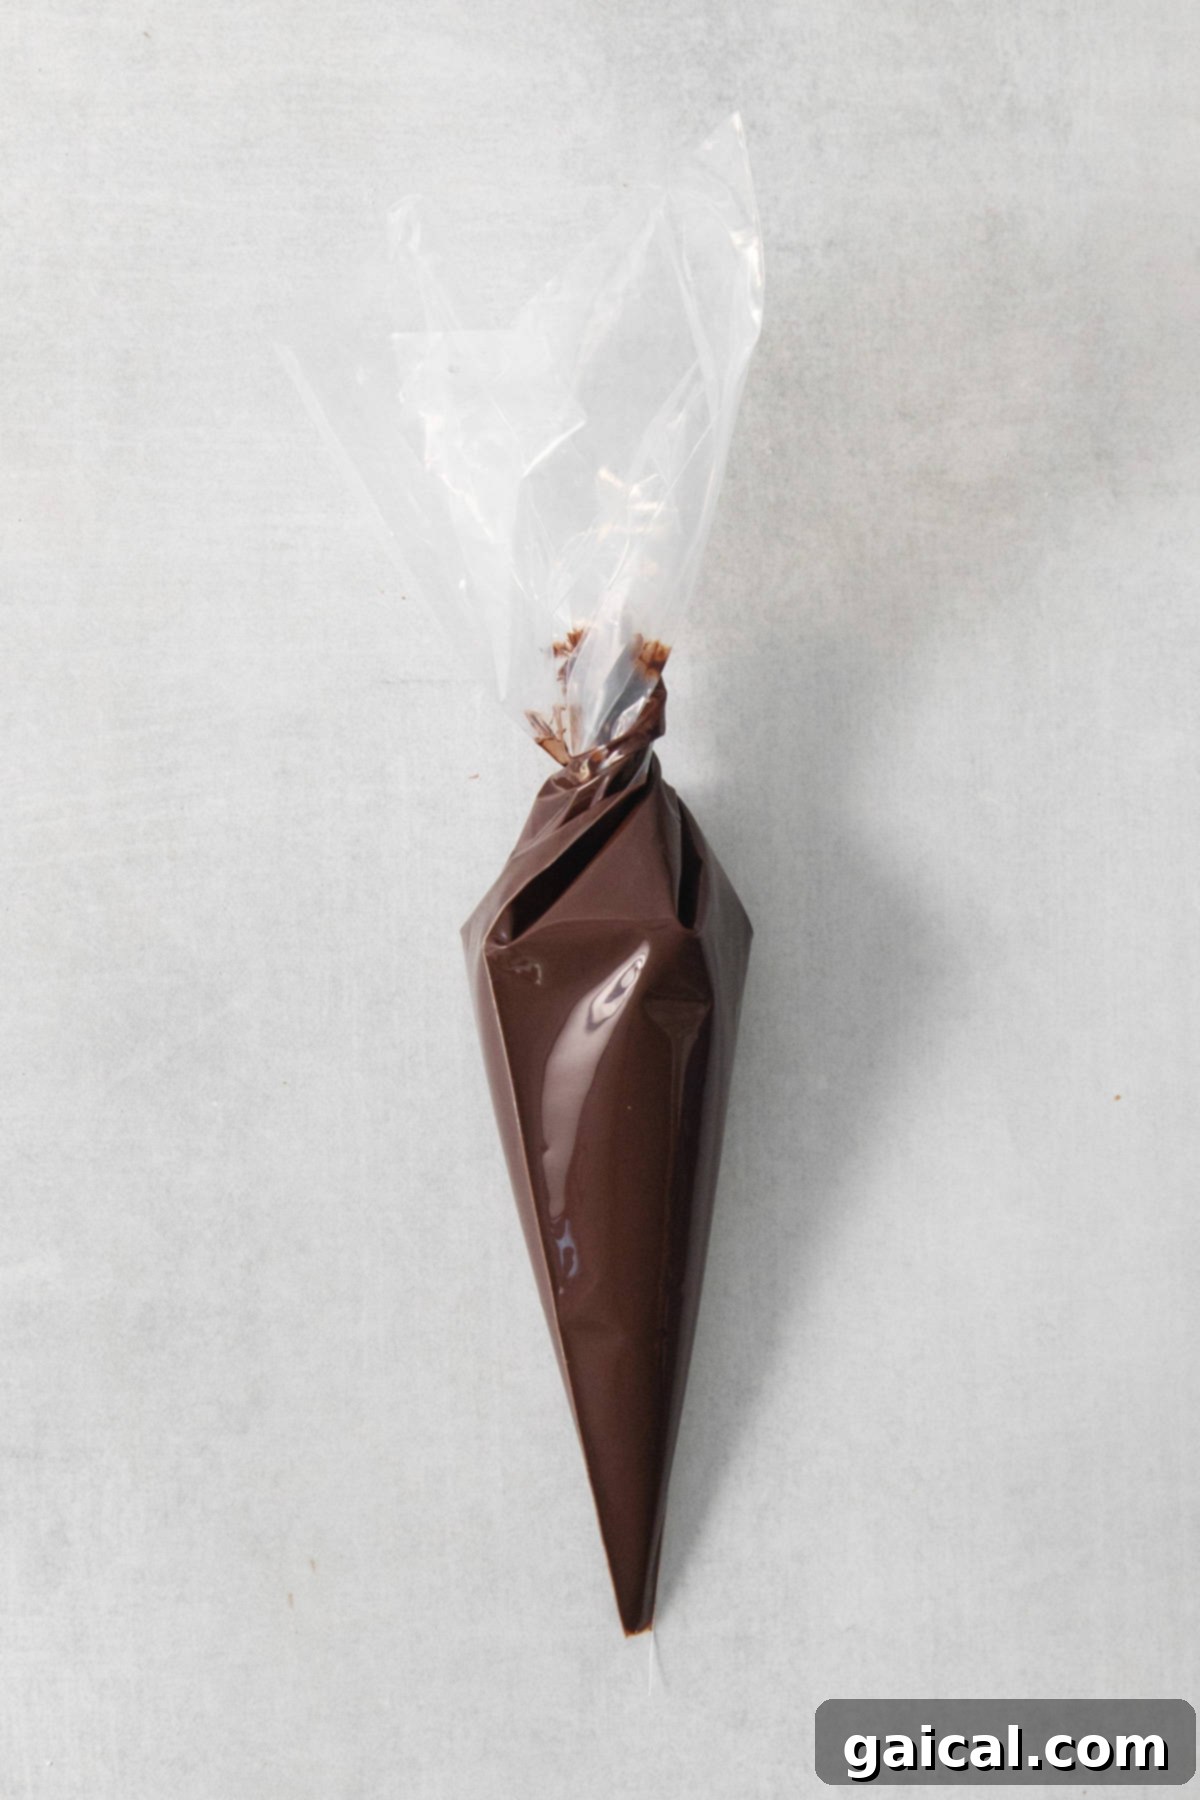
How to Pipe Perfect Vegan Chocolate Chips
Piping your chocolate chips is a fun and surprisingly easy step that ensures uniform size and shape. Here’s how to achieve perfectly formed chips:
- Choose Your Tool: A dedicated piping bag with a small, round tip (1/16″ to 1/8″ is ideal for standard chip size) will give you the most control and professional-looking results. Alternatively, a sturdy gallon-sized Ziploc bag can be used by snipping off a tiny corner. Start with a very small snip; you can always enlarge it if needed.
- Fill the Bag: Carefully transfer your slightly cooled and thickened chocolate mixture into your chosen piping bag. Avoid overfilling the bag, as it can be harder to control. If using a Ziploc bag, push the chocolate down to one corner.
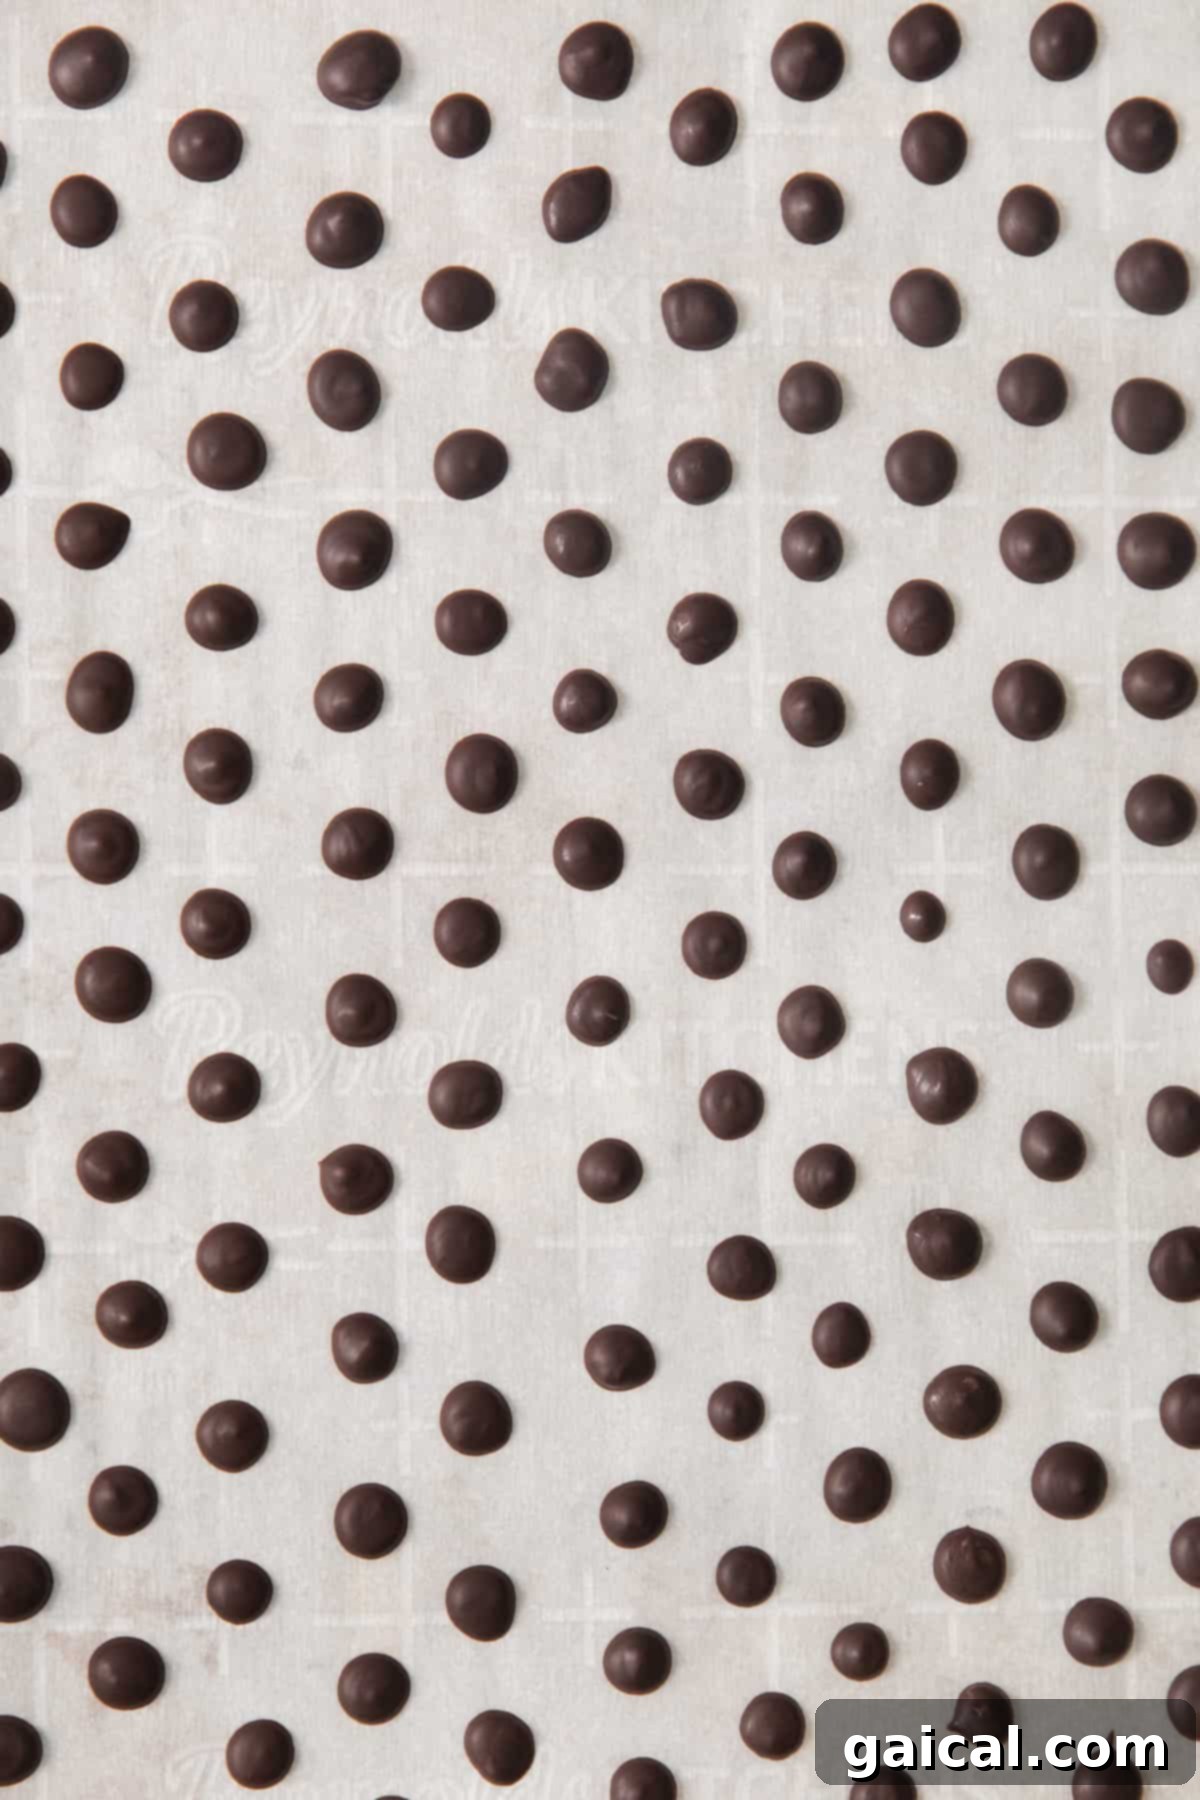
- Practice Makes Perfect (or close enough!): Before piping onto your parchment-lined baking sheet, you might want to test your opening on a spare piece of parchment. Apply gentle, consistent pressure, squeezing from the top of the bag down. Create small, round dots that resemble classic chocolate chips.
- Maintain Consistent Size: Try to keep your dots of chocolate similar in size for even melting in future baking applications. A quick flick of the wrist at the end of each dot helps to break the flow and prevent tails.
- Space Them Out: Leave a small amount of space between each chocolate chip on your baking sheet. They won’t spread much, but a little room ensures they don’t merge.
- Work Quickly but Carefully: If your kitchen is warm, the chocolate in the bag might start to soften. If this happens, pop the bag back into the freezer for a few minutes to re-firm slightly before continuing.
Don’t worry if your first few chips aren’t perfectly round; they’ll still taste amazing! With a little practice, you’ll be piping like a pro in no time.
Storage Recommendations for Longevity
To maintain their optimal texture and prevent softening, especially if your home is warm, we highly recommend storing your homemade vegan chocolate chips in the freezer. Once the chips are fully hardened, carefully transfer them into an airtight freezer-safe bag or container. Ensure you remove as much air as possible from the bag to prevent freezer burn and oxidation. Stored correctly, your delicious vegan chocolate chips will remain fresh and ready for use for up to 3 months.
Creative Ways to Use Your Homemade Vegan Chocolate Chips
The beauty of these homemade vegan chocolate chips is their versatility! You can use them just like any normal chocolate chips in virtually all your favorite recipes. Their robust chocolate flavor and perfect melt make them an excellent addition to both sweet treats and savory dishes. Here are a few inspiring ideas:
- Baking Staples: Elevate your classic chocolate chip cookies, muffins, brownies, and cakes. Their dairy-free nature makes them perfect for vegan versions of these beloved desserts.
- Energy Bites & Balls: Incorporate them into no-bake treats for a delightful chocolatey crunch. Try them in our popular Mint Chocolate Protein Balls for a refreshing twist.
- Overnight Oats & Puddings: Stir a handful into your morning overnight oats or chia puddings for an indulgent breakfast. Our Peanut Butter Cup Overnight Oats would be extra special with a sprinkle of these.
- Crunchy Treats: Fold them into rice crispy treats, granola bars, or even our delicious Peanut Butter Crunch Cups for added texture and flavor.
- Hot Beverages: Melt a few into hot cocoa or coffee for a decadent, dairy-free chocolate experience.
- Smoothies: Blend them into your favorite smoothie for a rich, chocolatey boost.
- Garnish: Sprinkle them over ice cream, fruit salads, or yogurt parfaits for a beautiful and tasty garnish.
Let your imagination run wild! These chips are a fantastic way to add a touch of homemade goodness to any recipe.
Homemade Vegan Chocolate Chips Recipe
With just 3 simple ingredients, you can effortlessly make vegan chocolate chips at home that are both dairy-free and gluten-free!
By: Lee Funke
Ingredients
- 4 oz. 100% unsweetened baking chocolate, chopped (we used Ghirardelli)
- 2 tablespoons coconut oil
- 3 tablespoons maple syrup (or agave nectar)
Instructions
- Line 2 baking sheets with parchment paper. Set aside.
- Place the chopped chocolate, coconut oil, and maple syrup into a microwave-safe bowl. Stir well to combine the ingredients. Heat on high in the microwave for 1-2 minutes, stirring every 20 seconds to prevent the chocolate from burning and ensure even melting. Alternatively, you can gently melt the ingredients together in a medium pot over low heat on the stovetop, stirring constantly until smooth.
- Use a spatula to carefully transfer the melted chocolate mixture into a piping bag fitted with a small tip (ideally 1/16″-1/8″) or into a gallon-sized resealable bag. Place the filled piping bag into the freezer for 5-10 minutes. This cooling step helps the chocolate mixture firm up slightly, making it easier to pipe uniform chips without spreading too much.
- If using a gallon-sized bag, snip off a tiny corner from the end of the bag. Start with a very small opening; if the hole is too large, your chocolate chips will be oversized. You can always trim a bit more if you need a larger opening. Pipe small, round vegan chocolate chips onto the prepared parchment-lined baking sheets, leaving a little space between each chip.
- Transfer the baking sheets with the piped chocolate chips into the freezer. Allow them to harden completely for approximately 30 minutes.
- Once fully hardened, the chips should easily detach from the parchment paper. Carefully peel them off and transfer them to a small, airtight container. Store your homemade vegan chocolate chips in the freezer for optimal freshness and texture.
Tips & Notes
- This recipe typically yields approximately 1 heaping cup of vegan chocolate chips.
- Maple syrup can be substituted with agave syrup. When using agave, start with 2 tablespoons and taste the chocolate mixture before adding more, as agave can be sweeter than maple syrup. Adjust to your desired sweetness level.
- For best results, ensure your melting process is slow and gentle to avoid seizing the chocolate.
Nutrition Information (Approximate per serving, 8 servings total)
Calories: 252 kcal, Carbohydrates: 21 g, Protein: 4 g, Fat: 21 g, Fiber: 7 g, Sugar: 10 g
Nutrition information is automatically calculated and should only be used as an approximation. It may vary based on specific ingredients and brands used.
Frequently Asked Questions (FAQ)
Can I use a different type of unsweetened chocolate?
Yes, absolutely! While we recommend Ghirardelli for its consistent quality, any 100% unsweetened baking chocolate or pure cacao mass will work. Just ensure it’s truly unsweetened and free of dairy derivatives to keep the chips vegan.
What if I don’t have coconut oil? Can I use another oil?
Coconut oil is preferred because it solidifies well at cooler temperatures, giving the chocolate chips their firm structure. Other liquid oils like canola or vegetable oil will not allow the chocolate to harden properly into chips. Cacao butter would be an excellent, more traditional substitute if you have it, as it also provides a good snap and rich flavor, but may alter the quantity needed slightly.
My chocolate chips aren’t hardening properly. What went wrong?
The most common reasons for chocolate chips not hardening are usually related to the ratio of ingredients or insufficient cooling. Ensure you are using the correct amount of coconut oil – too much can make them too soft. Also, make sure your freezer is cold enough and that the chips are left in for the full recommended time (at least 30 minutes, or longer if needed).
Can I make these chocolate chips without a piping bag?
Yes, you can! A sturdy gallon-sized Ziploc bag with a tiny corner snipped off works perfectly as a makeshift piping bag. Alternatively, you can spread the melted chocolate thinly onto a parchment-lined baking sheet and once firm, chop it into small, irregular chocolate chunks or “bark” for a rustic look.
How can I adjust the sweetness of these chocolate chips?
This recipe uses 3 tablespoons of maple syrup, which yields a moderately sweet chocolate chip that balances the bitterness of the 100% cacao. If you prefer sweeter chips, you can add an additional tablespoon of maple syrup. If you prefer a more intense, less sweet chocolate, you can reduce the maple syrup to 2 tablespoons. Always taste the melted mixture before piping to ensure it meets your preference.
Troubleshooting Common Issues
Even with simple recipes, sometimes things don’t go exactly as planned. Here are some solutions to common problems you might encounter:
- Chocolate Seizing: If your chocolate mixture becomes thick, grainy, and unworkable while melting, it has likely “seized.” This often happens when even a tiny amount of water gets into the chocolate, or if it overheats. To avoid this, ensure your bowl and spatula are completely dry. If melting on the stovetop, use a double boiler method (a heatproof bowl over a pot of simmering water) to prevent direct heat. If it seizes, sometimes adding a teaspoon of extra coconut oil or a neutral oil can sometimes rescue it, but it’s not guaranteed.
- Chips are Too Soft: If your chips remain too soft even after freezing, it might be due to a higher ratio of liquid sweetener or insufficient coconut oil. Ensure precise measurements. If the problem persists, try reducing the maple syrup slightly in your next batch or increasing the chocolate by half an ounce.
- Difficulty Piping: If the chocolate is too liquidy, it will be hard to pipe neat dots; if it’s too thick, it will be difficult to squeeze. The freezer step (5-10 minutes for the piping bag) is crucial for getting the right consistency. If it becomes too thick while piping, gently warm the bag in your hands for a few seconds. If it’s too thin, return it to the freezer for a few more minutes.
- Flavor Adjustments: Feel free to experiment! A tiny pinch of sea salt can enhance the chocolate flavor. A quarter teaspoon of vanilla extract can add a classic bakery note. For mint chocolate chips, add a drop or two of food-grade peppermint extract to the melted mixture.
Love this recipe? Leave a comment below!
Don’t forget to tag your posts on social media with the hashtag #fitfoodiefinds – we’d absolutely love to see your delicious homemade vegan chocolate chips!