
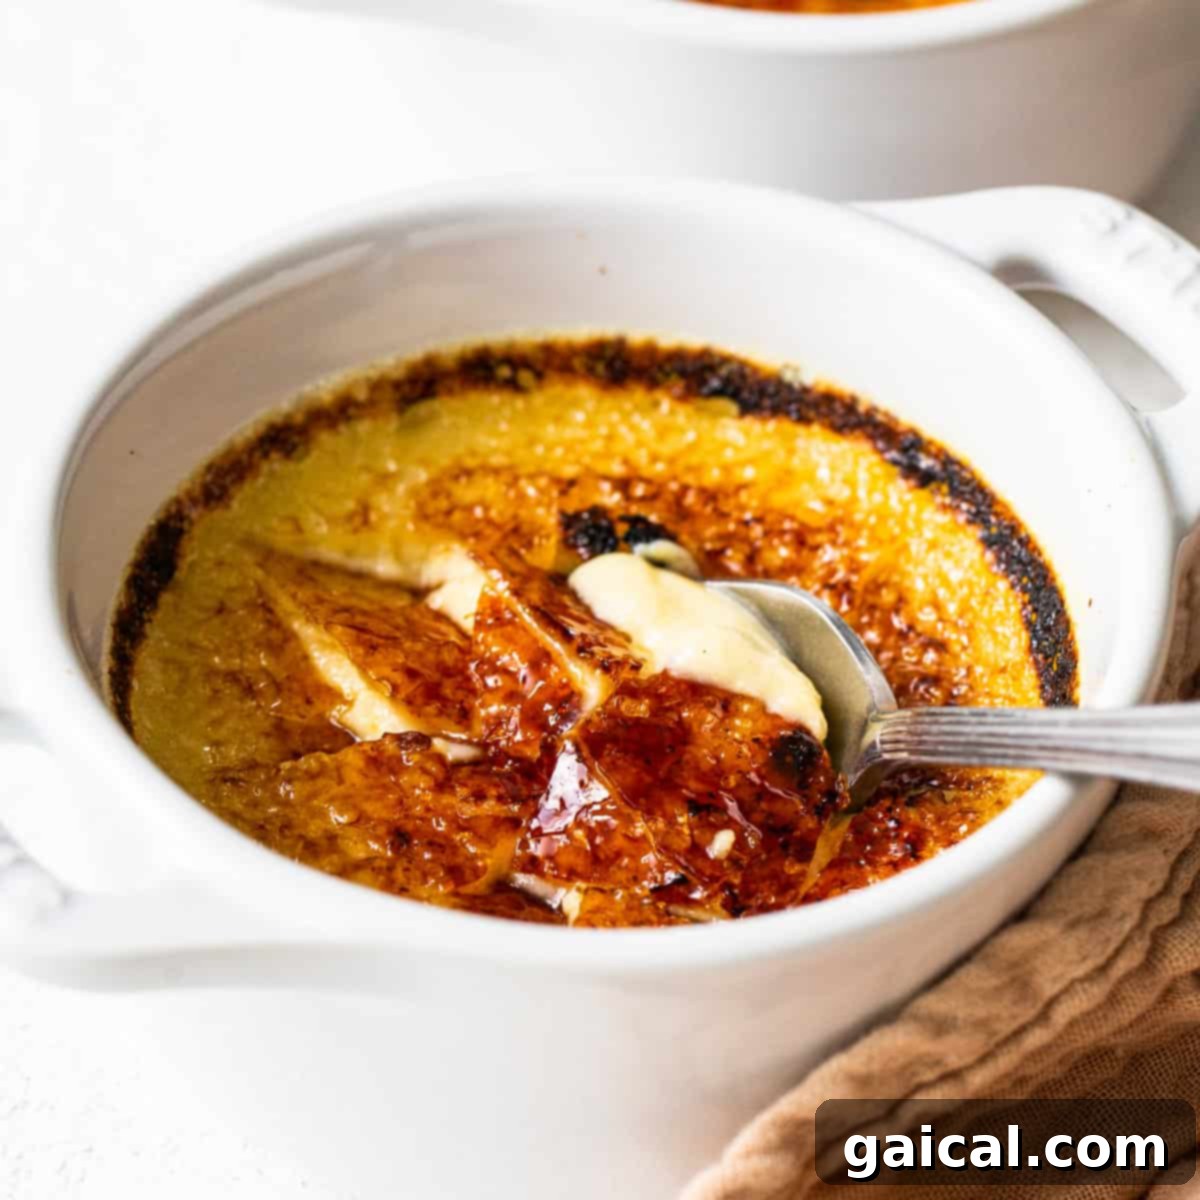
Easy 4-Ingredient Eggnog Crème Brûlée: Your Ultimate Holiday Dessert
Prepare to impress your guests this holiday season with a dessert that perfectly blends elegance and simplicity: this gorgeous Eggnog Crème Brûlée. Crafted with just four core ingredients, this luxurious treat delivers rich festive flavors and a satisfyingly crisp caramelized sugar topping without requiring hours in the kitchen. It’s the ideal show-stopping finale for any holiday gathering, looking sophisticated while being surprisingly easy to master.
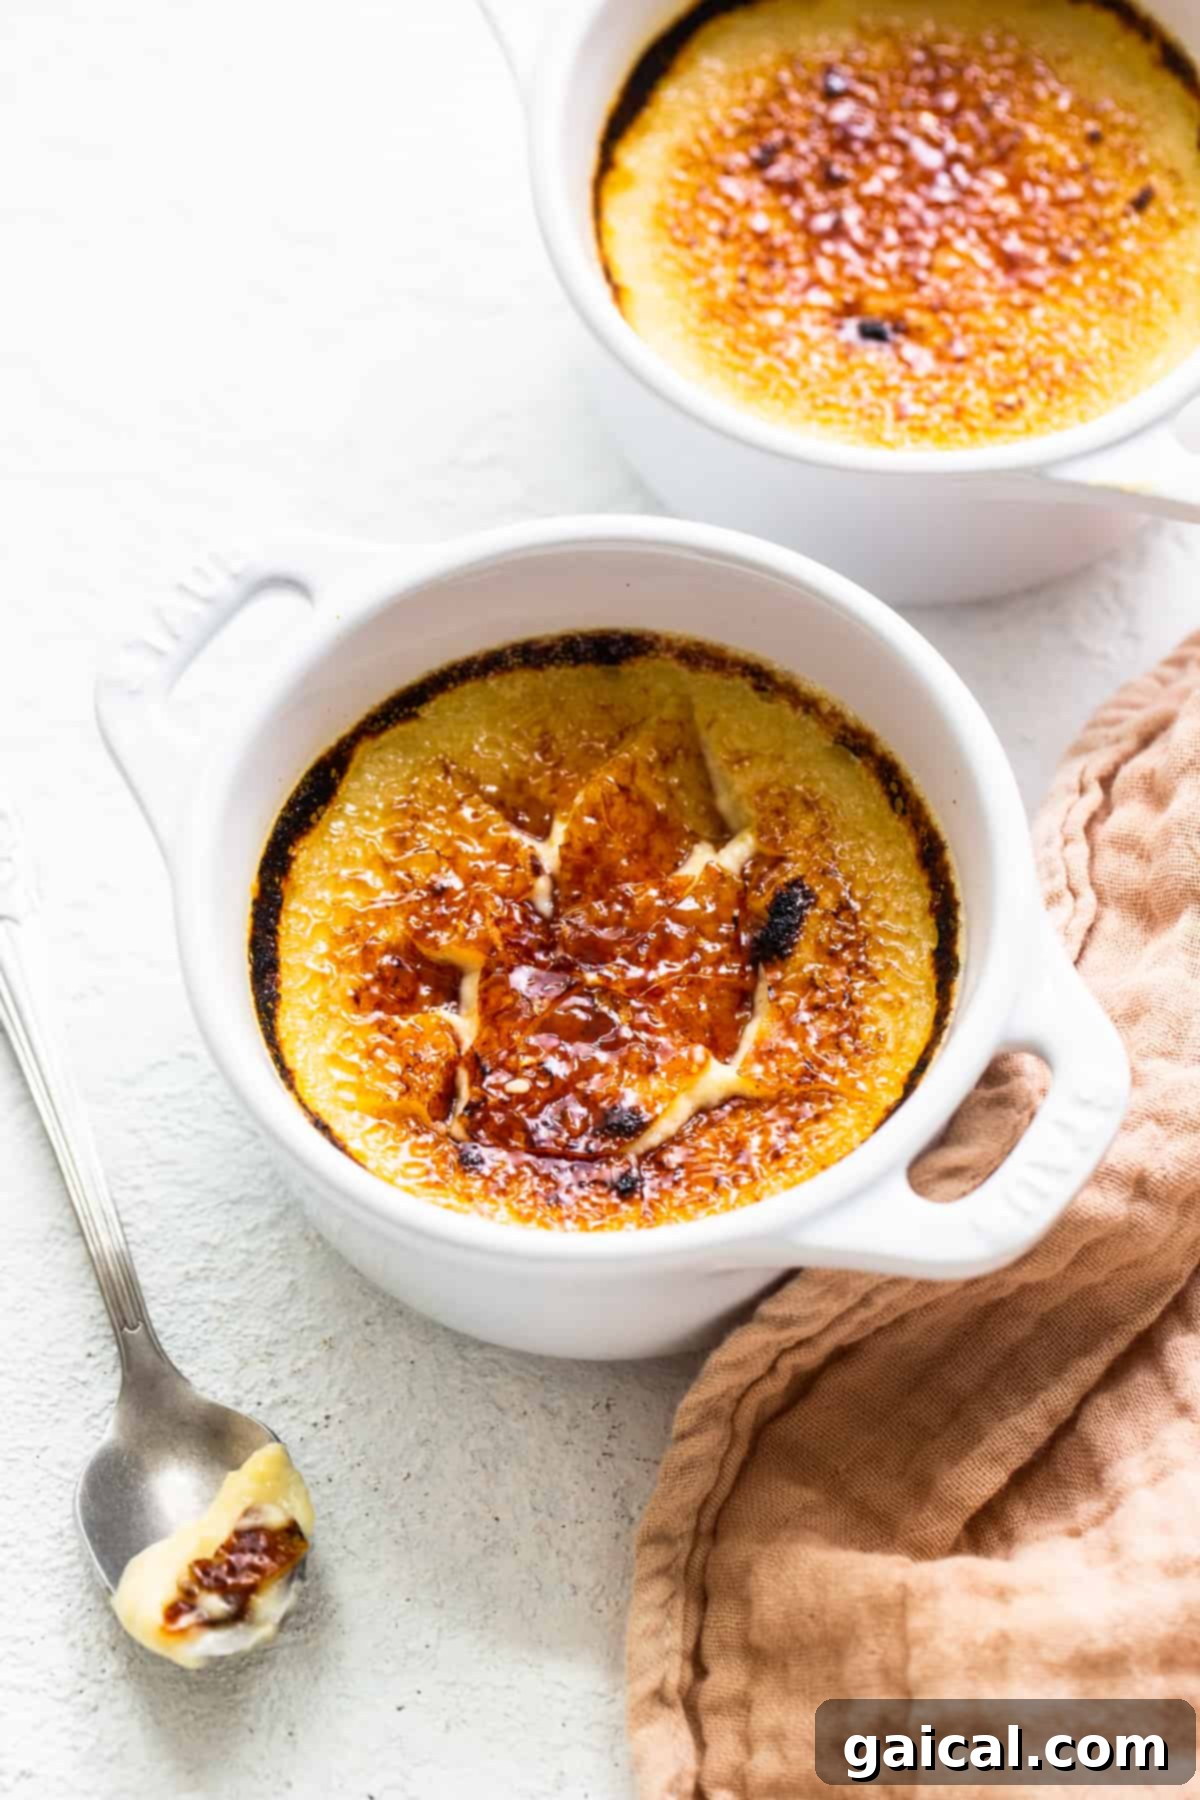
Effortless Elegance: The 4-Ingredient Eggnog Crème Brûlée
Imagine a dessert that captures the warmth and spice of traditional eggnog, combined with the smooth, creamy texture and iconic caramelized crust of a classic crème brûlée. This simplified recipe makes that dream a reality. Our delightful Eggnog Crème Brûlée is ingeniously prepared using just four essential ingredients: rich eggnog ice cream, fresh eggs, fragrant vanilla extract, and granulated sugar. If you’re searching for a dessert that will undoubtedly “wow” everyone at your next holiday party or family dinner, look no further than this incredibly delicious and straightforward crème brûlée.
Why This Eggnog Crème Brûlée Will Be Your New Holiday Favorite
Beyond its striking appearance, there are countless reasons why this Eggnog Crème Brûlée deserves a permanent spot in your holiday dessert repertoire:
- Unbelievable Simplicity: Forget complicated steps and lengthy ingredient lists. This recipe truly comes together with only 4 ingredients, making it accessible for even novice bakers.
- A Holiday Taste Sensation: For eggnog enthusiasts, this dessert is an absolute dream come true. Even if you’re typically on the fence about eggnog, the smooth custard and subtle spice profile in this crème brûlée are likely to convert you. It’s the ultimate festive flavor experience.
- Perfect for Planning Ahead: Hosting can be stressful, but your dessert doesn’t have to be. This crème brûlée can be prepared a few days in advance, allowing you to focus on other aspects of your holiday preparations and torch the sugar just before serving for that ultimate fresh crack.
- The Thrill of the Torch: There’s something undeniably satisfying about using a kitchen torch to create that perfect, glassy caramelized topping. It adds a touch of culinary drama and makes you feel like a true pastry chef in your own home!
The Essential 4 Ingredients for Your Crème Brûlée
Let’s dive into the stars of this simple yet sensational recipe:
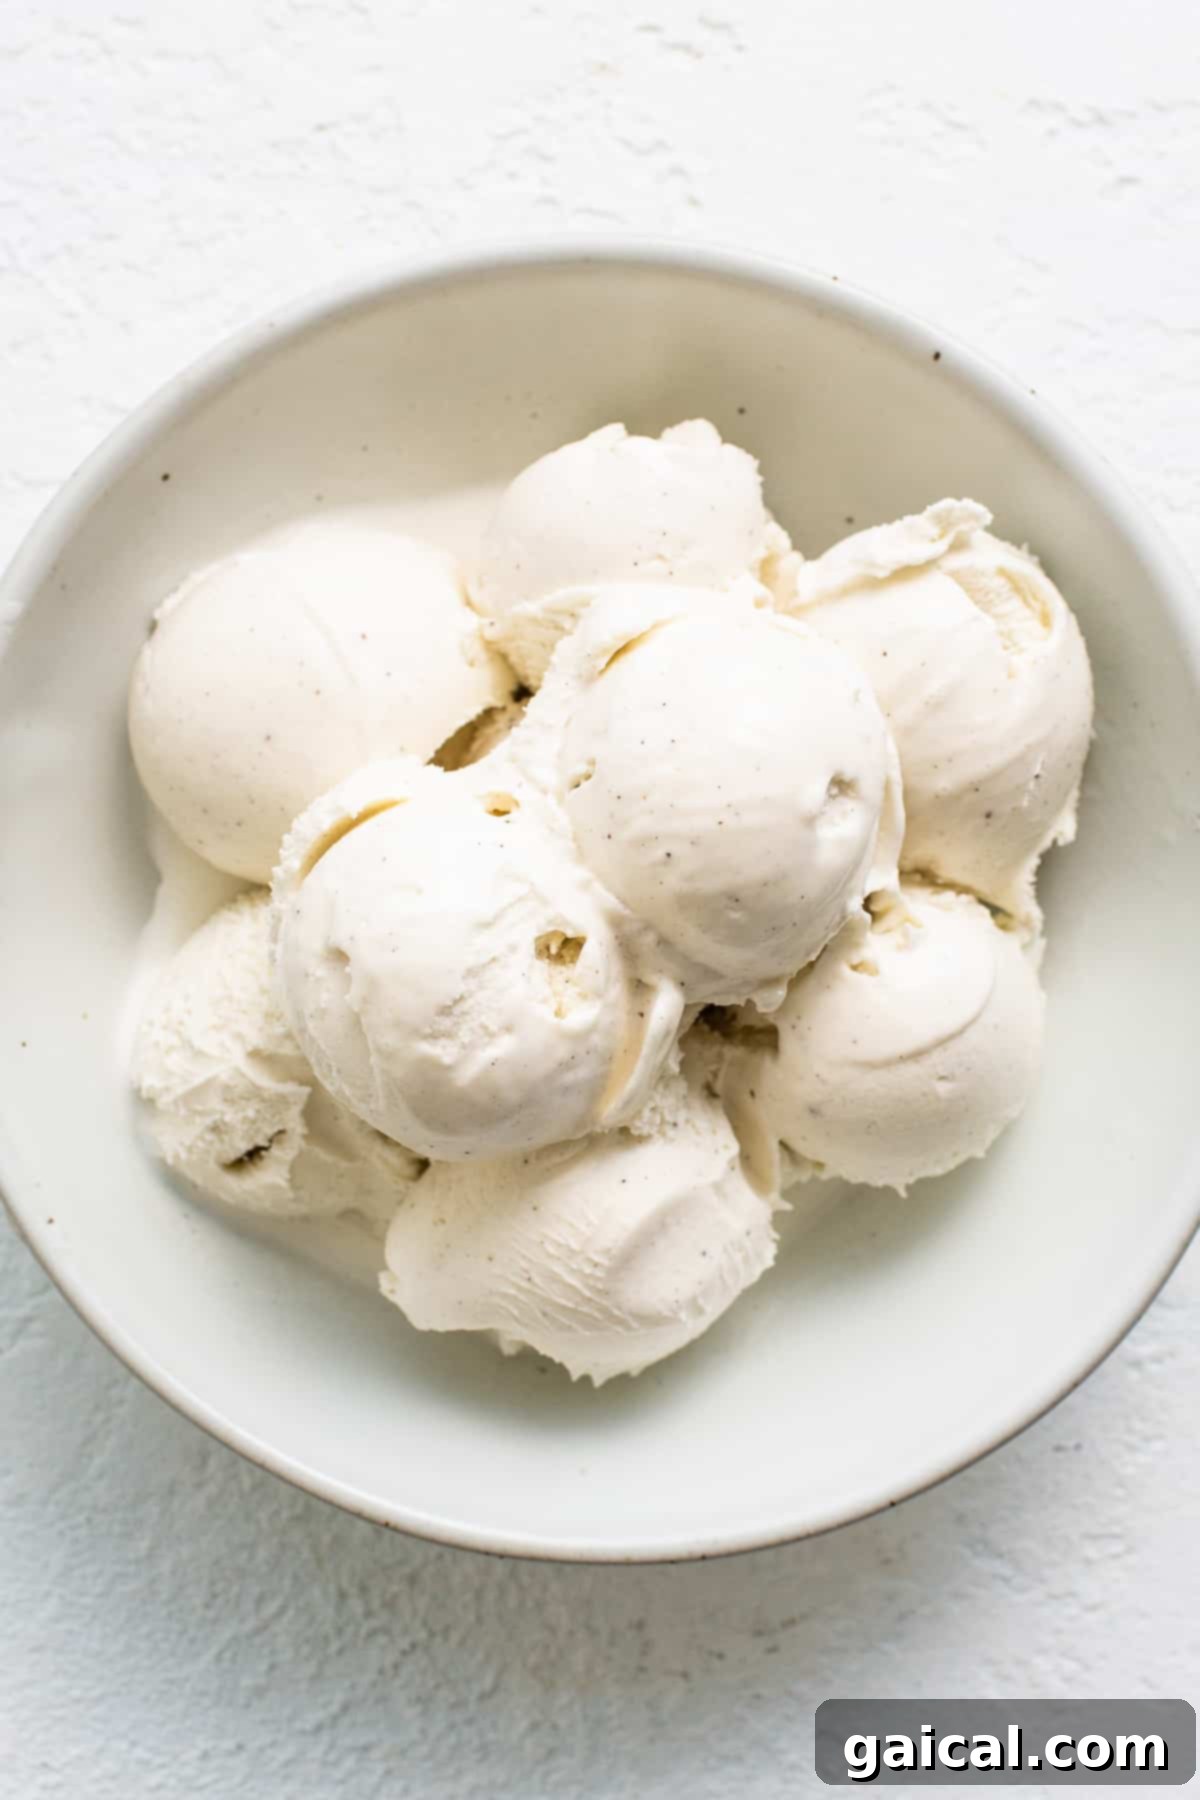
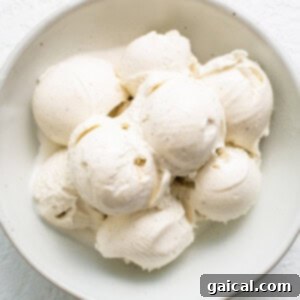
- Eggnog Ice Cream: This is the hero ingredient that transforms a traditional crème brûlée into a festive masterpiece. Eggnog ice cream is typically a seasonal item, readily available in most grocery stores during December and throughout the holiday season. Its rich, spiced, and creamy base eliminates the need for heavy cream and extra spices, streamlining the process significantly. Should you find eggnog ice cream elusive, don’t fret! You can easily substitute it with a high-quality vanilla or cinnamon ice cream for a similarly delicious, albeit slightly different, flavor profile.
- Eggs: Eggs are fundamental to any custard-based dessert, and crème brûlée is no exception. Specifically, egg yolks provide the necessary richness and structure that result in that perfectly smooth, silky texture. There is no viable substitute for eggs in this recipe, as they are crucial for setting the custard properly.
- Vanilla Extract: A touch of pure vanilla extract works wonders in enhancing and rounding out the complex flavors of the eggnog. It adds depth and a comforting aroma, ensuring every spoonful is a delight. High-quality vanilla makes a noticeable difference.
- Sugar: While the eggnog ice cream provides sweetness to the custard, the granulated sugar in this recipe is primarily for creating that signature crunchy topping. Applied generously to the cooled custards and then caramelized with a kitchen torch or broiler, it forms a delightful, brittle layer that provides an irresistible textural contrast to the creamy base. Regular white granulated sugar is ideal for achieving this classic, hard caramel crust. You can also experiment with brown sugar for a slightly deeper, molasses-like flavor in the crust.
Step-by-Step Guide: Crafting Your Eggnog Crème Brûlée
Creating this elegant dessert is simpler than you think. Follow these clear steps to achieve a perfect Eggnog Crème Brûlée:
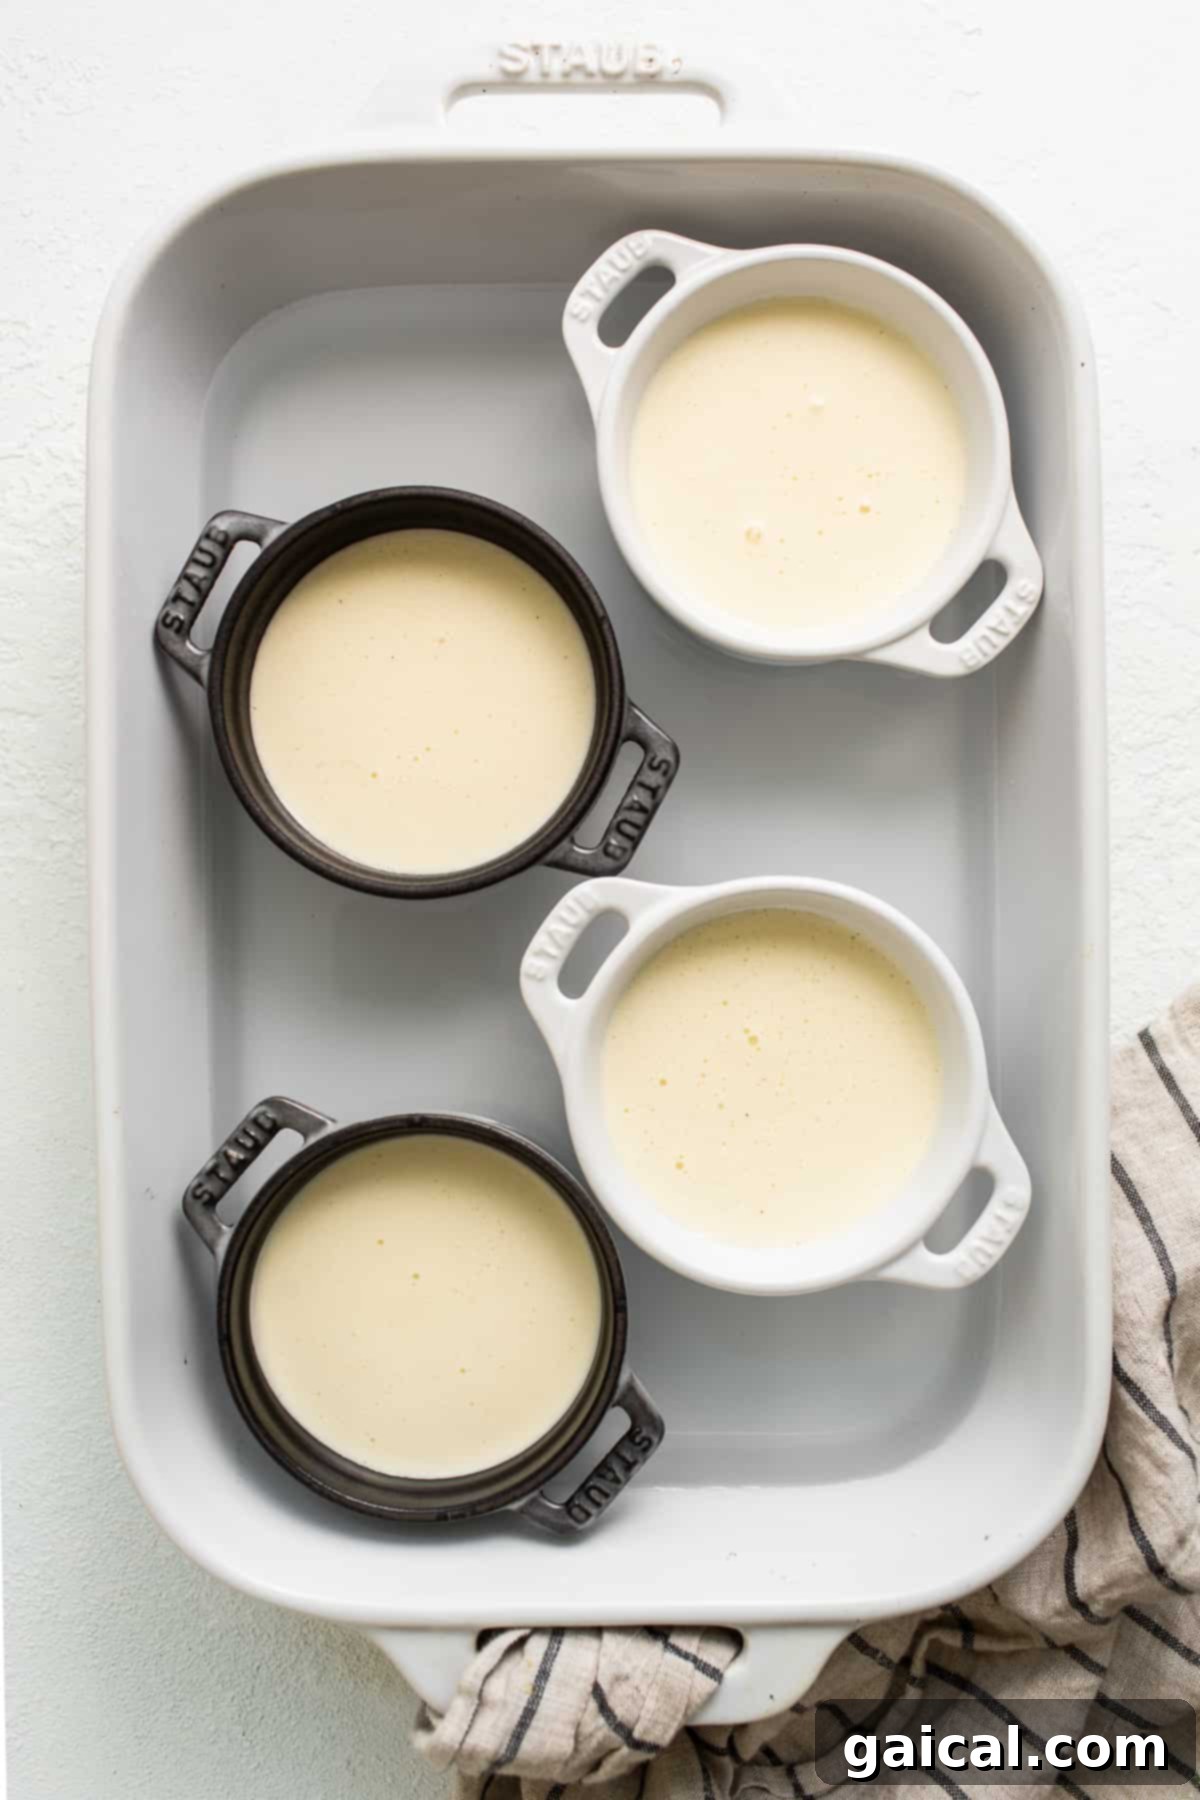
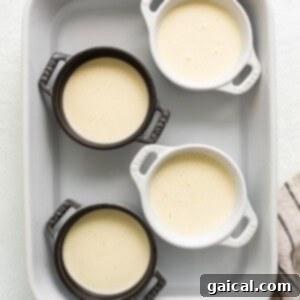
- Prepare Your Ramekins and Oven: Begin by preheating your oven to 325ºF (160ºC). Place four small ramekins into a larger baking dish, such as a casserole dish. This setup is crucial for creating a water bath, or “bain-marie,” which ensures even, gentle cooking and prevents the custards from cracking. Set the prepared dish aside.
- Gently Melt the Eggnog Ice Cream: Scoop the eggnog ice cream into a microwave-safe bowl. Microwave it on medium power for approximately 40 seconds to 1 minute, or until it has fully melted into a smooth liquid, being careful not to let it boil. Stir the melted ice cream until it’s completely smooth and free of lumps.
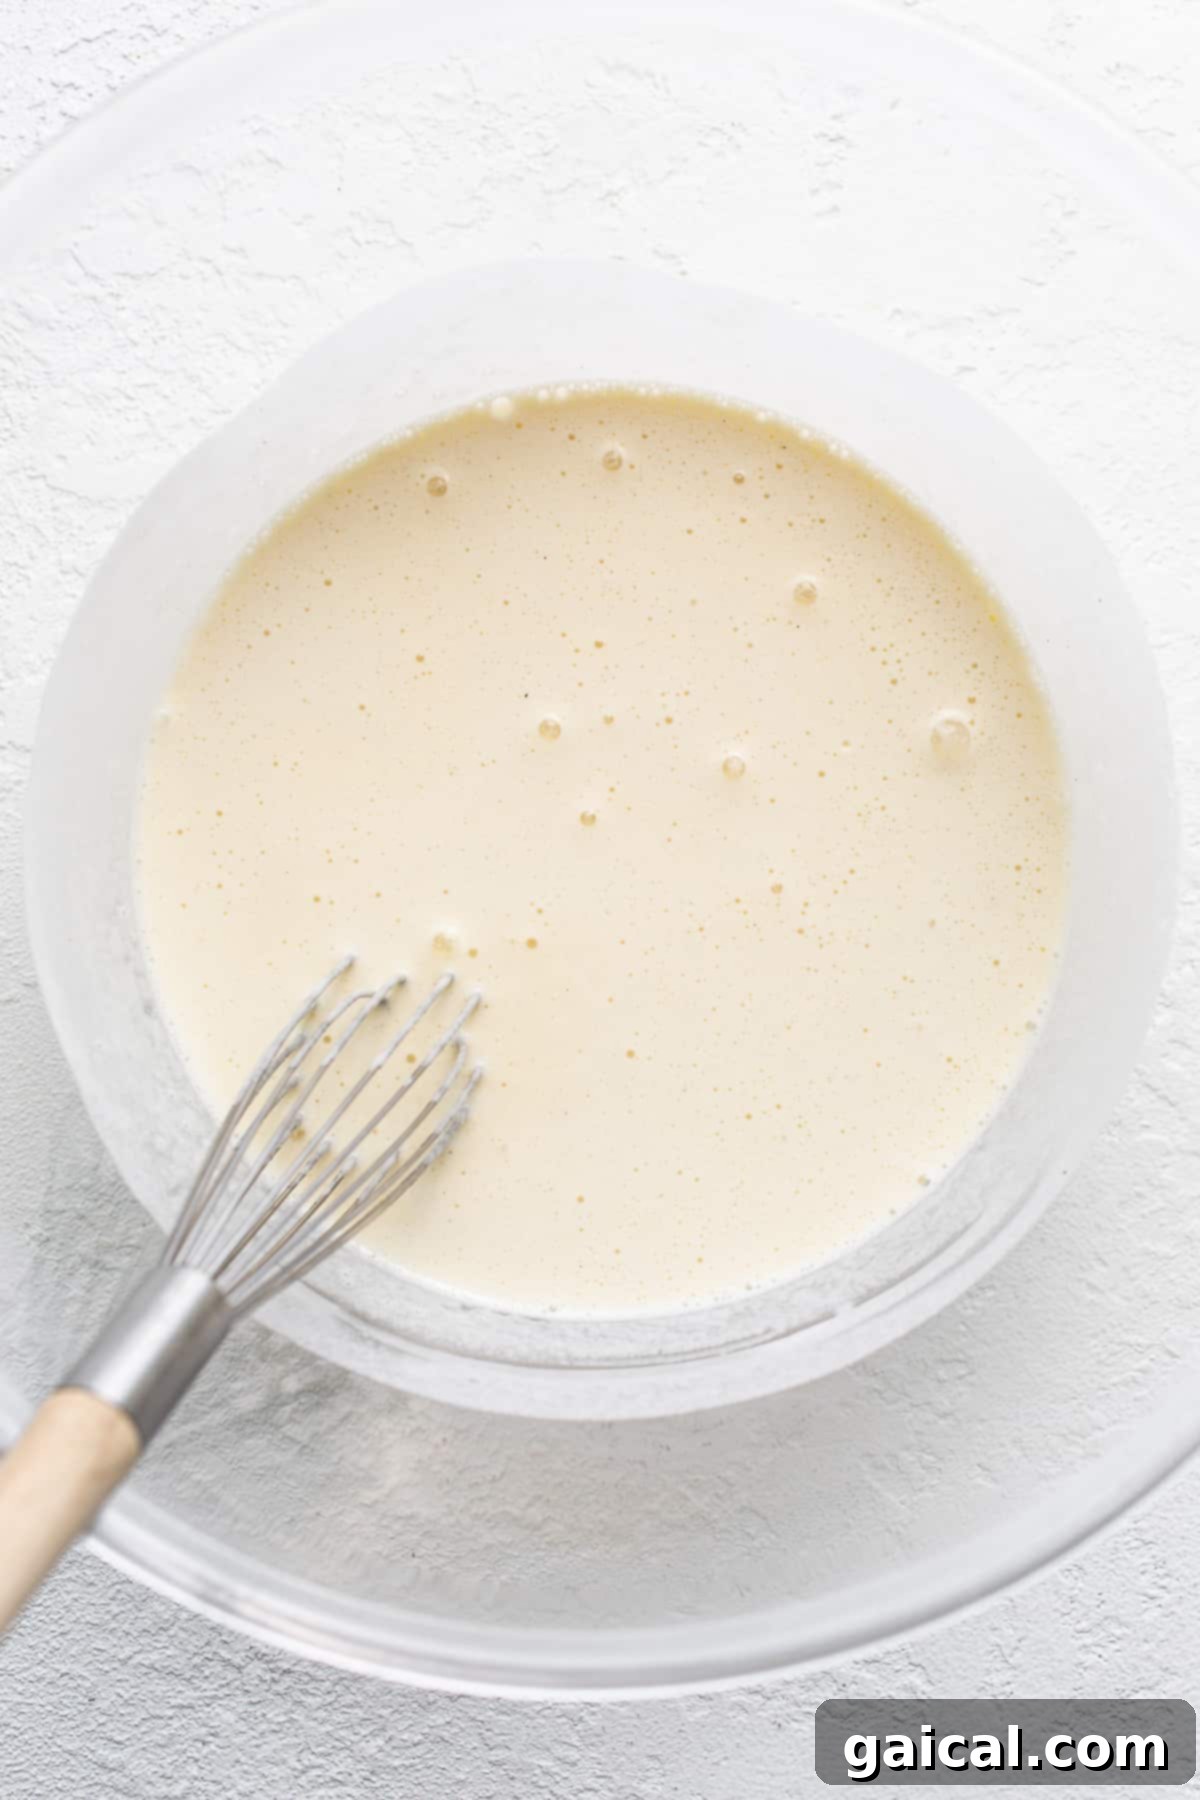
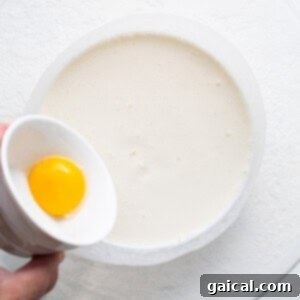
- Combine the Custard Base: To the smooth, melted eggnog ice cream, add the egg yolks and vanilla extract. Whisk vigorously but gently until all ingredients are thoroughly combined and the mixture is uniform. Avoid over-whisking, which can incorporate too much air. Carefully pour and evenly distribute this creamy mixture into the four prepared ramekins.
- Bake in a Water Bath: Carefully transfer the baking dish with the filled ramekins into the preheated oven. Once inside the oven, pour about 1 inch (2.5 cm) of hot water into the larger baking dish, ensuring the water level comes about halfway up the sides of the ramekins. Bake for approximately 35 to 40 minutes, or until the edges of the custards are set and the centers have a slight jiggle.
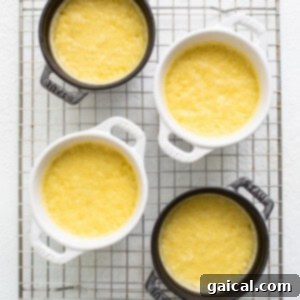
- Cool Completely: Once baked, carefully remove the baking dish from the oven. Using tongs or oven mitts, transfer the hot ramekins from the water bath to a cooling rack. It’s essential that the crème brûlée cools completely to room temperature, and then chills further in the refrigerator for at least 1 hour (or up to several days) before you proceed with browning the sugar. This ensures the custard is fully set and cold, providing the best contrast with the warm, crisp sugar topping.
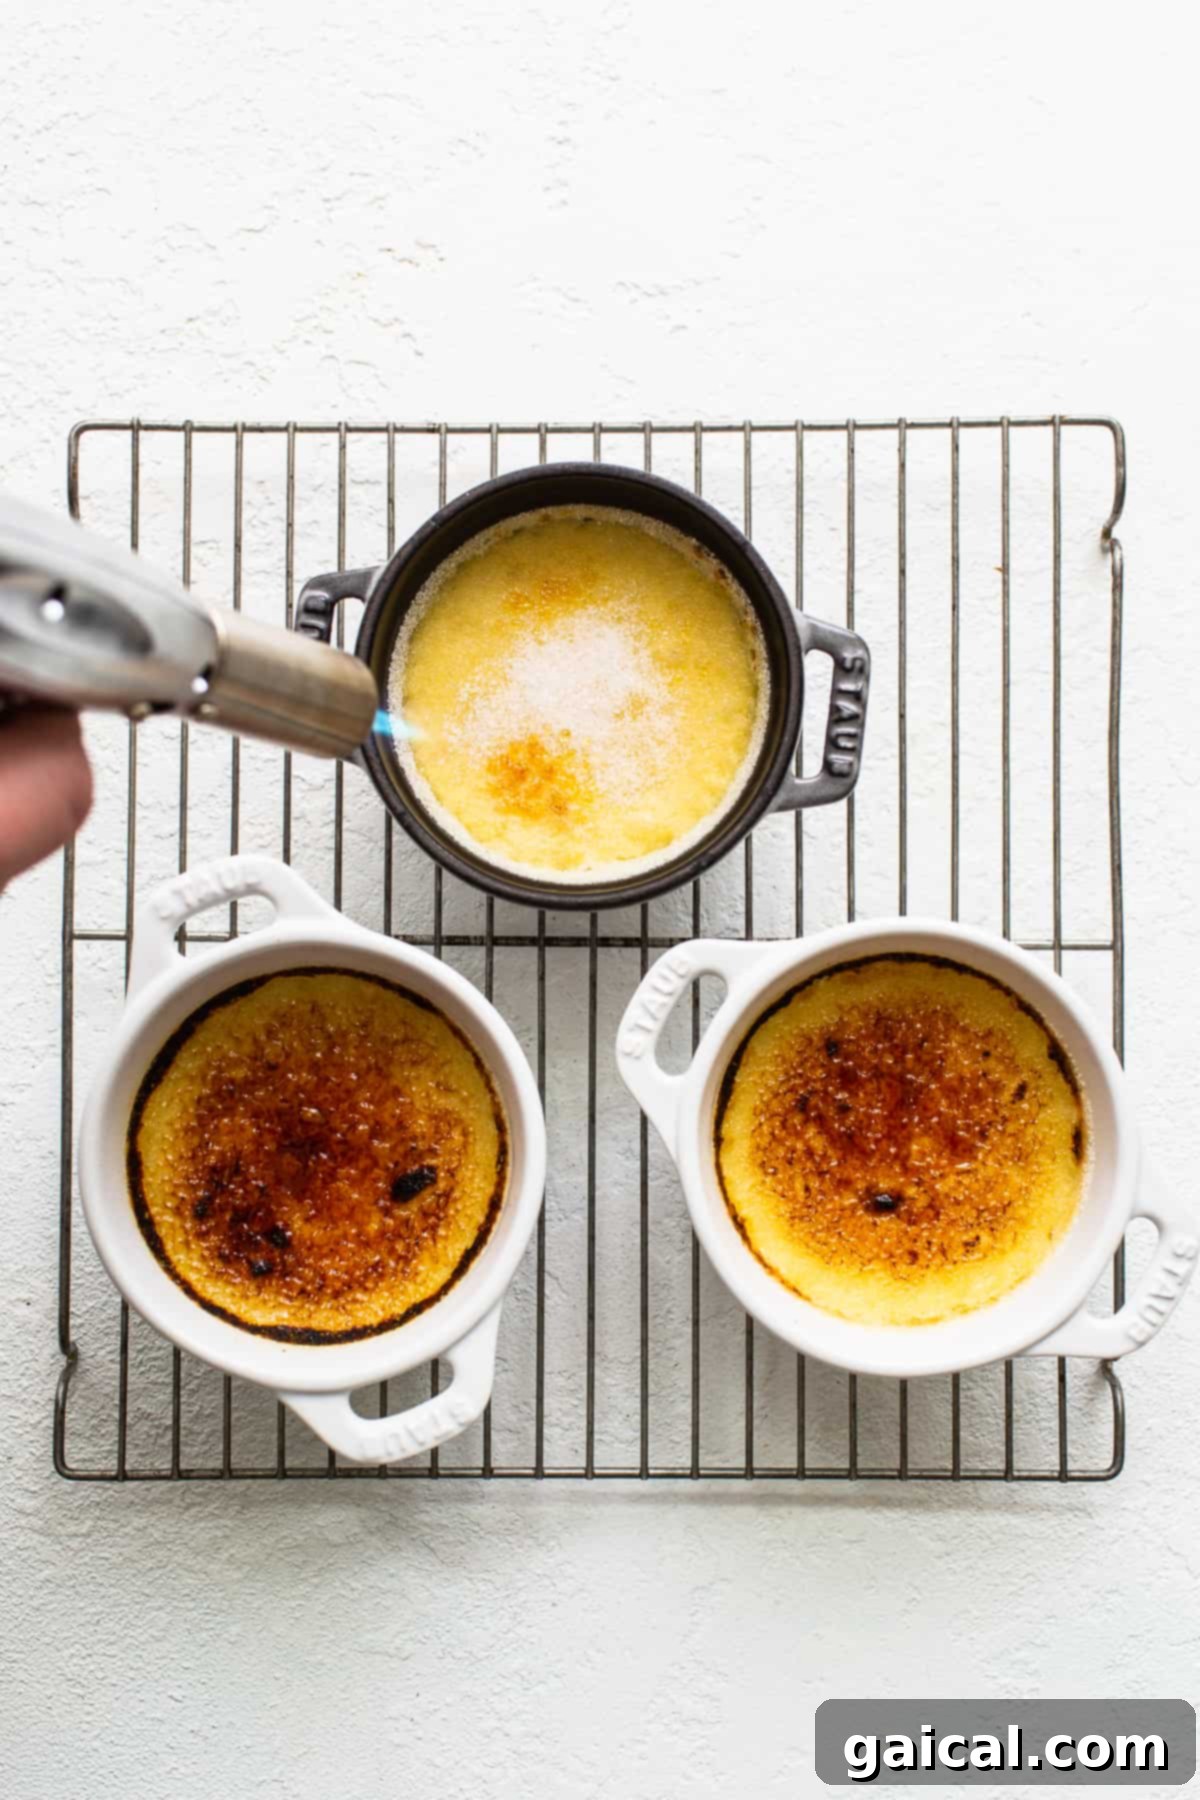
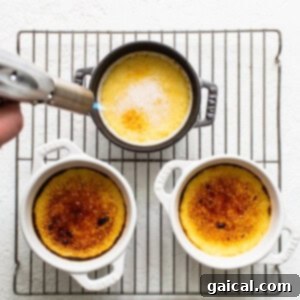
- Create the Iconic Caramelized Top: Just before serving, sprinkle about 1.5 teaspoons of granulated sugar evenly over the top of each chilled crème brûlée. Using a kitchen torch, carefully melt and caramelize the sugar until it turns a beautiful golden-brown color and forms a hard, glass-like crust. Allow the brûlées to rest for 5 minutes for the sugar to fully harden.

Recommended
The Best Kitchen Torch
A good kitchen torch is an affordable and incredibly useful gadget, not just for achieving the perfect caramel crust on crème brûlée, but also for browning meringues, glazing hams, or even crisping the skin on poultry. It’s a versatile tool that elevates many culinary creations.
No Kitchen Torch? No Problem!
If you don’t own a kitchen torch, you can still achieve that beautiful caramelized topping using your oven’s broiler. Simply place the sugar-sprinkled ramekins on a baking sheet under a preheated broiler. Keep a close eye on them, as sugar caramelizes very quickly under intense heat. Broil until the sugar melts and turns golden brown, typically just for 1-2 minutes. Remove immediately and let cool.
Frequently Asked Questions About Eggnog Crème Brûlée
Traditional crème brûlée typically calls for heavy cream, egg yolks, sugar, vanilla, and sometimes a pinch of salt. Our simplified Eggnog Crème Brûlée recipe cleverly uses eggnog ice cream, egg yolks, vanilla extract, and sugar to achieve a similar creamy consistency and festive flavor with fewer steps.
No kitchen torch? No problem! You can easily caramelize the sugar topping using your oven’s broiler. Place the sugar-dusted ramekins on a baking sheet under a preheated broiler for 1-2 minutes, watching constantly until the sugar melts and browns. Be extremely careful, as it can burn quickly.
While eggnog ice cream is key to the holiday flavor, you absolutely don’t have to use it. This recipe is wonderfully adaptable! Feel free to experiment with other ice cream flavors like vanilla, cinnamon, pumpkin spice, or even coffee ice cream to create unique and delicious variations of this easy crème brûlée.
Yes, you can definitely use brown sugar for the caramelized topping! Brown sugar will create a slightly chewier, more complex-flavored crust with hints of molasses, as opposed to the very crisp, classic crust achieved with granulated sugar. Both options are delicious, so feel free to choose based on your preference.
Your crème brûlée is done when the edges are set and firm, but the center still has a slight wobble when you gently shake the ramekin. The custards will continue to set as they cool, so it’s better to slightly undercook than overcook to ensure a silky-smooth texture.
Storage Instructions for Your Crème Brûlée
This Eggnog Crème Brûlée is excellent for making ahead. Once the custards have cooled completely, cover them tightly with plastic wrap or transfer them to an airtight container. They can be stored in the refrigerator for up to 3-4 days. You can refrigerate them with or without the caramelized sugar topping. If storing with the topping, be aware that humidity in the fridge might slightly soften the crispness, though it will still be delicious.
Freezing Instructions
For longer storage, crème brûlée freezes surprisingly well. Allow the custards to cool completely after baking. Then, wrap each ramekin tightly in plastic wrap to prevent freezer burn. Transfer them to the freezer, where they can be stored for up to 3 months. Like with refrigeration, you can freeze them with or without the melted and browned sugar top. Freezing without the sugar top and adding it fresh after thawing will yield the best crispness.
Thawing Instructions: To enjoy your frozen crème brûlée, simply remove it from the freezer and let it thaw in the refrigerator overnight, or at room temperature for a few hours. If the crème brûlée was frozen without the sugar topping, wait until it has fully thawed, then follow step 6 in the recipe card to create a fresh, crispy caramelized crust just before serving.
Serving Suggestions & Pro Tips
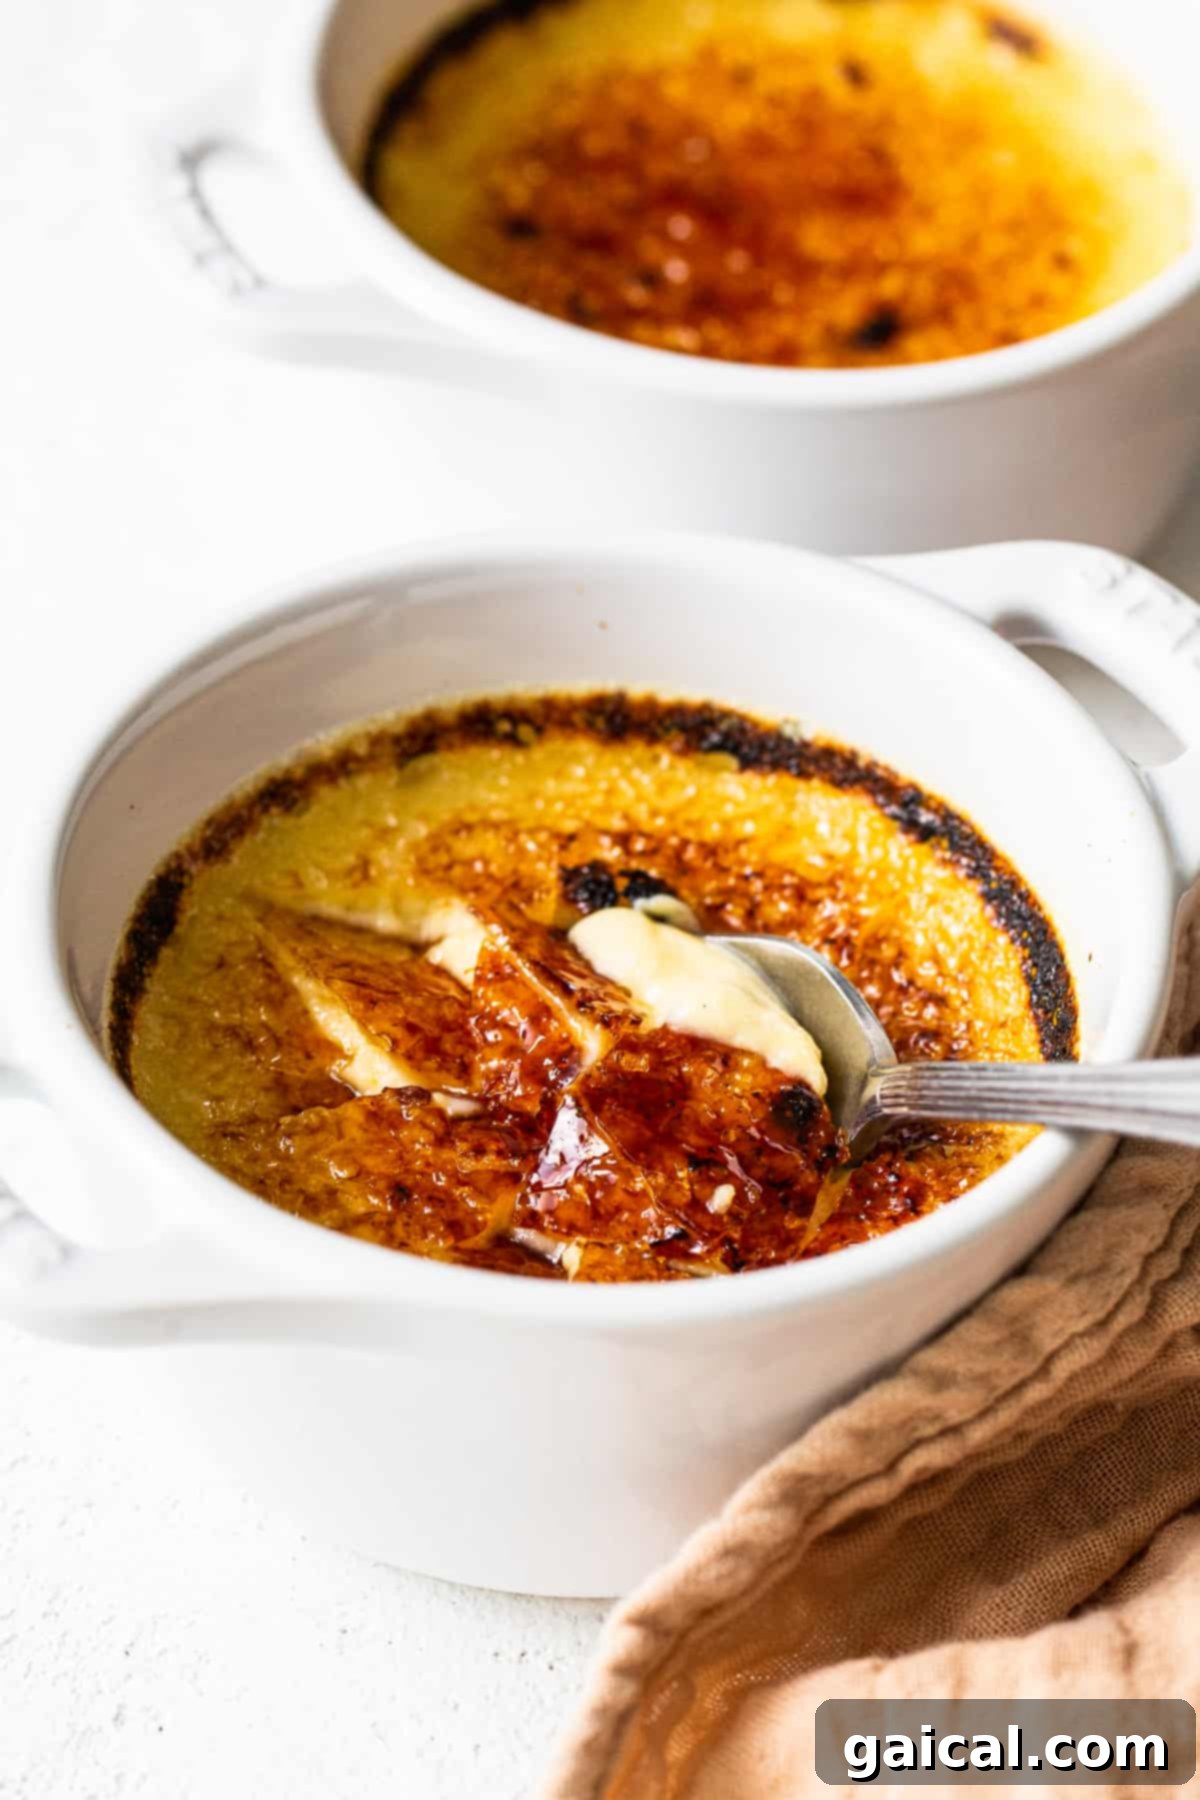
- The Perfect Crack: The hallmark of a good crème brûlée is the satisfying “crack” of the sugar crust. Ensure your custards are thoroughly chilled before torching for the best results.
- Garnish with Flair: Elevate your presentation with simple garnishes. A sprinkle of ground cinnamon or nutmeg, a fresh mint sprig, or a few candied cranberries can add visual appeal and complementary flavors.
- Individual Portions: Crème brûlée is best served in individual ramekins. This makes for elegant presentation and portion control.
- Temperature Matters: Serve crème brûlée chilled, with the caramelized topping still slightly warm from the torch. The contrast in temperature and texture is part of its charm.
More Delightful Dessert Recipes
Brown Butter Chai Rice Krispie Treats
Pumpkin Tiramisu (High-Protein Fall Dessert!)
Pumpkin Spice Protein Puppy Chow
Peanut Butter Chocolate Chip Protein Cinnamon Rolls (Small Batch)
Easy Homemade Cottage Cheese Donuts
Discover More
Favorite Dessert Recipes
If you loved this festive crème brûlée, explore some of our other cherished dessert creations perfect for any occasion:
- Ginger Whoopie Pies
- Shortbread Almond Flour Cookies
- Peanut Butter Kiss Cookies
- Peppermint Freezer Fudge
Eggnog Crème Brûlée
Print Recipe
Ingredients
- 2 cups melted eggnog ice cream
- 5 large egg yolks
- 1 teaspoon vanilla extract
- 2 teaspoons granulated sugar (for topping)
Instructions
- Preheat the oven to 325ºF (160ºC) and place 4 small ramekins into a casserole dish. Set aside.
-
Scoop the eggnog ice cream into a microwave-safe bowl and microwave for 40 seconds to 1 minute or until the ice cream is melted (but not boiling). Stir the ice cream until smooth.

-
Add the egg yolks and vanilla extract to the melted ice cream and whisk until thoroughly combined.
-
Pour the ice cream mixture evenly into the prepared ramekins. Then, carefully pour about ½-inch to 1-inch of hot water into the bottom of the casserole dish, ensuring the ramekins are sitting in a water bath.
-
Place the baking dish with the crème brûlée into the oven on a middle rack and bake for 35-40 minutes, or until the edges are set and the centers slightly jiggle.
-
Remove the ramekins from the oven and carefully transfer them to a cooling rack. Let them sit for 10 minutes at room temperature, then place the ramekins in the refrigerator for at least 1 hour (or until fully chilled) to cool completely.
-
When the crème brûlée has cooled and chilled, sprinkle ½ teaspoon of granulated sugar evenly on top of each crème brûlée. Use a kitchen torch to carefully broil the sugar until it melts and turns golden brown. Allow the crème brûlée to sit for 5 minutes before serving to allow the sugar crust to harden.
-
Gently crack the hardened sugar top with a spoon and savor every creamy, festive bite!
Tips & Notes
If eggnog ice cream is unavailable, feel free to substitute with a quality vanilla or cinnamon ice cream for a delightful alternative flavor.
Nutrition information is automatically calculated, so should only be used as an approximation.
Love this recipe? Share your thoughts below!
Don’t forget to tag your beautiful creations on social media with the hashtag #fitfoodiefinds – we’d absolutely love to see your delicious results!
Photography: All stunning photos in this post were expertly captured by Ashley McGlaughlin from The Edible Perspective.