
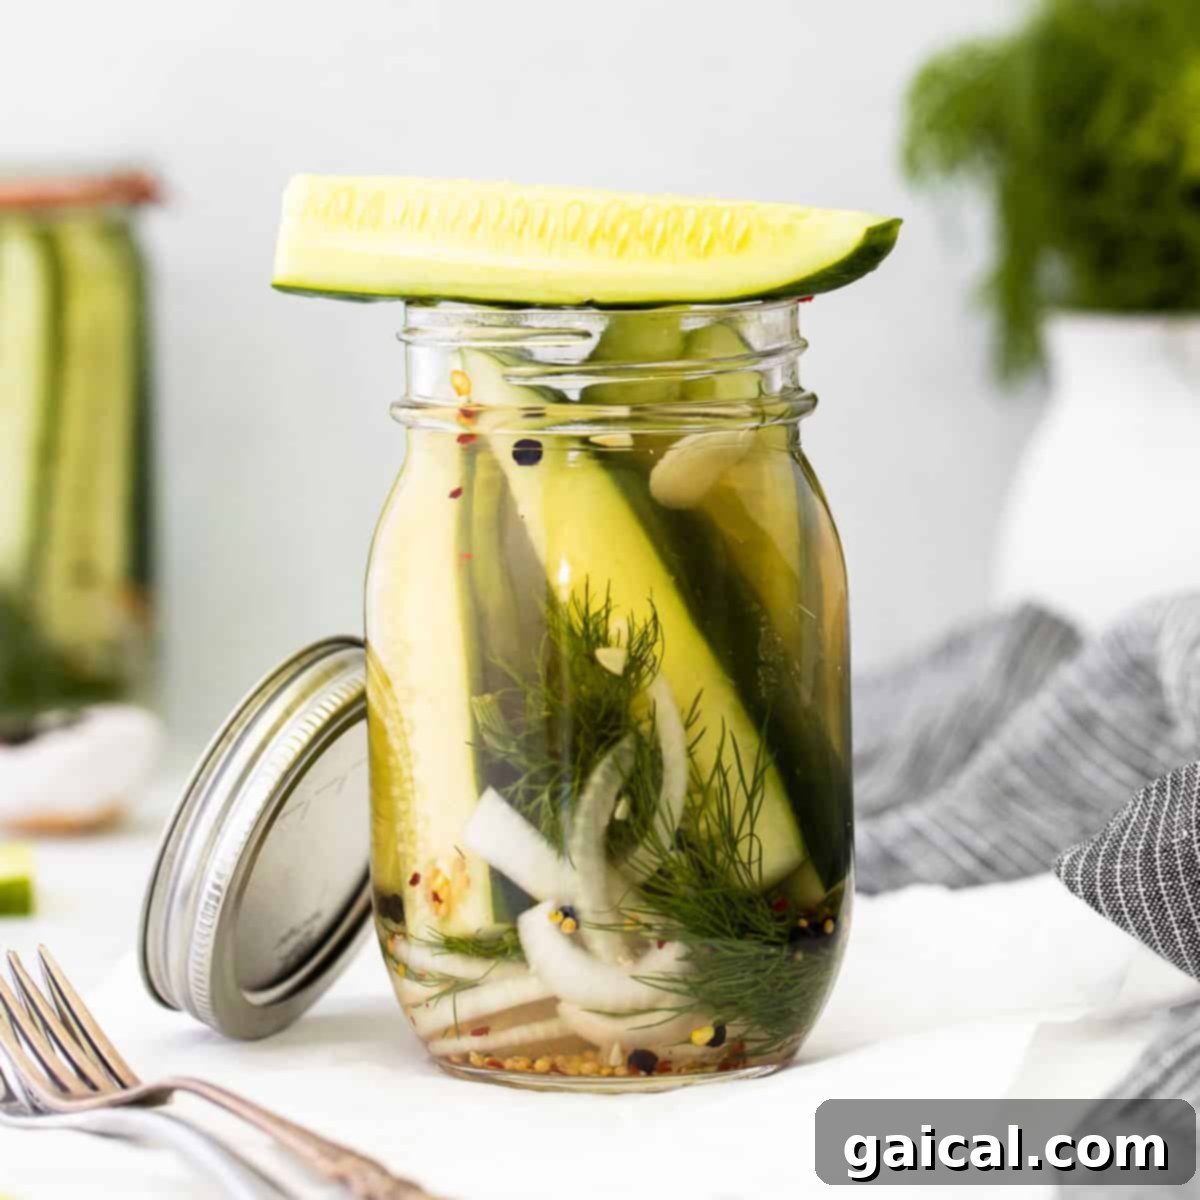
There’s something incredibly satisfying about making your own pickles, and with our simple **refrigerator pickle recipe**, you can enjoy crisp, flavorful dill pickles right from your fridge anytime you crave them. This method is perfect for beginners and seasoned picklers alike, requiring no special canning equipment. Just a few basic ingredients and a little patience will yield delicious results.
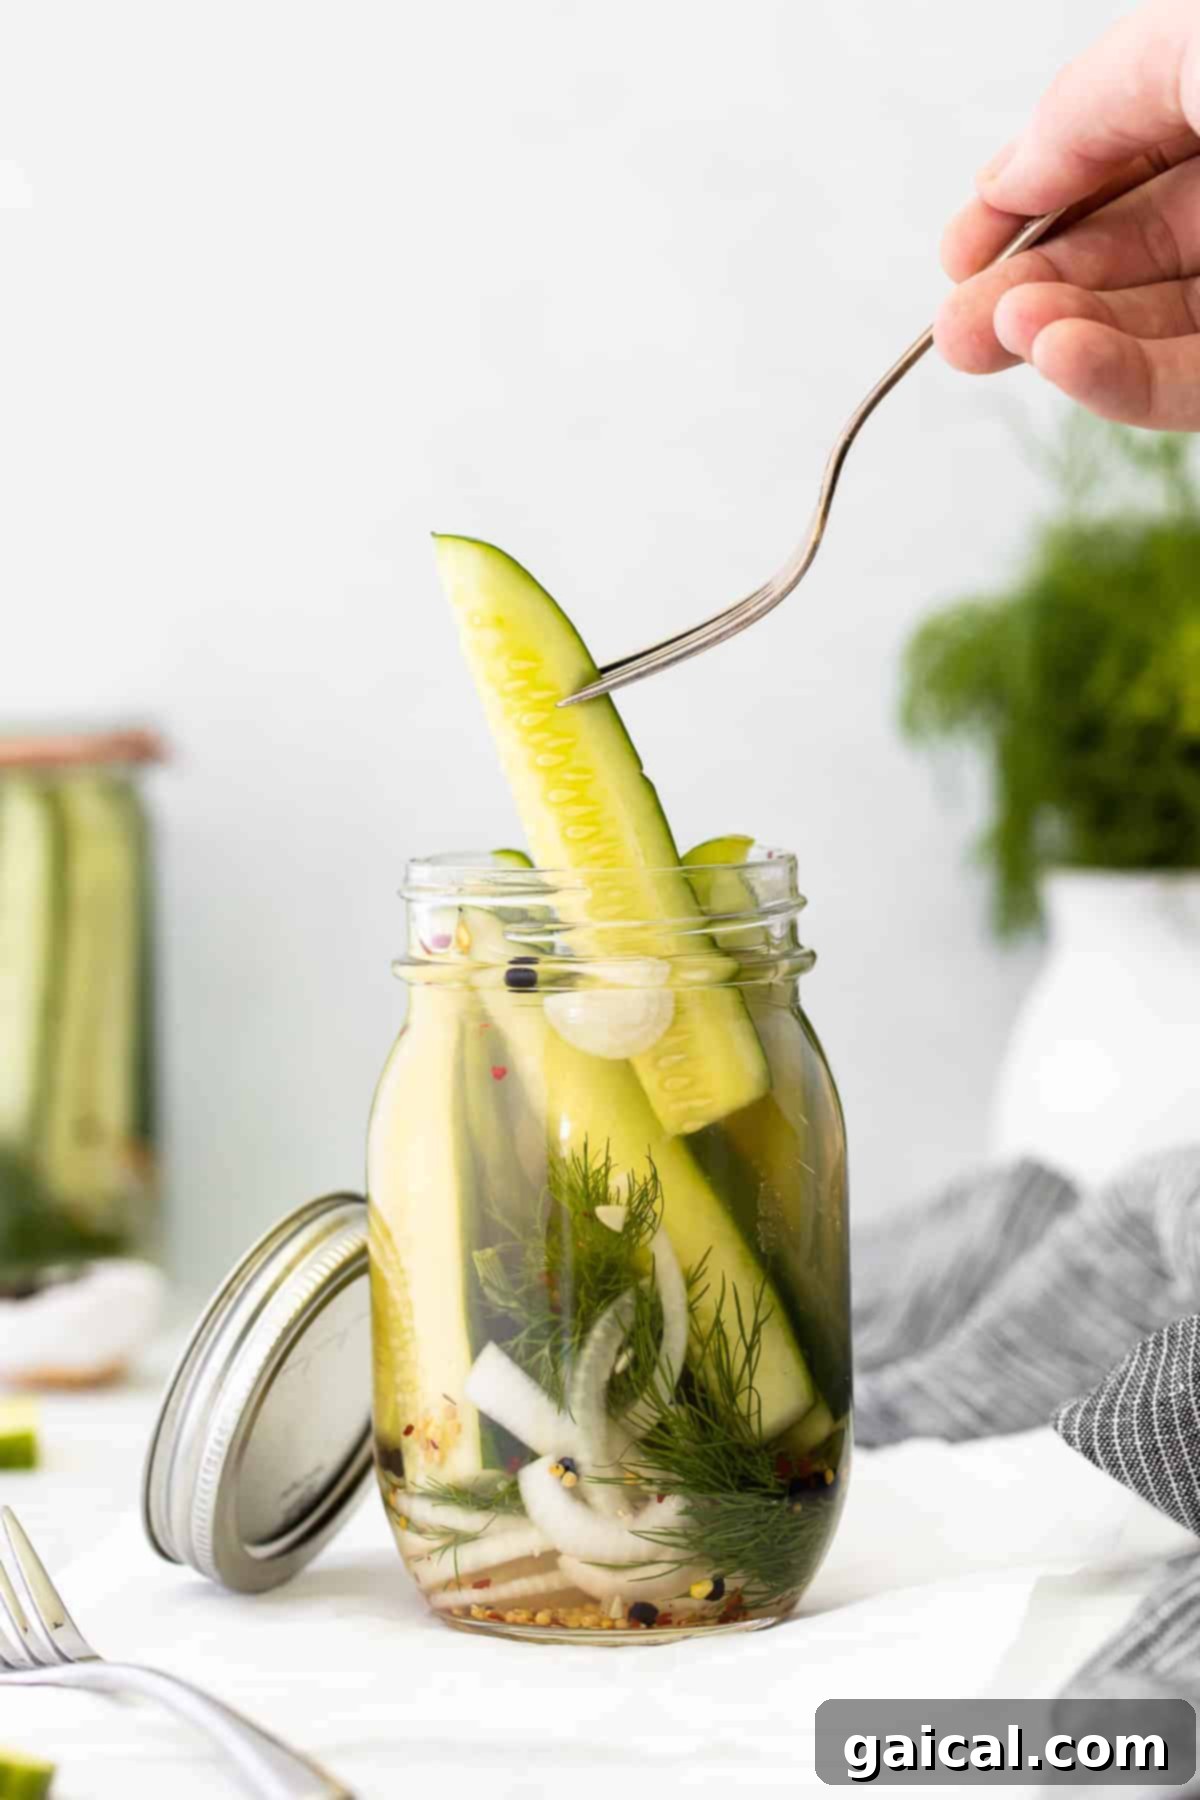
Unlock the Secret to the Crunchiest Refrigerator Pickles
Imagine reaching into your refrigerator and pulling out a jar filled with perfectly crunchy, tangy dill pickles. With this recipe, that dream becomes a delicious reality! We’ve perfected a method that guarantees crispy, flavorful homemade pickles every single time. Forget store-bought versions; these fresh, vibrant pickles will become a staple in your kitchen.
This recipe is so straightforward and satisfying that you might find yourself making double or even triple batches. They make fantastic homemade gifts for friends and family, or simply ensure you always have a delightful, savory snack on hand. Once you taste the difference, you’ll wonder why you didn’t start making your own sooner!
Refrigerator Pickles vs. Traditional Canning: Understanding the Distinction
Many people confuse refrigerator pickles with traditionally canned pickles, but there’s a significant difference in their preparation and shelf life. Our refrigerator pickle recipe streamlines the process by focusing solely on creating a flavorful vinegar brine that’s poured over fresh cucumbers. This method eliminates the need for extensive boiling, air removal, and vacuum sealing that are characteristic of traditional canning.
Traditional canning involves sterilizing jars, processing them in a hot water bath, and creating a vacuum seal. This process allows pickles to be stored at room temperature for extended periods, often up to a year or more. Refrigerator pickles, on the other hand, are stored in the fridge and are meant for quicker consumption, typically lasting up to two weeks. While traditional canning is a fantastic preservation method, refrigerator pickles offer an unbeatable advantage in terms of ease and speed, making them accessible to anyone without specialized equipment or advanced preserving skills.
In essence, refrigerator pickles offer instant gratification and fresh flavor, while traditional canning provides long-term, shelf-stable storage. Both are delicious, but our quick method is perfect when you want homemade pickles without the fuss!
Essential Ingredients You Need for These Homemade Dill Pickles
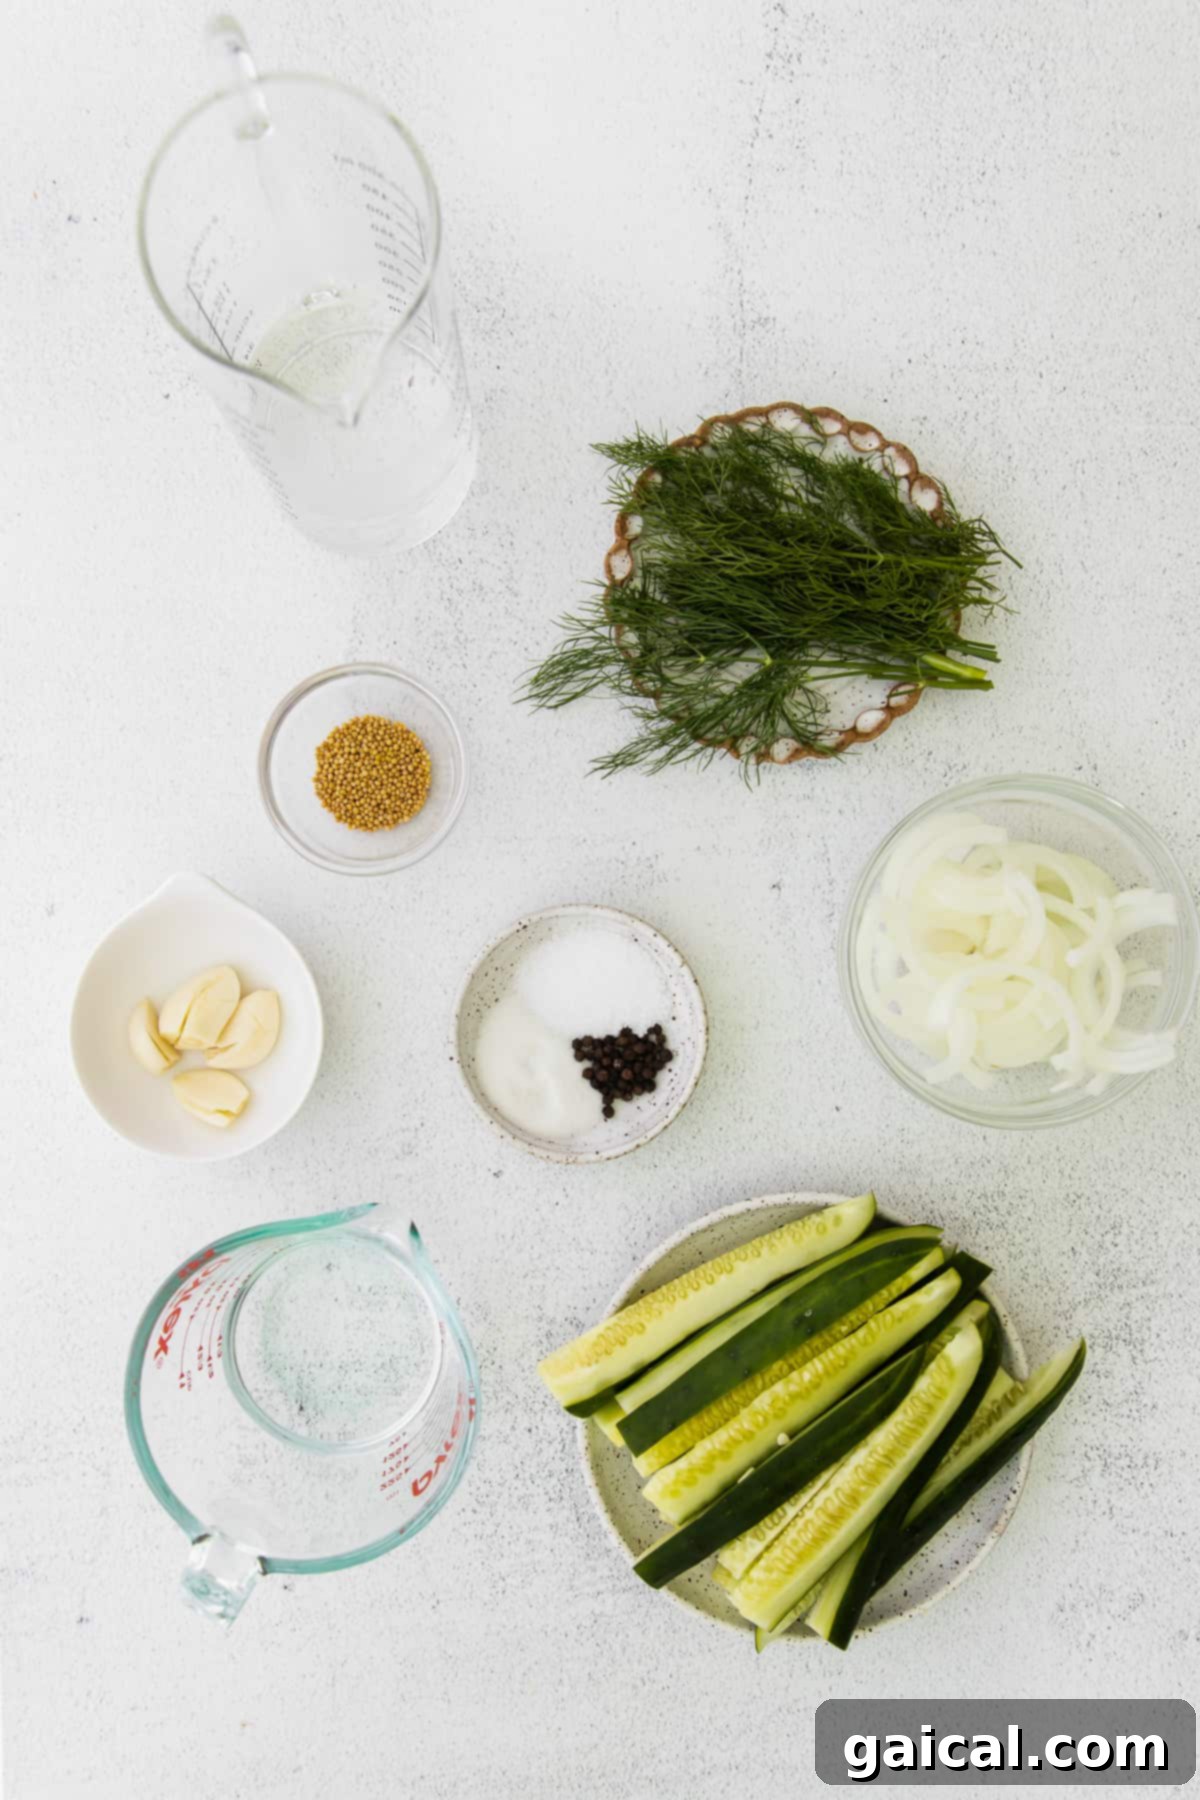
Crafting the perfect dill pickle starts with quality ingredients. Our recipe uses classic components to achieve that salty, crunchy, and distinctly dilly flavor profile that everyone loves. However, feel free to experiment and customize this recipe to match your personal taste preferences.
- White Vinegar: The cornerstone of your brine, providing the necessary acidity for pickling.
- Water: To dilute the vinegar and create the perfect brine consistency.
- White Sugar: A touch of sweetness balances the tanginess of the vinegar, making the flavor more complex.
- Garlic Cloves: Fresh garlic infuses the pickles with a pungent, aromatic depth.
- Kosher Salt: Essential for flavor and helps maintain cucumber crispness. Avoid iodized salt, as it can make brine cloudy.
- Fresh Dill: The star herb for classic dill pickle flavor. Fresh is always best for vibrant aroma.
- Mustard Seed: Adds a subtle, warm, and peppery note to the brine.
- White Onion: Offers a mild, sweet, and slightly pungent addition that complements the dill.
- Coriander Seeds: Contributes a citrusy, slightly spicy, and aromatic complexity.
- Peppercorns: Provides a gentle, earthy spice throughout the pickling process.
- Cucumbers: The main event! Choose firm, fresh pickling cucumbers for the best results.
- Red Pepper Flakes (Optional): For those who love a little heat in their pickles.
Ingredients Swaps and Customizations
Don’t be afraid to make this recipe truly your own! Here are some common ingredient swaps and additions to tailor your homemade pickles:
- White Vinegar → Rice Vinegar or Apple Cider Vinegar: Rice vinegar offers a milder, slightly sweeter brine, while apple cider vinegar provides a fruitier, more robust tang.
- White Sugar → Honey or Maple Syrup: For a more natural sweetness, honey or maple syrup can be used. Start with slightly less and adjust to taste.
- Garlic Cloves → Garlic Powder: While fresh is superior, a small amount of garlic powder can be used in a pinch, though the flavor won’t be as intense.
- Kosher Salt → Coarse Sea Salt: Another excellent option for pickling, just ensure it’s free of anti-caking agents.
- Fresh Dill → Dried Dill: Fresh dill provides the best flavor, but if unavailable, use about half the amount of dried dill. Dill weed or dill seed can also be used.
- White Onion → Shallots or Sweet Onion: Shallots offer a delicate onion flavor, while a sweet onion can enhance the overall sweetness of the pickle.
- Red Pepper Flakes → Pinch of Cayenne Pepper or Sliced Jalapeño: For varying levels of heat, experiment with cayenne or fresh jalapeño slices directly in the jar.
- Additional Spices: Consider adding bay leaves, whole cloves, or celery seeds for different flavor dimensions.
How to Make Refrigerator Pickles: A Simple Guide
Making your own pickles is a remarkably straightforward process with this recipe. Follow these easy steps to create delicious, crunchy refrigerator pickles in your kitchen.
Step 1: Prepare Your Mason Jars and Aromatics
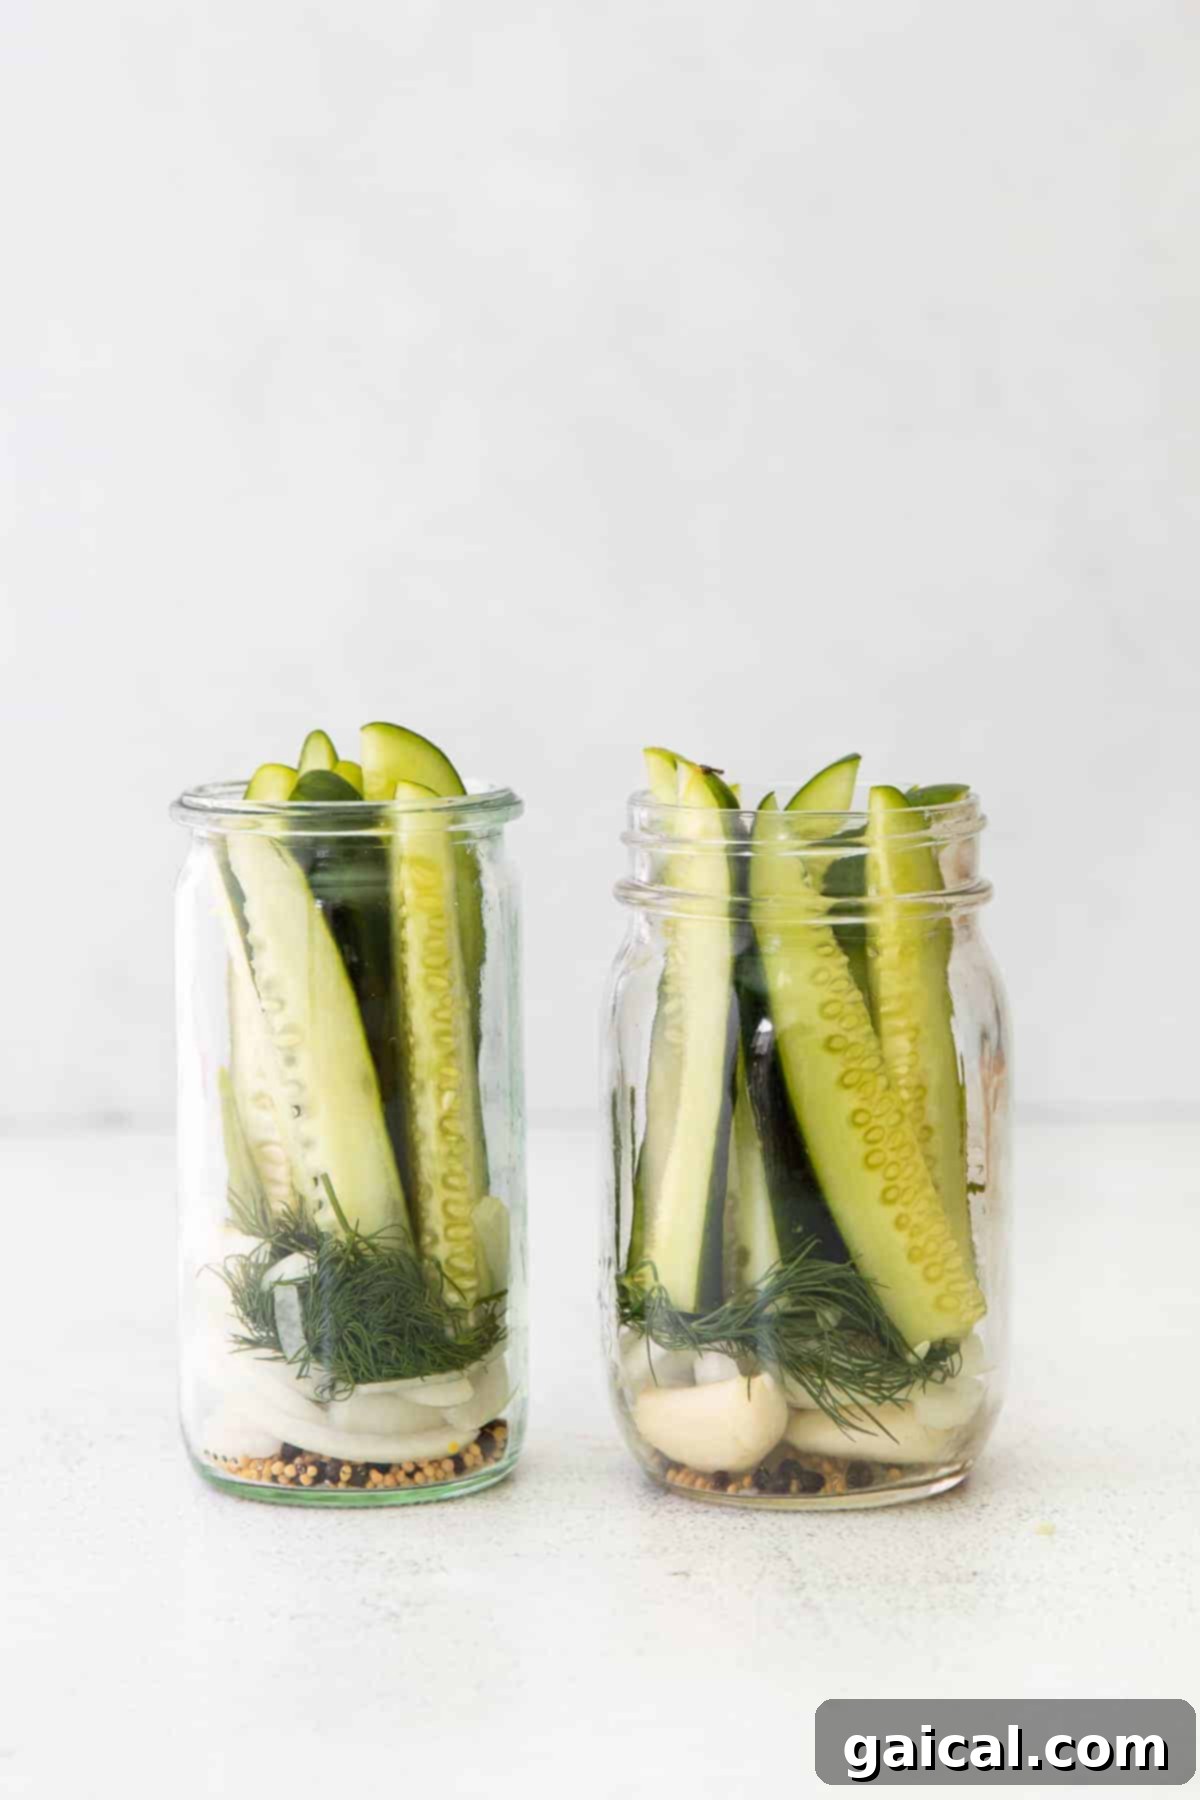
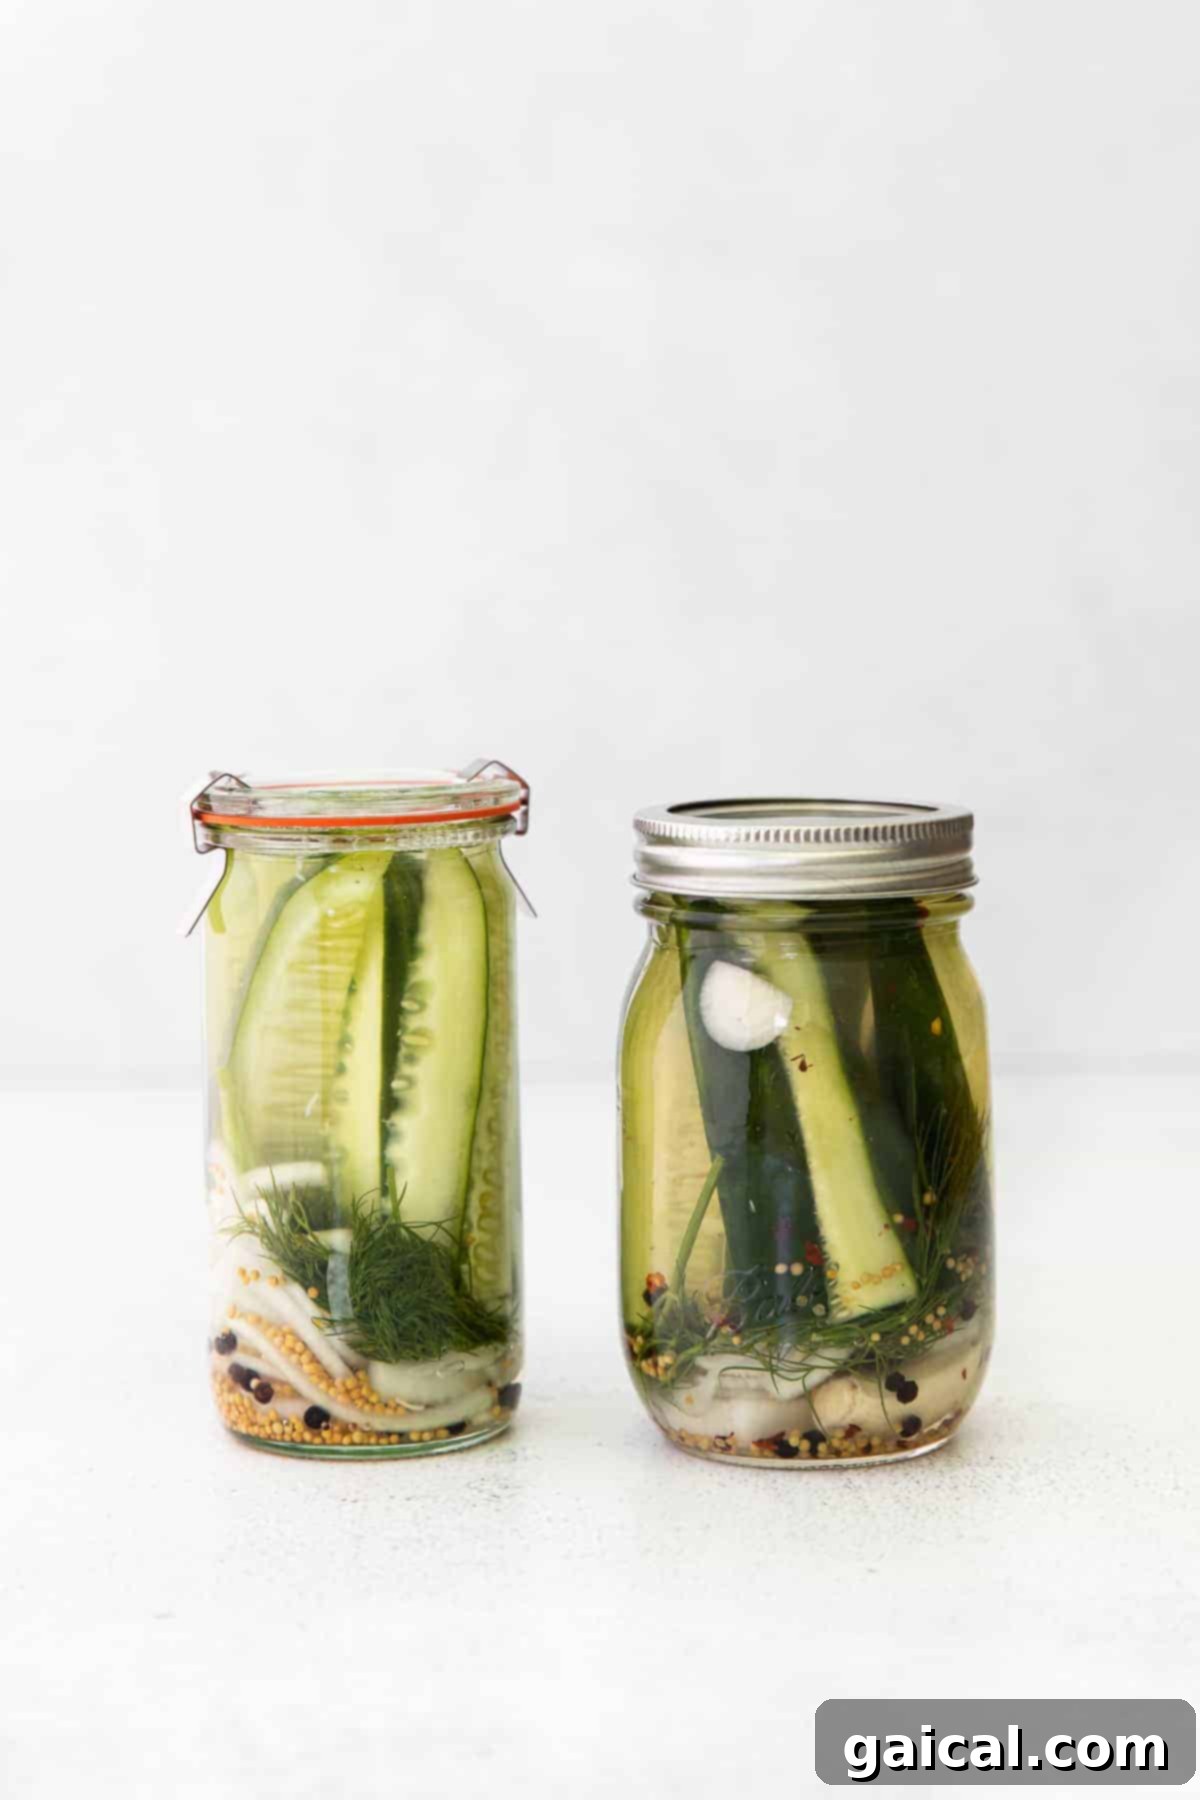
Before you even start on the brine, it’s best to get your jars ready. You’ll need two clean mason jars for this recipe. Carefully add your fresh dill sprigs, mustard seeds, sliced white onion, coriander seeds, and peppercorns into each jar. These aromatics will infuse your cucumbers with incredible flavor as they pickle.
How do I chop cucumbers for homemade pickles? The way you cut your cucumbers significantly impacts how quickly they pickle and how well they fit into your jars. We recommend slicing your cucumbers lengthwise into spears. This shape is ideal for fitting snugly into mason jars and ensures a good surface area for the brine to penetrate. For faster pickling and a more intense flavor saturation, consider cutting the spears into slightly smaller pieces. Aim for uniform sizes to ensure even pickling. After cutting, arrange the cucumber spears tightly in the jars around the aromatics.
Step 2: Boil the Flavorful Vinegar Brine
Now it’s time to create the magical liquid that transforms ordinary cucumbers into extraordinary pickles! In a small saucepan, combine the white vinegar, water, white sugar, and kosher salt. Whisk these ingredients together thoroughly until they are well combined. The goal is to ensure the sugar and salt completely dissolve into the liquid.
Bring this mixture to a rolling boil over medium-high heat. Once it reaches a boil and the sugar and salt are fully dissolved, immediately remove the saucepan from the heat. It’s crucial not to overcook the brine; simply bring it to a boil and then let it rest. Allowing it to cool slightly before pouring is important for maintaining cucumber crispness.
Step 3: Pour the Brine Over the Cucumbers
With your cucumbers and aromatics packed into the jars, and your brine ready, it’s time to bring it all together. Carefully pour the hot (but not scalding, let it cool for a few minutes) vinegar mixture over the cucumbers in each mason jar. Ensure that all the cucumber spears and other ingredients are completely submerged in the liquid. If they’re not fully covered, the exposed parts won’t pickle properly.
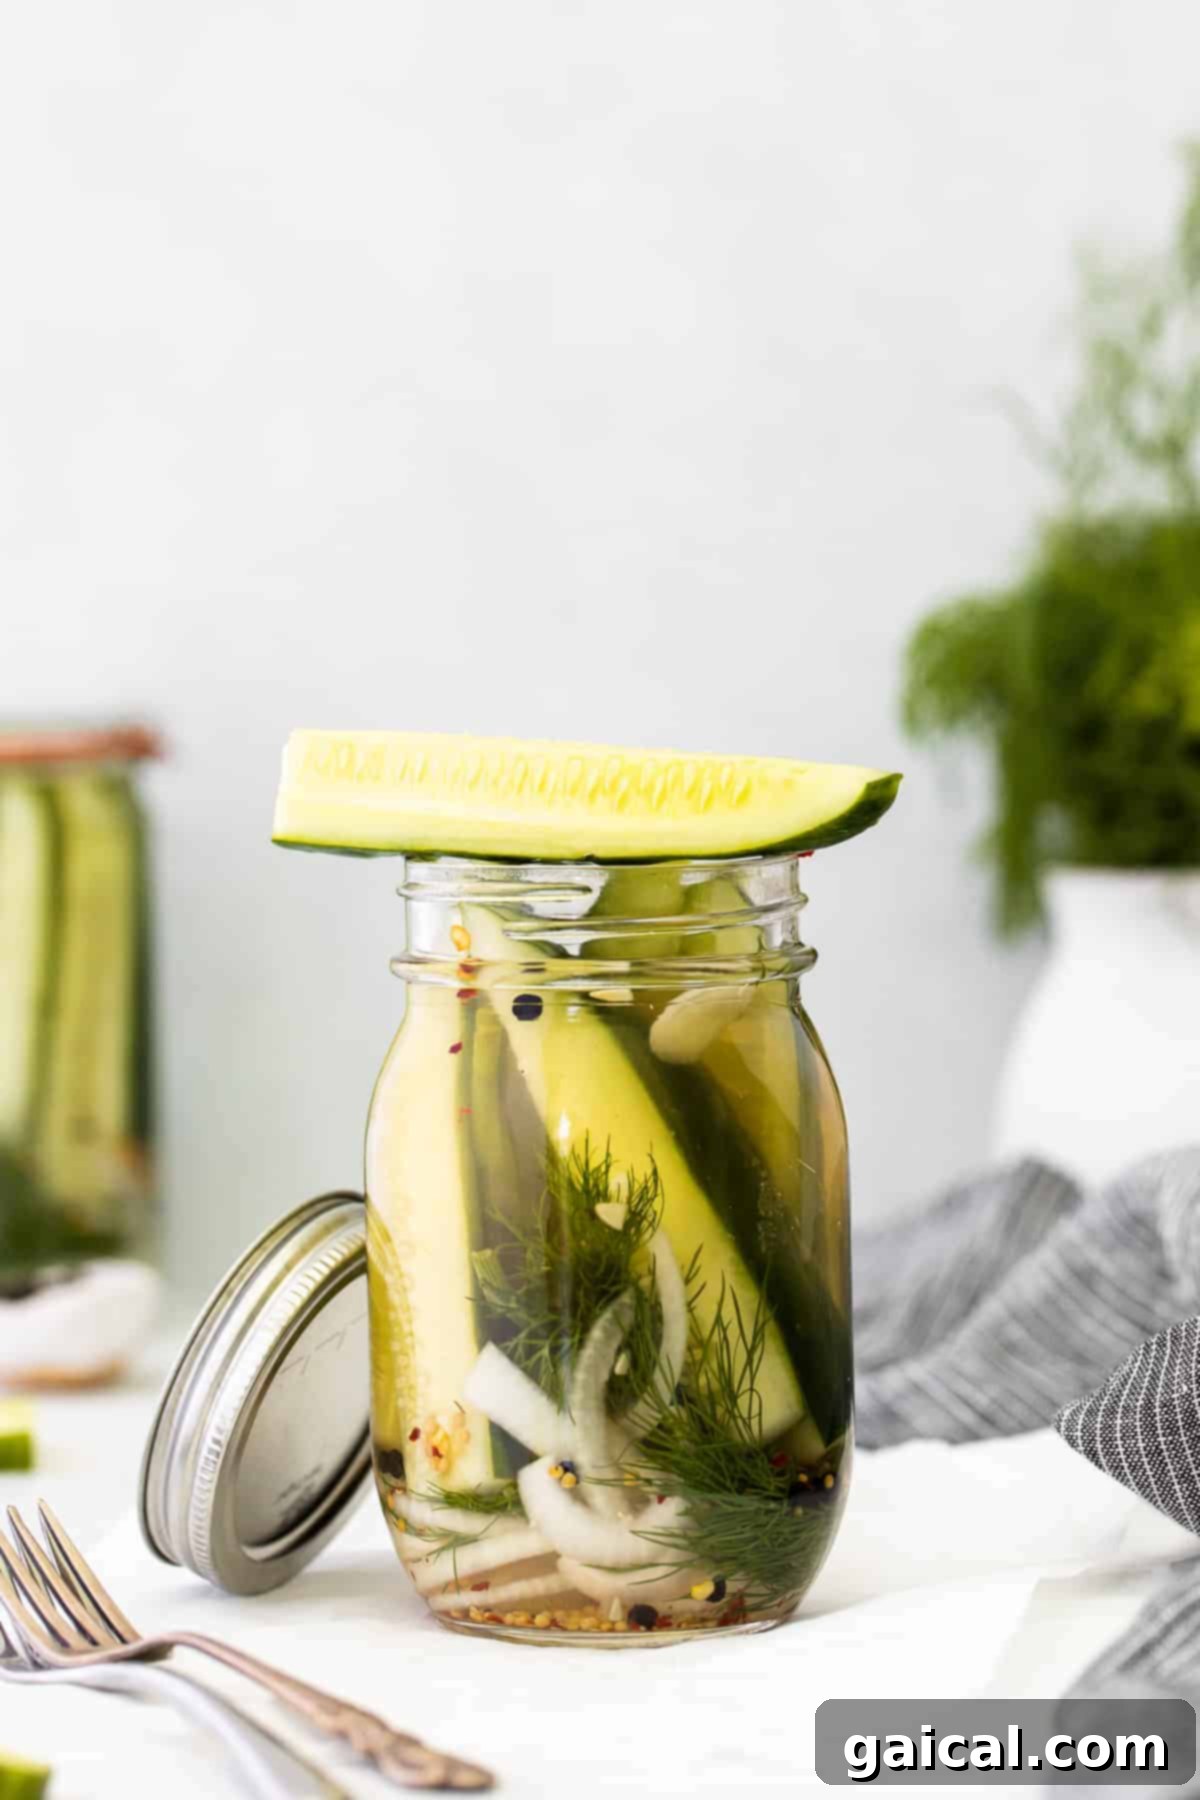
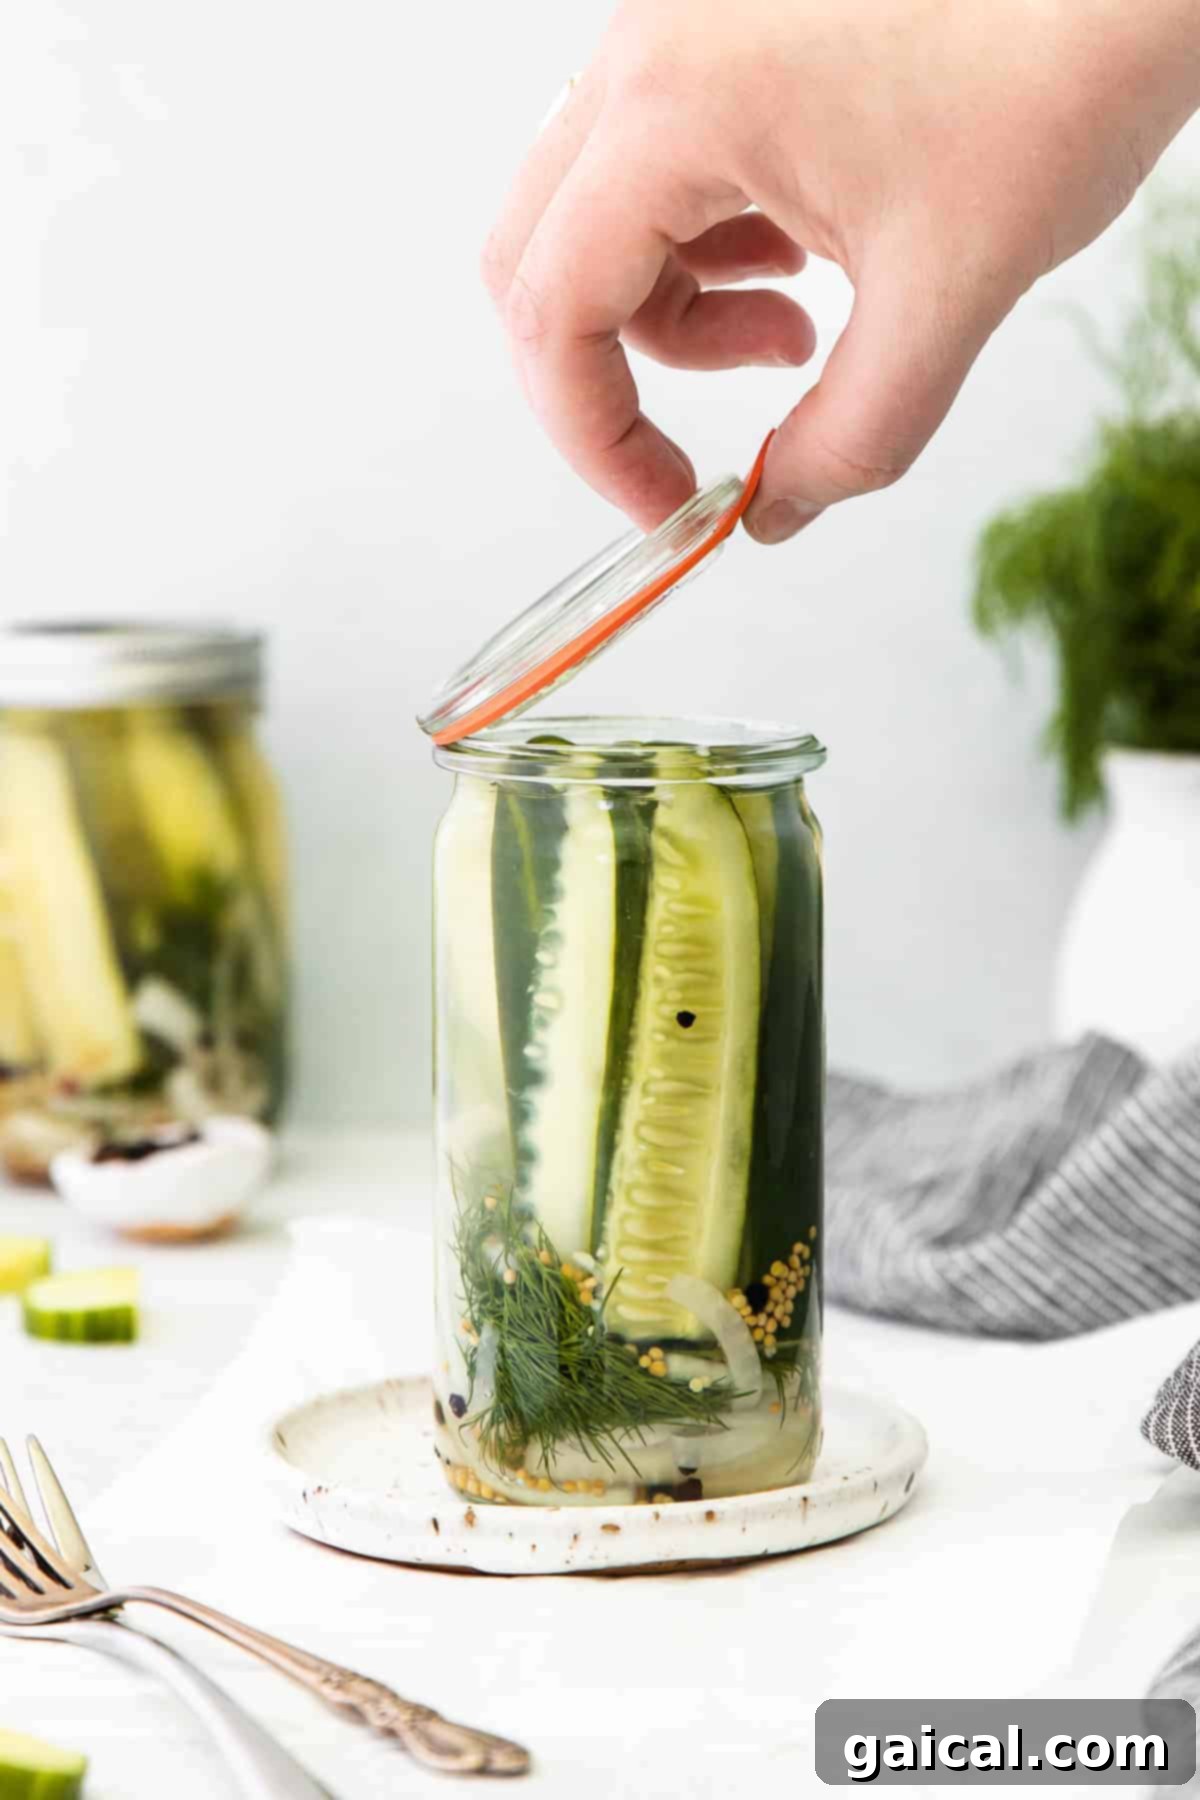
Once filled, allow the jars to cool completely at room temperature. This cooling step is vital for preventing mushy pickles. Once the jars are cool to the touch, securely cover them with their lids, tightening them to create a good seal.
Step 4: Refrigerate and Enjoy!
Now comes the hardest part: waiting! Place your sealed jars of pickles into the refrigerator. For the best flavor development and crunch, allow them to pickle for at least 24 to 48 hours before opening and trying your first homemade creation. The longer they sit, the more intense the flavors will become, though their crispness is usually best within the first week.
Once you’ve waited, these delightful refrigerator pickles are ready to be savored! They are perfect as a snack, a side dish, or an addition to your favorite meals.
Recommended Product
Mason Jars
These are the perfect mason jars for this pickle recipe and many other culinary adventures!
Important Tips & Notes for Making Perfect Pickles
How to Keep Your Homemade Pickles Delightfully Crunchy
The quest for the perfect crunchy pickle is a common one! Here are a few key strategies to ensure your homemade refrigerator pickles maintain their satisfying crispness:
- Start with Fresh, Firm Cucumbers: The quality of your cucumbers is paramount. Choose firm, blemish-free cucumbers specifically labeled for pickling (like Kirby or Persian cucumbers). Older, softer cucumbers will result in mushy pickles, regardless of your brine.
- Avoid Overcooking the Brine: Once your brine comes to a boil and the sugar and salt dissolve, remove it from the heat immediately. Excessive boiling can break down the acidity and sugar, negatively impacting pickle texture.
- Cool the Brine Completely: Before pouring the hot brine over your cucumbers, allow it to cool down to at least room temperature. Pouring scorching hot brine directly onto the cucumbers can cook them slightly, leading to a softer texture.
- Don’t Over-pickle: While these pickles taste better after a day or two, leaving them in the refrigerator for excessively long periods (beyond 2-3 weeks) can gradually soften them. Enjoy them within their optimal timeframe.
- Consider Ice Bath (Optional): For an extra crisp boost, some picklers like to soak sliced cucumbers in an ice bath for 30 minutes to an hour before jarring them.
Spice Things Up! How to Make Them Spicy
If you’re a fan of pickles with a kick, it’s incredibly easy to infuse your refrigerator pickles with heat. We’ve included red pepper flakes in our ingredient list, but the possibilities for customization are endless:
- Add Fresh Jalapeño Rounds: Slice a fresh jalapeño into thin rounds and tuck them into your mason jars along with the cucumbers and other aromatics. The seeds will provide the most heat.
- Include Serrano Peppers: For a more intense heat, thinly slice some Serrano peppers. Handle these with care!
- A Dash of Cayenne Pepper: A pinch of cayenne pepper added directly to the brine can also provide a uniform heat throughout the jar.
- Dried Chili Flakes: Experiment with different types of dried chili flakes (e.g., Aleppo, Korean gochugaru) for varied flavor and heat profiles.
Craving Sweet? How to Make Sweet Pickles
For those who prefer a sweeter pickle, adapting this recipe is simple. The balance of sweet and tangy is delightful and can be adjusted to your liking:
- Increase Sugar in Brine: Add a bit more white sugar (e.g., an extra teaspoon or two) to your vinegar mixture when preparing the brine. Start small and adjust for subsequent batches.
- Use Honey or Maple Syrup: Replace white sugar with an equal amount of honey or maple syrup for a more nuanced, natural sweetness. These alternatives also add a subtle depth of flavor.
- Incorporate Sweet Onions: Instead of white onion, use a thinly sliced sweet onion (like Vidalia) in your mason jars. Its natural sugars will subtly sweeten the brine and the pickles.
- Consider Brown Sugar: A small amount of brown sugar can also add a richer, molasses-like sweetness to your brine.
Other Delicious Vegetables You Can Pickle
The beauty of this refrigerator brine recipe is its versatility! You can easily pickle other vegetables using the same brine, creating an array of tangy, flavorful additions to your meals. We especially love our quick pickled spicy peppers, and a combination of vegetables can be truly delightful. Consider these options:
- Carrots: Slice them into sticks or rounds for a sweet and earthy pickled treat.
- Bell Peppers: Cut into strips, bell peppers offer a lovely crunch and vibrant color, especially red or yellow varieties.
- Celery: Pickled celery maintains a fantastic crunch and a slightly bitter, refreshing flavor.
- Green Beans: Dilly beans are a classic for a reason! They pickle wonderfully with this brine.
- Radishes: Thinly sliced radishes offer a beautiful pop of pink and a peppery bite.
- Asparagus: A gourmet addition, pickled asparagus spears are surprisingly delicious.
Serving Suggestions: Ways to Enjoy Your Homemade Pickles
These refrigerator dill pickles are so versatile, they can elevate almost any meal! While they’re absolutely perfect for a savory snack straight from the jar, their tangy crunch and bright flavor make them an incredible addition to a wide range of dishes.
We particularly love adding them to sandwiches and wraps. The crispness provides a fantastic textural contrast, and the tangy brine cuts through richer flavors, making every bite more exciting. But don’t stop there! These pickles are delicious with any of the meals below, and many more:
- Black Bean Burger Recipe: A juicy, flavorful black bean burger paired with a tangy pickle creates a symphony of textures and tastes. The pickle’s acidity brightens the earthy notes of the burger.
- Chicken Burger Recipe: Add a refreshing crunch to your moist ground chicken burgers. The dill flavor complements the savory chicken beautifully, especially with a secret burger sauce!
- Smoked Chicken Salad: Stir chopped pickles directly into your smoked chicken salad for an extra layer of flavor and crunch. It’s a fantastic way to re-purpose leftovers and add zest.
- Wisconsin Brats: A classic pairing! Beer-boiled brats finished on the grill are undeniably delicious with a side of crunchy homemade pickles. They add that essential tangy counterpoint to the rich sausage.
- Charcuterie Boards: Elevate your cheese and meat platters with a bowl of these vibrant pickles. Their acidity cleanses the palate and complements rich cheeses and cured meats.
- Grilled Cheese or Paninis: A few slices inside a grilled cheese sandwich add an unexpected burst of flavor and a delightful textural element.
- Egg or Tuna Salad: Finely dice and mix into your favorite egg or tuna salad recipes for a tangy, fresh update.
Storage and Shelf Life of Refrigerator Pickles
One of the key differences of refrigerator pickles is their storage method and shelf life compared to traditionally canned varieties. Since these pickles are not processed in a water bath, they rely solely on refrigeration for preservation.
Once made, these homemade pickles should be stored in the refrigerator at all times. If sealed appropriately in clean mason jars and kept consistently cold, your delicious **refrigerator dill pickles** will last for up to 2 weeks. For optimal crunch and flavor, we recommend enjoying them within the first 7-10 days.
Always ensure the cucumbers are fully submerged in the brine; any exposed parts can spoil faster. If you notice any signs of mold, unusual smells, or changes in texture, it’s best to discard the batch. However, with proper storage, you’ll likely devour these delightful pickles long before they have a chance to go bad!
More of our Favorite…
Delicious Cucumber Recipes
Love the fresh taste of cucumbers? Explore more of our favorite recipes:
- Creamy Cucumber Salad: A refreshing and tangy side dish perfect for summer.
- Bacon-Wrapped Chicken Salad: A delightful twist on a classic, with added crunch and savory notes.
- Mediterranean Quinoa Salad: A light and healthy salad packed with fresh vegetables, including crisp cucumbers.
Refrigerator Pickle Recipe
This simple pickle recipe requires no special equipment and yields deliciously crunchy refrigerator pickles in just 2 days!
By: Linley Hanson
Prep Time: 10 mins | Cook Time: 5 mins | Total Time: 15 mins
Servings: 8
Ingredients
- ½ cup white vinegar
- ¾ cup water
- 1 teaspoon white sugar
- 4 cloves garlic, smashed
- 1.5 teaspoons kosher salt
- 4 sprigs fresh dill
- 2 teaspoons mustard seed
- ½ small white onion, sliced
- ¼ teaspoon dried coriander seeds
- ½ teaspoon peppercorns
- 1 large cucumber, cut into spears*
- Optional: ¼ teaspoon red pepper flakes, for spicy pickles
Instructions
- Add the vinegar, water, sugar, and salt to a small saucepan and whisk until combined.
- Bring the mixture to a boil. Once the sugar and salt have dissolved, remove from heat. Set aside to cool slightly.
- Prepare two clean mason jars. Divide the fresh dill, smashed garlic, mustard seed, white onion slices, coriander seeds, and peppercorns into the two jars.
- Slice cucumbers into spears, ensuring they are not too tall for your mason jars. Then, carefully pack them into the prepared jars.
- Carefully divide the warm (but not boiling hot) vinegar mixture into both jars, making sure that all the cucumbers and spices are fully covered with the liquid.
- Let the vinegar mixture cool completely at room temperature. Once cooled, cover the jars tightly with their lids. You can gently shake the contents of the jar to ensure everything is well mixed.
- Place the jars in the refrigerator for 24-48 hours before enjoying your homemade refrigerator pickles.
Tips & Notes
- Be sure the cucumbers are cut so that they fit into whatever mason jars are being used. You may need to trim larger spears.
- For extra crunch, ensure the brine cools completely before covering the jars and refrigerating.
Nutrition
Calories: 19 kcal, Carbohydrates: 4 g, Protein: 1 g, Fat: 0 g, Fiber: 1 g, Sugar: 2 g
Nutrition information is automatically calculated, so should only be used as an approximation.
Love this recipe? Leave a comment below!
Don’t forget to tag your posts on social media with the hashtag #fitfoodiefinds, we’d love to see what you’re up to!