
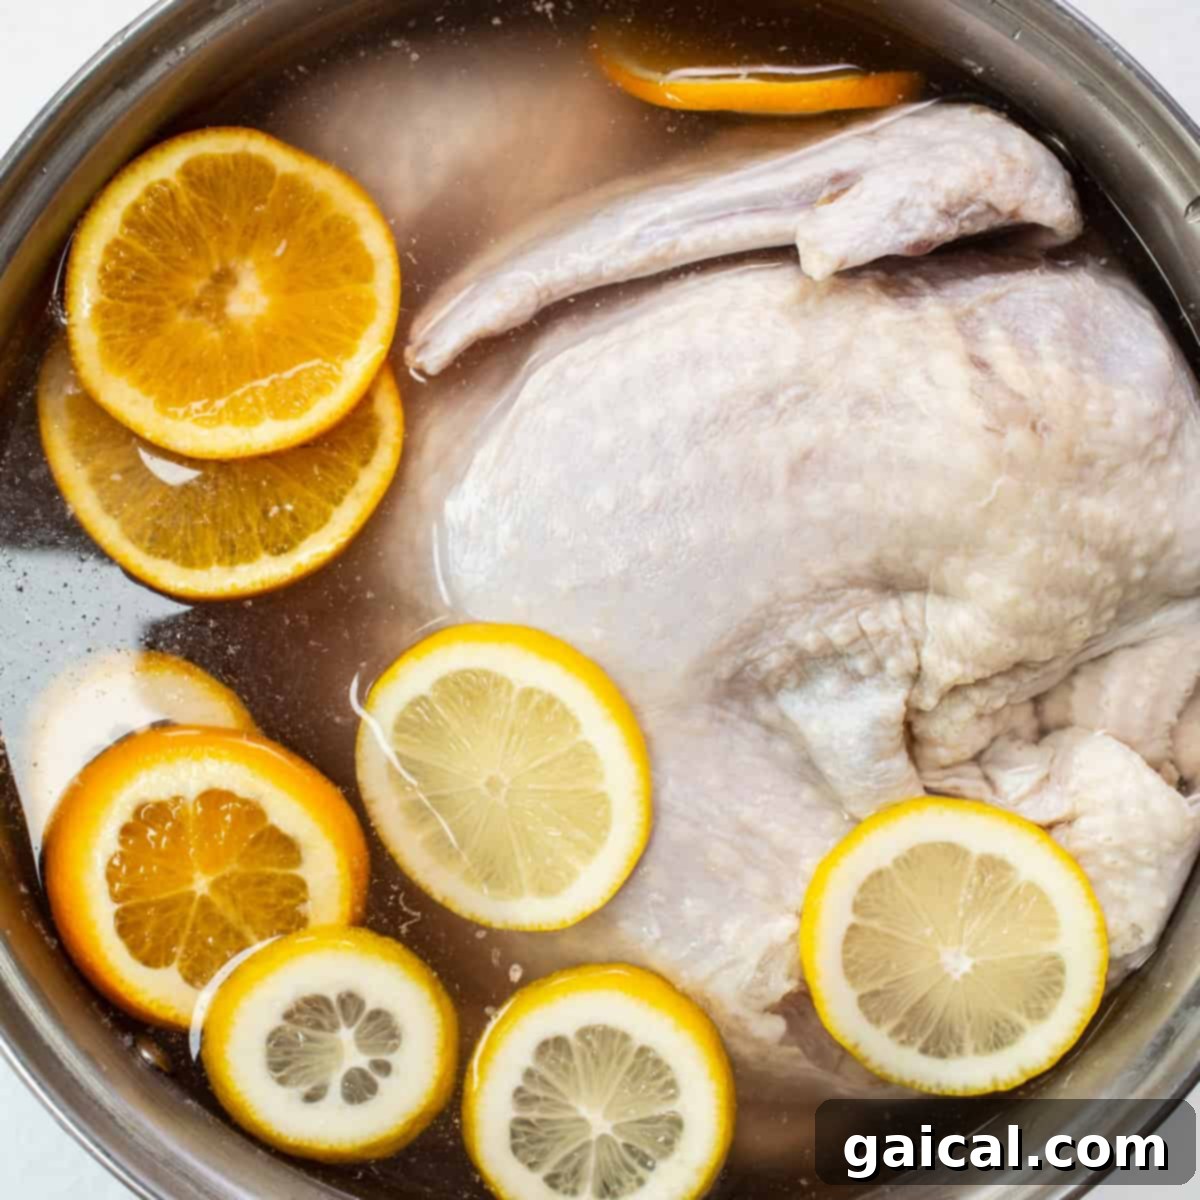
Prepare to transform your holiday feast with this simple, classic turkey brine recipe. Designed to deliver the juiciest, most flavorful turkey you’ve ever tasted, this guide will walk you through the essential steps and benefits of brining your bird. Say goodbye to dry, bland turkey and hello to a succulent masterpiece that will impress every guest at your table.
Why Brining Your Turkey is a Game Changer
Brining is more than just a culinary step; it’s the secret weapon for achieving a truly spectacular turkey. If you’ve ever suffered through a dry, flavorless bird, then it’s time to embrace the magic of brining. There are three compelling reasons why incorporating a brine into your turkey preparation is non-negotiable for a truly delicious result, especially for holidays like Thanksgiving or Christmas.
- Unforgettable Flavor Infusion: Brining isn’t merely about adding salt; it’s an immersive flavor bath for your turkey. The brine solution, enriched with herbs, citrus, and aromatics, penetrates deep into the meat fibers. This process ensures that every bite is bursting with savory, aromatic notes, far beyond what any surface seasoning could achieve. Think of it as an intensive marinade that seasons the meat from the inside out, creating a complex and delicious profile.
- Tender, Melt-in-Your-Mouth Texture: The salt in a brine works wonders on the meat’s protein structure. It gently breaks down the tough muscle fibers, resulting in an incredibly tender texture that practically melts in your mouth. This chemical process transforms what can often be a firm, chewy meat into something exquisitely soft and pleasant to eat. No more struggling with tough turkey; just smooth, yielding tenderness.
- Exceptional Moisture Retention: Perhaps the most celebrated benefit of brining is its ability to keep your turkey incredibly moist. The salt in the brine causes the turkey’s muscle cells to absorb and retain more liquid through a process called osmosis. This extra moisture acts as a safeguard during the roasting process, preventing the meat from drying out, even if it’s cooked a little longer than intended. The result is a turkey that remains succulent and juicy, from breast to thigh.
You’ll often notice that brining is particularly recommended for leaner cuts of meat such as chicken, turkey, or pork chops. This is precisely because of their lower fat content, which makes them more susceptible to drying out during cooking. Brining truly acts as an insurance policy, helping these lean meats emerge from the oven or smoker wonderfully moist and tender.
Wet Brine vs. Dry Brine: Choosing Your Method
When it comes to brining, there are primarily two methods to consider: wet brining and dry brining. Our featured recipe utilizes a **wet brine**, which involves submerging the turkey in a liquid solution of salt, water, and various aromatics. This traditional method is highly effective for infusing moisture and flavor throughout the bird.
A **dry brine**, on the other hand, relies solely on salt and the natural moisture drawn out from the meat itself, without any added water. The salt is rubbed directly onto the turkey’s surface. Over time, the salt draws out moisture from the turkey, which then mixes with the salt to create a concentrated brine. This briny liquid is then reabsorbed by the meat, carrying the salt and enhancing flavor and moisture retention. Dry brining often results in exceptionally crispy skin, as there’s no excess moisture to evaporate during cooking. We also have a fantastic dry brine recipe if you’d like to explore this alternative for a different culinary experience.
When to choose which:
- Wet Brine: Ideal if you want maximum moisture and flavor penetration, and don’t mind handling a large quantity of liquid. It’s excellent for leaner birds that tend to dry out easily. Requires significant refrigerator space for the large pot or brining bag.
- Dry Brine: Perfect if you prioritize crispy skin, have limited refrigerator space, or want a slightly less messy process. It still yields a wonderfully moist and flavorful turkey, though the flavor infusion might feel less “bath-like” compared to a wet brine.
Crafting the Perfect Turkey Brine: Essential & Optional Ingredients
The beauty of a turkey brine lies in its versatility. While the foundation is always salt and water, the aromatics you choose can dramatically elevate the flavor profile, allowing you to customize your bird to perfection. This specific wet turkey brine recipe is designed to be vibrant and aromatic, featuring fresh citrus and classic savory notes. Remember, the key is the balanced salt solution; everything else is an opportunity for customization.
- Water: The primary liquid base for your wet brine. Ensure you have enough to fully submerge your turkey.
- Kosher Salt: Essential for both flavor and moisture retention. Kosher salt is preferred over table salt due to its larger crystals, which make it easier to measure and less likely to oversalt the meat.
- Sliced Oranges: Adds a bright, sweet, and tangy citrus note that complements poultry beautifully.
- Sliced Lemons: Provides a sharp, zesty aroma and flavor that cuts through the richness of the turkey, adding freshness.
- Smashed Garlic Cloves: Releases a potent, savory aroma, providing a robust base flavor. Smashing them helps release their essential oils.
- Chopped White Onion: A classic aromatic that adds depth and a foundational savory sweetness to the brine.
- Sprigs Fresh Thyme: Earthy, slightly minty, and subtly floral, thyme is a quintessential herb for poultry, imparting a wonderful aroma.
- Whole Turkey: The star of the show! Ensure it’s thawed before brining.
Optional Aromatic Enhancements: Feel free to experiment with additional ingredients to tailor the brine to your taste. Consider adding:
- Fresh Rosemary or Sage: Both are traditional holiday herbs that pair exquisitely with turkey.
- Black Peppercorns: Adds a mild, pungent spice.
- Bay Leaves: Contributes a subtle, earthy, and slightly floral note.
- Apple Cider Vinegar: A touch of acidity can brighten flavors and further tenderize.
- Brown Sugar or Maple Syrup: A small amount of sweetener can balance the salt and help promote beautiful skin browning during roasting.
- Whole Cloves or Star Anise: For a more exotic, warm spice profile.
- Celery Stalks and Carrots: Add more vegetable depth to the savory base.
Selecting and Preparing Your Whole Turkey for Brining
The success of your brined turkey begins with choosing the right bird. This particular turkey brine recipe is formulated for a 10-13 lb. whole turkey, which should be completely thawed before it enters the brine. If you’re working with a larger bird, remember that the entire turkey needs to be fully submerged in the brine solution. This might mean you need to double or even triple the brine recipe to ensure you have enough liquid to cover your bird adequately. Always check your turkey’s packaging to see if it’s “pre-brined” or contains a sodium solution; if so, skip the brining process to avoid an overly salty result.
Thawing Your Turkey: A frozen turkey requires considerable time to thaw safely. Plan for at least 24 hours of thawing time in the refrigerator for every 4-5 pounds of turkey. For instance, a 12-pound turkey needs about 3 days. Never thaw your turkey at room temperature, as this can promote bacterial growth.
Equipment Considerations: You’ll need a container large enough to hold your turkey and the brine. A 20-30 quart stockpot is often sufficient for smaller to medium-sized turkeys. Alternatively, a large brining bag placed within a cooler can work well, especially if refrigerator space is limited. Ensure your chosen container is food-safe and can be securely covered.
Step-by-Step Guide: How to Brine a Turkey for Maximum Juiciness
Brining a turkey might seem like an extra step, but the minimal effort pays off immensely with a remarkably juicy and flavorful bird. Follow these simple steps to prepare an easy wet brine for your whole turkey:
- Prepare Your Brining Vessel: Begin by placing your thawed turkey in a clean, food-grade 20-30 quart pot. Make sure it’s large enough to comfortably hold the turkey and all the brine liquid.
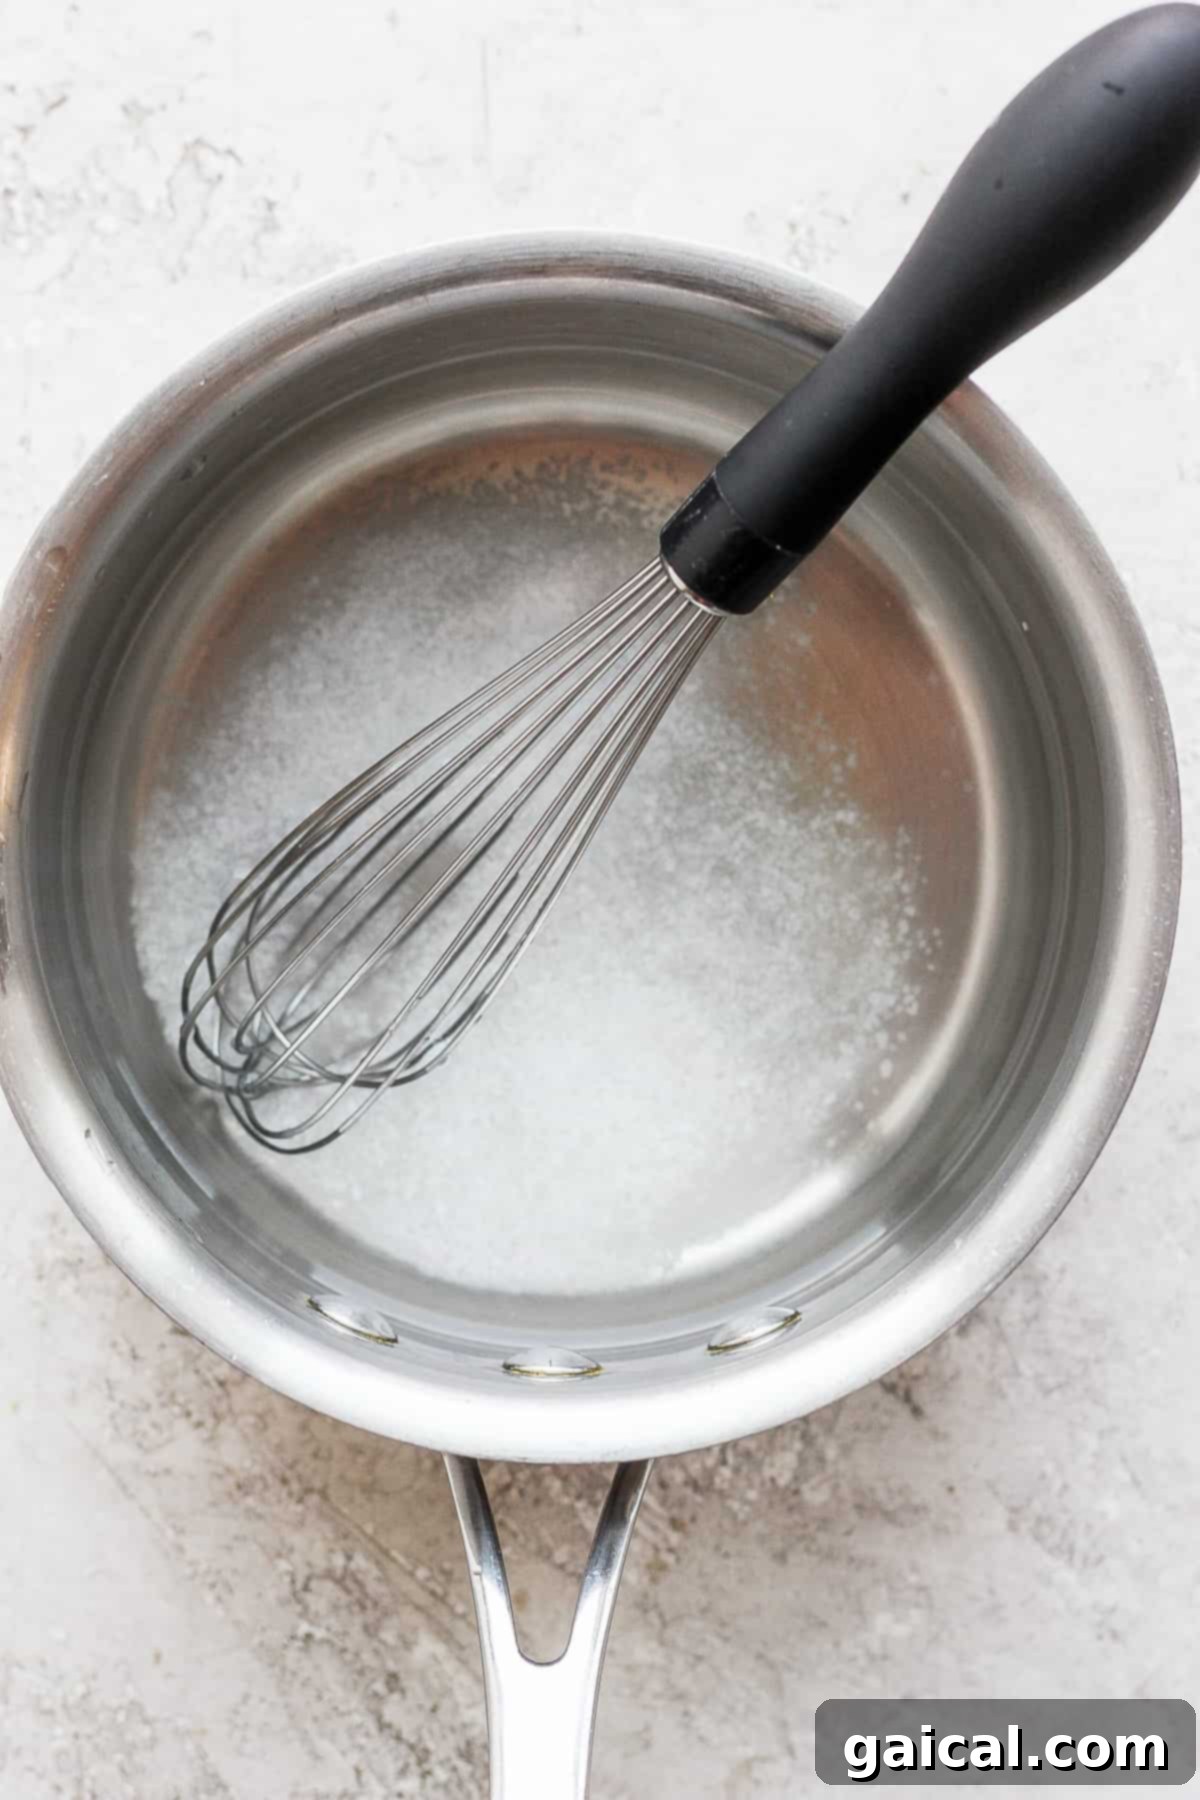
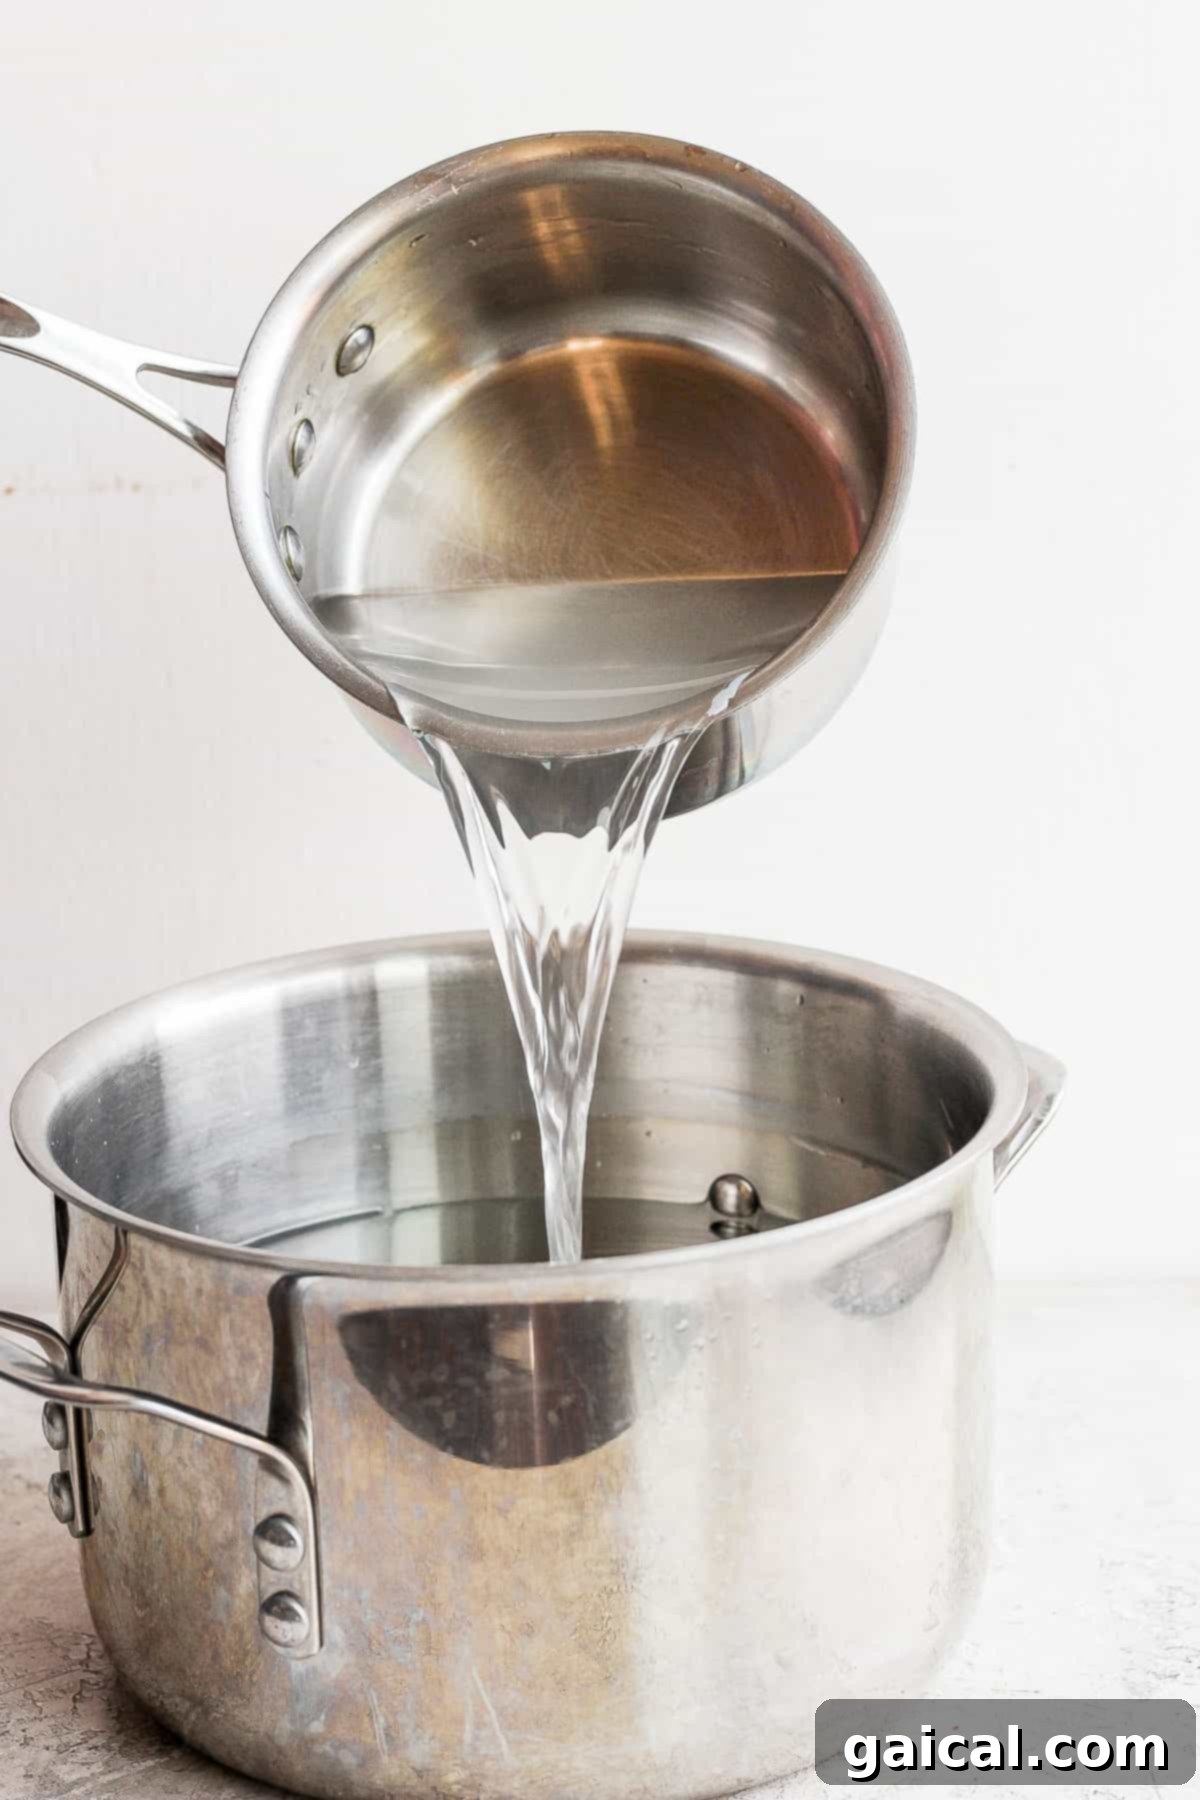
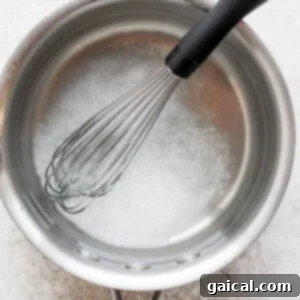
- Create the Salt Base: In a separate medium saucepan, combine 2 cups of the total water (from your 2-gallon supply) with the 1.5 cups of kosher salt. Heat this mixture over medium heat, whisking constantly, until the salt has completely dissolved. It’s crucial not to bring this solution to a boil; you just need enough heat to dissolve the salt crystals. Once dissolved, remove the saucepan from the heat and allow it to cool slightly.
- Combine & Cool the Brine: Carefully pour the cooled salted water from the saucepan into the large pot with the remaining 1.5 gallons minus 2 cups of fresh, cold water. Whisk everything together thoroughly to ensure an even distribution of salt throughout the entire volume of water. It’s vital that your brine is completely cool before adding the turkey to prevent any risk of foodborne illness or premature cooking of the turkey’s surface.
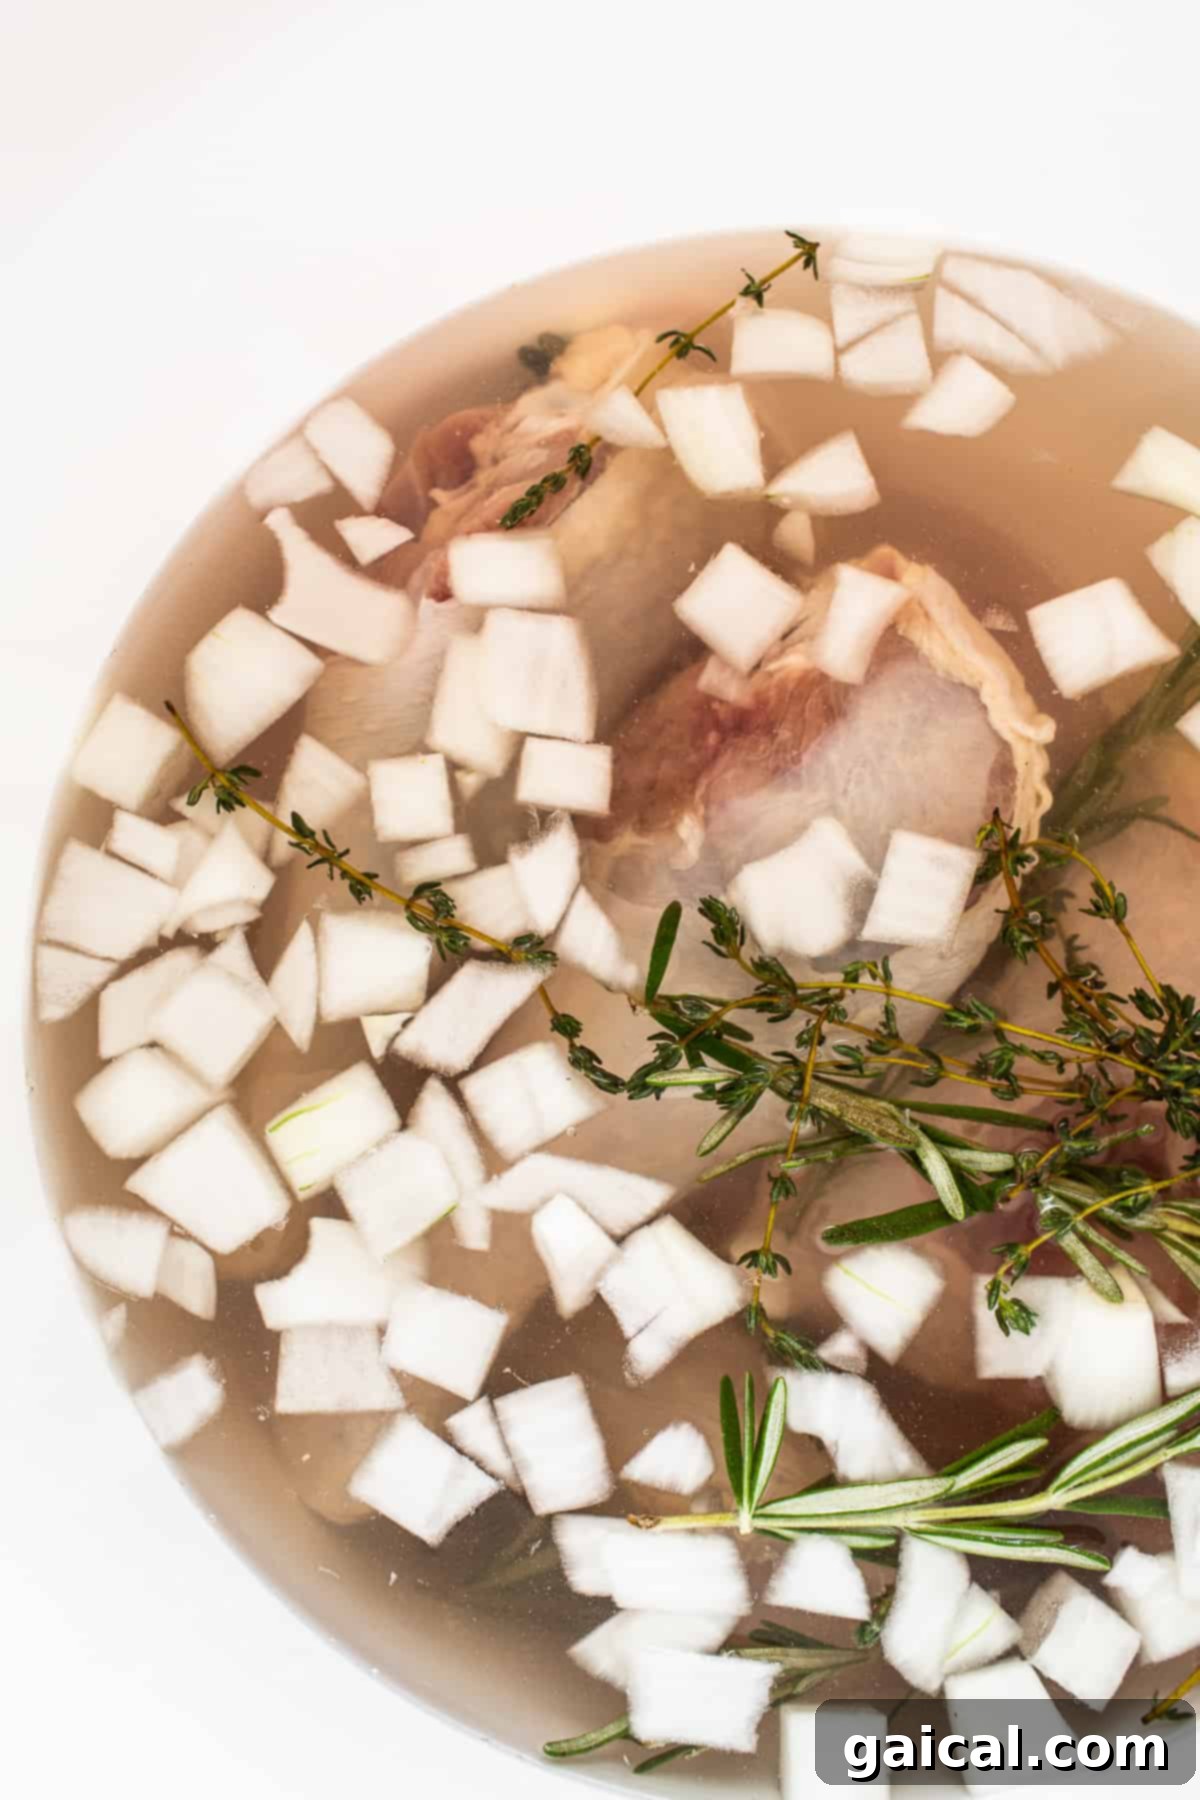
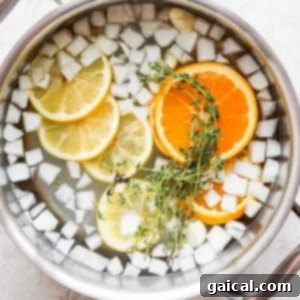
- Infuse with Aromatics: Now, add your chosen aromatics to the cooled brine. This includes the sliced oranges, sliced lemons, smashed garlic cloves, chopped white onion, and fresh thyme sprigs. These ingredients will steep in the brine, infusing it with their wonderful flavors.
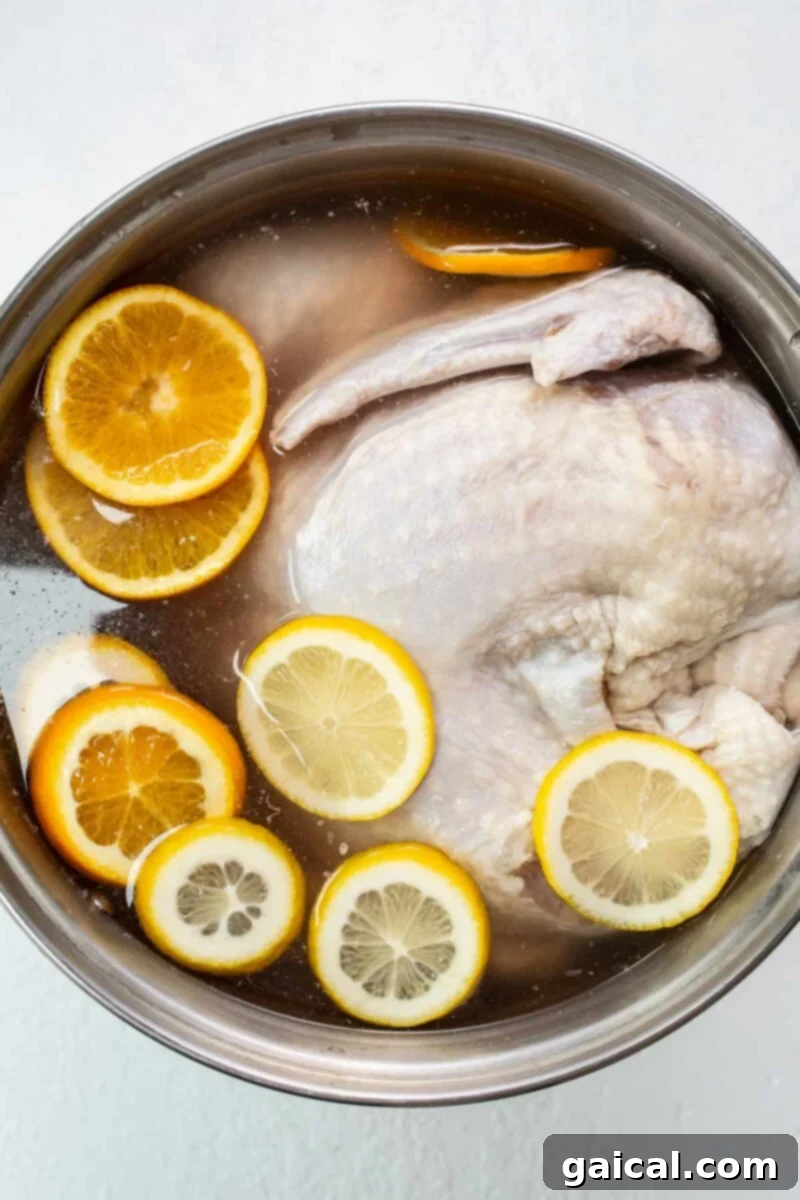
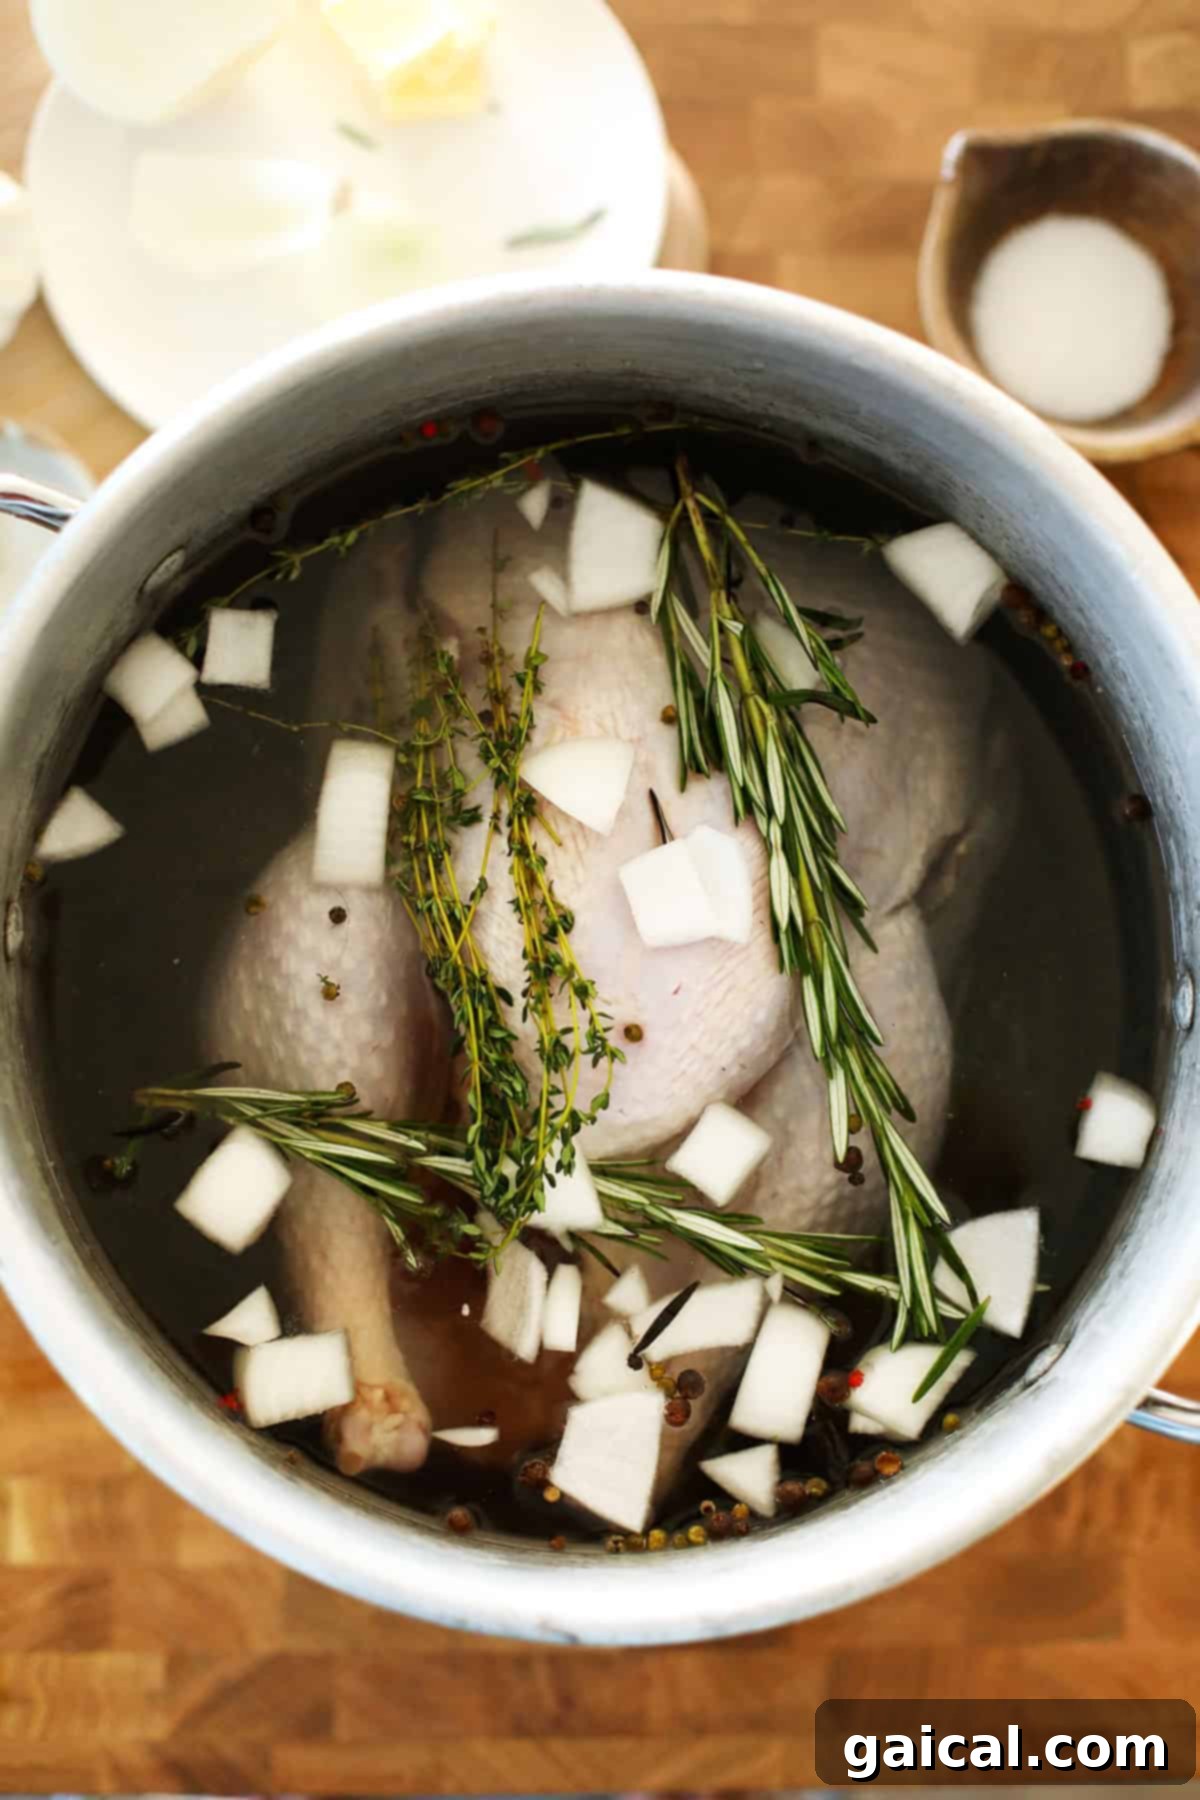
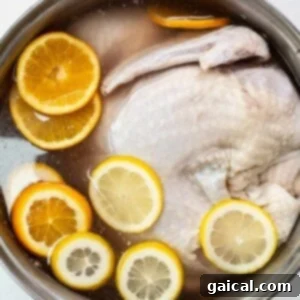
- Submerge the Turkey: Gently place the whole turkey into the prepared brine solution in the large pot. It is absolutely essential that the turkey is entirely submerged in the liquid. If parts of the turkey are exposed, they won’t brine properly. You might need to place a plate or a weighted object on top of the turkey to keep it fully immersed.
- Chill for Optimal Brining: Cover the pot tightly with a lid or plastic wrap and immediately transfer it to the refrigerator. Allow the turkey to brine for a minimum of 12 hours, and ideally overnight (up to 24 hours for larger birds). This extended chilling period allows the salt and flavors ample time to penetrate the meat, ensuring maximum juiciness and taste.
- After Brining: Once the brining time is complete, remove the turkey from the brine. You can choose to rinse it lightly under cold water to remove any excess surface salt, or simply pat it thoroughly dry with paper towels. Patting it dry is especially important if you desire extra crispy skin during roasting. Discard the used brine.
Frequently Asked Questions About Brining a Turkey
For optimal results with a whole turkey (10-15 lbs), we suggest brining it overnight, typically for 12 to 24 hours. Smaller turkeys or turkey parts can brine for a shorter duration, around 6-12 hours. Avoid brining for more than 24 hours, as this can lead to an overly salty or mushy texture.
Brining is highly recommended because it significantly enhances your turkey in three key ways: it locks in moisture, ensuring an extra juicy bird; it tenderizes the meat by breaking down muscle fibers; and it infuses the turkey with incredible flavor from the salt and aromatics in the brine, resulting in a much more delicious eating experience.
When done correctly, brining will not make your finished turkey excessively salty. The salt’s primary role is to help the meat absorb and retain moisture and to denature proteins, leading to a more tender texture and enhanced natural flavor. A brief rinse after brining can also help remove any excess surface salt, ensuring a perfectly balanced taste.
No, you should not brine a turkey that has been pre-brined, injected with a sodium solution, or is labeled “Kosher.” These turkeys have already undergone a salting process, and brining them again will result in an excessively salty and potentially unpalatable bird.
It’s generally recommended to lightly rinse the turkey under cold water after removing it from the brine. This helps wash off any excess salt from the surface. After rinsing, it’s crucial to thoroughly pat the turkey dry with paper towels, both inside and out. A dry skin is key to achieving a crispy, golden-brown exterior during roasting.
Proper Storage for Brined Turkey
Food safety is paramount when brining a turkey. It is absolutely crucial to store your turkey submerged in the brine solution in the refrigerator at all times. Maintaining a consistent chilled temperature (below 40°F / 4°C) throughout the entire brining process is essential to prevent the growth of harmful bacteria. Never leave your brining turkey at room temperature. Ensure your brining container is covered tightly to prevent contamination and spills within your refrigerator. After brining, the turkey should be cooked immediately or stored in the refrigerator for no more than 1-2 days before cooking.
Discover More of Our Favorite…
Brine Recipes & Turkey Guides
Looking to elevate other meats or explore more turkey techniques? Check out these related guides and recipes:
- Smoked Turkey Brine: For that irresistible smoky flavor.
- Pork Chop Brine: Ensure juicy and tender pork every time.
- Chicken Brine Recipe: Perfect for a succulent roasted or grilled chicken.
- How to Dry Brine a Turkey: An alternative method for crispy skin.
- The Best Thanksgiving Turkey Recipe: Our comprehensive guide to roasting your bird.
- Flavorful Turkey Seasoning: Enhance your turkey with the perfect blend of spices.
How to Brine a Turkey
Let your turkey sit in a salt and aromatic solution overnight for the juiciest Thanksgiving or holiday turkey you’ve ever tasted.
By: Linley Hanson
Prep Time: 13 hours
Total Time: 13 hours
Servings: 10
Print Recipe
Ingredients
- 2 gallons water, separated
- 1.5 cups kosher salt
- 2 pieces of citrus fruit (e.g., oranges, lemons), sliced
Optional Aromatics
- ½ white onion, diced
- 4 garlic cloves, peeled and smashed
- 5 sprigs fresh herbs (e.g., thyme, rosemary, sage)
Instructions
-
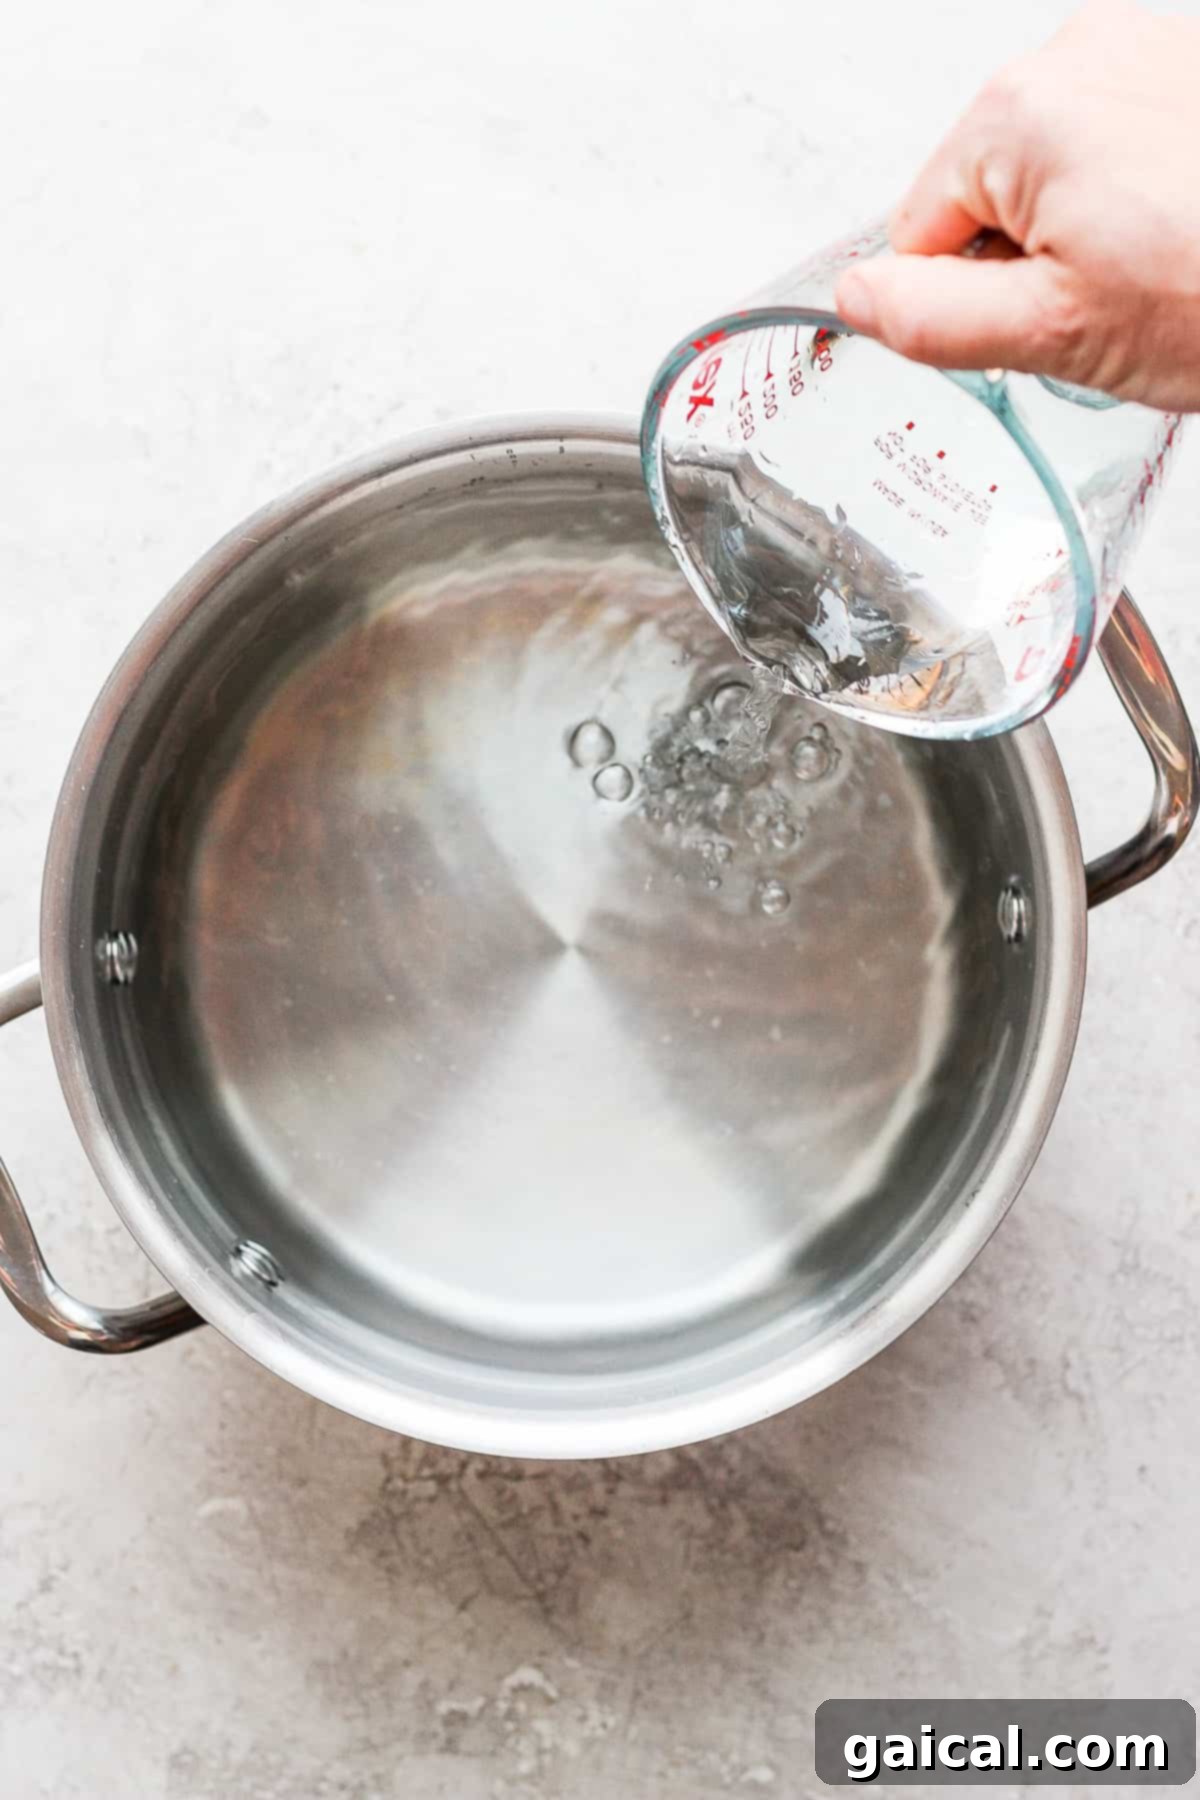
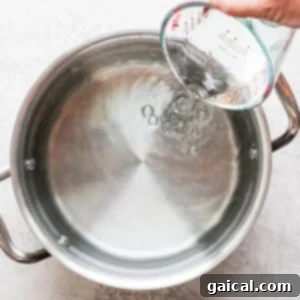
Fill a 20-30 quart pot with 2 gallons of water.

-
Remove 2 cups of water from the pot and add it to a saucepan with the kosher salt. Heat the two ingredients over medium heat and whisk until the salt has dissolved. Do not bring to a boil. Remove from heat. Add the salted water back into the large pot and whisk together, ensuring the entire brine solution is cool before proceeding.
-
Next, add the sliced oranges and lemons, along with any other desired optional aromatics like smashed garlic cloves, diced white onion, and fresh herb sprigs, to the cool salt water in the large pot.
-
Finally, add the thawed whole turkey to the pot. Make absolutely sure the turkey is completely submerged in the water. Use a plate or a clean weight if necessary to keep it under the liquid.
-
Cover the pot tightly and place it in the refrigerator for 12-24 hours. After brining, remove the turkey, discard the brine, and pat the turkey thoroughly dry before roasting.
Nutrition
Calories: 5 kcal, Carbohydrates: 1 g, Protein: 0.2 g, Fat: 0.02 g, Fiber: 0.2 g, Sugar: 0.3 g
Nutrition information is automatically calculated and should only be used as an approximation. The nutritional values reflect the brine ingredients, not absorbed turkey meat.
Loved this recipe? Leave a comment below!
Don’t forget to tag your posts on social media with the hashtag #fitfoodiefinds – we’d love to see what you create!