
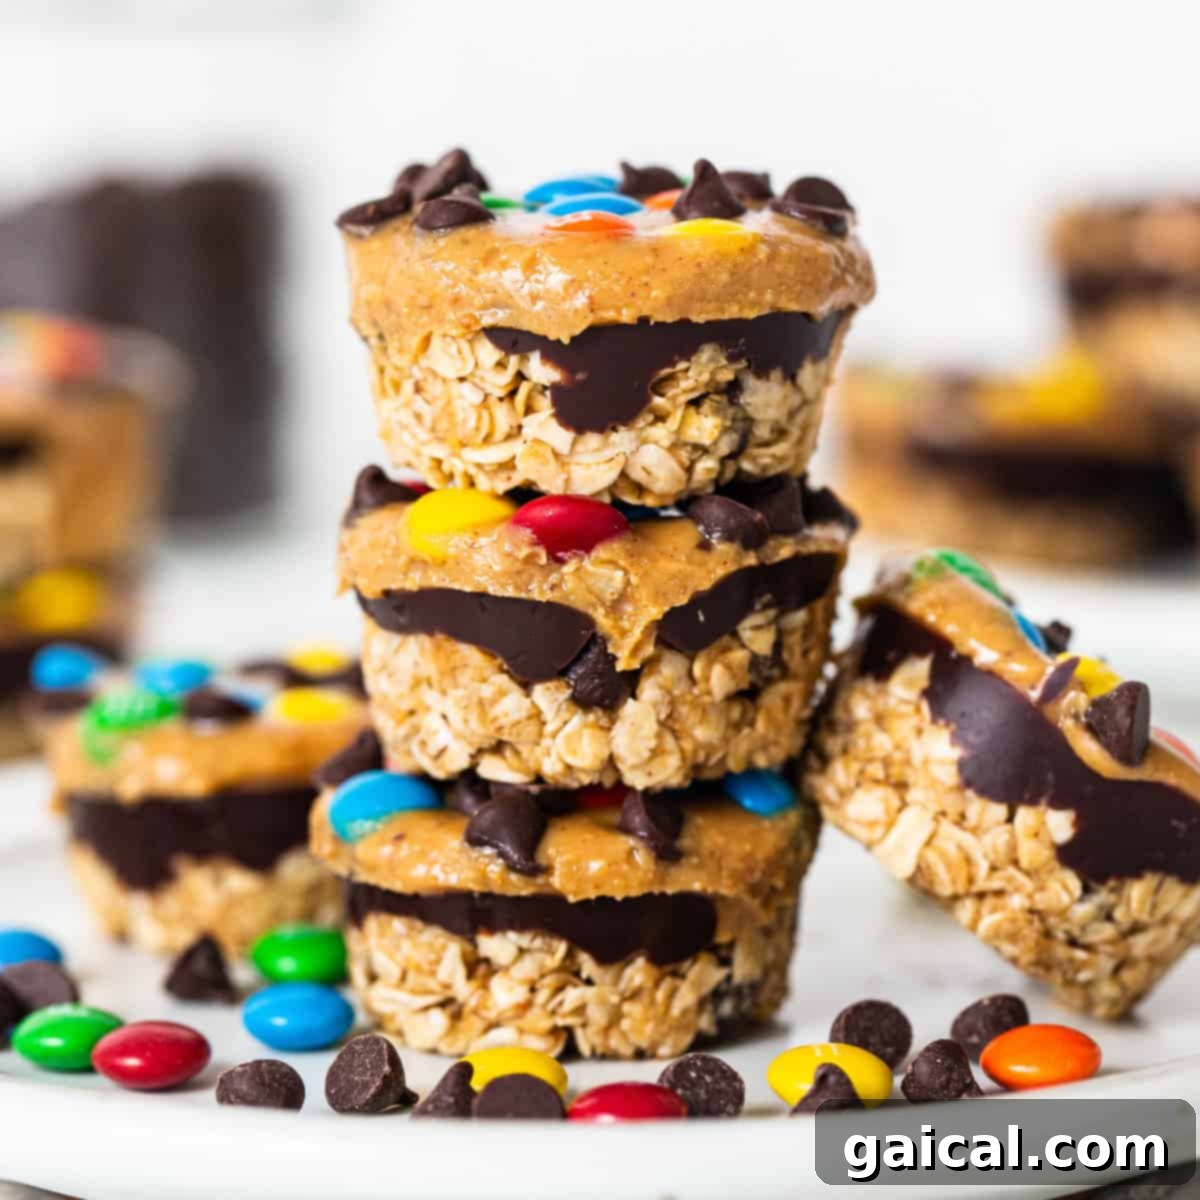
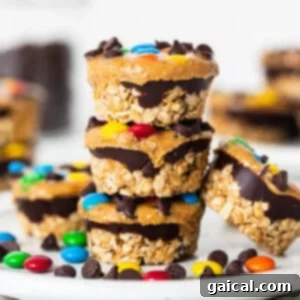
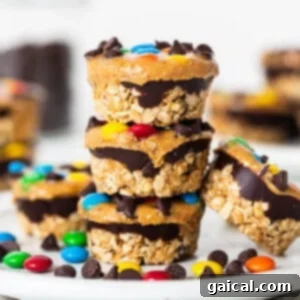
Get ready to indulge in these absolutely **irresistible monster cookie oat cups**! This recipe offers a delightful, no-bake dessert that promises to be a hit with everyone in your family. Perfect for meal prep or a quick sweet fix, these oat cups are designed for convenience and deliciousness. Make a generous batch to have on hand; they’re so good, they disappear quickly!
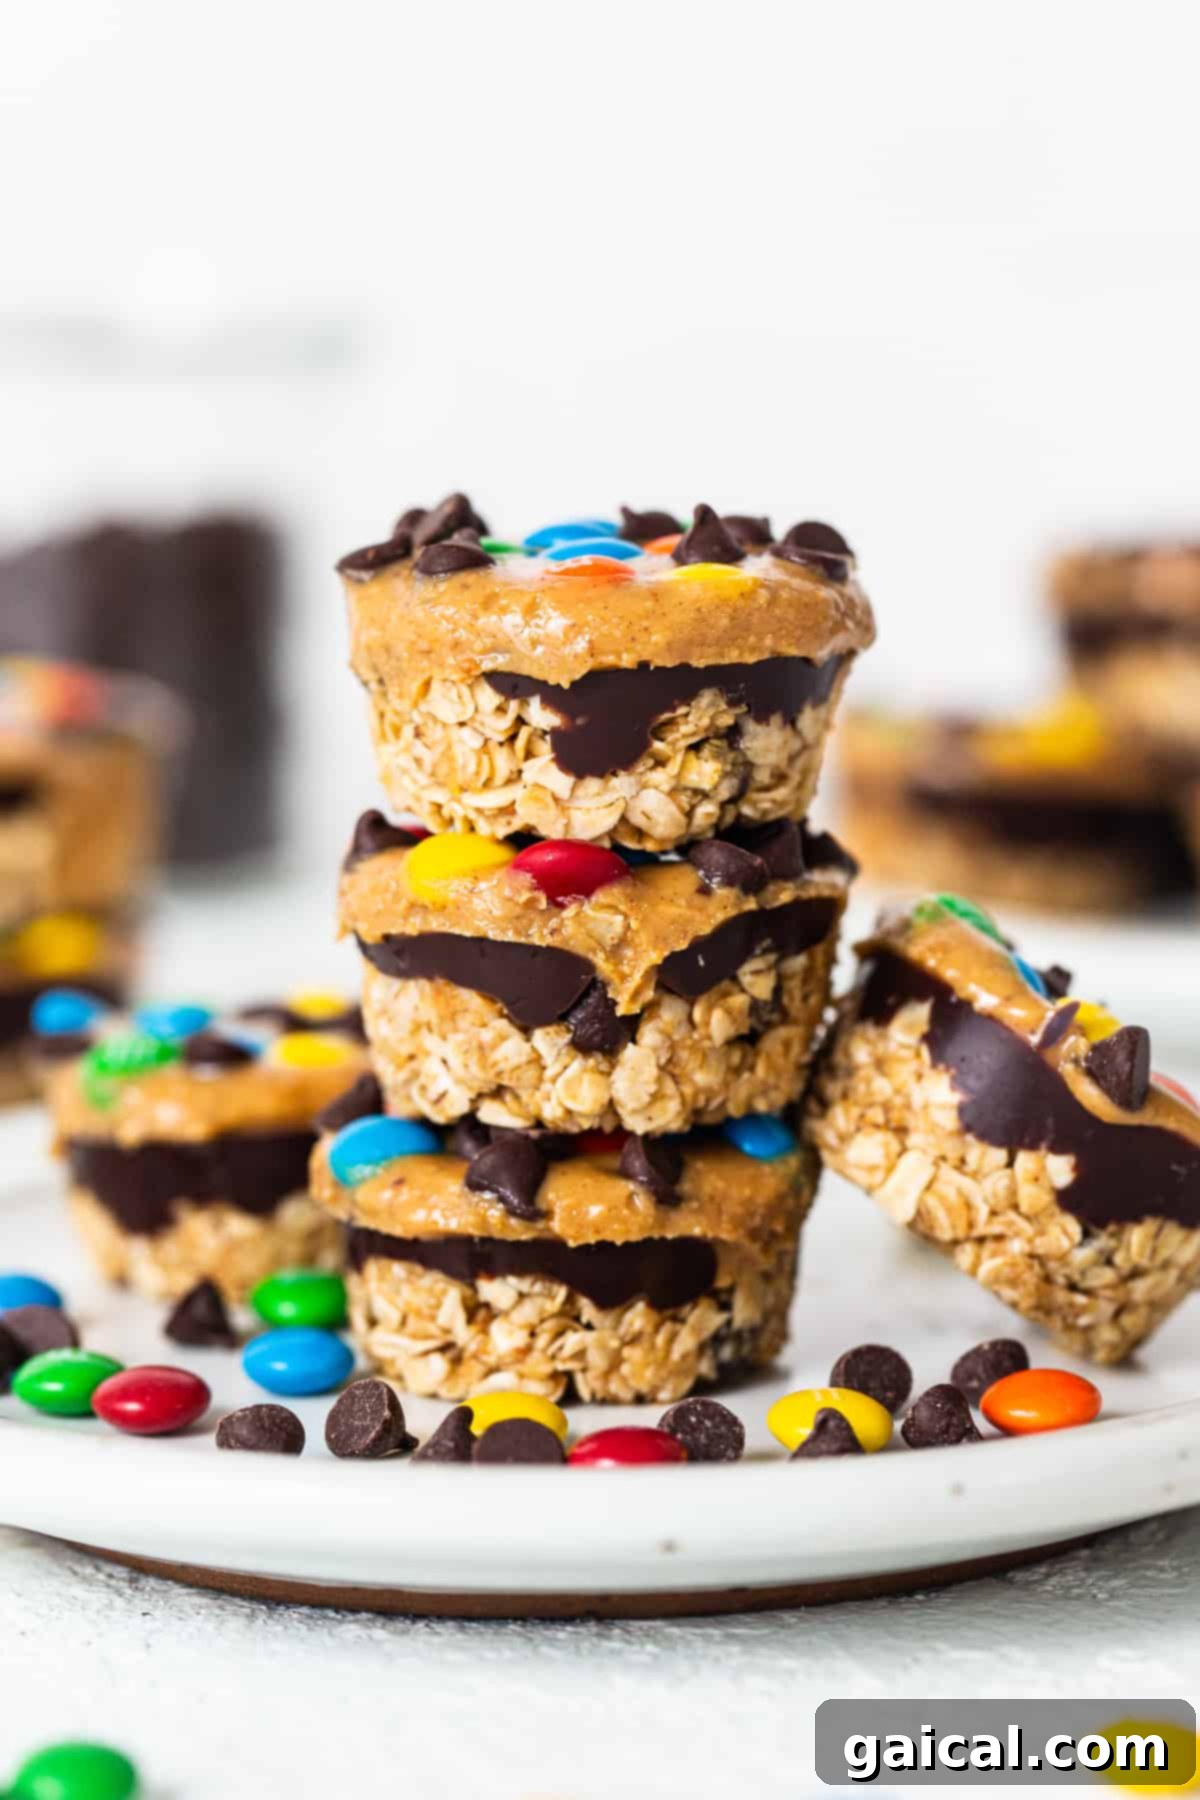
Effortless Indulgence: Crafting Delicious No-Bake Monster Cookie Oat Cups!
Welcome to our latest no-bake dessert sensation! These monster cookie oat cups are quickly becoming a household favorite, joining the ranks of our other beloved quick treats. If you’re a fan of fuss-free desserts that deliver big on flavor, you’re in the right place.
For those who adore our PB&J quinoa cups or our classic peanut butter oat cups, consider this a friendly invitation to broaden your no-bake horizons. These monster cookie versions take the familiar comfort of a traditional monster cookie and transform it into a portable, perfectly portioned oat cup. They’re not just a treat; they’re a smart snack option that satisfies those sweet cravings without the guilt.
The Allure of No-Bake Desserts: Quick, Easy, and Simply Delicious
Speedy Preparation: Say goodbye to oven preheating and lengthy bake times! No-bake desserts dramatically cut down on preparation, making them ideal for busy schedules.
Effortless to Create: With minimal equipment and straightforward steps, even novice bakers can achieve impressive results. No complicated techniques or tricky temperatures required.
Perfect for On-the-Go: These convenient treats are fantastic for packing into lunchboxes, taking to picnics, or enjoying as a quick energy boost during a busy day. Their portable nature makes them a go-to for sweet cravings anytime, anywhere.
Beat the Heat: During warmer months, avoiding the oven is a huge plus. No-bake desserts keep your kitchen cool while still allowing you to whip up delightful confections.
Kid-Friendly Fun: Involving children in the kitchen is easy with no-bake recipes. They can help mix ingredients, press layers, and add toppings, turning dessert making into a fun, interactive activity.
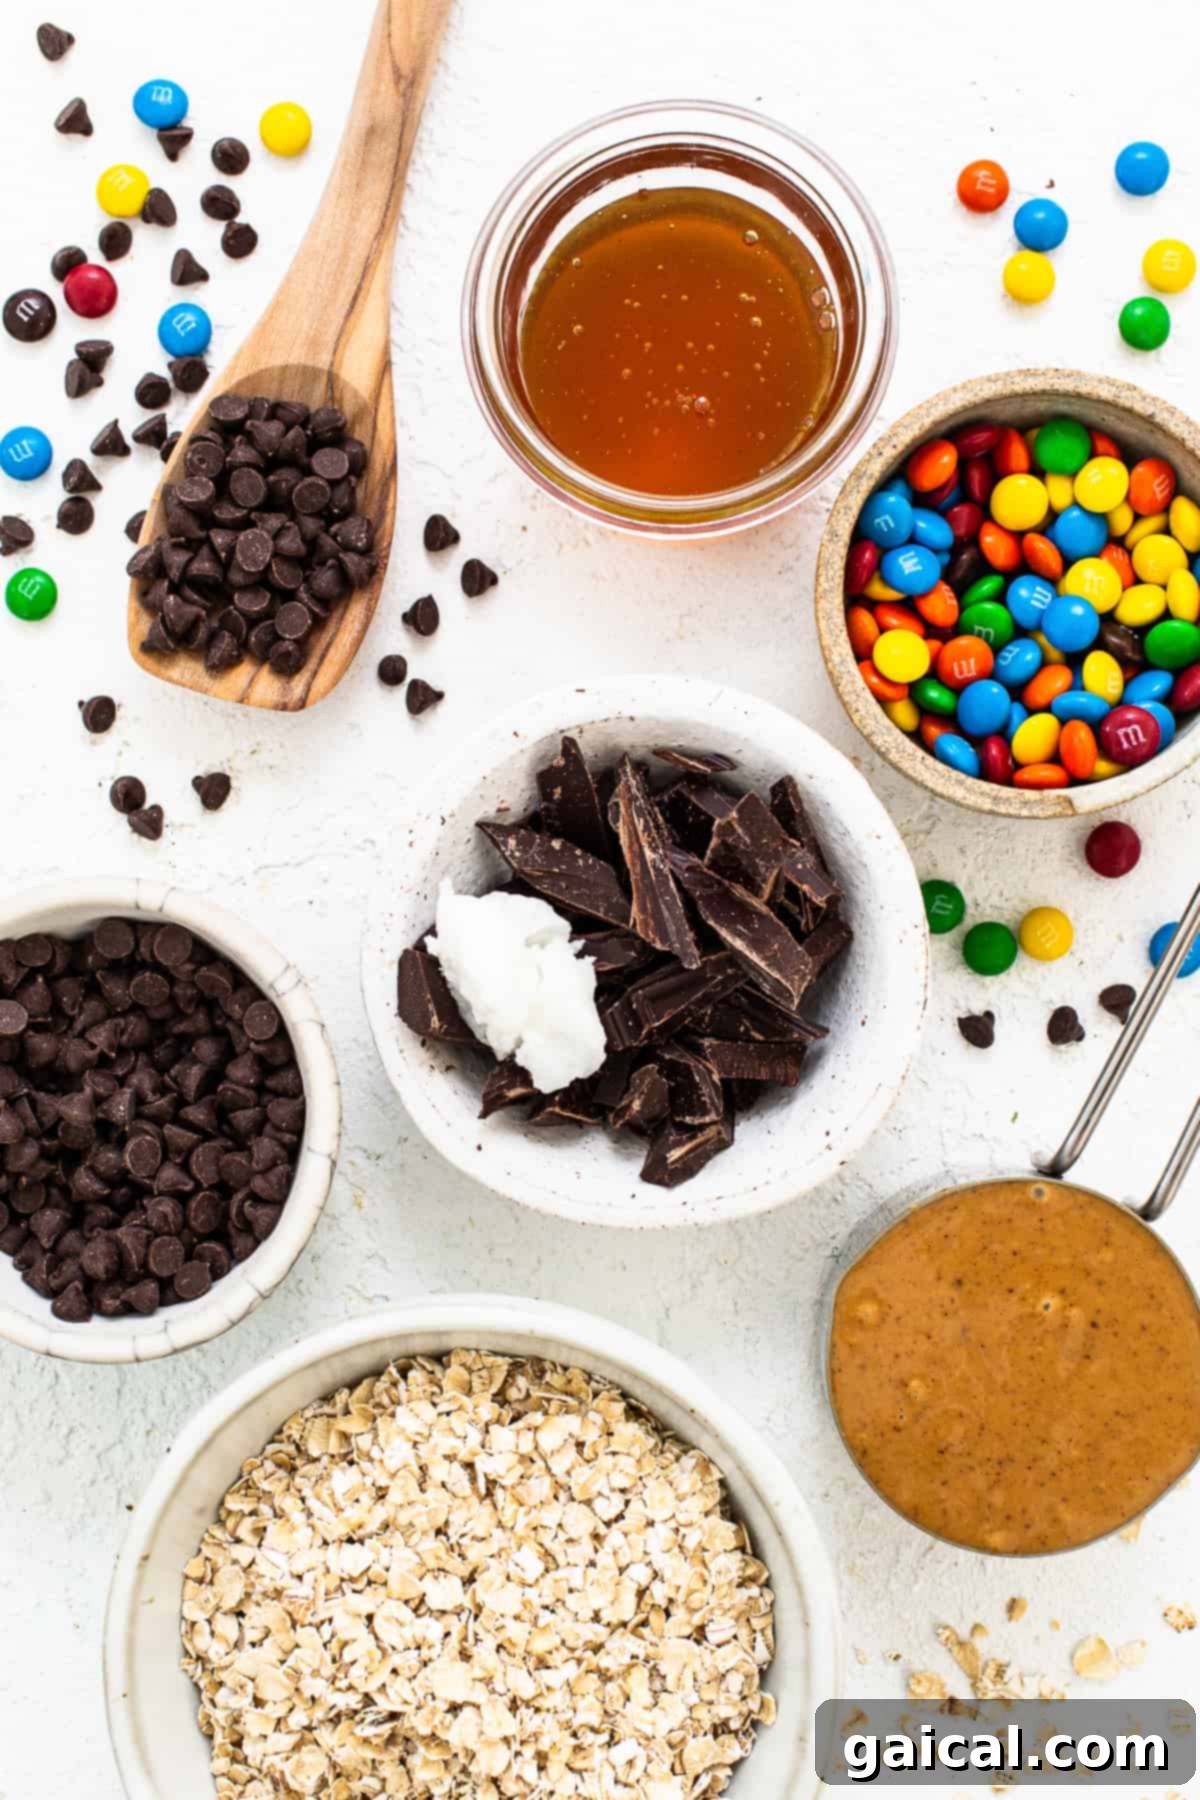
Unveiling the Key Ingredients for Your Monster Cookie Oat Cups
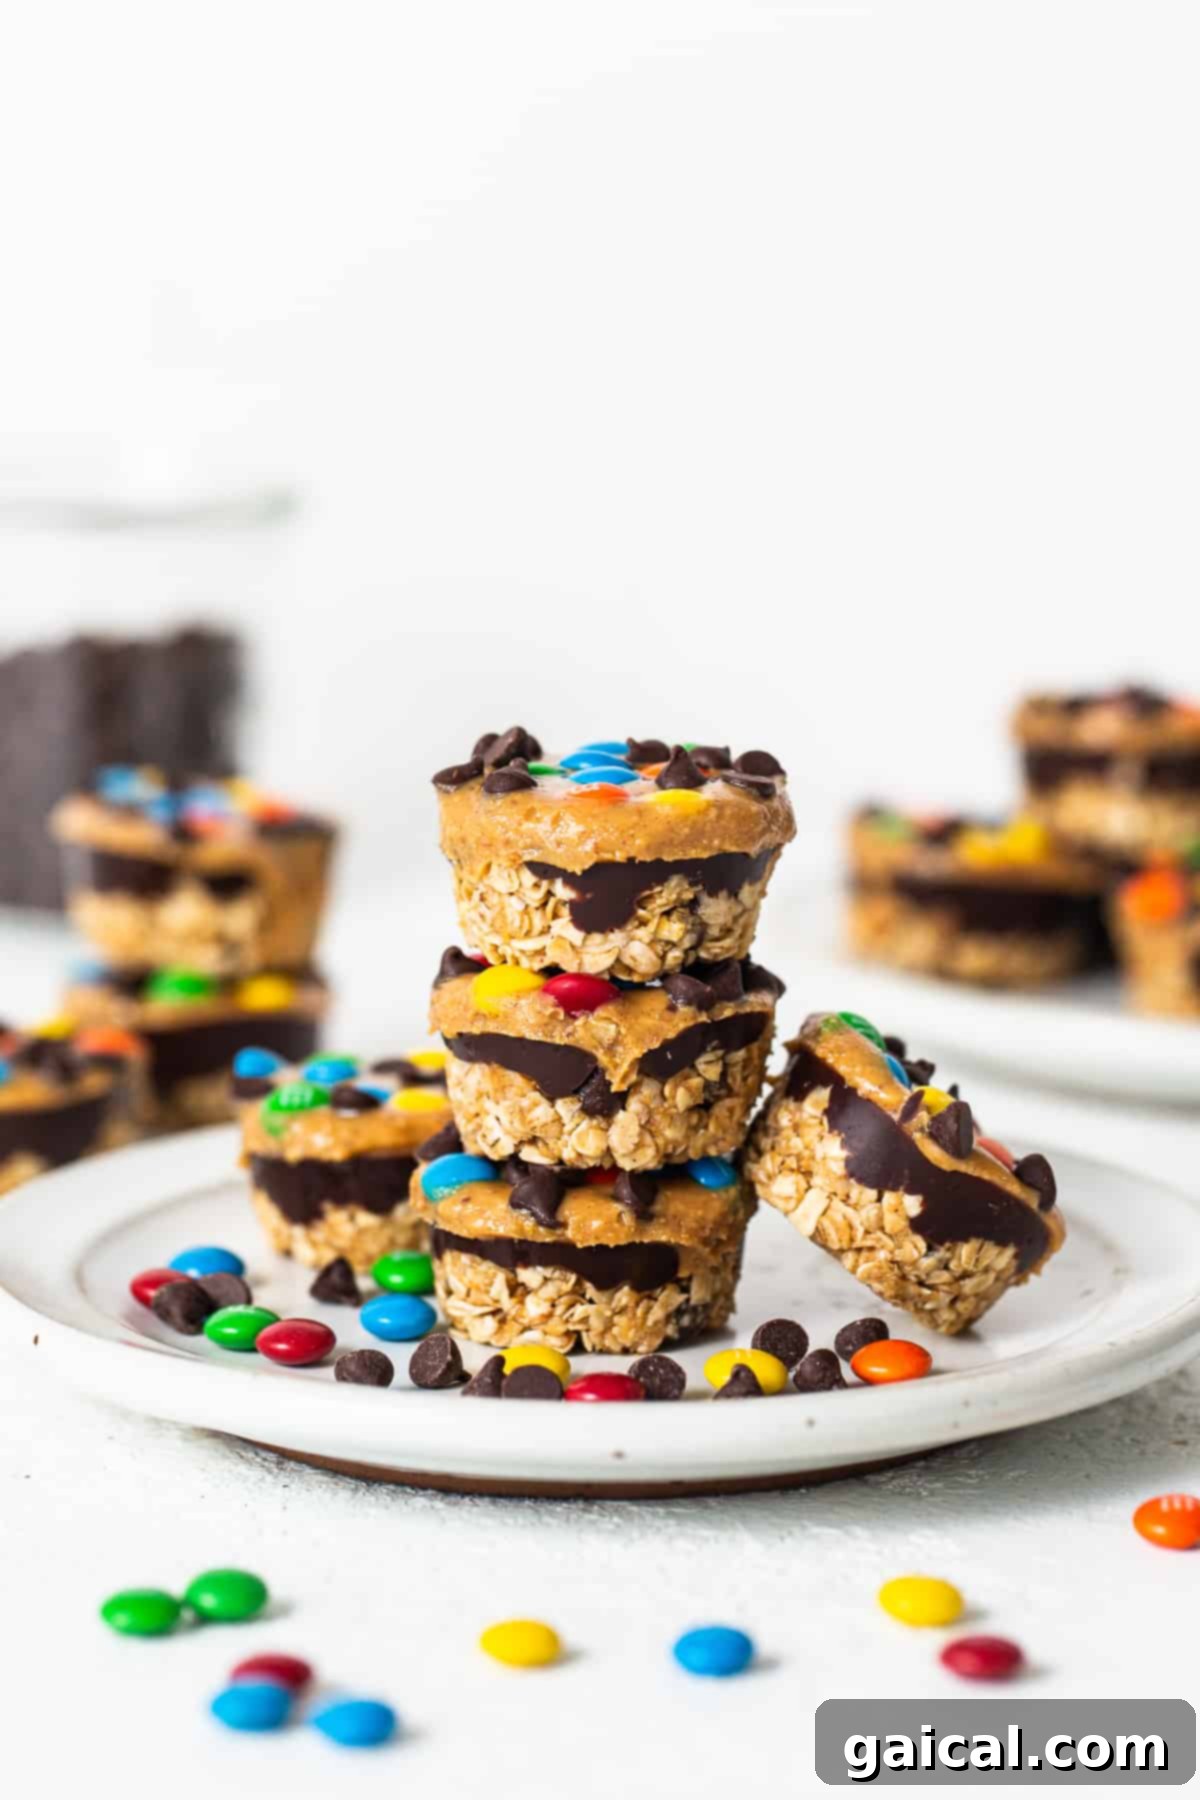
Crafting these delectable no-bake dessert cups is a journey of three distinct layers, each contributing to a symphony of flavors and textures. Every bite promises a delightful chunk of monster cookie goodness, made possible by thoughtfully chosen ingredients:
The Hearty Oat Layer
- Quick-Cooking Oats: These are crucial for the right texture, offering a soft yet structured base without needing to cook. They bind beautifully with the other ingredients, forming a satisfying, chewy foundation.
- Golden Honey: Acts as a natural sweetener and a key binder, providing that essential stickiness that holds the oat layer together while imparting a delicate, warm flavor.
- All-Natural, Creamy Peanut Butter: The star of the show, delivering rich flavor and healthy fats. Choose a brand with minimal ingredients (just peanuts and salt, ideally) for the best taste and consistency. Its creaminess helps to create a smooth, cohesive oat mixture.
- Mini Chocolate Chips: Essential for that classic monster cookie taste, these tiny morsels melt slightly upon mixing, distributing pockets of chocolatey goodness throughout the base layer.
- Optional Water: A secret weapon for achieving the perfect consistency. If your mixture seems too dry, a tiny splash of water will bring it to life, ensuring your oat cups are perfectly firm yet tender.
The Luxurious Chocolate Layer
- Finely Chopped Dark Chocolate: We opt for dark chocolate for its intense flavor and richer profile, which balances the sweetness of the other layers. Chopping ensures even melting and a smooth, glossy finish.
- Pure Coconut Oil: This magical ingredient helps the chocolate melt smoothly and harden beautifully, giving the layer a satisfying snap without making it overly brittle. It also adds a subtle hint of tropical aroma.
The Iconic Peanut Butter Layer with a Burst of Color
- More All-Natural, Creamy Peanut Butter: A second round of peanut butter creates the iconic top layer, adding another wave of nutty flavor and a luxurious, creamy texture that contrasts wonderfully with the base.
- Additional Coconut Oil: Just a touch more to ensure this top layer is spreadable and sets perfectly, providing a smooth canvas for our colorful toppings.
- Vibrant Mini M&M’s: What’s a monster cookie without the pop of colorful candy? These mini M&M’s add a playful crunch and a burst of chocolatey color, making each oat cup visually appealing and extra fun to eat.
- Extra Mini Chocolate Chips: A final sprinkle of mini chocolate chips on top enhances the classic monster cookie aesthetic and delivers a delightful concentrated chocolate bite.
Our Favorite
Peanut Butter Recommendation
For consistent results and amazing flavor, Smucker’s All-Natural Peanut Butter is our top choice. Its wonderfully drippy consistency is perfect for blending into both the oat and peanut butter layers of these delightful cups.
Step-by-Step Guide: Crafting Your Own Monster Cookie Oat Cups
Making these layered delights is surprisingly simple and incredibly rewarding. Follow these steps to create your perfect no-bake treats:
Step 1: Prepare the Muffin Tin
Before you begin mixing, ensure your muffin pan is ready. You can either line a metal muffin pan with paper liners for easy removal or use a silicone muffin pan, which often requires no lining due to its non-stick properties. This initial step ensures a smooth process once your layers are prepared.
Step 2: Assemble the Hearty Oat Layer
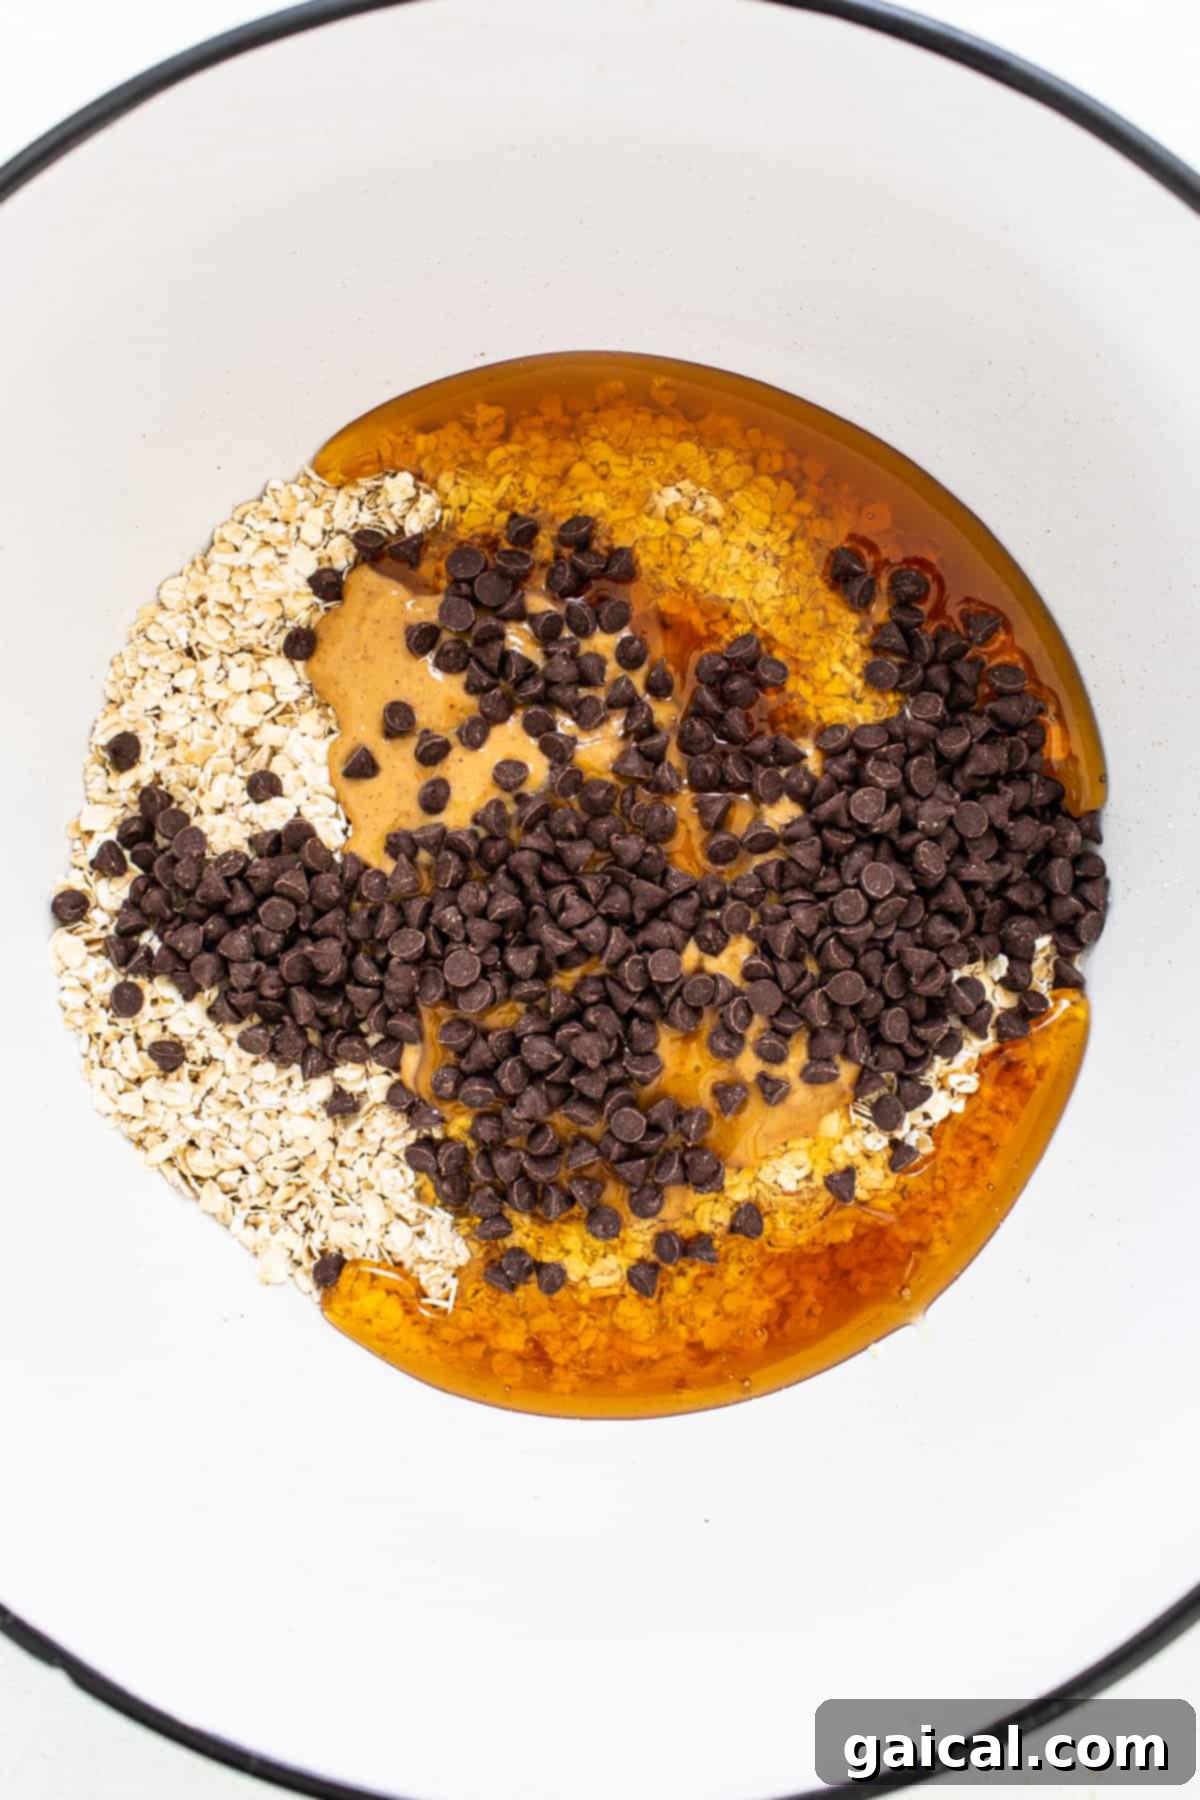
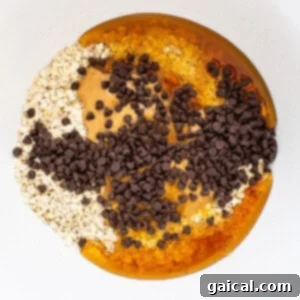
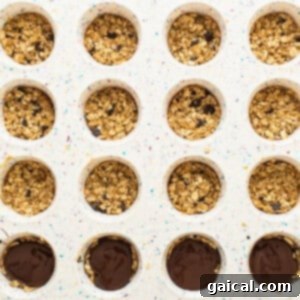
In a medium-sized mixing bowl, combine the quick-cooking oats, honey, all-natural creamy peanut butter, and a generous portion of mini chocolate chips. Using a sturdy spoon or spatula, **stir all these ingredients together** thoroughly until everything is well combined and a cohesive mixture forms. The texture should be slightly sticky. **If the mixture seems too dry or crumbly**, add 1 to 2 teaspoons of water, mixing it in one teaspoon at a time, until it reaches a pressable consistency. Once mixed, **scoop approximately 2 tablespoons of this oat mixture into the bottom of each prepared muffin cup**. Using the back of a spoon or your fingertips, **firmly press the mixture** into an even, compact layer at the bottom of each cup. This forms the sturdy base for your oat cups.
Step 3: Create the Luxurious Chocolate Layer
Next, prepare the decadent chocolate layer. Transfer your chopped dark chocolate and coconut oil into a microwave-safe bowl. **Heat the chocolate mixture** on high in 20-second increments. After each increment, remove the bowl and **stir the chocolate and coconut oil thoroughly**. Continue this process until the chocolate is completely melted and smooth, with no lumps remaining. Be careful not to overheat the chocolate, as this can cause it to seize. Once melted, **scoop about 2 teaspoons of the rich melted chocolate** and carefully drizzle it over the top of the pressed oat layer in each muffin cup. Gently **swirl the muffin pan in a circular motion** to help the chocolate evenly distribute and create a smooth, glossy layer over the oats. If any melted chocolate remains in the bowl, ensure it’s evenly distributed among all the cups. Immediately after, **place the muffin pan in the freezer for about 5 minutes** to allow the chocolate layer to firm up slightly before adding the next layer.
Step 4: Craft the Iconic Peanut Butter Layer
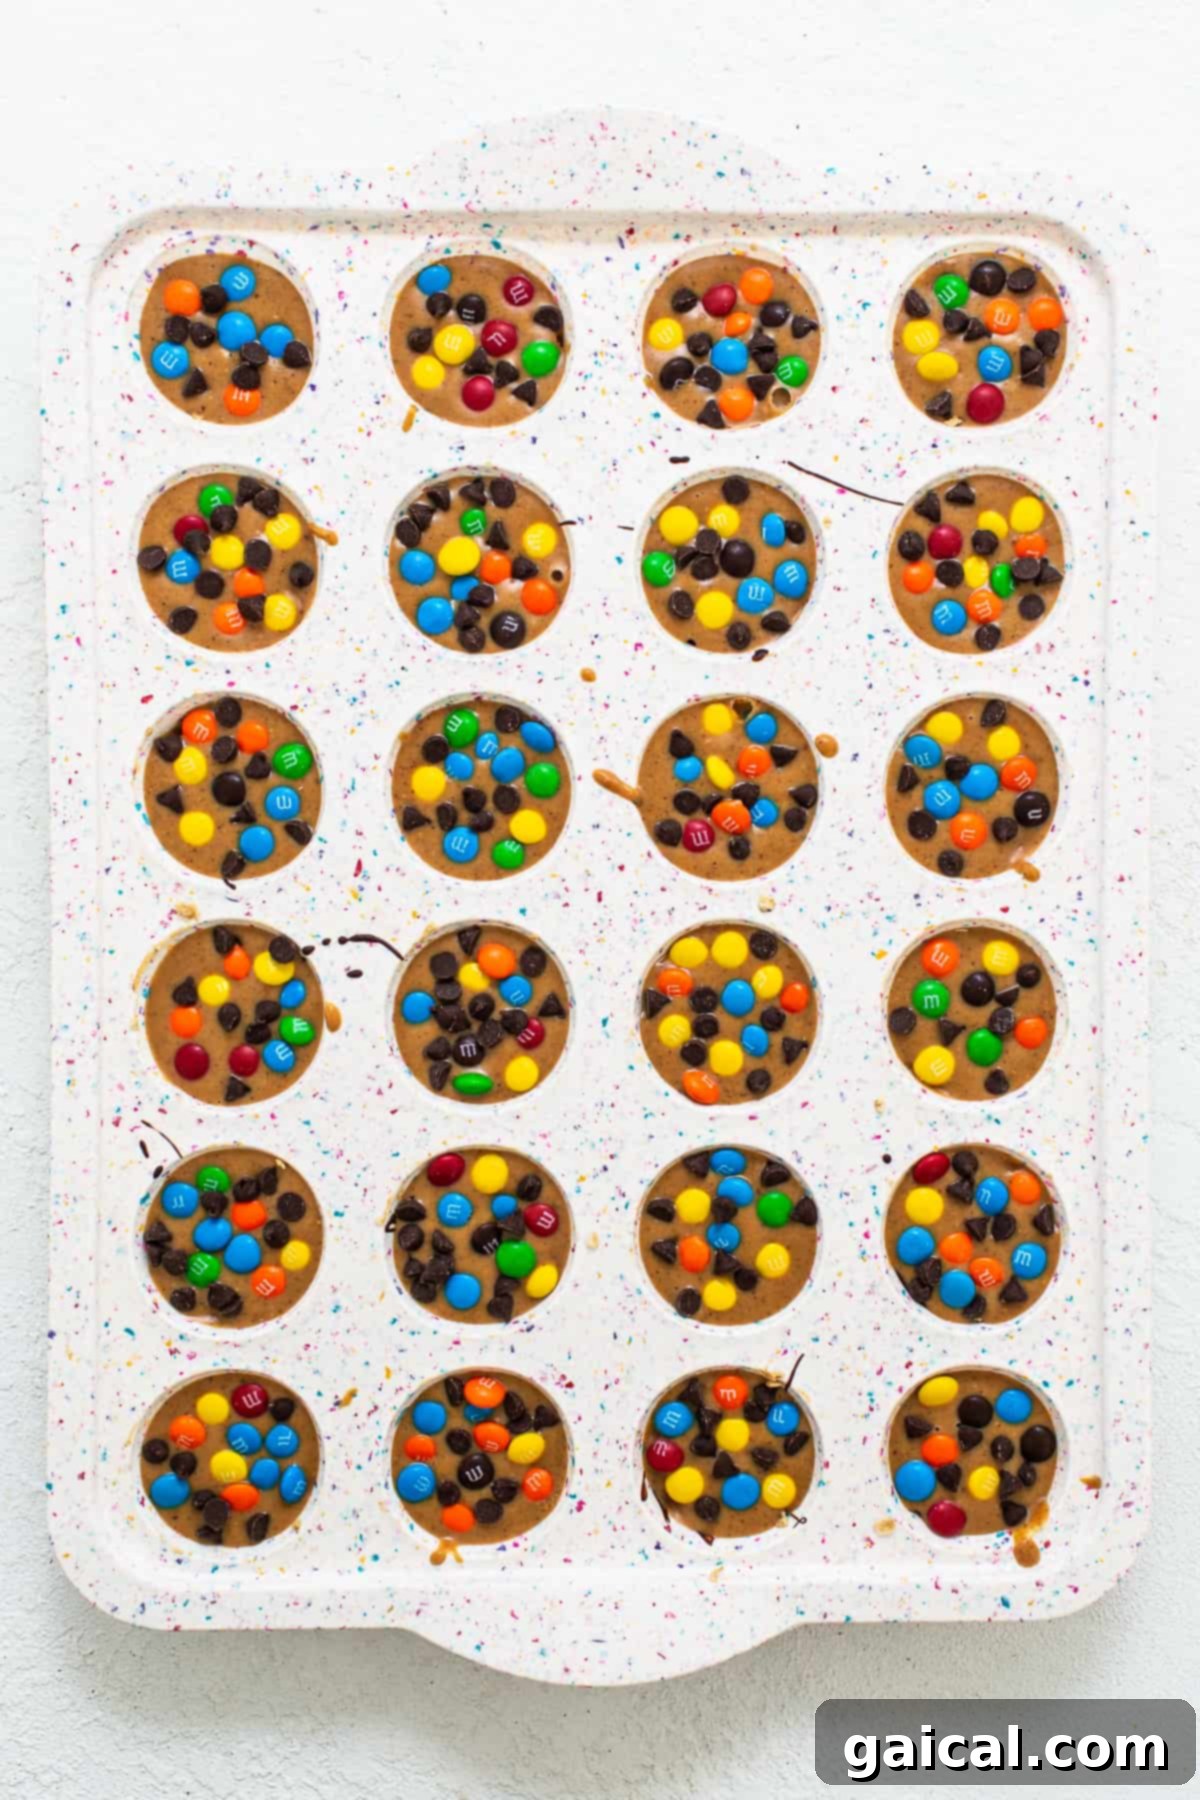
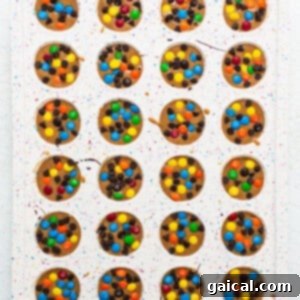
While the chocolate layer sets, prepare the final peanut butter layer. In a separate microwave-safe bowl, combine the creamy peanut butter and coconut oil. **Microwave this mixture** for approximately 15 seconds. Remove and **stir vigorously** until it’s well combined and smooth, with a slightly runny consistency. This ensures it spreads easily. Carefully take the muffin pan out of the freezer. **Add 2 teaspoons of the peanut butter mixture** to the top of the firm chocolate layer in each cup. Again, gently **swirl the pan** to help the peanut butter spread evenly. To complete the classic monster cookie look, **generously sprinkle mini M&M’s and additional mini chocolate chips** over the top of each cup while the peanut butter layer is still soft.
Step 5: Allow to Set and Chill
Once all layers are assembled and topped, **return the muffin tin to the freezer**. Allow the oat cups to **set for a minimum of 30 minutes to an hour**. This crucial chilling time ensures all layers are fully firm and the oat cups hold their shape perfectly.
Step 6: Storage and Enjoyment
Once the oat cups are completely set and firm, carefully **remove them from the muffin pan**. If using paper liners, peel them off. For silicone pans, they should pop out easily. **Transfer the finished oat cups into an airtight freezer bag or container** and store them in the freezer. They are now ready to be enjoyed as a delightful, frozen treat whenever a craving strikes! Enjoy them immediately or save them for later.
Creative Customizations: Make These Oat Cups Your Own!
One of the best things about this recipe is its versatility. Feel free to get creative and adapt it to your taste preferences or dietary needs:
- Nut Butter Swaps: Can’t do peanuts? No problem! Almond butter or cashew butter make excellent alternatives, offering a slightly different, yet equally delicious, nutty flavor profile. Ensure they are all-natural and creamy for the best texture. SunButter (sunflower seed butter) is also a fantastic option for a nut-free version.
- Flavor Enhancements with Extracts: A dash of vanilla extract in the oat layer can deepen the overall flavor, adding a warm, aromatic note. Almond extract could also provide a unique twist. Add ½ teaspoon to the oat mixture for a delightful enhancement.
- Explore Different Mini Chips: While mini chocolate chips are classic, don’t hesitate to experiment! Mini peanut butter chips can amplify the nutty flavor, butterscotch chips offer a rich, caramelly sweetness, or white chocolate chips provide a creamy contrast. Mix and match for unique flavor combinations.
- Fruity Additions: For a healthier or different topping, swap out the mini M&M’s for dried or freeze-dried fruits. Finely chopped dried cranberries, raisins, or freeze-dried strawberries or blueberries would add a lovely tartness and chewiness.
- Protein Boost: Consider adding a scoop of your favorite unflavored or vanilla protein powder to the oat layer for an extra protein kick, making these an even more substantial snack. Adjust liquid content as needed if adding powder.
- Spice it Up: A pinch of cinnamon or a tiny dash of nutmeg in the oat layer can add a comforting, warm spice note, especially appealing during cooler months.
- Healthier Sweetener Options: While honey works beautifully, you could experiment with maple syrup for a different natural sweetness, especially if aiming for a vegan version (ensure other ingredients are also vegan-friendly).
Explore More Easy No-Bake Desserts
Pumpkin Tiramisu (High-Protein Fall Dessert!)
Strawberries and Cream Rice Krispie Treats
Protein Cookie Dough Bark
Peanut Butter Crunch Cups
PB&J Protein Oat Cups
Frequently Asked Questions About Monster Cookie Oat Cups
Can I use a full-size muffin tin instead of a mini one?
Absolutely! Feel completely free to use a regular-sized muffin tin if you prefer larger treats. While you’ll yield fewer total oat cups, each one will be substantially bigger, making for an even more satisfying indulgence. Just be aware that you might need to slightly increase the amount of each layer per cup to fill them adequately, and the setting time in the freezer might be a little longer.
Is this recipe gluten-free?
Yes, this recipe is inherently gluten-free, relying on naturally gluten-free ingredients like quick-cooking oats, peanut butter, honey, and chocolate. However, to ensure absolute gluten-free status, always make sure to carefully read the labels of all your ingredients to confirm they were produced in a certified gluten-free facility and do not contain any cross-contamination. This is especially important for oats, as they are sometimes processed in facilities that also handle wheat.
Is this dessert healthy?
When compared to many traditional baked desserts, these monster cookie oat cups are indeed a more nutritious option. They are made with wholesome ingredients such as whole grain oats, natural sweeteners like honey, and nutrient-rich peanut butter, providing healthy fats and protein. While they do contain chocolate and M&M’s, they offer a balanced approach to a sweet treat. Enjoyed in moderation, they can certainly be a part of a healthy diet, providing fiber from oats and protein from peanut butter.
Can I use old-fashioned rolled oats instead of quick-cooking oats?
For this particular recipe, we highly recommend sticking with quick-cooking oats. Old-fashioned rolled oats have a coarser texture and require more liquid and cooking time to soften properly. In a no-bake recipe like this, using rolled oats would result in a much tougher, chewier, and potentially unpalatable texture that wouldn’t hold together as well. Quick-cooking oats are designed to absorb liquid quickly and provide a softer, more cohesive base.
How can I make these oat cups vegan?
Making these oat cups vegan is entirely possible with a few simple substitutions! Swap the honey for an equal amount of maple syrup or agave nectar. Ensure your chocolate chips and M&M’s are certified vegan (many brands offer dairy-free chocolate chips, and some confectionary companies now make vegan candy-coated chocolates). With these changes, you can easily adapt the recipe to be plant-based.

You’ll Also Love!
Classic No-Bake Peanut Butter Oat Cups
If you’re a devoted fan of our monster cookie oat cups, you absolutely must try our original peanut butter and chocolate oat cups. They’re a timeless combination of flavors that are equally simple to make and incredibly satisfying. Another fantastic no-bake treat waiting for you!
Optimal Storage for Long-Lasting Freshness
To maintain their perfect shape, firm texture, and delicious flavor, it is crucial to **store these monster cookie oat cups in the freezer**. The combination of peanut butter, chocolate, and coconut oil means they will soften considerably if left at room temperature on the counter, potentially losing their structural integrity and becoming messy. An airtight container or freezer bag is ideal for preventing freezer burn and keeping them fresh for up to 2-3 months. Simply grab one from the freezer whenever a craving strikes, and let it thaw for a few minutes if you prefer a slightly softer texture, though they are quite enjoyable straight from frozen!
More of Our Favorite…
A Collection of Our Best Easy No-Bake Desserts
Always on the hunt for more convenient and delicious no-bake dessert recipes? Look no further! Here are some of our absolute favorites that we’re sure you’ll adore:
- Classic No-Bake Peanut Butter Oat Cups
- High-Protein Peanut Butter Cups
- Refreshing Chocolate Strawberry Frozen Yogurt Bark
- Wholesome No-Bake Peanut Butter and Jelly Quinoa Cups
Monster Cookie Oat Cups Recipe
Emily Richter
Prep:
30
Cook:
3
Total:
33
12
Print Recipe
Ingredients
Oat Layer
- 2 cups quick-cooking oats
- ½ cup honey
- ⅓ cup all-natural creamy peanut butter
- ⅓ cup mini chocolate chips
- Optional: 1-2 teaspoons water
Chocolate Layer
- 6 oz. dark chocolate, chopped
- 2 teaspoons coconut oil
Peanut Butter Layer
- ½ cup all-natural creamy peanut butter
- 1 teaspoon coconut oil
- ¼ cup mini M&M’s
- 2 tablespoons mini chocolate chips
Instructions
-
Line a metal muffin pan with paper liners or use a silicone muffin pan (no need to line the silicone pan).
-
First, make the oat layer. Add the quick-cooking oats, honey, peanut butter, and mini chocolate chips to a bowl and stir all of the ingredients together until combined. If it seems dry, add 1 to 2 teaspoons of water. Scoop about 2 tablespoons of the oats into the bottom of each muffin cup and firmly press them into the cup.

-
Next, mix the chocolate layer. Transfer the chopped dark chocolate and coconut oil into a microwave-safe bowl. Heat the chocolate on high for 20-second increments until the chocolate is melted. Be sure to stir the chocolate and coconut oil in between each increment to ensure smooth melting.
-
Scoop 2 teaspoons of the melted chocolate and add it on top of the oat layer. Swirl the muffin pan in a circle to easily distribute the chocolate over the oats. If there is any melted chocolate left in the bowl, evenly distribute the remaining chocolate into each cup. Place the muffin pan in the freezer for 5 minutes to set this layer.
-
Finally, make the peanut butter layer. Add the creamy peanut butter and coconut oil into a separate microwave-safe bowl and microwave the mixture for 15 seconds. Stir until well combined and smooth. Add 2 teaspoons of the peanut butter mixture to the top of the chocolate layer. Swirl the pan again to even out the peanut butter. Then, add mini M&M’s and mini chocolate chips to the top of each cup for decoration.
-
Place the entire muffin tin in the freezer for at least 30 minutes to an hour to allow all layers to fully set and firm up.
-
When the oat cups have set, carefully remove them from the muffin pan. Transfer them into an airtight freezer bag or container and store the oat cups in the freezer for optimal freshness.
Tips & Notes for Success
- We do not recommend using rolled oats. Old-fashioned rolled oats would be too tough and firm in these no-bake cups, not yielding the desired soft, chewy texture. Stick to quick-cooking oats for the best results.
- Ensuring the oat cups set and firm up sufficiently in the freezer is vital. Rushing this step will result in softer, less stable cups that won’t hold their layers as well, especially when handled. Allow the full recommended time for proper setting.
- When melting chocolate, always use short intervals and stir frequently to prevent scorching and ensure a smooth, glossy finish. Overheated chocolate can become grainy or seize.
Nutrition Information (Approximate Per Serving)
Calories: 329 kcal
Carbohydrates: 35 g
Protein: 7 g
Fat: 19 g
Fiber: 3 g
Sugar: 24 g
Nutrition information is automatically calculated and should only be used as an approximation. Individual results may vary based on specific ingredients and brands used.
Love this recipe? We’d be thrilled if you leave a comment and rating below!
Don’t forget to tag your beautiful creations on social media with the hashtag #fitfoodiefinds – we absolutely love seeing what you’re cooking up!