
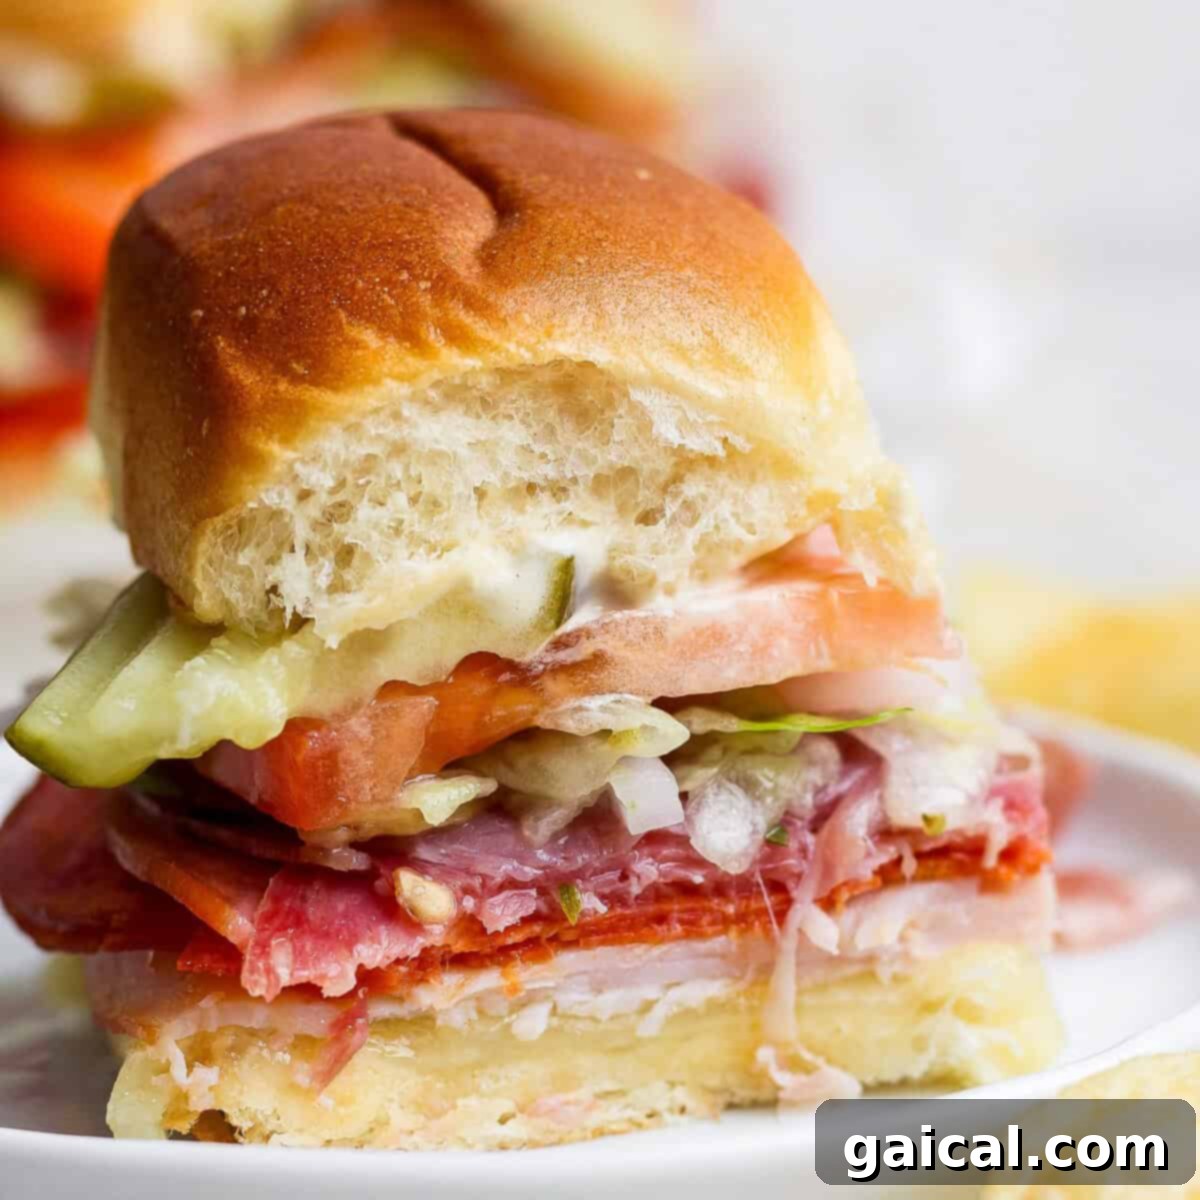
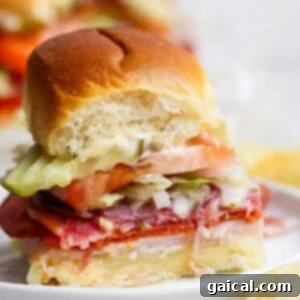
Prepare to be the hero of your next gathering with these **Irresistible Italian Grinder Sliders**! This recipe isn’t just a crowd-pleaser; it’s a culinary masterpiece in miniature form, designed to bring joy and incredible flavor to any event. I absolutely adore whipping up a generous platter of these savory delights, especially during those warm summer evenings when friends and neighbors gather, and the kids are happily playing outdoors. They’re remarkably simple to prepare in large batches, making them an ideal choice for effortless entertaining, and each bite is packed with the robust, mouth-watering flavors of a classic Italian deli sandwich. Get ready to elevate your appetizer game and watch these sliders disappear!
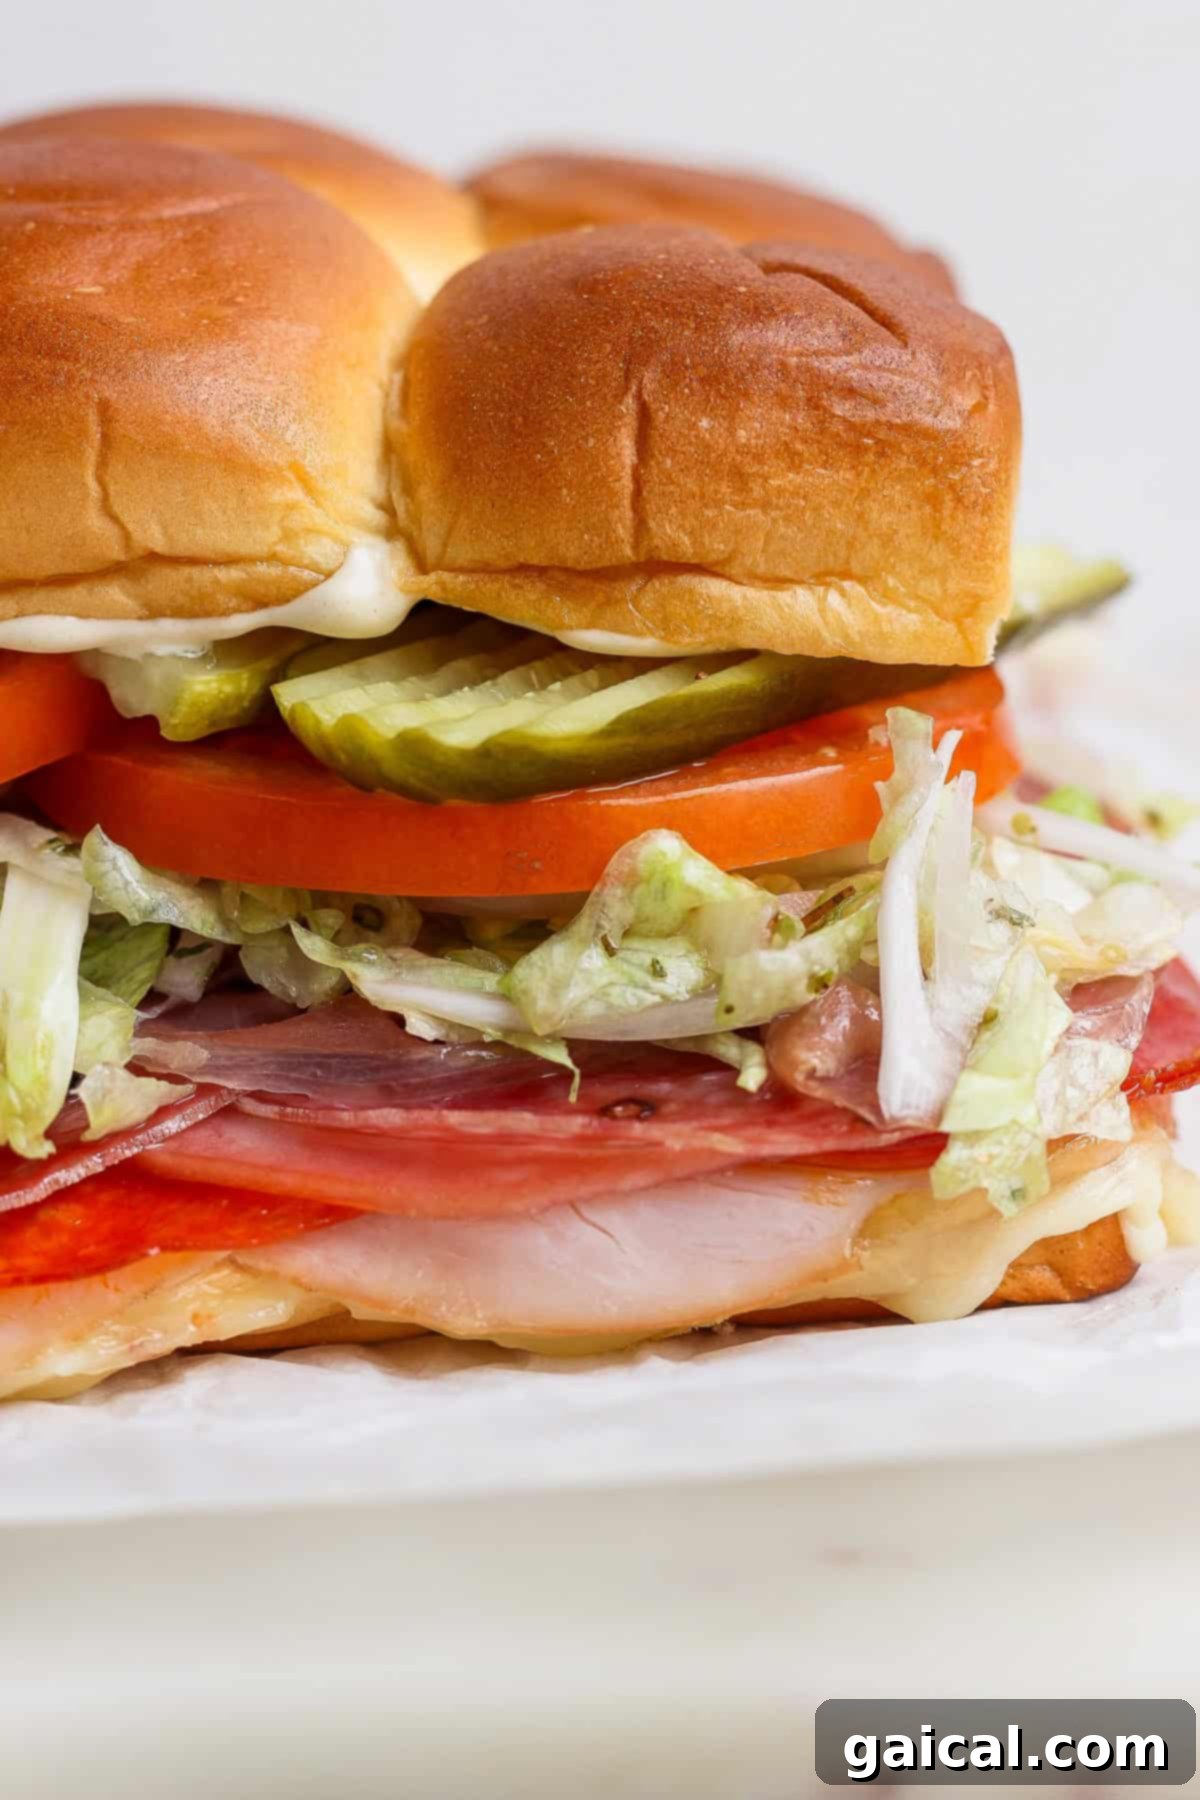
Why You’ll Adore These Italian Grinder Sliders ⤵️
Packed with Flavor, Perfectly Portioned: One of the standout features of these Italian Grinder Sliders is their incredible flavor-to-size ratio. Each slider delivers all the complex, savory goodness of a full-sized Italian grinder in a convenient, handheld package. This makes them absolutely perfect for little hands – ideal for family meals or a delightful snack for children. Beyond that, their appetizer-friendly size makes them a fantastic starter for your backyard BBQ, game day party, or any casual gathering where you want to serve something special without overwhelming your guests. They’re designed for easy snacking and mingling, allowing everyone to enjoy multiple flavor combinations effortlessly.
Effortless Large Batch Preparation for Any Crowd: Feeding a crowd can often feel daunting, but not with this recipe. The beauty of these sliders lies in their assembly method: you can effortlessly construct all 12 sliders as if you were making one giant sandwich. This ingenious technique drastically cuts down on prep time, transforming what could be a tedious task into a quick and enjoyable process. Imagine sliding a full tray of perfectly baked, warm, and gooey sliders out of the oven, ready to serve 12 individuals all at once. It’s a game-changer for hosting parties, potlucks, or simply ensuring there’s enough delicious food for a hungry family and their friends without spending hours in the kitchen.
Unleash Your Creativity: Super Customizable to Your Taste: While this specific recipe highlights my absolute favorite Italian grinder fixings, consider it a fantastic starting point for your culinary imagination. These sliders are 1000% adaptable to your preferences and what you have on hand. Don’t feel limited by the exact combination of deli meats listed. Perhaps you only have one type of deli meat in your fridge? No problem! I’ve successfully made these as scrumptious turkey grinders, savory ham grinders, or even a simple yet satisfying salami and cheese combination. Feel free to mix and match cheeses, add different spices to the lettuce and onion mixture, or incorporate other condiments. The possibilities are truly endless, allowing you to tailor each batch to your unique taste or dietary needs, ensuring everyone finds a new favorite variation.
The Star Ingredients for Your Ultimate Italian Grinder Sliders
Crafting the perfect Italian Grinder Slider begins with selecting the right core ingredients. Each component plays a crucial role in building the layers of flavor and texture that make these sliders truly exceptional. Here’s a closer look at what you’ll need to create this culinary delight:
Hawaiian Rolls: These sweet, soft, and slightly chewy rolls are the foundation of our sliders, providing the ideal balance to the savory fillings. You’ll need the entire package of 12 rolls for this recipe. The secret to quick assembly is to keep the rolls connected! Instead of pulling them apart, simply slice the entire block of rolls horizontally, creating a top and bottom half. This clever trick allows you to build your “giant sandwich” efficiently, ensuring every slider is uniformly delicious and easy to handle once baked and sliced.
Premium Deli Meats: This is where you truly get to customize your Italian grinder experience. My recommendation for an authentic, rich flavor profile includes a delightful medley of turkey, robust pepperoni, creamy mortadella, savory salami, and delicate prosciutto. This combination offers a fantastic range of textures and tastes, hitting all the classic notes of an ultimate Italian deli sandwich. However, feel free to choose your own adventure here! Whether you prefer a simpler combination or want to explore other cured meats, the key is to select high-quality thinly sliced varieties for the best results.
Perfectly Melting Sliced Cheese: For that irresistible gooey center, the right cheese is non-negotiable. I’ve found that a blend of spicy pepper jack and mild, creamy provolone works wonders. Both cheeses melt beautifully, creating a luscious texture, and their distinct flavors complement the deli meats exquisitely. A crucial tip for assembly: lay your sliced cheese as the very first layer over the bottom half of the rolls. This clever placement ensures that when it’s time to add the fresh toppings later, you can easily lift the top bread layer without disturbing the melted cheese and meat, making for a cleaner and more appealing presentation.
Zesty Italian Seasoned Lettuce and Onions: This is truly the secret weapon that elevates these sliders from good to gourmet – do NOT skip this step! This fresh, zesty topping adds a vibrant crunch and an incredible depth of flavor that really makes these sliders sing. You’ll begin by tossing thinly sliced white onions in a mix of tangy red wine vinegar and fragrant dried oregano. Allow them to marinate for a few minutes; this brief soak softens the onions and infuses them with a delightful tang. Afterwards, combine the marinated onions with crisp shredded lettuce and a drizzle of quality olive oil. This simple yet impactful preparation transforms ordinary toppings into a signature element that makes every bite burst with fresh, herbaceous Italian essence.
For a complete list of precise measurements and additional details for these exquisite ingredients, please refer to the comprehensive recipe card located further down the page.
What to Serve with These Scrumptious Sliders
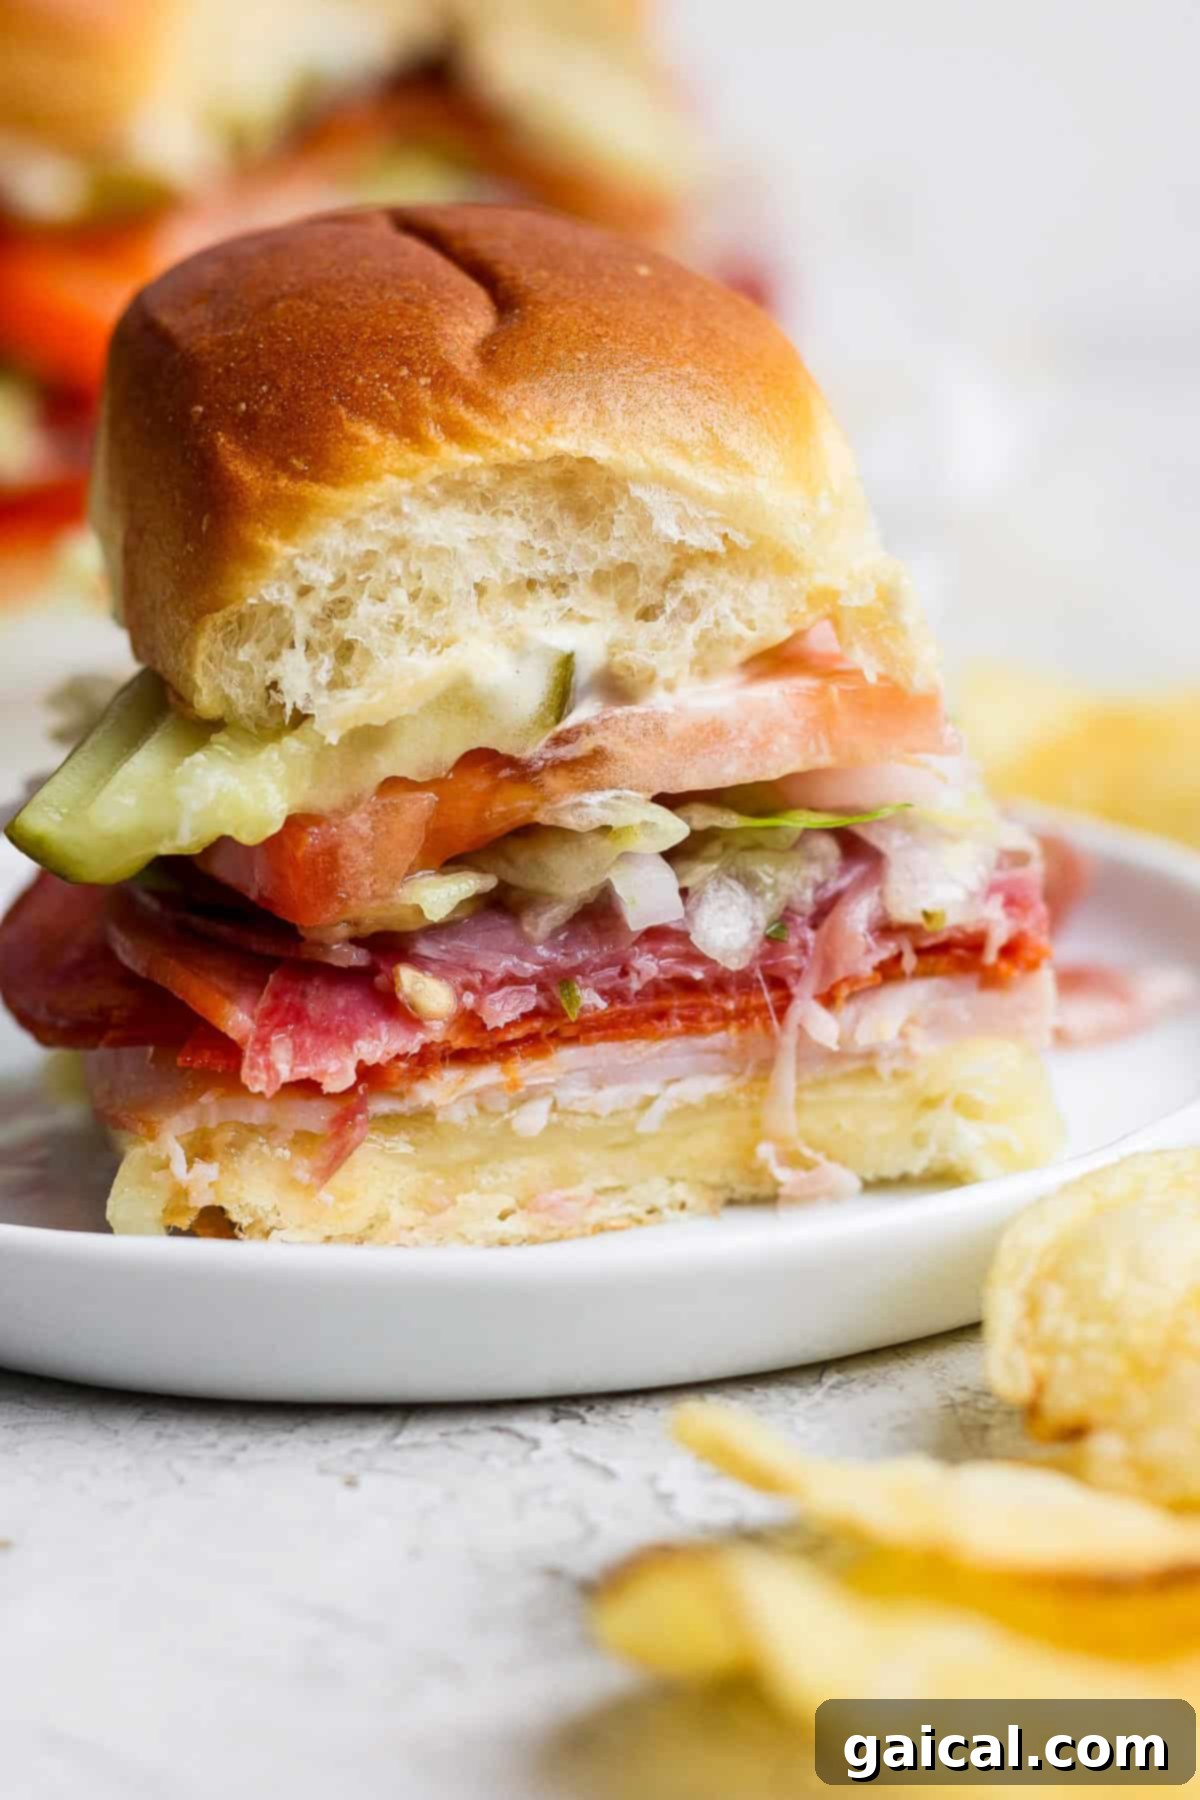
These Italian Grinder Sliders are versatile enough to pair with a wide array of side dishes, making them perfect for any meal or occasion. While I’m a huge advocate for the timeless and satisfying combo of a classic sandwich with crunchy potato chips – especially if you try my incredibly crispy air fryer sweet tater chips for a healthier twist! – there are plenty of other delightful options. For a refreshing balance, I particularly love serving these grinder sliders alongside a generous helping of light and creamy coleslaw, which offers a cool, crisp counterpoint to the rich flavors of the sliders. Alternatively, if you’re looking for another warm and comforting side, my perfectly seasoned air fryer sweet potato fries are an absolute winner, adding a touch of sweetness and a satisfying crunch. Consider also a simple green salad with a zesty vinaigrette, a bowl of minestrone soup, or even some roasted vegetables for a more complete and wholesome meal. The possibilities are truly endless!
Storage and Make-Ahead Tips for Italian Grinder Sliders
While these Italian Grinder Sliders are undoubtedly at their peak of deliciousness when served immediately after baking, their prep can be smartly managed to suit your schedule. The warm, melted cheese and toasted rolls are simply divine straight from the oven, offering the best textural experience. However, if you’re planning ahead for a party or busy week, these tips will help you enjoy them fresh without all the last-minute fuss:
**Prepping Ahead:** To get a head start, I highly recommend assembling the base of the grinders – meaning the Hawaiian rolls with all the layers of deli meats and cheeses – and then storing them covered in the refrigerator. This can be done several hours, or even up to a day, before you plan to bake them. When you’re ready, just pop them into the preheated oven for that perfect melty, golden finish.
**Italian Seasoned Toppings:** The flavorful Italian seasoned lettuce and onions can also be prepared in advance. Simply toss them together as instructed and store them in a separate airtight container in the fridge. However, it’s crucial to wait until the very moment you’re ready to serve the baked sliders before adding these fresh toppings. This ensures the lettuce remains crisp and vibrant, preventing it from getting soggy from the dressing or the heat of the warm rolls. Separating the wet and hot components until serving guarantees the best possible texture and taste experience for your guests.
Explore More Delectable Sandwich Recipes
If you’re a fan of easy, satisfying meals and crave more handheld deliciousness, be sure to explore these other fantastic sandwich recipes from my collection:
- My Favorite Classic Turkey Sandwiches
- Creamy Avocado Tuna Salad Sandwich
- Gourmet Turkey Pesto Sandwiches
- Hearty Homemade Egg Salad Sandwich
Italian Grinder Sliders on Hawaiian Buns
These Italian Grinder Sliders are a sensational hit for any occasion! They’re incredibly easy to whip up in a large batch, making them perfect for entertaining, and each bite delivers an explosion of classic Italian deli flavors. Ideal for summer gatherings, quick appetizers, or a fun family meal, these mini sandwiches are sure to be a crowd-pleaser.
Emily Richter
Prep:
20 mins
Cook:
15 mins
Total:
35 mins
12
Print Recipe
Ingredients
- 12- count Hawaiian Rolls
- 7 oz. sliced turkey breast
- 2 oz. sliced pepperoni
- 4 oz. sliced mortadella
- 3 oz. sliced salami
- 2 oz. sliced prosciutto
- 6 slices pepper jack cheese
- 6 slices provolone cheese
- 1 tablespoon unsalted butter, melted
- ¼ white onion, thinly sliced
- 2 tablespoons red wine vinegar
- 1 teaspoon dried oregano
- 4 oz. shredded lettuce
- 2 tablespoons olive oil
- 1 large tomato, thinly sliced
- 6 pickle slices
- 3 tablespoons mayonnaise
- 1 tablespoon Dijon mustard
Instructions
-
Preheat your oven to 350℉ (175°C) and lightly spray a 9×13 inch baking pan with cooking spray. Set this prepared pan aside, ready for slider assembly.
-
Carefully slice the entire block of Hawaiian rolls horizontally through the middle, ensuring they remain connected at the edges. Place the bottom half of the rolls into your prepared baking pan, forming the base of your sliders.
-
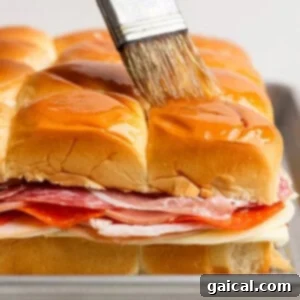
Begin building your delicious layers! First, evenly arrange the slices of pepper jack and provolone cheeses over the bottom half of the rolls. Next, generously layer all your chosen deli meats: turkey, pepperoni, mortadella, salami, and prosciutto, ensuring an even distribution. Gently place the top half of the Hawaiian rolls back on, covering the meats and cheeses. Finally, brush the tops of the rolls with the melted unsalted butter, which will give them a beautiful golden crust.

-
Bake the assembled sliders in the preheated oven for 15 minutes. This baking time allows the cheeses to melt into gooey perfection and the rolls to become wonderfully warm and lightly toasted.
-
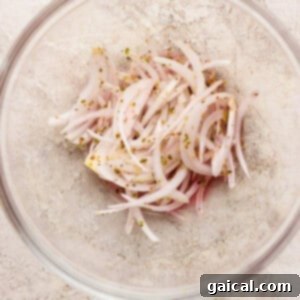
While your sliders are baking, it’s the perfect time to prepare the star toppings. In a medium-sized bowl, combine the thinly sliced white onion, red wine vinegar, and dried oregano. Stir these ingredients thoroughly to ensure the onions are well-coated. Set the bowl aside and allow the onions to marinate for about 5 minutes; this brief marination softens them slightly and infuses them with a zesty, herbaceous flavor.
-
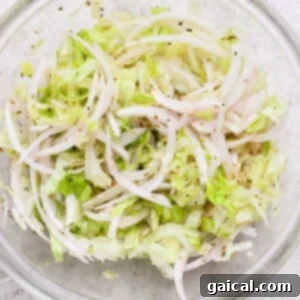
After the onions have marinated, add the shredded lettuce and olive oil to the same bowl. Toss everything together gently until the lettuce is evenly coated with the seasoned onion mixture. Set this vibrant topping aside until your sliders are ready.
-
In a small separate bowl, combine the mayonnaise and Dijon mustard. Stir well until you have a smooth, creamy spread. This tangy sauce will add another layer of flavor and moisture to your sliders.
-
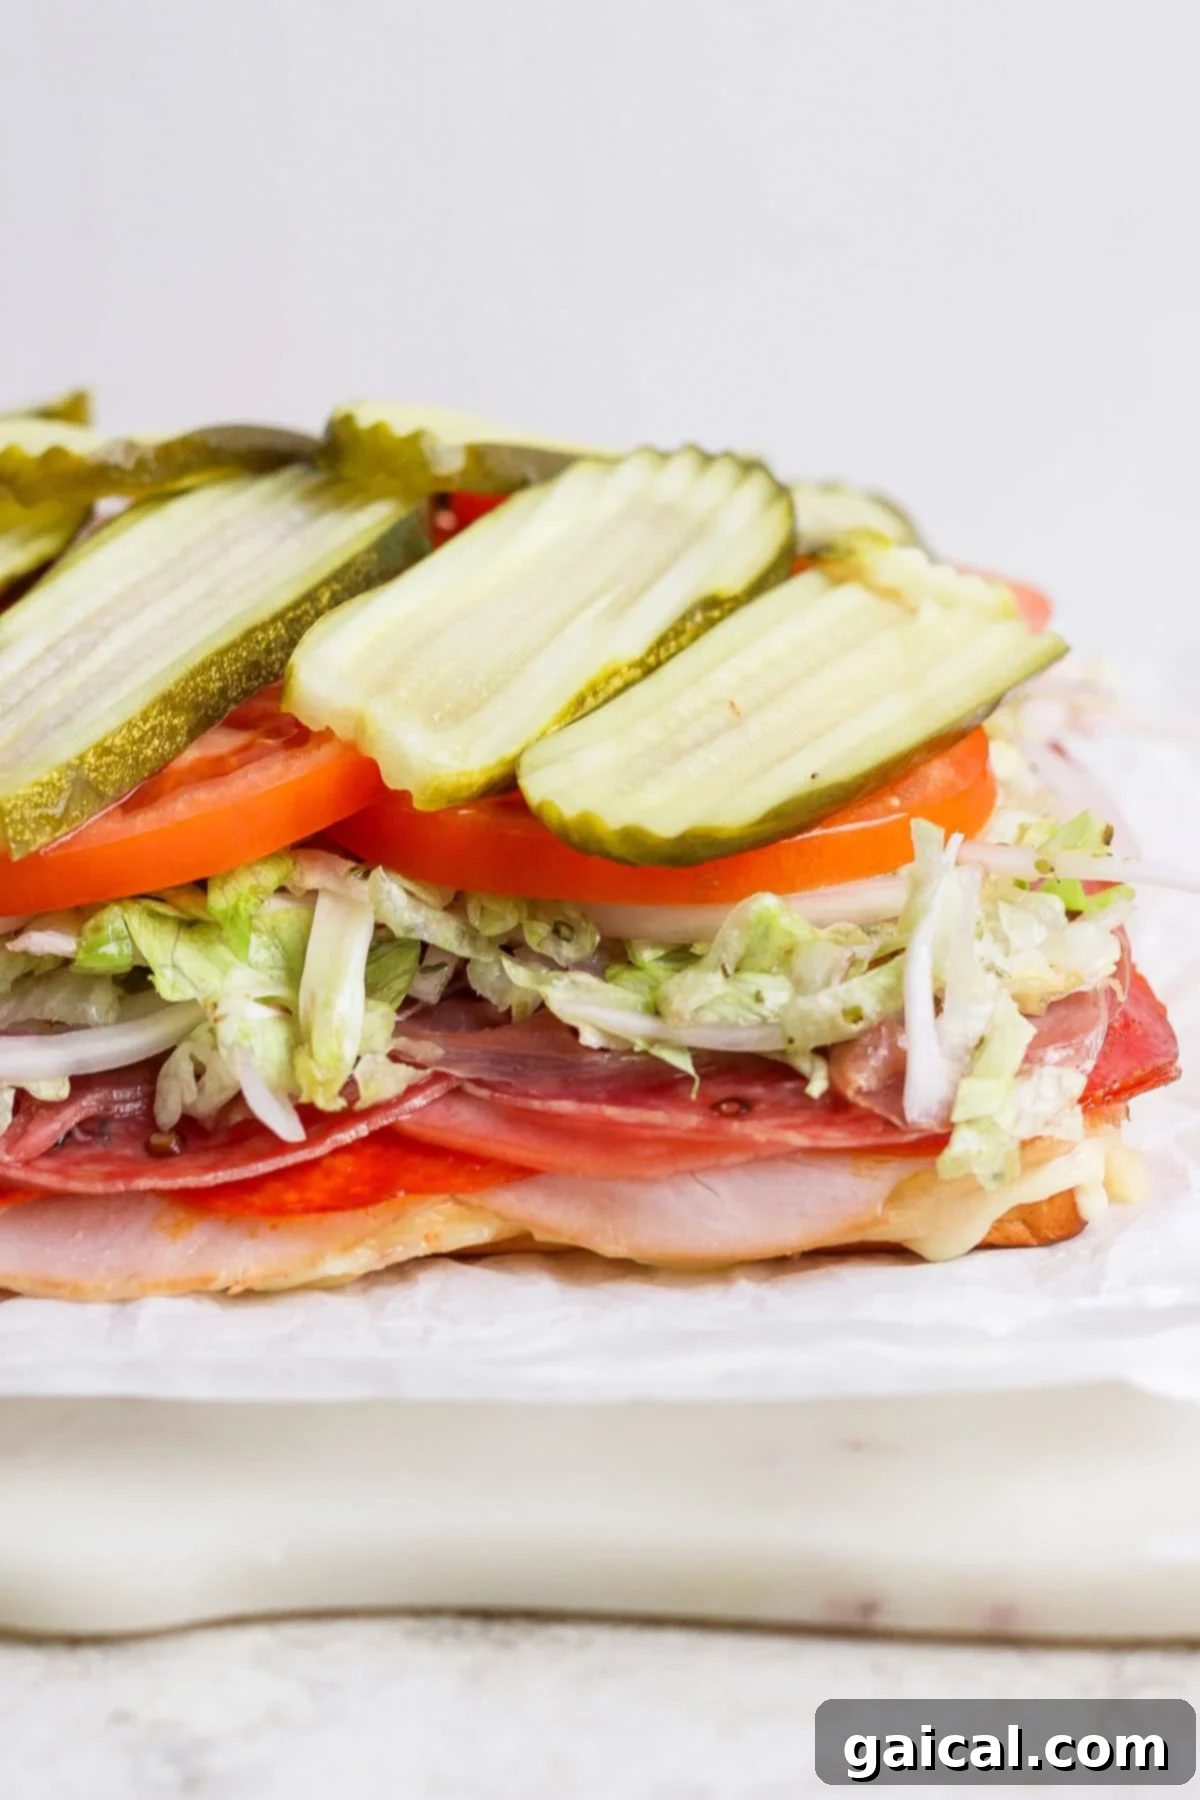
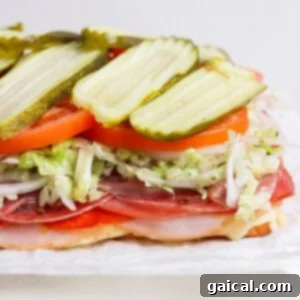
Once the sliders are perfectly baked, carefully remove them from the oven and transfer the entire block to a cutting board. Gently lift the top layer of the Hawaiian rolls off and set it aside. Now, generously layer the marinated lettuce and onion mixture over the melted cheese and meats. Arrange the sliced tomatoes and pickle slices evenly on top of the lettuce. Take your prepared mayonnaise and mustard mixture and spread it smoothly over the inside of the top half of the Hawaiian rolls.
-
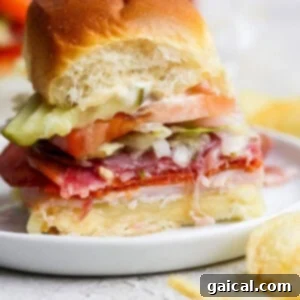
Carefully place the mayo-coated top of the slider rolls back onto the assembled base. Using a sharp serrated knife, cut through the connected rolls to separate them into individual sliders. Serve immediately and watch them disappear!
Tips & Notes for Perfect Grinder Sliders
- **Customizing Your Meats and Cheeses:** Don’t hesitate to experiment with your favorite deli meats and cheeses! While this recipe features traditional Italian selections like turkey, pepperoni, mortadella, salami, and prosciutto, almost any combination will yield a delicious result. Consider roast beef, ham, or even a vegetarian option with roasted vegetables and fresh mozzarella. The key is thin slicing for easy biting.
- **Baking for Authenticity:** Baking these sliders is crucial for achieving that authentic “grinder” experience. The oven’s heat melts the cheeses into a creamy, gooey delight, slightly toasts the Hawaiian rolls for added texture, and warms the meats, infusing all the flavors together beautifully. This step truly sets them apart from cold sandwiches.
- **Bread Choice:** While Hawaiian rolls are highly recommended for their sweetness and soft texture that perfectly complements the savory fillings, you could also experiment with other mini buns or even sliced baguette for a different structural integrity.
- **Spice It Up:** If you enjoy a little heat, consider adding a pinch of red pepper flakes to your marinated onion mixture or a dash of hot sauce to your mayo-mustard spread.
- **Make it a Meal:** Serve these sliders with a hearty soup for a comforting lunch or dinner, or alongside a crisp salad for a lighter meal. They are truly versatile!
Watch the Magic Unfold!
See how easy it is to create these incredible Italian Grinder Sliders in this step-by-step video. From assembling the layers to baking and adding the finishing touches, you’ll gain all the confidence you need to make this recipe a success!
Nutrition
Calories:
339 kcal
,
Carbohydrates:
17 g
,
Protein:
15 g
,
Fat:
23 g
,
Fiber:
0.4 g
,
Sugar:
5 g
Nutrition information is automatically calculated and should be used as an approximation.
Love This Recipe? Leave a Comment Below!
Don’t forget to tag your delicious creations on social media with the hashtag #fitfoodiefinds – we’d absolutely love to see what you’re cooking up!