
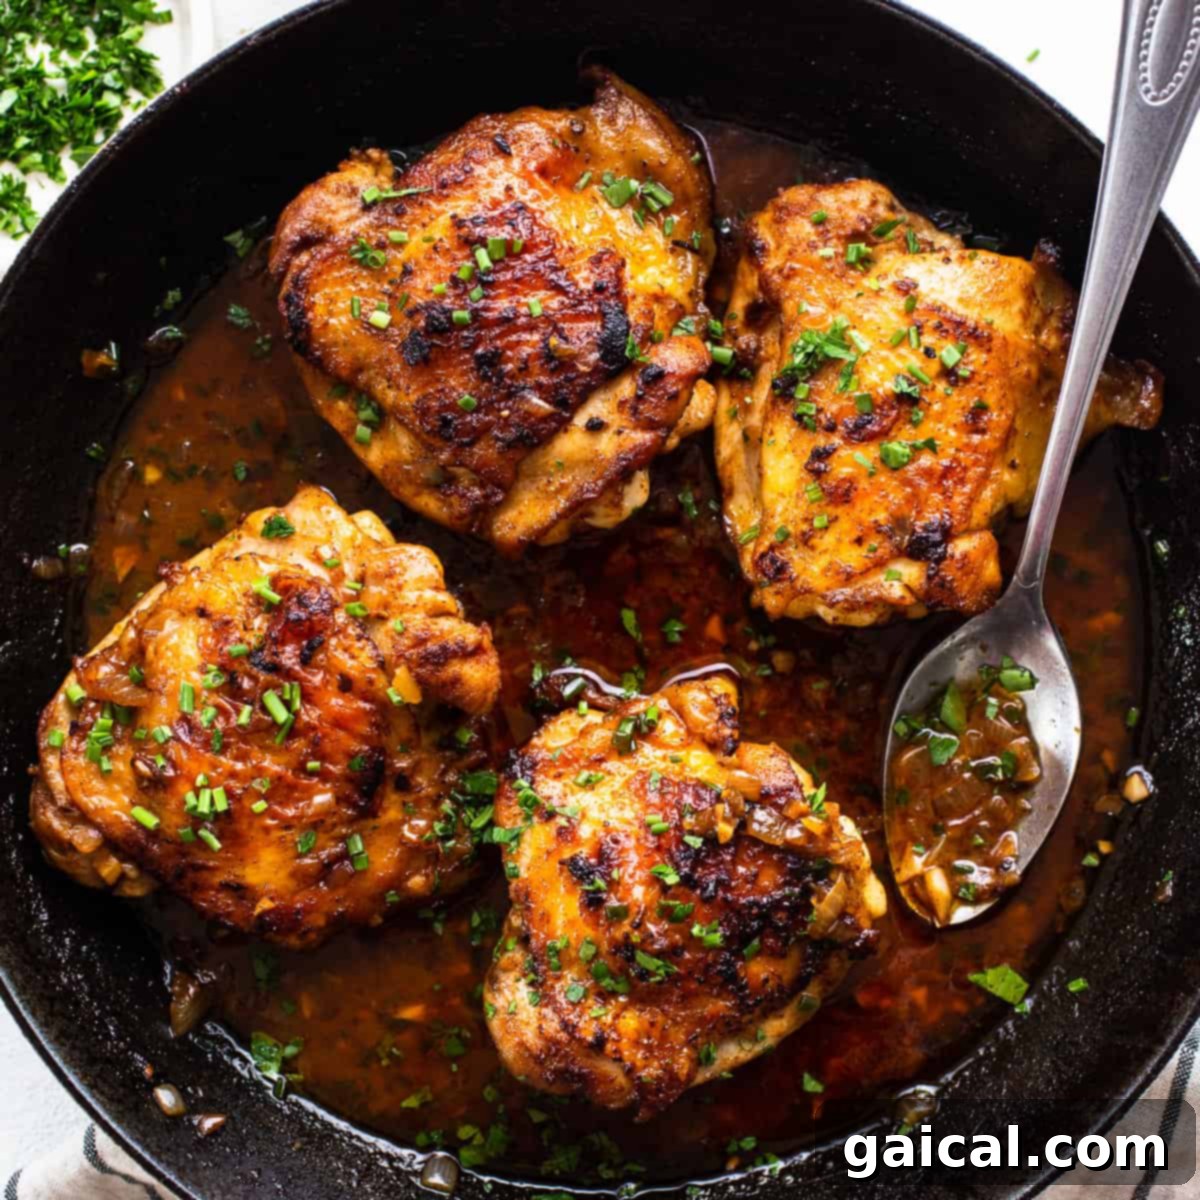
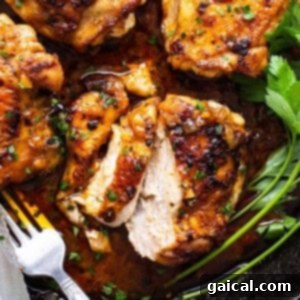
Are you tired of serving up dry, flavorless chicken? Say goodbye to bland meals and hello to a culinary masterpiece with this incredible cast iron chicken thighs recipe. Designed to deliver an explosion of flavor and an irresistibly crispy skin, this dish is guaranteed to leave everyone at your table asking for seconds. We’re talking perfectly seasoned, beautifully seared chicken thighs that are then finished in the oven, resulting in a satisfyingly crunchy exterior and incredibly tender, juicy meat within. It’s the ultimate comfort food experience, elevated by the magic of cast iron cooking.
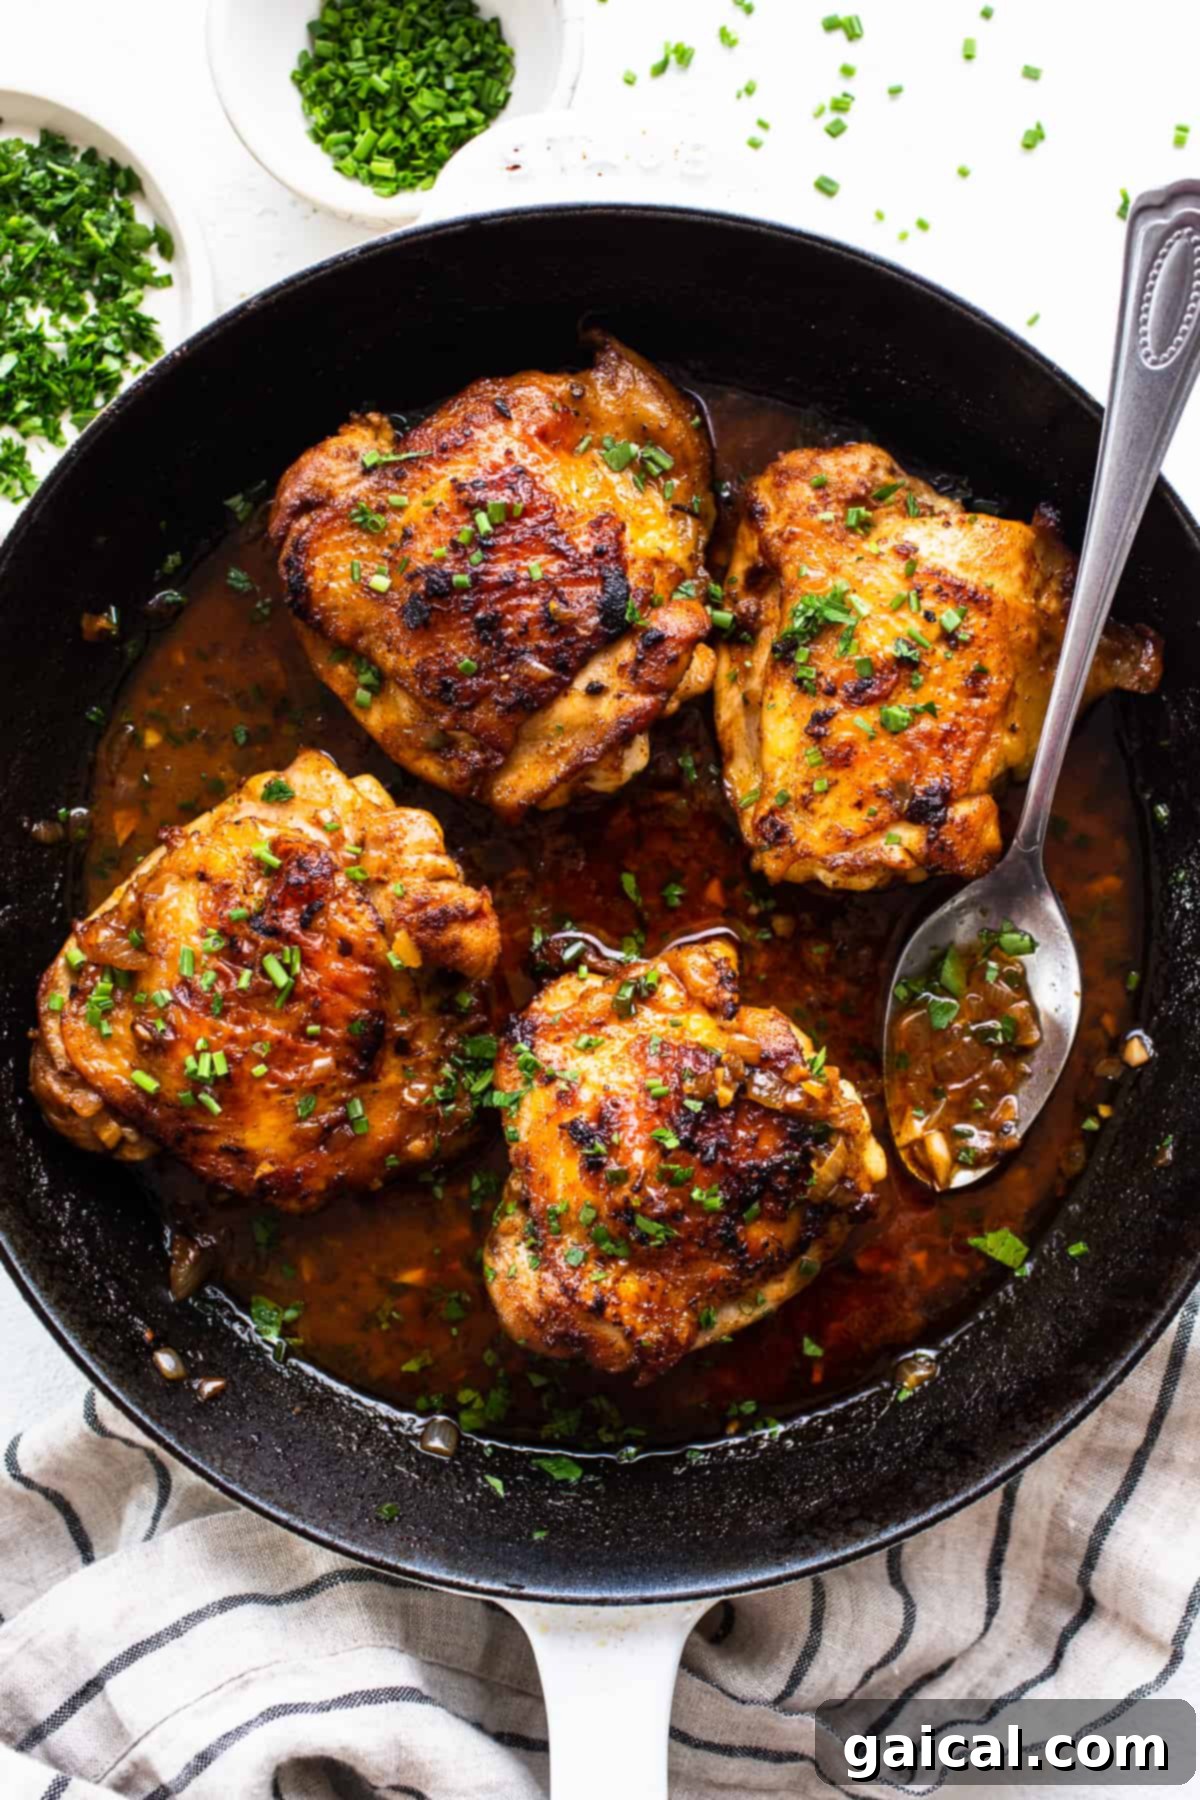
Harness the power of your trusty cast iron skillet to achieve chicken thighs that are not only fantastically crispy but also bursting with delicious flavor! If you’ve ever struggled to get that ideal taste and texture from your chicken, this amazing recipe will be your golden ticket to dinner heaven. All you need is a reliable cast iron skillet, a handful of simple ingredients, and a healthy appetite ready for an unforgettable meal. Prepare to transform ordinary chicken thighs into an extraordinary dining experience.
Why Cast Iron for Chicken Thighs? The Secret to Crispy Perfection
Cooking chicken thighs in a cast iron skillet is a game-changer for several reasons. Cast iron is renowned for its exceptional heat retention and even heat distribution. This means once your skillet is hot, it stays hot, creating a consistently high-temperature surface that is perfect for searing. The intense, steady heat allows the chicken skin to render fat effectively and crisp up beautifully, developing a deep golden-brown color and irresistible crunch. Unlike thinner pans, cast iron won’t experience significant temperature drops when the chicken is added, ensuring a superior sear. Furthermore, cast iron skillets are oven-safe, making them incredibly versatile. You can start searing on the stovetop and then effortlessly transfer the entire pan to the oven to finish cooking, locking in moisture and ensuring the chicken cooks through without burning the exterior. This two-stage cooking method is key to achieving that coveted combination of crispy skin and succulent, juicy meat.
Cast Iron Chicken Thighs Recipe – What You Need
Crafting these delectable cast iron chicken thighs requires a carefully selected list of ingredients that work in harmony to build layers of flavor and achieve perfect texture:
- Bone-in, Skin-on Chicken Thighs: For the absolute best results, we highly recommend using bone-in, skin-on chicken thighs. The bone helps to conduct heat slowly, keeping the meat juicier during cooking, while the skin crisps up beautifully, providing a delightful textural contrast and an extra layer of savory flavor.
- Flavorful Seasoning Mix: Our robust seasoning blend is designed to infuse the chicken with incredible taste. It includes:
- Garlic Powder: Adds a foundational aromatic depth.
- Kosher Salt: Essential for seasoning, enhancing all other flavors. Coarse kosher salt adheres well to the chicken.
- Light Brown Sugar: A touch of brown sugar helps with caramelization, contributing to that desirable golden-brown crust and a hint of sweet-savory balance.
- Black Pepper: Provides a classic, subtle warmth and sharpness.
- Paprika: Offers a beautiful red hue and a mild, slightly sweet, peppery flavor that complements chicken wonderfully.
- Avocado Oil: A fantastic heart-healthy oil with a very high smoke point, making it ideal for searing at high temperatures in your cast iron skillet without burning.
- Unsalted Butter: Used to create a rich, flavorful pan sauce. We opt for unsalted butter to better control the overall sodium content in the dish. If you only have salted butter, remember to reduce the amount of kosher salt in your chicken seasoning.
- Aromatics (Onion & Garlic): These humble vegetables are sautéed directly in the flavorful chicken drippings, forming a fragrant and savory base for the pan sauce, enhancing the overall depth of the dish.
- Chicken Broth: Essential for deglazing the pan after searing, it captures all those delicious browned bits (fond) from the bottom of the skillet, transforming them into a rich, savory sauce that keeps the chicken incredibly moist as it finishes cooking in the oven.
- Fresh Chives: Our garnish of choice, fresh minced chives add a bright, oniony freshness that truly levels up the dish, providing a beautiful visual appeal and a burst of herbaceous flavor.
Can you use boneless chicken thighs for this recipe?
While bone-in, skin-on thighs yield the best results for this specific method, you can adapt the recipe for boneless chicken thighs if absolutely necessary. However, we do not recommend using boneless skinless chicken thighs for this oven-finished recipe as they cook much faster and tend to dry out easily without the bone and skin protection. If you must use boneless thighs, skip the oven portion of the cooking method entirely. Instead, only sear the boneless thighs on the stovetop until cooked through (they will take less time), then remove them, prepare the sauce, and return the thighs briefly to the pan to coat before serving. Adjust cooking times accordingly to prevent overcooking.
Top Tips for Perfect Cast Iron Chicken Thighs
Achieving perfectly crispy and juicy cast iron chicken thighs is straightforward when you follow these expert tips:
- Pat Your Chicken Dry: Before seasoning, thoroughly pat the chicken thighs dry with paper towels. Excess moisture on the skin is the enemy of crispiness, as it causes the chicken to steam rather than sear. A dry surface ensures a golden, crispy crust.
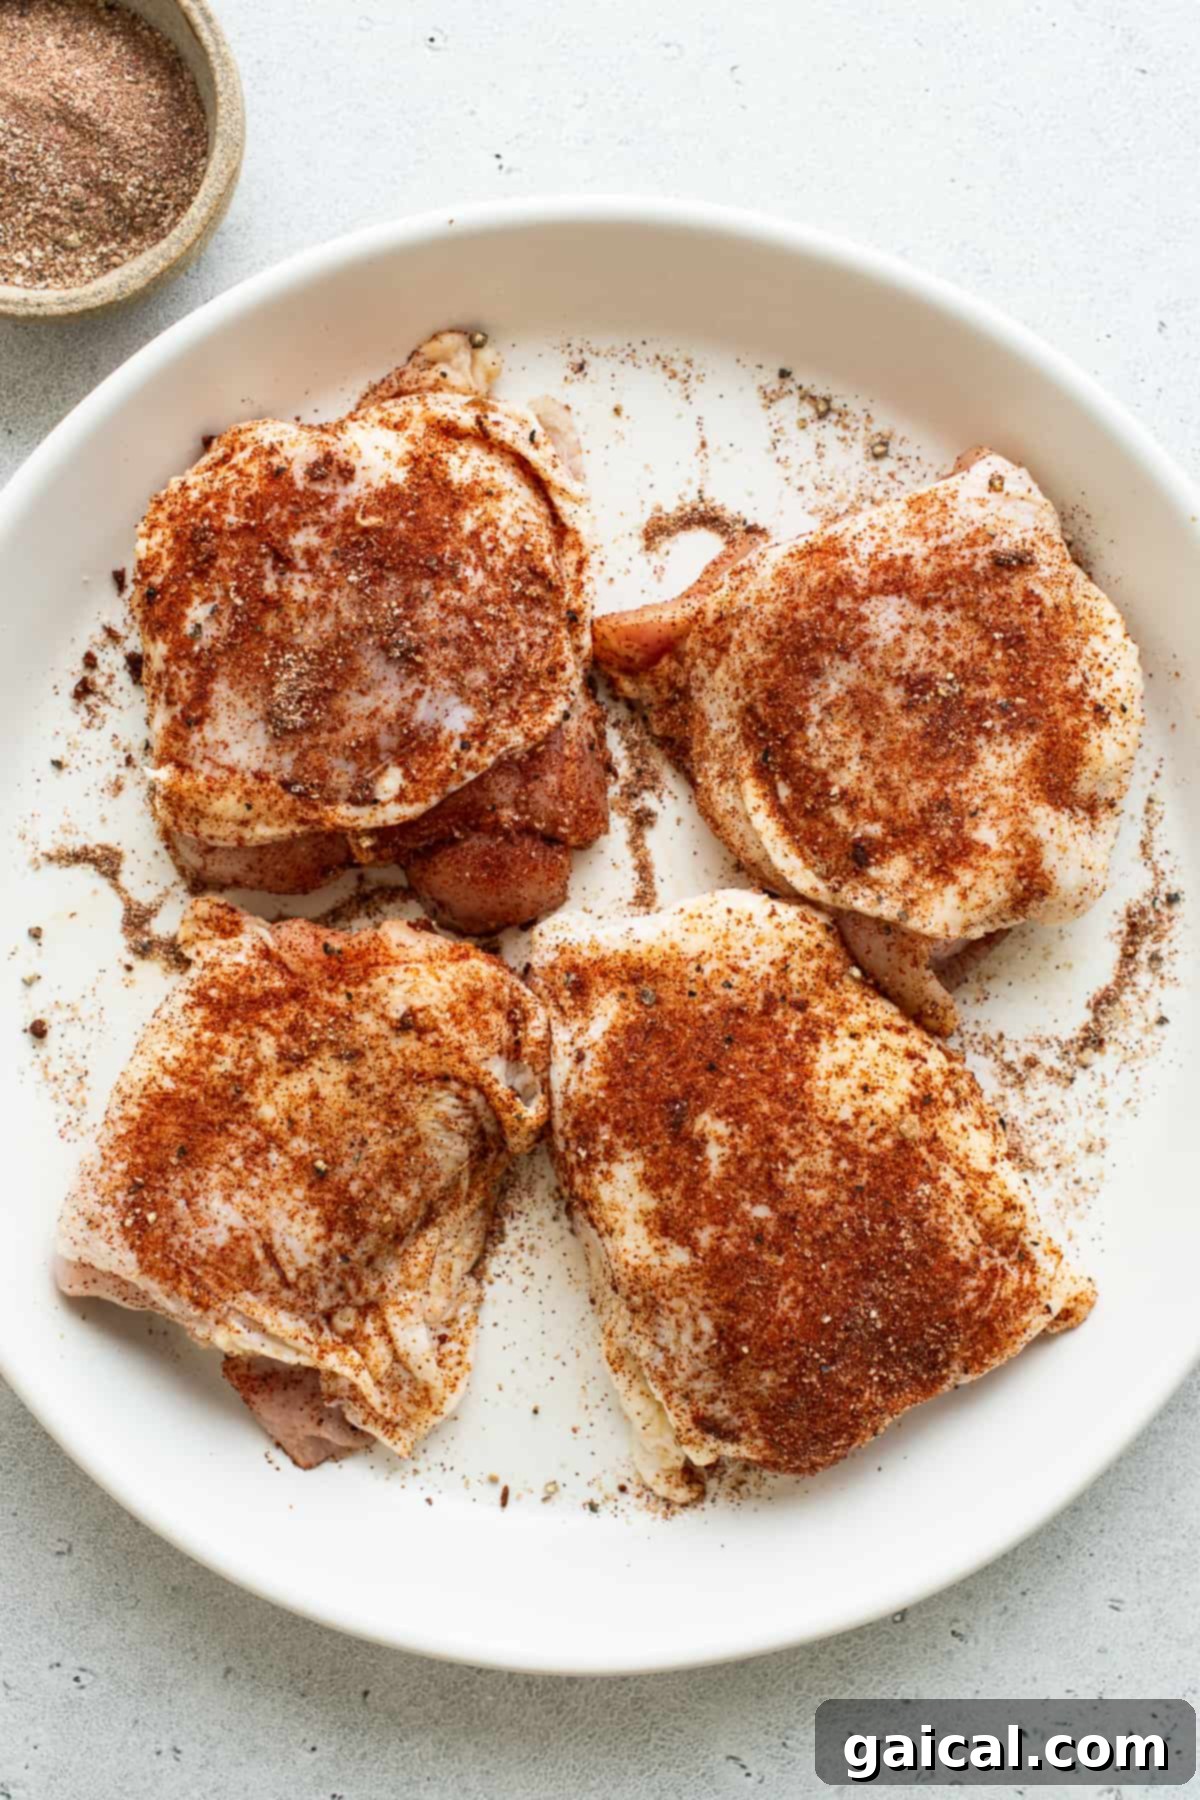
- Season Generously and Thoroughly: Don’t be shy with the seasoning! Generously rubbing the spice blend into both sides of the chicken skin and meat will infuse maximum flavor and contribute to a more robust, flavorful crust during searing. Allow the seasoned chicken to rest at room temperature for about 10-15 minutes before cooking, which helps the flavors penetrate and prevents the chicken from sticking to a hot pan.
- Preheat Your Cast Iron Skillet Properly: A common mistake is adding chicken to a cold or insufficiently heated pan. Always ensure your cast iron skillet is properly preheated over medium-high heat until it’s very hot before adding oil. This prevents sticking and ensures an immediate, aggressive sear. You can test the heat by flicking a few drops of water into the pan; if they sizzle and evaporate immediately, it’s ready.
- Use the Right Oil: Choose an oil with a high smoke point, like avocado oil, grapeseed oil, or canola oil, for searing. Olive oil has a lower smoke point and can burn, imparting an undesirable flavor.
- Avoid Overcrowding the Pan: Cook the chicken thighs in batches if necessary, ensuring there’s enough space between each piece. Overcrowding lowers the pan’s temperature and releases too much moisture, leading to steamed rather than seared chicken.
- Don’t Disturb the Sear: Once the chicken thighs are placed skin-side down in the hot skillet, resist the urge to move them frequently. Let them sear undisturbed for 6-7 minutes. This allows the skin to develop a beautiful, deep brown crust and naturally release from the pan. You can gently jostle with tongs after a few minutes to check for sticking, but generally, patience is key.
- Mind the Boneless Thighs: As mentioned, boneless, skinless chicken thighs cook much faster. If you use them, skip the oven step and finish them entirely on the stovetop, ensuring they reach the correct internal temperature before removing them to make the sauce.
- Deglaze for Flavor: Don’t discard those browned bits (fond) in the pan after searing! They are packed with flavor. Deglazing with chicken broth (or even a splash of white wine) and scraping them up is crucial for building a rich, delicious pan sauce.
Chicken Internal Temperature & Resting
Ensuring your chicken is cooked to a safe internal temperature is paramount for food safety and deliciousness. According to the USDA, the safe cooking temperature for poultry is 165ºF (74ºC). Use an instant-read meat thermometer inserted into the thickest part of the thigh, avoiding the bone, to accurately check doneness.
Let rest: Remember that after cooking, it’s vital to let the chicken rest for at least 5-10 minutes before slicing or serving. This allows the juices to redistribute throughout the meat, ensuring it remains incredibly tender and moist. The internal temperature will also continue to rise by a few degrees (around 5ºF) during this resting period, a phenomenon known as carryover cooking.
Great Jones
Cast Iron Pan Recommendation
For an exceptional cooking experience, the Great Jones King Sear is our favorite cast iron pan. Its superior quality and performance make it a worthwhile splurge to add to your kitchen collection, promising even heat and durable construction for years of delicious meals.
More of our Favorite…
Explore More Delicious Chicken Thigh Recipes
Chicken thighs are incredibly versatile, offering rich flavor and tenderness that makes them a favorite for home cooks. If you’re looking for more ways to prepare this fantastic cut of poultry, we have a comprehensive collection of tutorials covering every popular cooking method. Expand your culinary repertoire with these top-rated recipes:
- Stovetop Chicken Thighs: Quick and easy for a weeknight meal.
- Dutch Oven Chicken Thighs: Perfect for braising and tender, fall-off-the-bone results.
- Cast Iron Chicken Thighs: Our featured recipe for ultimate crispiness!
- Air Fryer Chicken Thighs: For a super fast and crispy alternative.
- Grilled Chicken Thighs: Smoky and delicious for outdoor cooking.
- Baked Chicken Thighs: A simple, hands-off approach for juicy chicken.
- Instant Pot Chicken Thighs: For flavorful chicken in record time.
- Sous Vide Chicken Thighs: Precision cooking for unparalleled tenderness.
- Smoked Chicken Thighs: Infused with incredible smoky flavor.
Frequently Asked Questions About Cast Iron Chicken Thighs
Cast iron skillets are exceptional for chicken thighs because they offer superior heat retention and even heat distribution. This allows for a consistently hot surface that creates a beautiful, crispy, and evenly cooked exterior on the chicken skin. Additionally, their oven-safe nature enables a versatile cooking method, transitioning seamlessly from stovetop searing to oven baking.
Several factors help prevent sticking. First, ensure your pan is properly preheated over medium-high heat until very hot before adding oil. Second, use enough cooking fat (like avocado oil) to coat the pan adequately. Third, and critically, allow the chicken to develop a good sear and naturally release from the pan. If you try to force it, it will stick. Patience is key – once the skin is perfectly crispy, it will usually lift easily.
Technically, yes, you can use boneless, skinless chicken thighs, but bone-in, skin-on thighs generally provide more flavor and remain juicier. If you opt for boneless thighs, it’s essential to skip the oven-baking step entirely. Instead, sear them completely on the stovetop until cooked through, as they will cook much faster, then proceed with making the pan sauce and serving.
A balanced seasoning blend with savory, slightly sweet, and aromatic notes works wonderfully. Our recipe uses garlic powder, kosher salt, light brown sugar, black pepper, and paprika. You can also experiment with dried herbs like thyme or rosemary, onion powder, a pinch of cayenne for heat, or even a pre-made poultry seasoning blend for variety.
For maximum crispiness, start by thoroughly patting the chicken skin dry with paper towels. Ensure your cast iron skillet is piping hot before adding the chicken, and place the chicken skin-side down for the initial sear, allowing it to cook undisturbed for the recommended time (6-7 minutes). This long, intense sear renders the fat and creates that desirable crunchy texture. Finishing in the oven after searing helps maintain crispiness while cooking the meat through.
Storage & Reheating for Leftovers
Cooked cast iron chicken thighs are excellent for meal prep or enjoying as leftovers. To store, allow the chicken to cool completely, then transfer any leftover chicken thighs and the pan sauce into an airtight container. Refrigerate for up to 3 to 4 days.
To reheat: For best results, place the chicken thighs in an oven-safe dish with a little extra chicken broth or water to prevent drying. Reheat in a preheated oven at 350°F (175°C) for about 10-15 minutes, or until thoroughly heated through and the internal temperature reaches 165°F (74°C). Reheating in the oven helps to retain some of the crispy skin. You can also reheat gently in a skillet on the stovetop over medium-low heat, or in an air fryer for a few minutes to regain crispiness.
Delicious Serving Suggestions for Cast Iron Chicken Thighs
These cast iron chicken thighs are so rich in flavor that they could easily be enjoyed on their own as a satisfying meal. However, their bold and savory notes pair wonderfully with a variety of side dishes. Consider these delicious accompaniments to complete your meal:
- Classic Comfort Sides:
- Our Sticky Rice: A perfect neutral canvas to soak up all the flavorful pan sauce.
- Creamy Mashed Sweet Potatoes: Offers a delightful sweetness and creamy texture that complements the savory chicken.
- Fluffy Mashed Potatoes: A timeless pairing that’s always a crowd-pleaser.
- Vegetable Pairings for Balance:
- Our Roasted Broccoli: Simple, nutritious, and with a slight char that provides excellent contrast.
- Crispy Balsamic Sea Salt Roasted Brussels Sprouts: Earthy and tangy, they cut through the richness of the chicken.
- Sautéed Green Beans with Garlic: A fresh and vibrant addition.
- A simple Garden Salad with a light vinaigrette: For a refreshing, crunchy element.
- Heartier & More Unique Sides:
- Our Butternut Squash Mac and Cheese: A creamy, cheesy, and subtly sweet dish that makes for a truly indulgent meal.
- Quinoa or Couscous: Light grains that offer a different texture and absorb flavors beautifully.
- Crusty Bread: Perfect for soaking up every last drop of that amazing pan sauce.
No matter your preference, these crispy cast iron chicken thighs are versatile enough to fit into any meal plan, promising a delicious and satisfying experience every time.
Crispy Cast Iron Chicken Thighs
Emily Richter
20
30
50
4
Ingredients
- 1.5 lbs. bone-in chicken thighs, ~4 thighs
- ½ tablespoon garlic powder
- 1 teaspoon coarse kosher salt
- 1 teaspoon light brown sugar
- ½ teaspoon ground black pepper
- 2 teaspoons ground paprika
- 2 tablespoons avocado oil
- 3 tablespoons unsalted butter
- ¼ medium white onion, minced
- 4 cloves garlic, minced
- ⅓ cup chicken broth
- 2 tablespoons fresh minced chives
Instructions
-
Preheat your oven to 400ºF (200ºC). This ensures the oven is ready for the chicken once it’s seared.
-
Carefully pat the chicken thighs dry on all sides using paper towels. In a small bowl, combine the garlic powder, coarse kosher salt, light brown sugar, ground black pepper, and paprika to create your dry rub. Generously season both sides of the chicken thighs with this mixture, pressing the rub into the skin and meat. Set the seasoned chicken aside to rest for 10 minutes at room temperature; this helps the flavors penetrate and prevents sticking.

-
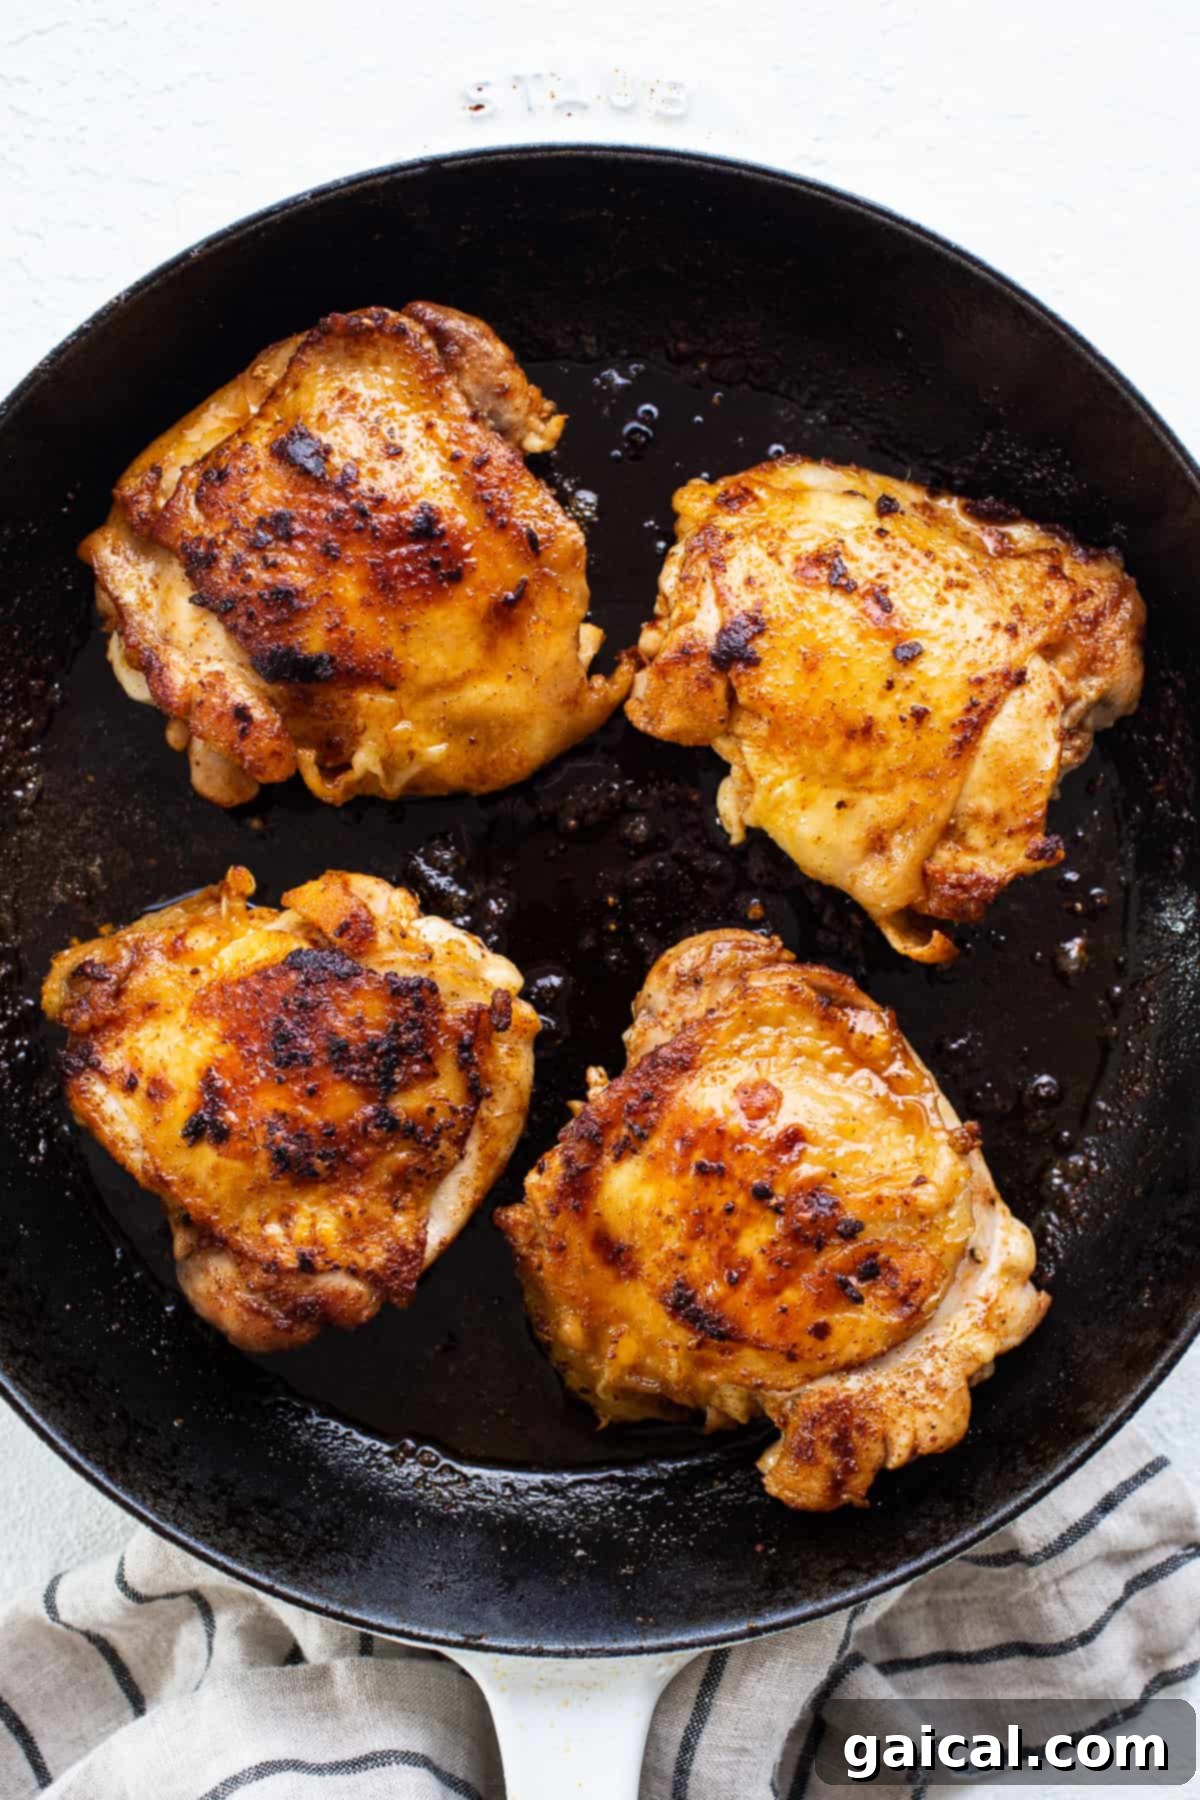
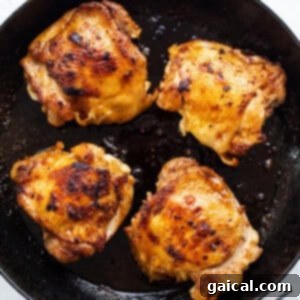
Heat the avocado oil in a 10 or 12-inch cast iron skillet over high heat until it just begins to shimmer and you see faint wisps of smoke. Carefully place the chicken thighs, skin-side-down, into the hot skillet. Cook the chicken thighs for 6-7 minutes without moving them, allowing the skin to develop a deep, crispy, golden-brown crust. You can gently jostle them with tongs a few times after a few minutes to ensure the skin isn’t sticking.
-
Flip the chicken thighs and sear them for another 2 minutes on the other side. At this point, the chicken will not be fully cooked through, but the searing helps build flavor and texture. Remove the chicken from the pan and set it aside on a clean plate. Carefully remove the cast iron pan from the heat.
-
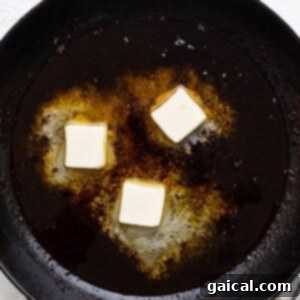
Leave the flavorful chicken drippings in the pan. Return the pan to the stovetop and reduce the heat to medium-low. Add the unsalted butter to the pan. Once the butter is melted, add the minced onion and sauté for 2-3 minutes until softened and translucent, scraping up any browned bits from the bottom of the pan. Add the minced garlic and sauté for 1 more minute until fragrant. Be careful not to burn the garlic.
-
Deglaze the pan by pouring in the chicken broth. Stir all of the ingredients together, making sure to scrape up any remaining flavorful bits from the bottom of the skillet. This creates a delicious, savory pan sauce.
-
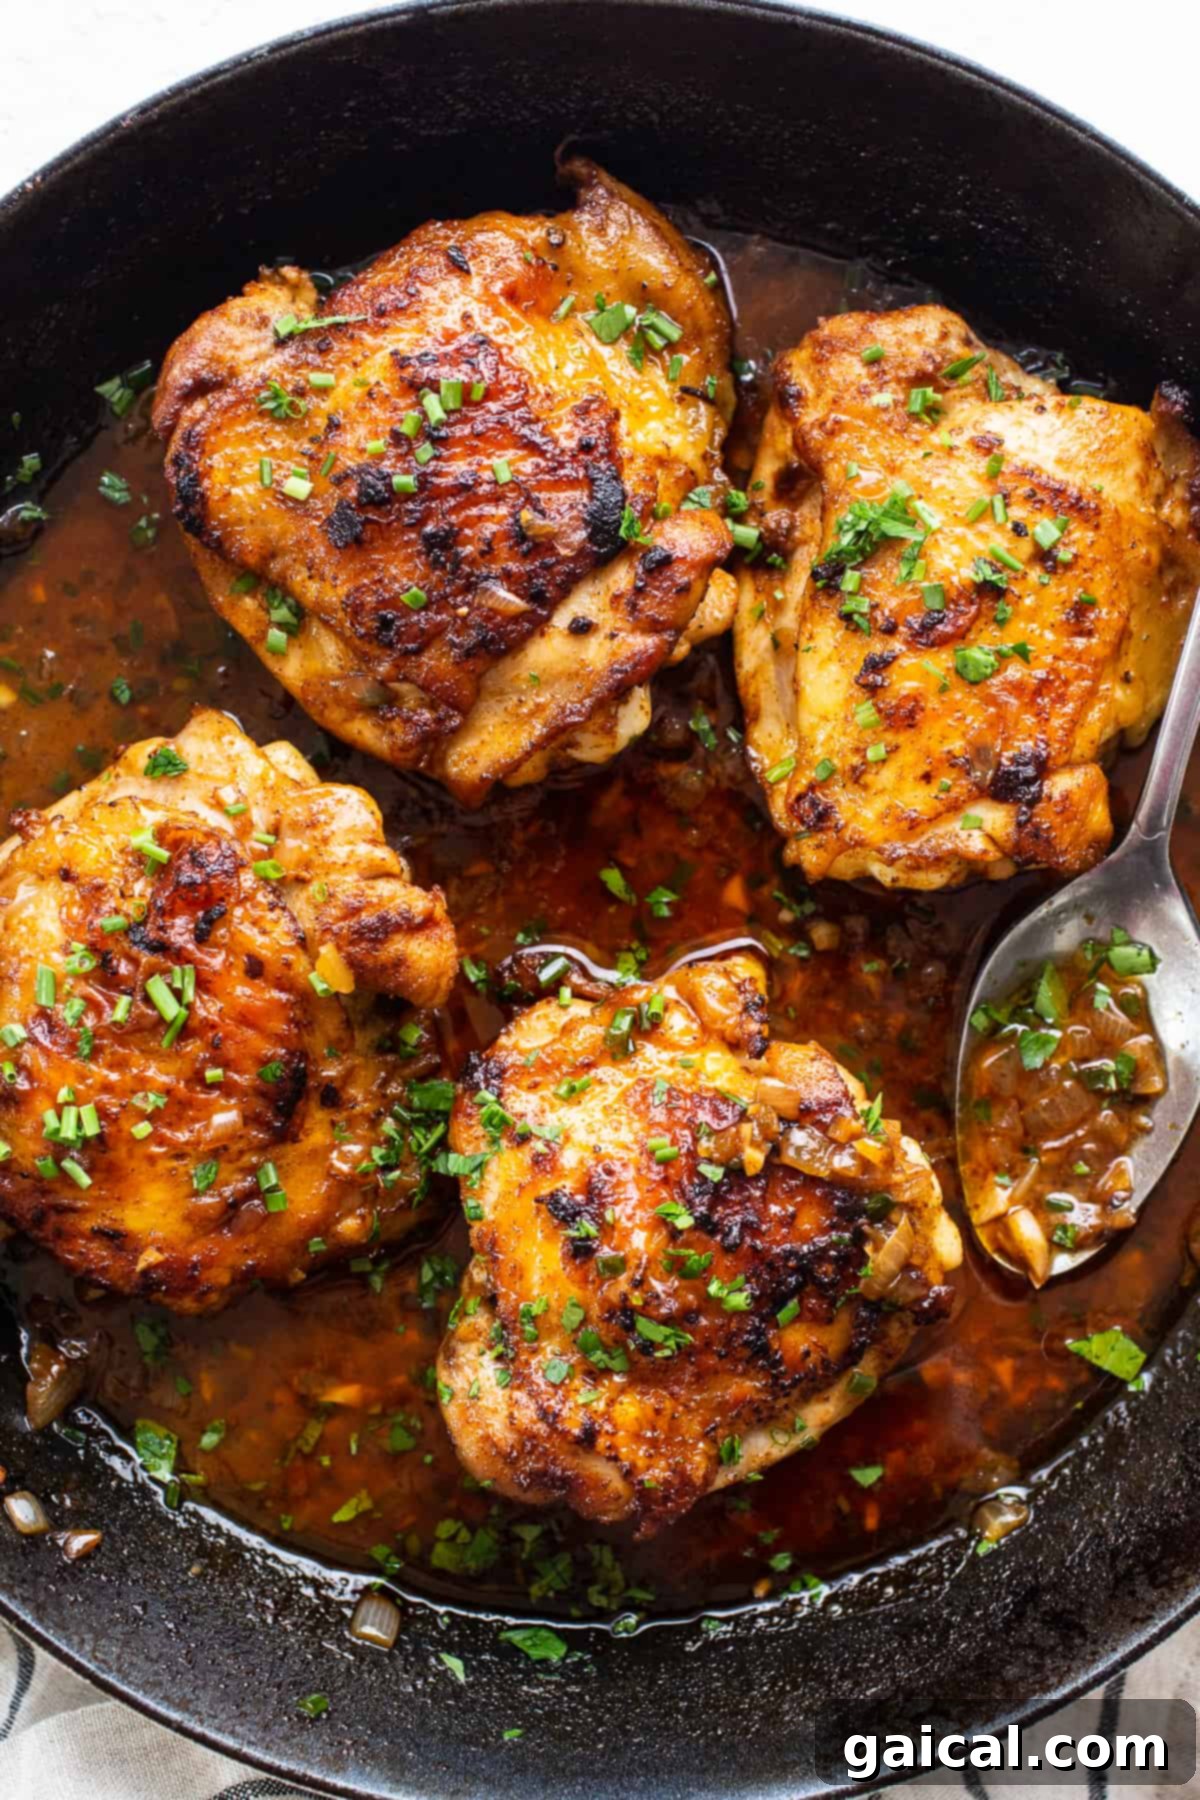
Carefully transfer the seared chicken thighs back into the pan, nestling them into the sauce, skin-side-up. Place the entire cast iron pan into the preheated oven.
-
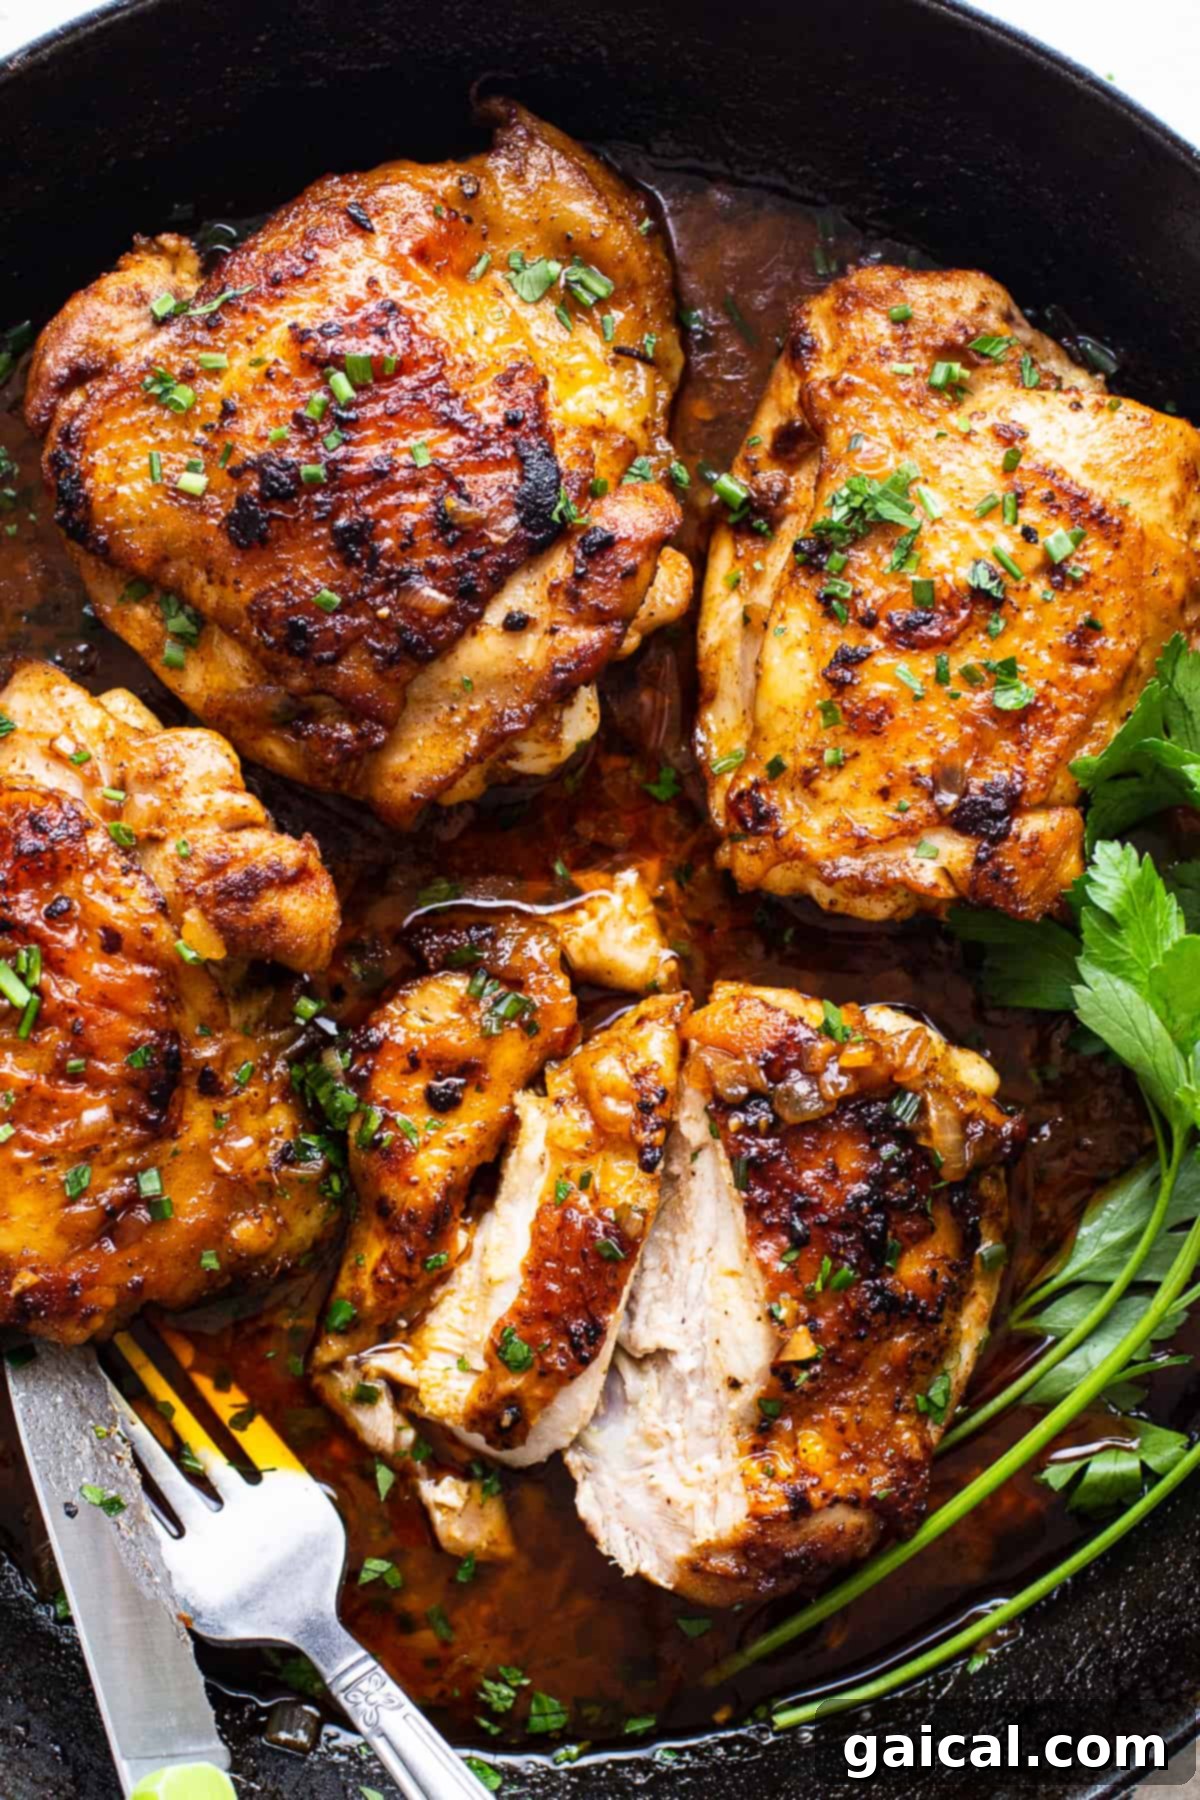
Bake the chicken for 10-15 minutes, or until the internal temperature of the thickest part of the chicken thigh reaches 165ºF (74ºC) when measured with an instant-read thermometer, avoiding the bone.
-
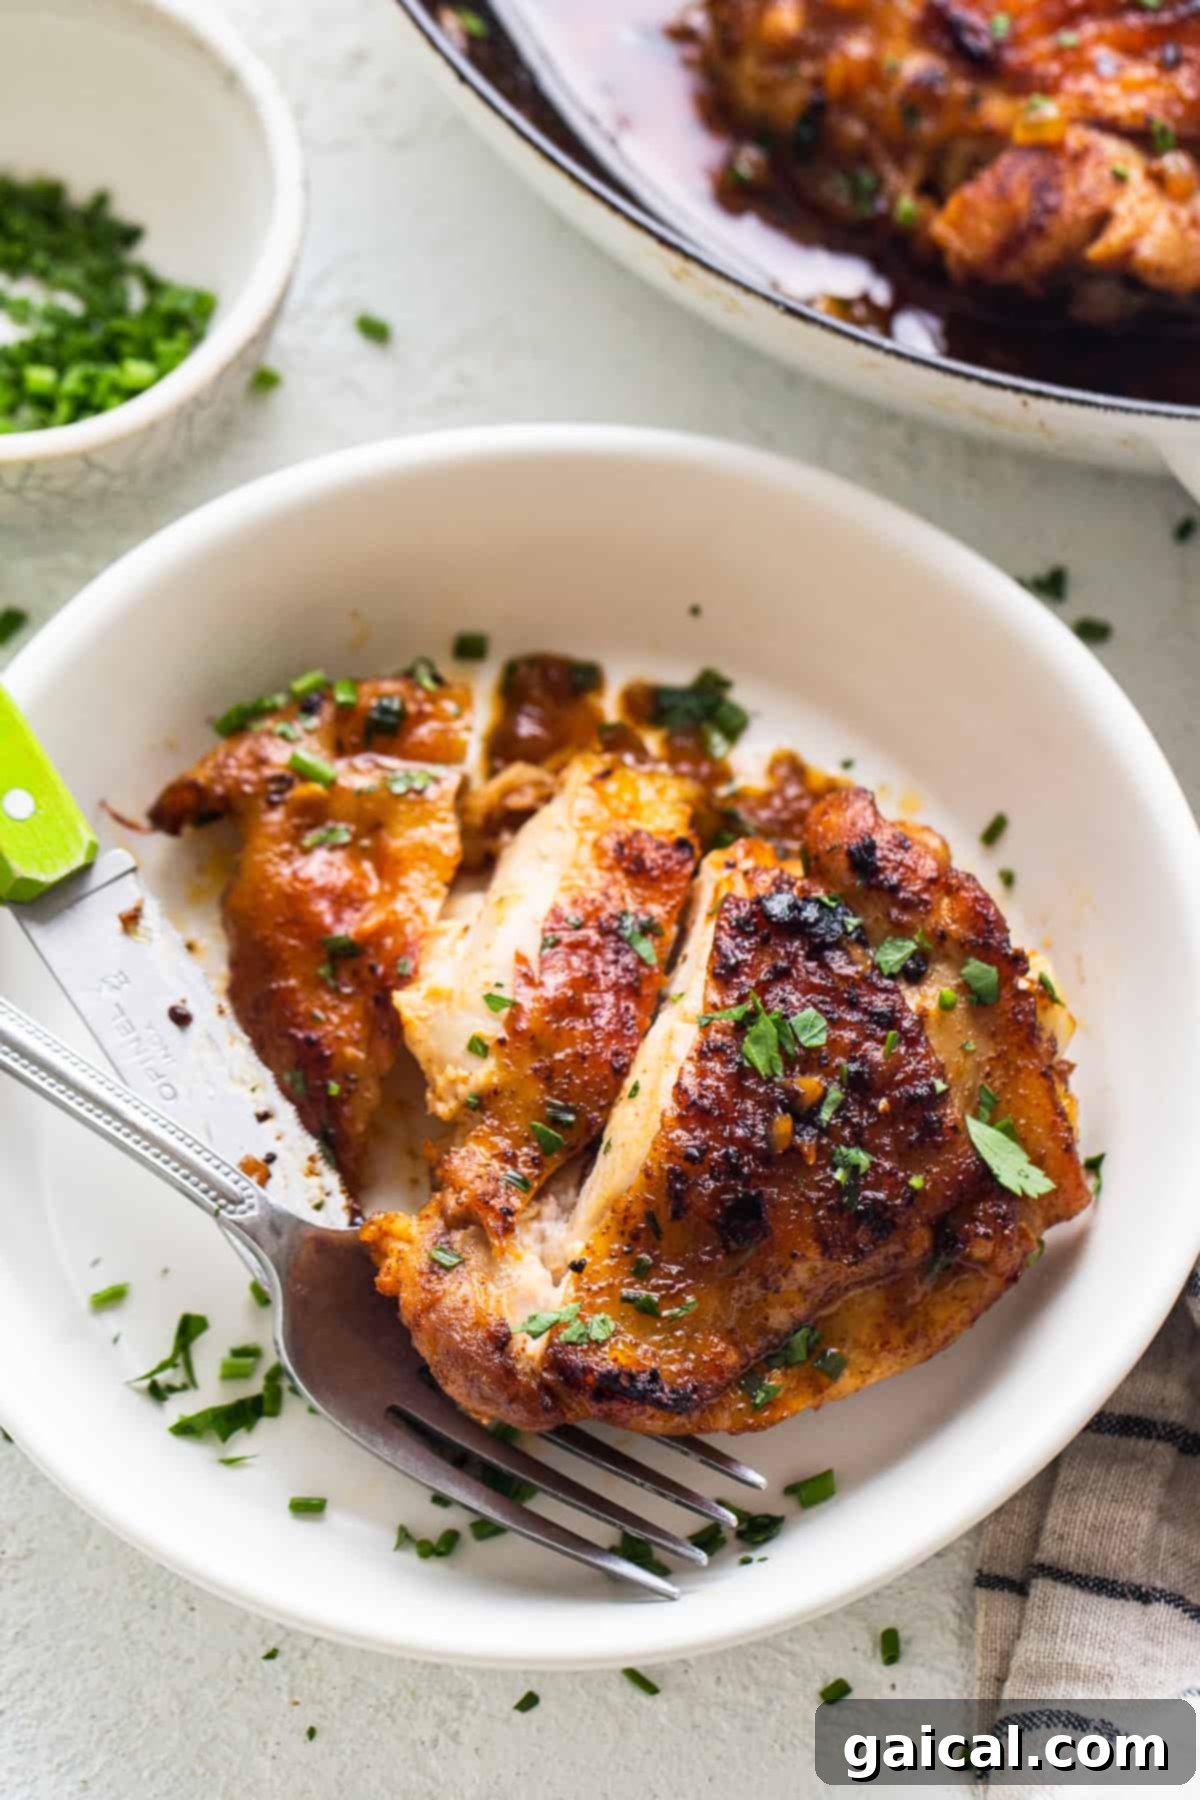
Remove the chicken from the oven. For extra juiciness, you can gently turn the chicken a few times in the sauce or spoon the sauce generously over the top of the chicken thighs. Let the chicken rest in the pan for 5 minutes before serving to allow the juices to redistribute.
-
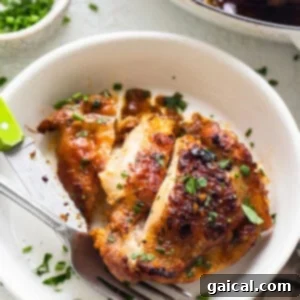
Garnish the chicken with the fresh minced chives for a final touch of flavor and presentation. Serve immediately and enjoy your perfectly crispy and juicy cast iron chicken thighs!


Additional Tips & Notes
- Room Temperature Chicken: For the best sear and most even cooking, avoid placing chicken thighs directly from the refrigerator onto a hot pan. Allow them to sit at room temperature for 10-15 minutes after seasoning. This helps prevent sticking and ensures more even heat distribution.
- Boneless Thighs Adjustment: As a reminder, if you are using boneless, skinless chicken thighs, adjust your cooking method significantly. Skip the oven portion entirely. Sear the boneless thighs on the stovetop until cooked through (typically 3-5 minutes per side, depending on thickness), then remove, make the sauce, and return to coat before serving. Monitor their internal temperature carefully.
- Cleaning Your Cast Iron: After cooking, clean your cast iron skillet while it’s still warm (but not scorching hot) using hot water and a stiff brush or scraper. Avoid soap if possible, as it can strip the seasoning. Dry thoroughly immediately after washing, then apply a thin layer of cooking oil to re-season.
Nutrition Information (Approximate Per Serving)
Carbohydrates: 5 g,
Protein: 28 g,
Fat: 44 g,
Fiber: 1 g,
Sugar: 2 g
Nutrition information is automatically calculated and should only be used as an approximation. Actual values may vary based on specific ingredients and preparation methods.
💬
Love this recipe? Leave a comment below!
Don’t forget to tag your posts on social media with the hashtag #fitfoodiefinds – we’d absolutely love to see what you’re cooking up!
Master the Art of Cast Iron Chicken Thighs
Cooking with cast iron is not just a technique; it’s an experience that brings out the best in simple ingredients, especially chicken thighs. This recipe provides a foolproof guide to achieving that coveted crispy skin and unbelievably juicy interior, transforming a humble cut of chicken into a show-stopping meal. With its rich, savory pan sauce and perfectly seasoned meat, these cast iron chicken thighs are versatile enough for a weeknight dinner yet elegant enough for entertaining. By following our detailed instructions and embracing the power of your cast iron skillet, you’re not just cooking a meal; you’re mastering a classic that will impress every palate and become a cherished staple in your culinary repertoire. So go ahead, gather your ingredients, fire up that skillet, and prepare to delight in the incredible flavor and texture of truly exceptional cast iron chicken thighs!