
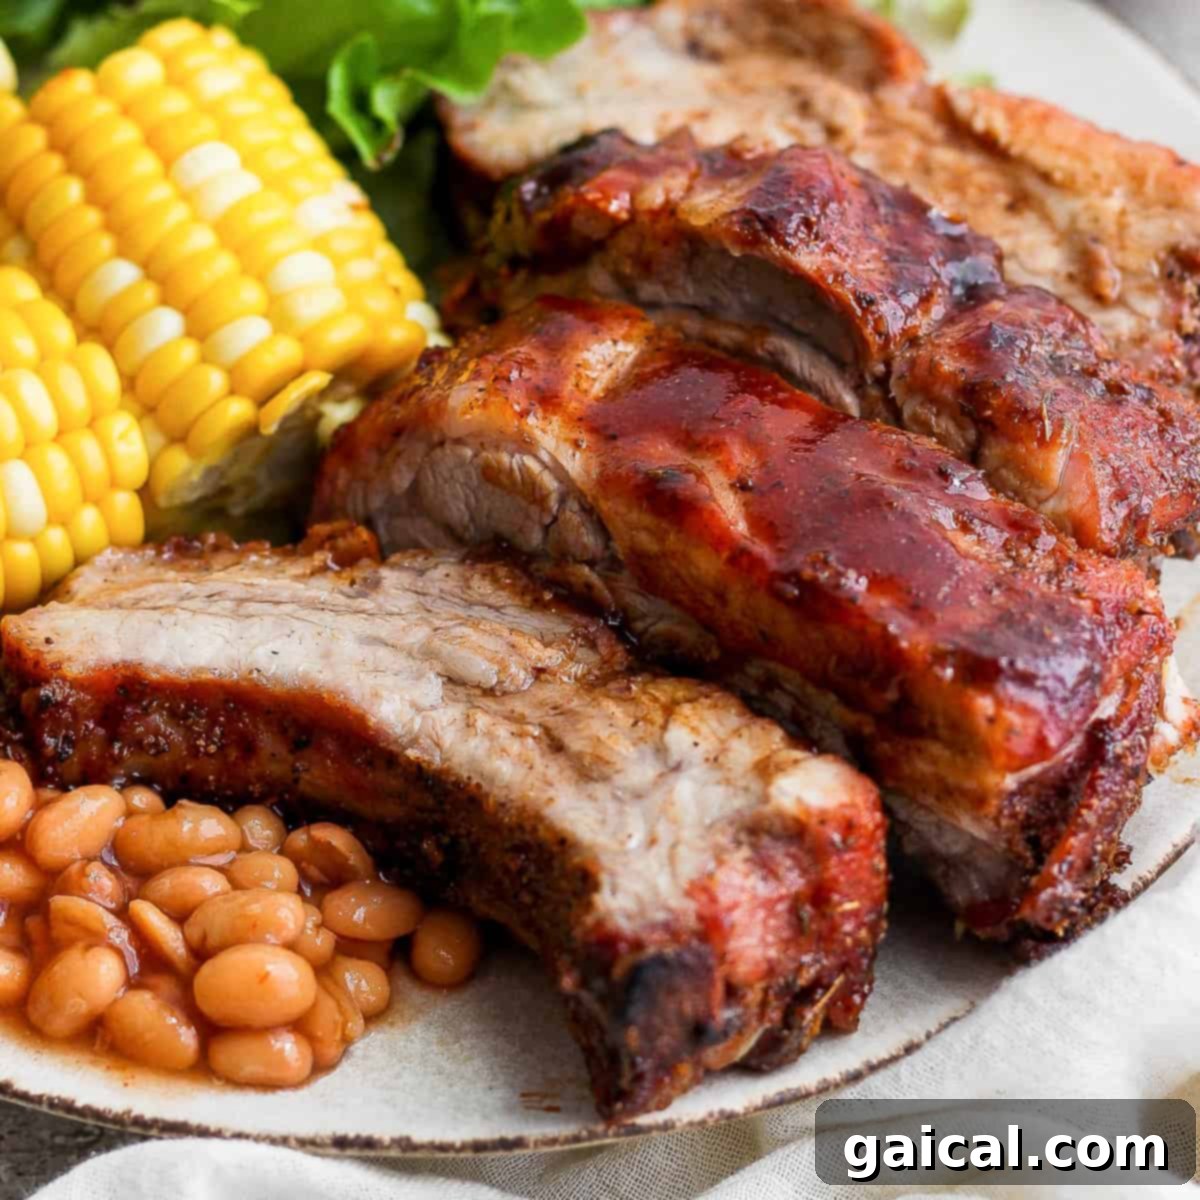
Get ready to master the art of perfect baby back ribs! This crowd-pleasing main dish is surprisingly simple to make at home, and with our expert marinade and dry rub method, you’re guaranteed incredible results every time. Whether you choose to cook them in the oven for a hands-off approach or on the grill for that quintessential smoky flavor, this recipe will guide you to succulent, fall-off-the-bone ribs that everyone will rave about.
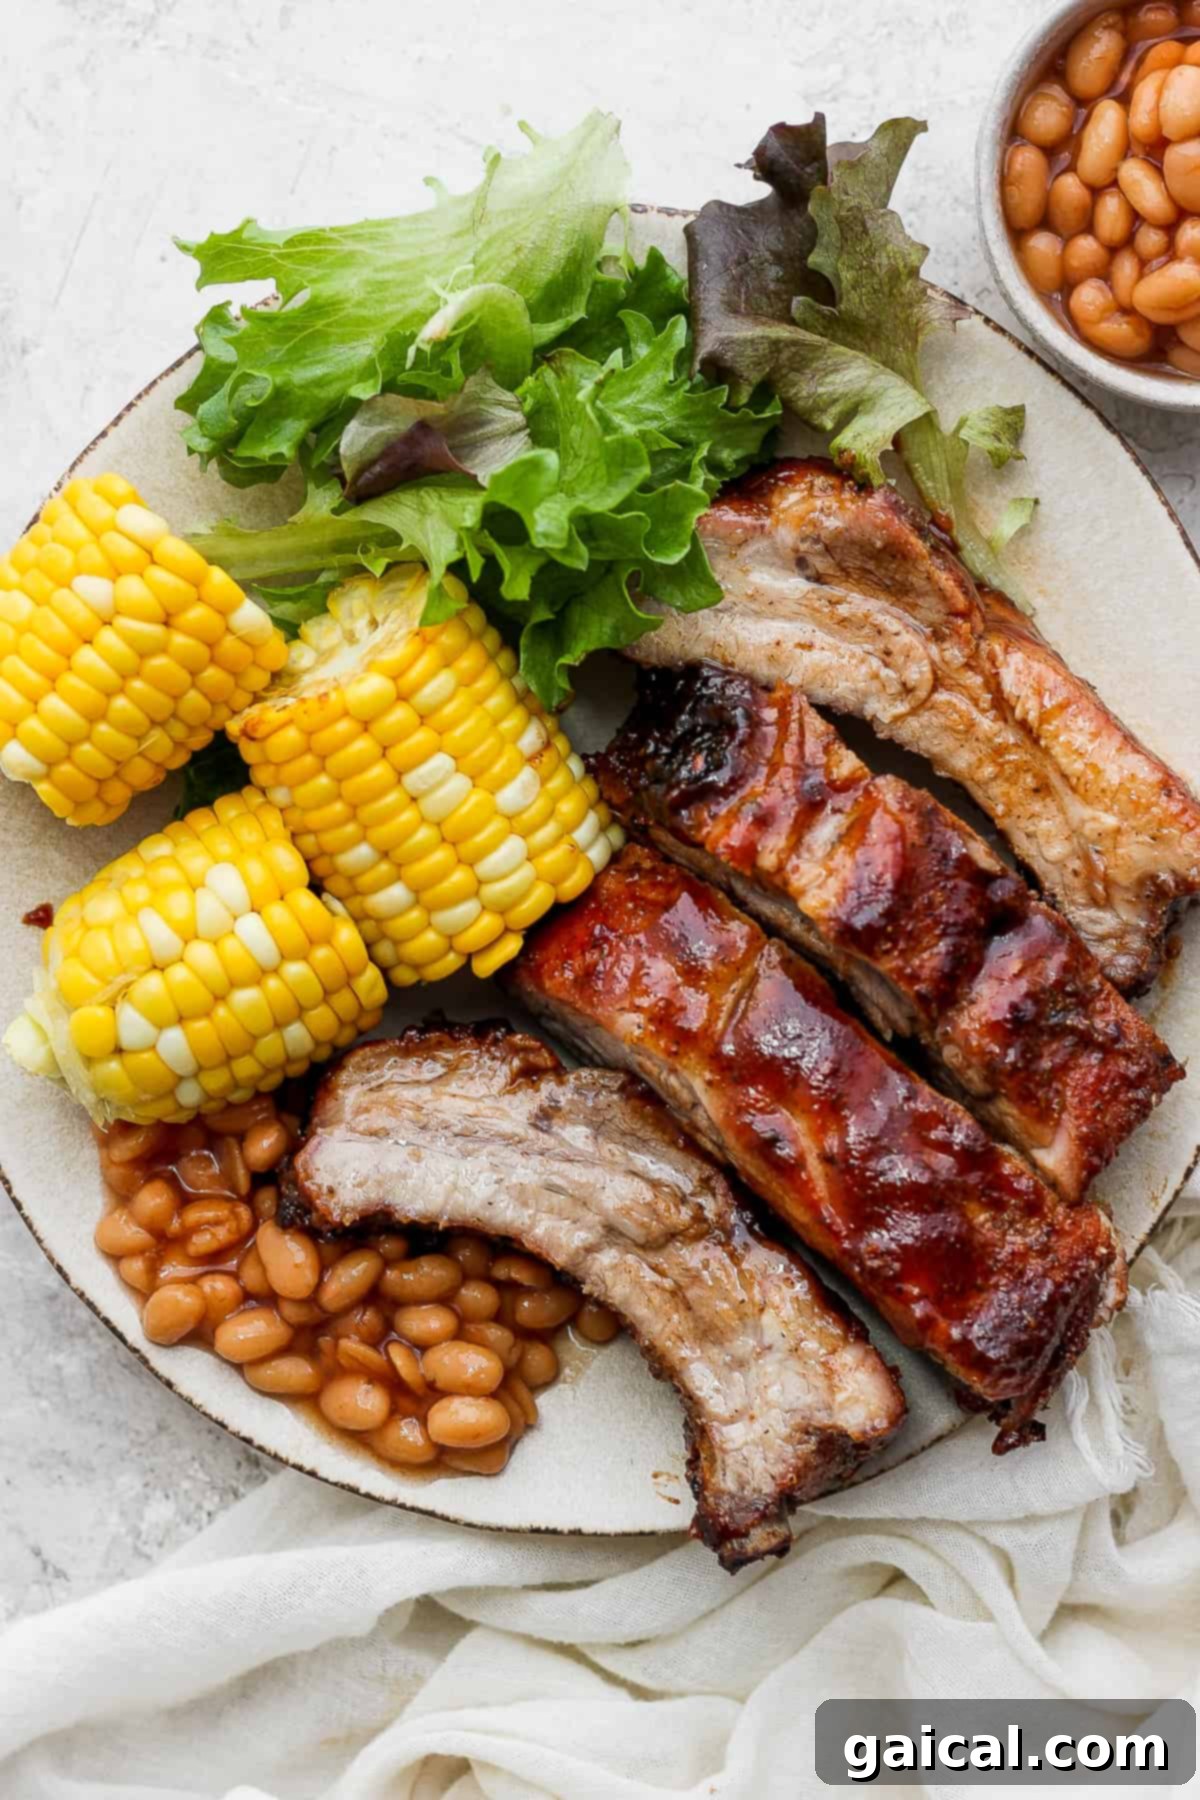
Your Ultimate Guide to Tender Baby Back Ribs: Oven or Grill Perfection!
This comprehensive guide and recipe is your ticket to crafting genuinely delicious and irresistibly tender baby back ribs. We’ll show you how to cook them low and slow, whether in the steady heat of your oven or over the smoky flames of your grill, ensuring they reach peak tenderness. The magic doesn’t stop there; a final blast of higher heat will create that coveted crispy, caramelized crust, locking in all the incredible flavor.
The secret to the amazing depth of flavor in these baby back ribs lies in a two-pronged approach: a sweet and tangy rib marinade, followed by a simple yet potent pork rib dry rub. This combination infuses the meat with layers of savory, sweet, and smoky notes that are truly unforgettable.
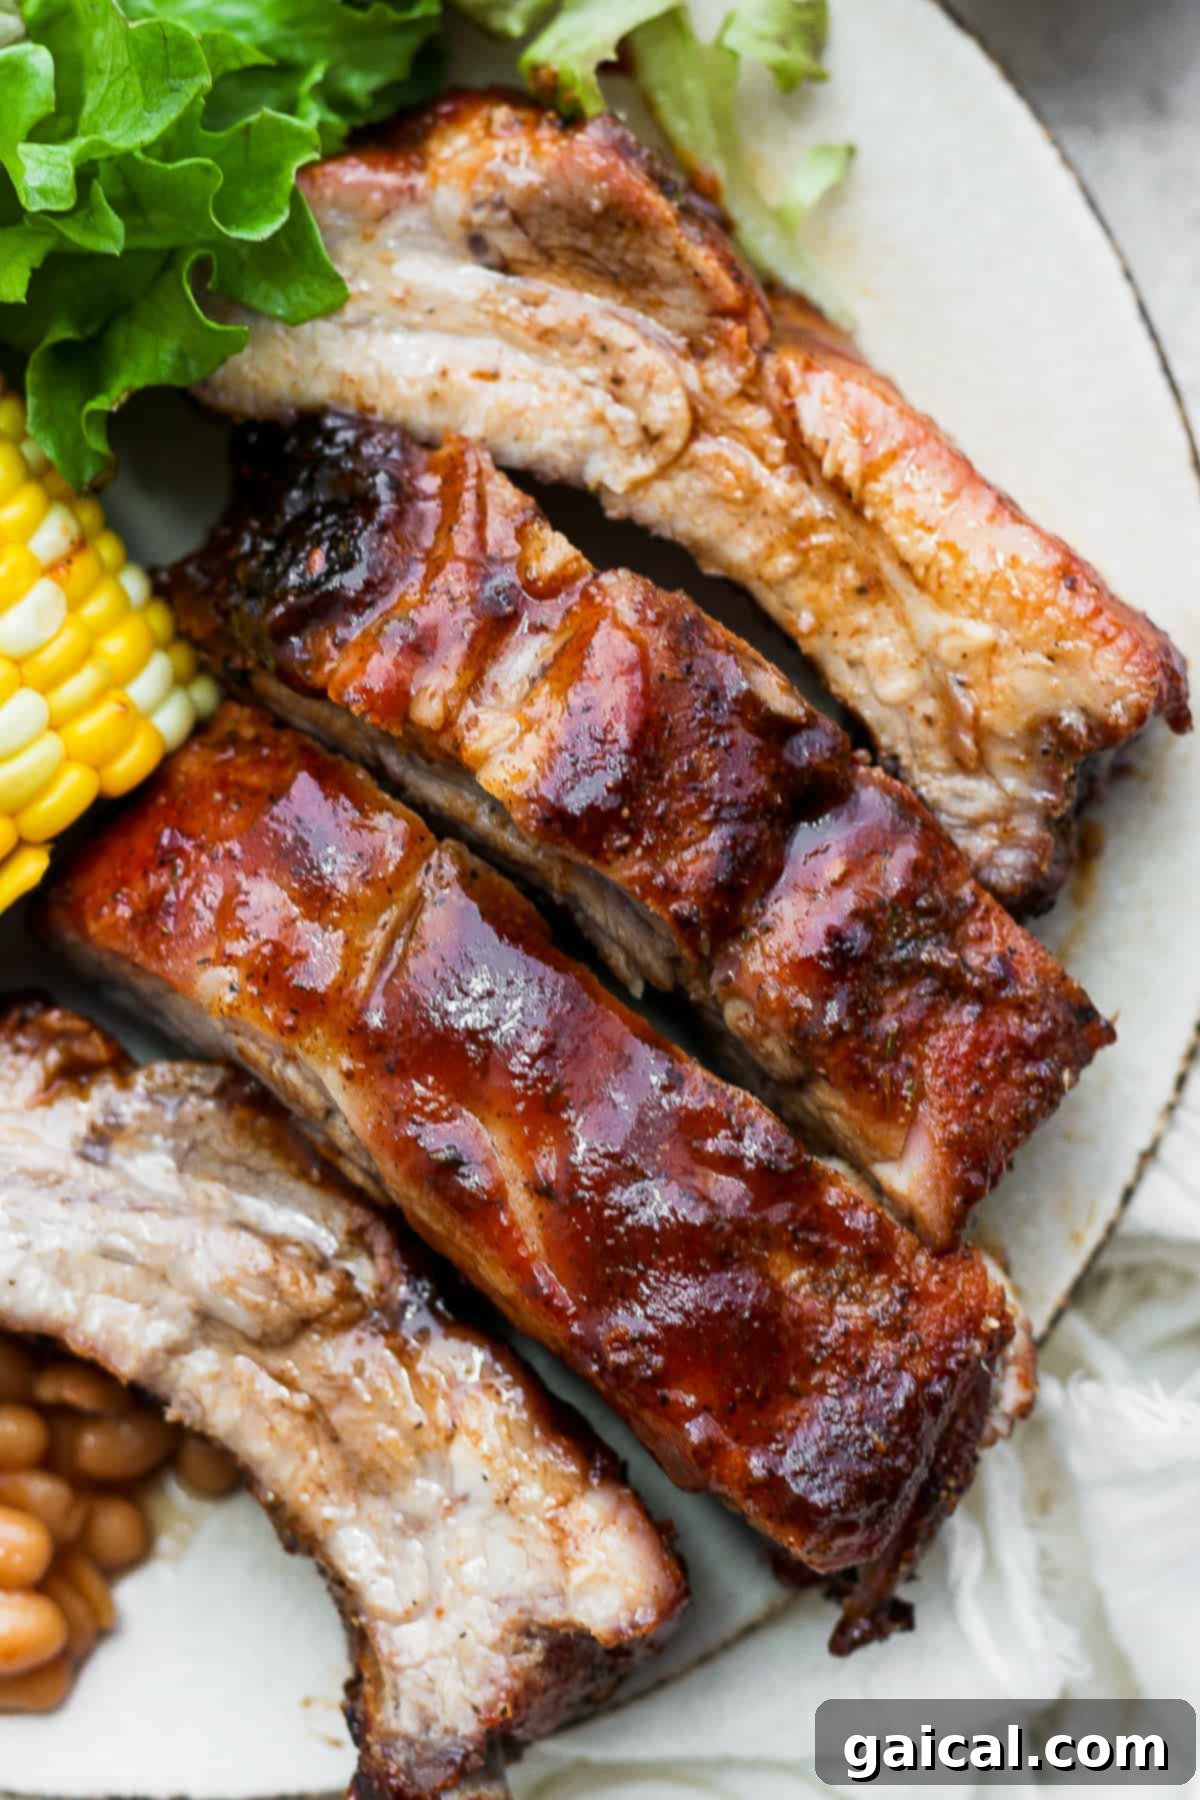
Complete your barbecue feast by pairing these spectacular ribs with any of your favorite classic BBQ sides. Imagine them alongside creamy red potato salad, perfectly charred grilled corn on the cob, or comforting fluffy baked potatoes. Prepare for an epic meal that will gather friends and family around the table!
Why You’ll Adore This Baby Back Ribs Recipe
Effortlessly Serves a Crowd: This recipe is designed to impress, making it perfect for gatherings, backyard barbecues, or family dinners. You can easily scale it up for larger parties.
A Foolproof Method for Tender Ribs: We’ve refined this technique to ensure your ribs are consistently juicy and tender, falling right off the bone. Say goodbye to dry, tough ribs!
Versatile Cooking Options: Whether you prefer the set-it-and-forget-it ease of an oven or the authentic smoky flavor of a grill, this recipe provides clear instructions for both methods, adapting to your kitchen and preferences.
Rich, Layered Flavors: Our unique combination of a pre-cook marinade and a savory dry rub creates an unparalleled taste experience that will make these ribs a perennial favorite.
Customizable to Your Taste: Easily adjust the marinade or rub, or choose your favorite BBQ sauce to tailor the flavor profile exactly to your liking.
Understanding Baby Back Ribs: A Premium Cut
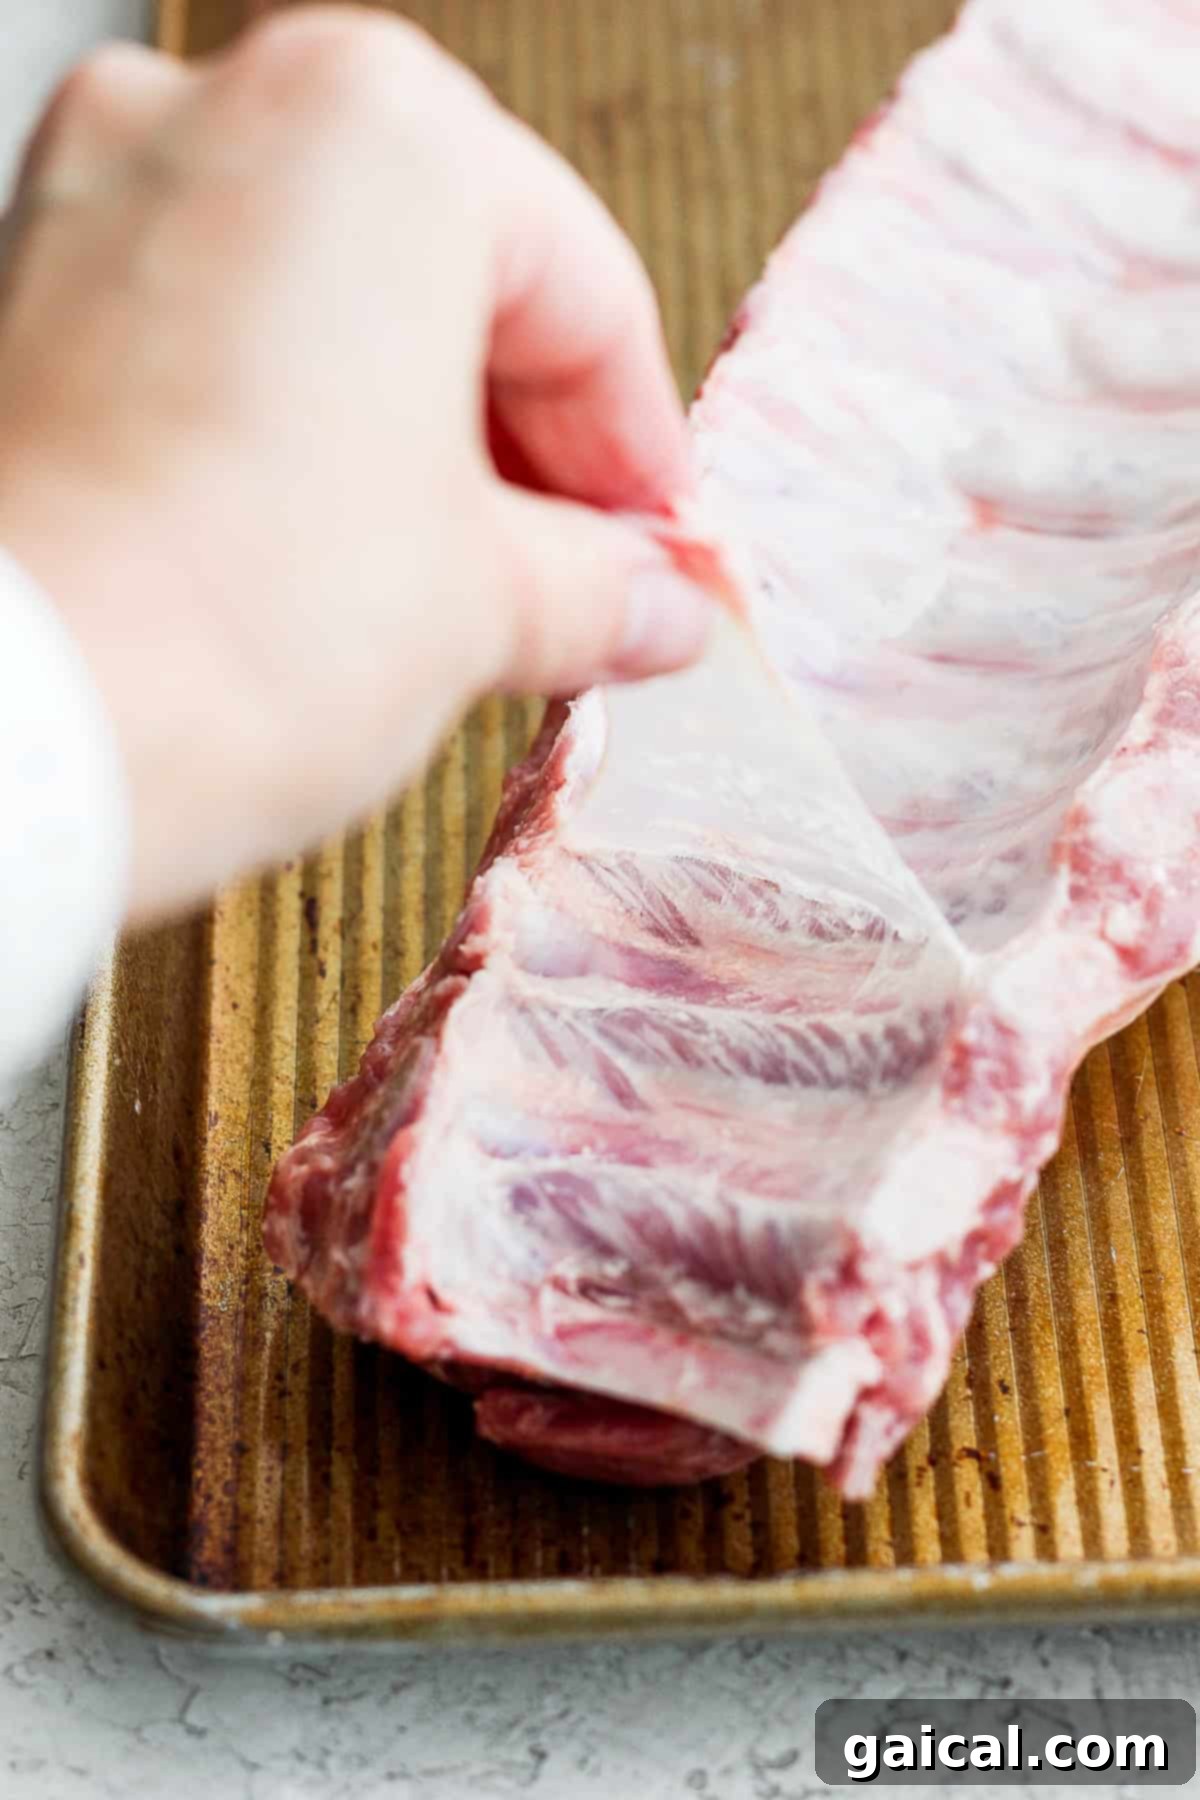
Baby back ribs are a highly prized cut of pork, renowned for their tenderness and relatively lean meat. They originate from the upper portion of the pig’s rib cage, specifically the part that connects to the backbone, directly beneath the loin muscle. Their name “baby” doesn’t refer to the age of the pig, but rather to their size – they are shorter and smaller than other cuts like spare ribs.
Typically, a full rack of baby back ribs will have between 10 to 13 bones, curving slightly and tapering at one end. Each bone is surrounded by tender meat, making them a succulent choice for any BBQ enthusiast. Because they come from a less weight-bearing area, baby back ribs are generally leaner and have less fat marbled throughout compared to spare ribs, offering a delicate texture and milder pork flavor that readily absorbs marinades and rubs.
Spare Ribs vs. Baby Back Ribs: Choosing Your Perfect Pork Cut
While both spare ribs and baby back ribs are incredibly popular pork cuts, understanding their distinct characteristics can help you choose the best option for your desired outcome and cooking style. Both are delicious, but they offer different experiences:
- Size and Location: Spare ribs are larger, flatter, and meatier, originating from the lower portion of the pig’s rib cage, closer to the belly. This area is more muscular, leading to a richer, fattier cut. Baby back ribs, as discussed, are smaller, more curved, and leaner, found higher on the rib cage near the backbone.
- Taste and Texture: Due to their higher fat content, spare ribs often boast a more intense, robust pork flavor and can become incredibly tender and rich when cooked slowly. They are excellent for smoking and develop a fantastic bark. Baby back ribs, being leaner, offer a more delicate, milder pork flavor, making them a fantastic canvas for absorbing marinades and rubs. Their meat is incredibly tender and succulent.
- Cooking Time and Preparation: Spare ribs, given their larger size and more connective tissue, generally require a longer cooking time – often 3 to 4 hours, sometimes more, for optimal tenderness. They benefit from low and slow cooking methods. Baby back ribs, being smaller and leaner, cook more quickly, typically becoming tender in about 2 to 3 hours, making them a slightly faster option for your barbecue.
- Bone Structure: Baby back ribs have bones that are more uniformly curved, while spare ribs have straighter, larger bones, often with a “rib tip” section that can be meaty and cartilaginous. St. Louis style ribs are essentially spare ribs that have been trimmed of the rib tips and sternum to create a more rectangular, uniform rack, making them easier to handle and cook evenly.
Ultimately, the choice between spare ribs and baby back ribs comes down to personal preference. If you crave a meatier, richer flavor and don’t mind a longer cook time, spare ribs (or St. Louis style) are excellent. If you prefer a leaner, incredibly tender rib that cooks a bit faster and absorbs flavors beautifully, baby back ribs are the way to go.

Explore All Cuts of Pork
Curious about where all those delicious cuts of pork come from on the pig? We’ve made it easy to understand! Dive deeper into the world of pork and discover more details on everything from chops to roasts in our comprehensive guide to favorite pork recipes.
Mastering Membrane Removal for Perfect Ribs
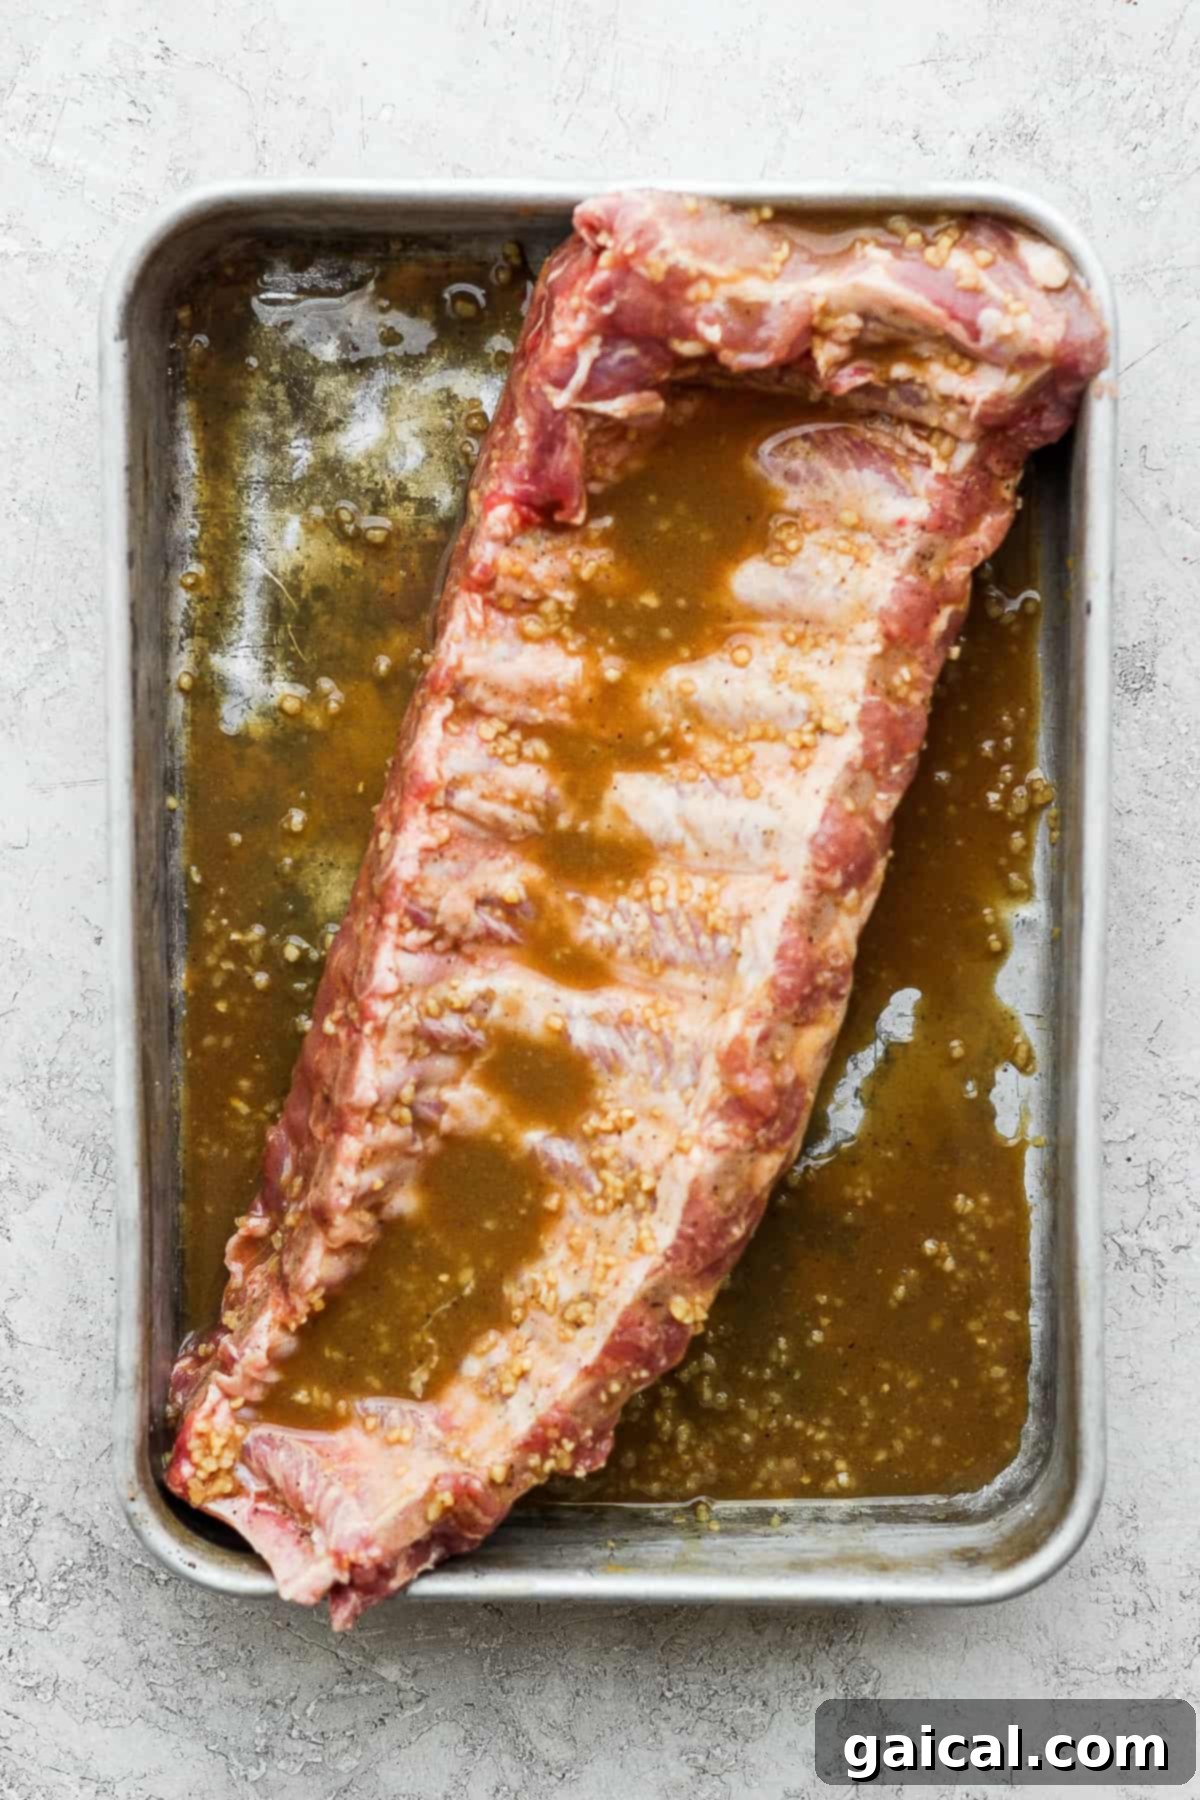
One crucial step that many home cooks overlook, but which profoundly impacts the texture of your ribs, is removing the membrane. This thin, silverskin layer on the bone side of the ribs can become tough and chewy when cooked, preventing seasonings and smoke from fully penetrating the meat. While some butchers might remove it for you, especially if you ask, it’s often present on store-bought ribs. Don’t worry, it’s a simple process!
Here’s a quick, easy-to-follow rundown on how to remove it for truly tender ribs:
- Locate and Initiate the Cut: Lay your rack of ribs bone-side up on a clean cutting board. Look for the thin, shiny, whitish membrane covering the bones. Using a sharp knife or the tip of a spoon, carefully slide it under the membrane, starting at one end of the rack, usually between two bones. You only need to lift a small corner to get started.
- Grip and Peel: Once you’ve lifted a small edge of the membrane, use a paper towel or a clean kitchen cloth to grip it firmly. The paper towel provides extra friction, preventing your fingers from slipping. Slowly and steadily, pull the membrane away from the bone side of the rack. It should peel off in one long piece. If it tears, simply find another spot to lift and continue peeling.
- Discard and Prepare: Once the entire membrane is removed, discard it. Your ribs are now ready to absorb all the wonderful flavors of your marinade and dry rub, ensuring a perfectly tender bite every time. This step is a game-changer for homemade ribs!
Marinating and Dry Rubbing: The Flavor Foundation
The secret to our fall-off-the-bone baby back ribs with an explosion of flavor lies in our two-step seasoning process: first, a rich marinade, followed by a robust dry rub. This combination ensures every bite is infused with deliciousness.
The Tangy-Sweet Rib Marinade
Our rib marinade is designed to tenderize the meat and infuse it with a delightful balance of sweet and tangy notes. It features a blend of maple syrup for sweetness, Dijon mustard for a savory tang, Worcestershire sauce for umami depth, apple cider vinegar for acidity, and plenty of fresh minced garlic for aromatic punch. Marinating for at least an hour, or ideally overnight, allows these flavors to deeply penetrate the meat, setting the stage for incredibly juicy ribs.
The Perfect Pork Rib Dry Rub
After marinating, a generous application of our pork rib dry rub creates a fantastic crust and adds another layer of complex flavor. This rub typically includes a blend of savory spices like paprika, garlic powder, onion powder, a touch of brown sugar for caramelization, and chili powder for a subtle kick. The dry rub adheres to the surface, creating a flavorful bark as the ribs cook, which is essential for that ultimate BBQ experience.
Grilling Baby Back Ribs: Smoky Perfection
For those who love the authentic taste of outdoor cooking, grilling baby back ribs offers an incredible smoky depth that’s hard to beat. Achieving tender, juicy grilled ribs requires careful temperature management and patience:
- Initial Low & Slow Cook: Begin by preheating your grill to an indirect heat of 300ºF (150ºC). If using a charcoal grill, arrange coals to one side; for a gas grill, turn off burners on one side. Place the ribs meat-side-down over the indirect heat. Close the lid and let them cook undisturbed for 1 hour. This slow cooking phase is crucial for tenderizing the meat without burning the exterior.
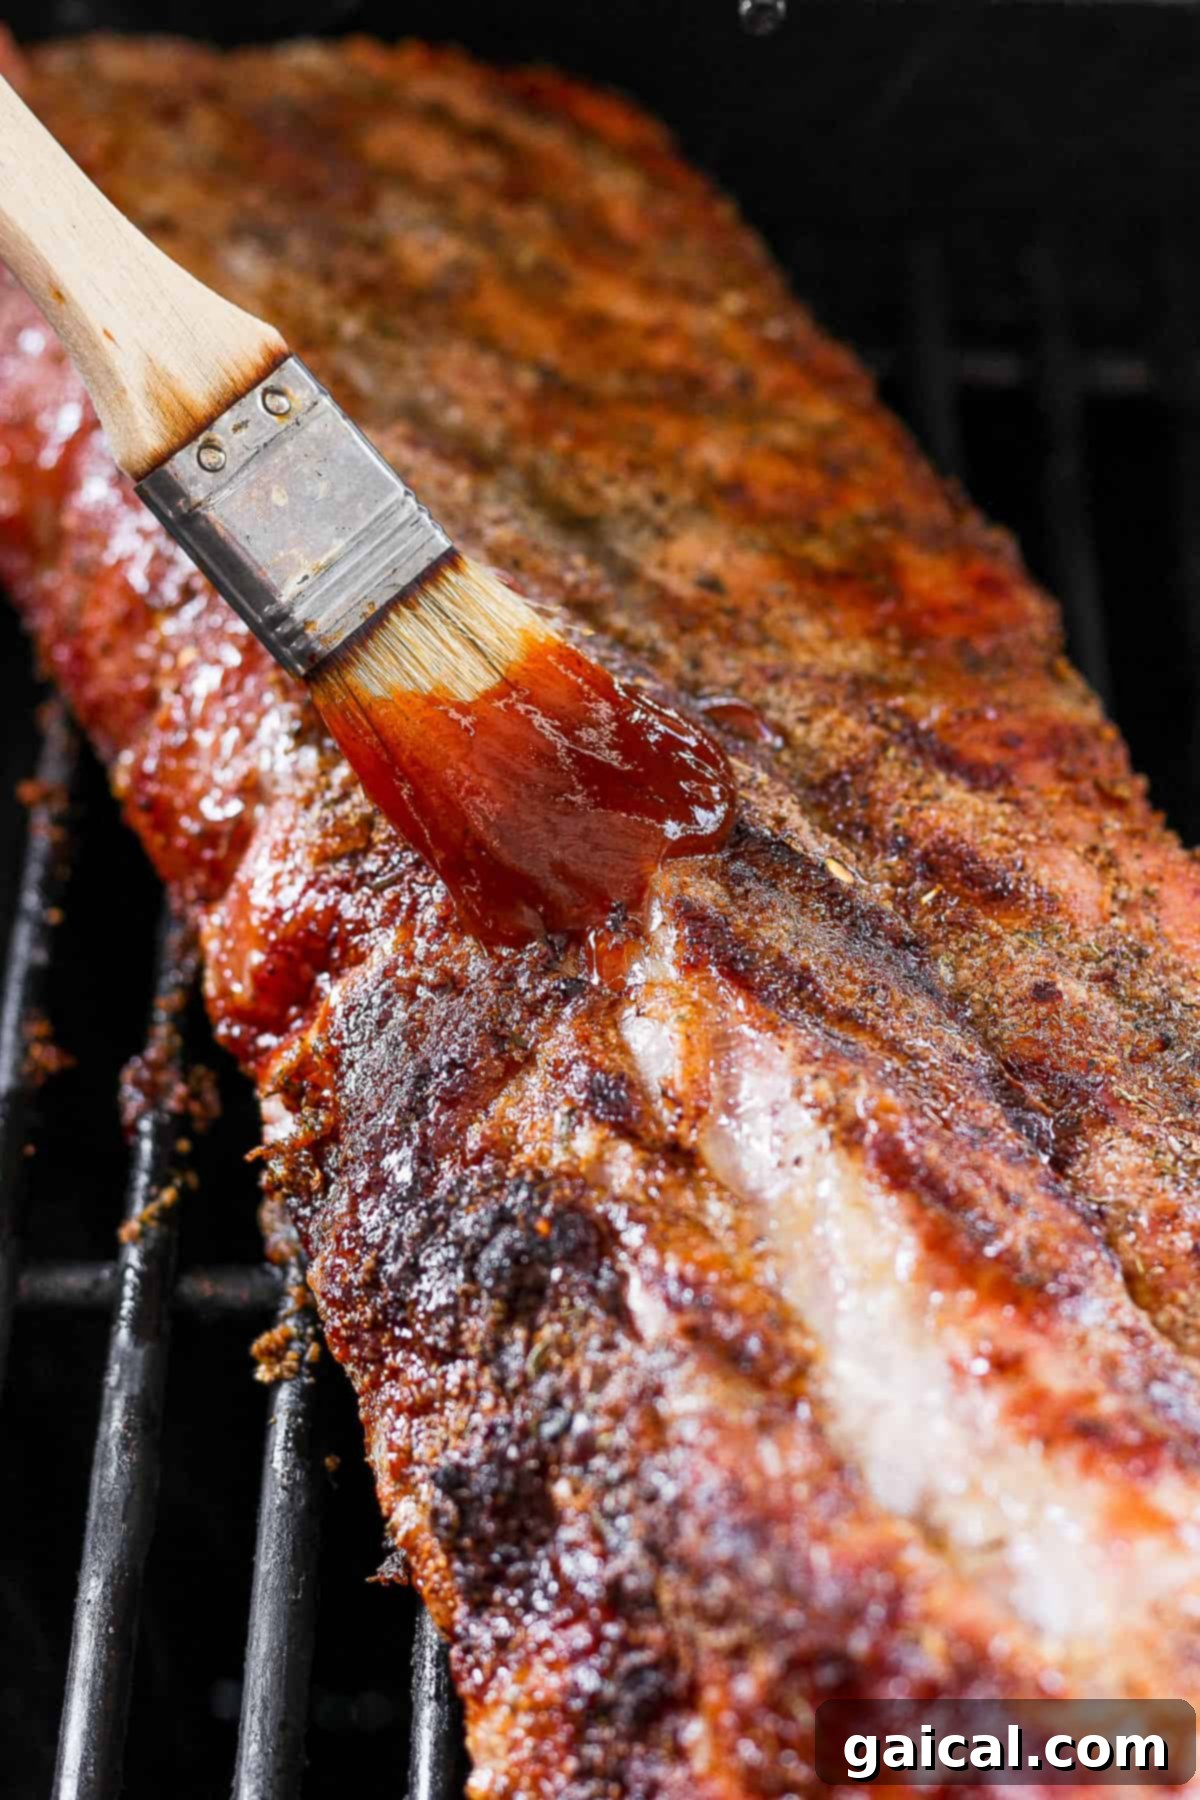
- Finishing with Direct Heat & Sauce: After the initial hour, increase your grill’s temperature to 400ºF (200ºC). Move the ribs over to direct heat, ensuring they are now meat-side-up. This is where they’ll develop that beautiful crispy crust. Generously brush your favorite BBQ sauce over the ribs. Grill for an additional 10-15 minutes, flipping them halfway through, to allow the sauce to caramelize and create a delicious glaze. Keep a close eye on them to prevent burning due to the higher sugar content in BBQ sauce.
- Smoke Integration (Optional): For an even deeper smoky flavor, consider adding wood chips (like hickory or applewood) to your grill during the indirect cooking phase. Wrap a handful of soaked wood chips in foil, poke a few holes, and place them directly on the coals or over a hot burner.
Oven-Baked Baby Back Ribs: Convenient and Delicious
If grilling isn’t an option or you simply prefer the consistent, hands-off method of oven cooking, you can still achieve incredibly tender and flavorful baby back ribs. The key is to mimic the low and slow environment of a smoker or grill:
- Preparation for Baking: After marinating and applying the dry rub, transfer your ribs to a large baking sheet, ideally one with a lip to catch any drippings. Ensure the ribs are placed meat-side-down. To lock in moisture and promote tenderness, cover the baking sheet tightly with heavy-duty aluminum foil. This creates a steamy environment that breaks down connective tissues.
- Low & Slow Bake: Preheat your oven to 300ºF (150ºC). Once hot, place the covered baking sheet with the ribs into the oven and bake for 1 hour. This initial low-temperature cook is essential for achieving that sought-after tenderness.
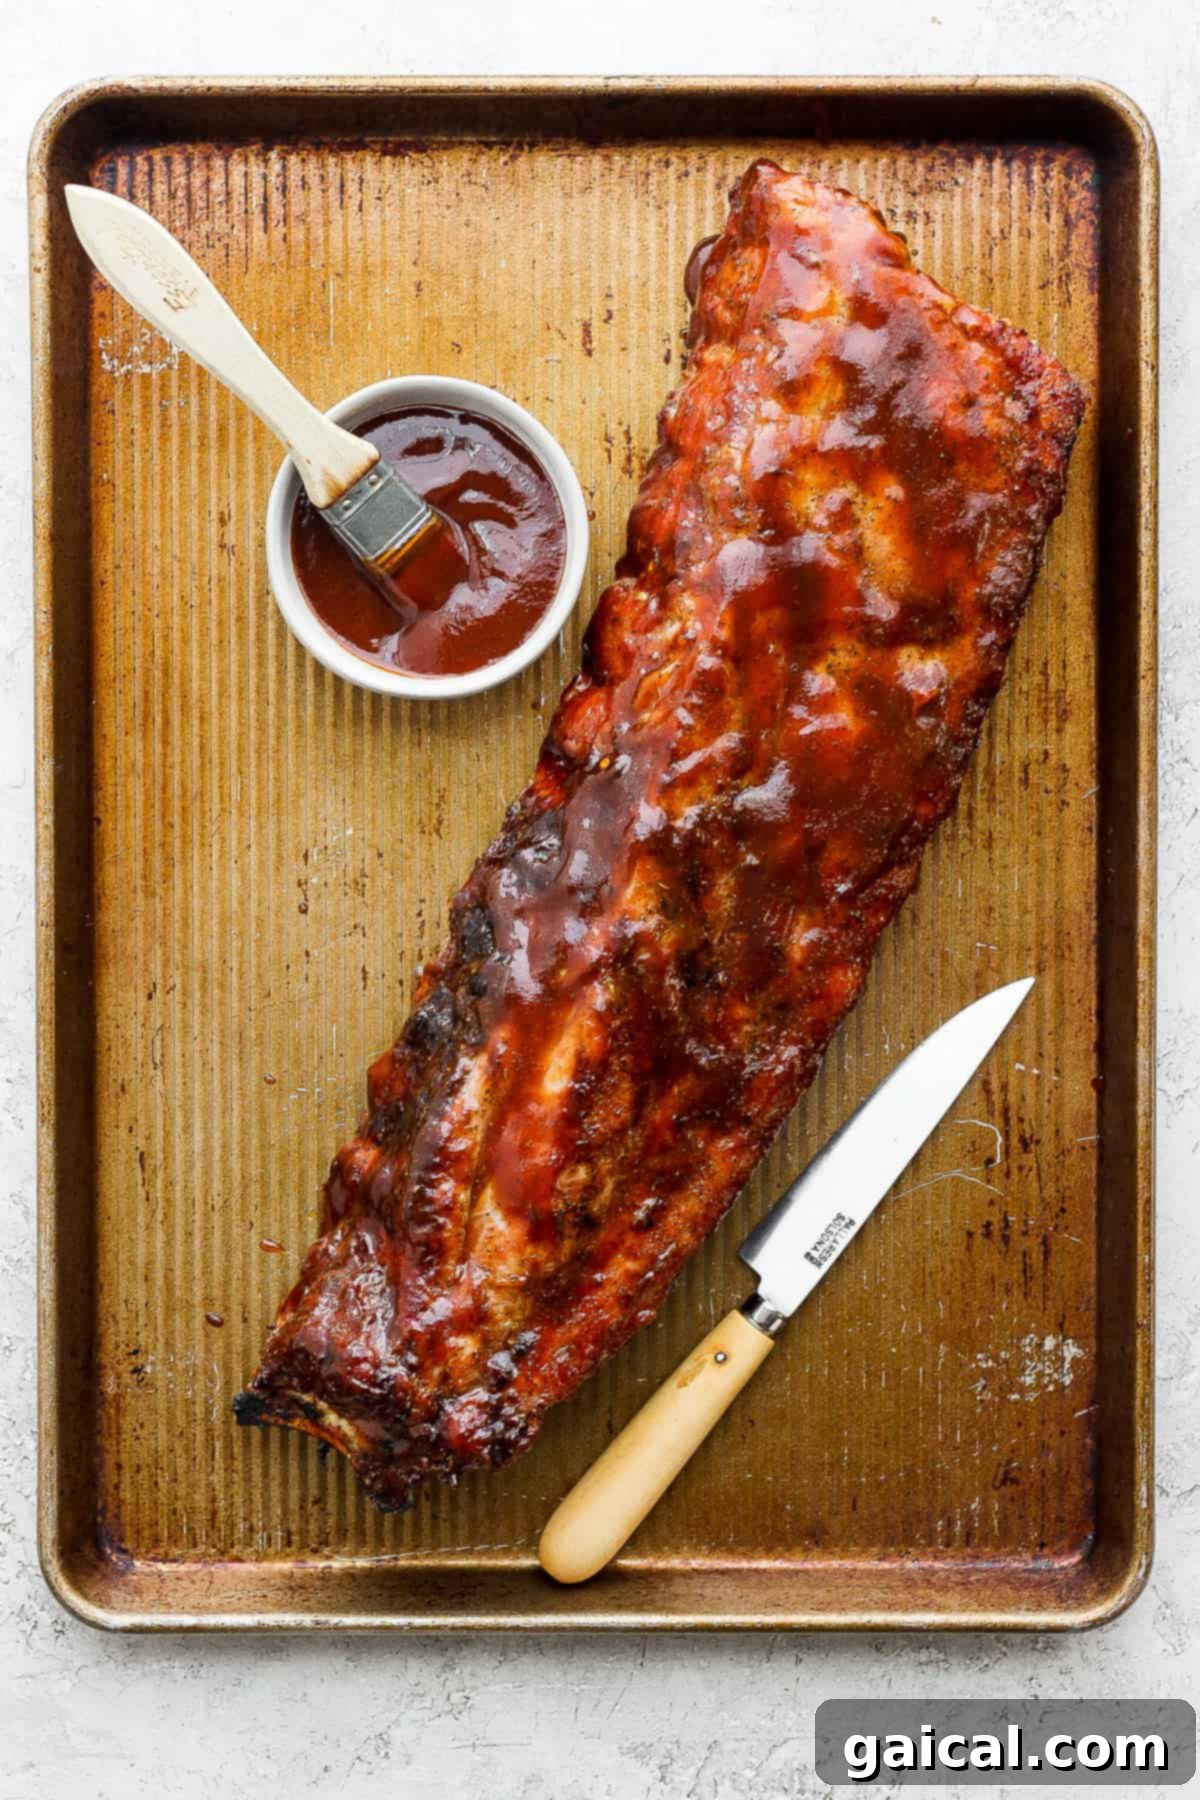
- The Flavorful Finish: After 1 hour, carefully remove the baking sheet from the oven and remove the foil. The ribs should already be quite tender. At this point, use a brush to generously coat both sides of the ribs with your preferred BBQ sauce. Increase the oven temperature to 400ºF (200ºC) and return the ribs to the oven, uncovered, for an additional 10-15 minutes. This higher heat will caramelize the BBQ sauce, creating a delicious, slightly crispy glaze.
- Optional Broil: For an even crispier exterior, you can briefly (1-3 minutes) broil the ribs after the final baking step, watching them very closely to prevent burning.
More Incredible Pork Recipes to Try
20 Minute Thai Coconut Dumpling Soup
Crispy Bacon Wrapped Chicken
Irresistible Italian Grinder Sliders
Cottage Cheese Pizza Bowl (Single Serve!)
Fluffy Egg and Croissant Breakfast Casserole
Achieving Perfect Tenderness: Baby Back Ribs Internal Temperature
The key to truly tender, fall-off-the-bone baby back ribs is reaching the correct internal temperature. While many meats are considered done at lower temperatures, ribs benefit from a higher internal temperature to break down tough connective tissues. The ideal internal temperature for baby back ribs is at least 195ºF (90ºC), and often even up to 203°F (95°C) for maximum tenderness.
You’ll also notice visual cues: the meat will start to pull back from the ends of the bones, exposing them. When you pick up a rack, it should have a noticeable “bend” without completely falling apart, indicating it’s perfectly cooked and tender.
Expert Tips for Unforgettable Baby Back Ribs
Always Remove the Membrane: As highlighted earlier, this is a non-negotiable step for achieving superior texture. The membrane can become tough and rubbery, hindering both tenderness and flavor absorption. Take the extra few minutes to remove it; you’ll be glad you did.
Don’t Skimp on Marinating Time: Marinating the ribs is crucial for injecting moisture and deep flavor into the meat. While an hour is good, allowing the ribs to marinate overnight (12-24 hours) in the refrigerator will yield the most tender and flavorful results. The acids and flavors in the marinade work wonders.
Embrace the Dry Rub: A good dry rub creates a flavorful crust (often called “bark”) and adds a complex layer of savory, sweet, and spicy notes that complement the marinade. Don’t be shy with the rub – ensure the ribs are completely coated on all sides after marinating.
Cook Low and Slow for Tenderness: The golden rule for ribs is “low and slow.” Cooking at a moderate temperature for an extended period breaks down the collagen in the meat, resulting in incredibly tender ribs. The initial phase is all about tenderness. Only increase the temperature towards the very end to help form a crust and caramelize the BBQ sauce.
The Importance of Resting: After cooking, it’s essential to let the ribs rest for at least 10-15 minutes before slicing and serving. This allows the juices to redistribute throughout the meat, ensuring every bite is moist and flavorful. Slicing too soon will cause the juices to run out, leading to drier ribs.
Use a Meat Thermometer: While visual cues are helpful, a reliable meat thermometer is your best friend for verifying doneness. Aim for an internal temperature of at least 195°F (90°C) for fall-off-the-bone tenderness.
Don’t Overcrowd the Grill or Oven: Ensure there’s adequate space around each rack of ribs for even cooking and proper air circulation. Overcrowding can lead to uneven cooking and prevent that perfect crust from forming.

Kitchen Essential!
The Thermoworks Thermapen
We absolutely swear by using a high-quality meat thermometer when cooking any cut of meat, and ribs are no exception! The Thermapen is our trusted, go-to meat thermometer that delivers accurate readings instantly, every single time. It’s an investment that will elevate all your cooking.
Storing and Reheating Your Delicious Leftover Ribs
While it’s hard to imagine having leftovers of these incredible baby back ribs, if you do, they store beautifully! Properly storing and reheating your ribs ensures you can enjoy their deliciousness for days to come.
- Refrigeration: Allow any leftover ribs to cool completely before storing. Once cool, transfer them to an airtight container. They will keep well in the refrigerator for up to 3-5 days. For best results, consider wrapping individual portions tightly in aluminum foil before placing them in the container to maintain moisture.
- Freezing: For longer storage, ribs can be frozen. Wrap individual portions or full racks tightly in plastic wrap, then again in aluminum foil, and place them in a freezer-safe bag or container. They will remain fresh in the freezer for up to 2-3 months. Thaw frozen ribs in the refrigerator overnight before reheating.
- Reheating: To reheat, the oven is often the best method to retain moisture and flavor. Preheat your oven to 250-300°F (120-150°C). Wrap the ribs loosely in foil and place them on a baking sheet. Heat for 20-30 minutes, or until warmed through. You can also briefly grill them for a few minutes on each side to regain some crispiness, or even use an air fryer for smaller portions. Avoid microwaving, as it can dry out the meat.
Discover More of Our Favorite…
More Amazing Ribs and Pork Recipes
- Perfectly Tender Ribs in the Oven
- How to Make Delicious Grilled Ribs
- The Best Homemade Rib Marinade Recipe
- Our Secret Rib Dry Rub Recipe
- Unbelievably Tender 24-Hour Sous Vide Ribs
- Explore Our Collection of Best Pork Recipes
Tender Baby Back Ribs Recipe (Grill or Oven)
Learn how to cook succulent baby back ribs using both oven and grill methods, enhanced by our simple yet powerful marinade and dry rub!
By: Lee Funke
Prep Time: 1 hr 30 mins
Cook Time: 1 hr 30 mins
Total Time: 3 hrs
Servings: 8
Ingredients
Main Ribs Ingredients
- 2-3 lbs. bone-in baby back ribs (1 rack of pork ribs)
- 2 teaspoons kosher salt
- 2 teaspoons cracked black pepper
- 1/4 cup pork seasoning (we recommend our homemade pork rib rub or pork dry rub)
- 1 cup BBQ sauce
Rib Marinade
- ¼ cup maple syrup
- 2 tablespoons Dijon mustard
- 3 teaspoons Worcestershire sauce
- 1 tablespoon apple cider vinegar
- 5 cloves garlic, minced
Instructions
- Prepare the Ribs: Begin by preparing your baby back ribs. Remove the thin membrane from the bone-side of the ribs. To do this, slide a knife or the back of a spoon under the membrane at one end of the rack. Grip the lifted membrane with a paper towel and pull it firmly to peel it off the entire rack.
- Initial Seasoning: Gently massage the kosher salt and cracked black pepper into both sides of the rib meat. Set the seasoned ribs aside.
- Prepare the Marinade: In a medium bowl, combine all the ingredients for the rib marinade (maple syrup, Dijon mustard, Worcestershire sauce, apple cider vinegar, and minced garlic). Whisk thoroughly until all ingredients are well combined.
- Marinate the Ribs: Place the seasoned ribs into a gallon-sized freezer bag or a 9×13-inch baking pan. Pour the prepared marinade over the ribs, ensuring they are completely covered. Flip the ribs meat-side down, cover the container or seal the bag, and refrigerate for at least 1 hour, or ideally overnight (12-24 hours) for the most tender and flavorful results.
- Preheat Oven/Grill: Preheat your grill or oven to 300ºF (150ºC).
- Apply Dry Rub: Remove the ribs from the refrigerator and let any excess marinade drip off. Generously season the ribs with approximately 1/4 cup of your chosen pork dry rub. Rub the spices firmly into the ribs on both sides, ensuring they are completely covered for a delicious crust.
- Bring to Room Temperature: Allow the dry-rubbed ribs to sit at room temperature for at least 15 minutes before cooking. This helps them cook more evenly.
- Grill Directions (for smoky flavor): Transfer the ribs onto the preheated grill. Cook meat-side-down over indirect heat at 300ºF (150ºC) for 1 hour. After 1 hour, increase the grill temperature to 400ºF (200ºC). Move the ribs over to direct heat, making sure they are now meat-side-up. Using a brush, generously coat the ribs with BBQ sauce. Grill over direct heat for 10-15 minutes, flipping them halfway through, to allow the sauce to caramelize and create a delicious glaze.
- Oven Directions (for consistent results): Transfer the ribs onto a baking sheet, meat-side-down, and cover tightly with aluminum foil. Bake at 300ºF (150ºC) for 1 hour. Remove the ribs from the oven and carefully remove the foil. Using a brush, coat both sides of the ribs generously with BBQ sauce. Increase the oven temperature to 400ºF (200ºC) and cook, uncovered, for an additional 10-15 minutes, allowing the sauce to caramelize.
- Check for Doneness: Remove the ribs from the grill or oven when their internal temperature reaches at least 195ºF (90ºC) using a meat thermometer. You can also tell they are done when the meat starts to pull back from the bones, exposing them.
- Rest and Serve: Let the cooked ribs rest for 10-15 minutes before slicing and serving. This allows the juices to redistribute, ensuring incredibly moist and tender ribs. Enjoy your homemade masterpiece!
Tips & Notes
- Store any excess dry rub in an airtight container to use for your next batch of ribs or other pork dishes.
- The longer you marinate the ribs, the more tender and flavorful they will become. Aim for overnight if possible.
- Feel free to use your favorite brand or homemade BBQ sauce to customize the flavor.
- This recipe has been specifically developed and tested for baby back ribs. Results may vary with other types of ribs due to differences in meat-to-bone ratio and fat content.
- If you prefer a more pronounced “crust” or “bark” on your ribs, consider adding an extra layer of dry rub just before the final cooking phase (after the initial low-and-slow cook).
- For even more tender ribs in the oven, you can wrap them in foil for the entire 2-2.5 hour low-and-slow portion, only unwrapping for the final BBQ sauce caramelization.
Nutrition
Calories: 374 kcal, Carbohydrates: 28 g, Protein: 23 g, Fat: 19 g, Fiber: 1 g, Sugar: 18 g
Nutrition information is automatically calculated and should only be used as an approximation. It can vary based on specific ingredients and brands used.
Loved this recipe? Share your thoughts below!
Don’t forget to tag your culinary creations on social media with the hashtag #fitfoodiefinds – we’d absolutely love to see your amazing baby back ribs!
Photography by: The Wooden Skillet