
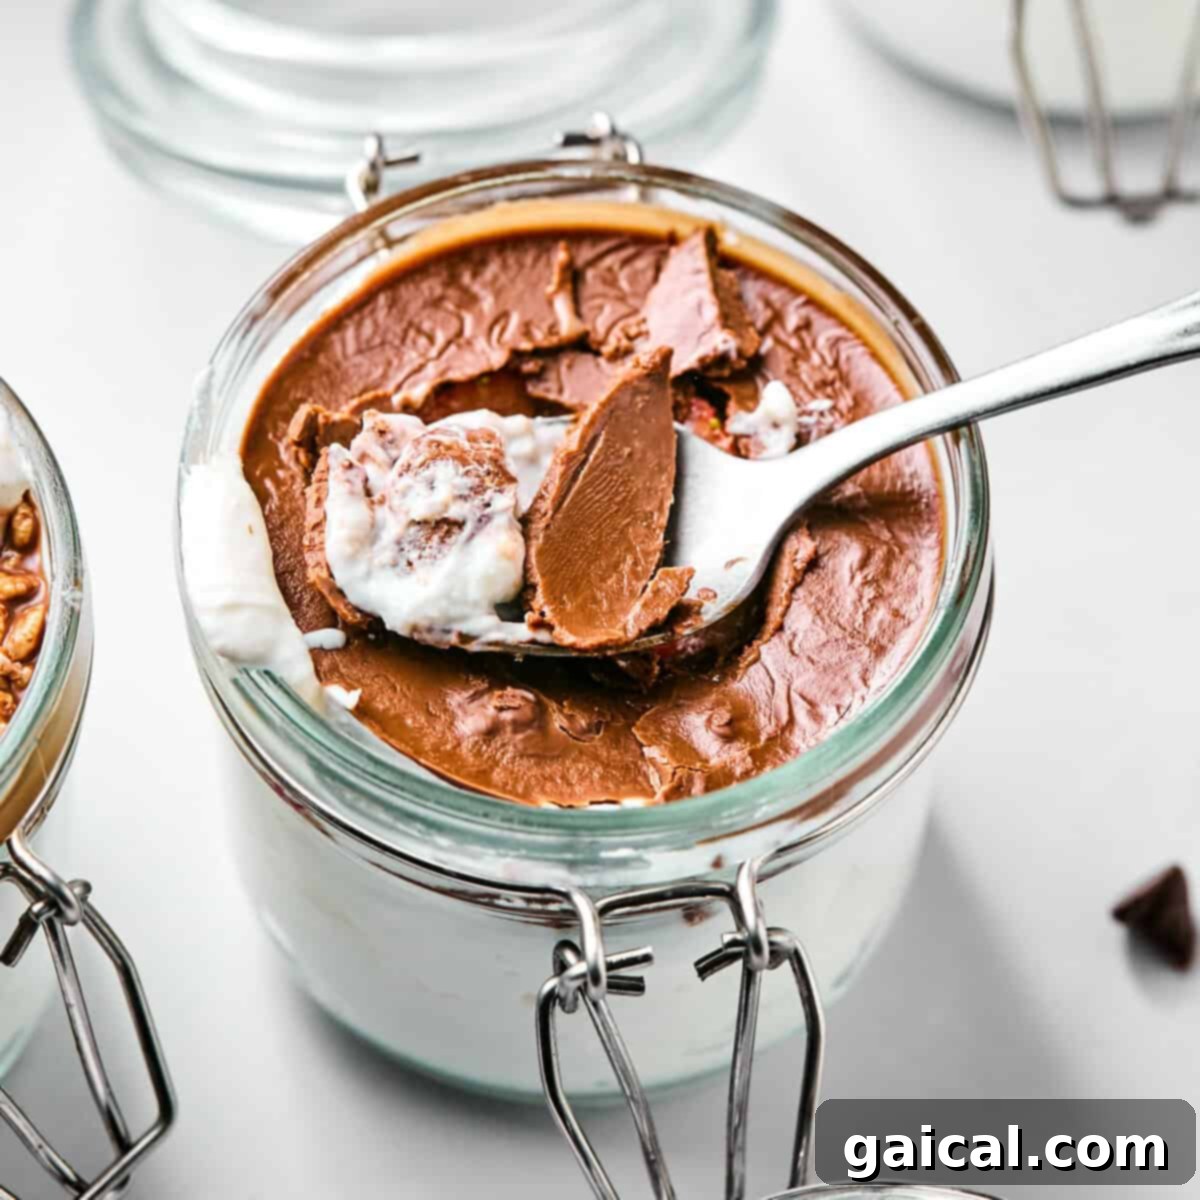
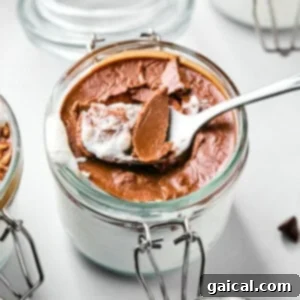
Unlock the secret to an instantly hardening chocolate topping with our incredibly simple, 2-ingredient magic shell recipe! This beloved classic, made with semi-sweet chocolate chips and a touch of coconut oil, transforms any treat into a delightful, crackable masterpiece. Say goodbye to soggy toppings and hello to that satisfying snap every time you dig in. Whether you’re topping creamy yogurt, a scoop of your favorite ice cream, our luscious protein bark, refreshing smoothies, or even a light and airy mousse, this homemade magic shell sets in seconds, creating a decadent, crispy chocolate layer. Just crack the shell, and savor the magic!
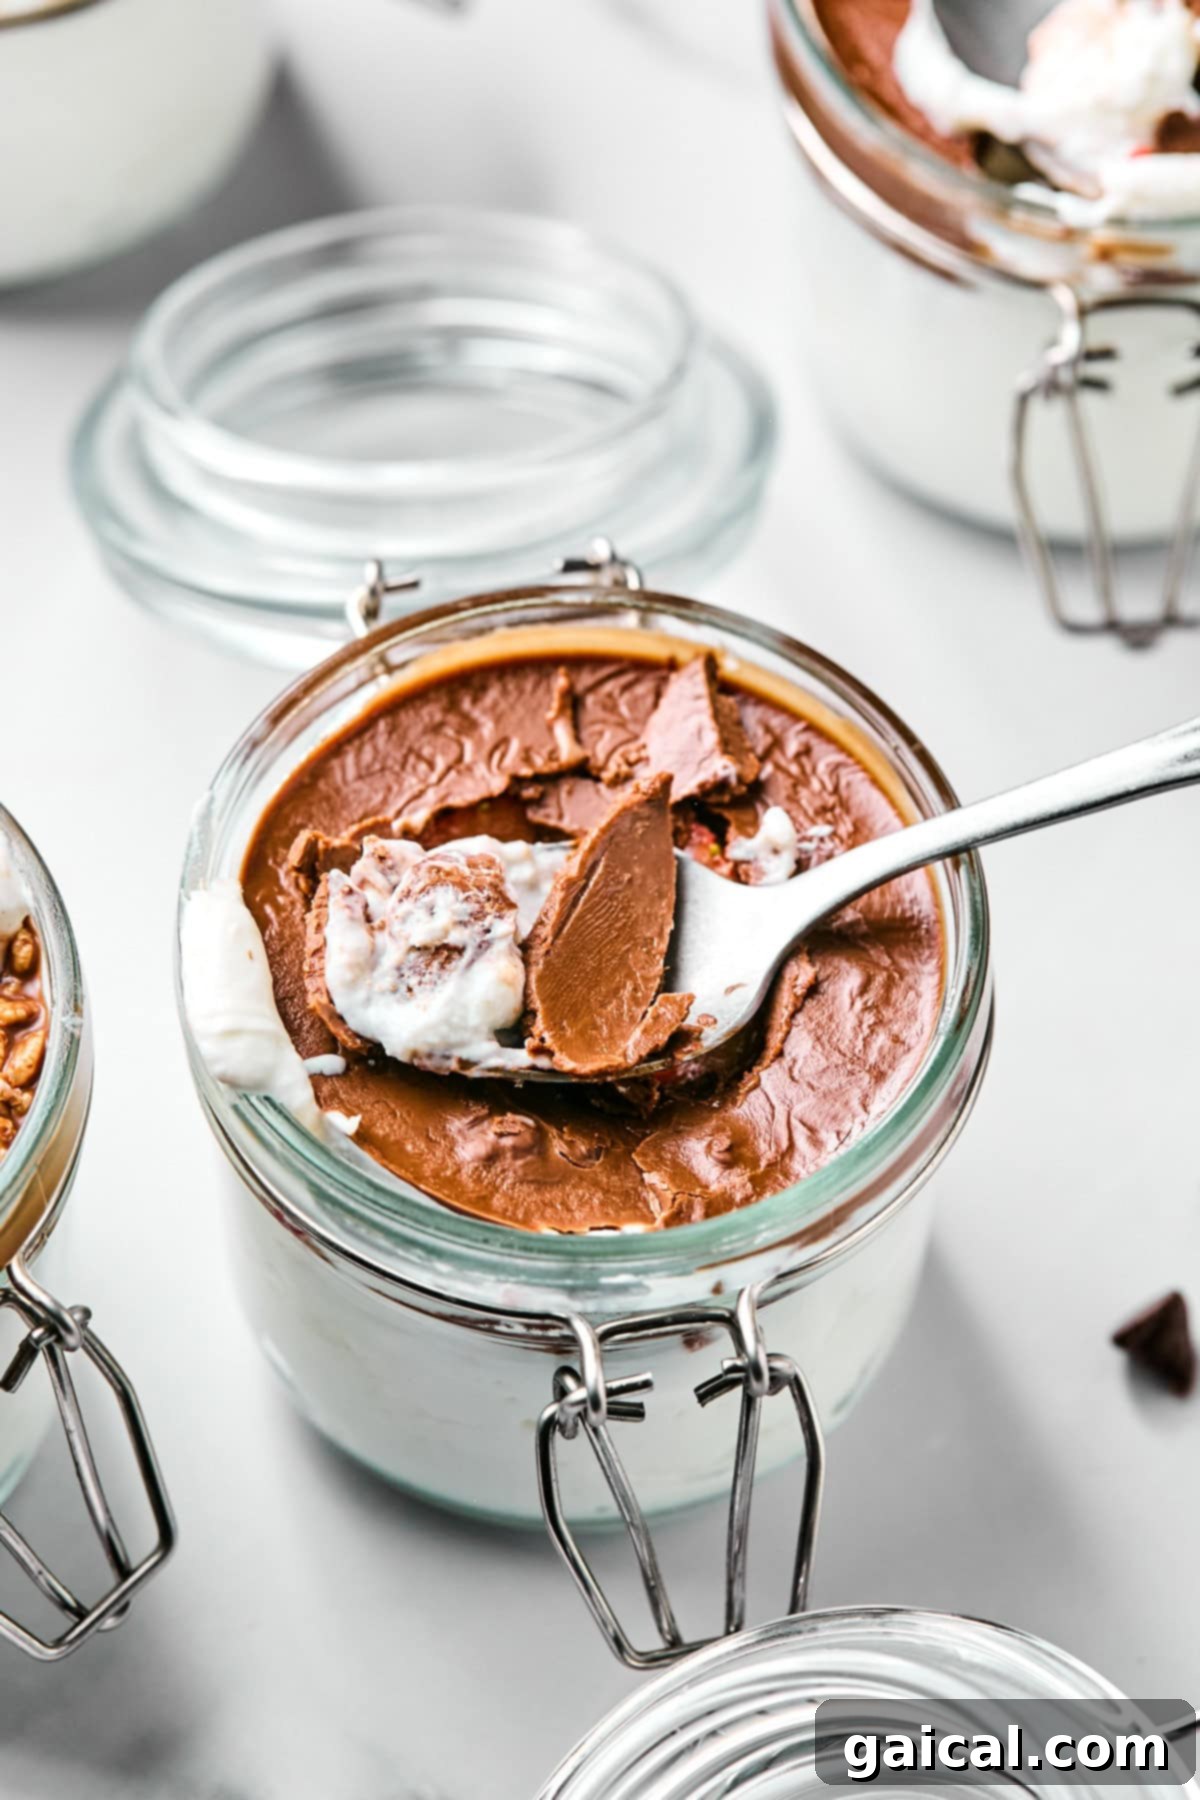
For years, we’ve been enhancing our sweet treats and healthy snacks with this homemade delight. It’s so simple and effective, we knew it was time to officially share our go-to, easy 2-ingredient magic shell recipe with you. The beauty of this recipe lies in its absolute minimal requirement for ingredients and effort, yet it delivers maximum satisfaction. You’ll be amazed at how quickly you can whip up a batch of this versatile chocolate coating, ready to elevate almost any dessert. All you truly need are two pantry staples that magically combine to create this iconic, crackable chocolate shell.
The Magic Duo: Essential Ingredients for Homemade Magic Shell
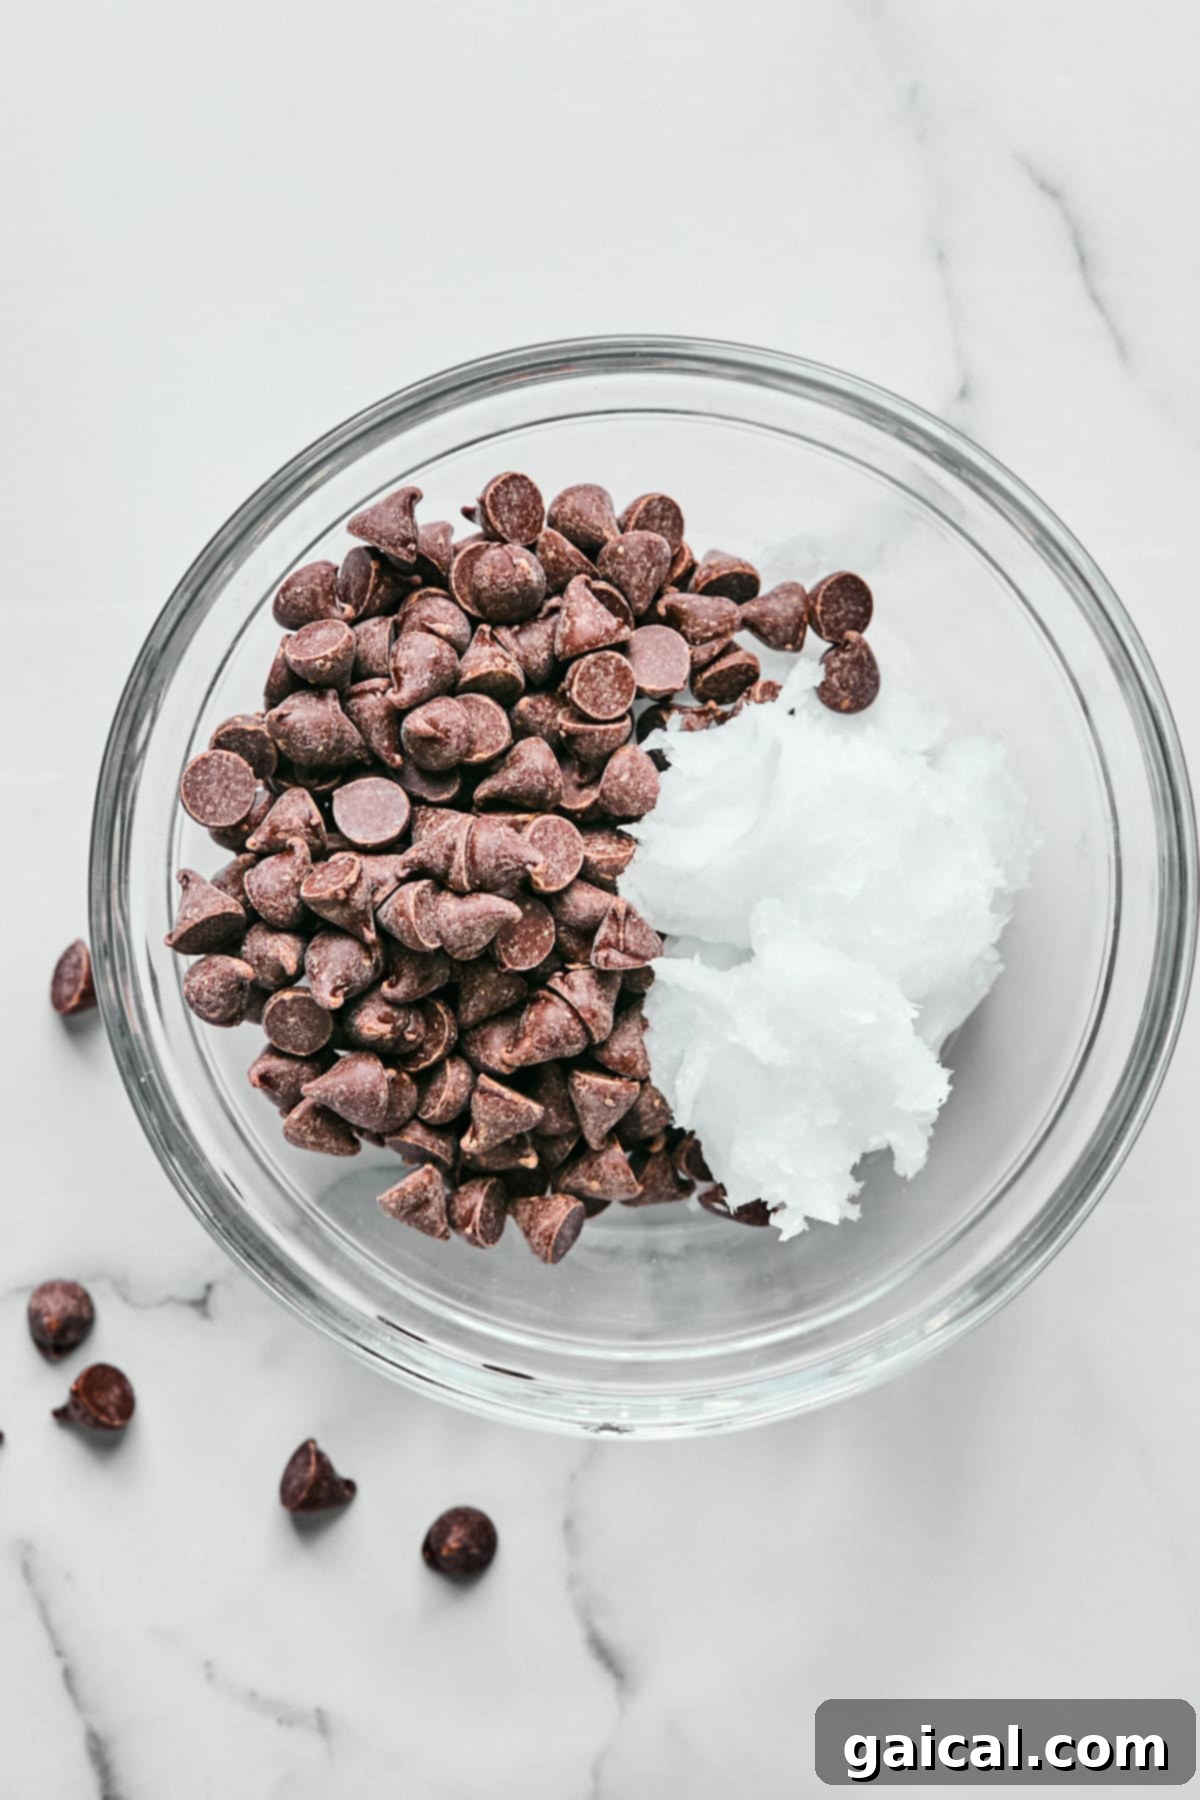
Creating this irresistible magic shell is unbelievably straightforward, relying on just two key components:
- Quality Chocolate Chips: While we typically opt for semi-sweet chocolate chips for a perfectly balanced flavor, the wonderful news is that almost any variety of chocolate will work beautifully. Feel free to experiment based on your preference! We’ve successfully tested this recipe with rich dark chocolate chips for an intense flavor, creamy milk chocolate chips for a sweeter profile, and even delicate white chocolate chips for a unique twist. The key is to choose a good quality chocolate that you enjoy eating on its own, as its flavor will shine through in your magic shell.
- Unrefined Coconut Oil: This is the secret ingredient that gives our magic shell its “magic.” Coconut oil has a unique property: it melts at a relatively low temperature but solidifies quickly when exposed to cold surfaces. This is precisely why it allows the chocolate to harden almost instantly upon contact with frozen or chilled desserts. You’ll measure the coconut oil in its solid state before placing it directly into a microwave-safe bowl with your chosen chocolate chips. Using unrefined coconut oil will impart a very subtle coconut flavor, which we love, but if you prefer a purely chocolate taste, refined coconut oil is a great alternative.
Top Tips for Mastering Your Magic Shell ⤵️
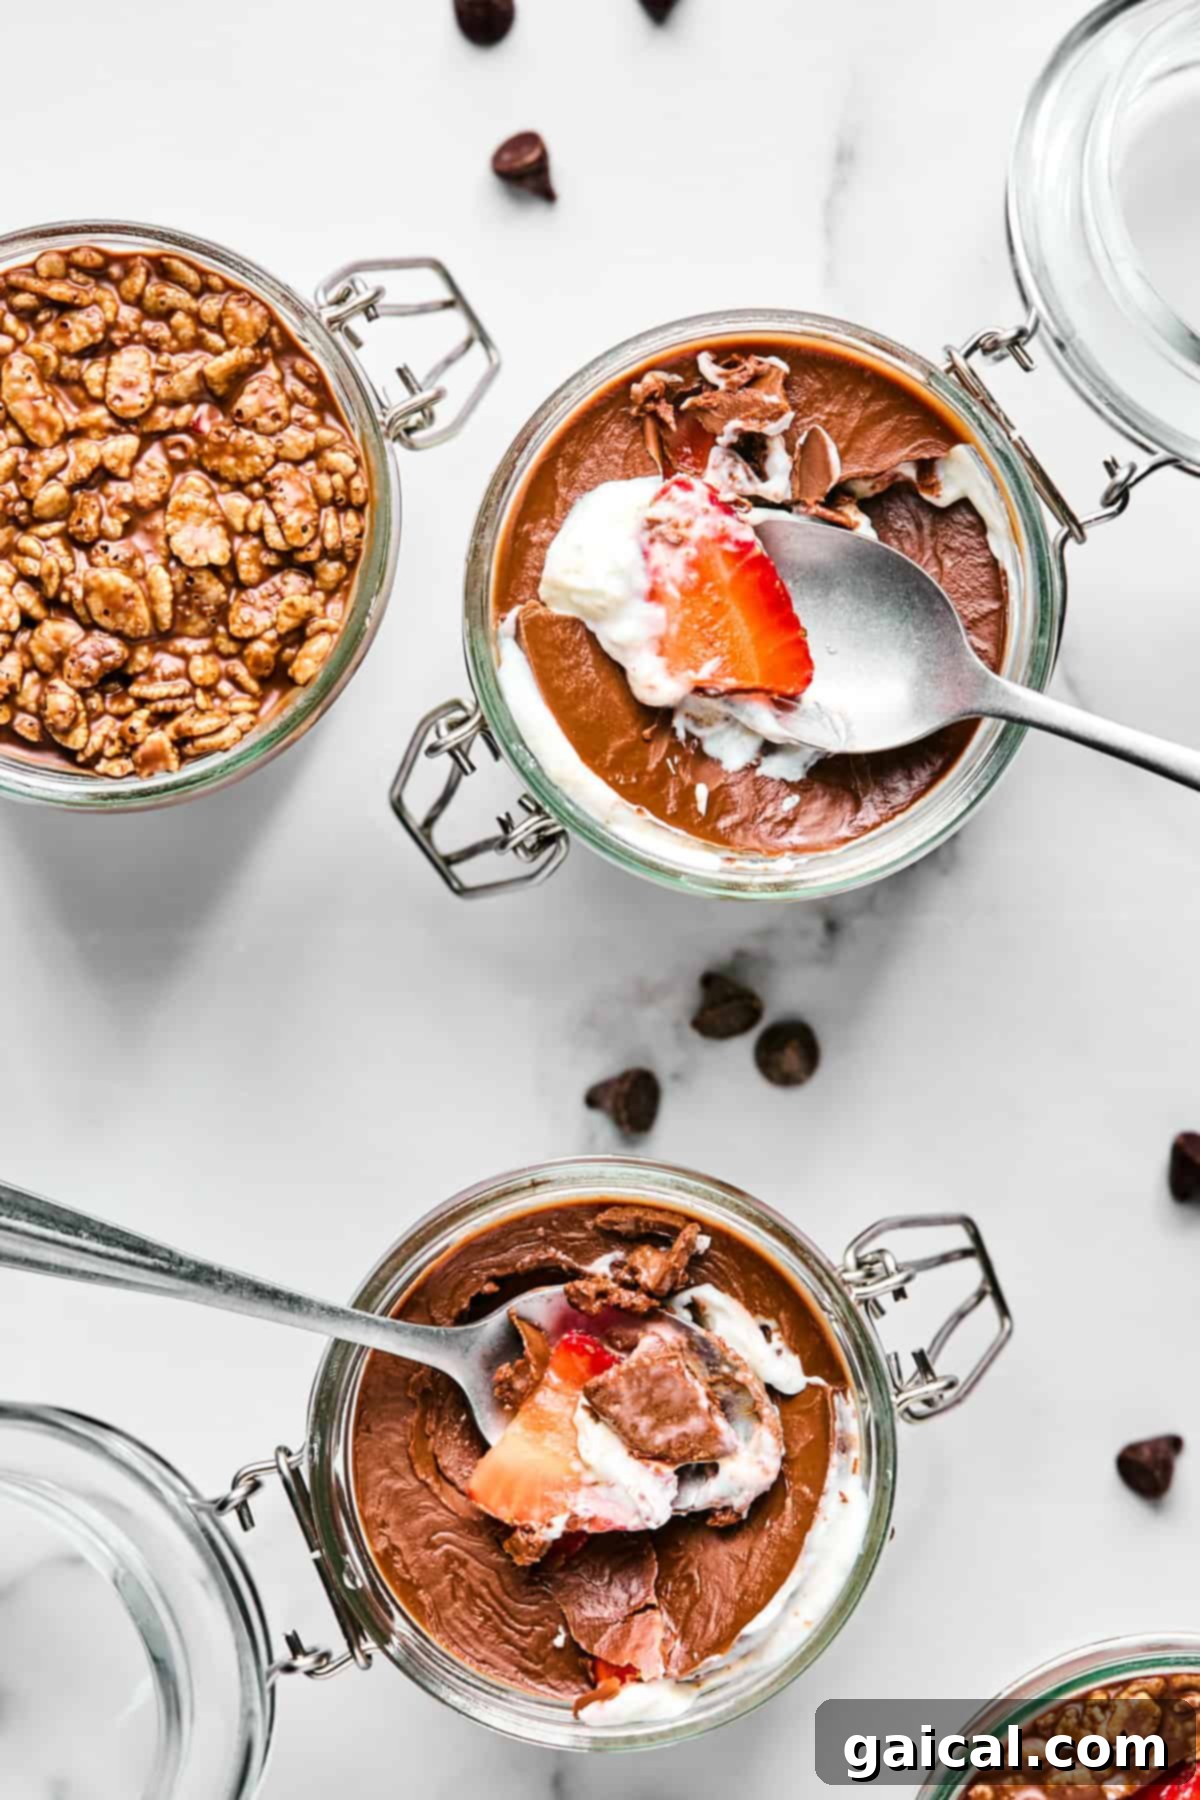
Unleash Your Creativity: Magic Shell on Everything! One of our absolute favorite ways to enjoy this quick topping is on a single-serve yogurt. It’s an instant upgrade! Simply peel back the yogurt lid, pour a generous layer of magic shell over the top, and pop it into the fridge for a few minutes to harden. The contrast between the cool, creamy yogurt and the crisp chocolate is simply divine. If you’re preparing these for meal prep or a small gathering, place the topped yogurt cups in an airtight container in the fridge for easy storage and enjoyment throughout the week.
Can You Skip the Coconut Oil? While you can certainly make a chocolate shell without coconut oil, be aware that the results will differ. Omitting the coconut oil will yield a much harder, more brittle chocolate coating that will require a longer setting time in the fridge. The beauty of magic shell, and what sets it apart, is its ability to harden rapidly and offer that signature “snap.” Coconut oil is fundamental to achieving this effect, as it lowers the melting point of the chocolate while still allowing it to solidify quickly at cool temperatures.
Elevate Your Shell: Make it Crispy and Flavorful
When we were developing and testing this recipe, we aimed to go beyond just a simple chocolate coating. We wanted to add an extra layer of fun and texture, leading us to discover delightful variations. For a truly exciting crunch, try sprinkling a few tablespoons of rice krispies cereal into the melted chocolate mixture before pouring it over your yogurt or ice cream. Stir gently to incorporate, ensuring every bite gets a delightful pop! The result is a wonderfully crunchy, chocolatey magic shell that adds an unexpected textural dimension to your dessert experience. Beyond rice krispies, consider adding crushed nuts like almonds or peanuts, shredded coconut, or even a dash of cinnamon or a pinch of sea salt to elevate the flavor profile. The possibilities for customization are endless, allowing you to tailor your magic shell to perfectly match your mood or the dessert it accompanies.
Why This Homemade Magic Shell is a Game Changer
This 2-ingredient magic shell isn’t just easy; it’s a culinary revelation that will transform your dessert game. Here’s why it deserves a permanent spot in your recipe collection:
- Effortless Simplicity: With only two ingredients and minimal steps, anyone can master this recipe. No complex techniques or fancy equipment required – just melt, pour, and enjoy!
- Instant Gratification: The magic of this shell is how quickly it sets. In mere seconds, your liquid chocolate transforms into a firm, crackable coating, eliminating waiting time and satisfying your dessert cravings almost instantly.
- Unbelievable Versatility: This isn’t just for ice cream! Drizzle it over fresh fruit, dip pretzels, coat frozen banana slices, or add a fun twist to your morning yogurt. It’s a fantastic way to add a touch of indulgence to almost any sweet treat.
- Healthier Options: By making it at home, you control the ingredients. Choose high-quality chocolate chips, and you’re skipping many of the artificial ingredients found in store-bought versions. It can even be adapted for different dietary needs, such as using sugar-free chocolate chips.
- Budget-Friendly: Making your own magic shell is far more economical than buying specialty chocolate coatings. A bag of chocolate chips and a jar of coconut oil will last through many batches, providing deliciousness without breaking the bank.
More of Our Favorite Recipes to Pair with Magic Shell
Once you’ve mastered this magic shell, you’ll find endless opportunities to incorporate it into other delicious creations. Here are some of our top picks that are simply divine with a crackable chocolate topping:
- Protein Cookie Dough Bark: A healthy, satisfying snack that gets an extra boost of flavor and texture with a magic shell layer.
- Chocolate Peanut Butter Banana Smoothie: Drizzle magic shell on top for an indulgent, yet still wholesome, treat.
- Easy Pumpkin Mousse: The light, airy mousse is perfectly complemented by a rich, crisp chocolate layer.
- Protein Frozen Yogurt Cups: Turn these cool, creamy cups into an even more exciting dessert with a magic shell coating.
- Chocolate Covered Strawberry Frozen Yogurt Bars: Enhance the classic chocolate-strawberry pairing with an extra crunchy shell.
- Homemade Dilly Bars: Recreate your favorite ice cream shop treat with a superior homemade coating.
Homemade Magic Shell Recipe
Prep:
5
Cook:
2
Total:
7
4
Print Recipe
Ingredients
- ¼ cup semi-sweet chocolate chips
- 2 tablespoons coconut oil*
Instructions
-
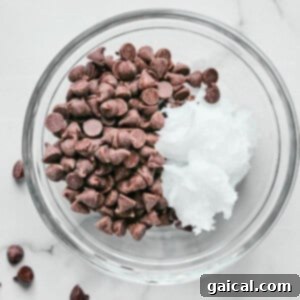
Place the chocolate chips and coconut oil in a microwave-safe bowl.

-
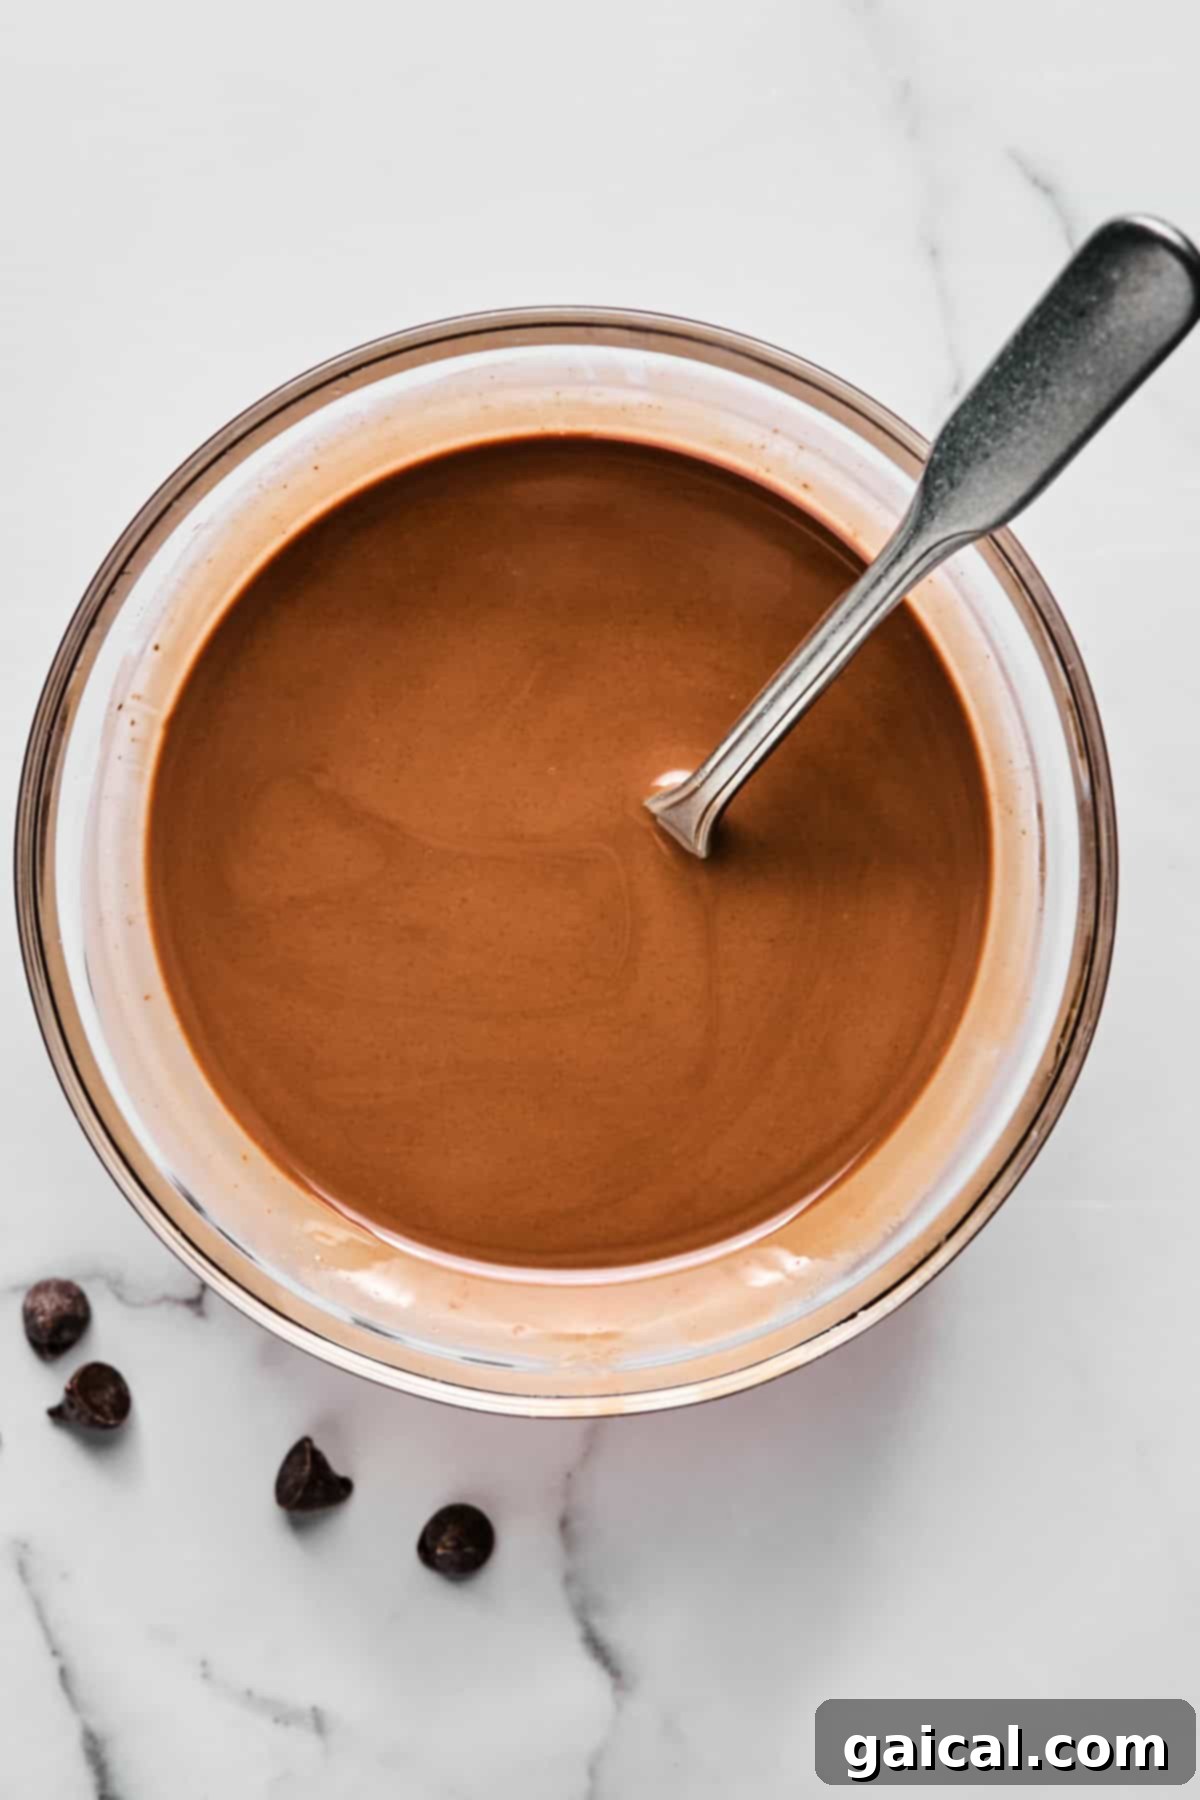
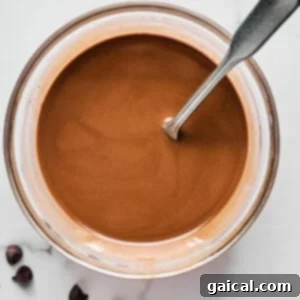
Microwave the mixture in 20-second intervals, stirring thoroughly after every interval until the chocolate is completely melted, smooth, and glossy.
-
Remove from the microwave and immediately serve the magic shell over yogurt, ice cream, fresh fruit, or any other chilled treats. It will harden almost instantly!
Tips & Notes
- This recipe can be made without coconut oil, but it will result in a much harder chocolate shell that will require more time to set and will not have the same immediate “magic” effect.
- To make the magic shell delightfully crispy, stir in 1-2 tablespoons of rice krispies cereal or crushed chex cereal into the melted chocolate just before pouring.
- For best results, ensure your desserts are well-chilled or frozen to allow the magic shell to set instantly.
- Store any leftover magic shell in an airtight container at room temperature. It will solidify but can be re-melted in the microwave in 15-second intervals.
Watch It
Watch the full recipe video to see how simple it is to make your own Homemade Magic Shell!
Click here to watch the Homemade Magic Shell video
Nutrition
Carbohydrates: 6 g,
Protein: 1 g,
Fat: 11 g,
Fiber: 1 g,
Sugar: 4 g
Nutrition information is automatically calculated, so should only be used as an approximation.
Love this recipe? Leave a comment below!
Don’t forget to tag your delicious creations on social media with the hashtag #fitfoodiefinds – we’d absolutely love to see what you’re up to!
Frequently Asked Questions About Magic Shell
- What exactly is magic shell and how does it work?
- Magic shell is a chocolate topping that hardens into a crisp, crackable shell almost instantly when poured over cold desserts. Its “magic” comes from the addition of coconut oil to melted chocolate. Coconut oil is liquid at warmer temperatures but solidifies quickly when chilled, causing the chocolate to set into a firm layer without needing refrigeration for an extended period.
- Can I use any type of chocolate for this recipe?
- Yes, absolutely! While semi-sweet chocolate chips are our go-to for a classic flavor, this recipe works beautifully with dark chocolate, milk chocolate, or even white chocolate chips. Feel free to experiment with your favorite chocolate varieties to customize the taste of your magic shell.
- Is coconut oil essential, or can I substitute it?
- Coconut oil is key to achieving the signature quick-setting and crackable texture of magic shell. While you can melt chocolate without it, the resulting shell will be much harder and take longer to set, lacking the distinct “magic” quality. We recommend sticking with coconut oil for the best results.
- How should I store leftover magic shell?
- Store any unused magic shell in an airtight container at room temperature. It will solidify, but you can easily re-melt it by gently heating it in the microwave in 15-20 second intervals, stirring until smooth and pourable again.
- What are some creative ways to use magic shell?
- Beyond ice cream and yogurt, magic shell is fantastic for dipping fresh fruit (like strawberries or banana slices), coating frozen fruit skewers, drizzling over pancakes or waffles, topping cupcakes, or even adding a crunchy layer to smoothies and parfaits. Get creative and experiment!
Photography: photos taken in this post are by Sierra Ashleigh Photography.