
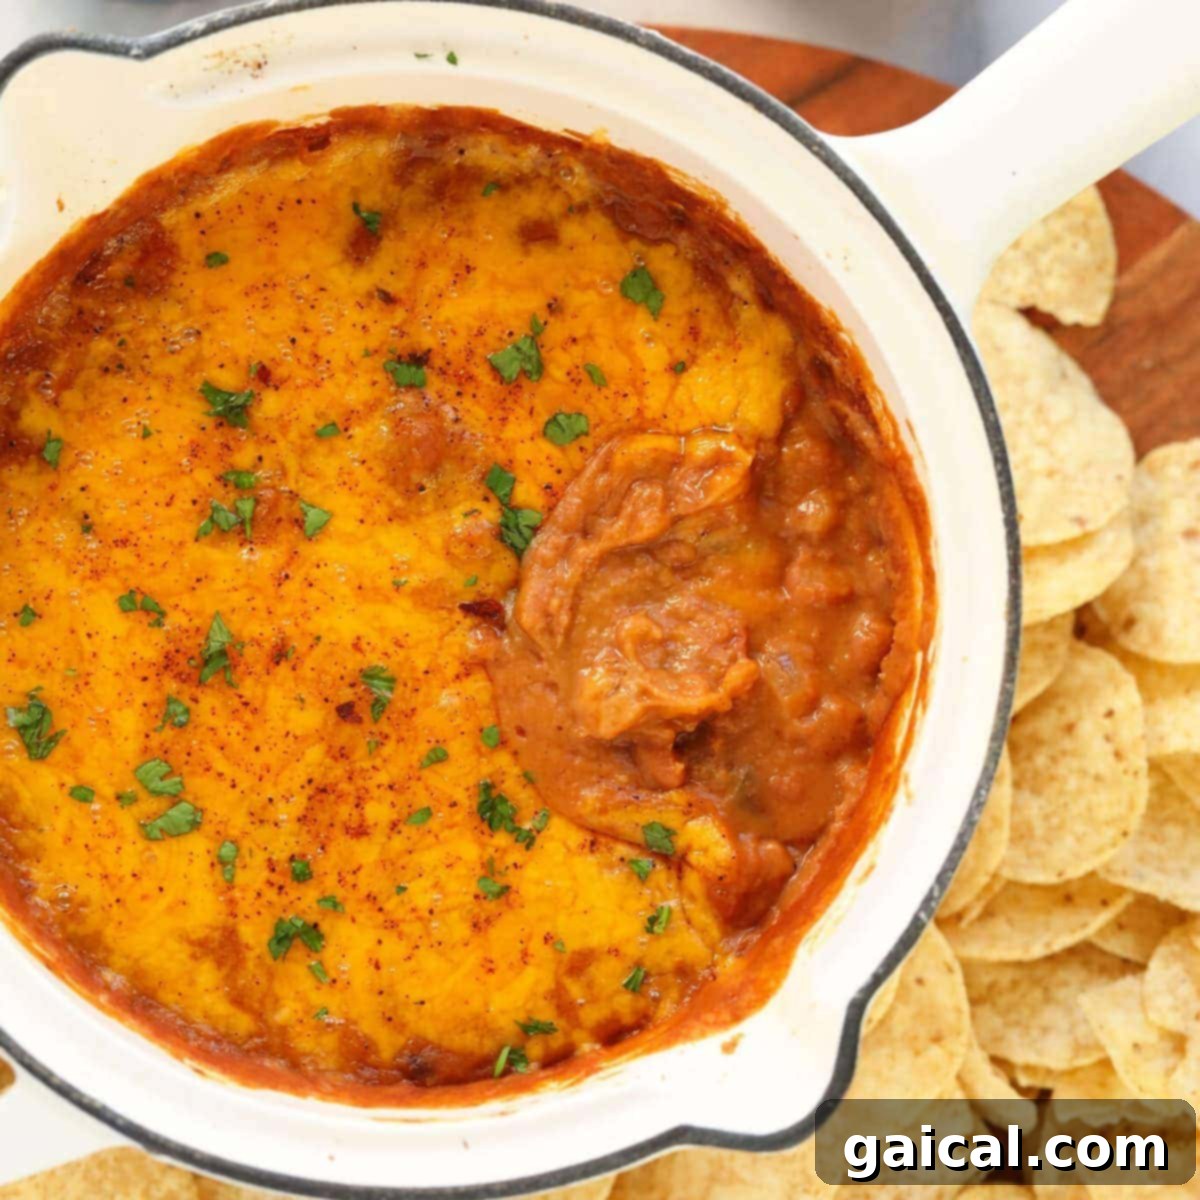
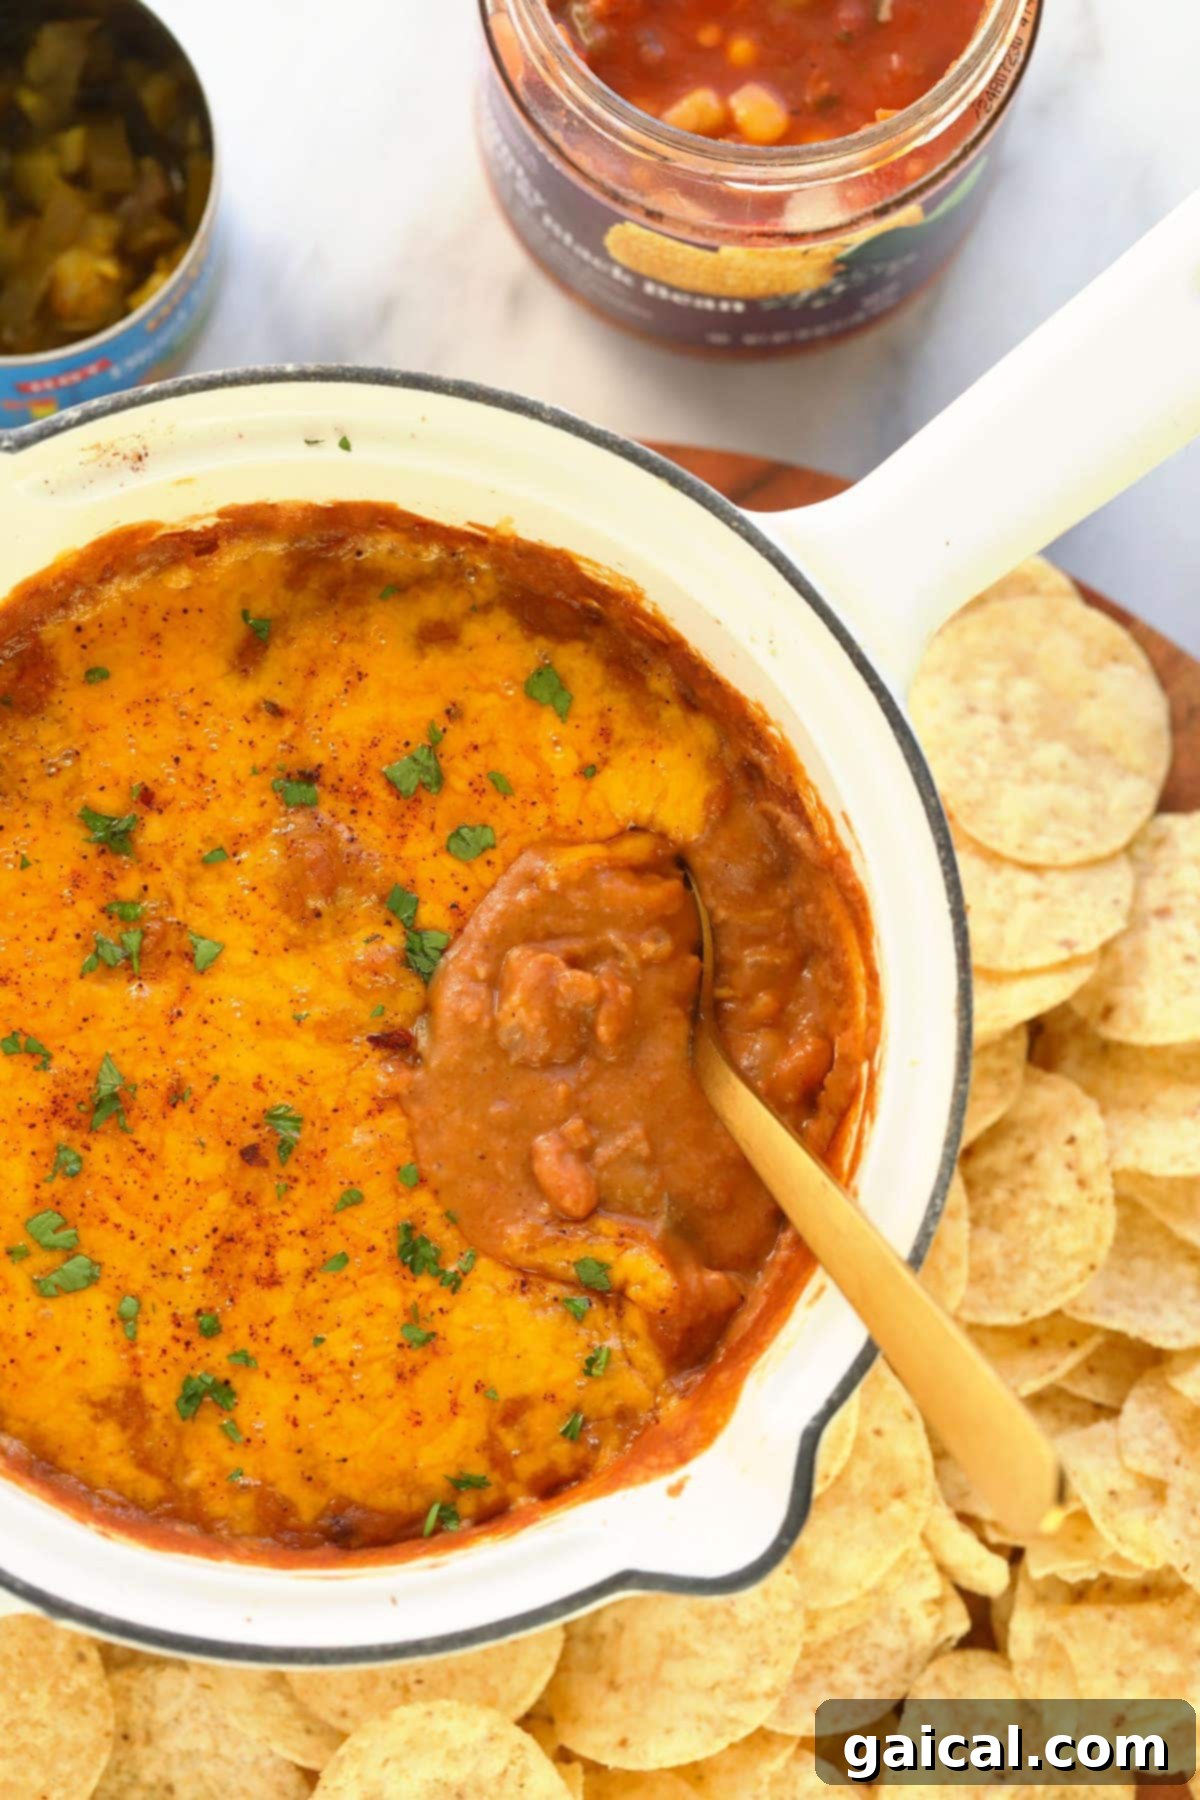
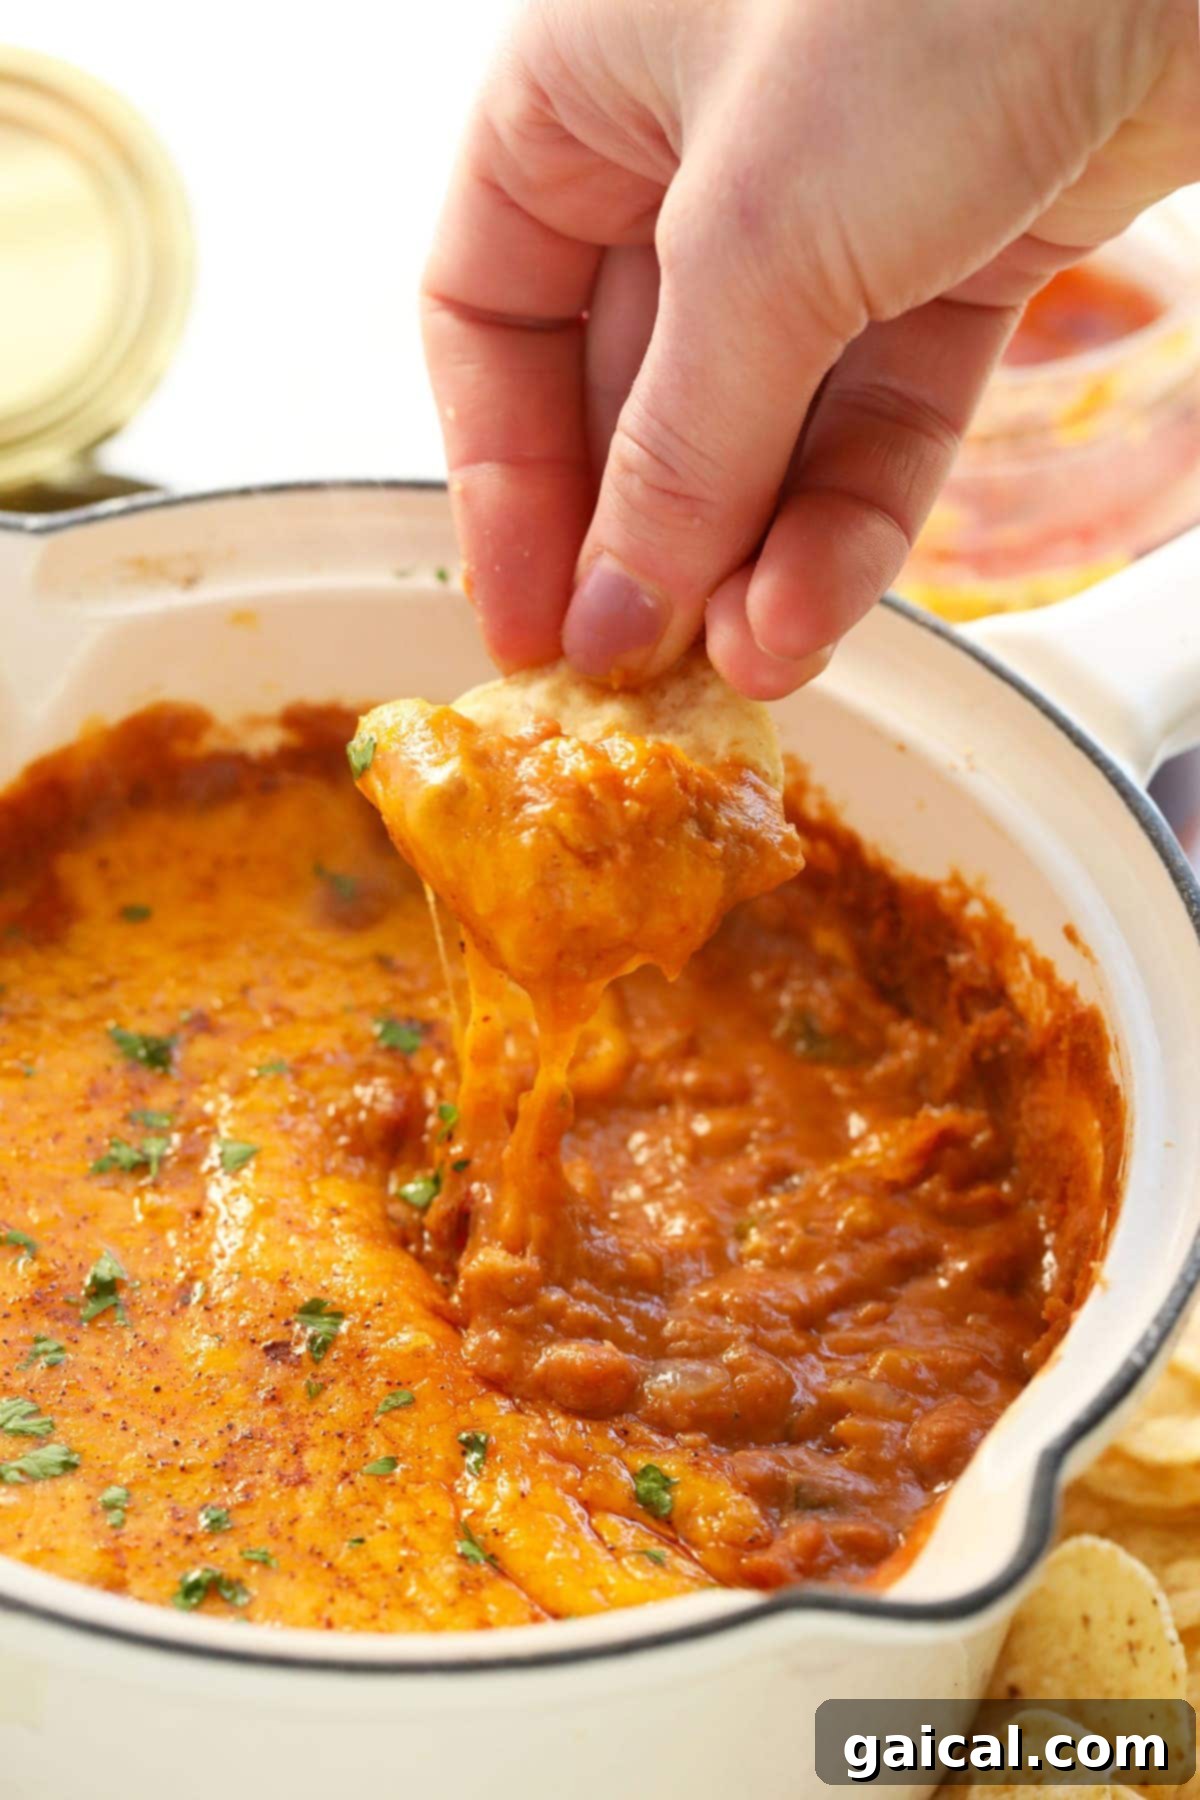
Experience the ultimate crowd-pleaser with this incredibly delicious and protein-packed bean dip! Crafted with a wholesome blend of creamy refried beans, hearty pinto beans, tangy Greek yogurt, and rich cheddar cheese, this dip isn’t just a snack – it’s a satisfying culinary delight. Whether you’re hosting a lively game day party or simply craving a flavorful, easy appetizer, this recipe is guaranteed to be a hit. It truly is the best you’ll ever make!
If you’re on the hunt for more wholesome yet indulgent dip recipes, you’ve come to the right place. Beyond this fantastic bean dip, explore other favorites like our lightened baked spinach artichoke dip or our savory roasted garlic caramelized onion dip. With a collection of healthy and flavorful options, you’ll always have an impressive dip ready to serve your family and guests.
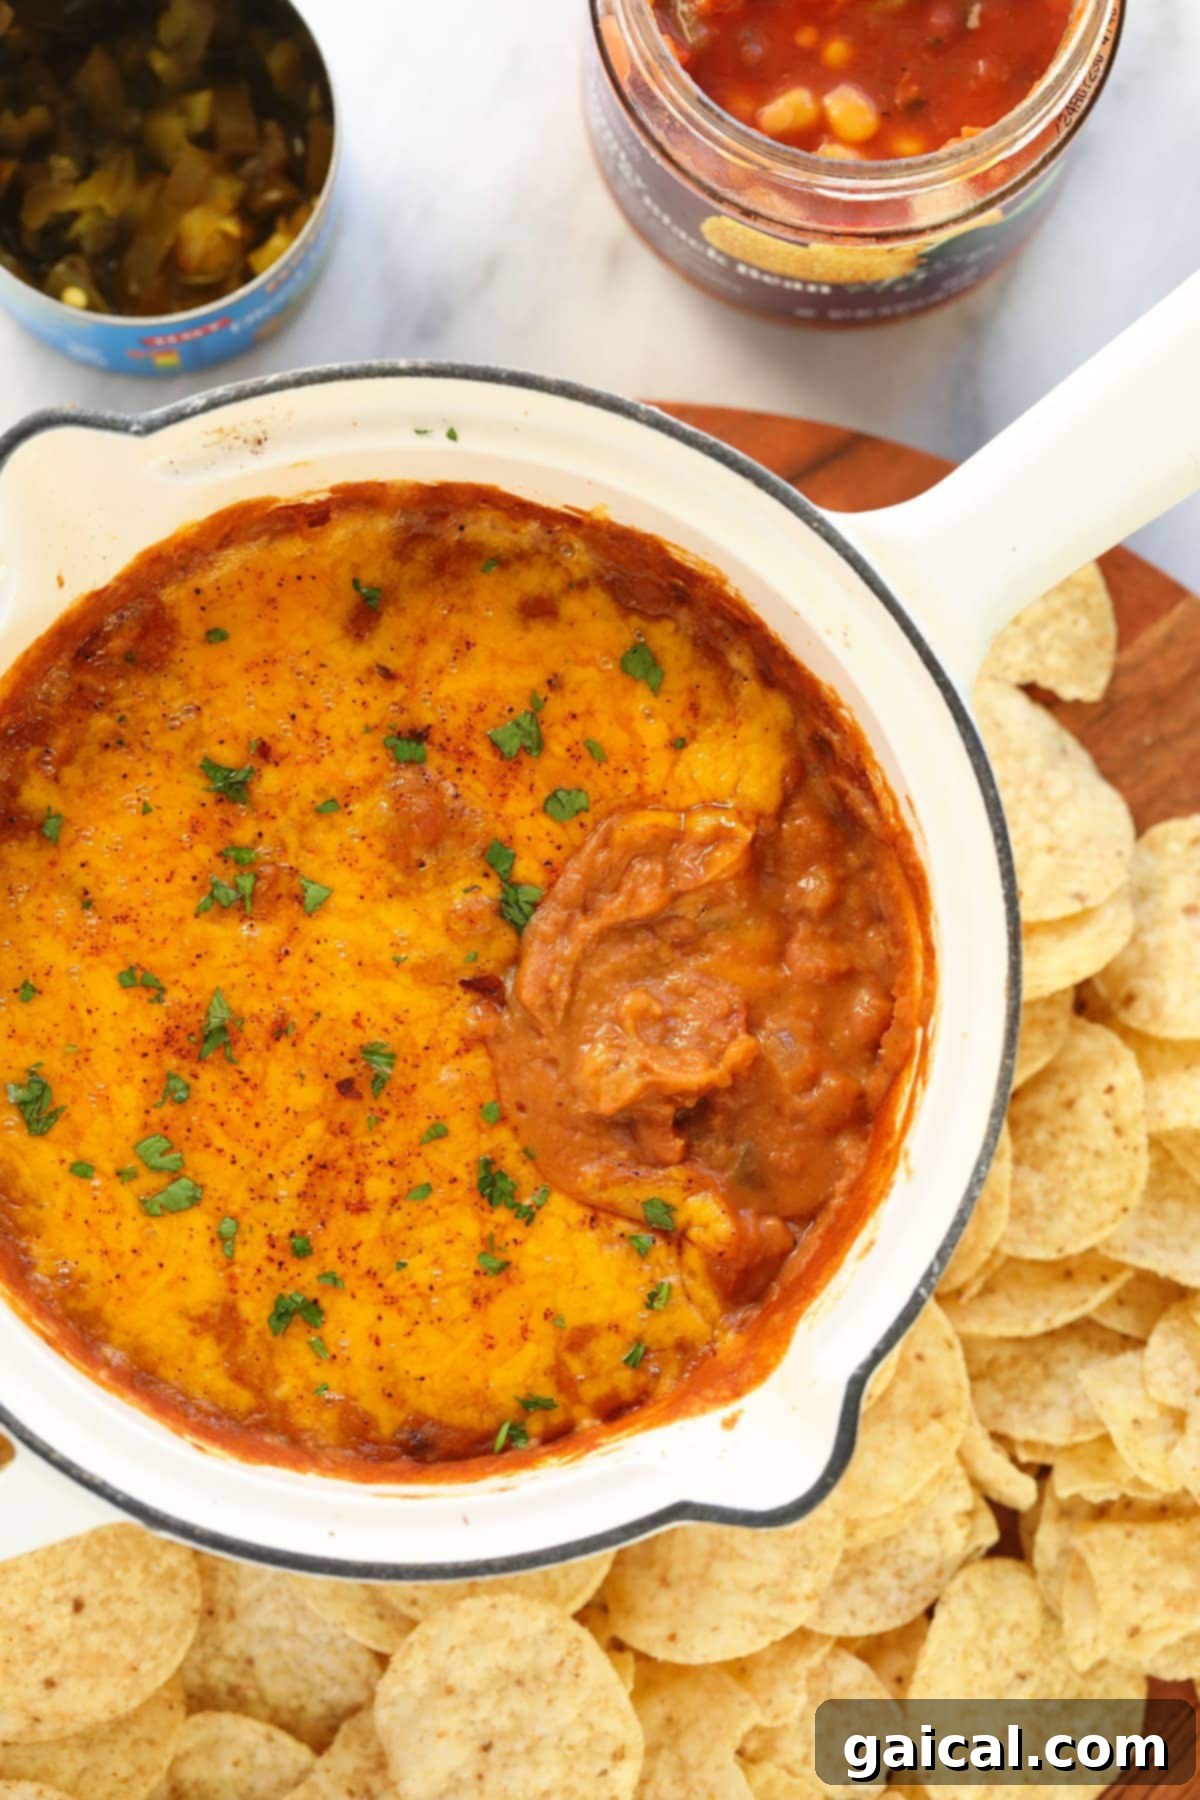
Why This Cheesy Bean Dip is a Must-Try
What transforms a good dip into a great dip? We believe the best dips, especially for events like game day gatherings, hit several key notes. This Mexican-inspired bean dip excels on all fronts, offering a cheesy, chip-worthy experience that’s more than just satisfying. Here’s why our recipe earns the title of “the best”:
- Effortlessly Serves a Crowd: Designed to generously serve 6-8 people, this bean dip recipe is incredibly versatile. Planning a larger party or family reunion? No problem! It can be easily doubled or even tripled to ensure there’s plenty of deliciousness for everyone, making it the ideal appetizer for any size gathering.
- Ready in Under 30 Minutes: Time is often of the essence, especially when preparing for guests. This recipe is your secret weapon for quick entertaining, allowing you to whip up a gourmet-tasting appetizer in less than 30 minutes from start to finish. Spend less time in the kitchen and more time enjoying the company!
- Smart & Healthy Swaps for Guilt-Free Indulgence: We believe in enjoying flavorful food without compromise. This bean dip is packed with real, wholesome ingredients and strategically incorporates healthy swaps, like protein-rich Greek yogurt, to boost its nutritional value. You get all the incredible taste you crave, with added benefits you can feel good about.
Whether you’re gearing up for the big game, planning a casual get-together with friends, or simply looking for a fun and nutritious side dish for your weekly family dinner, this versatile bean dip promises to be a delightful addition to any occasion. Prepare to impress and satisfy!
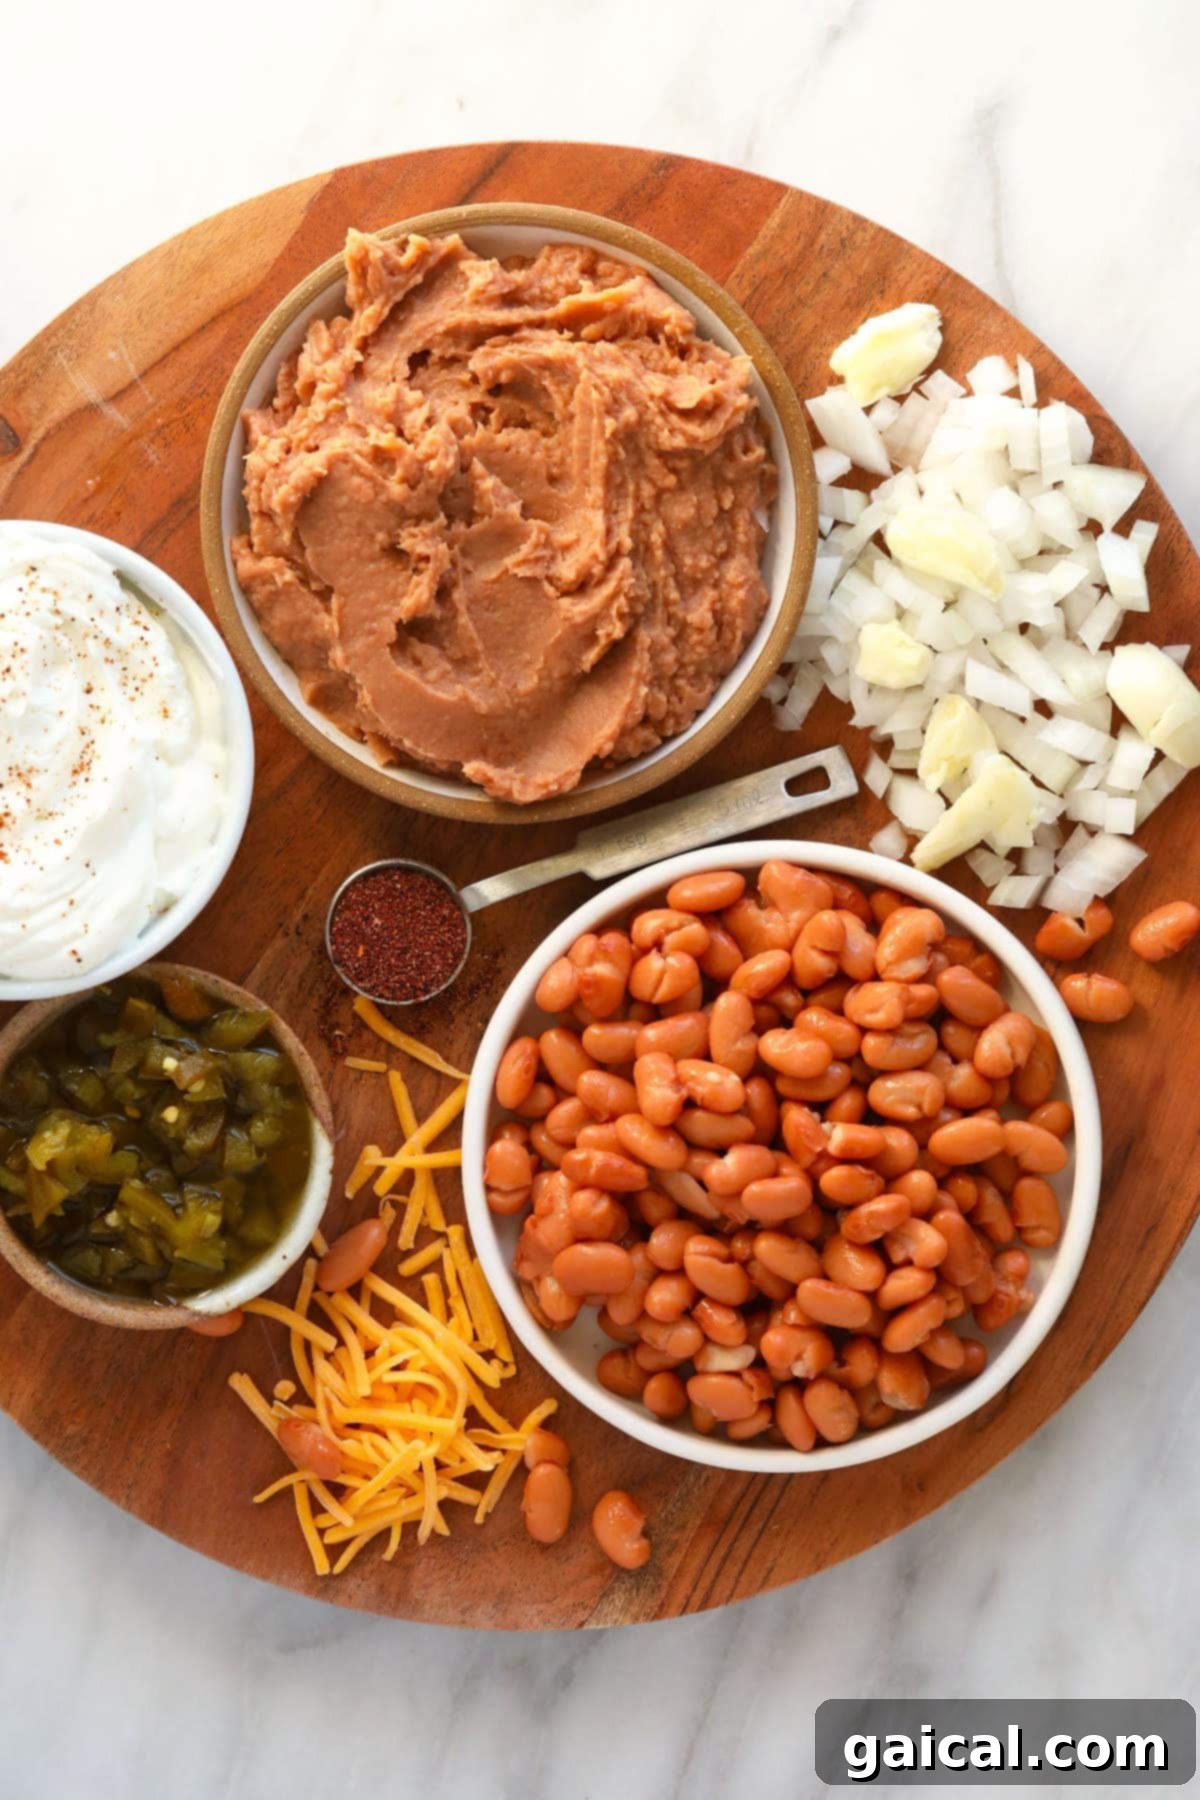
The Wholesome Ingredients for Our Irresistible Bean Dip
Crafting a truly exceptional bean dip starts with a selection of fresh, real, and incredibly flavorful ingredients. We’ve handpicked each component to ensure a perfect balance of taste and texture, allowing you to confidently dive into every scoop. Here’s a closer look at what makes our dip so special:
- Canned Jalapeños (or Green Chiles for a Milder Kick): These add a wonderful layer of warmth and subtle spice. If you love a bit of heat, jalapeños are your go-to. For a family-friendly version or a more mellow flavor, canned green chiles offer a fantastic alternative without sacrificing taste.
- Canned Refried Beans and Pinto Beans: What’s a bean dip without beans? We don’t settle for just one! The combination of creamy refried beans and tender pinto beans creates an unparalleled depth of flavor and a wonderfully varied texture that truly sets this dip apart.
- Full-Fat Greek Yogurt: This star ingredient is key to achieving the dip’s luxurious, velvety smoothness. While full-fat Greek yogurt delivers maximum creaminess, any fat percentage will work beautifully. For those preferring alternatives, we offer easy swaps for cream cheese or sour cream below.
- Taco Seasoning: Elevate the authentic Mexican flavors with a robust taco seasoning. Feel free to use a trusted store-bought blend for convenience, or create a batch of our homemade taco seasoning for an extra fresh and customizable punch.
- Minced White Onion and Minced Garlic Cloves: These aromatic powerhouses form the savory foundation of our dip. Their fragrant notes perfectly complement the taco seasoning, building a rich and complex flavor profile that’s simply irresistible. Don’t skip these essential flavor boosters!
- Salsa (Your Choice!): Personalize your dip with your favorite salsa! Whether you prefer a fiery hot salsa to ignite your taste buds or a mild, classic variety for a gentle flavor, any kind will blend seamlessly into this recipe.
- Shredded Cheddar Cheese: Because you can never have too much cheese! A generous portion of shredded cheddar is incorporated directly into the dip for gooey richness and sprinkled on top to form a perfectly golden, melted crust.
The Greek Yogurt Advantage: Creaminess Meets Nutrition
While we certainly appreciate the classic richness that cream cheese and sour cream bring to dips, we’re excited to share a secret ingredient that truly shines: Greek yogurt! This versatile dairy product is an incredible substitute, offering a delightful creamy texture while significantly enhancing the nutritional profile of your bean dip. Here’s why we love featuring Greek yogurt:
- Packed with Protein: Greek yogurt is renowned for its high protein content, which helps keep you feeling full and satisfied. This makes our bean dip a more substantial and satiating appetizer, perfect for sustaining energy throughout game day or any gathering.
- Naturally Lower in Fat: Compared to traditional sour cream or cream cheese, Greek yogurt offers a leaner alternative, allowing you to enjoy a rich, creamy dip with less saturated fat. It’s a fantastic way to lighten up your favorite comfort foods without sacrificing flavor.
- Unbeatable Creaminess: Don’t let the “healthy” label fool you – Greek yogurt delivers an exceptionally smooth, luscious texture that rivals its higher-fat counterparts. It blends seamlessly into the dip, creating a consistently creamy base that’s a joy to scoop.
However, we understand that taste preferences vary! If you’re devoted to the classic flavors of cream cheese or sour cream, feel free to make the swap. Simply use your favorite cream cheese or sour cream in a 1:1 ratio with the Greek yogurt for equally delicious results.
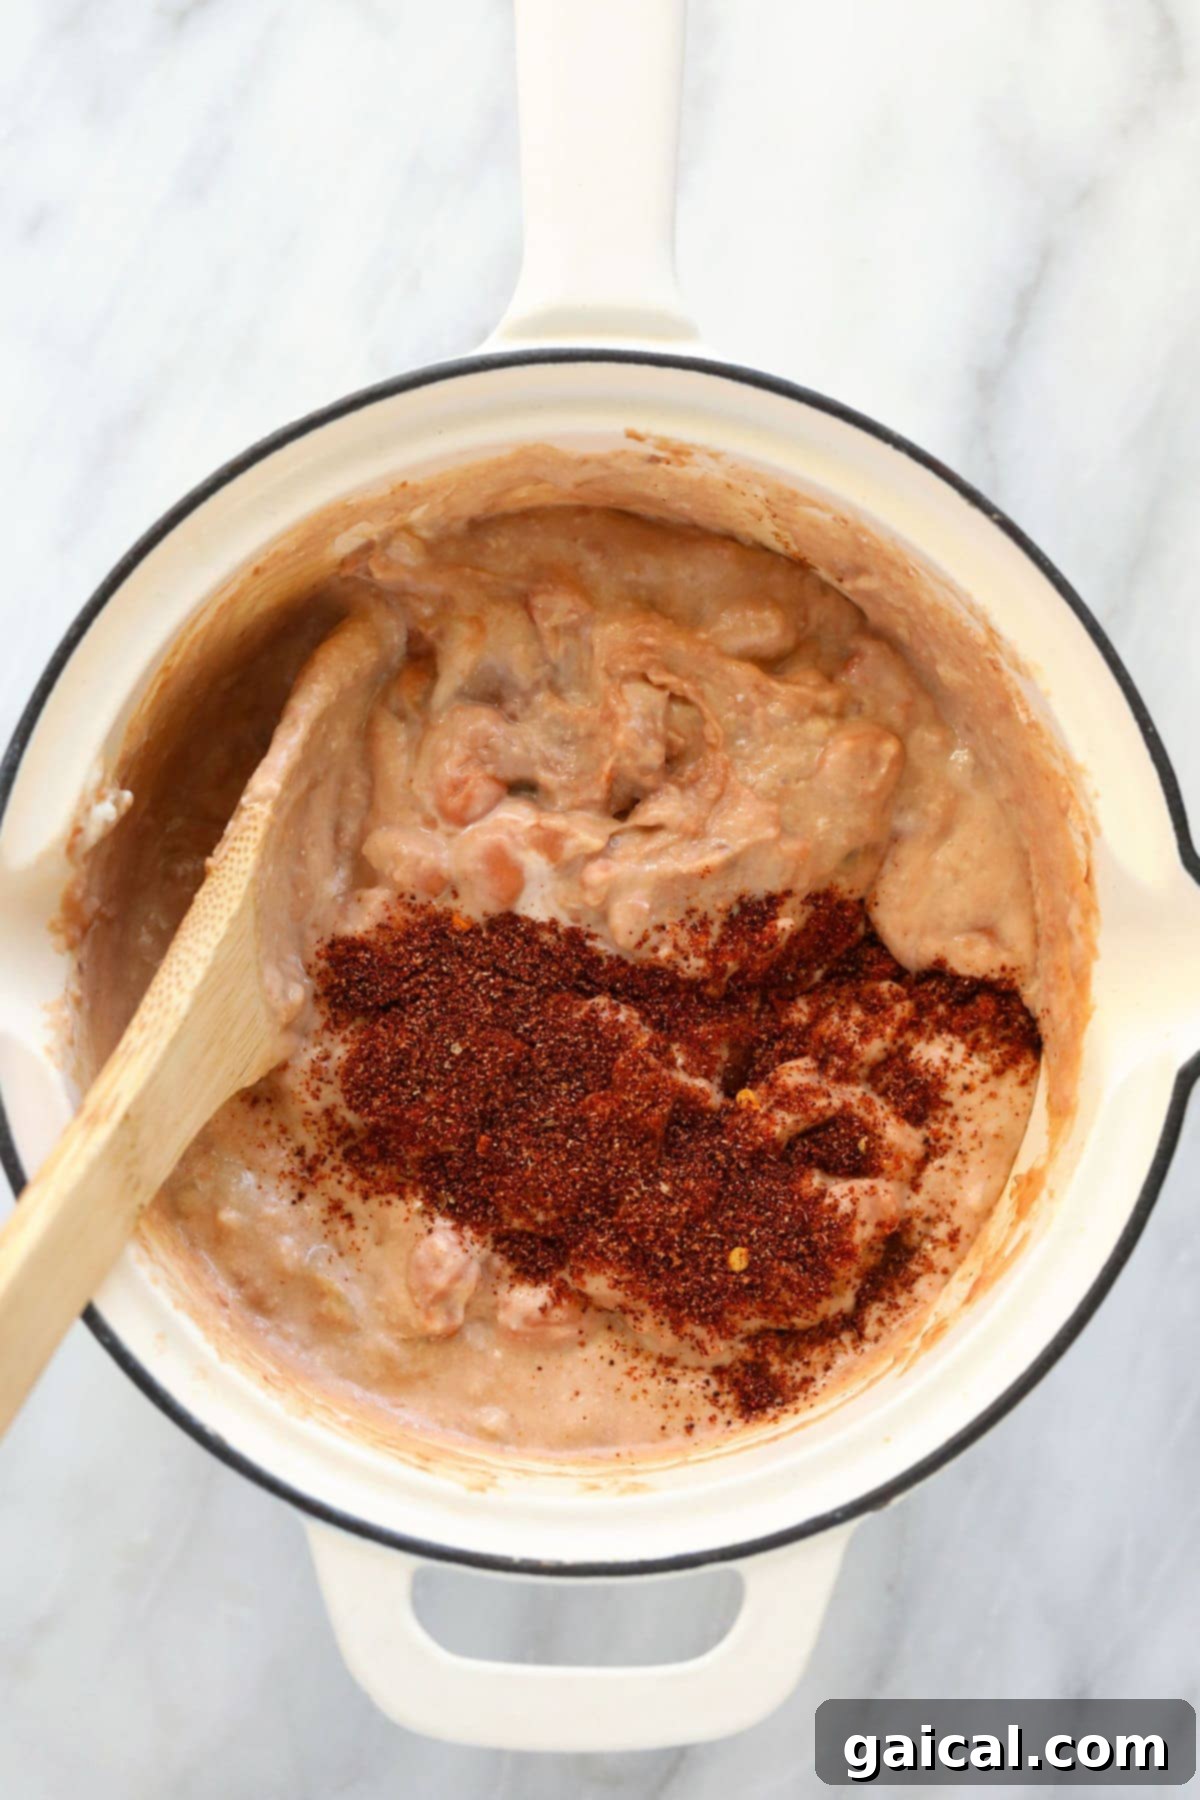
How to Make The Best Bean Dip – Your Easy Step-by-Step Guide
Creating this irresistible bean dip is surprisingly simple, designed for effortless preparation without compromising on flavor. We’ll guide you through four straightforward steps to achieve cheesy dip perfection. The full, detailed recipe card with exact measurements can be found further down the page, but here’s a quick overview of the process:
Step 1: Preheat Your Oven & Sauté Aromatics
Begin by preheating your oven to a cozy 400ºF (200ºC) to ensure it’s ready for baking. Next, grab a small, oven-safe pot or skillet (we’ll discuss alternatives below!) and heat the olive oil over medium-high heat. Once the olive oil becomes fragrant – a sign it’s perfectly warmed – add your minced white onion, garlic, and a pinch of salt. Sauté this aromatic mixture for about 3 minutes, stirring occasionally, until the onions soften and turn translucent. This step builds the foundational flavor for your entire dip.
Pro Tip: No Oven-Safe Pot? No Problem!
A standard casserole dish works absolutely beautifully! If your sauté pan isn’t oven-safe, simply transfer the prepared dip into a casserole dish. After cooking the dip on the stovetop as instructed, lightly spray your casserole dish with nonstick cooking spray. Carefully transfer the hot dip into the dish and spread it out evenly to create a smooth layer. Then, proceed to sprinkle the remaining shredded cheese generously over the top of the dip before following the baking instructions outlined below.
Step 2: Combine Remaining Ingredients Over Heat
After your aromatics are perfectly sautéed, it’s time to bring the dip together. Add all the remaining ingredients to your pot or skillet, reserving only half of the shredded cheddar cheese for later. Stir everything thoroughly to combine, ensuring all components are well incorporated. Continue to heat the mixture over medium-high heat, stirring constantly, until the dip is heated through and gently bubbling. Once hot, stir in the first half-cup of shredded cheese. Continue heating for an additional 1 to 2 minutes, allowing that cheese to melt beautifully into the creamy bean base.
Step 3: Bake & Broil for Golden Perfection
With the dip heated and partially cheesy, it’s ready for its grand finale in the oven. Sprinkle the remaining shredded cheddar cheese evenly over the top of your dip. Transfer the pot or casserole dish to your preheated 400ºF (200ºC) oven and bake for 5 minutes. For an extra golden-brown, bubbly, and irresistible cheese crust, you have the option to broil the dip for an additional 1-3 minutes at the very end. Keep a close eye on it during broiling, as cheese can brown quickly! Once the cheese is fully melted and delightfully bubbly, your perfect bean dip is ready to be devoured.
Spice It Up or Keep It Mild: Customize Your Dip to Your Liking!
One of the joys of making homemade dips is the freedom to tailor them exactly to your taste preferences. Our bean dip provides a wonderfully versatile base that can be easily adjusted to deliver anything from a gentle warmth to an exhilarating kick of heat. YOU DO YOU when it comes to spice!
For those who love a bit more fire in their food, don’t hesitate to experiment. Feel free to incorporate a spicier salsa into the mix, or amp up the heat with additional spices that truly pack a punch. Consider adding a pinch of cayenne pepper, a dash of red pepper flakes, or a few drops of your favorite hot sauce for an extra burst of flavor and heat. You could even sauté some fresh, finely diced jalapeños or serrano peppers with the onion and garlic for a more integrated spicy flavor.
Conversely, if you prefer a milder dip that’s still bursting with flavor, our recipe is naturally moderate when prepared with a mild salsa and mild canned green chiles (instead of jalapeños). This ensures everyone, from the most adventurous spice-lover to those with a sensitive palate, can enjoy this fantastic cheesy bean dip.
Can I Double or Triple This Bean Dip Recipe for a Party?
Absolutely! This recipe is incredibly flexible and can be effortlessly scaled up to accommodate any size gathering. Whether you’re planning a large party, a family reunion, or a major game day event, this bean dip recipe can easily be doubled or even tripled to ensure you have plenty to go around.
When increasing the recipe, the most important consideration is ensuring you have the right equipment. Make sure your oven-safe pot, skillet, or casserole dish is large enough to comfortably hold all that bean-y, cheesy deliciousness. A larger baking dish, such as a 9×13-inch pan, is ideal for a doubled batch. You might also need a slightly larger sauté pan for the initial stovetop steps if doubling. Apart from that, simply multiply all the ingredient quantities accordingly and follow the same preparation and baking instructions. Enjoy serving a generous portion of this crowd-pleasing dip!
What to Serve with Bean Dip: Perfect Pairings for Every Occasion
This versatile and flavorful bean dip is fantastic on its own, but its true potential shines when paired with the right dippers and accompaniments. While the traditional tortilla chip is always a classic and welcome choice, we encourage you to get creative and explore an array of options to complement the rich, savory flavors of the dip. The possibilities are truly endless, allowing you to cater to various tastes and dietary preferences. We particularly love serving it with:
- Crispy Tortilla Chips: The quintessential choice! Their satisfying crunch and salty flavor are the perfect vehicle for scooping up every last bit of this cheesy dip.
- Fresh Sliced Bell Peppers: Vibrant red, green, or yellow bell pepper strips offer a refreshing crunch and a hint of sweetness that beautifully contrasts the savory dip. They’re also a great low-carb option.
- Crunchy Sliced Carrots: Sweet and crisp carrot sticks are another excellent choice for dipping, adding natural sweetness and a satisfying texture.
- Cool Sliced Cucumber: For a light and refreshing option, cucumber slices provide a cool counterpoint to the warm, rich dip, making each bite a delightful experience.
- Broccoli or Cauliflower Florets: These wholesome vegetables are perfect for those looking for a healthier alternative. Their sturdy texture holds up well to the thick dip, and they add a nutritious boost.
- Dollop on Tacos, Fajitas, Nachos, or Quesadillas: Beyond dipping, this bean dip makes an incredible topping! Add a generous dollop to elevate your favorite Mexican-inspired dishes. It enhances the flavor and adds a creamy, cheesy layer that transforms an ordinary meal into something extraordinary.
Don’t limit yourself – consider crusty bread, pita chips, or even sturdy crackers. Whatever you choose, this bean dip is sure to make a delightful addition to your spread.
How to Store and Reheat Your Bean Dip (and Why Freezing Isn’t Recommended)
Proper storage ensures your delicious bean dip remains fresh and enjoyable for future cravings, while careful reheating preserves its creamy texture. Here’s how to handle your leftovers:
Storing Your Bean Dip:
Once cooled to room temperature, transfer any leftover bean dip into an airtight container. Store it in the refrigerator for up to 5 days. This will maintain its freshness and prevent it from drying out or absorbing other odors from the fridge.
Reheating Bean Dip for Best Results:
For the best possible experience, we highly recommend reheating your bean dip in a way that mimics its initial cooking process – LOW AND SLOW!
- On the Stovetop: Place the desired amount of dip in a small saucepan over low heat. Stir frequently, almost constantly, until it is thoroughly warmed through and creamy again. This gentle heat helps prevent any separation of ingredients and ensures an even temperature throughout.
- In the Oven: If you prefer the oven, transfer the dip to an oven-safe dish and reheat at 300ºF (150ºC), stirring every 5-10 minutes. This method also promotes even reheating and helps maintain the dip’s smooth consistency.
Reheating slowly is crucial because it helps prevent the dip from becoming oily or separating, especially due to the cheese and Greek yogurt content. A little patience will ensure your reheated dip tastes just as good as when it was first made!
Freezing Bean Dip: Not Recommended!
While many foods freeze well, we strongly advise against freezing this bean dip. The primary reason is the high cheese content. Dairy products, especially cheese, tend to undergo significant textural changes when frozen and then thawed. They can become crumbly, grainy, or separate into an undesirable consistency, losing their smooth, creamy appeal. For this reason, it’s best to enjoy this bean dip fresh or within its refrigerated shelf life.
More of Our Favorite Recipes
Explore More Delicious & Healthy Dip Recipes
- Baked Spinach Artichoke Dip
- Mexican Black Bean Hummus
- Roasted Garlic Caramelized Onion Dip
- Healthy Chili Cheese Dip
- Discover ALLOur Delicious Dip Recipes
The Best Cheesy Bean Dip Recipe
Emily Richter
15 mins
10 mins
25 mins
6

Print Recipe
Ingredients
- 1.5 tablespoons olive oil
- 1/2 medium white onion, minced
- 2 cloves garlic, minced
- pinch salt
- 2 tablespoons canned jalapeños, or green chiles for a less spicy option
- 1 15-oz. can refried beans
- 1 15-oz. can pinto beans, drained and rinsed
- 1/2 cup full-fat Greek yogurt
- 1 tablespoon taco seasoning
- 2 tablespoons salsa, any kind
- 1 cup shredded cheddar cheese, divided
Instructions
- First, preheat oven to 400ºF (200ºC).
- Next, heat olive oil in a small oven-safe pot (or skillet*) over medium/high heat. When olive oil is fragrant, add onion, garlic, and salt. Sauté for around 3 minutes or until the onions are translucent and softened.
- Then, add the rest of the ingredients (refried beans, pinto beans, Greek yogurt, taco seasoning, salsa, and *half* of the shredded cheese) to the pot and mix thoroughly to combine. Continue to heat over medium/high, stirring frequently, until the dip is hot and bubbling.
- If you are planning to bake in a casserole dish instead of an oven-safe pot: spray a casserole dish with nonstick cooking spray and then transfer the dip into the casserole dish and spread out evenly.
- Sprinkle the remaining shredded cheese on top of the dip. Bake at 400ºF (200ºC) for 5 minutes. For an extra golden and bubbly top, you have the option to broil for 1-3 minutes at the end, until the cheese is fully melted and lightly browned.
Tips & Notes
- Oven-safe pot alternative: If you don’t have an oven-safe pot, simply prepare the dip on the stovetop as instructed, then transfer everything into a 9×9-inch (23×23 cm) casserole dish before baking. This works perfectly for serving directly from the dish.
Nutrition Information (per serving)
Carbohydrates: 26 g,
Protein: 12 g,
Fat: 10 g,
Fiber: 6 g,
Sugar: 4 g
Nutrition information is automatically calculated, so should only be used as an approximation.
Love this recipe? Leave a comment below!
Don’t forget to tag your posts on social media with the hashtag #fitfoodiefinds, we’d love to see what you’re up to!