
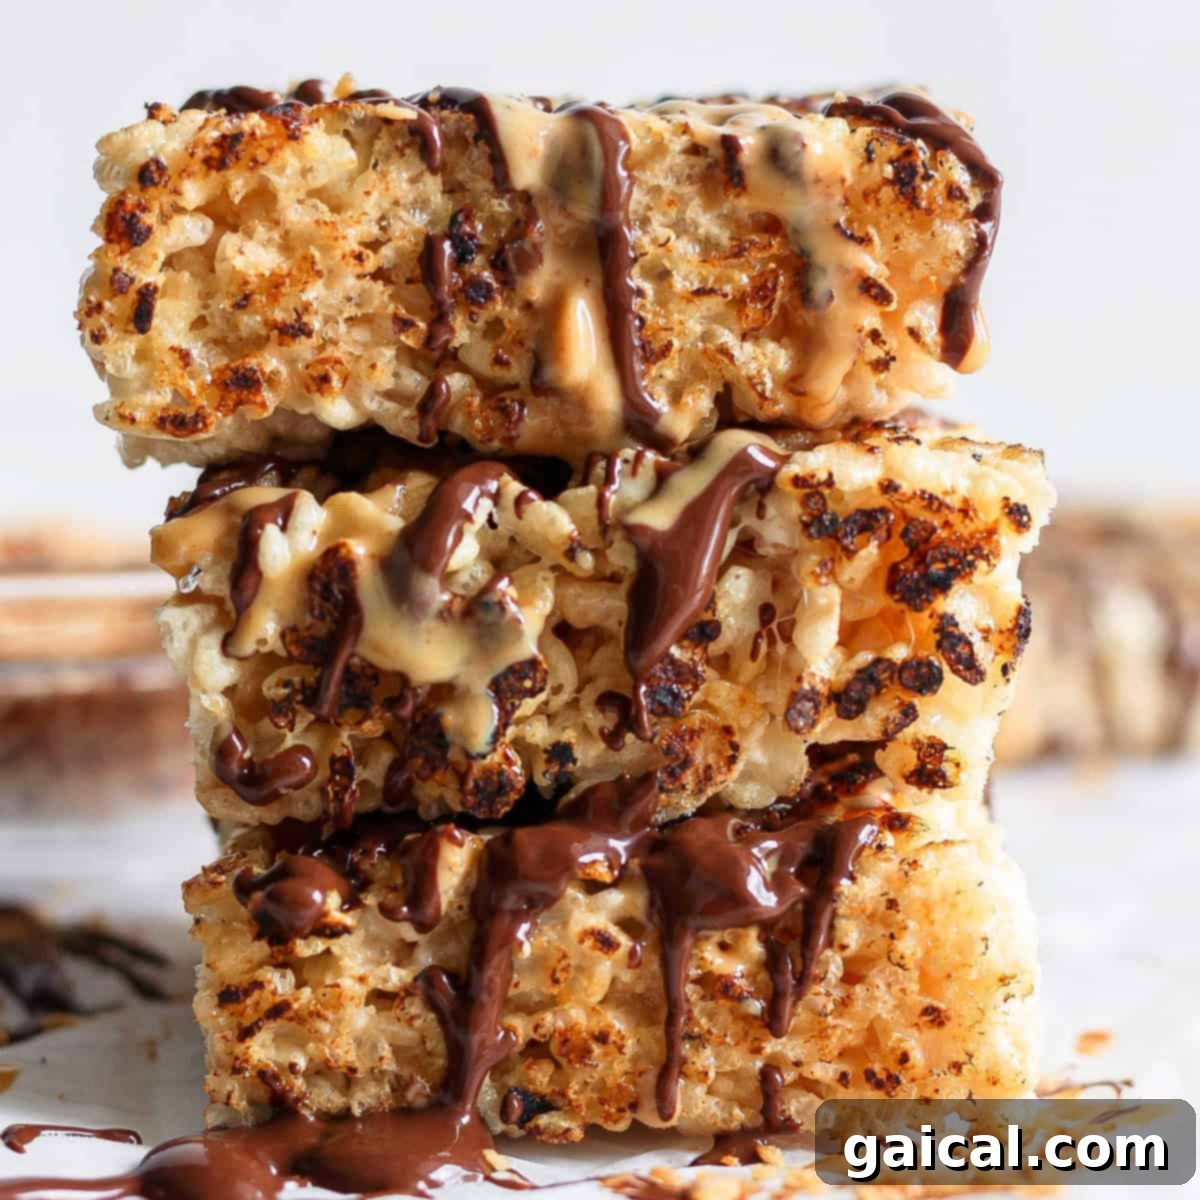
Toasted Rice Krispie Treats: A Gourmet Twist on a Classic Delight
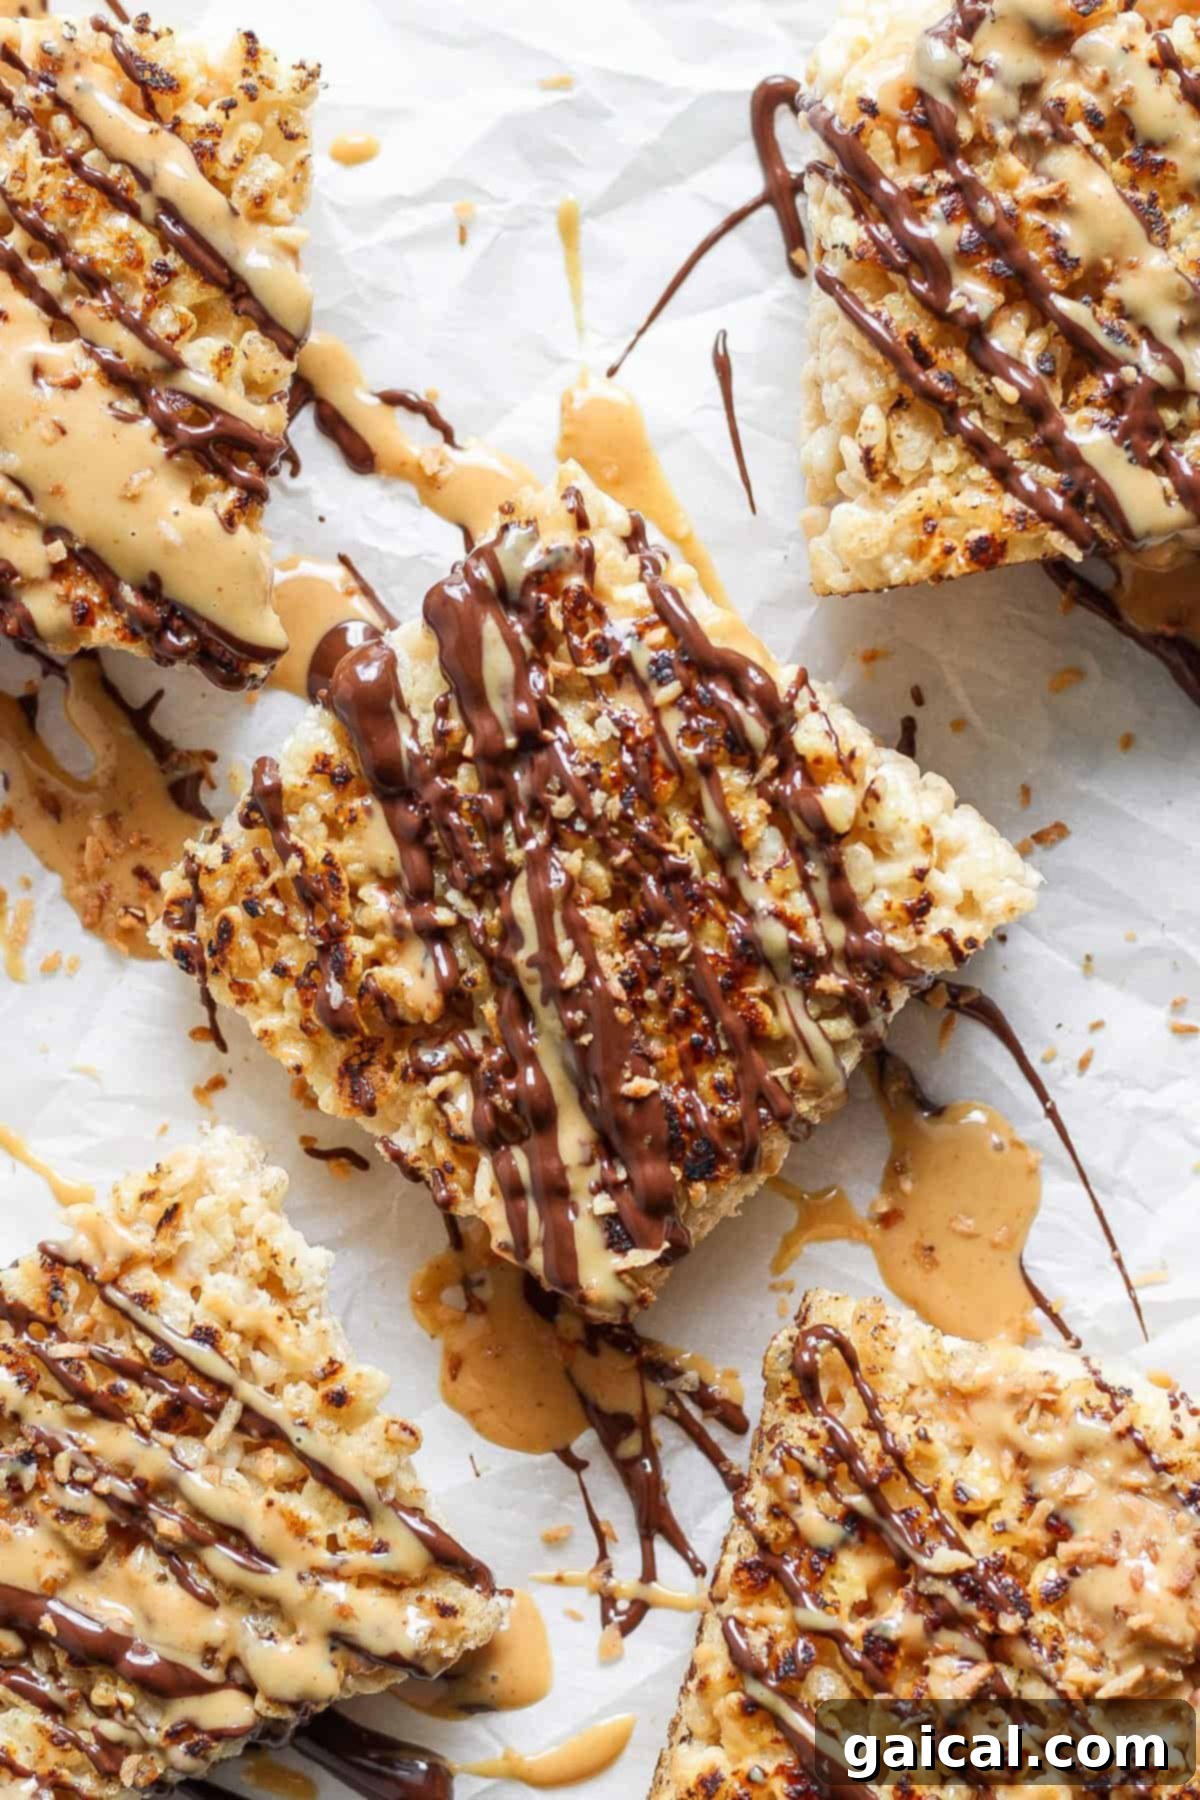
Prepare to have your perception of a classic dessert transformed with these extraordinary Toasted Rice Krispie Treats! While they start with the familiar, comforting foundation of a traditional rice krispie treat recipe, we take them on an exciting journey. Imagine them toasted or even grilled to perfection, then generously loaded with an irresistible array of mouthwatering goodies like creamy peanut butter, rich chocolate, and aromatic toasted coconut. This isn’t just an upgrade; it’s a redefinition that promises to elevate your dessert experience.
If you thought you knew rice krispie treats, think again. These gourmet versions will undoubtedly raise your expectations, offering a depth of flavor and texture that the original simply can’t match. It’s time to discover a new favorite!
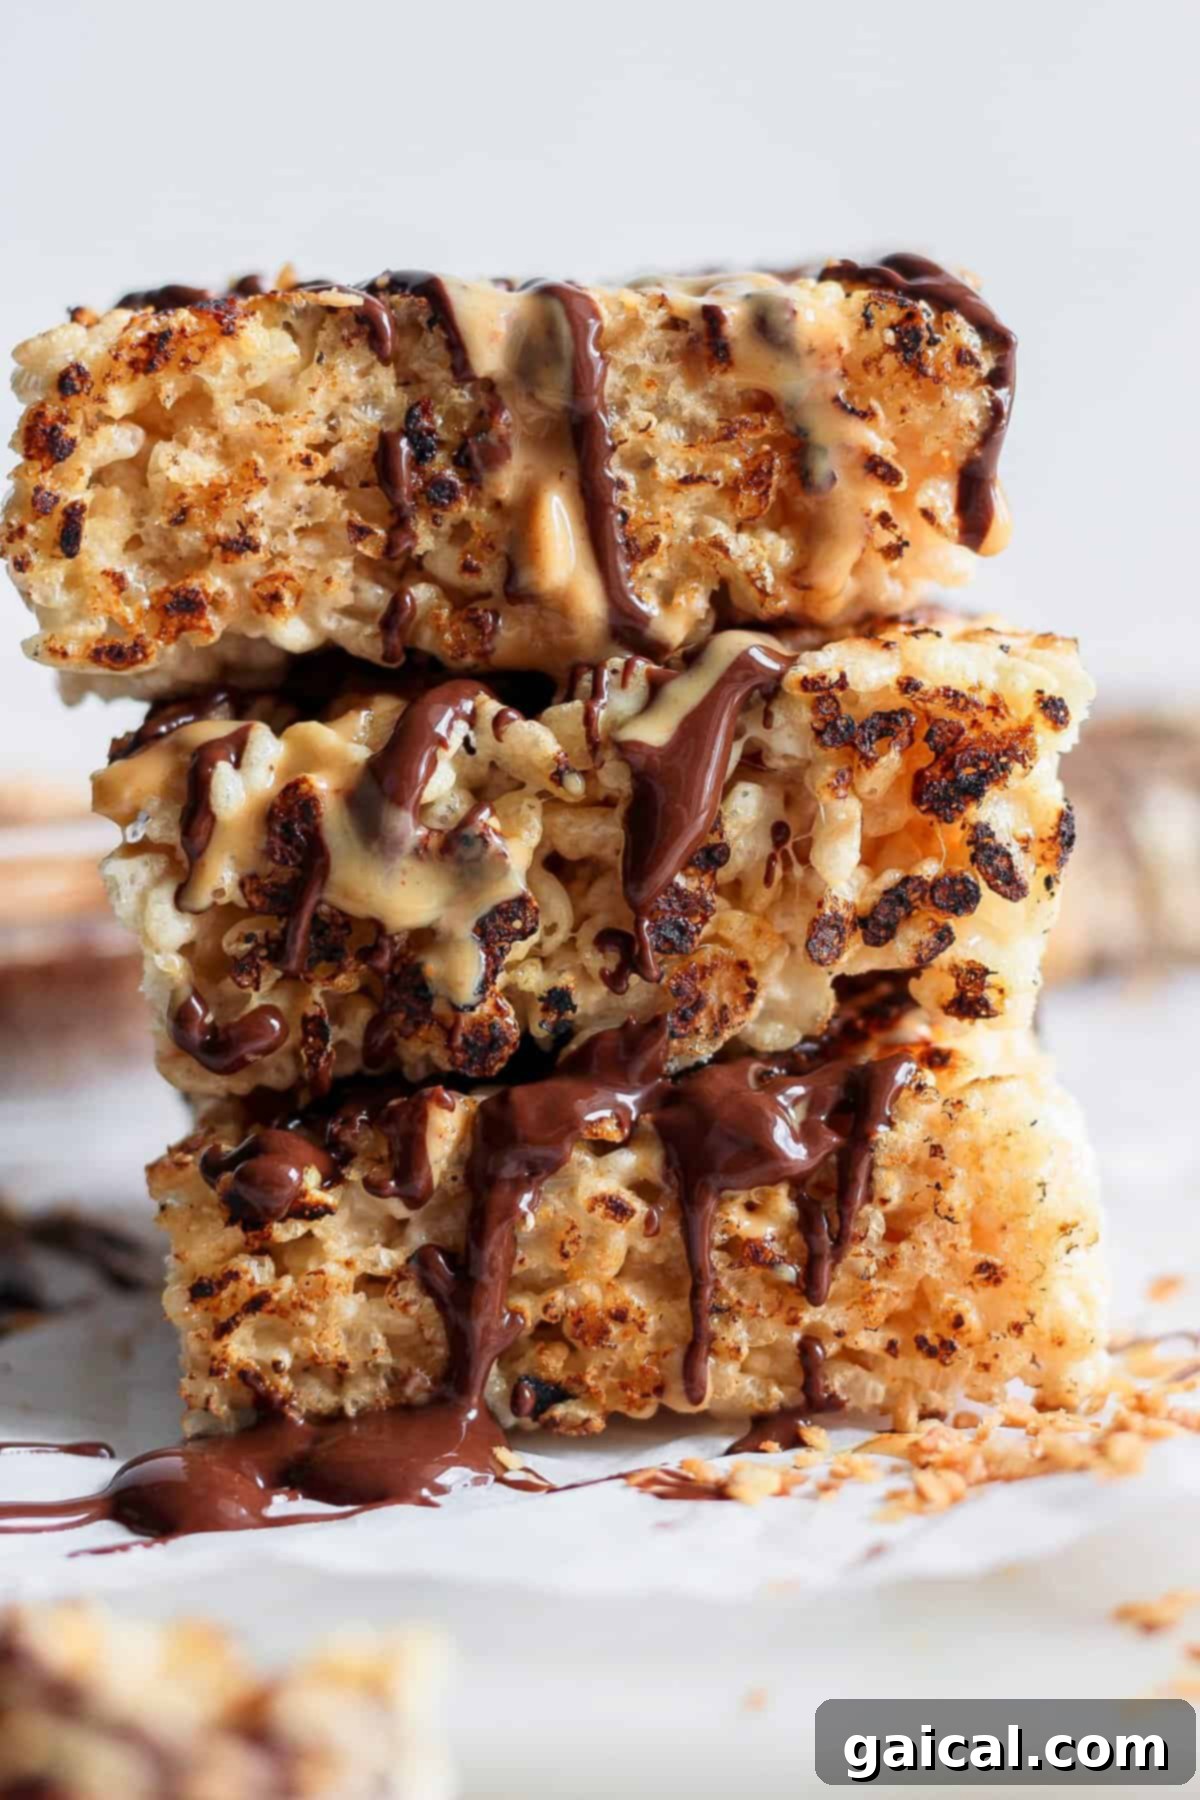
From Childhood Favorite to Adult Indulgence: Reinventing a Classic
Growing up, rice krispie treats held a special place in my heart. They were the epitome of simple joy: sweet, crunchy, and delightfully sticky. A perfect after-school snack or party dessert, they never failed to bring a smile. However, as my palate matured and my taste buds became more refined, the traditional recipe, while nostalgic, began to feel a bit one-dimensional. I craved something more—a treat that could evoke the same comfort but with an added layer of sophistication and complex flavor.
This culinary curiosity led me directly to my kitchen, my personal “flavor laboratory.” My initial explorations resulted in popular creations like Healthy Peanut Butter Rice Krispie Treats and rich Chocolate Peanut Butter Brown Rice Crispy Treats. Yet, I knew there was potential for even more. The idea of introducing heat, a simple toasting step, was the breakthrough. This small change fundamentally transforms the humble rice krispie treat, crowning it the queen of easy, gourmet desserts. And the best part? Achieving this elevated status requires minimal extra effort. Simply prepare them as you normally would, then toast, add your preferred decadent toppings, and prepare for a truly heavenly dessert experience.
Essential Ingredients for the Ultimate Toasted Rice Krispie Treats
Crafting these extraordinary treats begins with a few key ingredients, each playing a vital role in achieving that perfect balance of crispy, chewy, and utterly delicious. While the base is classic, the quality and choice of ingredients significantly impact the final toasted delight.
- Rice Crispies: The undisputed star of this beloved dessert. Their light, airy texture and subtly sweet flavor provide the perfect foundation. They absorb the marshmallow goodness beautifully and crisp up magnificently when toasted, offering that satisfying crunch we all adore.
- Mini Marshmallows: For optimal melting and distribution, we highly recommend mini marshmallows. Their smaller size ensures they melt quickly and evenly, creating a smooth, cohesive binder for the cereal. While regular-sized marshmallows can be used, you might need a little extra stirring and patience to achieve the same smooth consistency.
- Butter: A cornerstone of flavor and texture, butter adds a rich, luscious taste and contributes to the soft chewiness of the treats. It also prevents sticking and helps bind all the components together, ensuring each bite is perfectly integrated.
- Peanut Butter: This is arguably the “secret weapon” that elevates these toasted treats. The creamy, nutty richness of peanut butter complements the sweet marshmallow and crispy cereal beautifully. It adds an incredible depth of flavor and a delightful chewiness that makes these treats stand out.
- Mini Chocolate Chips: When melted and drizzled over the warm, toasted bars, mini chocolate chips introduce an irresistible layer of decadence. They add a classic sweet counterpoint and a luxurious finish that is simply divine. You can also sprinkle them on top while the treats are still warm for a mix of melted and solid chocolate bites.
- Toasted Coconut: Beyond its delightful crunch, toasted coconut brings an exotic and fragrant dimension to these treats. Its slightly caramelized flavor pairs wonderfully with chocolate and peanut butter, and it adds a beautiful, golden-brown visual appeal that hints at the deliciousness within.
Unleash Your Creativity: Other Delicious Topping Ideas
While peanut butter, chocolate, and toasted coconut create a phenomenal flavor profile, the beauty of these toasted rice krispie treats lies in their versatility. Feel free to experiment and swap out the toppings to create an entirely new flavor experience. Here are some imaginative and incredibly tasty ideas to inspire your next batch:
- Nutella and Hazelnuts: For a truly indulgent and chocolatey twist, spread a generous layer of creamy Nutella over the treats before or after toasting. Sprinkle with finely chopped toasted hazelnuts for an added crunch and sophisticated flavor. If you’re a true Nutella enthusiast, you might also love our Healthy Nutella Energy Balls!
- White Chocolate and Dried Cranberries: Combine the luscious sweetness of melted white chocolate with the tartness of dried cranberries. This vibrant combination offers a beautiful contrast in both flavor and color, making for an elegant and delightful treat.
- Salted Caramel Delight: Drizzle warm, gooey caramel sauce over the toasted bars and finish with a sprinkle of flaky sea salt. This classic sweet and salty combination is incredibly addictive and guarantees a satisfying sensory experience.
- Peanut Butter Cup and Pretzel Crunch: Crush some pretzels and mix them into the melted marshmallow mixture for an extra salty crunch, then top the finished treats with chopped peanut butter cups. This provides layers of texture and an extra boost of peanut butter goodness.
- Spiced Apple Crumble Topping: For a fall-inspired treat, lightly toast finely diced dried apples with a pinch of cinnamon, then sprinkle over the bars. A drizzle of cream cheese glaze could complete this cozy flavor profile.
- Tropical Mango and Lime Zest: For a refreshing, bright twist, chop dried mango into small pieces and sprinkle them over the treats. Finish with a delicate grating of fresh lime zest to add a zesty aroma and tangy kick.
Elevate Your Dessert: Make Grilled Rice Krispie Treats!
For an extra special, summer-inspired twist, take these delightful rice krispie treats to the grill! Grilling imparts a unique smoky char and a delightful warmth that truly sets them apart. Here’s how to achieve this fantastic grilled variation:
- Preheat your grill to a moderate temperature of 350ºF (175°C). Ensure the grates are clean and lightly oiled to prevent sticking.
- Once your rice krispie bars are formed and slightly firmed up, carefully place each bar onto a skewer. This makes them easier to handle and ensures even toasting.
- Hold the skewered rice krispie bars over the indirect heat of the gas grill. This is crucial to prevent burning. Grill for approximately 1-2 minutes per side, or until they achieve a beautiful golden-brown hue. Watch them closely, as marshmallows can char quickly. Flip them gently and repeat the process on the other side until evenly toasted. The goal is golden and slightly crispy, not black.
The subtle smoky flavor from the grill combined with the caramelized marshmallow creates an incredibly unique and addictive dessert perfect for backyard BBQs and summer gatherings.
Our Top Recipe Tips for Perfection
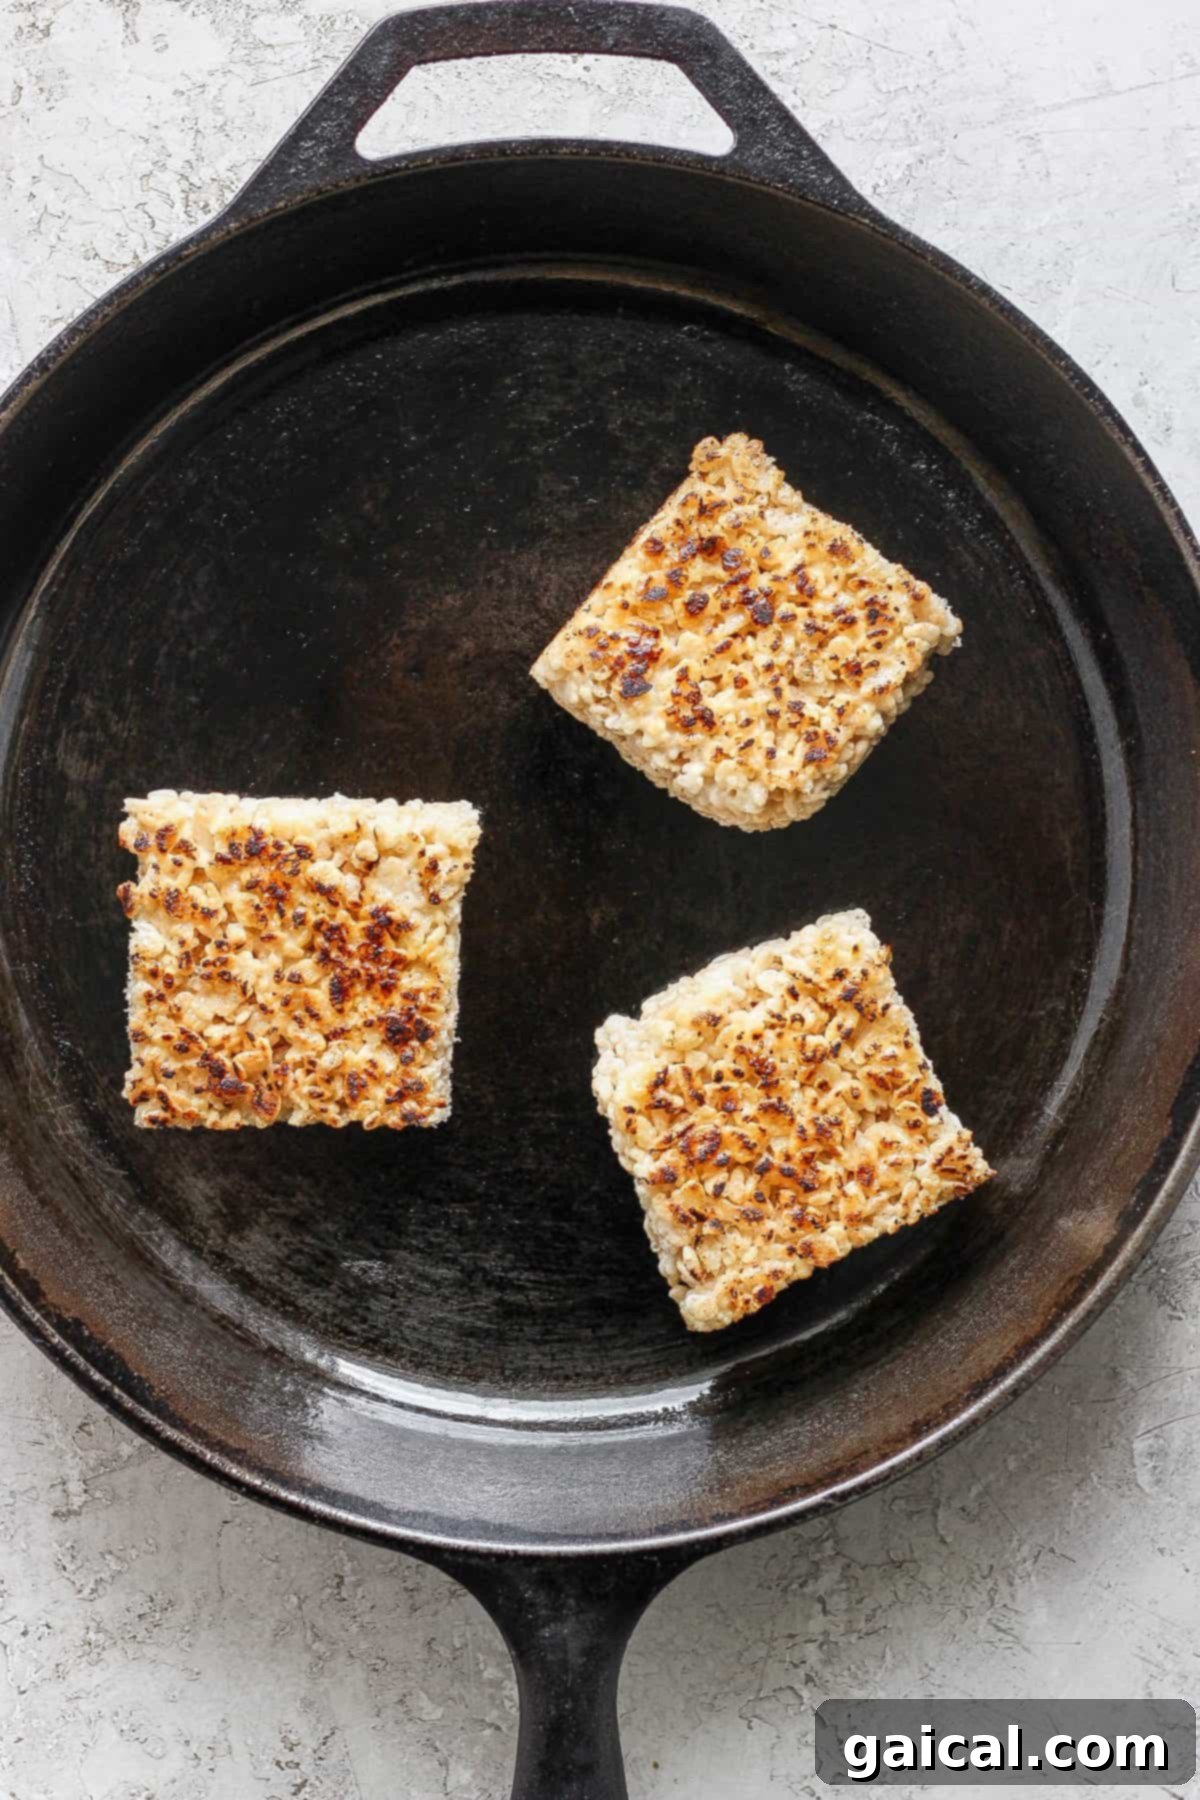
- Toasting Preferences: While we find that a golden-brown toast yields the best flavor and texture—a slightly caramelized marshmallow with a gentle crisp—some prefer a deeper char. Feel free to adjust the toasting or grilling time to match your personal preference for crispiness. Just be mindful not to burn them!
- Thickness Matters: If you enjoy your rice krispie treats a bit thinner, allowing for a higher topping-to-treat ratio, consider making them in a larger 9×13-inch pan instead of the suggested 9×9-inch. This will result in more delicate bars that are equally delicious.
- Gentle Pressing: When pressing the mixture into the pan, avoid compacting it too firmly. A gentle hand ensures a lighter, chewier treat. Over-compressing can lead to dense, hard bars.
- Cooling Time: Allow the treats sufficient time to firm up before cutting. Rushing this step can lead to sticky, misshapen bars. A minimum of 15-20 minutes at room temperature is ideal.
- Non-Stick Surfaces: Use a greased spatula or your hands lightly coated with butter or cooking spray when handling the marshmallow mixture to prevent sticking.
How to Store Your Toasted Rice Krispie Treats
While we predict these delightful treats will disappear almost instantly, if you happen to have any leftovers or wish to prepare them ahead of time, proper storage is key to maintaining their freshness and wonderful texture. Once the toasted rice krispie treats have completely cooled to room temperature, wrap them tightly in plastic wrap. Alternatively, store them in an airtight container. When stored correctly, they should remain wonderfully fresh and delicious for up to 5 days at room temperature. For best results, avoid refrigeration, as it can make them hard and less enjoyable. Store them in a cool, dry place away from direct sunlight.
More of our Favorite Summer Dessert Recipes
Irresistible Summer Dessert Recipes
- Foil Pack Peach Crisp
- Easy Coconut Key Lime Pie Bars
- Sheet Pan Blueberry Crisp
- Frozen Margarita Pie Bars
Toasted Rice Krispie Treats Recipe
These toasted rice krispie treats truly raise the bar on the classic dessert. The marshmallows develop an extra toasty, caramelized flavor, perfectly complemented by decadent toppings like creamy peanut butter, rich chocolate, and fragrant coconut for an indulgent and unforgettable twist.
By: Linley Hanson
Cook: 5 mins
Total: 5 mins
Servings: 12
Ingredients
- 6 cups rice crispies
- 5 ½ cups mini marshmallows
- 3 tablespoons butter
For Loading Them Up (Optional)
- Drizzle of peanut butter
- Mini chocolate chips
- Toasted coconut
Instructions
Stove Top Method
-
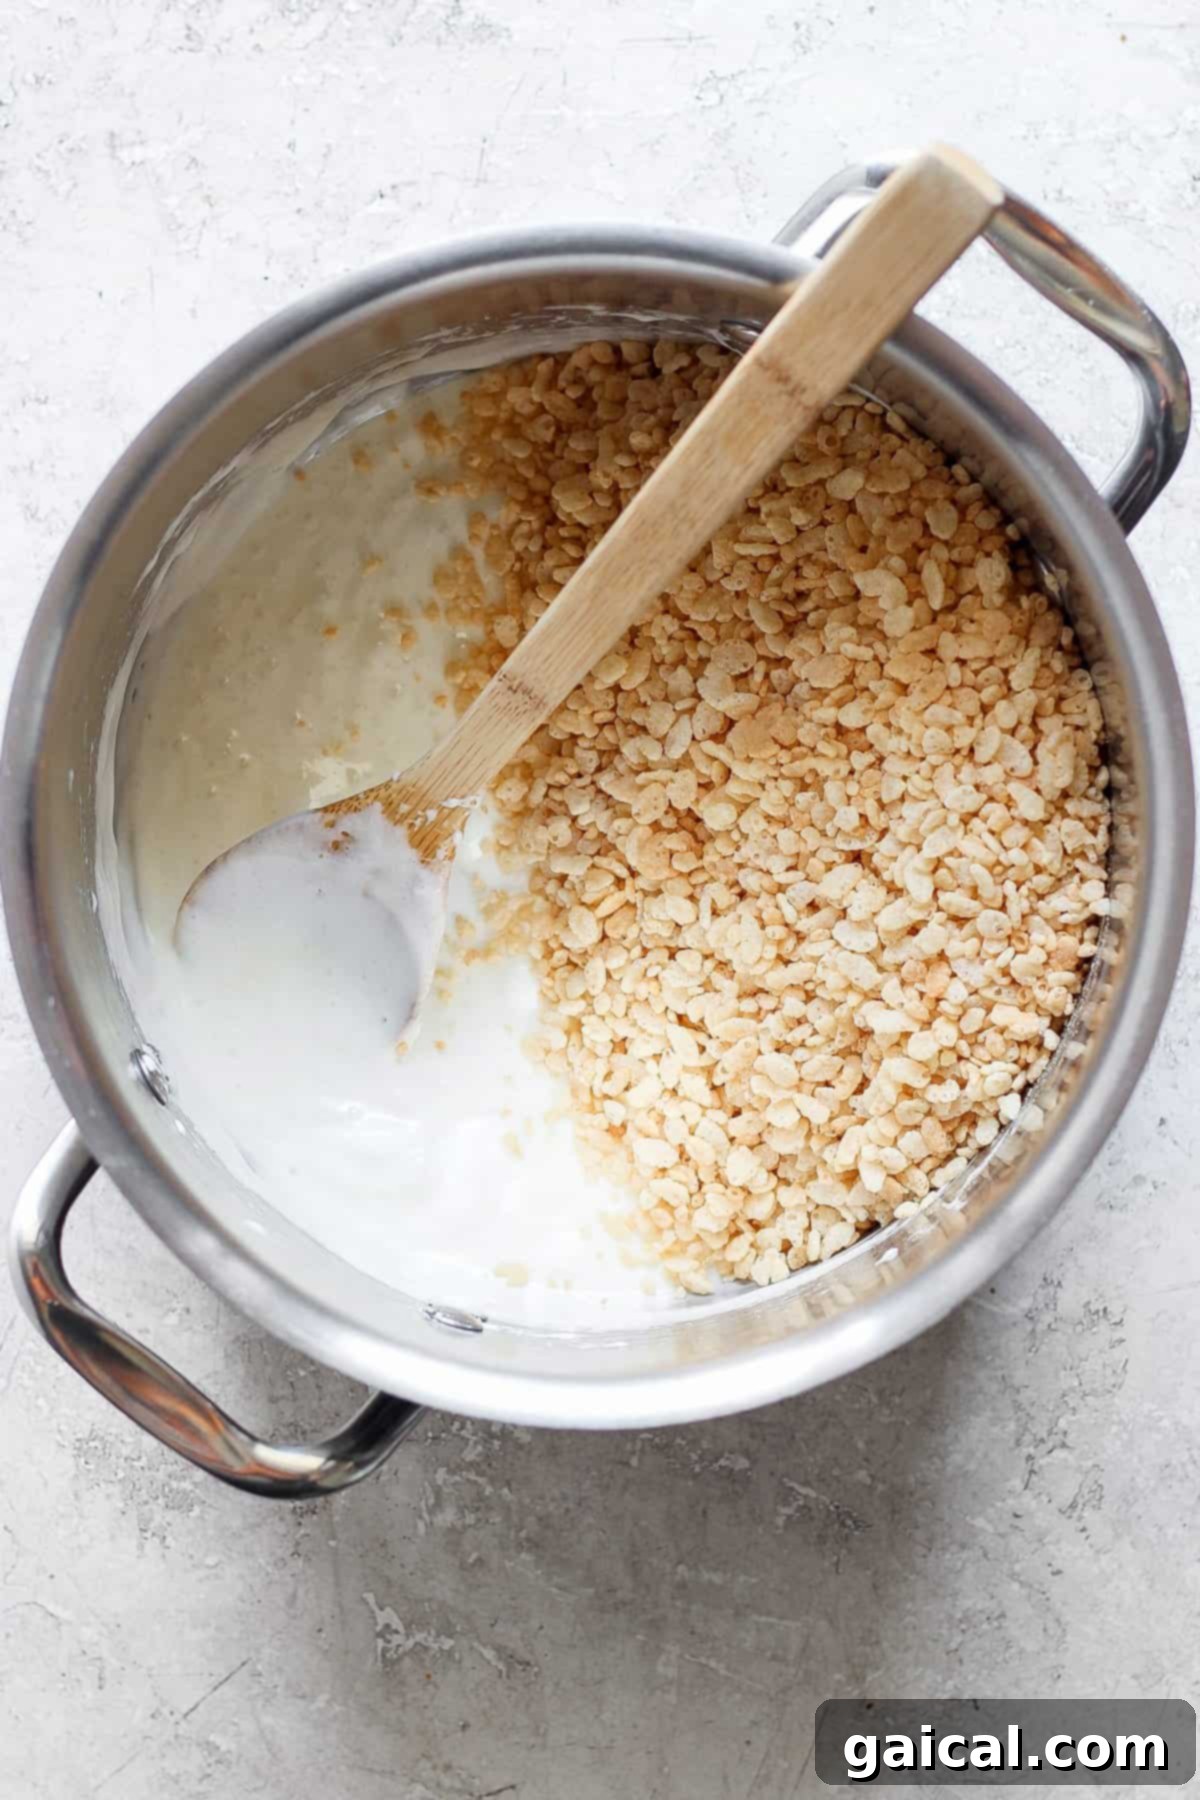
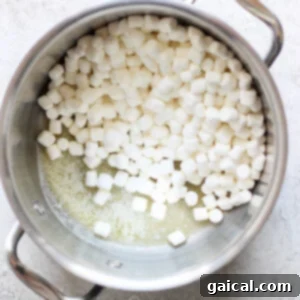
Heat a large nonstick skillet over low heat and add the butter. Once the butter has melted, add the mini marshmallows. Stir frequently until the marshmallows have completely melted and are smooth. Remove the skillet from the heat.

-
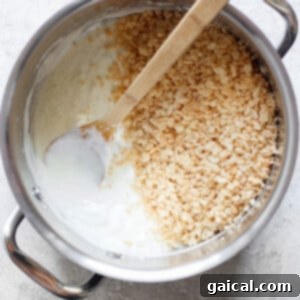
Add the rice crispies to the pan with the melted marshmallow mixture. Stir gently until the rice crispies are just combined and evenly coated. Be careful not to overmix.
-
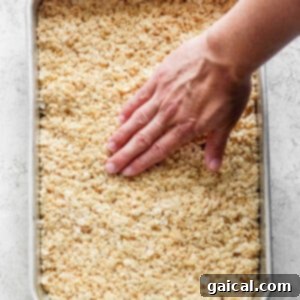
Transfer the rice krispie mixture to a greased 9×9-inch pan. Using a buttered spatula or lightly greased hands, gently press the mixture evenly into the bottom of the pan. Set the pan aside for at least 15 minutes to allow the treats to firm up slightly.
-
After the rice crispies have firmed sufficiently, cut them into 12 equal bars using a sharp, greased knife.
-
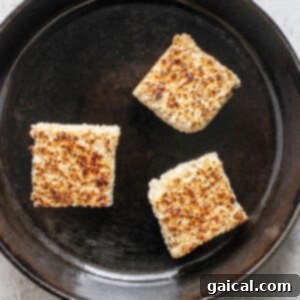
To toast, heat a clean nonstick skillet over medium heat. Place 2-3 bars in the pan, ensuring not to overcrowd it. Toast for 1-2 minutes, moving them frequently to prevent burning the marshmallows. Flip the bars and toast for an additional 1-2 minutes until golden brown. For a darker toast, cook for an additional minute, watching carefully.
-
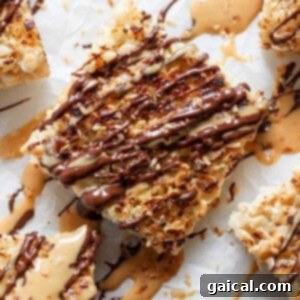
These toasted rice krispie treats are fantastic as is, but for an ultimate indulgence, we love to load them up! Drizzle generously with creamy peanut butter, melted chocolate, and sprinkle with toasted coconut shreds. Serve immediately and enjoy!
Grill Method
-
Preheat your grill to 350ºF (175°C).
-
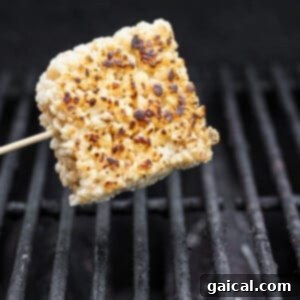
Carefully place each prepared rice krispie bar onto a skewer, ensuring it’s secure. Hold the skewered bar over the indirect heat of your gas grill.
-
Grill the rice krispie bars for 1-2 minutes per side, or until they are golden brown and slightly caramelized, avoiding any black charring. Flip and repeat the process for the other side.
Tips & Notes
- We find that a golden-brown toast results in the best flavor, offering a perfect balance of crispy and chewy. However, if you prefer a slightly more charred flavor, feel free to toast them for a bit longer, but always keep a close eye to prevent burning.
- For thinner treats, which some prefer for a lighter bite, prepare the mixture in a 9×13-inch pan instead of the standard 9×9-inch pan. This will yield more delicate bars.
- To prevent the treats from becoming too hard, avoid over-compressing the mixture when pressing it into the pan. A gentle, even press is all that’s needed.
Nutrition
Calories: 151 kcal, Carbohydrates: 31 g, Protein: 1 g, Fat: 3 g, Fiber: 0.1 g, Sugar: 15 g
Nutrition information is automatically calculated and should only be used as an approximation.
Love this recipe? Leave a comment below!
Don’t forget to tag your delicious creations on social media with the hashtag #fitfoodiefinds. We absolutely love seeing what you’re cooking up!