
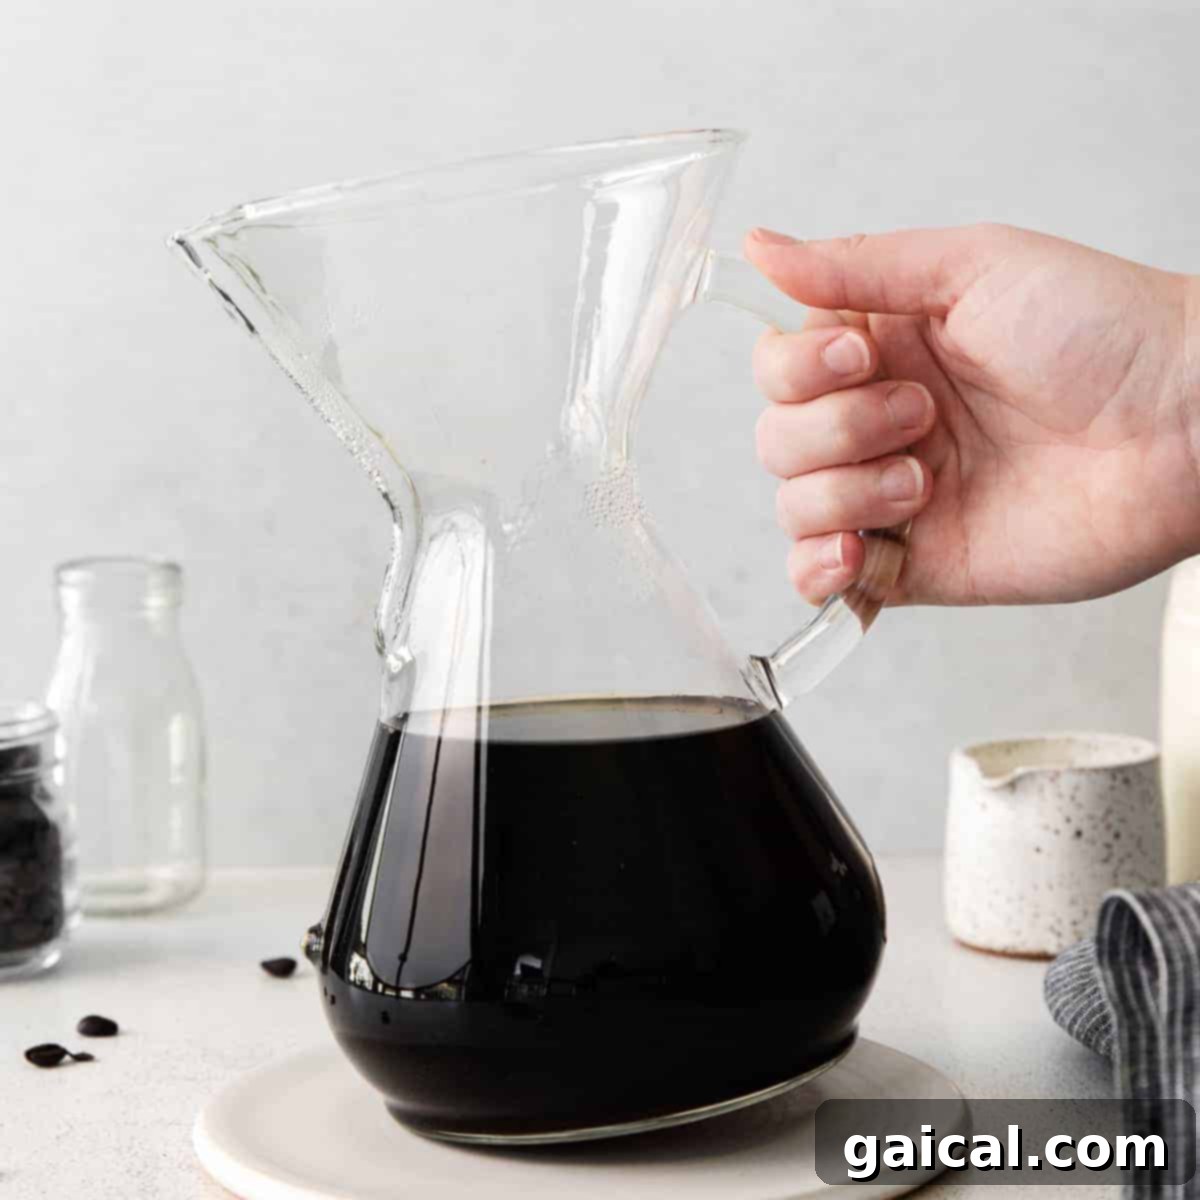
Mastering the Art of Pour Over Coffee: Your Ultimate Chemex Tutorial
There’s a special ritual to starting the day, and for many coffee enthusiasts, it begins with the unparalleled aroma and taste of a meticulously brewed cup of pour over coffee. It’s more than just a beverage; it’s an experience, a mindful moment that elevates your morning. Among the various methods, pour over stands out for its precision, control, and the resulting clean, vibrant flavors.
Today, we’re diving deep into the world of pour over coffee, specifically focusing on the elegant and highly regarded Chemex brewer. If you’re seeking to unlock the full potential of your coffee beans and achieve that consistently perfect cup, this comprehensive guide is for you. We’ll walk you through everything from the essential tools and the best beans to precise ratios and step-by-step instructions, ensuring your journey to pour over mastery is smooth and rewarding.
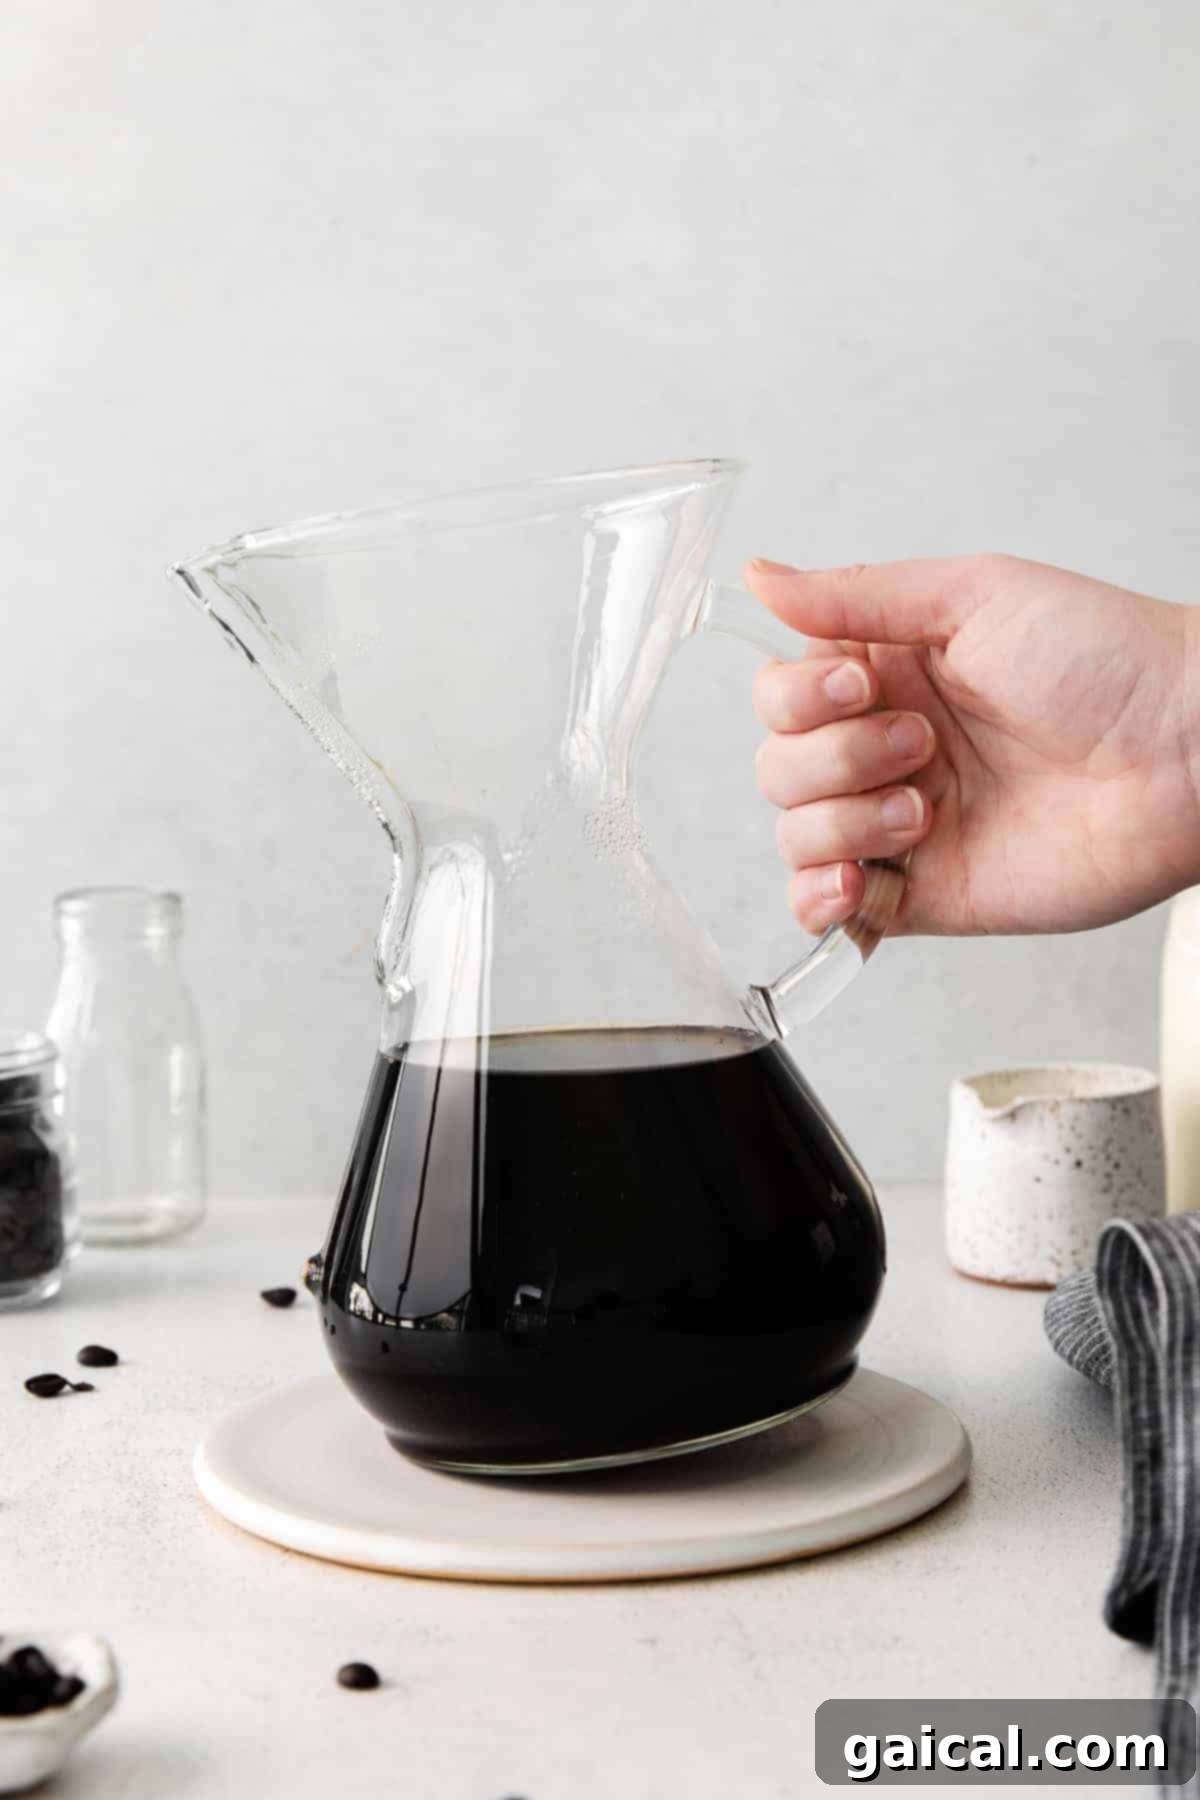
What Exactly is Pour Over Coffee?
Pour over coffee, also known as drip brewing or hand brewing, is a method of brewing coffee that involves pouring hot water over ground coffee beans held in a filter, allowing gravity to draw the water through the grounds and extract the coffee’s flavor into a carafe below. Unlike automated drip coffee makers, pour over brewing offers the brewer complete control over every variable of the extraction process, including water temperature, pour rate, and saturation time. This hands-on approach allows for an incredibly customizable and nuanced brew, highlighting the unique characteristics of the coffee beans.
The beauty of pour over lies in its simplicity and the profound impact these small adjustments can have on the final cup. By carefully managing these factors, you can achieve a clarity of flavor, a clean finish, and an aromatic depth that often surpasses other brewing methods. It’s a method that rewards attention to detail, transforming coffee making from a routine task into an enjoyable craft.
Why Pour Over Coffee Delivers the Best Brew
Many coffee aficionados consider pour over coffee to be the pinnacle of home brewing, and for good reason. The primary advantage of pour over is the unparalleled precision and control it offers. When brewing pour over, you actively participate in the extraction process, meticulously measuring both your coffee grounds and water, and carefully controlling the flow rate and temperature. This level of engagement ensures that every cup is not just good, but consistently excellent.
This method allows for a delicate and thorough extraction, showcasing the intricate notes and aromas of the coffee that might be masked by less controlled methods. The slow, controlled drip means the water spends optimal time interacting with the grounds, extracting essential oils and flavors without over-extracting bitter compounds. The result is a remarkably clean, bright, and nuanced cup of coffee with a smooth finish that truly lets the bean’s origin shine through. It’s this commitment to precision that consistently yields a 5-star taste experience, making every morning a delightful discovery of flavor.
Furthermore, pour over coffee provides an incredible opportunity for personalization. By simply altering the coffee-to-water ratio or the grind size, you can fine-tune the strength and flavor profile of your brew to match your exact preferences. This adaptability ensures that whether you prefer a light, aromatic cup or a rich, robust mug, pour over can deliver. We’ll delve deeper into these crucial ratios and how to adjust them to your liking further down in this guide.
Essential Tools for Crafting Your Perfect Pour Over
While the process of pour over coffee might seem simple, having the right equipment is crucial for consistency and quality. Investing in these key tools will significantly enhance your brewing experience and the taste of your final cup.
- Pour Over Coffee Maker: The heart of your setup. There’s a wide array of pour over devices, each with its unique design impacting the brew. The Chemex, a classic hourglass-shaped vessel, is renowned for its thick filters and clean-tasting coffee. Its elegant design and exceptional functionality make it a popular choice, and it’s what we’ll be using for this tutorial. Other popular options include the Hario V60 and Kalita Wave, each offering distinct brewing characteristics.
- Coffee Filter: An often-underestimated component. You’ll need specific filters designed for your pour over device. Chemex brewers use proprietary, thick paper filters that contribute to their signature clean cup by trapping more sediment and oils. You can opt for traditional paper filters or a reusable filter made from stainless steel or cloth. Paper filters generally produce a cleaner cup, while reusable filters allow more oils to pass through, resulting in a richer body. Ensure you pre-wet paper filters to remove any papery taste.
- Electric Gooseneck Kettle: Precision temperature control is paramount for pour over. An electric gooseneck kettle, like the Fellow Electric Kettle, allows you to set the water to the exact optimal brewing temperature (typically between 195-205°F or 90-96°C). The gooseneck spout also provides the slow, controlled pour necessary for even saturation of the coffee grounds. If you don’t have one, boil water on the stove and let it cool for a few minutes before pouring.
- High-Quality Coffee Beans: The foundation of any great cup. Using fresh, high-quality, whole-bean coffee is non-negotiable for pour over. Many connoisseurs prefer single-origin beans, as pour over brewing excels at highlighting their distinct regional flavors and aromas. Always buy freshly roasted beans and grind them just before brewing for maximum flavor.
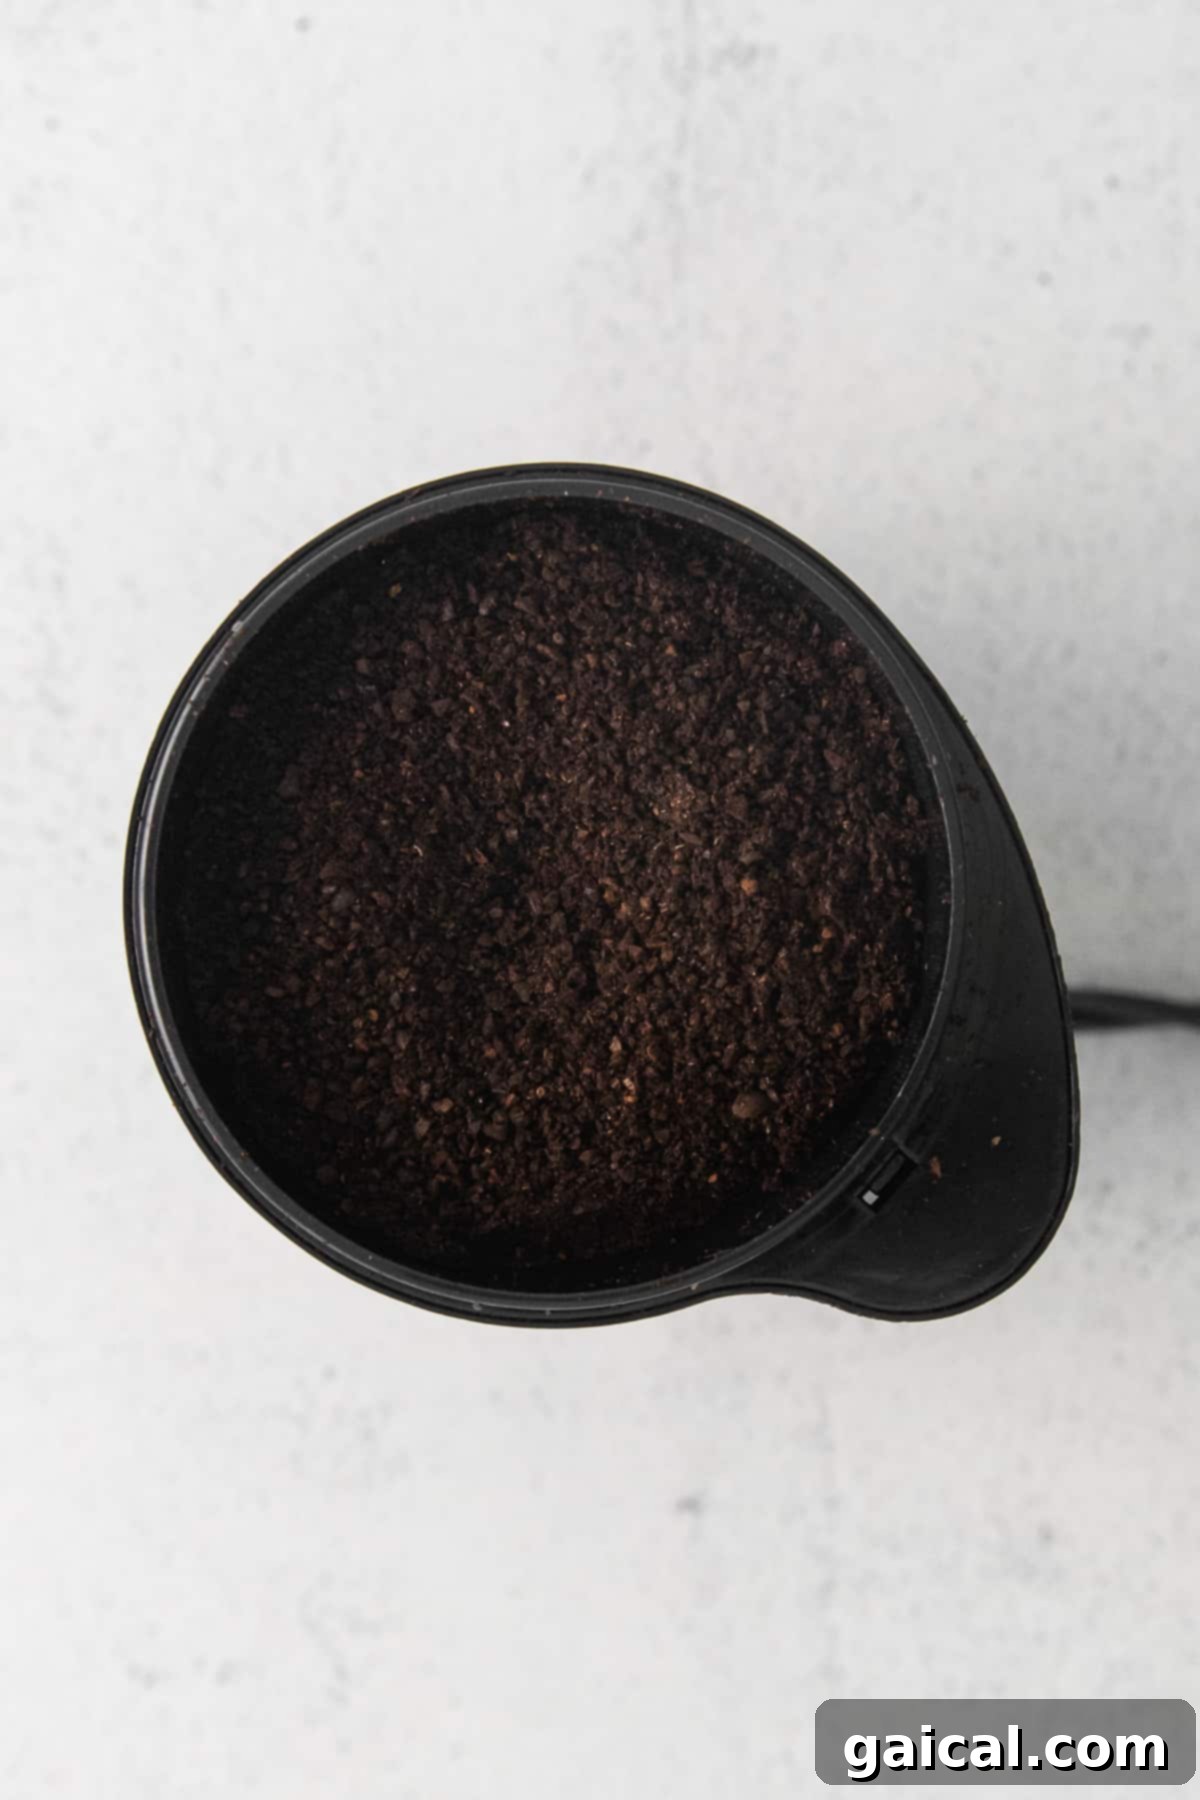
- Coffee Grinder: A crucial piece of equipment often overlooked. For pour over, a consistent grind size is vital. A burr grinder (either manual or electric) is highly recommended over blade grinders, as it produces uniform particles, leading to even extraction. A medium-coarse grind, similar to sea salt or panko breadcrumbs, is typically ideal for pour over methods.
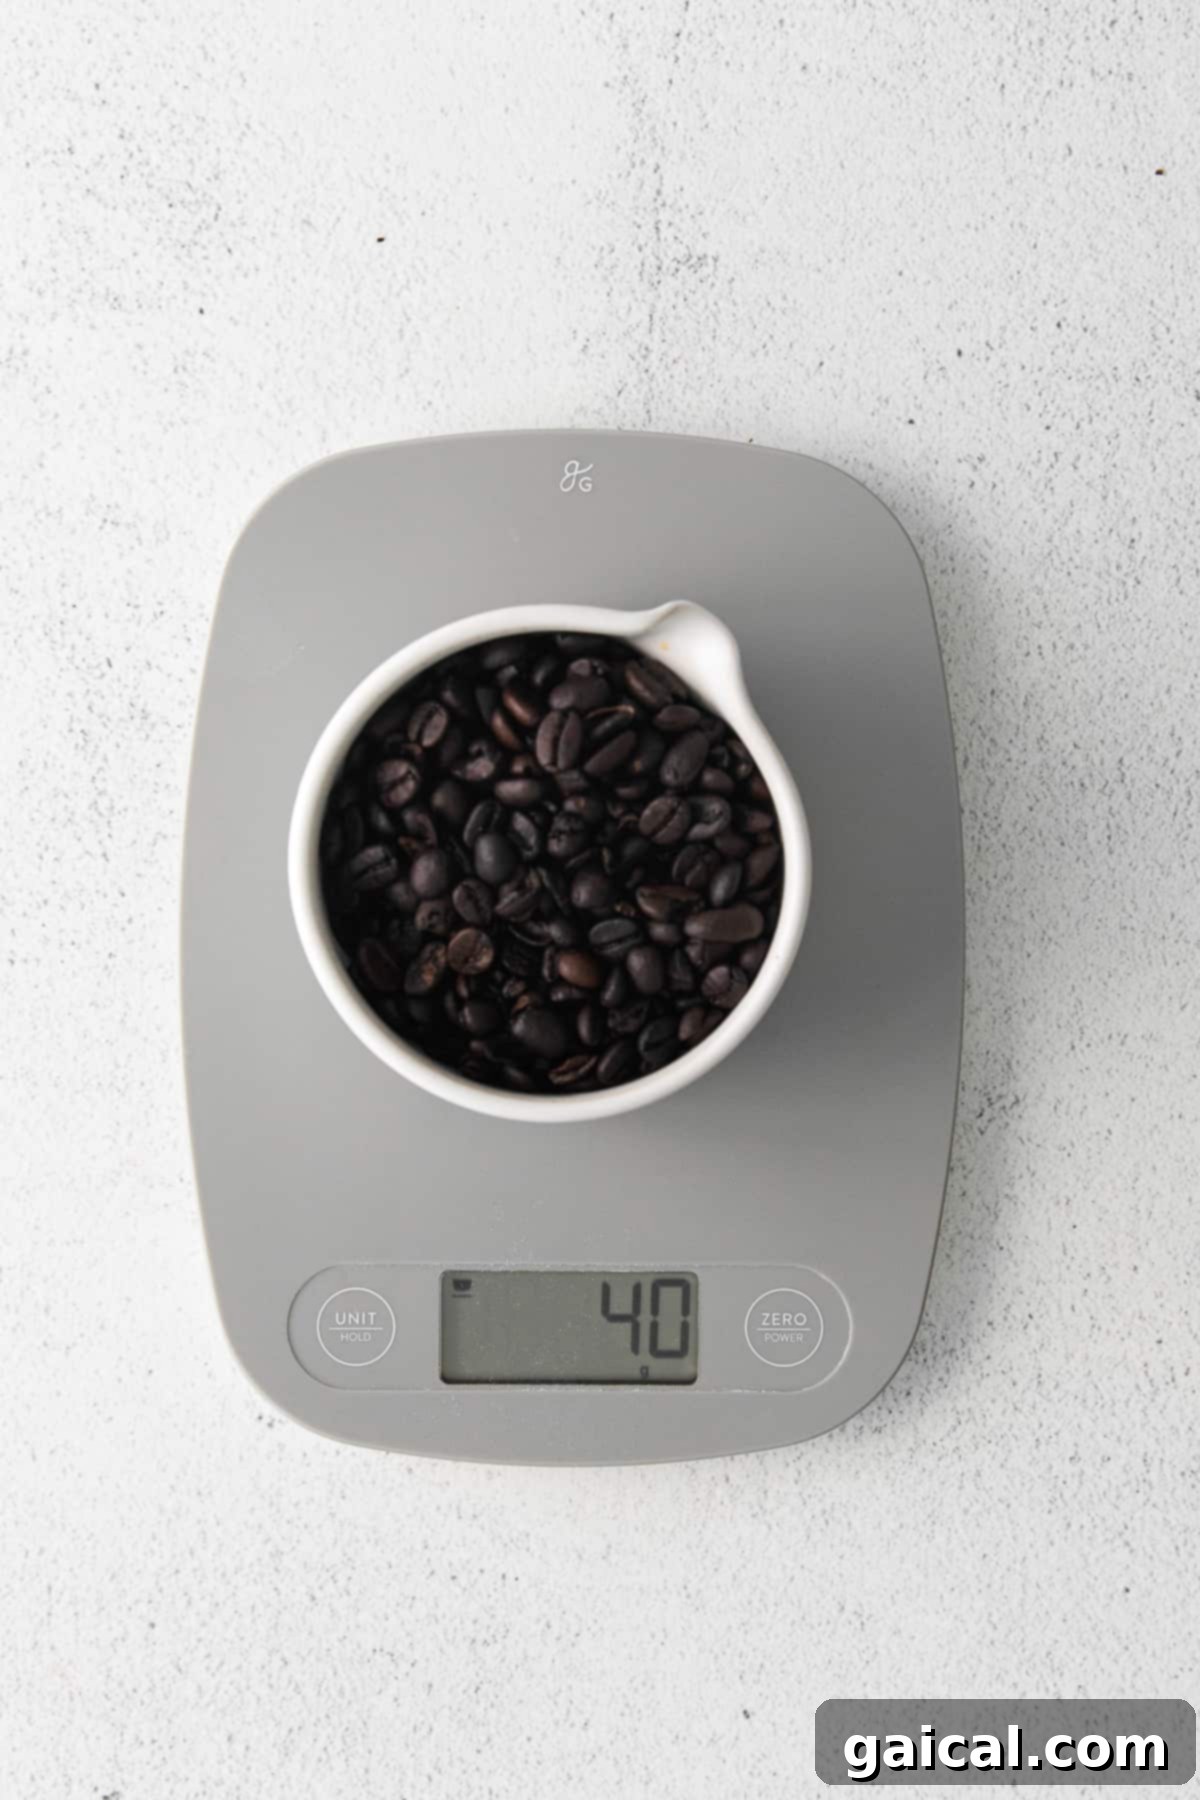
- Digital Food Scale: Precision is key in pour over brewing. A digital food scale, such as the Taylor Glass Top Food Scale, is essential for accurately measuring your coffee beans and water. This ensures you consistently hit your desired coffee-to-water ratio, eliminating guesswork and guaranteeing a repeatable, delicious brew.
Exploring the Best Pour Over Coffee Brewers
While the market offers a diverse range of pour over brewers, each with its unique aesthetic and brewing characteristics, we are undeniably Chemex enthusiasts. The Chemex has earned its reputation as a tried-and-true device, consistently delivering exceptional coffee thanks to its thoughtful design and specific filter system.
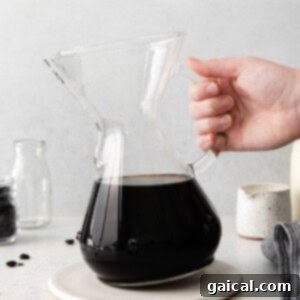
The iconic hourglass shape of the Chemex, invented in 1941 by Dr. Peter Schlumbohm, is not just for looks; it’s designed for optimal brewing and serving. The non-porous glass construction ensures no flavors are retained, and its distinctive thick filters provide a slower drip and superior filtration, resulting in a remarkably clean, sediment-free cup with low acidity and bitterness. The model featured in our photos is the 8-Cup Chemex with Glass Handle, a versatile size perfect for individuals or small groups.
What’s the difference between a Chemex and a pour over coffee?
It’s a common point of confusion, but the distinction is simple: “pour over” refers to the brewing *method*, while “Chemex” is a specific *type* of pour over coffee maker. So, when you’re brewing coffee using a Chemex, you are, by definition, making pour over coffee. The Chemex is just one of many devices you can use for the pour over technique, albeit a very popular and effective one.
Other Renowned Pour Over Coffee Makers
Beyond the Chemex, several other excellent pour over brewers offer slightly different experiences:
- Bodum Pour Over Coffee Maker: Often includes a permanent stainless steel filter, offering a full-bodied cup with more oils and fine sediments compared to paper filters.
- Grosche Amsterdam Pour Over Coffee Maker: Similar to Bodum, these often feature integrated permanent filters, focusing on convenience and a rich brew profile.
- Cosori Pour Over Coffee Maker: These brewers often come as complete sets, including a carafe and a reusable filter, making them a great starter option for beginners.
- Hario Pour Over Coffee Maker (V60): A popular choice, especially the V60, known for its cone shape, large single hole, and spiral ribs. This design encourages a faster flow rate, often resulting in a brighter, cleaner cup with less body than a Chemex. It demands a more precise pouring technique.
- Kalita Wave: Distinguished by its flat-bottomed filter bed and three extraction holes, the Kalita Wave offers a more forgiving and consistent extraction compared to the V60, making it an excellent choice for those new to pour over or seeking a simpler, more even brew.
Selecting the Best Beans for Your Pour Over
The quality of your coffee beans is arguably the most significant factor influencing the taste of your pour over. To truly unlock the potential of this brewing method and enjoy a vibrant, flavorful cup, I wholeheartedly recommend using high-quality, freshly roasted, single-origin coffee beans. Single-origin beans, sourced from a specific farm or region, tend to offer distinct and complex flavor profiles that pour over brewing excels at highlighting.
While single-origin beans are often preferred for their unique characteristics, don’t despair if you have a high-quality blend on hand. Blends can certainly produce a delicious pour over, though they might not offer the same nuanced aromatics or singular flavor notes that a single-origin bean provides. The key is always freshness and quality, regardless of whether it’s a single origin or a blend.
When choosing beans, consider the roast level. Lighter to medium roasts are often ideal for pour over, as they retain more of the bean’s inherent acidity, sweetness, and floral or fruity notes, which are beautifully accentuated by the clean pour over method. Darker roasts, while popular, can sometimes overpower the delicate flavors pour over aims to showcase, leading to a more bitter or smoky profile.
Our Top Coffee Bean Picks
For those in the Minneapolis, MN area, we’re fortunate to have access to some incredible local roasters. Here are some of our favorite beans that consistently perform beautifully in a Chemex:
- Peace Coffee Columbia Single Origin Medium Roast: Known for its balanced profile, often featuring notes of caramel, citrus, and a smooth body.
- Dogwood Ethiopia Single Origin: Ethiopian beans are celebrated for their bright, complex, and often floral or berry-like notes, making them a fantastic choice for pour over.
- Roots Ethiopian Single Origin: Another excellent Ethiopian option, likely offering similar vibrant and aromatic characteristics.
Which coffee bean roast is the most bitter?
Generally, darker roast coffee beans tend to be more bitter than lighter roasts. The level of bitterness is directly related to the length and temperature of the roasting process. During roasting, coffee beans undergo chemical changes; sugars caramelize, acids break down, and new compounds are formed. The longer a bean is roasted, the more its inherent origin characteristics are overshadowed by “roasty” flavors. Dark roasts have been roasted for a longer duration at higher temperatures, leading to a breakdown of delicate acids and the development of more intense, sometimes char-like or bitter notes. In contrast, light roasts preserve more of the bean’s original acidity and delicate fruit or floral flavors, resulting in a brighter, less bitter, and more complex cup.
Mastering the Pour Over Coffee Ratio
Achieving the perfect cup of pour over coffee hinges significantly on the precise coffee-to-water ratio. This ratio determines the strength and intensity of your brew. While personal preference plays a huge role, understanding these basic guidelines will help you find your ideal balance. The ratios below represent grams of coffee beans to milliliters (or grams) of water. Remember, water converts 1:1 from mL to grams on a scale, so 600 mL of water is 600 grams.
We believe there’s truly nothing worse than weak coffee, so our preferred ratio in the recipe card leans towards a robust brew. However, feel free to experiment to discover your personal sweet spot:
- Weak(er) Coffee: 1g coffee beans to 17ml water (1:17 ratio) – For a lighter, milder flavor.
- Medium Coffee: 1g coffee beans to 16ml water (1:16 ratio) – A well-balanced and popular choice.
- Strong Coffee: 1g coffee beans to 15ml water (1:15 ratio) – This is our go-to for a bold, rich, and intensely flavored cup!
For example, if you aim for a strong cup using 40 grams of coffee, you would need 40 x 15 = 600 ml (or grams) of water. This precise calculation ensures consistent results every time you brew.
Note: Always measure the weight of your *whole coffee beans* before grinding. Grinding causes some loss of mass and changes density, so measuring whole beans provides the most accurate and repeatable starting point for your ratio.
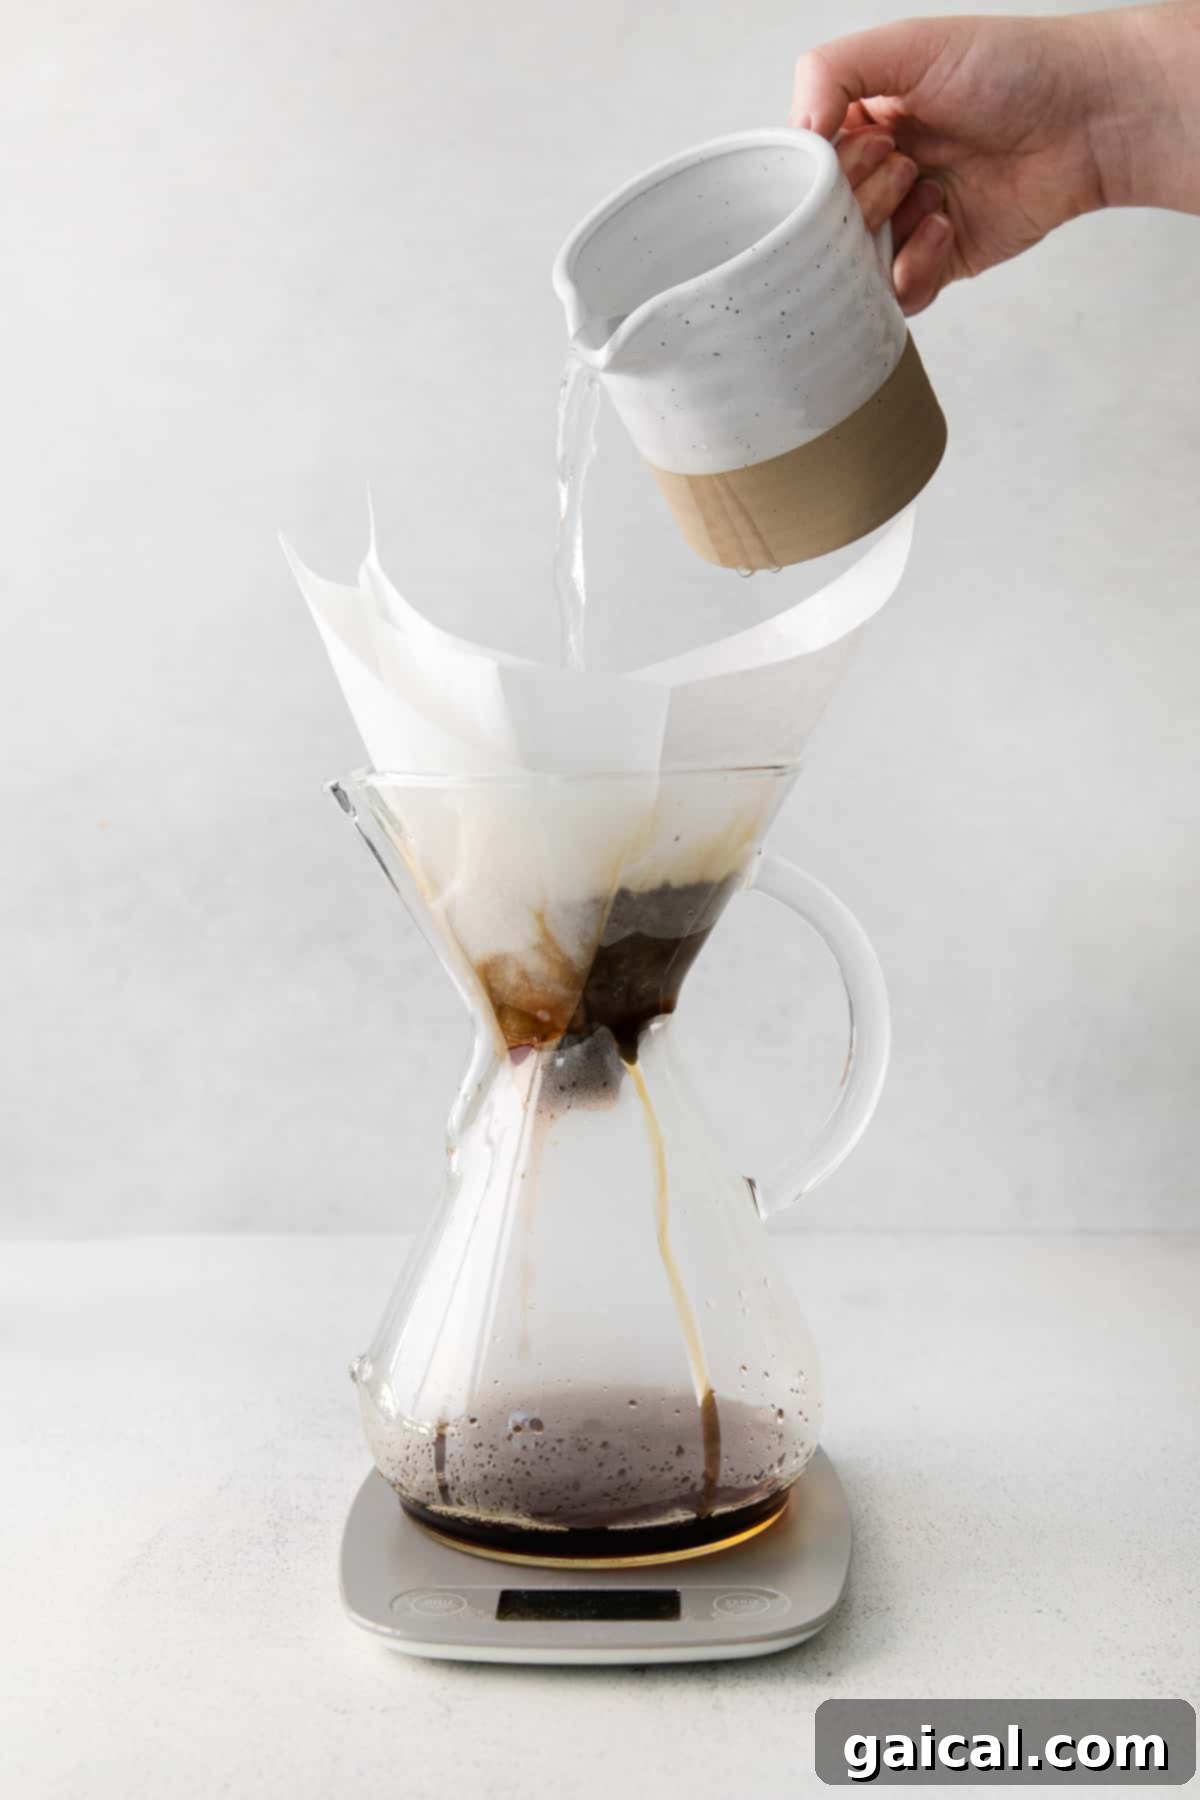
Quick Guide to Brewing Pour Over Coffee
For a complete and detailed tutorial with exact measurements and timings, please refer to the comprehensive recipe card below. This quick overview will give you a general idea of the pour over process with your Chemex:
- Heat Water: Bring your filtered water to the ideal brewing temperature, typically around 200ºF (93ºC), using an electric kettle.
- Measure Beans: Accurately weigh your whole coffee beans using a food scale to ensure precise ratios. For a strong brew, we recommend 40 grams of coffee.
- Grind Beans: Grind your measured coffee beans to a medium-coarse consistency, similar to coarse sea salt or panko breadcrumbs. Avoid grinding too finely, as this can lead to over-extraction and bitterness.
- Prepare Filter & Pre-wet: Place your Chemex filter into the brewer. Position the Chemex on your scale and zero it out. Pour approximately 50ml of hot water over the filter, thoroughly wetting all sides to remove any papery taste and preheat the brewer. Discard this water from the Chemex.
- Add Ground Coffee: Transfer the freshly ground coffee into the pre-wet filter, gently shaking to create a flat, even bed. Place the Chemex back on the scale and zero it again.
- Bloom the Coffee: Begin by pouring about 75ml of hot water evenly over the coffee grounds in a slow, spiral motion, ensuring all grounds are saturated. Allow the coffee to “bloom” for about 30-60 seconds. This step releases CO2 and prepares the grounds for optimal extraction.
- Pour Remaining Water: Continue pouring the remaining hot water (for a 1:15 ratio, that’s 525ml after the bloom) in a slow, continuous spiral motion, working from the center outwards and then back in. Maintain a consistent pour rate to keep the water level steady. The entire brewing process, including the bloom, should ideally take between 5-10 minutes.
- Serve and Enjoy: Once all the water has dripped through, remove the filter and serve your perfectly brewed pour over coffee.
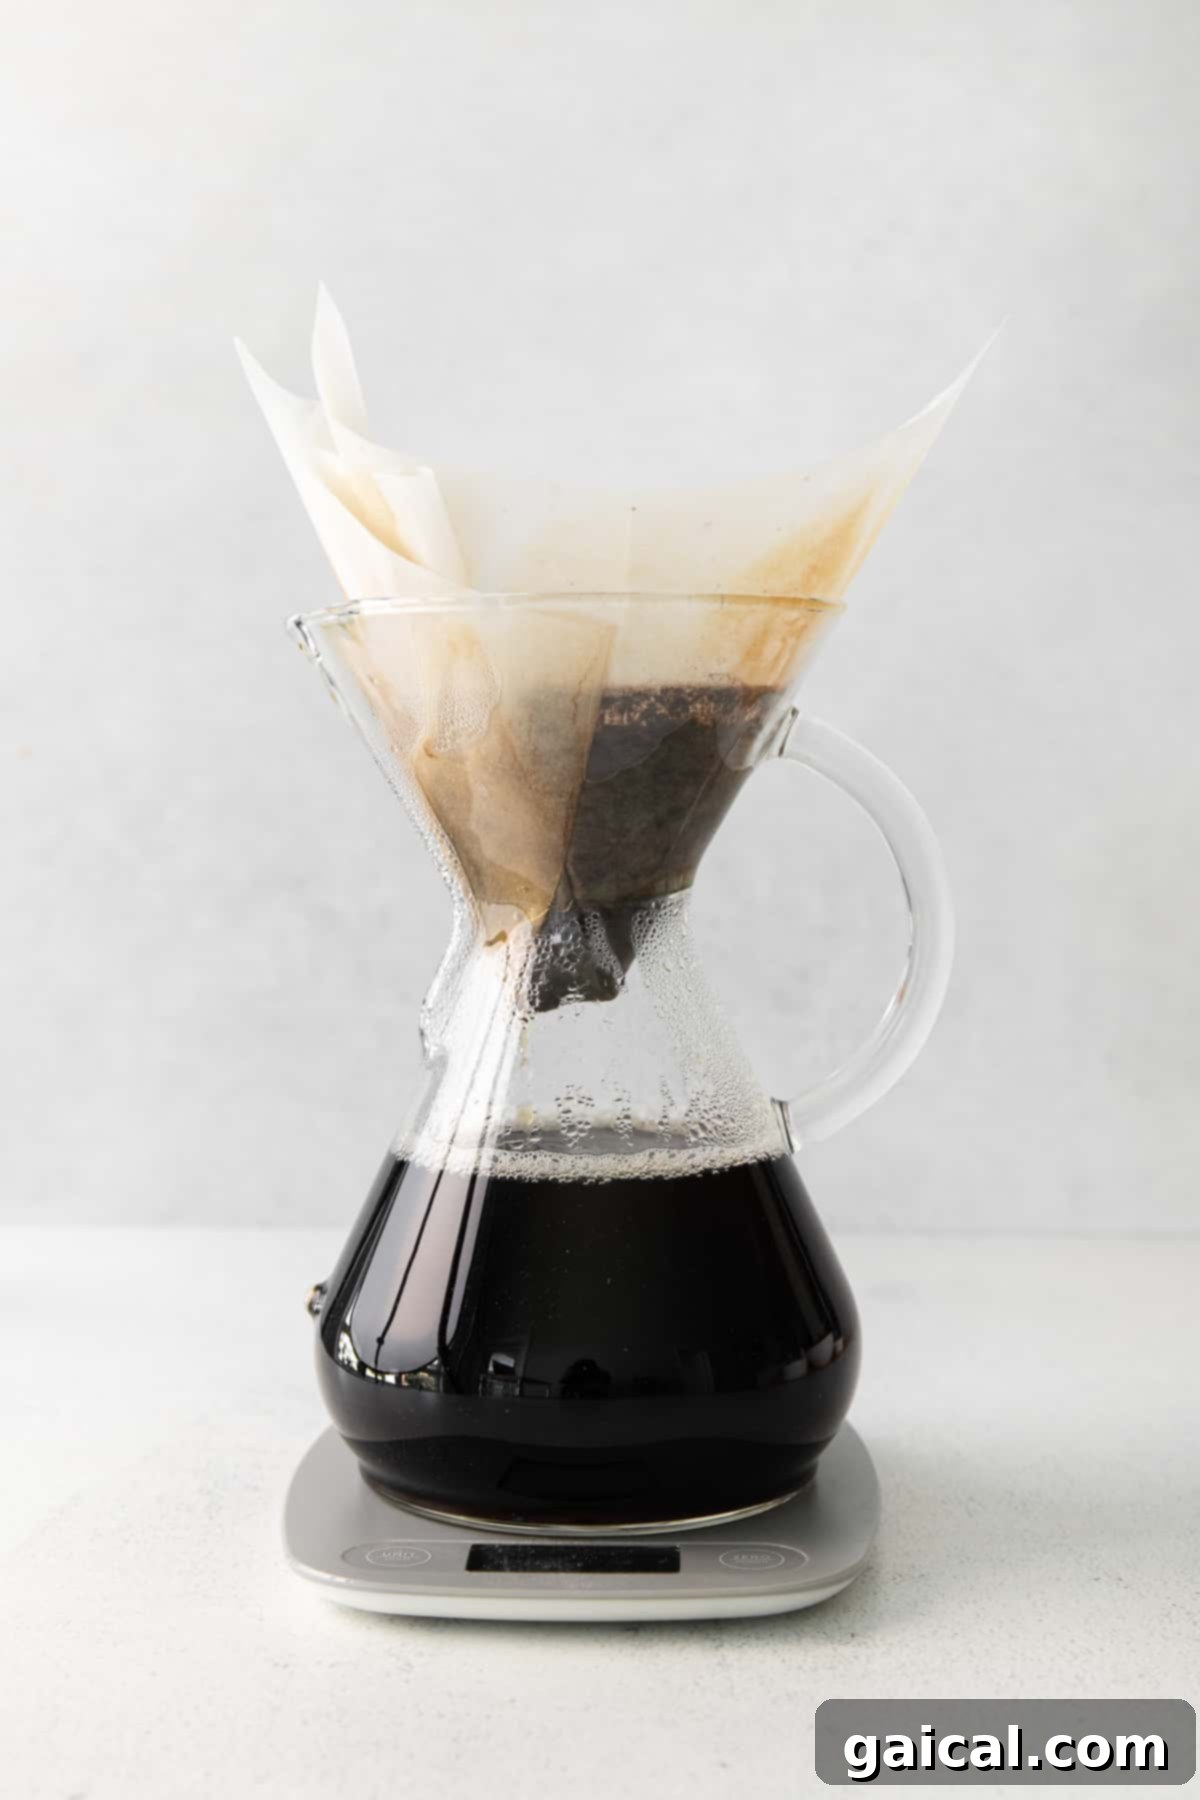
Expert Tips and Troubleshooting for Your Pour Over
Even with a precise method, brewing the perfect cup can sometimes require a little fine-tuning. Here are some common issues and advanced tips to elevate your pour over game:
Is your coffee not strong enough?
If you find your pour over coffee tasting weak or watery, there are a few adjustments you can make to increase its strength and extraction. First, try grinding your coffee beans a bit finer. A finer grind increases the surface area exposed to water, allowing for more efficient extraction. Alternatively, you can try increasing the coffee-to-water ratio slightly (e.g., move from a 1:16 to a 1:15 ratio). Ensure your pour is consistent and slow, allowing adequate contact time between the water and grounds. You might also try a slightly higher water temperature within the optimal range (e.g., 205°F instead of 195°F) to encourage more extraction.
Is your coffee too strong or bitter?
If your coffee is excessively strong, bitter, or astringent, it often indicates over-extraction. To remedy this, try grinding your coffee more coarsely. A coarser grind reduces the surface area, slowing down the extraction and preventing bitter compounds from being pulled into the brew. You can also decrease the coffee-to-water ratio (e.g., from 1:15 to 1:16 or 1:17) to dilute the concentration. Additionally, ensure your water temperature isn’t too high, as overly hot water can aggressively extract unpleasant flavors. A slightly faster pour rate can also reduce contact time and mitigate over-extraction.
Ensure Your Water Isn’t Too Hot
Water temperature is a critical factor for optimal extraction. The ideal range for pour over brewing is typically between 195°F (90°C) and 205°F (96°C). Water that’s too hot (boiling) can “burn” the coffee, leading to an over-extracted, harsh, and bitter taste. Conversely, water that’s too cool will result in under-extraction, producing a sour, weak, and underdeveloped flavor. If you don’t have an electric kettle with temperature control, simply bring your water to a boil and then let it sit off the heat for about 30-60 seconds to cool down to the perfect brewing temperature before you begin pouring.
Never Skip the Coffee Bloom
The “bloom” is a vital first step in pour over brewing. It involves pouring a small amount of hot water (just enough to saturate the grounds) and letting it sit for 30-60 seconds before continuing your main pour. This initial contact with hot water causes the coffee grounds to expand and release trapped carbon dioxide (CO2). This CO2 release is essential because if it were to escape during the main brewing phase, it would repel water from the coffee particles, leading to uneven extraction and inconsistent flavor. By allowing the coffee to bloom, you ensure that subsequent water pours can more effectively and evenly extract flavors, resulting in a cleaner, sweeter, and more balanced cup. Fellow Products has an excellent article further explaining the science and importance of the coffee bloom.
Paper Filter vs. Reusable Filter: Which is Better?
The choice between paper and reusable filters often comes down to personal preference and desired cup profile.
- Paper Filters: (especially the thick Chemex filters) are known for producing an exceptionally clean cup. They effectively trap fine sediments and most of the coffee oils, resulting in a bright, clear, and residue-free brew with a crisp finish. The downside is they are single-use, though compostable options are available.
- Reusable Filters: (typically made from stainless steel mesh or cloth) allow more of the coffee’s natural oils and micro-fines to pass through. This can lead to a more full-bodied cup with a richer mouthfeel and sometimes a slightly bolder flavor, though it may also have a bit more sediment. The main benefit is environmental, as they reduce waste.
We’ve enjoyed delicious coffee using both types and encourage you to experiment to find what best suits your taste and values.
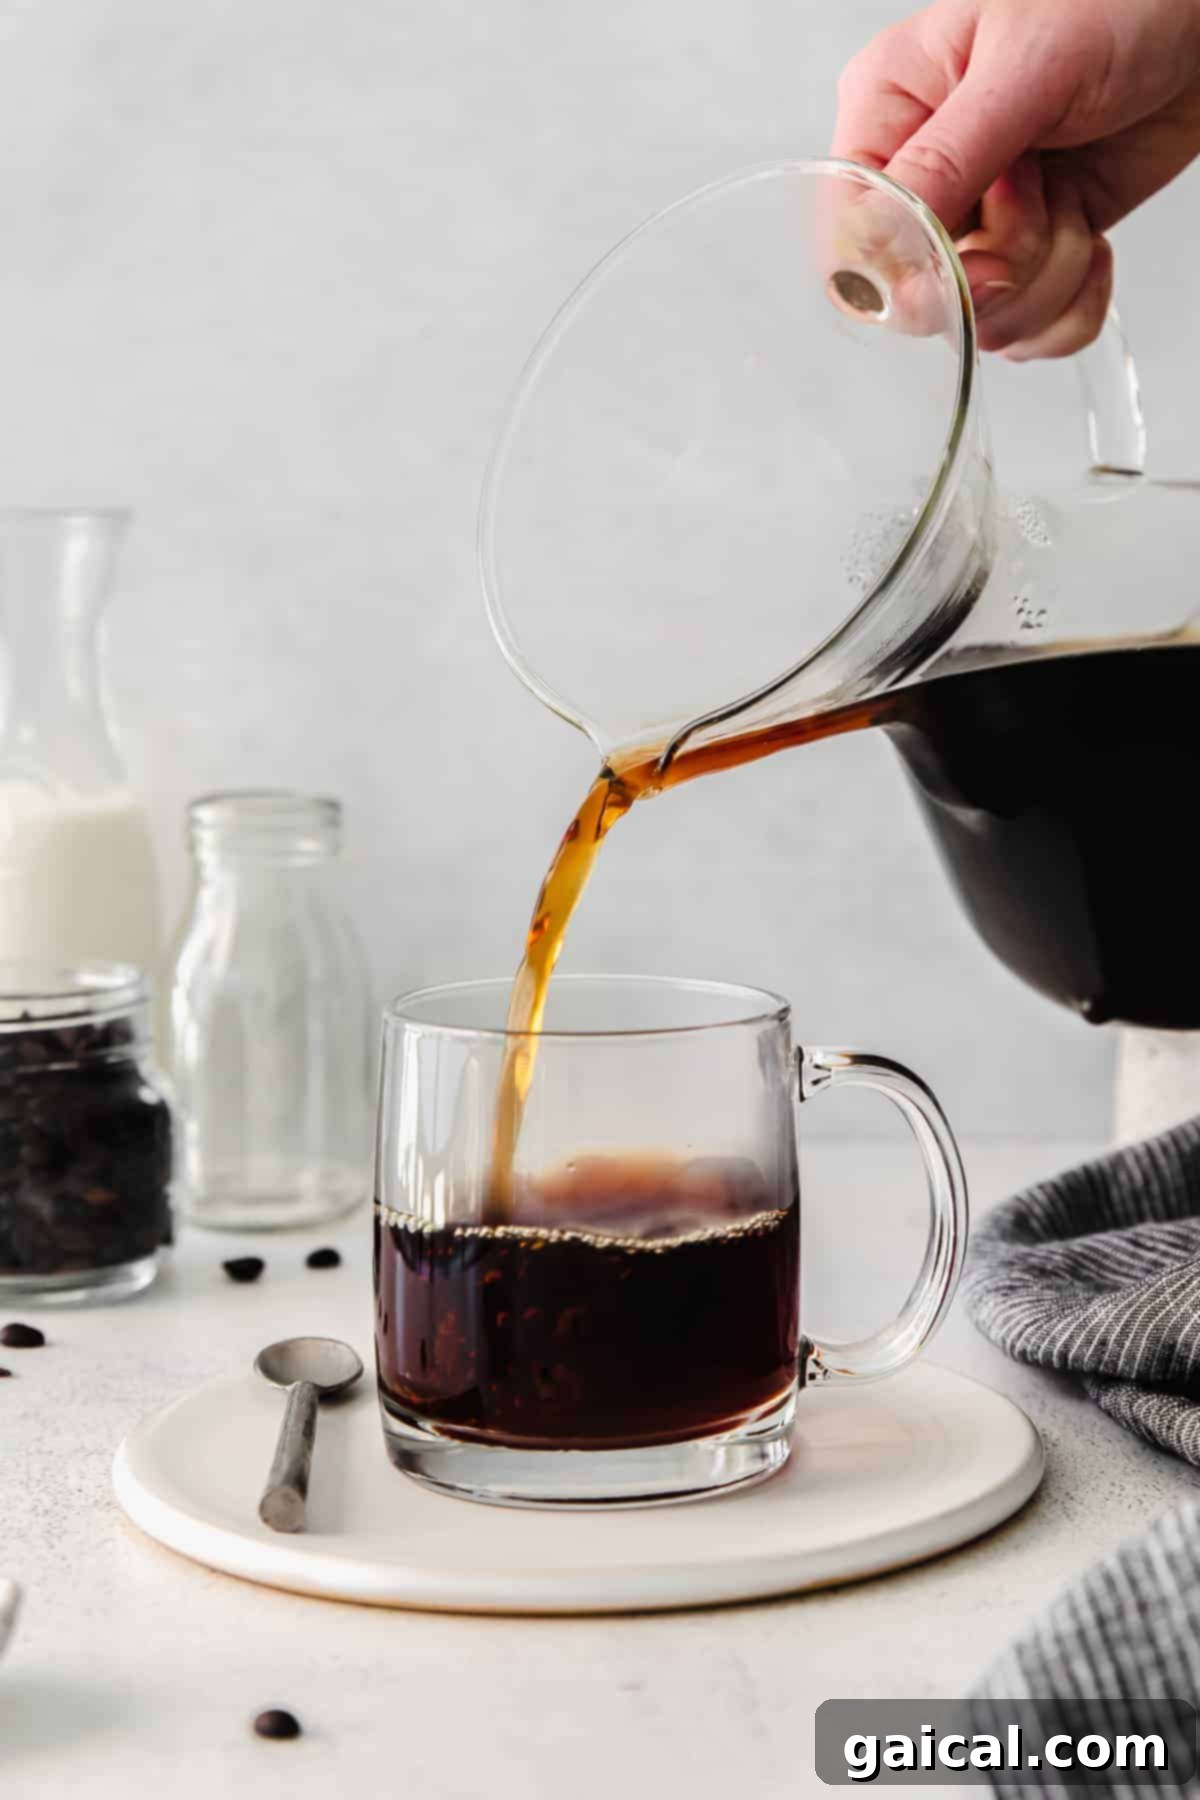
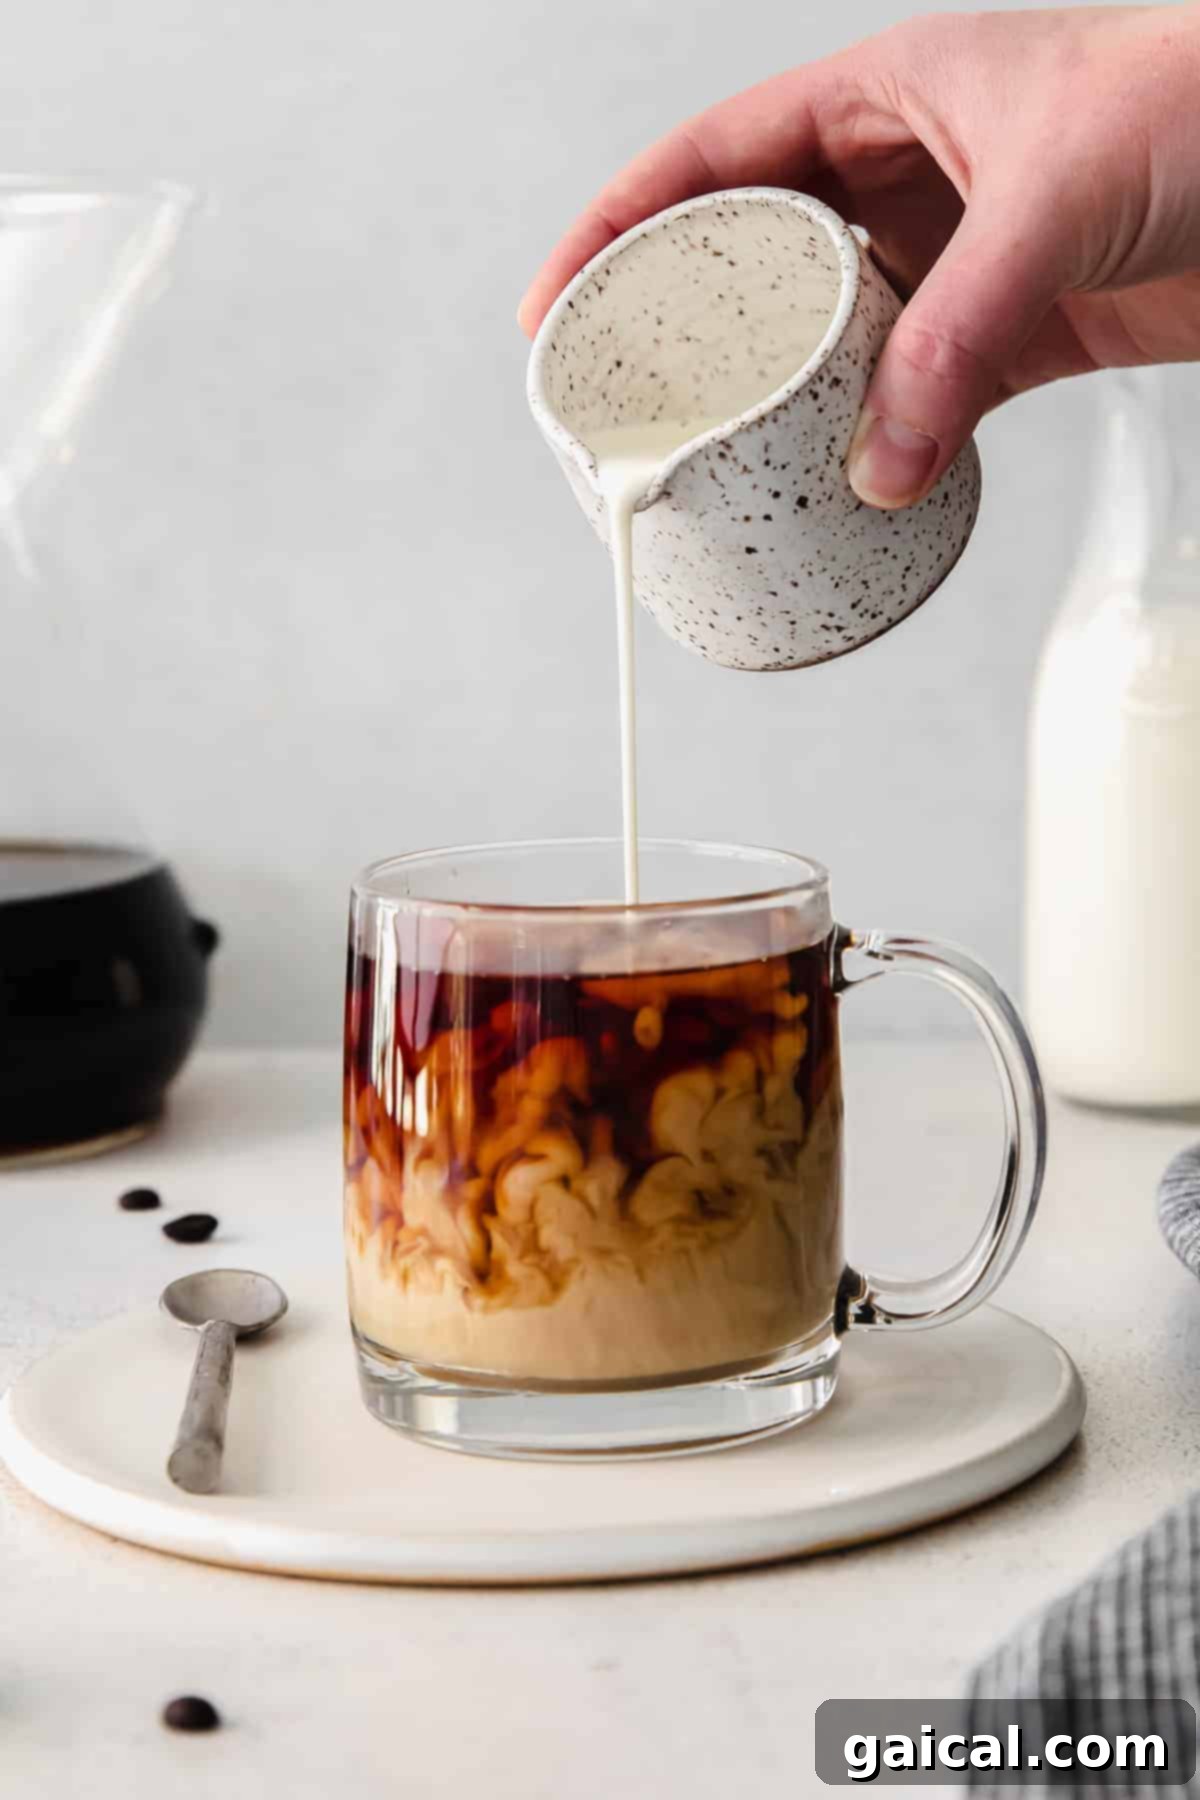
More of our Favorite…
Coffee Tutorials
If you’re looking to explore more coffee brewing methods and delightful coffee recipes, check out these other popular tutorials:
- How to Make Cold Brew Coffee
- French Press Coffee: A Complete Guide
- Iced Brown Sugar Oatmilk Shaken Espresso
- How to Make a Miel Latte at Home
★
★
★
★
How to Make Pour Over Coffee (Chemex Tutorial)
Lee Funke
Prep:
5
Cook:
5
Total:
10
2
Print Recipe
Ingredients
- 40 grams coffee beans
- 600 mL filtered water, +50ml to wet the filter
Instructions
-
Measure beans: First, use a food scale to measure your coffee beans. Place a container or your coffee grinder on the scale, then zero it out. Measure 40 grams of whole coffee beans.
-
Grind beans: Transfer your coffee beans to a burr grinder and pulse until they reach a medium-coarse grind, similar to the texture of panko breadcrumbs.
-
Heat water: Using an electric gooseneck kettle, heat your filtered water to precisely 200ºF (93ºC), or just before it begins to boil.
-
Wet the filter: Place a Chemex paper filter into your pour over device. Position the pour over onto a digital scale, then zero the scale. Pour 50 mL of hot water into the filter, ensuring it is wet evenly on all sides to remove any papery taste and preheat the brewer. Discard this water from the bottom of your pour over, leaving the wet filter in place.
-
Add the coffee grounds to the filter: Carefully add the ground coffee to the pre-wet filter. Gently shake the brewer to create a smooth and even layer of coffee across the top. Avoid packing them tightly.
-
Bloom the coffee grounds: Zero the scale again. Slowly pour 75 mL of hot water over the coffee grounds in a spiral direction, ensuring the water evenly covers all of the grounds. Allow the pour over to sit for one minute to allow the coffee to “bloom” and degas.
-
Pour remaining water: Continue to slowly pour the remaining 525 mL of hot water into the pour over. Maintain a consistent, gentle spiral motion to ensure even saturation of all grounds. Pouring the water should ideally take approximately three minutes, which means you should be pouring about 30 mL of water every 10 seconds. The entire brewing process, from initial pour to the last drip, should take around 5-10 minutes.
-
Once you’ve added all of the water, allow the pour over to sit for an additional minute for any residual water to fully drain.
-
Remove the filter and enjoy your perfectly brewed pour over coffee!
Tips & Notes
- If your scale does not measure in mL, you can simply measure in grams. Water converts 1:1 from mL to grams. So, 600 mL of water is equivalent to 600 grams of water.
- The total brew time should be around 5-10 minutes. If your brew time takes too long (e.g., more than 10 minutes), consider using a coarser grind next time. If it brews too quickly (e.g., less than 5 minutes), consider using a finer grind. This adjustment helps optimize extraction.
Nutrition
Calories: 1 kcal
,
Carbohydrates: 0 g
,
Protein: 0 g
,
Fat: 0 g
,
Fiber: 0 g
,
Sugar: 0 g
Nutrition information is automatically calculated, so should only be used as an approximation.
Love this? Leave a comment below!
Don’t forget to tag your posts on social media with the hashtag #fitfoodiefinds, we’d love to see what you’re up to!