
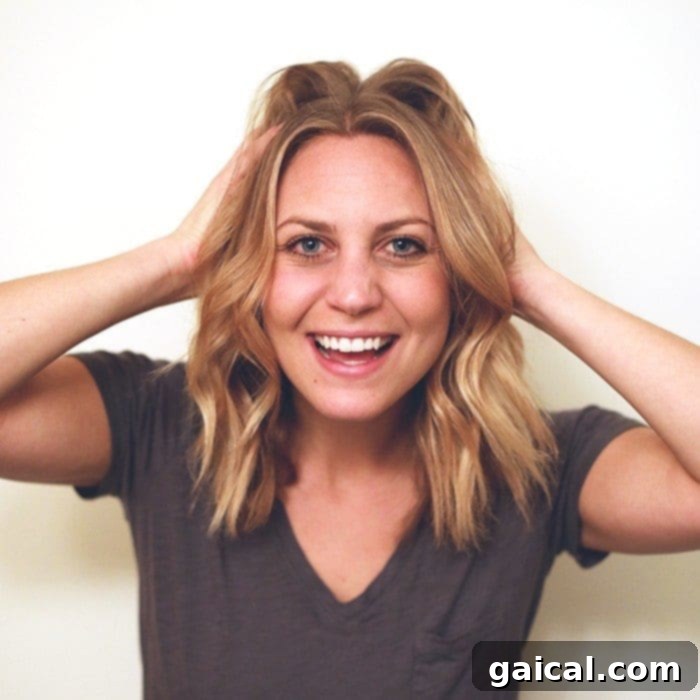
The LOB Transformation: Embracing Short Hair and Textured Waves
The “big chop” is a phrase many of us know well – and sometimes dread. For years, I proudly wore my hair long, embracing a wild, untamed aesthetic. That is, until recently, when I finally decided to make a significant change, taking a brave six inches off my beloved locks. While the initial moments after such a drastic cut can be daunting, leading to that universally recognized feeling of “what have I done?”, I’m thrilled to share that this time, there were no tears. Just a slight moment of panic during the first post-cut hair wash – a moment I’m sure many of you can relate to! But once you learn to master your new length, the world of short hair, specifically the long bob (LOB), opens up with exciting styling possibilities.
Life with shorter hair, particularly a LOB, is surprisingly liberating and incredibly chic. Gone are the days of endless drying time, replaced by a refreshingly quick and versatile routine. The long bob isn’t just a haircut; it’s a style statement, offering a perfect balance between the elegance of short hair and the versatility of longer lengths. Its popularity stems from its ability to flatter almost any face shape, hair type, and personal style, making it a go-to choice for those seeking a fresh, modern look without committing to a super short crop.
Unlock the Secret to Effortless LOB Styling: Your Flat Iron Wave Tutorial
Since sporting my new LOB haircut, the most common question I get asked is about my styling routine. Everyone wants to know how I achieve those perfectly imperfect, texturized waves! This particular look has been my go-to since Halloween, and I’m excited to finally share the comprehensive tutorial I’ve been perfecting. I owe a huge thank you to Maggie, my incredible stylist at Studio 890 in Milwaukee, who first introduced me to this technique. Coupled with countless hours (perhaps 16, give or take!) spent devouring “LOB texture hair tutorials” on YouTube, I’ve managed to semi-replicate her magic. And yes, for those wondering, LOB stands for long bob – a haircut that typically falls between the chin and collarbone.
I’m incredibly proud of how I’ve been able to consistently recreate Maggie’s initial styling, which inspired me to film my own step-by-step video for your enjoyment. While this technique is particularly fantastic for a long bob, it’s versatile enough to be adapted for various hair lengths. So, whether you’ve recently chopped off your hair, are considering a LOB, or just want to add some effortless texture to your current style, this tutorial is for you. Dive in and discover the art of flat iron waves!
And speaking of tutorials, does anyone else get completely absorbed by them? Whether it’s hair styling or even cupcake decorating, I often find myself falling down a rabbit hole, watching one after another, only to realize two hours have mysteriously vanished!
Understanding Your Hair: The Foundation for Flawless Styling
As the video demonstrates, I have a head full of naturally curly, thick, and somewhat coarse hair. While this comes with its unique set of challenges – primarily that it tends to be a frizzy mess if I simply blow it out – it also boasts a significant advantage: my hair holds a style exceptionally well. The downside, however, is that for my hair to look truly presentable, styling is almost always a necessity. Understanding your hair type is the first crucial step to any successful styling routine.
Prepping Your LOB for Perfect Flat Iron Waves
Before any heat styling begins, proper preparation is key. Here’s my go-to routine to ensure my LOB is ready to be transformed:
- Drying Method: I prefer to let my hair air dry as much as possible, roughly 70-80%, before finishing with a quick blow-dry. This minimizes heat exposure and helps tame initial frizz. When blow-drying, focus on smoothing the roots and lightly drying the ends.
- Hydration and Frizz Control: Immediately after showering, while my hair is still damp, I apply a generous amount of Moroccanoil Treatment Light throughout my entire head. This is a non-negotiable step for me, regardless of how I plan to style my hair. Moroccan oil deeply hydrates, adds incredible shine, and significantly helps to control frizz, making my coarse hair more manageable. For finer hair types, use less or opt for a lighter oil.
- Heat Protection: Before applying any heat, a quality heat protectant is essential. My favorite is the Bb Primer from Bumble and Bumble. Not only does it provide a vital barrier against heat damage, but it also smells absolutely divine and helps detangle my thick hair. Spray it evenly from mid-lengths to ends.
- Ready to Curl: Once my hair is fully dry and prepped with products, I section off my (sometimes voluminous!) hair using clips. This ensures that each piece gets proper attention and allows for a more organized and efficient styling process.
Choosing Your Weapon: The Right Flat Iron for Textured Curls
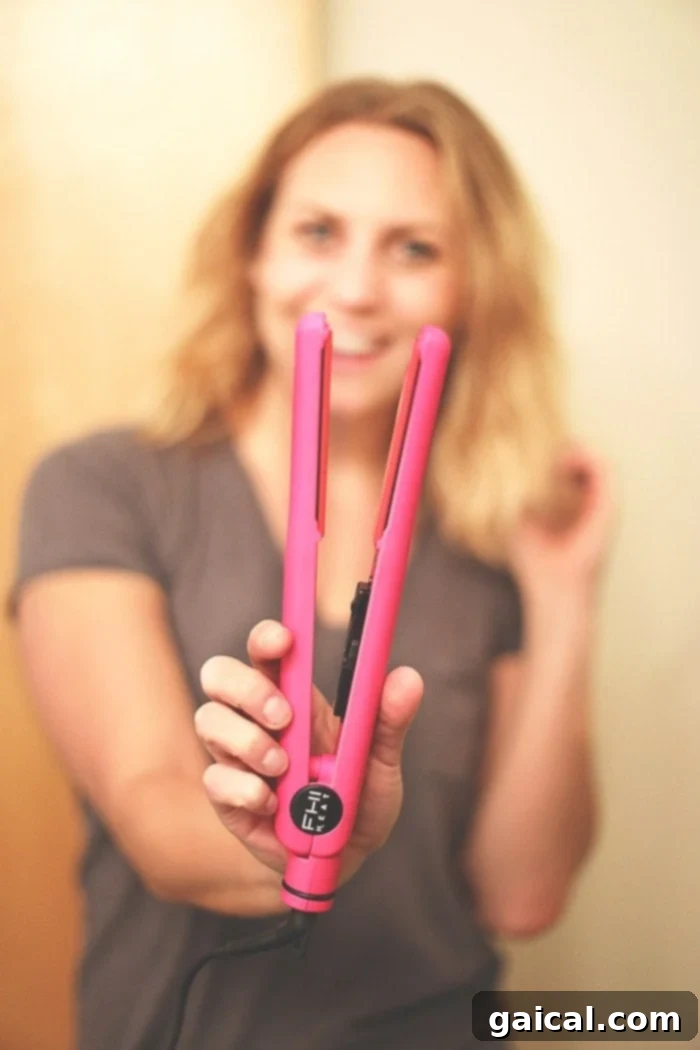
I recently invested in a new straightener from Target – meet FHI! The FHI Hair Straightener is not only reasonably priced but also perfectly designed for creating beautiful curls and waves with a flat iron. Its ideal size and full ceramic plates are crucial; they allow the hair to glide smoothly through without snagging or pulling, which is a common frustration when curling with a flat iron.
Why a Flat Iron Over a Curling Iron for Textured Waves?
For those of us with naturally curly or wavy hair, a flat iron offers a significant advantage. Our hair often needs to be “semi-straightened” before it can be effectively curled or waved into a desired shape. A flat iron acts as a brilliant two-in-one tool, performing both tasks simultaneously and saving a tremendous amount of time. I used to go over my hair with a curling iron almost like a flat iron before curling, but the FHI works even better for this purpose. Moreover, I genuinely prefer the modern, texturized wave that a flat iron creates compared to the more uniform, traditional curl produced by a wand or a standard curling iron. It gives that coveted effortless, “cool girl” vibe.
Mastering the Flat Iron Curl: Expert Tips for Your LOB
While watching my video multiple times (194, perhaps, for good measure!) is the best way to grasp the technique, I want to arm you with some crucial tips that will elevate your flat iron curling game. Practice truly makes perfect, so don’t be discouraged if your first few attempts aren’t exactly salon-perfect. Keep at it!
- Direction Matters: For a flattering, open look around your face, curl the majority of your hair AWAY from your face. However, to create that desirable texturized, “undone” effect, throw in a few pieces that go in the opposite direction. This breaks up uniformity and adds dimension.
- Leave the Ends Out: This is a game-changer for achieving a modern, beachy wave. As you glide the flat iron down your hair section, release the very ends (about an inch or two) from the plates. This leaves them straighter, contributing to that cool, texturized finish rather than a bouncy, perfect curl.
- Brush for a Looser Look: If you find your curls are too tight or defined, gently brush through them with a wide-tooth comb or your fingers once they have cooled. This will soften and loosen the waves, creating a more natural, lived-in look.
- Control the Curl Intensity: The longer you hold the flat iron in a twisted position as you glide it down a section of hair, the “curlier” or more defined your waves will turn out. Experiment with speed and hold time to find your desired level of curl.
- POMADE IS LYFE (Life): This is not an exaggeration. Pomade is the secret weapon for texture, definition, and combating flyaways. Don’t skip this step!
- The Power of Practice: Seriously, practice, practice, practice! The more you do it, the more intuitive the movements will become. You’ll develop muscle memory and a feel for how your hair responds.
The Finishing Touch: Setting and Defining Your Textured LOB
Once all your hair is curled, the final steps are essential for holding your style and adding that professional finish. This is where your LOB truly comes to life:
- Secure with Hair Spray: After styling, I liberally mist my hair with a good amount of hair spray. This provides hold, helps protect against humidity, and ensures your beautiful waves last throughout the day (and sometimes even into day two!). Choose a flexible-hold spray for movement or a stronger hold for maximum staying power.
- Pomade for Definition and Texture: This is the secret ingredient for that effortlessly cool, piecy look. Take a small amount of pomade (start with a pea-sized amount and add more if needed – too much can make hair sticky or greasy), emulsify it between your fingertips, and then lightly run it through the tips of your curls and at your roots. It’s fantastic for adding definition, creating separation between the waves, and taming any pesky flyaways around your hairline and part.
My Go-To Product Arsenal:
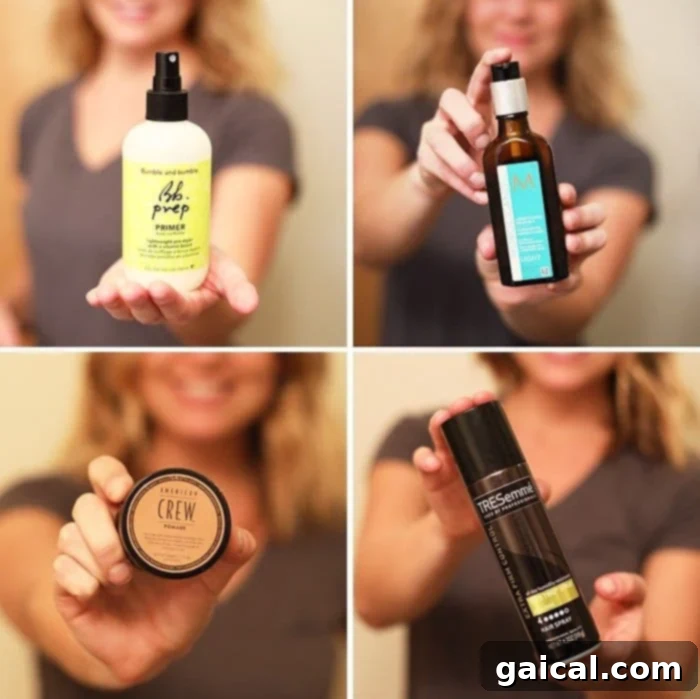
Here’s a breakdown of the products I rely on for my LOB styling:
- Bumble and Bumble Primer: My absolute must-have heat protectant and hair prep spray.
- Moroccanoil Treatment Light: Essential for hydration, frizz control, and adding healthy shine.
- American Crew Pomade: The star for texture, definition, and taming flyaways.
- TRESemme Hair Spray: A reliable and affordable choice for lasting hold.
Beyond the Curl: Experimenting with Texture
Since perfecting the flat iron curl technique, I’ve continued to experiment with my LOB, discovering even more ways to add unique texture. For instance, instead of aiming for a full curl, I’ve found that creating a subtle “kink” in different sections of my hair yields a fantastic textured look. By gently clamping the flat iron and twisting it slightly (not a full rotation) at various points – some at the top, some in the middle, and some towards the ends – you can achieve a wonderfully undone and natural-looking textured wave that’s incredibly chic.
Your Turn: Share Your LOB Secrets!
Now that I’ve shared my journey and styling secrets, I’d love to hear from you! If you’re a fellow short-haired lady, what are your ultimate styling tips and tricks for your LOB or other short cuts? Or, if you have naturally curly hair and embrace your natural texture, please share your best advice and product recommendations! Let’s build a community of LOB lovers and natural curl queens who empower each other to look and feel fabulous.
Embracing a LOB and mastering its styling might seem like a challenge at first, but with the right tools, products, and a bit of practice, you’ll unlock a world of effortless style. Here’s to fabulous short hair and perfectly textured waves!