
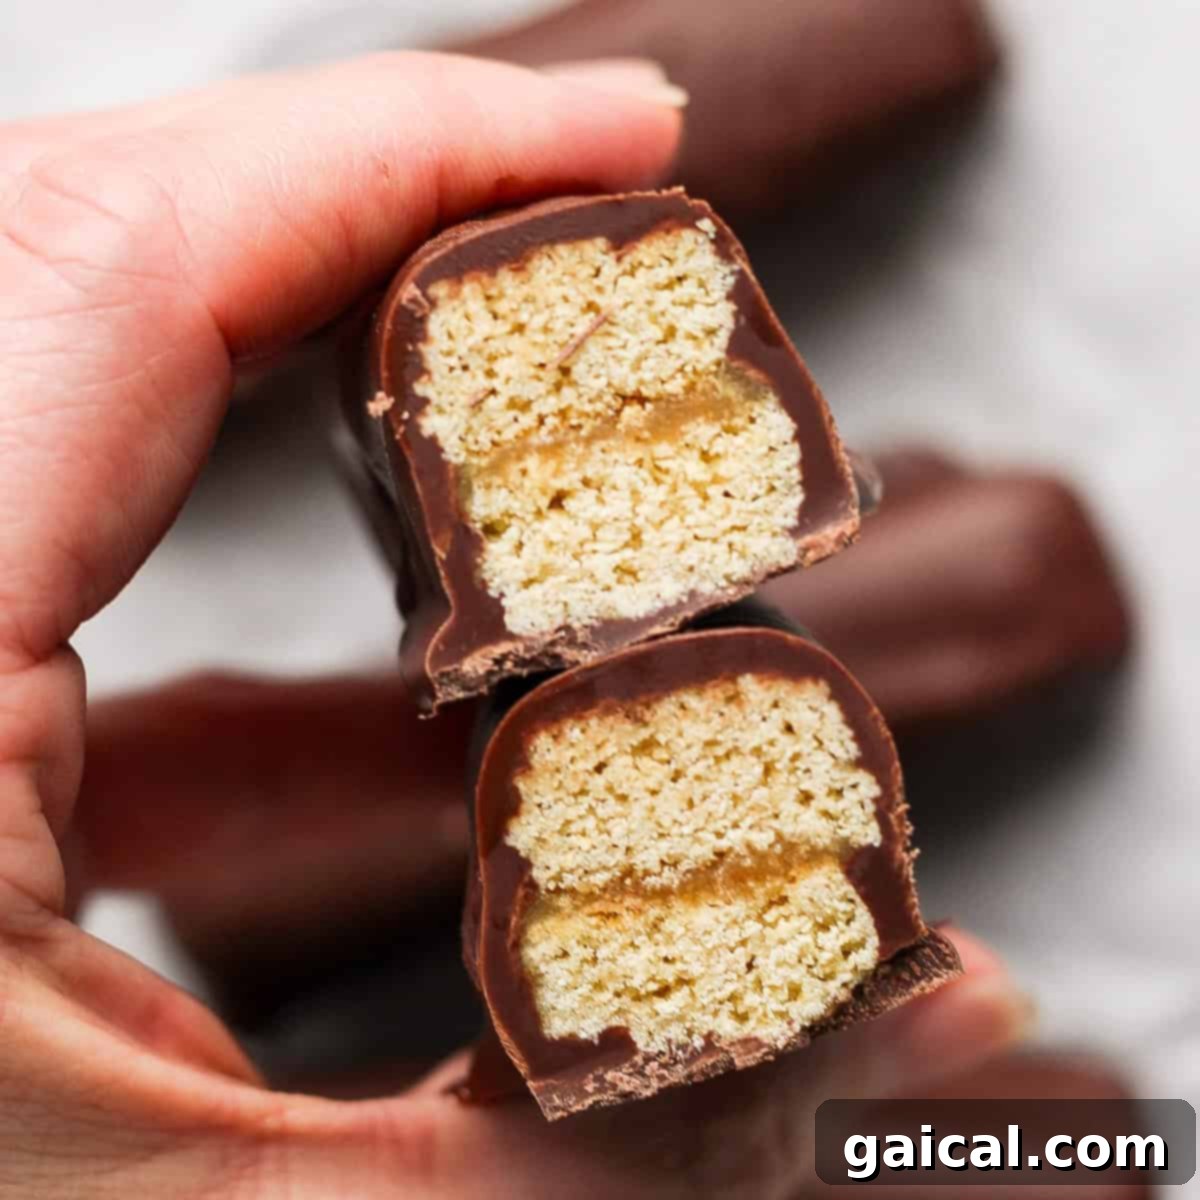
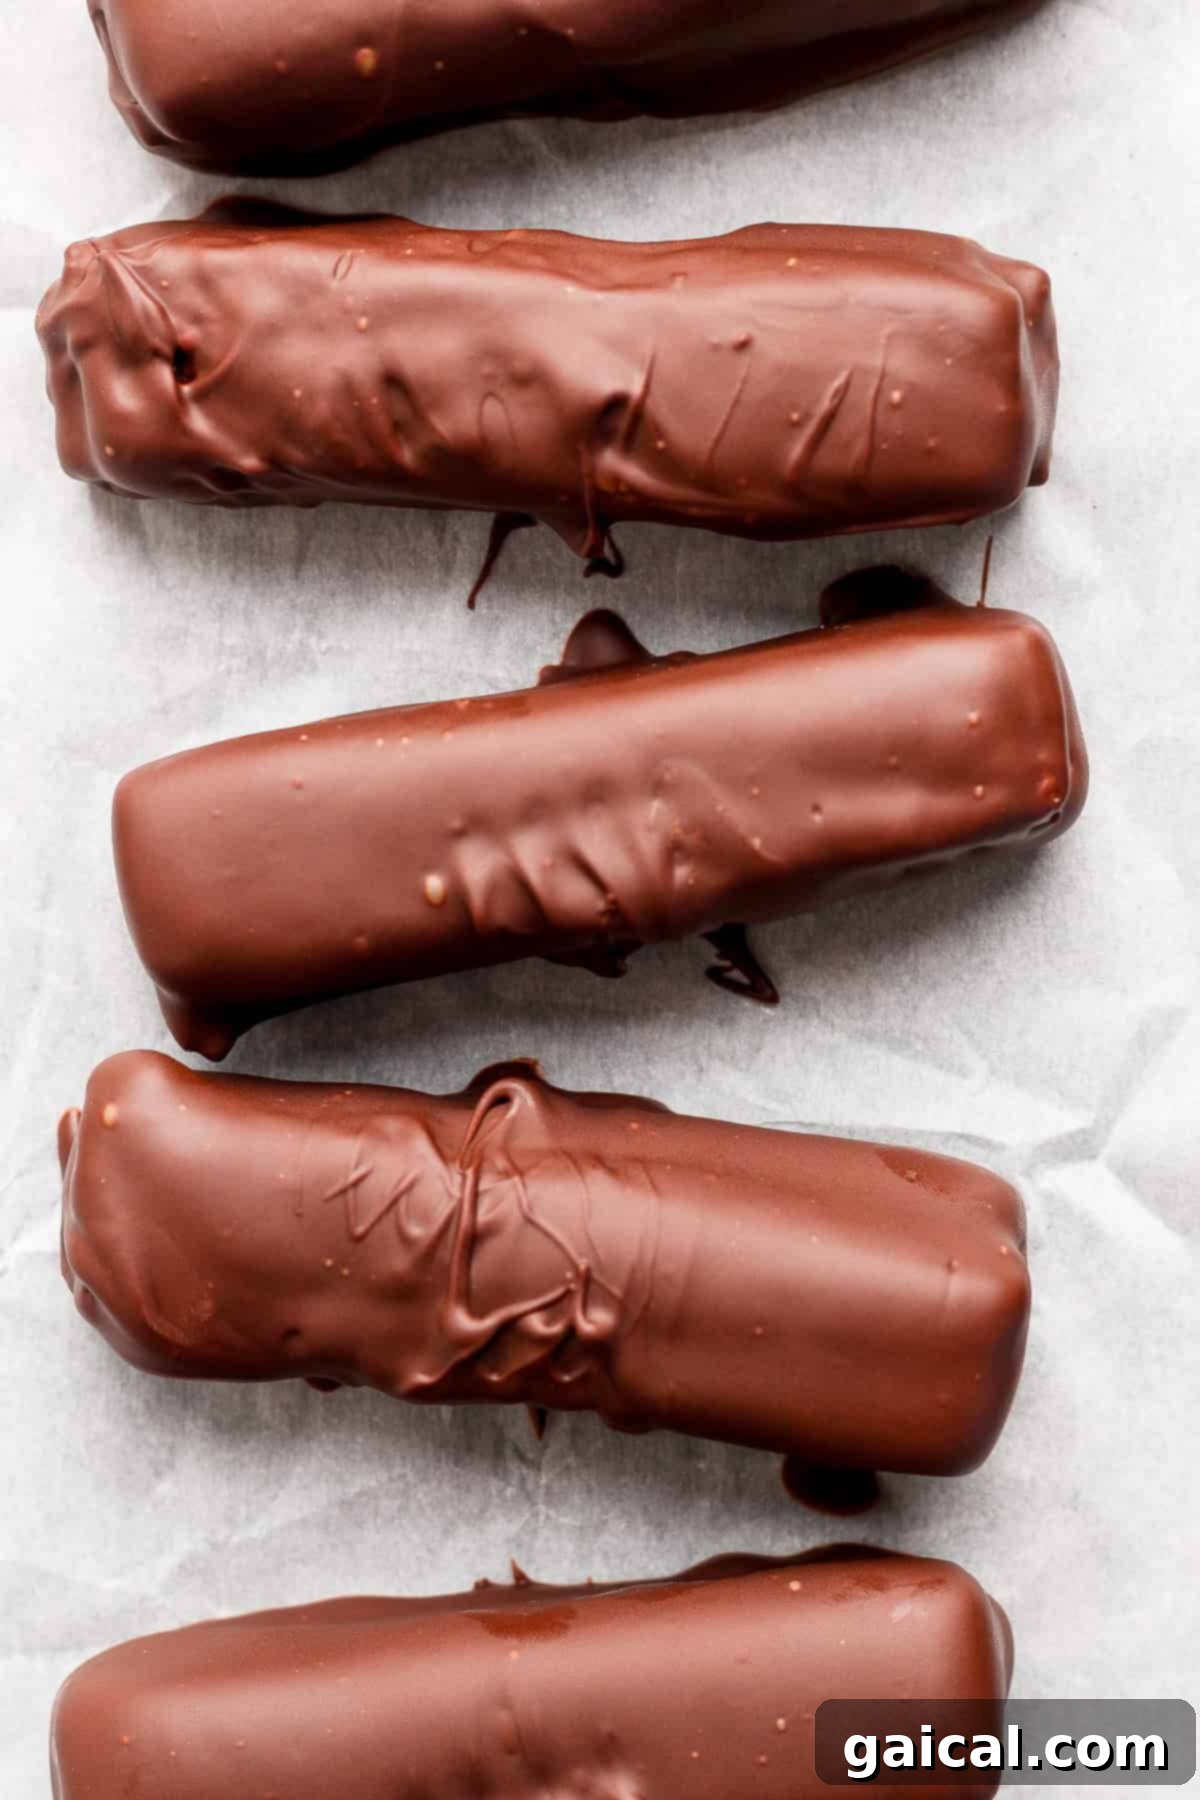
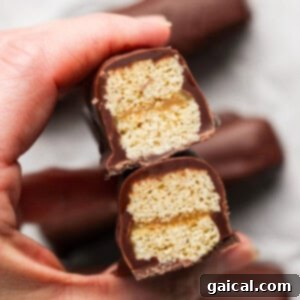
Craving the classic combination of chocolate, caramel, and crunchy biscuit but seeking a healthier, protein-packed alternative? Look no further! Our **Protein Peanut Butter Twix Bars** recipe is a dream come true for anyone who loves the iconic candy bar but wants to fuel their body with better ingredients. These delightful homemade treats are not only incredibly crunchy and wonderfully chocolatey but also boast a satisfying 6 grams of protein per bar, thanks to the wholesome additions of natural peanut butter and your favorite protein powder. Say goodbye to guilt and hello to your new go-to healthy dessert or post-workout snack!
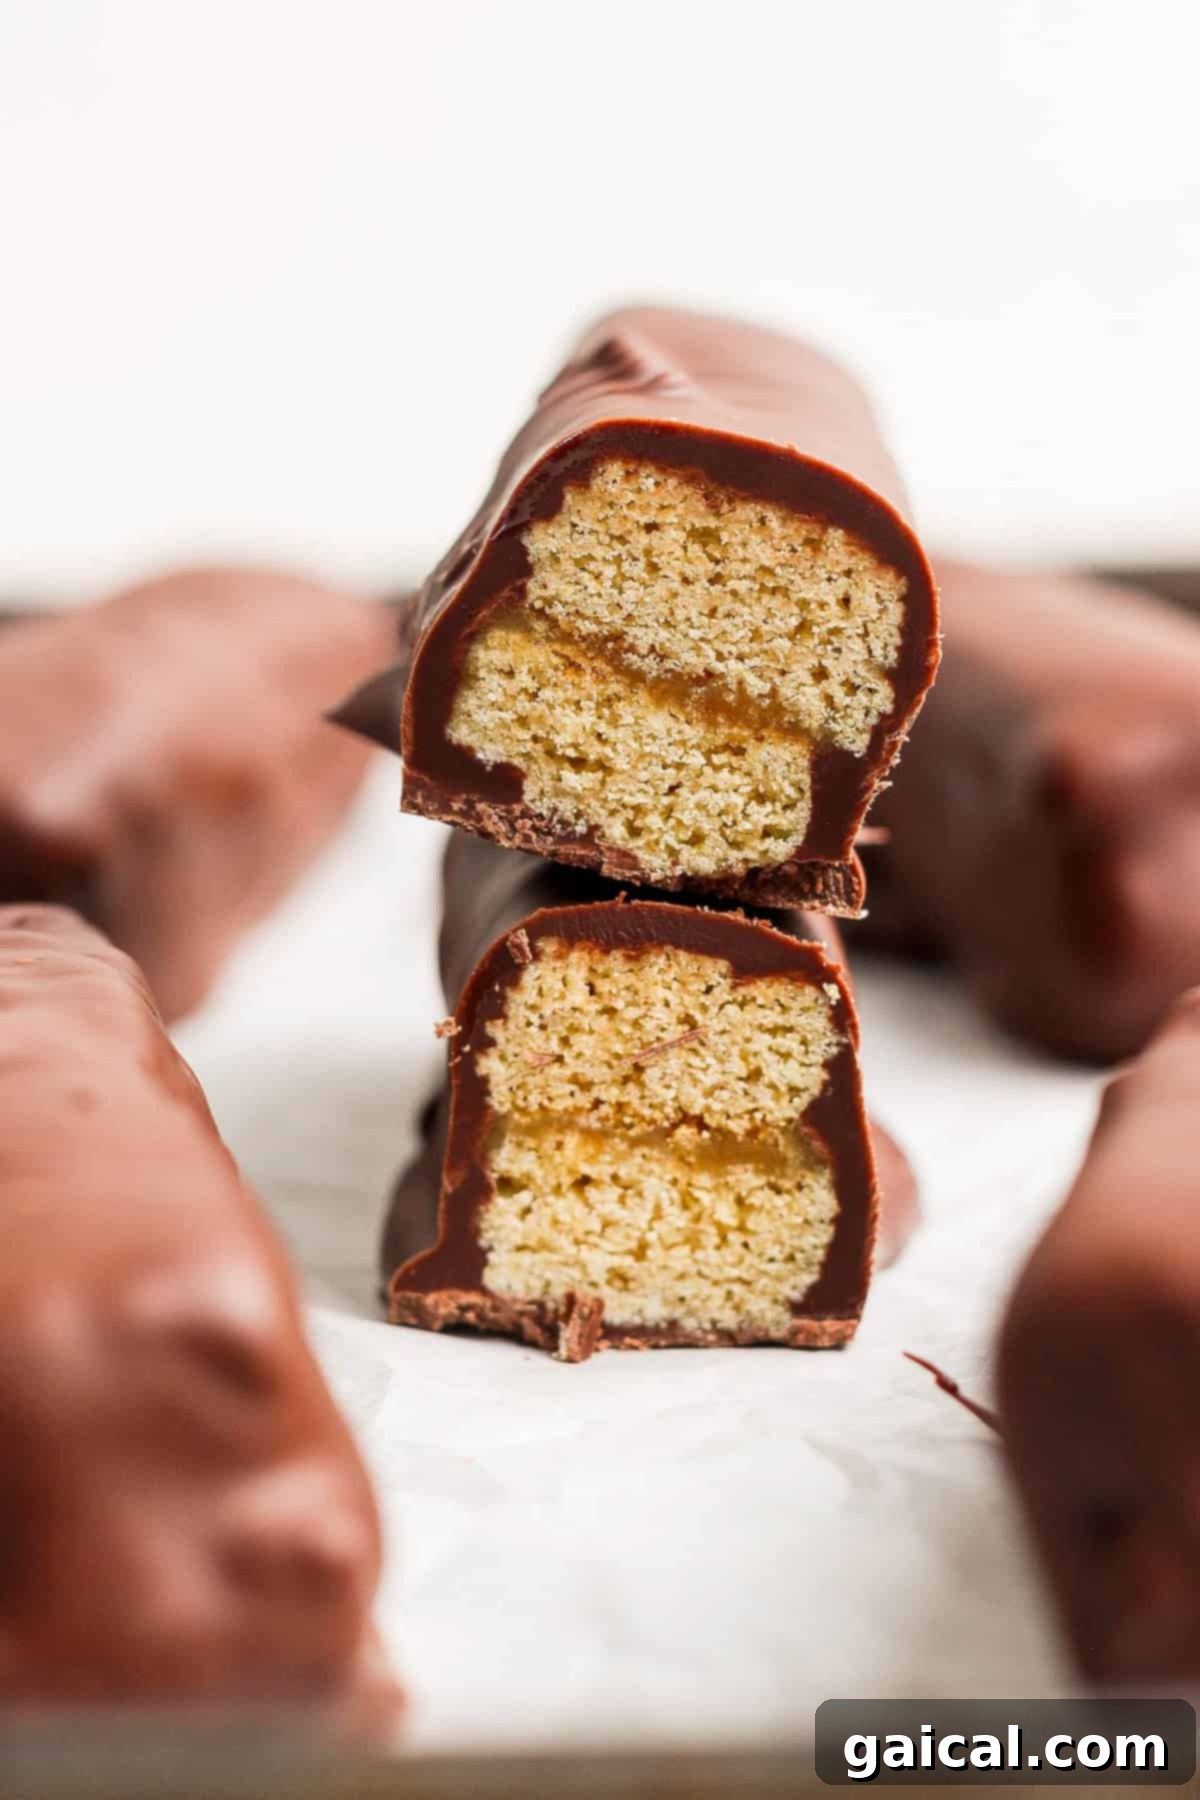
The allure of a Twix bar is undeniable: a perfect symphony of rich chocolate, wonderfully gooey caramel, and a crisp, buttery biscuit layer. For many, it’s the ultimate candy bar experience. However, the traditional Twix, while delicious, is notoriously high in sugar and offers minimal nutritional benefits. This realization sparked our mission to create a truly irresistible, yet healthier, peanut butter Twix recipe. Following the overwhelming success and love for our Protein Snickers Bars, we knew we had to bring another beloved candy bar dupe to life. This recipe captures all the nostalgic flavors and textures of a Twix, but with a significant boost of protein and carefully selected ingredients.
Crafting these homemade protein Twix bars is a delightful endeavor, a true labor of love that rewards you with an extraordinary treat. While the assembly process is quite enjoyable and hands-on, much of the time involved is spent patiently waiting for the different layers to chill and set in the freezer. This crucial chilling time ensures that each component – from the firm cookie to the luscious peanut butter caramel – achieves its ideal texture, allowing for easy handling and the perfect bite. Before you know it, you’ll have a batch of these incredible frozen treats on hand, ready to satisfy any candy bar craving with a wholesome twist.
Top Tips for Perfect Protein Peanut Butter Twix Bars
Through extensive testing (and by extensive, we mean at least 10 delicious rounds of experimentation!), we’ve perfected this Protein Peanut Butter Twix recipe. Here are our three indispensable tips to ensure your homemade protein Twix bars turn out absolutely perfect every time:
1. Embrace Your Hands for the Cookie Dough: When you’re mixing the cookie dough, you’ll find that once it starts to come together, switching from a spoon or spatula to your hands is the most effective method. Your hands allow for better incorporation of ingredients and help you gauge the dough’s consistency. The dough should have a crumbly yet cohesive texture, similar to a classic shortbread dough, just before you press it into your prepared pan. This ensures even mixing and the perfect base for your bars.
2. Maintain Uniform Cookie Dough Thickness: Achieving a consistent thickness for your cookie dough layer is paramount. As you roll or press the dough, pay close attention to the edges. If the edges are significantly thinner than the center, they are highly prone to burning during baking. Aim for an even thickness across the entire rectangle of dough. This meticulous step guarantees that every part of your cookie bakes evenly to a perfect golden brown, providing a consistent crunch in every bite.
3. Ensure Adequate Space Between Cookie Sticks: In step #8 of the recipe instructions, after you’ve cut your cookie dough into strips, it’s crucial to gently separate them on the baking sheet. Give each cookie stick enough breathing room, ensuring they are not touching each other. Crowding the cookies can lead to uneven baking, resulting in soft or undercooked edges where they meet. Proper spacing allows for hot air to circulate freely around each strip, promoting uniform cooking and that desired crispy texture. This small detail makes a big difference in the final quality of your protein Twix bars.
Choosing the Best Protein Powder for Your Protein Twix Bars
The type and flavor of protein powder you use can significantly impact the final taste and texture of these bars. While you can certainly use your preferred brand, we highly recommend opting for a neutral or vanilla-flavored protein powder. These flavors will complement the peanut butter and chocolate beautifully without overpowering them. We found Teras Whey Organic Vanilla Protein Powder to work exceptionally well in this recipe, contributing to a smooth texture and delicious vanilla undertone that enhances the overall “candy bar” experience. If you use an unflavored protein, you might consider adding a touch more vanilla extract to the cookie dough.
Our Top Protein Powder Recommendations
For more insights and options, check out our comprehensive guide to the best protein powders for all your culinary needs, from baking to smoothies.
Garden of Life
Raw Organic Protein
Simply Tera’s
Pure Whey Protein
Sun Warrior
Protein Powder
Garden of Life
Organic Whey Protein
Aloha
Organic Protein Powder
Can I Make These Protein Peanut Butter Twix Bars Vegan?
Absolutely! Adapting this recipe to be entirely vegan is straightforward. The key lies in selecting appropriate plant-based alternatives for any non-vegan ingredients. For the chocolate coating, simply swap out regular semi-sweet chocolate chips for your favorite brand of vegan chocolate chips. There are many excellent dairy-free chocolate options available on the market today. You can also explore making your own Homemade Vegan Chocolate Chips for an even more custom touch. Ensure your protein powder is plant-based (like pea protein or a blended vegan protein), and all other ingredients in the recipe are naturally vegan, such as peanut butter, maple syrup, coconut oil, and all-purpose flour. With these simple adjustments, you can enjoy a delicious, guilt-free vegan Protein Peanut Butter Twix Bar.
try it!
Peanut Butter Twix Cups
If you’re a devoted Twix fan, you’ll adore these peanut butter Twix cups – a delightful and healthier spin on the beloved candy bar, crafted with wholesome ingredients.
Storage Tips for Your Homemade Protein Twix Bars
Once prepared, these delightful Protein Peanut Butter Twix bars are perfect for meal prepping healthy snacks or desserts for weeks to come. For optimal freshness and texture, store your homemade Twix bars in the freezer. Place them in an airtight container or a freezer-safe bag to prevent freezer burn and maintain their crispness and flavor. When stored correctly, these bars will keep beautifully in the freezer for up to **3 months**, allowing you to enjoy a satisfying, high-protein treat whenever a craving strikes.
Protein Peanut Butter Twix Bars Recipe
Ingredients
For the Protein Cookie Base
- 1.5 cup all-purpose flour
- ⅓ cup vanilla protein powder, We recommend Garden of Life Vanilla or a similar neutral-flavored powder
- 1 teaspoon baking soda
- ⅓ cup light brown sugar
- 5 tablespoons cold water
- ¼ cup coconut oil, melted
For the Peanut Butter Caramel Filling
- ½ cup all-natural, drippy peanut butter
- ½ cup maple syrup
- ¼ cup melted coconut oil
For the Chocolate Coating
- 1.5 cups semi-sweet chocolate chips (or vegan chocolate chips for a plant-based option)
- 1 tablespoon coconut oil
Instructions
-
Begin by preheating your oven to 350ºF (175ºC). Line a baking sheet with parchment paper and set aside.
-
In a large mixing bowl, combine the dry ingredients for the protein cookie: all-purpose flour, vanilla protein powder, baking soda, and light brown sugar. Whisk thoroughly until all ingredients are evenly distributed.
-
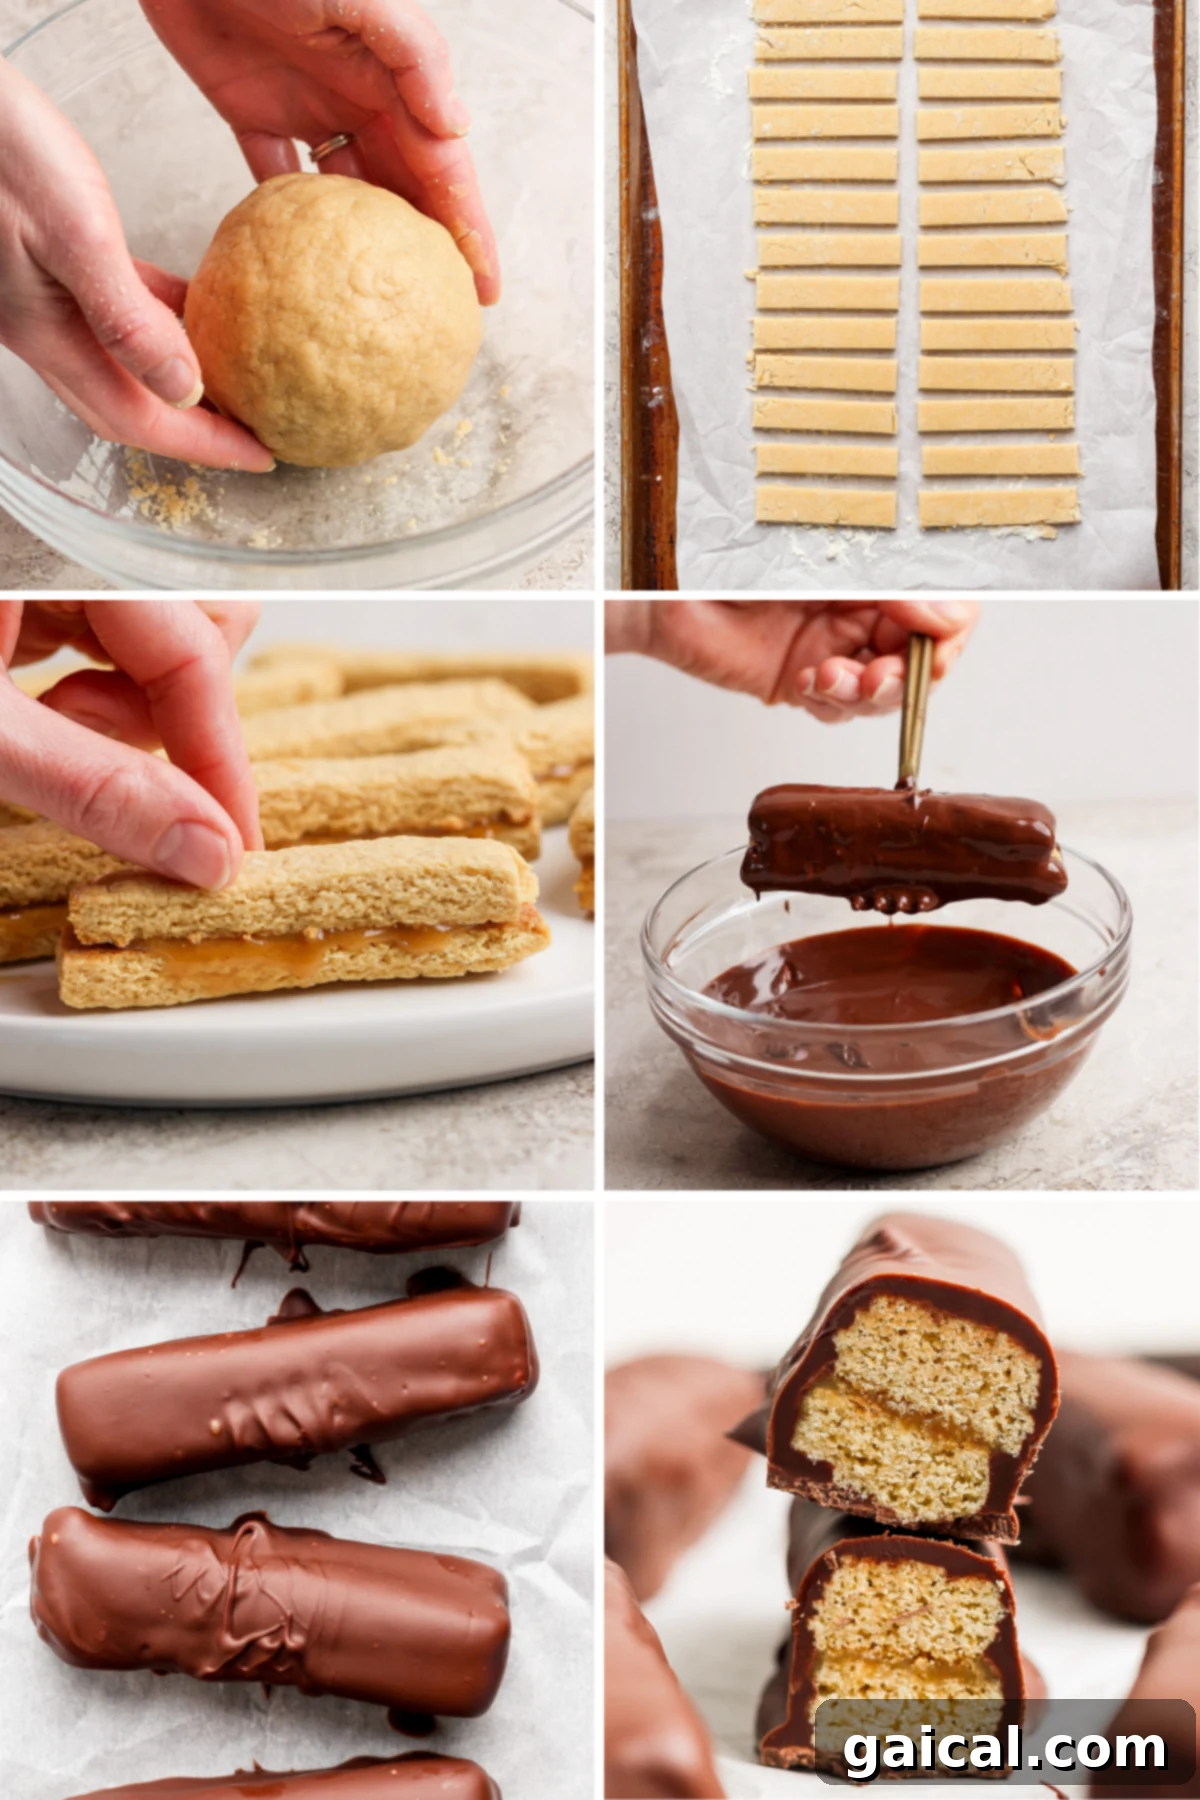
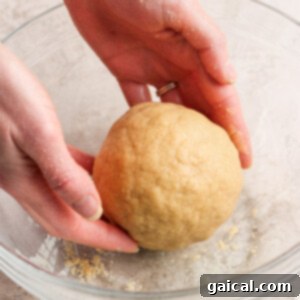
Pour the cold water into the dry mixture and stir until it begins to come together. Then, add the melted coconut oil and continue mixing. As the dough starts to form, you’ll find it easiest to switch to mixing with your hands. Knead gently until the dough forms a cohesive ball. It should have a slightly crumbly but manageable texture.

-
Lay a fresh piece of parchment paper on your countertop and lightly flour its surface. Place the dough ball in the center and roll it out into a rectangle, aiming for approximate dimensions of 4 inches by 10 inches. Precision isn’t essential, but strive for uniform thickness.
-
Carefully lift the parchment paper with the rolled-out dough and transfer it to the prepared baking sheet.
-
Using a sharp knife or pizza cutter, trim the edges of the dough to create neat, straight lines, forming a clean rectangular shape. This step is important for consistent baking and presentation. Ensure the dough remains an even thickness across the entire surface, especially at the edges, to prevent burning.
-
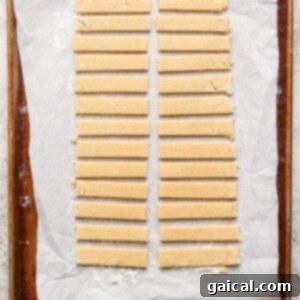
Next, slice the dough widthwise into thin ½-inch strips. Then, make one long cut down the middle of these strips lengthwise to create two columns of equally sized cookie pieces. This will yield individual cookie sticks.
-
Gently separate each cookie strip, ensuring they are not touching one another on the baking sheet. This crucial step allows for even air circulation and promotes consistent cooking, leading to perfectly crispy cookies. Transfer the baking sheet to your preheated oven and bake for 8-10 minutes, or until the cookies turn a beautiful golden brown.
-
Once baked, remove the cookies from the oven and allow them to cool completely on the baking sheet. They will crisp up further as they cool.
-
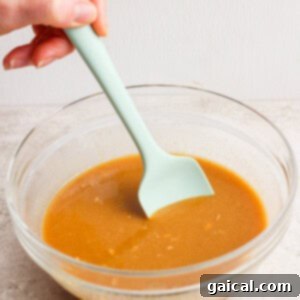
While the cookies are cooling, prepare the rich peanut butter caramel layer. In a medium bowl, stir together the all-natural, drippy peanut butter, maple syrup, and melted coconut oil until thoroughly combined and smooth. The mixture should achieve a thick, caramel-like consistency.
-
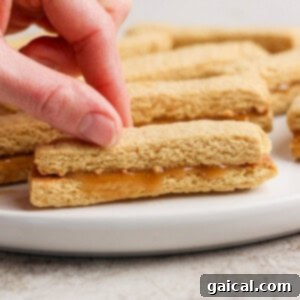
Once the cookie sticks are completely cool, it’s time to assemble. Take one cookie stick and spread approximately 1 teaspoon of the peanut butter caramel mixture evenly over its top surface. Carefully place a matching cookie stick on top, gently pressing down to sandwich the caramel layer. Use your fingers to tidy up any caramel that squeezes out the sides, creating a clean edge. Place the assembled bar on a plate lined with parchment paper. Repeat this process until all cookie sticks and caramel are used.
-
Transfer the plate of assembled bars to the freezer. Allow them to chill for at least 30 minutes to an hour, giving the peanut butter caramel sufficient time to firm up and set. This step is crucial for easy dipping.
-
Meanwhile, prepare the luxurious chocolate coating. In a microwave-safe bowl, combine the semi-sweet chocolate chips and the remaining 1 tablespoon of coconut oil. Heat in the microwave on high power for 20-second intervals, stirring thoroughly after each interval. Continue this process until the chocolate is completely melted and beautifully glossy. Be careful not to overheat.
-
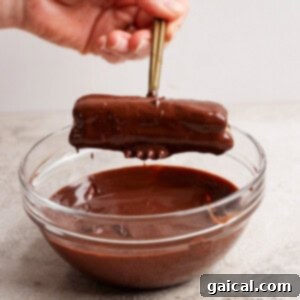
Remove the chilled Twix bars from the freezer. Using a fork or dipping tools, carefully dip each bar into the melted chocolate, ensuring it’s fully coated. Gently tap the fork against the side of the bowl to allow any excess chocolate to drip off, creating a smooth finish. Place the chocolate-coated bar back onto a new piece of parchment paper. Repeat this process for all the remaining bars.
-
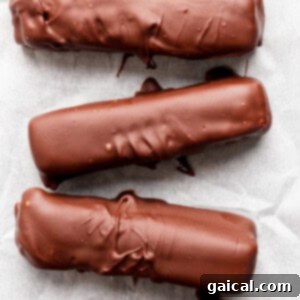
Once all bars are coated in chocolate, transfer them back to the freezer for a final chill to allow the chocolate to fully set and harden. Once firm, your homemade Protein Peanut Butter Twix Bars are ready to enjoy! Store any remaining bars in an airtight, freezer-safe container or bag for future indulgence.
Tips & Notes
- As mentioned in our top tips, in step #8 of the instructions, it’s vital to ensure generous spacing between your cookie strips on the baking sheet. This prevents them from sticking together and allows for optimal heat circulation, resulting in evenly cooked, crispy cookie bases. Insufficient space can lead to a softer, less desirable cookie texture.
- For the creamiest peanut butter caramel, use natural peanut butter that is “drippy” (meaning the oils naturally separate and it’s easily stirrable). Stiff peanut butter can make the caramel too thick.
- If your melted chocolate thickens too much during dipping, you can gently reheat it in the microwave for a few seconds, stirring well.
Watch It
Nutrition Information (per bar)
Calories: 299 kcal
Carbohydrates: 31 g
Protein: 6 g
Fat: 18 g
Fiber: 2 g
Sugar: 18 g
Nutrition information is automatically calculated and should be used as an approximation. Values may vary based on specific ingredients and brands used.
Love this recipe? Leave a comment below!
We absolutely adore seeing your culinary creations! Don’t forget to tag your posts on social media with the hashtag #fitfoodiefinds – we can’t wait to see your delicious Protein Peanut Butter Twix Bars!
Photography by: The Wooden Skillet