
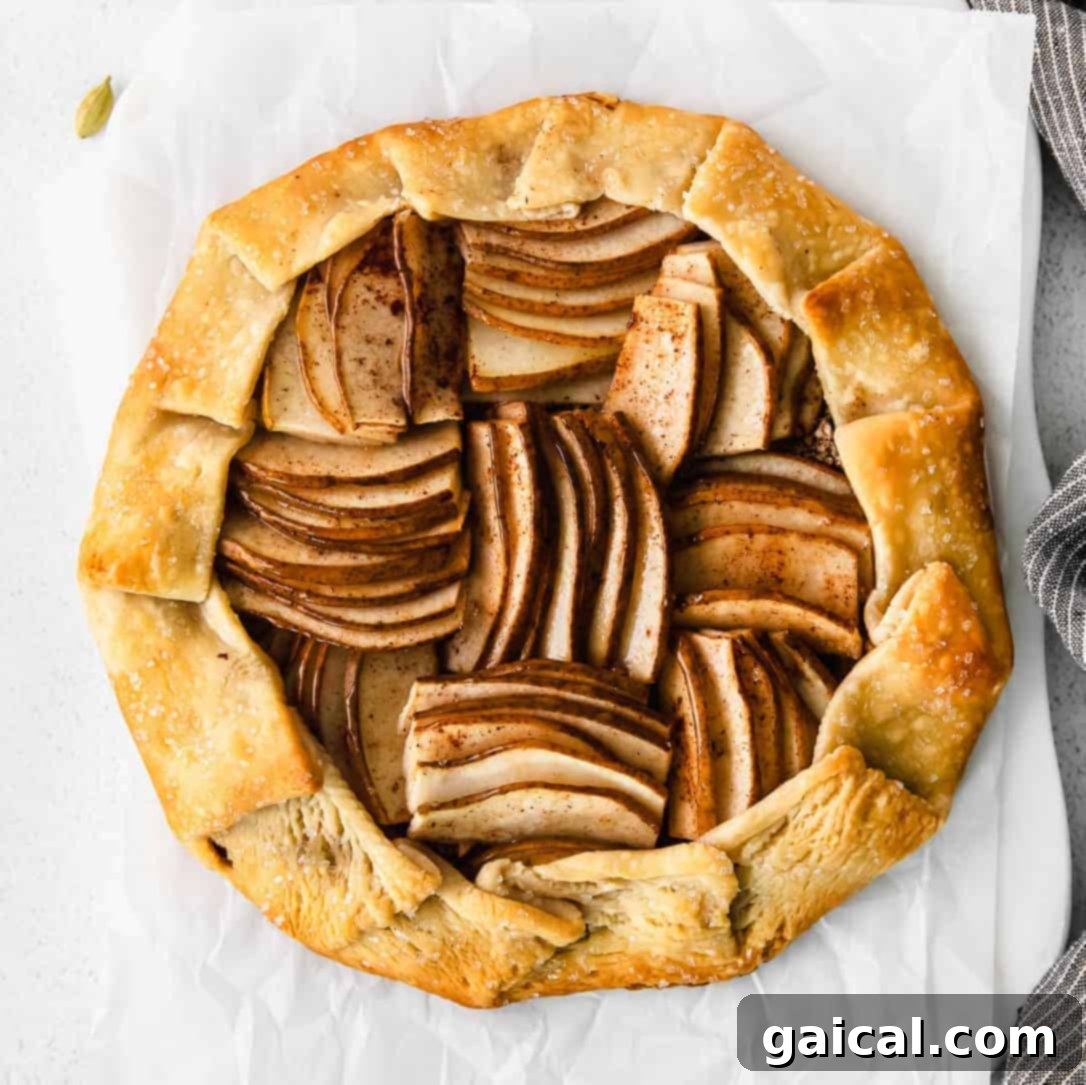
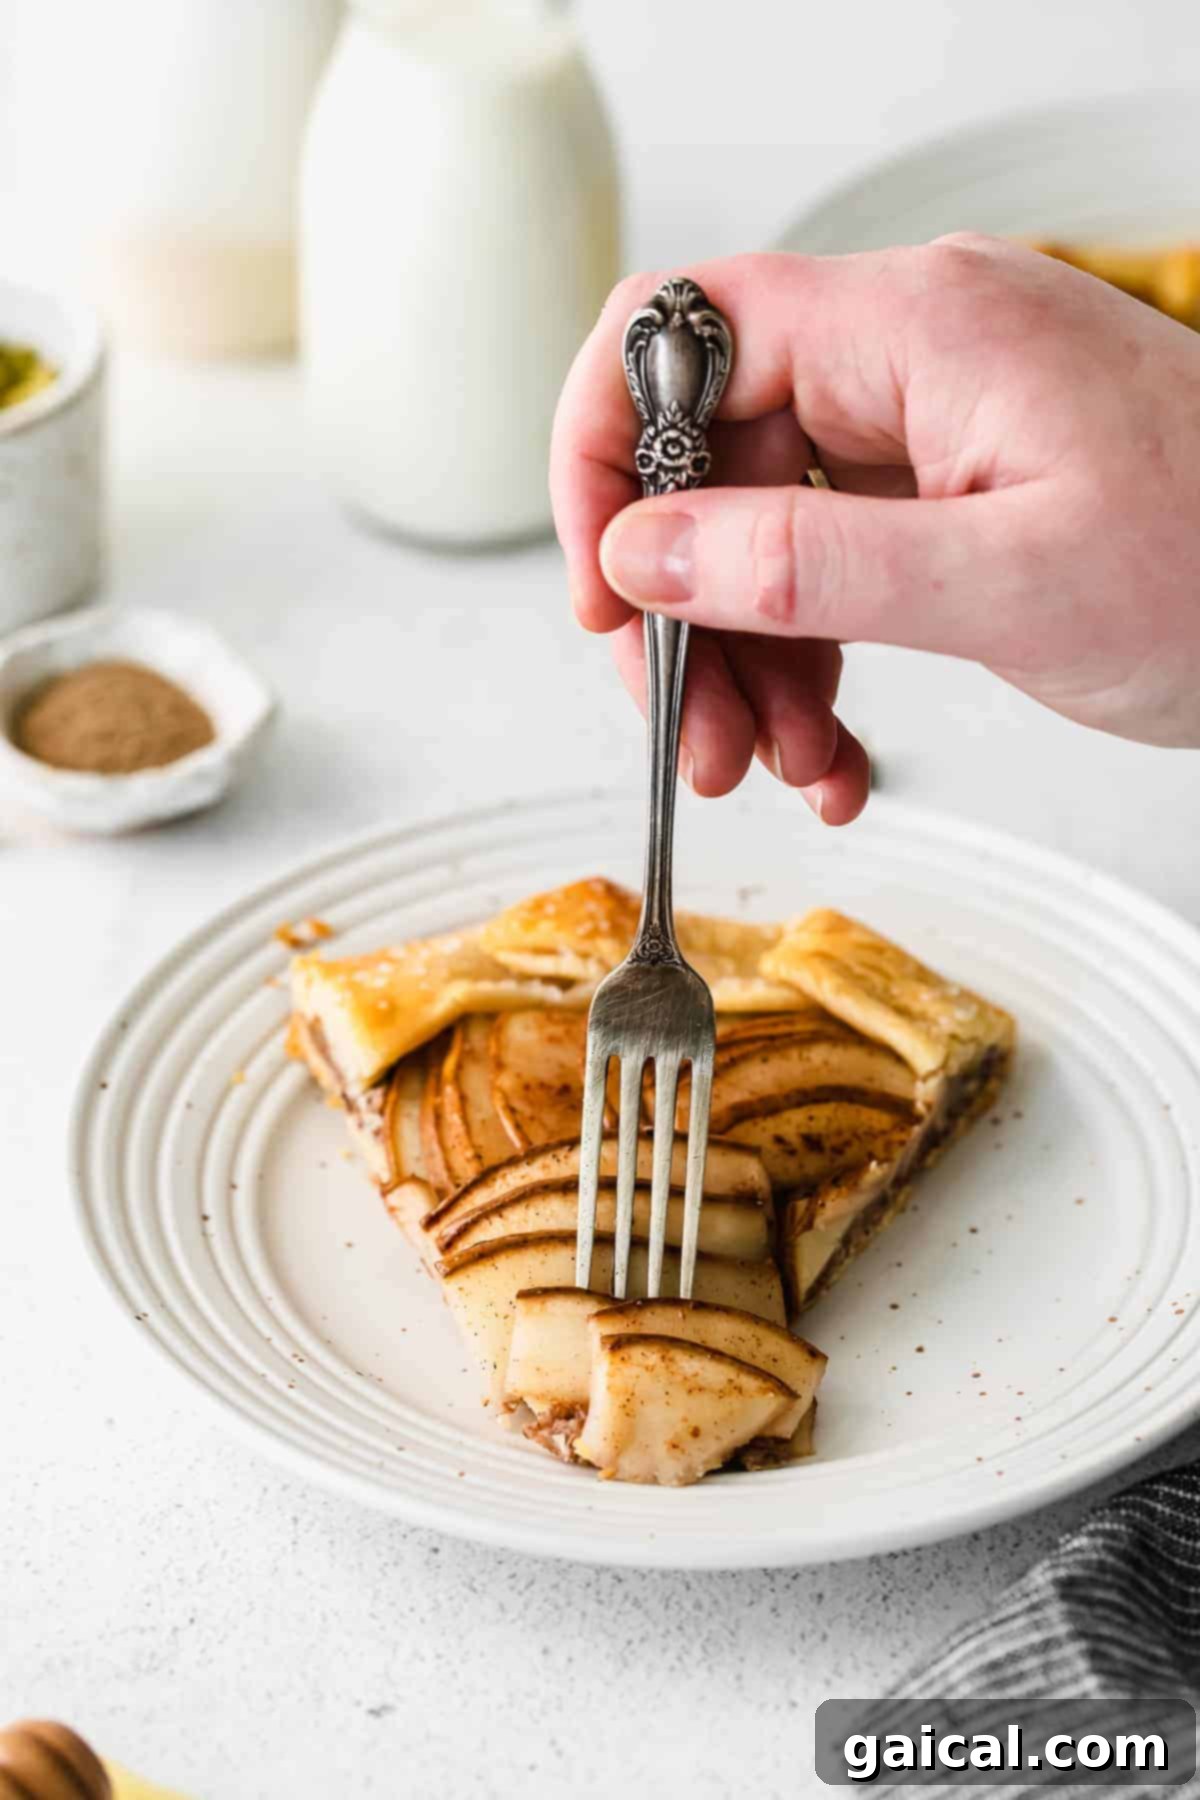
This honey pear galette is the epitome of rustic elegance – both stunning to look at and surprisingly simple to create. We’ll guide you through crafting this delectable treat using a convenient store-bought pie crust, thinly sliced, juicy pears, and a delightful brown sugar and pecan sprinkle. The result? A perfectly crispy crust encasing a wonderfully soft, fragrant filling that will impress without demanding hours in the kitchen.
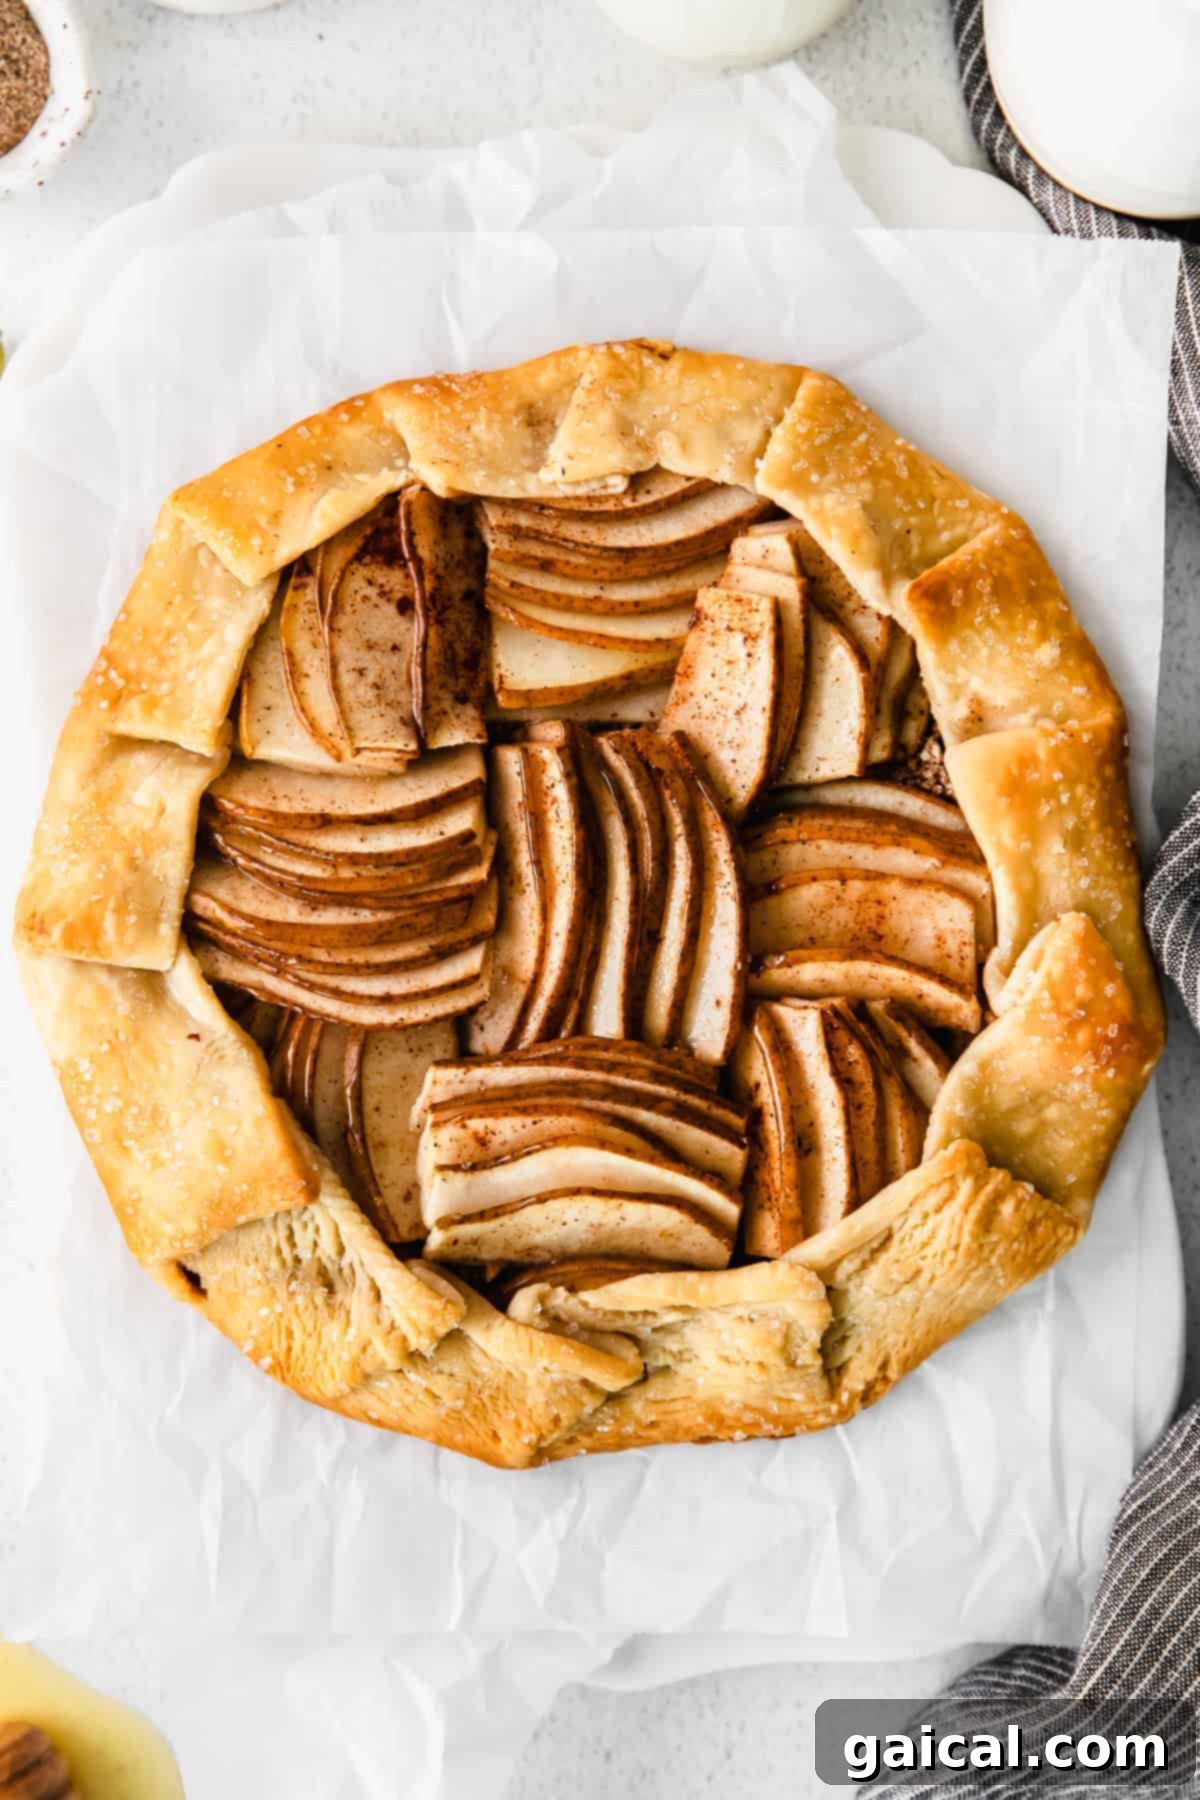
Gorgeous Honey Pear Galette: Your New Favorite Rustic Dessert
Have you ever admired a beautifully crafted galette, perhaps on a restaurant menu or a dessert spread, and instantly assumed it was beyond your baking capabilities? It’s time to banish that thought! Galettes, with their charmingly free-form shape and delightful fillings, are actually one of the easiest and most rewarding desserts you can make. They offer all the deliciousness of a traditional pie, but without the fuss of crimping edges or perfect crusts.
The beauty of a galette lies in its simplicity and versatility. Once you’ve chosen your desired filling – whether you lean towards a sweet fruit creation like this pear galette, or an intriguing savory option – the process is remarkably straightforward. All it takes is rolling out your pie dough, artfully layering your chosen filling, gently folding the edges, and baking. No fancy pie dishes or intricate lattice work required! We’re here to walk you through every “nitty-gritty” detail to ensure your honey pear galette turns out perfectly every time.
Why You’ll Fall in Love with This Honey Pear Galette
There are countless reasons why this particular pear galette has become a beloved staple. Here’s what makes it truly special:
- Effortlessly Elegant in Under 1 Hour: This dessert looks incredibly sophisticated, yet it’s designed for speed. Utilizing a store-bought crust means you can have a “fancy” dessert ready from start to finish in less than an hour, perfect for last-minute gatherings or a spontaneous sweet craving.
- A Symphony of Flavors and Textures: Prepare for an exquisite combination of sweet, crunchy, and tender. The juicy, spiced pears, the nutty pecan crumble, and the golden, flaky crust create a truly harmonious bite.
- The Ultimate Serving Suggestion: While divine on its own, we highly recommend serving this warm pear galette with a generous scoop of creamy vanilla ice cream. The contrast between the warm galette and cold ice cream is simply irresistible, especially fresh out of the oven. Whipped cream is another fantastic option for an extra touch of indulgence.
- Infinitely Customizable: This isn’t just a recipe; it’s a template for culinary creativity. It’s a super easy recipe that encourages you to experiment with different fruits, spices, and nuts, truly making it your own.
- Rustic Charm, Impressive Presentation: The free-form nature of a galette gives it a beautiful, homemade, and unpretentious appeal. It’s a dessert that speaks of comfort and craftsmanship, even if it took you minimal effort.
All the Ingredients You Need for This Delectable Galette
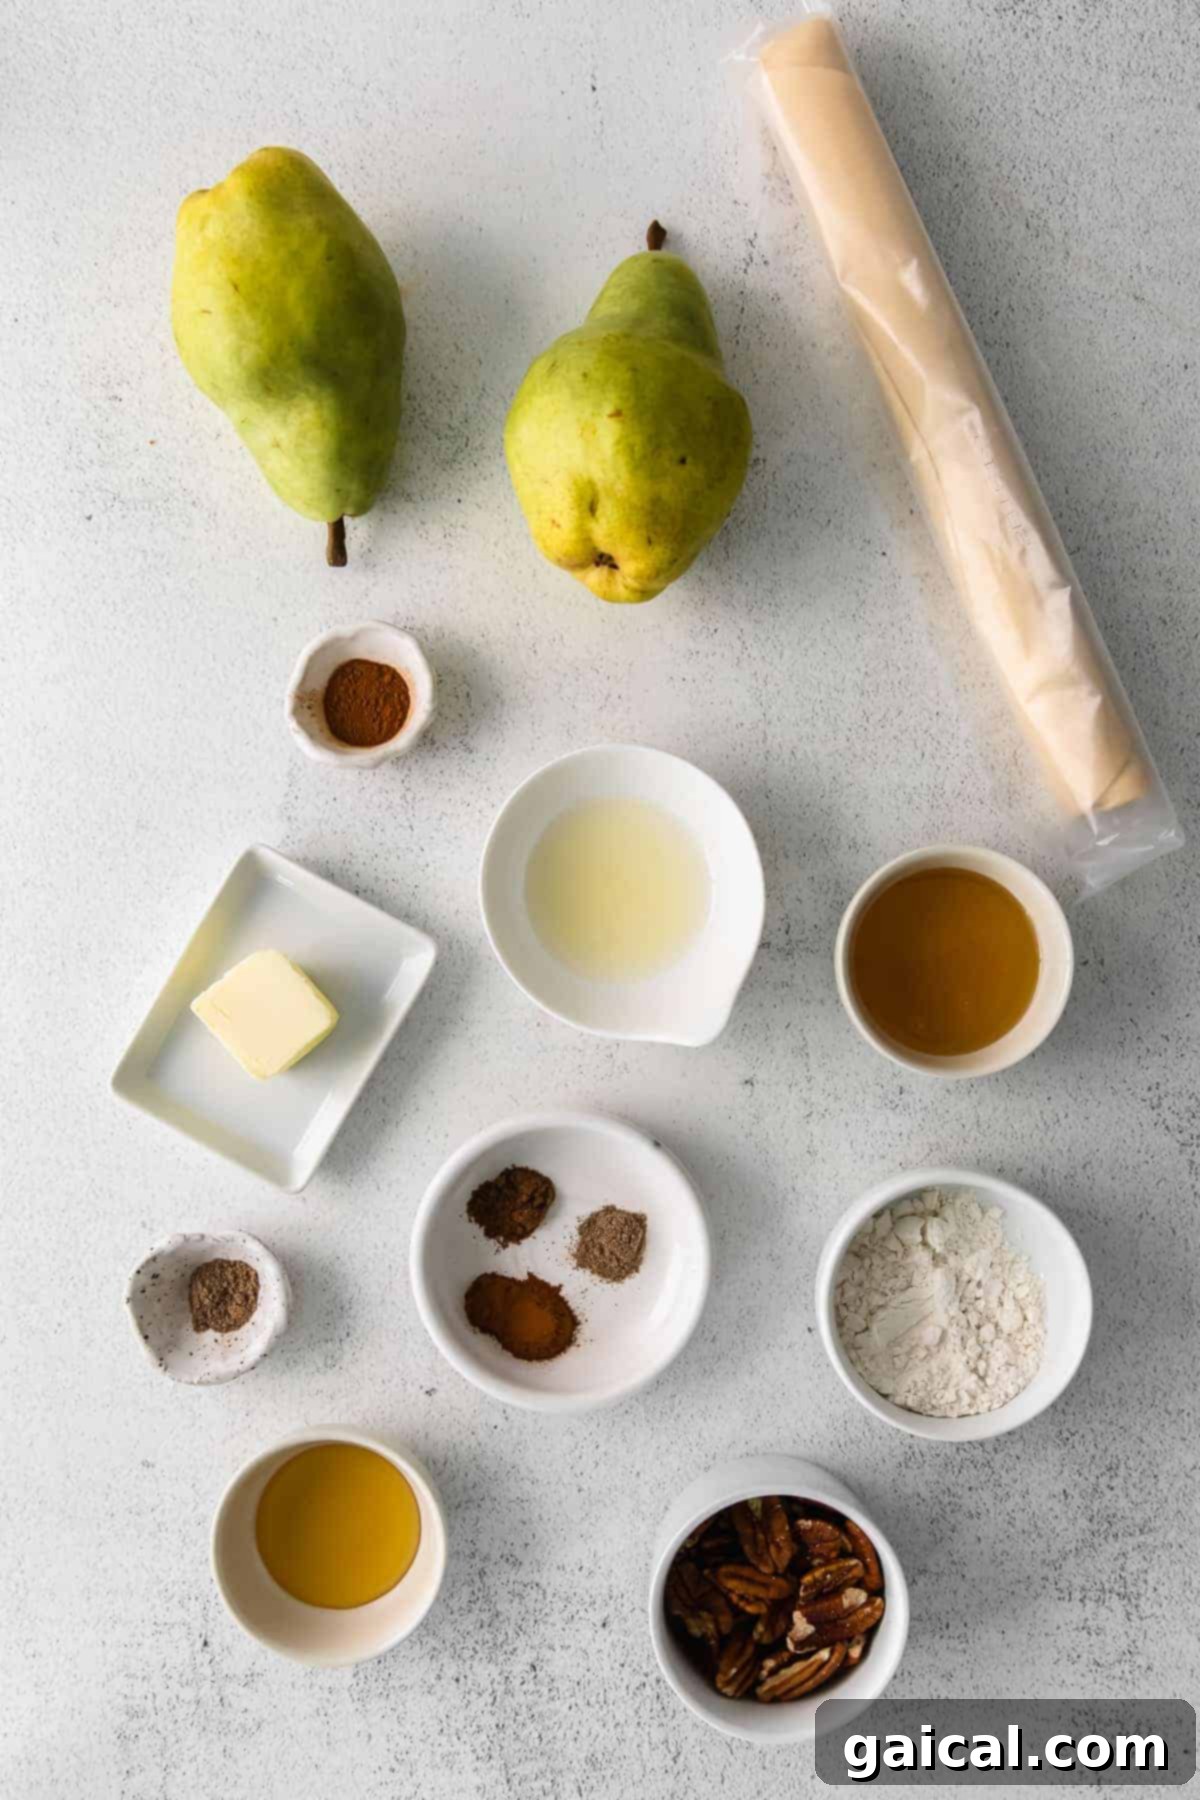
Crafting this incredible honey pear galette requires a handful of accessible ingredients, many of which you might already have on hand. Each component plays a crucial role in building the perfect balance of flavor and texture:
- Store-Bought Pie Crust: The secret to our under-an-hour prep time! We’ve specifically designed this recipe for convenience using a pre-made pie crust (we had great success with Pillsbury pie crust). However, if you have a cherished homemade pie crust recipe, feel absolutely free to use it. Just ensure it’s rolled out to the specified dimensions.
- Raw Pecans: These provide a wonderful nutty crunch and a rich, earthy flavor that beautifully complements the sweet pears and warm spices. They’re essential for our unique “no-soggy-bottom” pecan crumble.
- All-Purpose Flour: A small amount of flour serves a dual purpose. In the pecan mixture, it helps absorb any excess moisture that might release from the pears during baking, preventing a soggy crust. It also helps bind the pecan crumble together.
- Warming Spices (Cardamom, Cinnamon, Nutmeg): This aromatic trio creates a cozy, inviting flavor profile that perfectly enhances the natural sweetness of the pears. Cardamom adds a touch of exotic warmth, cinnamon offers classic sweetness, and nutmeg brings a subtle depth.
- Honey: This is a star ingredient, infusing every layer with its golden sweetness. You’ll brush honey butter onto the crust for a rich, golden finish and drizzle additional honey over the baked galette for an extra layer of fragrant sweetness. The choice of honey can slightly alter the flavor profile – a light clover honey for subtle sweetness, or a darker wildflower honey for a more pronounced flavor.
- Yellow Pears: For the best results, opt for yellow pear varieties that are ripe but still firm. Pears like Bartlett or Bosc work wonderfully. Avoid overly soft or mushy pears, as they can release too much liquid and become pulpy during baking. A firmer pear maintains its shape and offers a pleasant texture contrast.
- Fresh Lemon Juice: Don’t skip this vital ingredient! A splash of fresh lemon juice is key to preventing your sliced pears from browning due to oxidation before baking, ensuring a beautiful presentation. It also adds a bright, zesty counterpoint to the sweetness of the honey and pears.
- Unsalted Butter: Melted butter is brushed over the galette crust, helping it achieve that gorgeous golden-brown hue and adding an irresistible richness and depth of flavor.
Creative Ingredient Swaps & Delicious Variations
As we mentioned, the beauty of a galette lies in its adaptability. This recipe is wonderfully forgiving and allows for easy ingredient substitutions to suit your pantry or preference. Here are a few fantastic ideas to inspire your culinary creativity:
Pecans —> Walnuts: If pecans aren’t available or you simply prefer another nut, walnuts are an excellent substitute. They offer a similar earthy flavor and satisfying crunch to the crumble.
All-Purpose Flour —> White Whole Wheat Flour: For a slightly healthier twist and a nuttier flavor in your crumble and to absorb pear juices, white whole wheat flour can be used in place of all-purpose flour.
Yellow Pears —> Any Type of Pear or Apples: While yellow pears are lovely, feel free to experiment with other pear varieties like Anjou, Comice, or Bosc. This recipe is also incredibly delicious with apples! Try a mix of sweet and tart apples like Honeycrisp, Granny Smith, or Fuji for a dynamic flavor profile. Stone fruits like peaches or plums are also fantastic seasonal alternatives when they are in season.
Spices —> Ginger or Allspice: While cardamom, cinnamon, and nutmeg are a classic combination, feel free to adjust to your taste. A pinch of ground ginger can add a lovely warmth, or a dash of allspice could bring a different aromatic complexity.
Honey Glaze —> Maple Syrup Glaze: For a different kind of rich sweetness, you could swap the honey in the glaze for pure maple syrup. This would lend a distinct autumnal flavor to your galette.
Essential Tools for Galette Success
Having the right tools can make your galette-making experience smoother and more enjoyable. While nothing too specialized is required, these items will certainly aid you in achieving a perfect rustic tart:
- Rolling Pin: Essential for evenly rolling out your pie crust to the desired thickness and shape.
- Parchment Paper: Crucial for preventing sticking and making transfer to the baking sheet effortless. It also helps with easy cleanup.
- Baking Sheet: A sturdy baking sheet is needed to support your galette as it bakes.
- Food Processor: While not strictly mandatory (you could finely chop pecans by hand), a food processor makes quick work of creating the pecan crumble, ensuring an even texture.
- Large Mixing Bowl: For tossing your pear slices with lemon juice and spices.
- Mandoline Slicer (Highly Recommended): For achieving consistently thin and even pear slices, a kitchen mandoline is a game-changer. It ensures even baking and a beautiful presentation. If you don’t have one, a very sharp knife and a steady hand will suffice.
- Pastry Brush: Ideal for evenly coating your galette crust and pears with the honey butter glaze.
- Small Saucepan: For melting the butter and honey together for the glaze.
How to Make a Galette: A Simple Approach to Stunning Dessert
Many home bakers are intimidated by pies, but a galette offers all the deliciousness with none of the pressure. It shares many similarities with a pie: both utilize a rich, buttery dough (in this recipe, the same store-bought variety) and are filled with luscious fruit. However, the galette distinguishes itself by its free-form, rustic appeal. There’s no need for a pie plate, no precise crimping of edges – just a beautiful, unfussy method that yields spectacular results. Let’s dive into the simple steps to create your own honey pear masterpiece.
Step 1: Prepare and Chill the Crust
To ensure your galette crust remains flaky and holds its shape during assembly and baking, it’s essential to keep it cold and firm. This step is crucial for preventing a flimsy or sticky dough.
Unroll your store-bought pie dough onto a clean, lightly floured surface or directly onto a piece of parchment paper. Using a rolling pin, gently roll the dough into a roughly 10-inch circle, aiming for a thickness of about 1/8 inch. Once rolled, carefully transfer the parchment paper with the dough to a large plate or small baking sheet.
Cover the rolled pie crust tightly with plastic wrap and place it in the refrigerator for at least 15 minutes. This chilling period allows the gluten in the dough to relax and the butter to firm up, which will prevent shrinking and create a flakier crust.
Step 2: Create the Pecan Crumble – Your Secret Weapon Against Soggy Bottoms
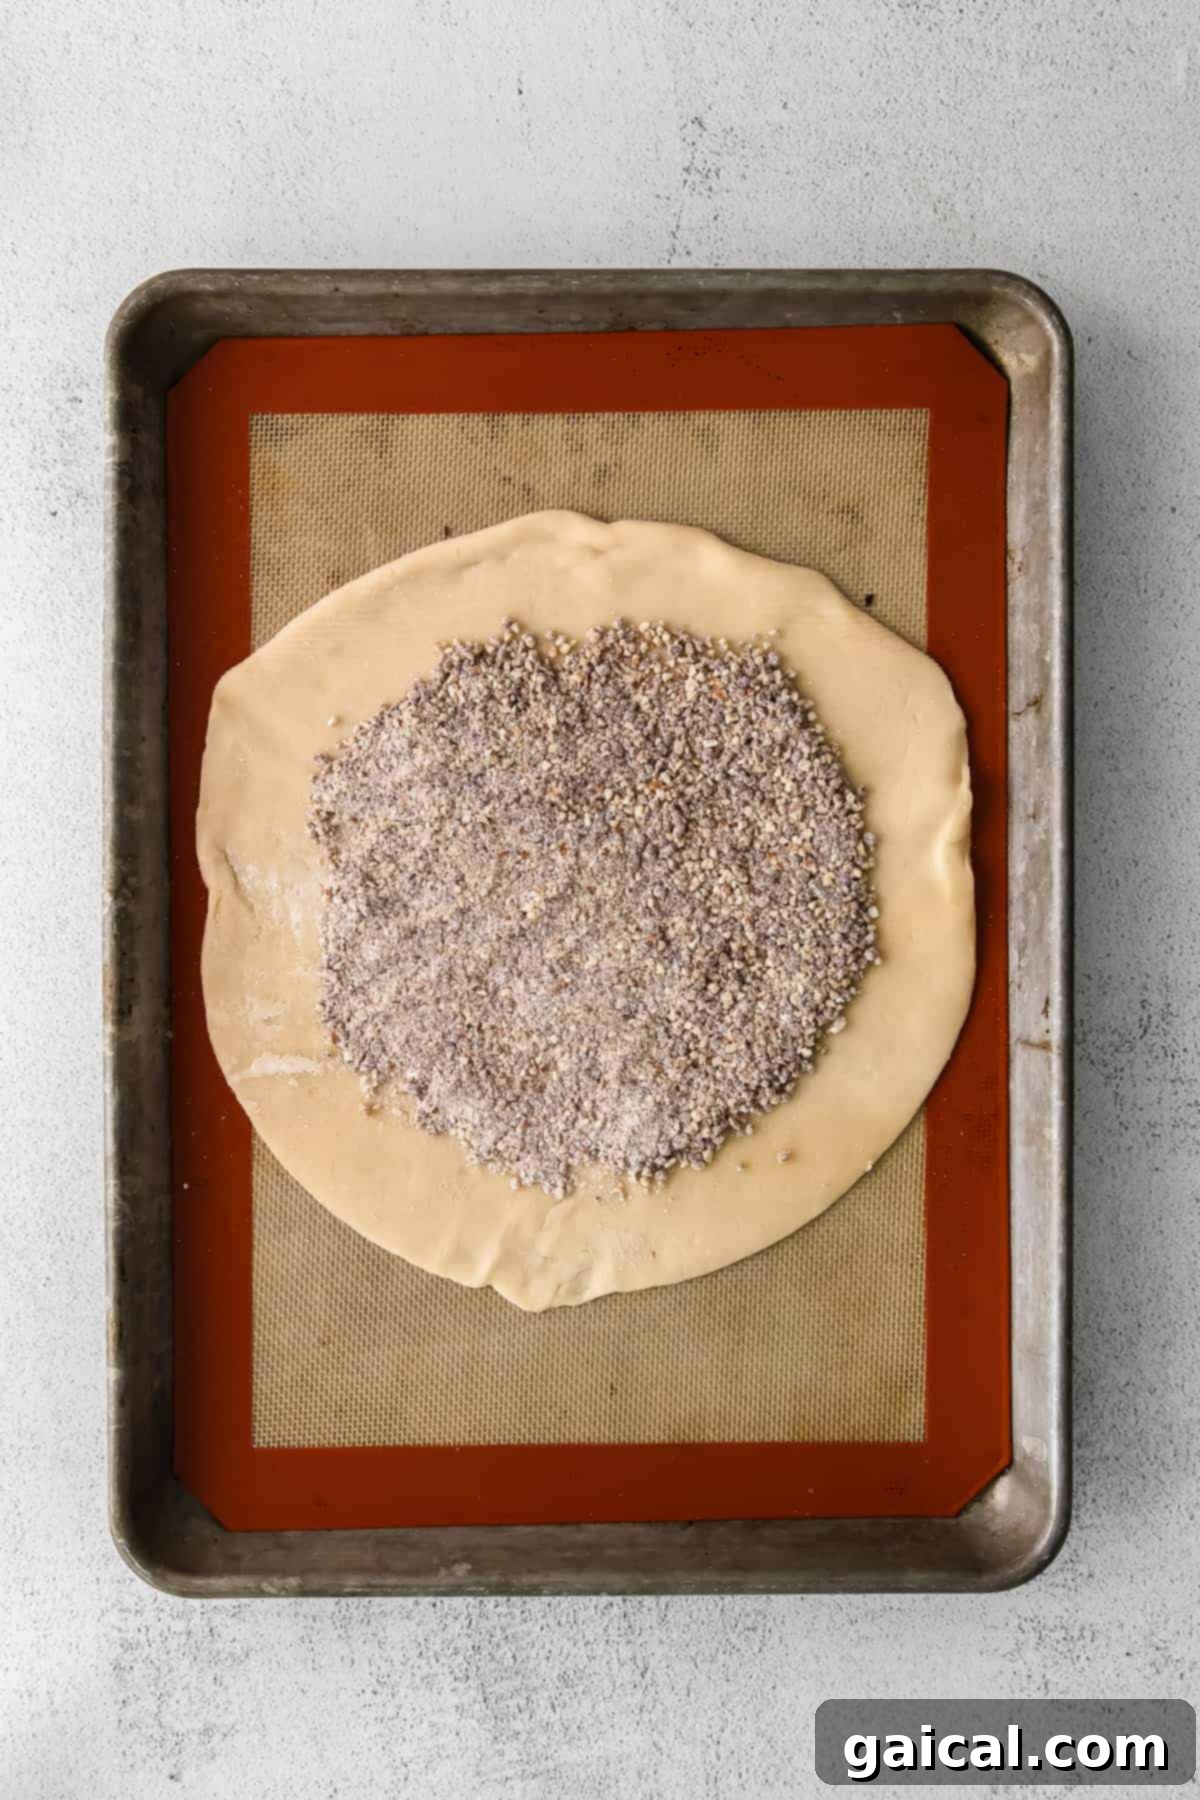
This pecan mixture is one of the most important components of our recipe, and it serves a critical purpose beyond just adding flavor. It’s your guarantee against a soggy galette crust, which can often be a common issue with fruit tarts.
While your pie crust is firming up in the refrigerator, combine the raw pecans, all-purpose flour, ¼ teaspoon ground cardamom, ½ teaspoon ground cinnamon, and ¼ teaspoon ground nutmeg in a food processor. Pulse the ingredients on low speed until they are finely processed and the pecans resemble a coarse flour or meal. Be careful not to over-process, or you’ll end up with pecan butter!
With the food processor still running on low, slowly drizzle in 2 teaspoons of honey. Continue to process just until the honey is incorporated and the mixture is moistened, but stops short of forming a cohesive dough. This blend is a delightful, aromatic crumble that will protect your crust and add incredible flavor. Set this mixture aside for a moment.
What does the pecan mixture do for the galette?
The pecan mixture is strategically placed on the galette dough before the pears are added. Its primary function is to act as a protective barrier, soaking up any excess liquid that the pears might release during baking. This prevents the bottom crust from becoming soggy, ensuring a crisp and flaky base. Additionally, it infuses the galette with a delicious nutty flavor and provides a lovely textural contrast with its delicate crunch.
Step 3: Prepare the Pears with Precision
No matter what fruit you choose for your galette, uniform, thinly sliced fruit is key. This not only ensures even baking and a tender texture but also significantly decreases the overall bake time. We are huge advocates for using a kitchen mandoline for this task, as it consistently delivers beautifully thin and uniform slices every time. If you don’t have one, a very sharp chef’s knife and careful slicing will work.
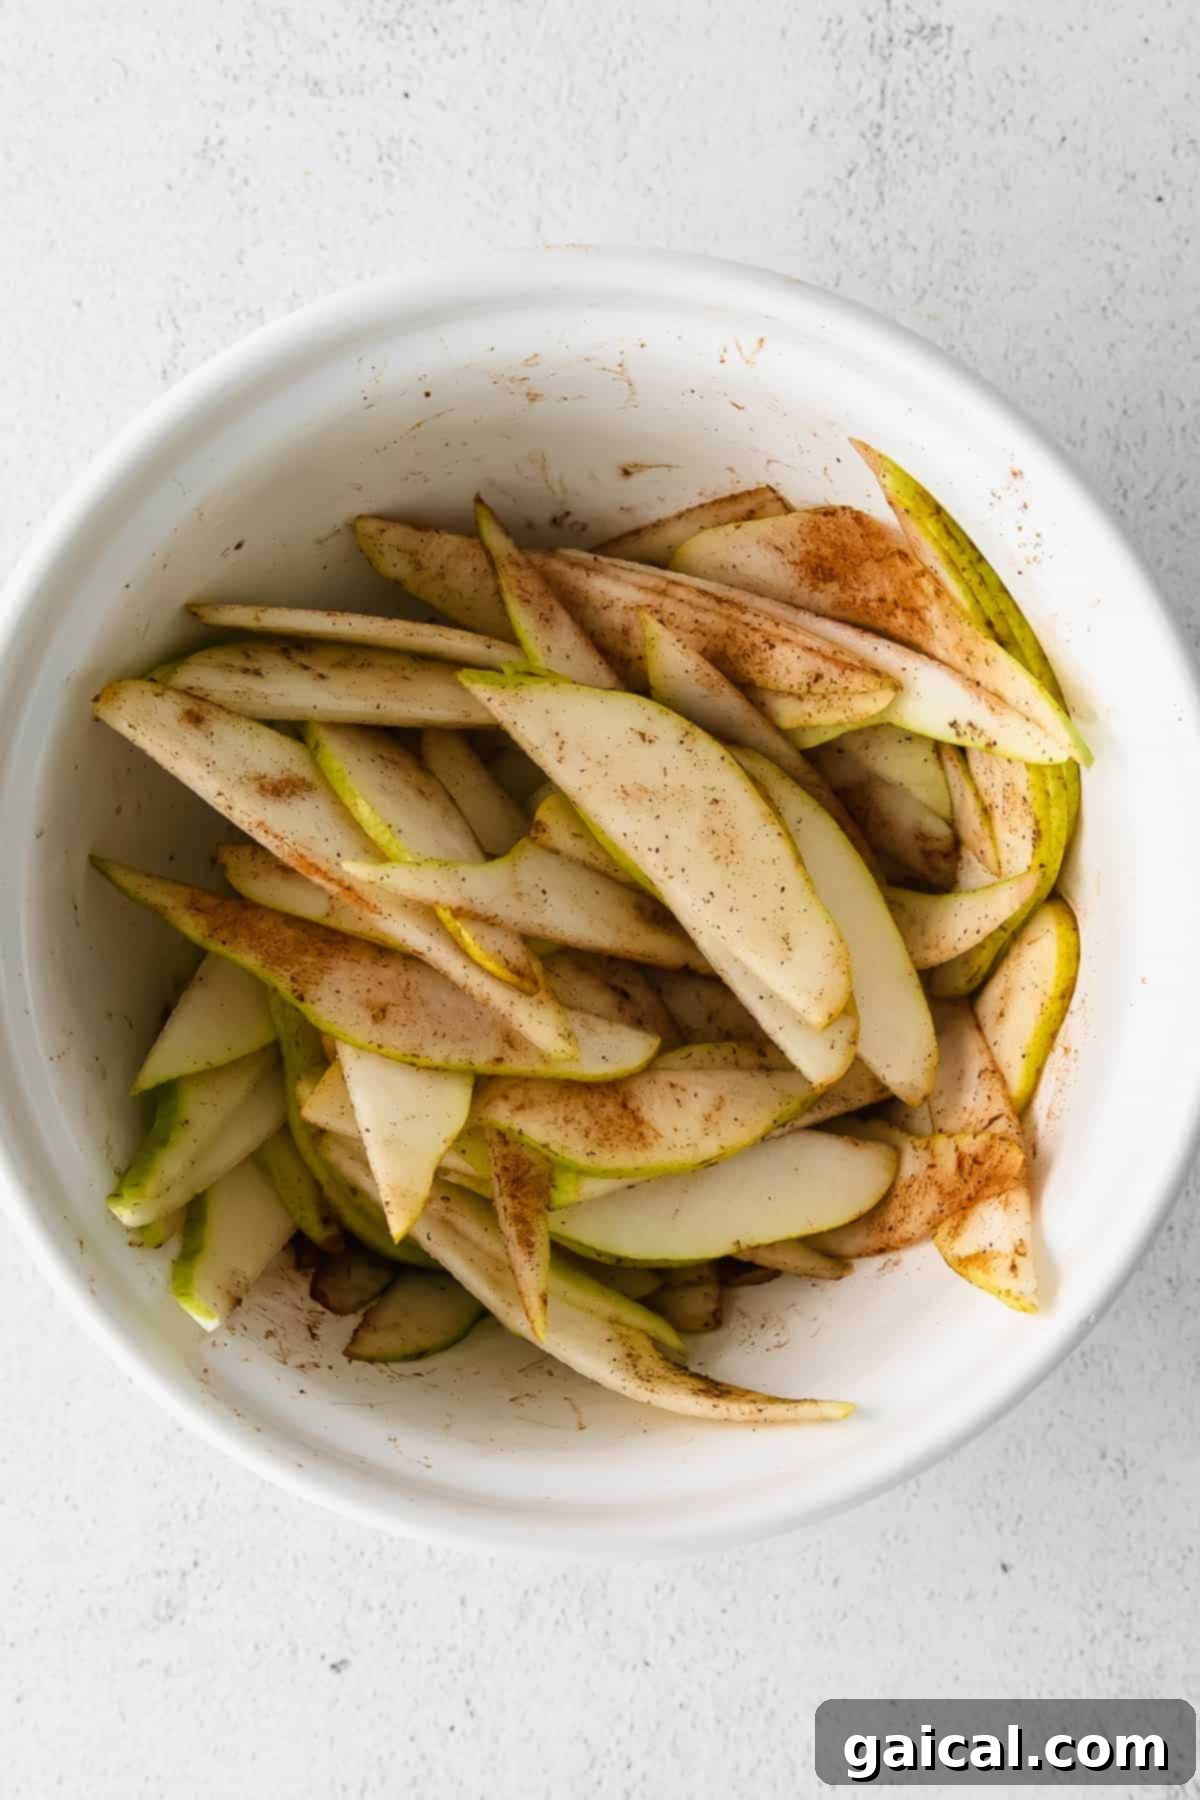
To get your pears perfectly ready for the galette, first thinly slice the yellow pears using a mandoline set to a thin setting (about 1/8 inch thick) or a sharp knife. Transfer the slices to a large mixing bowl. Immediately add 1 tablespoon of fresh lemon juice to the pears and gently toss them. This crucial step prevents the pear slices from oxidizing and turning brown, preserving their beautiful color.
Next, sprinkle the remaining ¼ teaspoon of cardamom, ½ teaspoon of cinnamon, and the remaining ¼ teaspoon of nutmeg over the pears. Toss again to ensure the pears are evenly coated with the aromatic spices. Set the spiced pears aside to allow the flavors to meld.
Step 4: Assemble Your Pear Masterpiece
Now comes the fun part – assembling your delicious and visually stunning honey pear galette! Retrieve your chilled pie crust from the refrigerator and carefully place it, still on its parchment paper, onto a baking sheet. The cold crust will be much easier to work with.
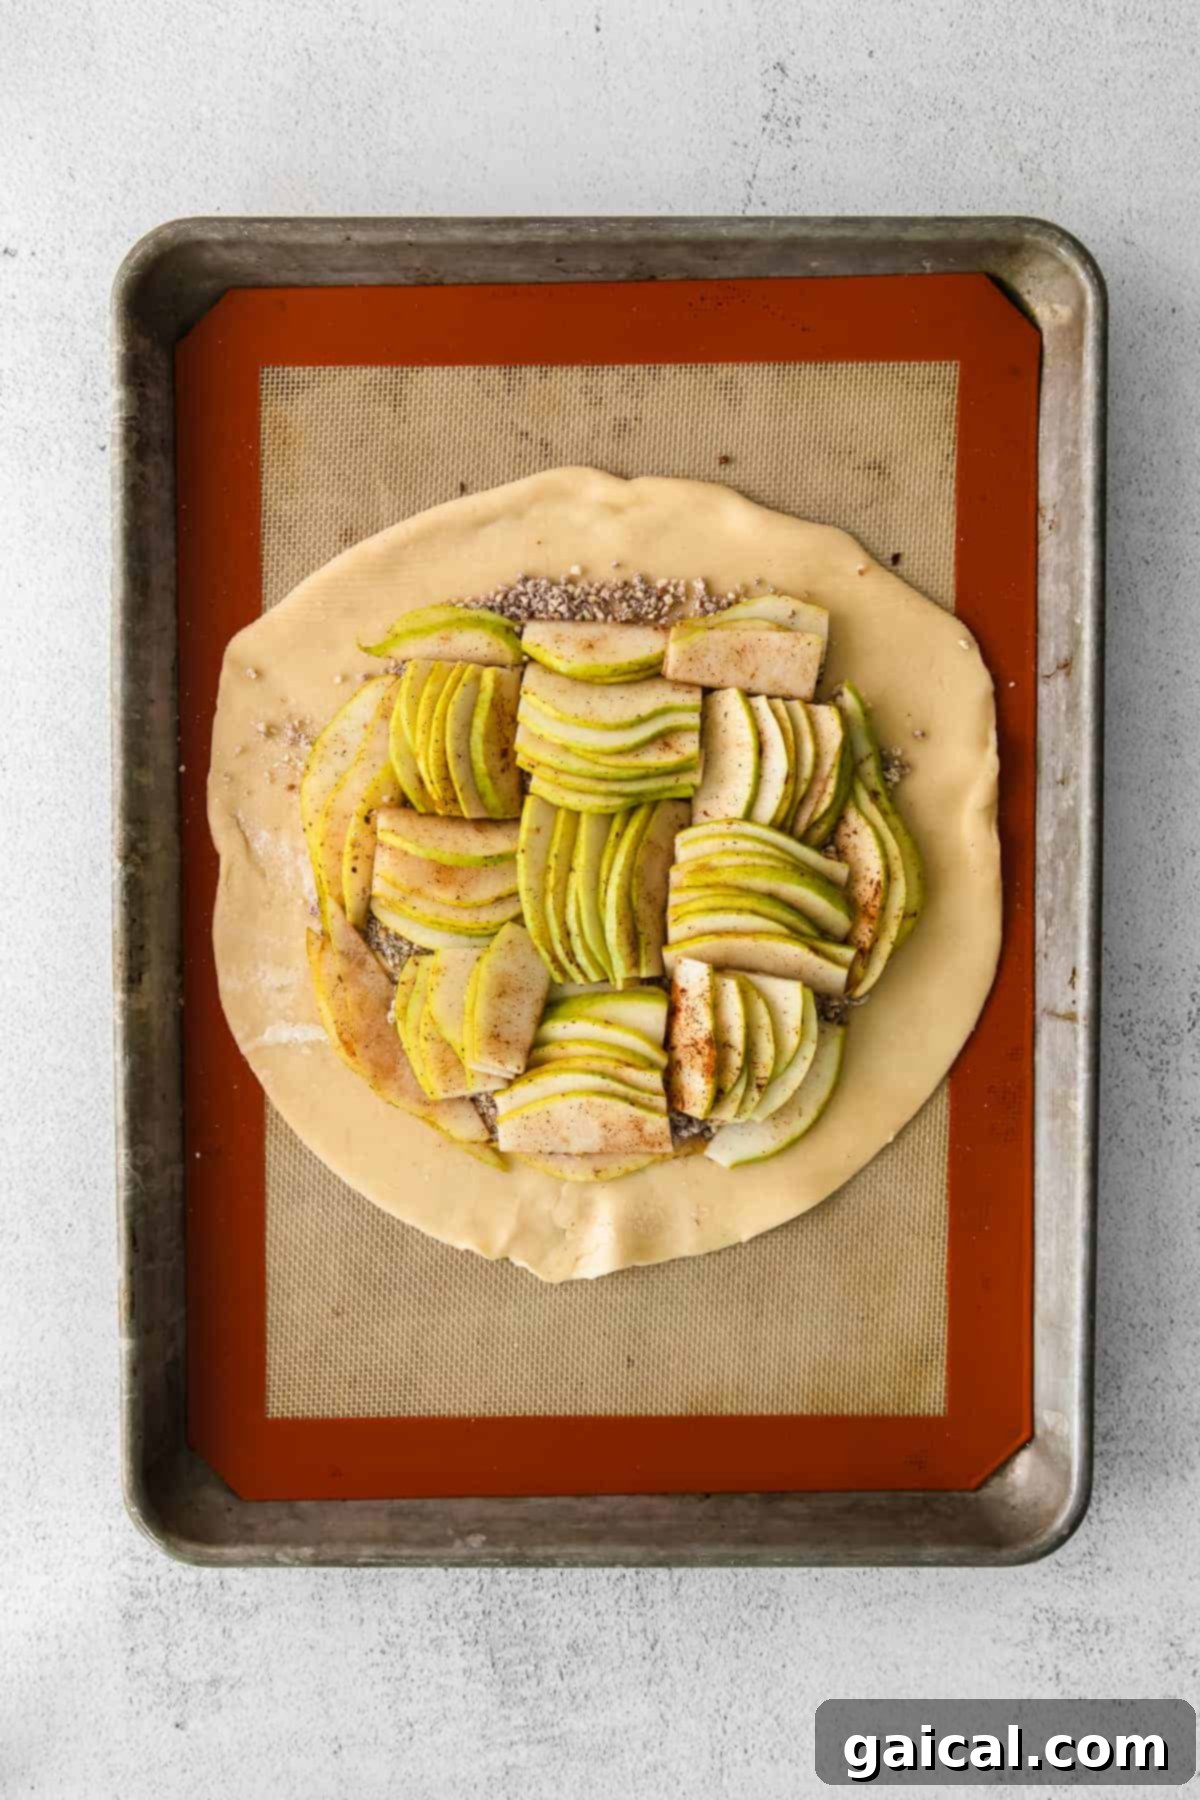
Evenly sprinkle the prepared pecan mixture over the pie crust. Make sure to leave a generous border of about 1.5 to 2 inches of bare dough around the edges. This outer ring of dough will be folded inward to create the galette’s rustic crust.
This is your moment to get creative! Arrange the spiced pear slices on top of the pecan mixture. You can experiment with various patterns – some bakers prefer a rustic patchwork design, while others enjoy arranging the slices in concentric circles or a beautiful spiral pattern, starting from the center and working outwards. Don’t stress about perfection; the charm of a galette lies in its organic, homemade look. Layer the pears slightly, creating a slight mound in the center, as they will soften and flatten during baking.
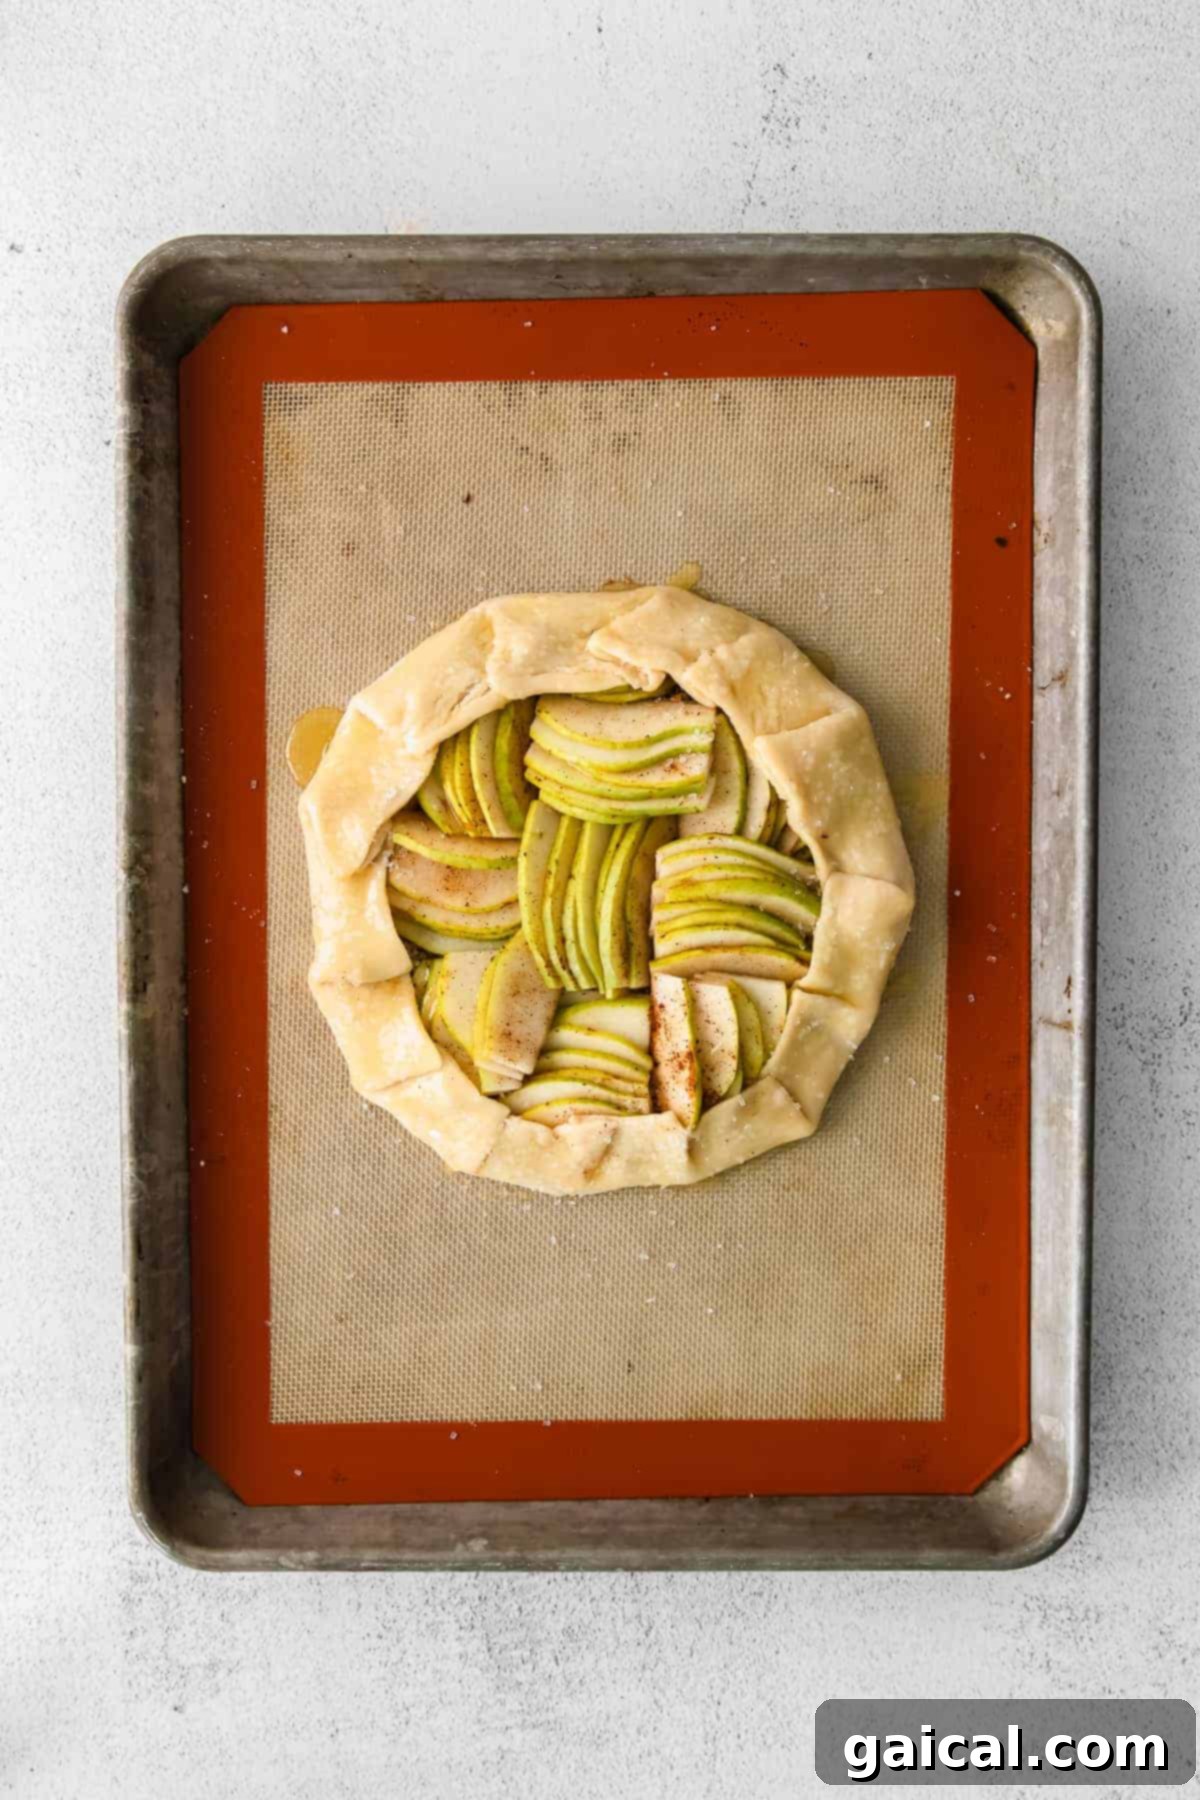
Once you are satisfied with your pear arrangement, carefully fold the exposed edge of the galette dough up and over the fruit filling, creating a beautiful, free-form crust. Gently pleat the dough as you go, allowing it to naturally crease and fold. The beauty is in the imperfections!
Finally, prepare your honey butter glaze. In a small saucepan over low heat, gently melt 2 tablespoons of butter with 2 tablespoons of honey until fully combined. Using a pastry brush, generously brush this warm honey butter mixture over the folded crust and any exposed parts of the pears. This glaze will give your galette a gorgeous golden sheen and a delectable buttery, sweet flavor.
Do you like a little extra crunch? For an additional layer of texture and sparkle, sprinkle 2-3 teaspoons of turbinado sugar (or another kind of coarse sugar like demerara sugar) over the honey butter glaze just before baking the galette. This creates a beautifully caramelized, crunchy crust.
Step 5: Bake the Galette to Golden Perfection
Preheat your oven to 375°F (190°C). Once hot, carefully place the baking sheet with your assembled galette into the preheated oven.
Bake for an initial 15 minutes. Then, gently rotate the baking sheet 180 degrees in the oven to ensure even browning. Continue baking for an additional 15-25 minutes, or until the crust is a deep golden brown and the pears are tender and slightly caramelized. Keep an eye on it to prevent over-browning.
Step 6: The Grand Finale – Drizzle with Honey & Serve
Once baked to perfection, carefully remove the galette from the oven. The aroma filling your kitchen will be utterly delightful!
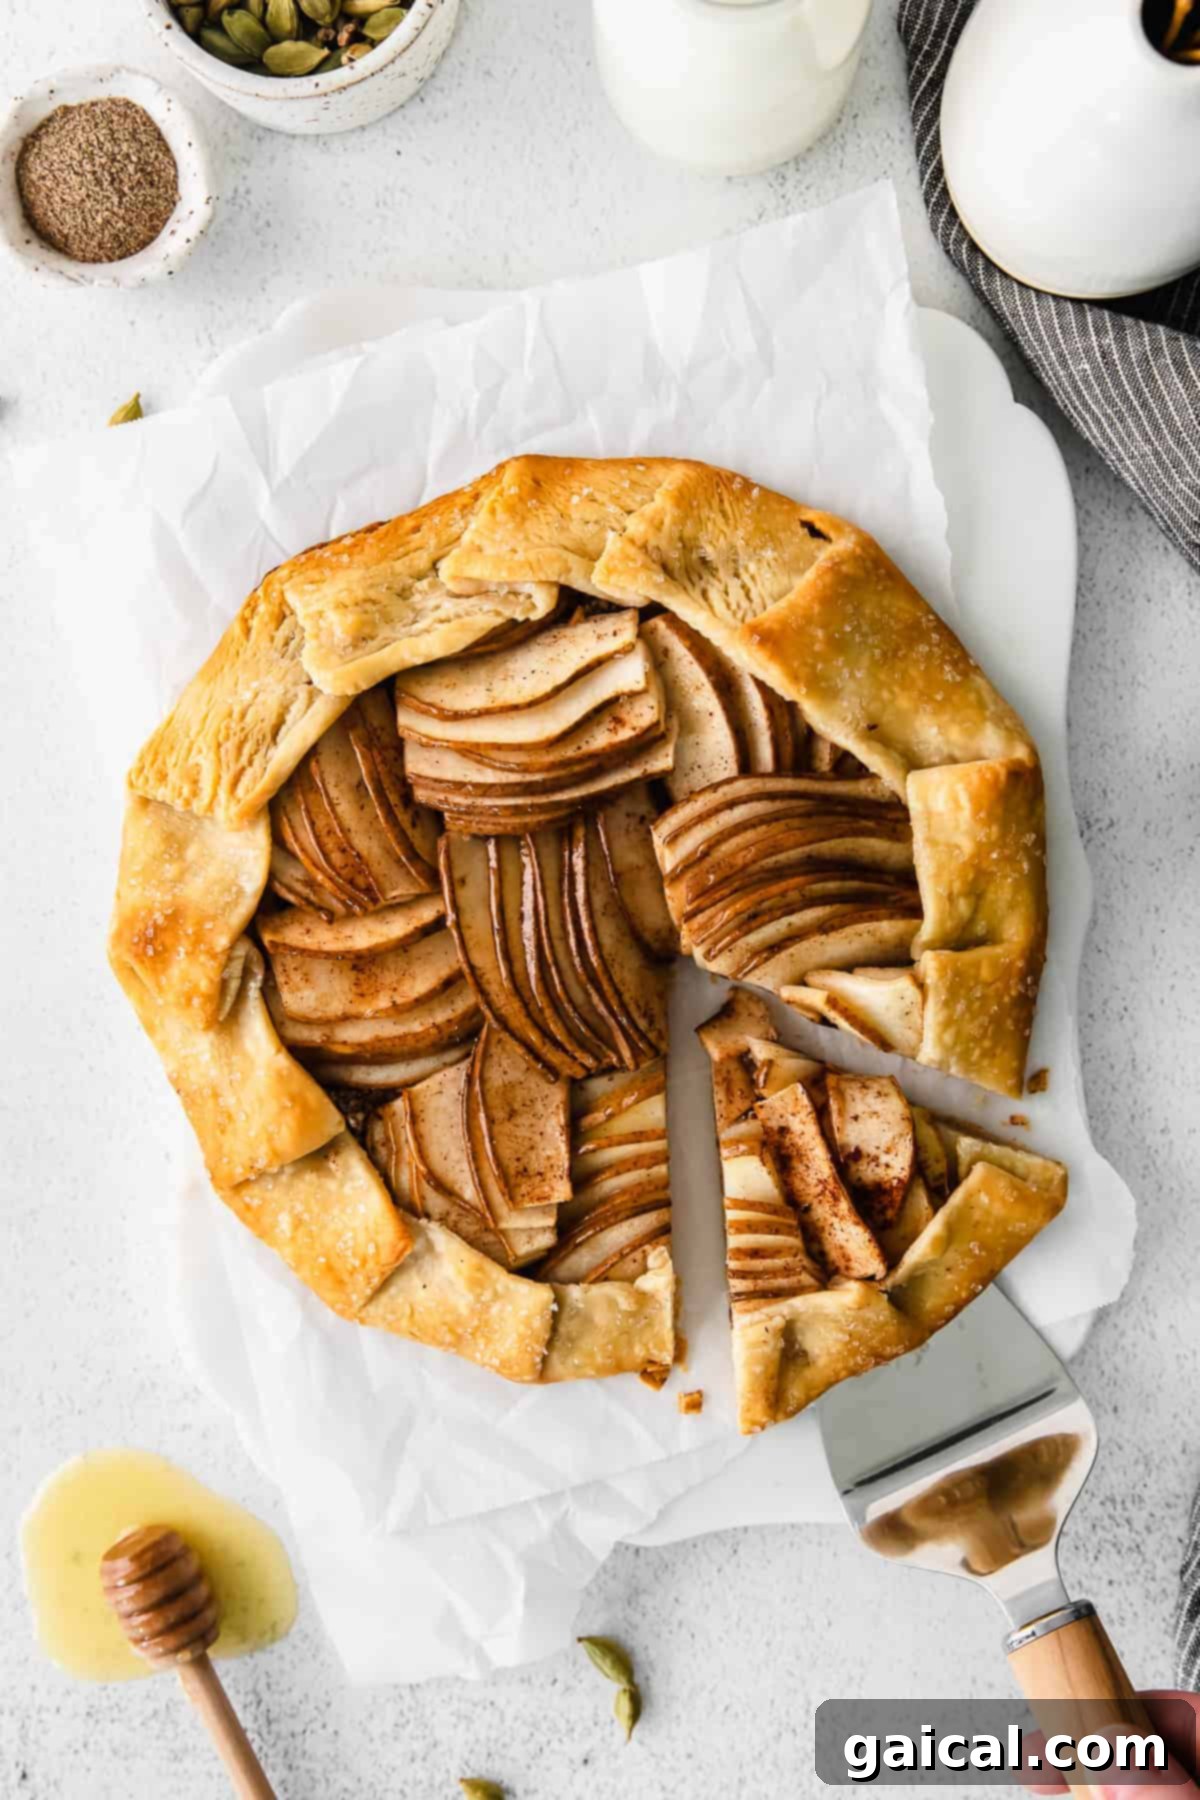
Allow the galette to cool on the baking sheet for about 10-15 minutes before serving. This brief resting period allows the filling to set slightly. Just before serving, drizzle additional fresh honey generously over the warm galette, letting it seep into the crevices and add another layer of sweetness. For an extra touch of gourmet appeal and freshness, garnish with a few sprigs of fresh thyme, which pairs beautifully with pear and honey.
Enjoy this exquisite honey pear galette on its own, allowing its flavors to shine. For an even more indulgent experience, serve it warm with a scoop of creamy vanilla ice cream, a dollop of freshly whipped cream, or a light dusting of powdered sugar. It’s truly a dessert for any occasion!
Expert Galette Tips & Troubleshooting
Mastering the galette is all about understanding a few key principles. Here are some invaluable tips and tricks to ensure your honey pear galette turns out perfectly every time, along with answers to common questions:
The versatility of galettes is truly endless! You can explore a vast array of flavors, from sweet fruit combinations to savory vegetable and cheese concoctions. Don’t be afraid to get creative! Here are a few other fantastic galette filling ideas:
- Granny Smith Apple Galette: A classic choice, offering a delightful tartness.
- Blueberry and Lemon Galette: A bright and refreshing summer option.
- Peach Galette: A juicy, sweet, and fragrant delight when peaches are in season.
- Mixed Berry Galette: Combine strawberries, raspberries, and blackberries for a burst of color and flavor.
- Cherry Galette: Tart cherries, perhaps with a hint of almond, make for a sophisticated treat.
- Potato and Leek Galette: A wonderfully savory option, perfect as a side dish or light meal.
- Tomato and Mozzarella Galette: Like a rustic pizza, great with fresh basil.
- Mushroom and Goat Cheese Galette: Earthy and tangy, a fantastic appetizer.
Absolutely! Galettes are excellent make-ahead desserts. You can prepare and assemble the entire galette up to the point of baking, and then store it in the refrigerator. Simply cover it loosely with plastic wrap to prevent the crust from drying out, and it will keep well for 2-3 days before you bake it. This is perfect for entertaining!
To reheat a previously baked galette, preheat your oven to 350°F (175°C) and bake the galette for 15-20 minutes, or until it’s warmed through and the crust has re-crisped.
Yes, galettes freeze beautifully, making them ideal for future treats! To freeze, first bake the galette according to the recipe. Allow it to cool completely at room temperature. Once cooled, wrap the entire galette tightly in several layers of plastic wrap, followed by a layer of aluminum foil, or place it in a freezer-safe container. It can be frozen for up to 3 months.
To reheat a frozen galette, remove it from the freezer and unwrap it. Place it directly on a baking sheet. Heat your oven to 350°F (175°C) and bake the frozen galette for 25-35 minutes, or until it is thoroughly warmed through and the crust is crisp again. If you prefer, you can let it thaw in the refrigerator overnight before reheating, which might reduce the baking time slightly.
While the recipe specifies yellow pears, varieties like Bartlett, Bosc, or Anjou are excellent choices. Look for pears that are ripe but still quite firm. This firmness ensures they hold their shape well during baking and don’t turn into a mushy filling. Avoid overly soft or bruised pears, as they tend to release too much moisture.
A well-chilled, flexible dough is key! If your dough feels too stiff or starts to crack, let it sit at room temperature for just 5-10 minutes to slightly soften, then try folding again. Gentle handling and slow folding also help. If a small crack appears, you can usually press it back together with your fingers.
More of our Favorite…
Beautiful Dessert Recipes You’ll Love
- Simple Apple Tart
- Healthy Cheesecake Recipe
- Cranberry Swirl Cheesecake Bites
- Easy Apple Crisp
★
★
★
★
Honey Pear Galette
Linley Hanson
Prep:
30 minutes
Cook:
30 minutes
Total:
1 hour
9
Save
Pin
Ingredients
1x
2x
3x
1x
2x
3x
- 1 pie crust rolled into a 10-inch round, we used thisPillsbury pie crust
- 1/4 cup raw pecans
- 2 tablespoons all-purpose flour
- 1/2 teaspoon ground cardamom, separated
- 1 teaspoon ground cinnamon, separated
- ¼ teaspoon ground nutmeg
- 2 teaspoons honey, + more for topping
- 2 yellow pears, thinly sliced with a mandoline
- 1 tablespoon fresh lemon juice
Honey Glaze
- 2 tablespoons honey
- 2 tablespoons butter
Instructions
-
Preheat the oven to 375ºF (190°C) and line a baking sheet with parchment paper.
-
Roll out your pie crust into a 10-inch circle that is about 1/8-inch thick and place it on a parchment-lined large plate or small baking sheet. Place the pie crust in the fridge for 15 minutes to firm up.
-
While the pie crust is firming up, place the pecans, flour, ¼ teaspoon cardamom, ½ teaspoon cinnamon, and ¼ teaspoon nutmeg into a food processor. Process the ingredients on low until the ingredients are combined and the pecans turn into a coarse pecan flour.
-
Continue to process the mixture on low while drizzling in 2 teaspoons of honey. Only process until just combined and moistened; do not allow the mixture to turn into a dough. Set the pecan mixture aside.
-
Place the thin pear slices into a large bowl and toss the pears with 1 tablespoon of fresh lemon juice. Sprinkle the remaining ¼ teaspoon of cardamom and ½ teaspoon of cinnamon over the pears and toss until evenly coated.
-
Remove the pie crust from the fridge and carefully transfer it, still on the parchment paper, to your prepared baking sheet. Pour the pecan mixture onto the middle of the pie crust. Spread the pecan mixture evenly, but be sure to leave a clean border of about 1.5-2 inches around the edges of the pie crust.
-
Next, begin layering the pear slices on top of the pecan mixture. Start in the middle of the pie crust and overlap the pears in an attractive pattern (like a spiral or concentric circles) moving towards the edge of the pecan mixture. Stop when you reach the clean edges of the pie crust.
-
Carefully fold the bare edges of the pie crust over the pears, creating a beautiful, rustic crust. Gently pleat the dough as you go.
-
In a small saucepan over medium-low heat, melt 2 tablespoons of honey and 2 tablespoons of butter together until fully combined.
-
When the honey and butter are melted, remove the pan from the heat.
-
Using a pastry brush, generously brush the warm honey butter mixture over the folded pie crust and any exposed pears.
-
Place the galette into the preheated oven and bake for 15 minutes. Then, turn the pan around (180 degrees) in the oven and bake for an additional 15-25 minutes, or until the pie crust is golden brown and the pears are tender.
-
Remove the galette from the oven and let it rest on the baking sheet for 10 minutes. Drizzle with additional honey and serve warm, perhaps with vanilla ice cream or whipped cream.
Tips & Notes
- You can use either a homemade pie crust or a store-bought pie crust. The key is to ensure it’s rolled out to approximately a 10-inch circle that is about 1/8-inch thick for even baking.
- We used Bartlett pears for this recipe, but any firm, ripe pear variety will work beautifully.
- Do not skip the fresh lemon juice when preparing the pears! It adds a crucial brightness to the fruit and, more importantly, prevents the pear slices from turning brown due to oxidation before and during baking.
- The pecan mixture serves a dual purpose: it adds a wonderful nutty flavor and crunch, and it acts as an essential barrier to absorb excess moisture from the pears, ensuring your pie crust doesn’t turn out soggy.
- For a beautiful golden and extra-crunchy crust, consider sprinkling a tablespoon of turbinado or coarse sugar over the honey-butter glaze before baking.
- If your galette crust starts to brown too quickly before the pears are tender, you can loosely tent it with aluminum foil during the last part of baking.
Watch It
Nutrition
Calories:
201
kcal
,
Carbohydrates:
24
g
,
Protein:
2
g
,
Fat:
11
g
,
Fiber:
2
g
,
Sugar:
10
g
Nutrition information is automatically calculated, so should only be used as an approximation.
Love this? Leave a comment below!
Don’t forget to tag your posts on social media with the hashtag #fitfoodiefinds, we’d love to see what you’re up to!