
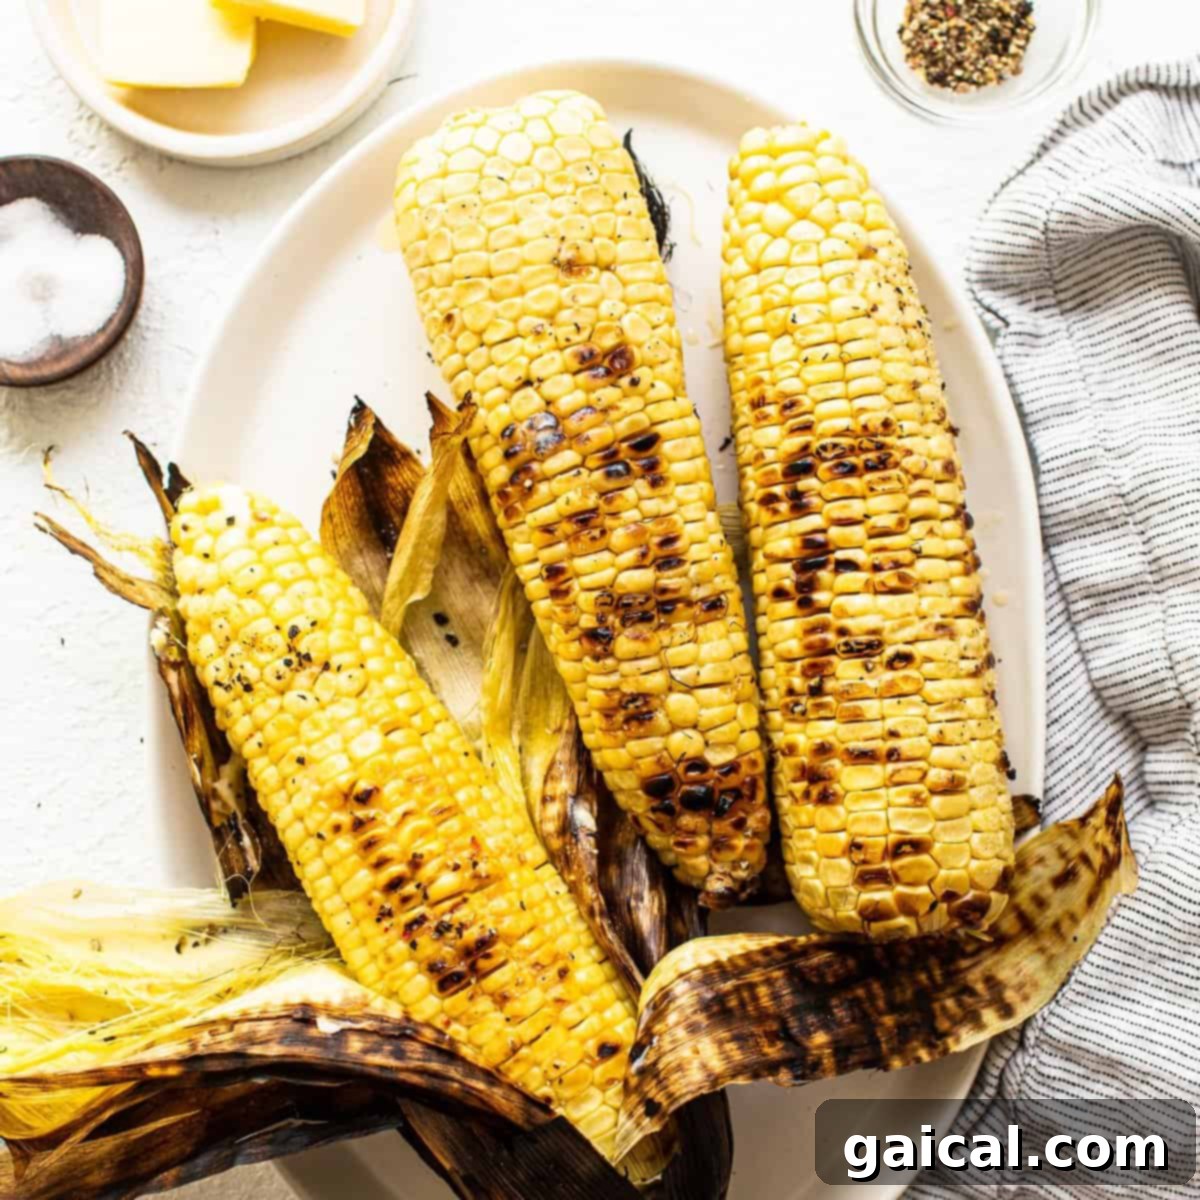
Master the art of making perfect grilled corn on the cob with our comprehensive guide! Discover two popular methods – grilling in the husk and grilling shucked corn – each promising a uniquely delicious result. All you need are fresh sweet corn, a touch of butter, and your favorite seasonings to create an unforgettable summer side dish.
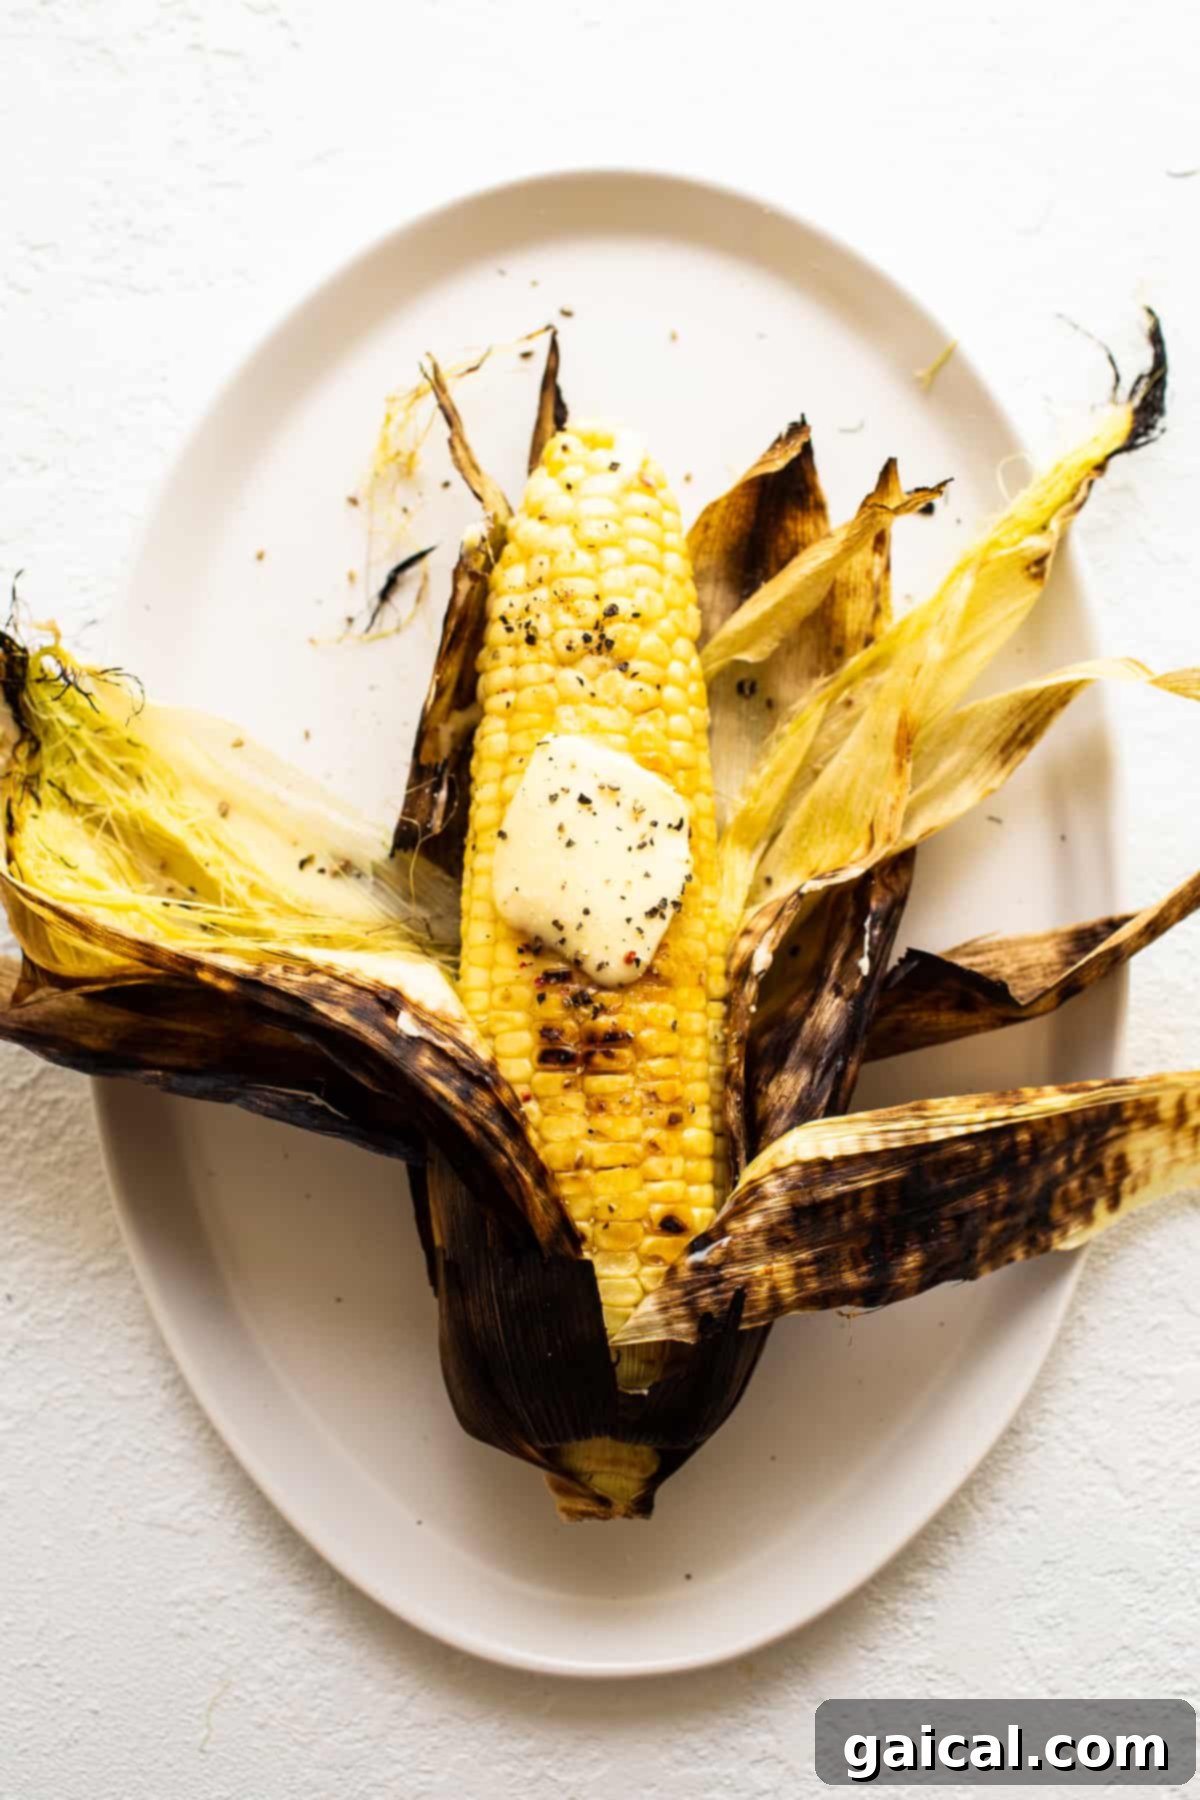
Grilled Corn on the Cob (2 Ways): Your Essential Summer Side
Few foods capture the essence of summer quite like freshly grilled corn on the cob. Its naturally sweet kernels, kissed by the smoky char of the grill, evoke cherished memories of backyard barbecues, lively family gatherings, and sun-drenched days. Having grown up in regions renowned for their abundant sweet corn harvests, I’ve had the privilege of enjoying this seasonal delicacy for as long as I can remember. It’s more than just a simple side dish; it’s a vibrant celebration of summer’s natural bounty.
Grilling sweet corn elevates it to an entirely new level of deliciousness. The intense heat of the grill perfectly caramelizes the corn’s natural sugars, creating a burst of intensified flavor and a wonderfully tender, juicy texture that is simply unmatched by other cooking methods. The subtle smokiness, combined with those irresistible charred bits, adds a profound depth and complexity, transforming it into an irresistible treat. In this comprehensive guide, we’ll dive into two fantastic techniques for grilling corn on the cob: one involves cooking it directly in its protective husk, while the other prepares it shucked for direct grilling. Both methods promise incredibly delicious results, and both are best enjoyed liberally slathered with creamy butter, a sprinkle of coarse salt, and a dash of freshly ground black pepper.
Why Grill Your Corn? Unlocking the Ultimate Summer Flavor
While there are numerous ways to prepare corn on the cob, grilling stands out as the superior method for several compelling and mouth-watering reasons:
- Unrivaled Flavor Profile: Grilling imparts a unique, smoky depth that complements corn’s inherent sweetness beautifully. The direct heat caramelizes the sugars within the corn, intensifying its taste and adding a delightful sweetness with savory, toasted undertones that can’t be achieved otherwise.
- Perfect Texture Every Time: Unlike boiling, which can sometimes dilute the flavor and lead to mushy kernels, grilling allows the corn to remain tender yet firm, offering a satisfying bite with every kernel. The natural moisture is sealed in, ensuring juiciness.
- Appealing Char Marks: Those coveted grill marks aren’t merely decorative! They are visual indicators of where the corn has perfectly caramelized and developed a slightly crisp, toasted texture, significantly enhancing the overall eating experience.
- Simple & Low Effort Preparation: Despite its gourmet taste and impressive appearance, grilling corn is surprisingly straightforward and requires minimal active supervision. It’s the ideal hands-off side dish, allowing you more time to enjoy your summer feast and company.
- Healthy & Wholesome: Sweet corn is naturally rich in fiber, vitamins, and antioxidants. Grilling requires little to no added oil (depending on the method), making it a healthy and guilt-free addition to any meal.
Husk-On vs. Husk-Off: Which Grilling Method Suits Your Taste?
The choice between grilling corn in the husk or without its protective layers often sparks a friendly and passionate debate among grilling enthusiasts. The truth is, there’s no single “better” way; the ideal method ultimately depends on your personal preference, the desired texture, and how much time you have for preparation. We absolutely adore both techniques, and each offers distinct advantages for different occasions:
Grilling Corn in the Husk: The Steamed and Smoky Approach
This traditional method involves cooking the corn while it’s still encased in its natural wrapper. It effectively steams the corn within its own protective layer, resulting in exceptionally juicy and tender kernels with a delicate hint of smokiness. The husk acts as a natural barrier, preventing the corn from drying out and ensuring it cooks uniformly.
- Pros:
- Maximum Moisture: The husk effectively traps steam and natural moisture, keeping the corn incredibly succulent and preventing any dryness, even if left on the grill a little longer.
- Even Cooking: Heat penetrates gently and evenly through the husk, ensuring that every kernel is perfectly cooked without any tough or underdone spots.
- Less Direct Char: You’ll achieve fewer, if any, direct char marks on the kernels themselves, which some prefer for a purer, unadulterated corn flavor and softer texture.
- Simplified Clean-up: The husk acts as a convenient container, keeping any stray corn silk and moisture contained, making post-grilling clean-up a breeze.
- Natural Handle: Once cooked, peeling back the husk creates a natural, built-in handle for easy eating.
- Cons:
- Longer Prep Time: This method requires soaking the corn beforehand (typically 15-20 minutes) to saturate the husks with water. This step is crucial to prevent the husks from burning excessively and to promote efficient steaming.
- Slightly Longer Cook Time: The insulating effect of the husk extends the grilling time slightly compared to shucked corn.
- Milder Smoky Flavor: Since the kernels have less direct contact with the hot grill grates, the smoky flavor is generally milder, and fewer distinctive grill marks are achieved.
Grilling Shucked Corn: For Quick, Charred Perfection
Grilling corn after completely removing the husk and silk offers a quicker path to deliciousness, allowing the kernels to come into direct contact with the intense heat for maximum flavor development and impressive char marks.
- Pros:
- Faster Cooking Time: No soaking is required, and the direct exposure to heat means shucked corn cooks significantly quicker on the grill, often in just 10-15 minutes.
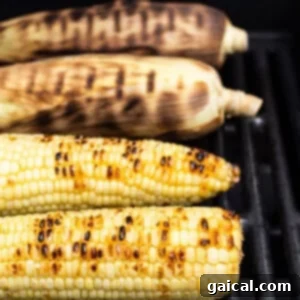
- Intense Smoky Flavor & Char: Direct contact with the hot grates creates beautiful, deeply caramelized grill marks and imparts a more pronounced, robust smoky taste that many adore.
- Easier Seasoning Application: You can easily apply butter, oil, or a variety of seasonings directly to the corn before grilling, allowing these flavors to meld beautifully and penetrate the kernels during cooking.
- Immediate Enjoyment: Once removed from the grill, shucked corn is ready to be buttered and eaten almost instantly.
- Cons:
- Potential for Drying: Without the natural protection of the husk, there’s a slightly higher risk of the corn drying out if it’s overcooked or not brushed with a little oil or butter prior to grilling.
- Requires More Attention: This method often necessitates more frequent turning to ensure even cooking and to prevent any single side from burning or becoming overly dry.
- Cleaning Silk: You need to remove all silk thoroughly before grilling.
Ultimately, both methods are fantastic for different reasons. Your preferred choice might simply depend on how much time you have available or the specific texture and depth of flavor you’re craving for your meal. We encourage you to try both techniques and discover your personal favorite!
Why You’ll Absolutely Love This Grilled Corn Recipe!
A Quintessential Summer Side: It’s the ultimate warm-weather dish that perfectly complements any barbecue, picnic, or outdoor gathering.
Incredibly Easy to Prepare: Whether you’re a grilling novice or a seasoned pitmaster, this recipe is straightforward and accessible to all skill levels.
Naturally Healthy & Delicious: Enjoy the wholesome goodness of sweet corn, made even better with grilling, offering fiber and essential nutrients.
Kid-Friendly & Crowd-Pleasing: Its sweet flavor and fun-to-eat format make it a universal favorite for both children and adults.
Highly Versatile: Easily customizable with various toppings and spices to match any meal or dietary preference.
Flexible Cooking Options: Choose between quick grilling (shucked) or a more leisurely, steaming method (in-husk) to suit your schedule.
Essential Ingredients for Perfect Grilled Corn
You’ll be delighted by how few simple ingredients are needed to create such a profoundly flavorful dish. The true beauty of grilled corn lies in its inherent simplicity, allowing the natural, sweet essence of the corn to truly shine through without being overwhelmed.
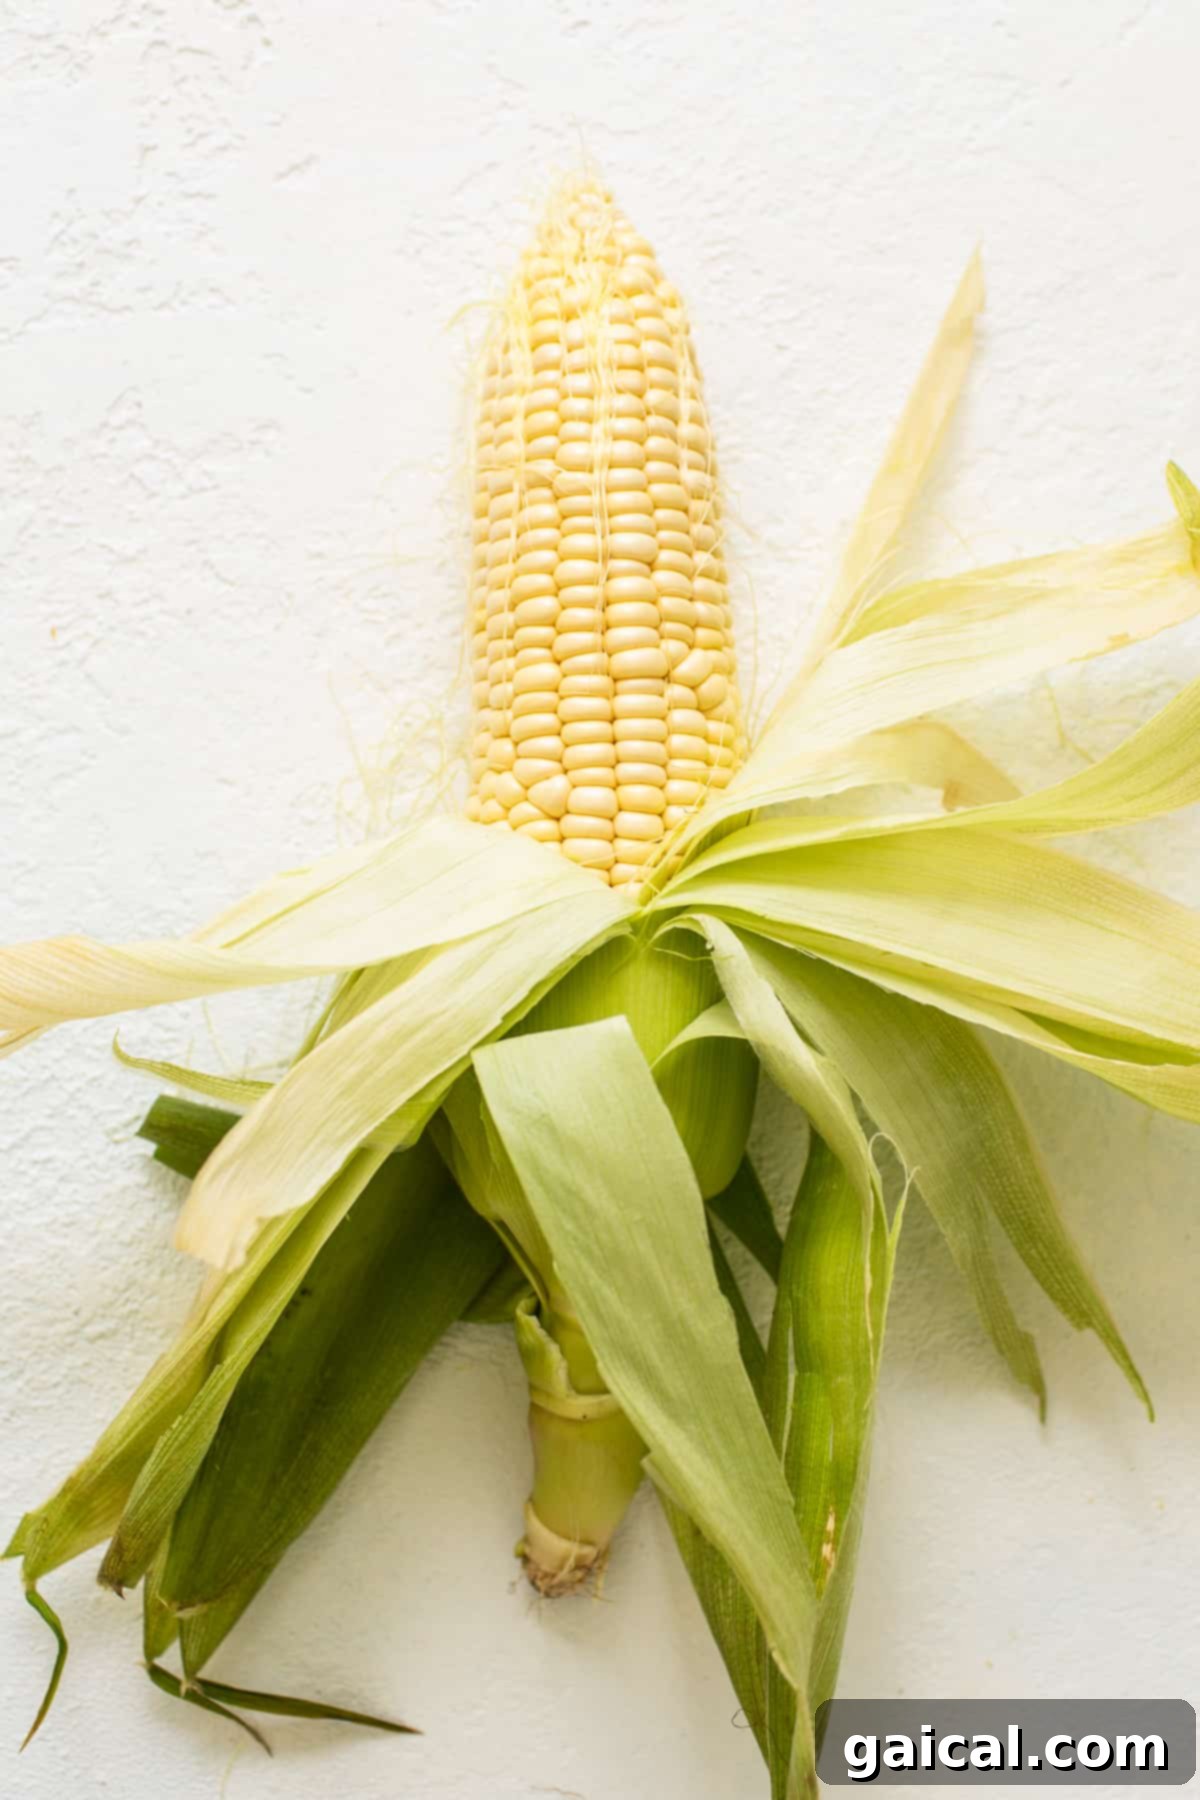
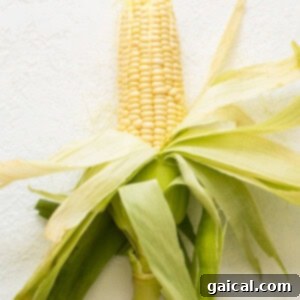
Sweet Corn: This recipe is designed for 4 ears of sweet corn, a perfect amount for a small family gathering. However, feel free to easily scale the quantities up or down to accommodate the size of your group. When sourcing your corn, look specifically for varieties labeled “sweet corn.” You have the option to purchase it with the husk on – which is often a more economical choice and absolutely ideal for our in-husk grilling method – or you can buy it already shucked for convenience. Both classic yellow corn, pristine white corn, or even a vibrant bi-color variety will work wonderfully and deliver delicious results.
Shop In-Season for the Best Sweet Corn!
For the most vibrant flavor, unparalleled sweetness, and juiciest kernels, we wholeheartedly recommend buying sweet corn when it’s truly in season. In many regions, this prime season typically spans from late July through early September. Fresh, in-season corn is naturally packed with elevated levels of natural sugars and abundant moisture, making it inherently perfect for grilling and guaranteeing a superior, unforgettable taste experience.
Expert Tips on How to Choose the Freshest Corn: When at the market, look for ears that have bright green, tightly wrapped husks. The silk protruding from the top should appear slightly damp, golden, or light brown, not dry, brittle, or black. Gently give the ear a squeeze; the kernels underneath should feel plump, firm, and extend all the way to the tip of the cob. Avoid any ears with dry or yellowing husks, shriveled or black silk, or noticeable soft spots, as these are indicators of older or damaged corn.
Butter: Is it truly corn on the cob without a generous, melting pat of rich butter? We argue it’s not! Butter introduces a luxurious, creamy element that exquisitely complements the corn’s inherent sweetness and tender texture. Unsalted butter gives you precise control over the final salt content, allowing you to season exactly to your preference. However, salted butter can also be used if you prefer a bolder, pre-seasoned flavor. For an extra burst of culinary creativity, consider whipping up a compound butter, such as a savory garlic herb butter, a zesty chili lime butter, or even a smoked paprika butter, to elevate your grilled corn experience.
Salt and Pepper: These quintessential, classic seasonings are the ultimate finishing touch that elevates grilled corn from merely good to truly extraordinary. A simple sprinkle of coarse sea salt or kosher salt and a generous grind of freshly cracked black pepper enhance and deepen the corn’s natural flavors without overpowering them. Always remember to season to taste – some individuals prefer a lighter touch, while others enjoy a more robust and pronounced seasoning profile.
Essential Equipment You’ll Need
Gathering the right tools before you start will make your grilling experience seamless and enjoyable:
- Grill: Whether you prefer the classic smoky flavor of a charcoal grill or the convenience and quick heat of a gas grill, both will work wonderfully for this recipe. Ensure it’s clean and in good working order.
- Long-Handled Tongs: These are absolutely essential for safely rotating the corn on the hot grates, protecting your hands from the heat, and ensuring even cooking.
- Large Pot or Bucket (for in-husk method): A large pot, a clean utility bucket, or even a cooler can be used to submerge and soak the corn ears effectively.
- Basting Brush (optional, for shucked method): A silicone or natural bristle basting brush is useful for applying oil or melted butter evenly to shucked corn before and during grilling, enhancing flavor and preventing sticking.
- Heat-Resistant Gloves (optional): If you’re handling hot husks, especially for the in-husk method, a pair of heat-resistant grilling gloves can provide extra protection.
Another Great Way to Grill!
Grilled Corn in Foil
For an alternative, mess-free, and perfectly steamed grilled corn experience, you must try our incredibly easy Grilled Corn in Foil recipe. It’s a guaranteed summer staple that consistently delivers tender, butter-infused, and flavorful corn every single time without direct contact with the grates.
How to Grill Corn on the Cob: A Step-by-Step Guide for Both Methods
Before you embark on your grilling adventure, ensure your grill is meticulously clean and thoroughly preheated. A clean grill prevents food from sticking, ensures even cooking, and allows for those desirable grill marks. Aim for a medium-high heat setting, generally between 350ºF to 400ºF (175ºC to 200ºC), adjusting based on your specific grill’s heat intensity and type.
Method 1: Grilled Corn on the Cob In Husk (The Steaming Method)
This method requires a little bit of pre-planning but consistently results in incredibly moist, tender, and subtly smoky corn with minimal direct charring on the kernels themselves.
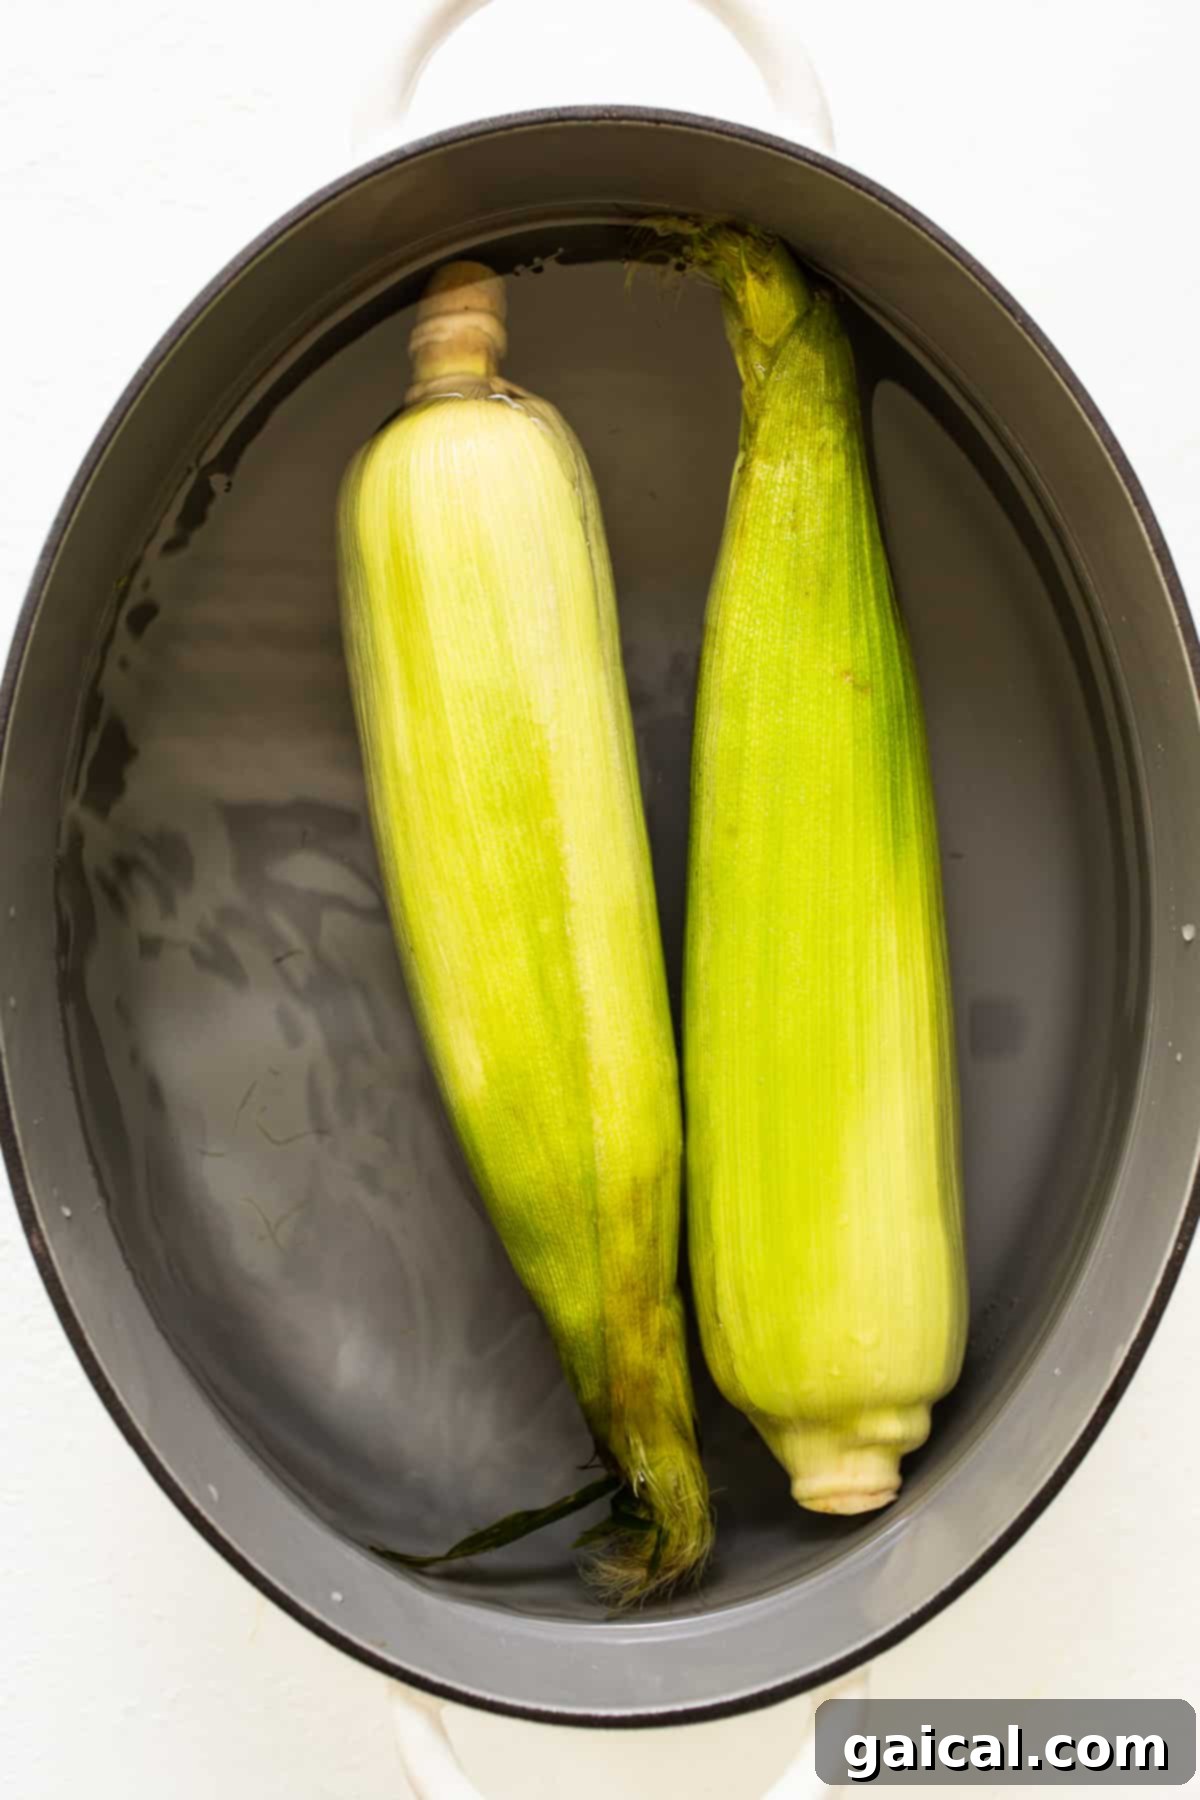
- Soak the Corn Thoroughly: Begin by filling a large pot, a clean bucket, or even a spacious cooler with cold water. Submerge all the ears of corn completely, ensuring they are fully covered by water. Allow them to soak undisturbed for at least 15-20 minutes, or even up to an hour. This crucial step saturates the husks with moisture, which prevents them from igniting or burning excessively on the grill, and critically, allows the corn kernels inside to steam perfectly. After soaking, gently shake off any excess water from the husks.
- Preheat Your Grill to Medium-High: Set your grill to a medium-high heat, targeting a temperature range of 350ºF to 400ºF (175ºC to 200ºC). Take a moment to clean the grill grates thoroughly with a wire brush to prevent any sticking.
- Grill Over Direct Heat: Carefully place the soaked ears of corn directly onto the hot grill grates. Close the grill lid to allow the corn to steam efficiently within its protective husk. Grill for a total duration of 20-25 minutes. During this time, make sure to rotate the ears every 5-7 minutes using long-handled tongs to ensure even cooking and prevent one side from over-charring. You’ll observe the outer husks charring and blackening – this is perfectly normal and indicates that the corn inside is actively cooking. The corn is typically done when the kernels feel tender when gently squeezed through the husk.
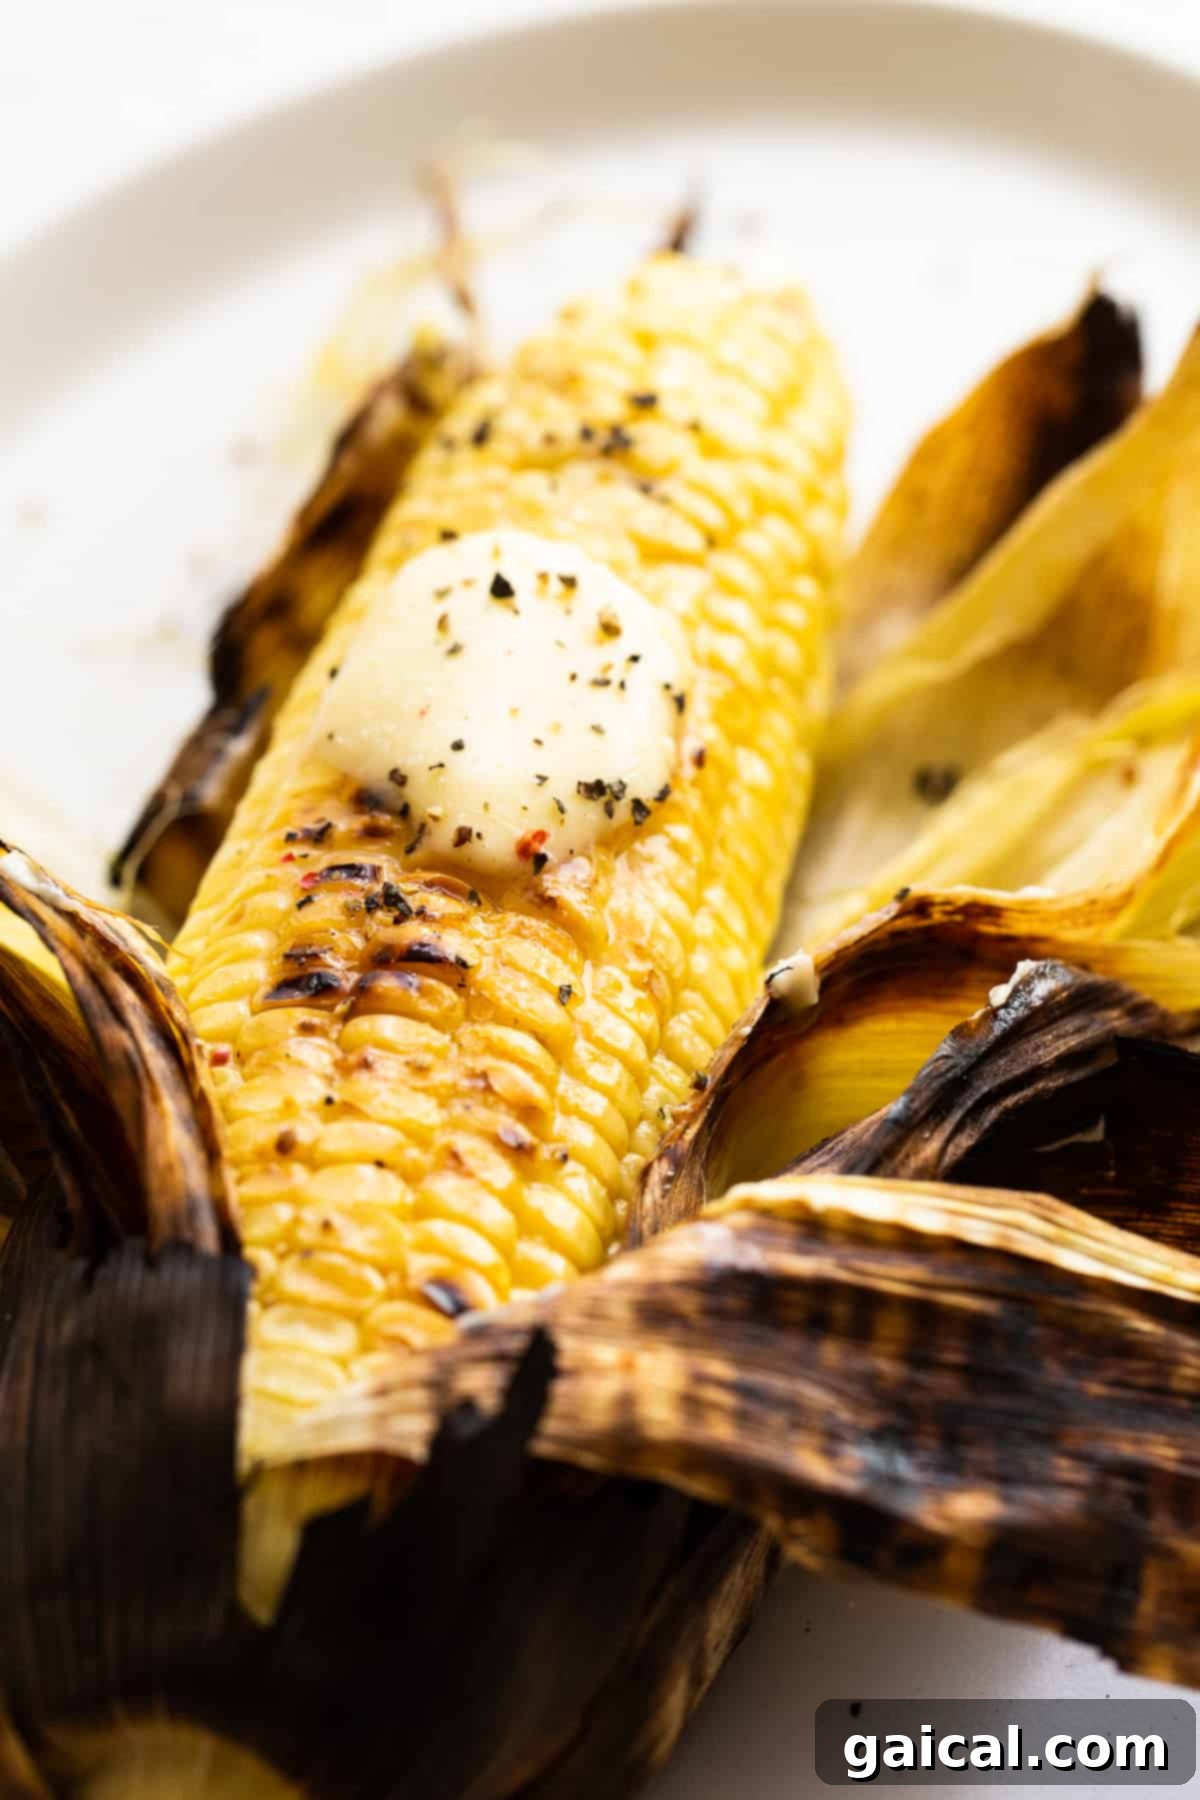
- Rest and Carefully Remove the Husk: Once cooked, carefully remove the grilled corn from the grill. Place it on a platter or cutting board and let it cool for about 3-5 minutes – be mindful that the husks will be extremely hot! Once cool enough to handle, carefully peel back the husks. Many people find it easiest to use a paper towel or a clean kitchen towel to hold the hot corn. You can either completely remove the husks and silk, or pull the husks back to create a convenient, natural “handle” for eating. Remove any remaining stray silks.
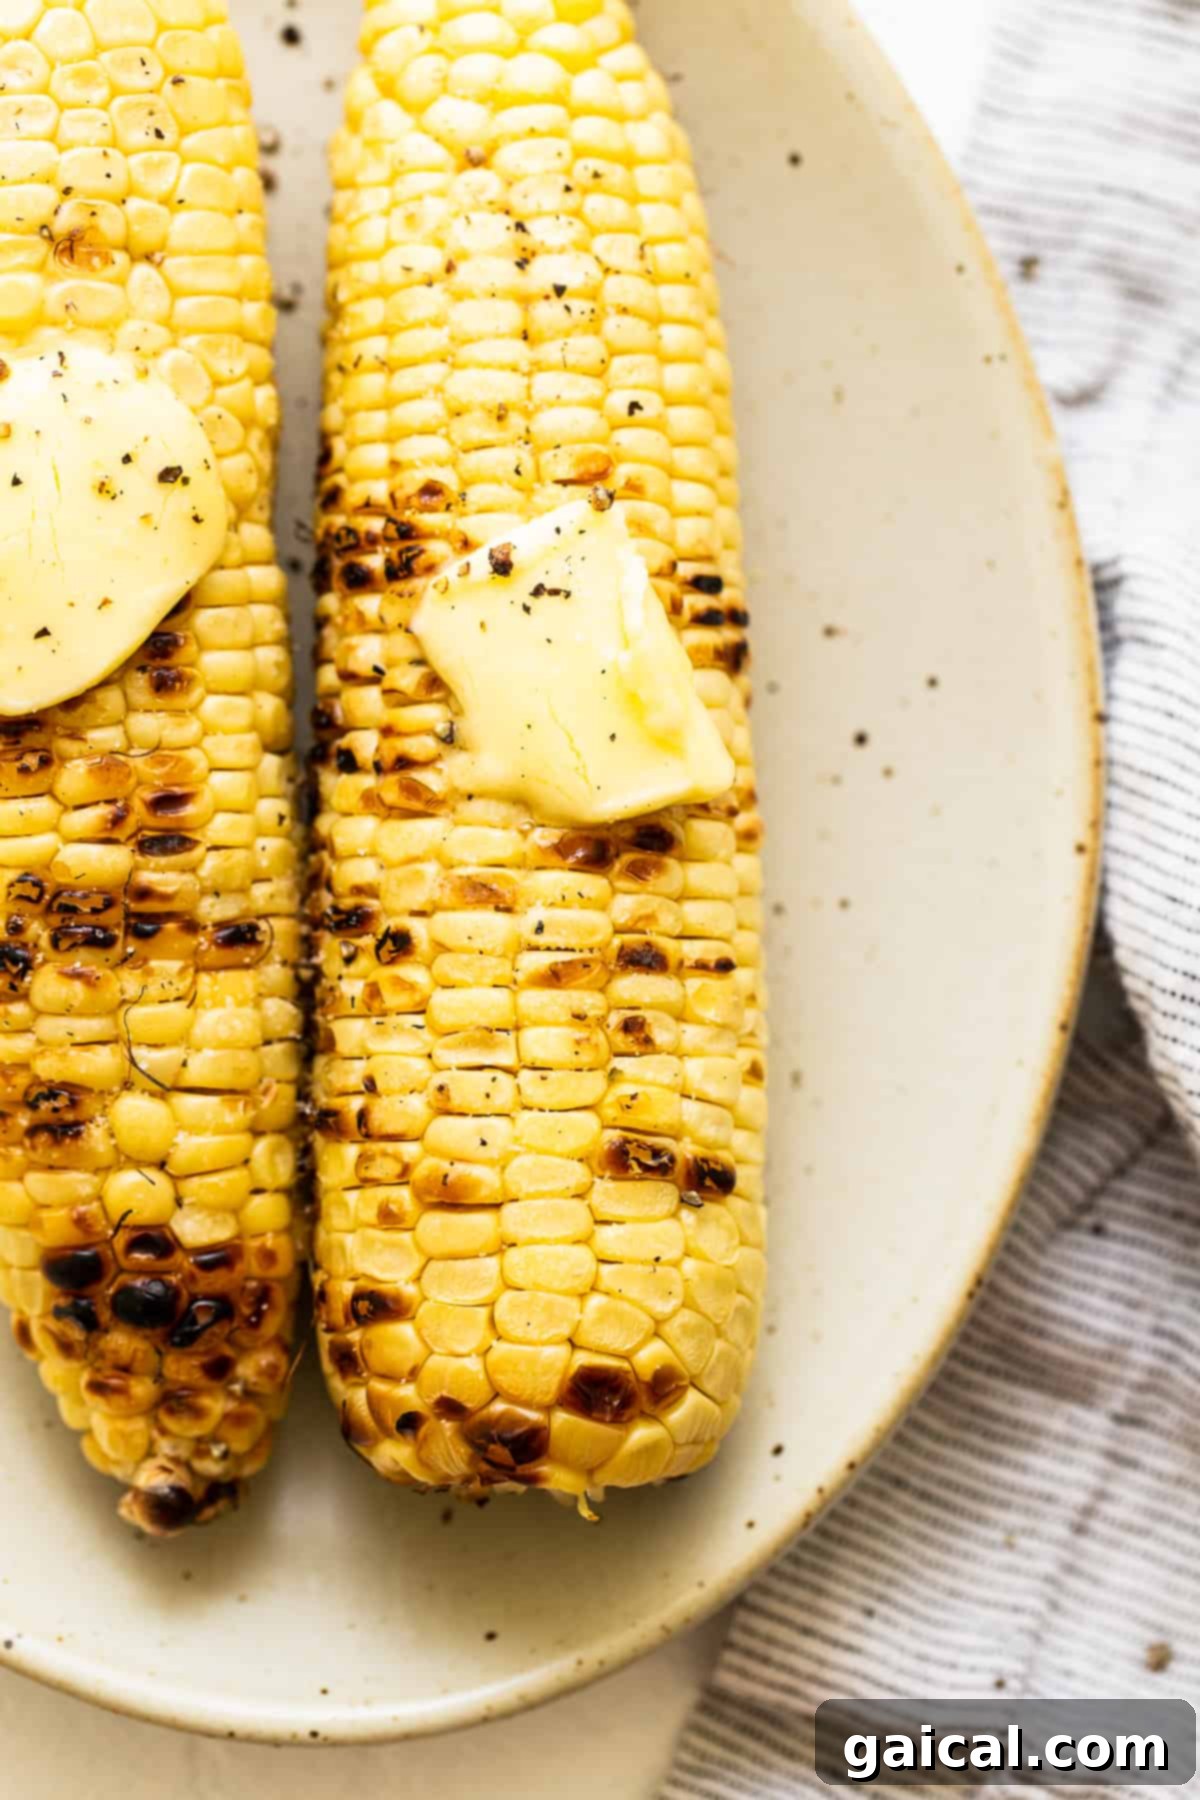
- Serve with Butter and Seasonings: Generously slather your hot, juicy grilled corn with softened butter. Sprinkle liberally with sea salt and freshly ground black pepper, or any other desired seasonings. Serve immediately and savor every delicious bite!
Method 2: Grilled Corn on the Cob Without the Husk (The Direct Char Method)
This is the quicker and more direct method, ideal for achieving those coveted appealing grill marks and a more intense, smoky flavor profile.
- Prepare and Shuck the Corn: Begin by carefully removing the husks and all the silky threads from each ear of corn. The easiest way to do this is to peel back the husks, firmly pull them downwards, and then snap them off at the base. Use a clean brush or a slightly damp paper towel to effectively remove any stubborn silk strands that cling to the kernels. Discard the husks and silk.
- Optional: Lightly Oil and Season: For enhanced flavor, a richer color, and to prevent sticking to the grates, you can lightly brush the shucked corn with a neutral oil (like olive oil or avocado oil) or melted butter. A preliminary sprinkle of salt and pepper at this stage can also aid in flavor penetration during the grilling process.
- Preheat Your Grill to Medium-High: Set your grill to a medium-high heat, aiming for a temperature between 350ºF to 400ºF (175ºC to 200ºC). Ensure the grill grates are thoroughly cleaned to prevent any sticking.
- Grill Over Direct Heat: Place the prepared, shucked corn directly onto the hot grill grates. Grill for a total of 10-15 minutes. During this time, rotate the corn every 3-4 minutes to ensure even cooking on all sides and to achieve those beautiful, distinct char marks. The corn is ready when the kernels appear plump, are tender when gently pressed, and have developed a lovely light browning or charring in spots.
- Add Butter and Spices, Then Serve: Remove the perfectly grilled corn from the grill. Let it cool for just a minute or two, as it will be very hot. Then, generously slather it with softened butter and season with salt and and freshly ground pepper to your liking. Serve hot and enjoy the vibrant flavors!
Grilling Corn: Top Tips for Unforgettable Results
Achieving perfectly grilled corn is incredibly simple when you follow these expert tips and tricks:
In-Husk Grilling Nuances: When you choose to grill corn in its husk, you’re essentially employing a two-stage cooking process: steaming the corn within its natural wrapper, followed by gentle grilling. This method excels at locking in moisture, resulting in incredibly juicy and tender kernels that often boast a slightly satisfying crunchy bite, typically with fewer distinct grill marks. The critical aspect here is to avoid overcooking. Excessive steaming can quickly lead to mushy corn, so diligently monitor your cooking time and prioritize tenderness over simply waiting for the husks to completely blacken.
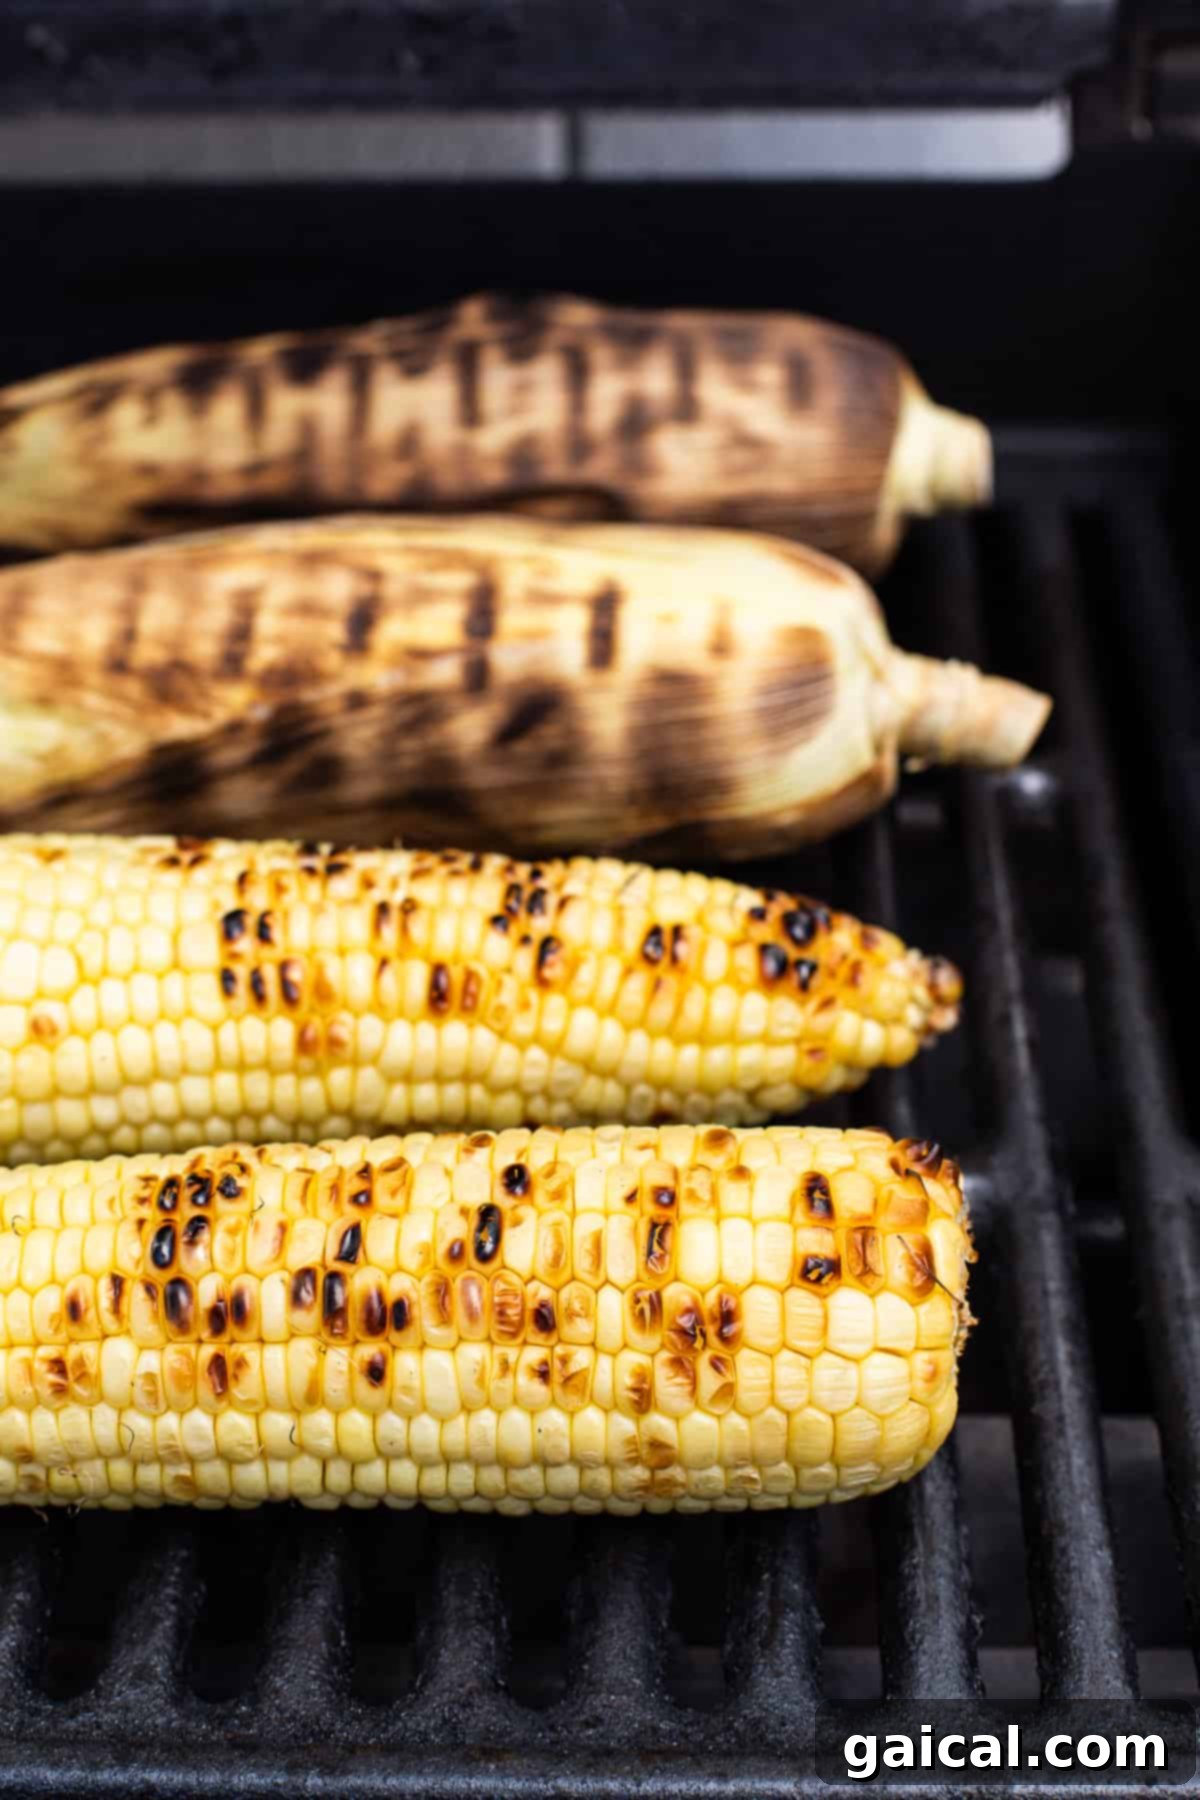
Without the Husk Grilling Nuances: For those who truly love a robust, pronounced smoky flavor and the visually appealing char marks, grilling corn without its husk is undeniably your go-to method. This technique offers a quicker grilling time and facilitates direct contact between the kernels and the hot grill grates, producing those desirable, caramelized grill marks and intensifying the smoky taste. Don’t be timid about letting a few kernels get nicely browned or even slightly blackened – that’s precisely where much of the complex, grilled flavor is concentrated!
How to Achieve Those Epic Grill Marks: The coveted secret to creating striking, perfectly defined grill marks is consistent, unwavering direct heat. Always ensure your grill is thoroughly preheated to a medium-high temperature (350-400ºF or 175-200ºC). When you place the corn directly over the flames, resist the urge to move it for the first few minutes (approximately 3-4 minutes). This crucial initial contact allows the heat to transfer efficiently and etch those beautiful lines. After this initial period, rotate the corn to an untouched section of the grate to create new marks, or simply turn it a quarter turn to grill another side evenly.
Never Forget to Clean Your Grill: This seemingly minor step makes a monumental difference. Always begin your grilling session with meticulously clean grill grates. Leftover food particles from previous cooks can cause the corn to stick stubbornly and can also impart undesirable off-flavors to your fresh sweet corn. A quick, thorough brush before and after each cooking session will make a significant positive impact on your results.
Embrace Experimentation with Seasonings: While the classic combination of butter, salt, and pepper is undeniably delicious, don’t hesitate to unleash your culinary creativity! Experiment with a vibrant squeeze of fresh lime juice, a sprinkle of smoky chili powder, piquant cayenne pepper, granulated garlic, or finely chopped fresh herbs like cilantro or parsley. A light dusting of grated Parmesan or crumbled Cotija cheese after grilling can also introduce a delightful savory and salty kick, elevating your corn to new heights of flavor.
Frequently Asked Questions About Grilling Corn
How long does it take for corn to get done on the grill?
Generally, corn on the cob takes approximately 15-25 minutes to cook thoroughly on a grill preheated to a medium-high temperature of 350ºF-400ºF (175ºC-200ºC). More specifically, corn grilled in the husk usually requires 20-25 minutes, whereas shucked corn cooks a bit faster, typically in 10-15 minutes. Both methods necessitate regular rotation for even cooking.
Does corn on the cob need to be soaked before grilling?
Soaking corn before grilling is primarily and highly recommended if you intend to grill it in the husk. This process saturates the husk with moisture, which serves two critical purposes: it prevents the husks from catching fire on the grill and allows the corn kernels to steam effectively within their natural wrapper, resulting in incredibly juicy and tender corn. If you are grilling shucked corn, soaking is not necessary.
How long does it take to grill corn on the cob in its husk?
When grilling corn on the cob in its husk at a consistent temperature of 350ºF-400ºF (175ºC-200ºC), it typically takes approximately 20-25 minutes. It’s crucial to remember to soak the corn first for at least 15-20 minutes and to rotate it frequently (every 5-7 minutes) to ensure even cooking and to prevent the husks from burning excessively.
Can I grill frozen corn on the cob?
Absolutely, you can grill frozen corn on the cob! For the best possible results, allow the frozen corn to thaw partially or completely before placing it on the grill. You can grill it shucked, brushing it lightly with oil and your preferred seasonings, or you can wrap it in aluminum foil with a generous pat of butter and grill until it’s tender, which usually takes about 15-20 minutes, turning it occasionally.
How do I know when grilled corn is cooked through and ready?
The most reliable way to determine if your grilled corn is perfectly cooked is by checking for tenderness. If you are grilling in the husk, carefully peel back a small section of the husk and gently poke a kernel with a fork or the tip of a knife – it should feel tender and yield easily. For shucked corn, the kernels will appear plump, slightly translucent, and will have developed some appealing char marks; they should also feel tender when gently pressed.
Should I put butter on corn before or after grilling?
For shucked corn, you can brush it with a little oil or melted butter before grilling to add flavor and prevent sticking. However, the most common and delicious practice for both methods is to generously slather butter and seasonings on the corn immediately *after* it comes off the grill, while it’s still hot, allowing the butter to melt into the kernels.
Perfect Pairings: What to Serve with Your Grilled Corn
Grilled corn on the cob is a remarkably versatile side dish that effortlessly complements a wide array of summer meals. Its delightful sweet and smoky notes make it an ideal accompaniment for almost any protein or other grilled vegetables, enhancing the overall flavor profile of your spread.
- Grilled Chicken Thighs: The rich, savory flavor of perfectly grilled chicken is a natural and harmonious partner for sweet, smoky corn.
- Grilled Shrimp: A light, fresh, and incredibly flavorful pairing, especially when both are finished with a vibrant squeeze of fresh lime juice.
- Lemon Pasta Salad: The zesty, bright freshness of a light pasta salad provides a lovely, refreshing contrast to the warm, sweet grilled corn.
- Red Potato Salad: A creamy, classic potato salad is a quintessential BBQ side that consistently pairs exceptionally well with the sweetness of corn.
- Summer Punch: Quench your thirst with a refreshing, fruity summer punch, the perfect beverage to complement your delicious grilled feast.
- BBQ Ribs or Pulled Pork: The inherent sweetness of the grilled corn beautifully cuts through the richness and robust flavors of slow-cooked barbecue meats.
- Burgers and Hot Dogs: Elevate your classic backyard fare by adding this delicious and satisfying grilled side dish that everyone will love.
- Steak: A perfectly cooked, juicy grilled steak alongside sweet grilled corn makes for a hearty, well-balanced, and incredibly satisfying meal.
- Grilled Vegetables: Complement your corn with other grilled seasonal vegetables like asparagus, zucchini, bell peppers, or onions for a vibrant and healthy platter.
Storage and Reheating Tips for Grilled Corn
If you happen to find yourself with any leftover grilled corn (which, let’s be honest, is a rare and pleasant surprise!), proper storage ensures you can savor its deliciousness for another day or transform it into new culinary creations.
- How to Store: Allow the grilled corn to cool completely to room temperature before storing. You have two main options:
- Whole on the Cob: Store the entire ears of corn.
- Kernels Only: Carefully cut the kernels off the cob using a sharp knife. To do this safely, stand the cob upright in a large bowl and slice downwards, allowing the kernels to fall into the bowl.
Place the corn (whether whole or as kernels) in an airtight container or a large, gallon-size resealable bag. Store it in the refrigerator for up to 3-4 days for optimal freshness.
- Best Ways to Reheat:
- Microwave: For a quick reheat, place whole ears or corn kernels in a microwave-safe dish with a tablespoon of water, cover, and heat for 1-2 minutes, or until thoroughly warmed through.
- Oven: For a more even reheat, wrap individual ears of corn or kernels (with a pat of butter, if desired) in aluminum foil. Reheat in a preheated oven at 350ºF (175ºC) for 10-15 minutes, or until hot.
- Grill: To revive that smoky flavor, lightly oil the cold grilled corn and place it back on a warm grill for a few minutes, turning occasionally, until it’s heated through and perhaps refreshed with a slight char.
- Creative Uses for Leftovers: Don’t let any leftover grilled corn go to waste! The smoky-sweet kernels are incredibly versatile. Cut them off the cob and add them to vibrant salads, fresh salsas, hearty stir-fries, flavorful omelets, quesadillas, or even blend them into a creamy corn soup or a zesty dip. It’s a fantastic and easy way to infuse a unique smoky-sweet flavor into a variety of other dishes, extending the enjoyment of your summer harvest.
Transform Your Leftovers!
Mexican Street Corn Salad
Have some delicious leftover grilled corn? Why not transform it into our famous and incredibly flavorful Mexican Street Corn Salad! It’s an explosion of vibrant flavors and delightful textures, making it an ideal choice for summer potlucks, backyard barbecues, or simply as a lively and refreshing side dish for any meal.
More of Our Favorite…
Delicious Corn Recipes to Explore
- Grilled Mexican Street Corn
- Crispy Corn Fritters
- Hearty Corn Chowder
- Refreshing Black Bean Corn Salad
- Easy Corn Salsa
- Creamy Corn and Avocado Salad
- Healthy Chicken and Corn Soup
Rated 5 out of 5 stars from 1 vote
Grilled Corn on the Cob (2 Ways)
Grilled corn on the cob is a quintessential summer side dish, incredibly easy to make with just a few ingredients. Learn how to achieve perfectly juicy and flavorful corn, whether you grill it in the husk or shucked!
Ingredients
- 4 ears of sweet corn
- 3 tablespoons unsalted butter, softened
- Salt, to taste
- Ground black pepper, to taste
Instructions
- Preheat your grill to a medium-high temperature, between 300-350ºF (150-175ºC). Clean the grill grates thoroughly and close the lid to allow it to heat evenly.
Grilling Corn in the Husk
- Soak Corn: Place the corn in a large pot or bucket and cover completely with cold water. Allow the corn to soak for 15-20 minutes. This prevents the husks from burning and helps steam the corn. After soaking, shake off as much excess water as possible.

- Grill Over Direct Heat: Place the soaked corn directly on the preheated grill grates. Grill for 20-25 minutes, rotating the corn every 5-7 minutes with tongs to ensure even cooking and prevent excessive charring in one spot. The husks will blacken, which is expected.
- Remove Husk & Serve: Carefully remove the corn from the grill and let it cool for 3-5 minutes until safe to handle. Peel back the husks and remove any remaining silk. Generously slather with softened butter and season with salt and pepper to taste. Serve hot.
Grilling Corn Without the Husk
- Remove Husk and Silk: Carefully peel back and remove all the husks and corn silk from each ear of corn. Discard the husks and silk.
- Grill Over Direct Heat: Place the shucked corn directly on the preheated grill grates. Grill for 10-15 minutes, rotating the corn every 3-4 minutes. Look for tender kernels and appealing char marks on all sides.
- Season and Serve: Remove the corn from the grill. Let it cool for 1-2 minutes. Slather generously with softened butter and season with salt and pepper to taste. Serve immediately.
Tips & Notes
- In-Husk Grilling: This method essentially steams the corn within its husk, yielding super juicy and tender kernels with fewer distinct grill marks. Be careful not to overcook, as excessive steaming can make the corn mushy. Focus on achieving tender kernels rather than fully charred husks.
- Shucked Grilling: This method offers quicker cooking times and produces more pronounced grill marks along with a stronger, more direct smoky flavor. Consider brushing the corn with a little oil or melted butter before placing it on the grill to prevent drying and enhance flavor.
- For Best Grill Marks: Ensure your grill is properly heated to a medium-high temperature (350-400ºF or 175-200ºC) and place the corn over direct heat. Avoid moving the corn too frequently during the first few minutes on each side to allow clear grill marks to form.
- Seasoning Variations: Don’t limit yourself to just butter, salt, and pepper! Experiment with a sprinkle of chili powder, a refreshing squeeze of lime juice, smoked paprika, or a dusting of grated Parmesan or crumbled Cotija cheese after grilling for an exciting flavor boost.
Nutrition Information (Approximate Per Serving)
Calories: 153 kcal, Carbohydrates: 17 g, Protein: 3 g, Fat: 10 g, Fiber: 2 g, Sugar: 6 g
Nutrition information is automatically calculated and should be used as an approximation. Individual results may vary based on exact ingredients and preparation.
Love this recipe? Share your thoughts below!
Don’t forget to tag your delicious creations on social media with the hashtag #fitfoodiefinds – we love seeing what you’re cooking up!
Photography: The beautiful photos featured in this post were skillfully captured by Ashley McGlaughlin from The Edible Perspective, enhancing the visual appeal of our grilled corn guide.