
Mastering the Dry Brine: How to Achieve the Juiciest Thanksgiving Turkey
Prepare to revolutionize your holiday feast with the ultimate method for an exceptionally moist, tender, and intensely flavorful turkey: the **dry brine**. This simple yet incredibly effective technique, centered around salting and resting, guarantees a succulent centerpiece that will impress every guest at your Thanksgiving table. Forget dry, bland birds – our foolproof dry brine recipe ensures a deeply seasoned, juicy turkey every single time.
Why Dry Brine Your Turkey? The Secret to Unrivaled Moisture and Flavor
Many home cooks are familiar with wet brining, submerging a turkey in a salty liquid. While effective, it often leads to a slightly less crispy skin and can be quite messy. Dry brining, however, offers a superior alternative with several distinct advantages:
- Unmatched Moisture Retention: The salt initially draws out the turkey’s natural juices. Over time, through a process called osmosis, these juices are reabsorbed, carrying the salt and seasonings deep into the meat. This results in a remarkably moist turkey that stays juicy even after roasting.
- Crispier Skin: Unlike wet brining, which can hydrate the skin and make it difficult to crisp, dry brining actually helps to dehydrate the skin’s surface. This leads to that coveted, golden-brown, irresistibly crispy skin everyone loves.
- Enhanced Flavor: The salt not only tenderizes but also acts as a flavor carrier. Our blend of kosher salt, black pepper, dried thyme, and dried rosemary permeates the meat, creating a delicious, aromatic turkey from the inside out.
- Simplicity and Convenience: Dry brining eliminates the need for large buckets, multiple gallons of brining liquid, and the constant worry of cross-contamination. It’s a cleaner, easier method that yields fantastic results.
- Even Seasoning: The direct application of the salt rub ensures that the seasoning is distributed evenly across the entire bird, preventing pockets of under-seasoned or over-seasoned meat.
If you’re accustomed to a traditional wet brine, we encourage you to try this straightforward dry brine method. You’ll be amazed at the difference it makes!
Understanding the Dry Brining Process: A Simple Rundown
Dry brining is remarkably simple, requiring just two core steps to achieve magnificent results:
Step 1: Season Thoroughly
Combine your chosen blend of salt and spices. For our recipe, this means kosher salt, black pepper, dried rosemary, and dried thyme. Liberally rub this mixture all over your raw, thawed turkey, ensuring every part of the bird, including under the skin, is well-coated.
Step 2: Rest in the Fridge
After seasoning, place the turkey in your refrigerator. This resting period is crucial for the salt to work its magic, drawing out moisture and allowing it to be reabsorbed, leaving you with tender, flavorful meat.
How Long Should You Dry Brine a Turkey for Best Results?
The duration of the dry brining process significantly impacts the final texture and flavor of your turkey. We recommend letting your dry brined turkey rest for at least 12 hours. However, for maximum flavor penetration and optimal tenderness, you can extend this resting period for up to 72 hours (3 days) in the refrigerator. The longer the brine, the deeper the flavor and moisture will infuse into the meat. Just ensure your turkey is properly covered and kept at a safe refrigerated temperature.
Dry Brine vs. Wet Brine: Choosing Your Method
While both dry and wet brining aim to achieve tender and juicy meat, they differ significantly in execution and outcome. A wet brine involves submerging the meat in a solution of salted water, often with other aromatics. This hydrates the meat, preventing it from drying out during cooking.
A dry brine, as discussed, focuses on direct salt application. The advantages of dry brining include the absence of a bulky brining container, no risk of diluting the turkey’s natural flavor with excess water, and most notably, a crispier skin due to the surface dehydration. Ultimately, the choice between dry and wet brining comes down to personal preference, but we find dry brining to be considerably easier to manage and often yields a more desirable texture, especially for the skin.
Essential Ingredients and Equipment for Dry Brining a Turkey
Our dry brine recipe is incredibly simple, relying on just a few key ingredients and basic kitchen tools to achieve spectacular results:
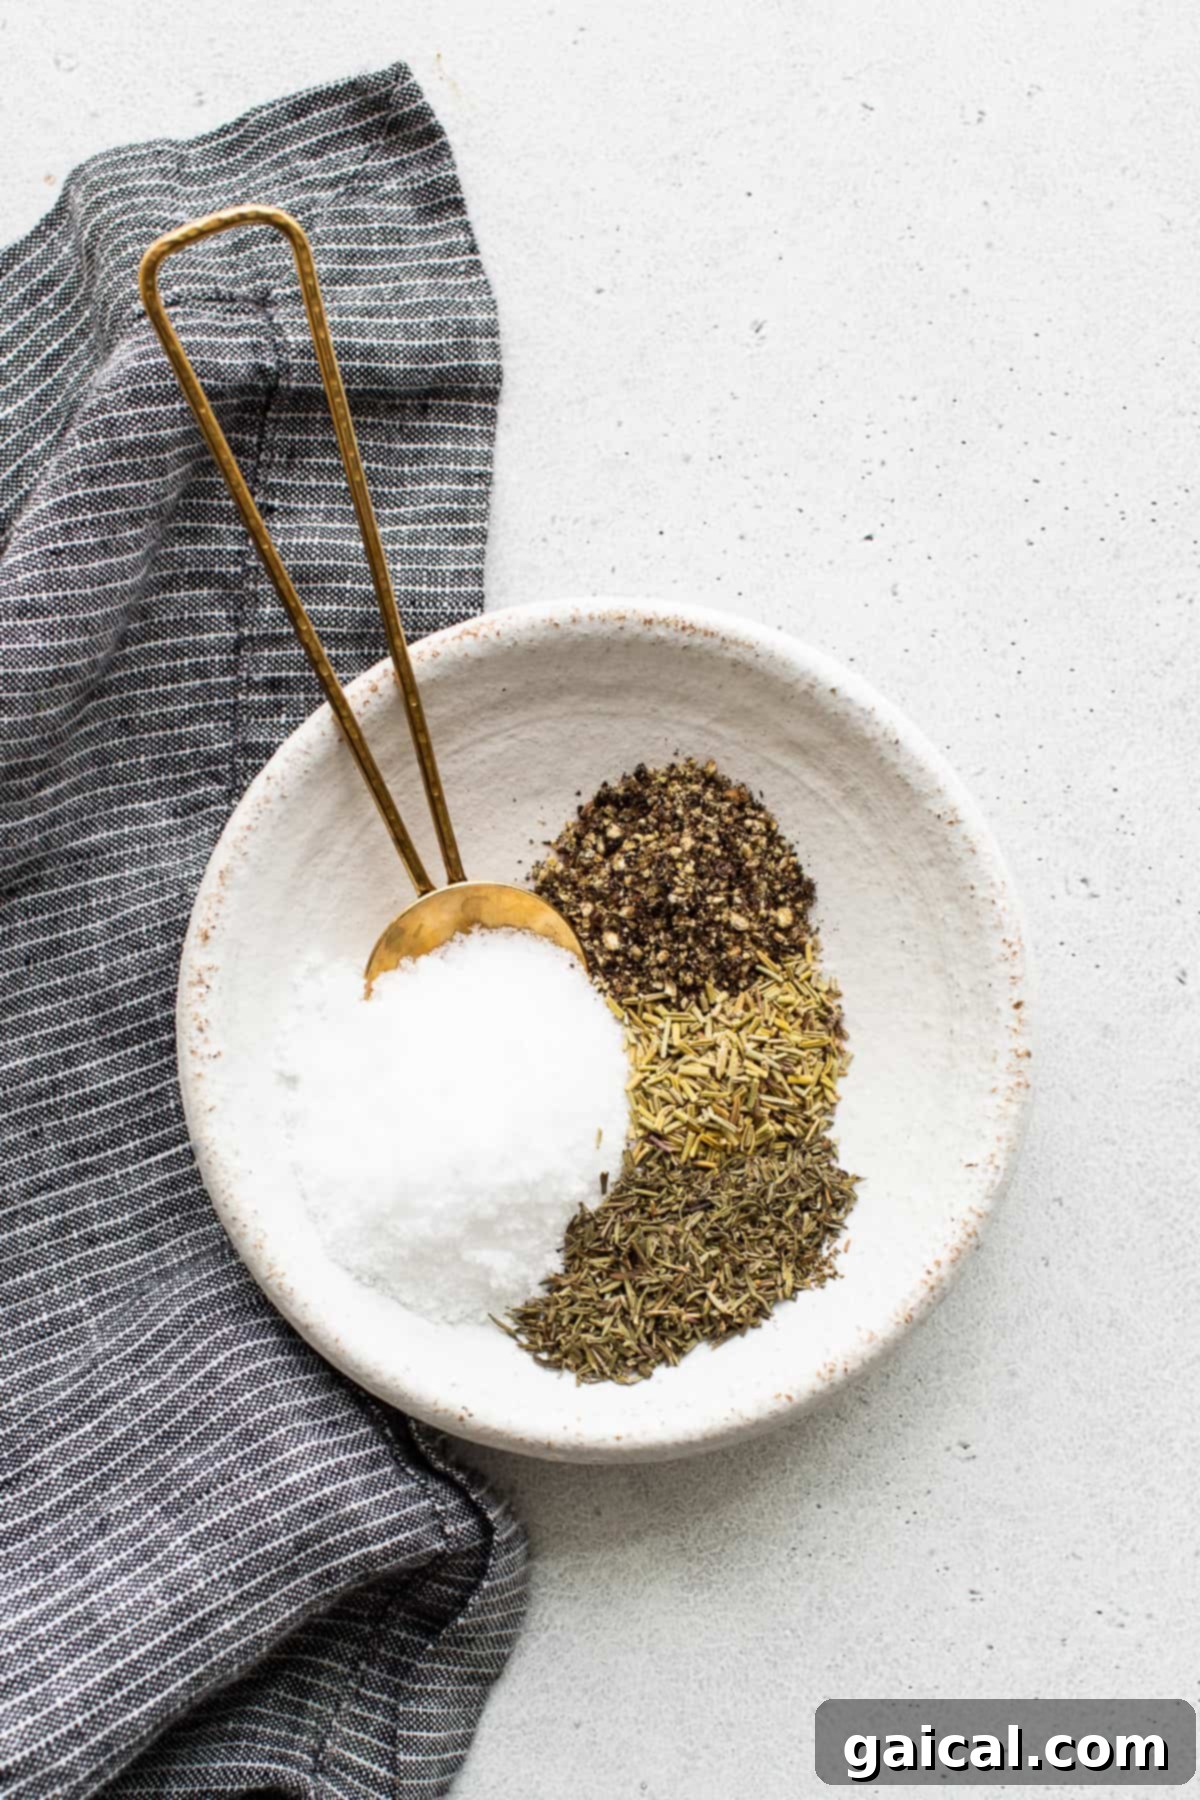
- Kosher Salt: This is the cornerstone of your dry brine. We specifically recommend kosher salt due to its larger crystal size. This makes it easier to handle, measure, and apply evenly without clumping, and it dissolves effectively into the turkey’s surface moisture.
- Freshly Ground Black Pepper: Adds a subtle, pungent warmth that complements the poultry beautifully.
- Dried Thyme: A classic poultry herb, thyme brings an earthy, slightly minty flavor that enhances the turkey’s natural taste.
- Dried Rosemary: Known for its robust, piney aroma, rosemary pairs perfectly with turkey, offering a fragrant depth to the brine.
- Your Turkey: This recipe is designed for approximately a 12-14 lb. untreated turkey. Ensure your turkey is completely thawed before beginning the brining process. Untreated means it hasn’t been injected with a sodium solution already.
- Storage Solution: You’ll need an airtight container, a large roasting pan covered tightly with plastic wrap, or a heavy-duty plastic brining bag large enough to comfortably fit your turkey. We often opt for a simple, clean grocery bag or brining bag for ease.
The Advantage of Kosher Salt in Dry Brining
You might wonder why kosher salt is consistently recommended for brining. The primary reason lies in its crystal structure. Unlike fine table salt, kosher salt has larger, coarser crystals that don’t clump easily, even when exposed to a little moisture (like from your hands or the turkey itself). This characteristic makes it much simpler to distribute evenly over the turkey’s surface. Furthermore, the absence of iodine and anti-caking agents found in many table salts allows the pure flavor of the salt to shine through, without any metallic aftertaste. Its larger crystals also dissolve more slowly, allowing for a more controlled and effective brining process.
Your Turkey is Dry Brined – What Comes Next?
Once your turkey has completed its essential resting period of at least 12 hours (or up to 72), it’s perfectly prepped for cooking! The dry brine has already done the heavy lifting of infusing moisture and flavor. Now, you can proceed with your favorite Thanksgiving turkey cooking method. The beauty of dry brining is its versatility; it enhances any cooking technique you choose. We have a variety of fantastic turkey recipes that pair perfectly with this dry brine method:
- Classic Roasted Turkey: For a timeless holiday centerpiece, our classic roasted Thanksgiving turkey recipe is a must-try. Simply substitute the wet brining step with this dry brine method.
- Irresistible Smoked Turkey: A reader favorite, our smoked turkey recipe yields an incredibly tender and smoky bird. Swap out the wet brine for this dry brine to achieve an even better texture and flavor.
- Effortless Spatchcock Turkey: If speed and even cooking are your priorities, spatchcocking your turkey is an excellent choice. This method, where the backbone is removed and the bird is flattened, cooks significantly faster and produces incredibly crispy skin. Our spatchcock turkey recipe already incorporates this very dry brine for optimal results.
- Flavorful Smoked Turkey Legs: While turkey legs are naturally rich and juicy, a dry brine can elevate their flavor profile significantly, making them a delicious addition to your meal or a standalone treat.
Before cooking, remember to remove the turkey from the refrigerator, pat it thoroughly dry with paper towels (this is key for crispy skin!), and discard any accumulated liquid. You do not need to rinse the turkey.
Flavor Variations: Personalizing Your Dry Brine
While our classic dry brine blend is incredibly delicious, the beauty of this technique lies in its adaptability. The core component is the salt, but you can easily customize the additional herbs and spices to match your personal taste or culinary theme. Here are some ideas to inspire your own unique turkey flavor profile:
- Italian Herb Blend: Incorporate a generous amount of Italian seasoning for a Mediterranean-inspired turkey.
- Warm and Earthy: Add dried oregano, marjoram, or sage to the mix for a more traditional, comforting flavor.
- Citrus Zest: Finely grate the zest of an orange or lemon into your salt and herb mixture. The citrus notes will brighten the turkey’s flavor beautifully.
- Garlic and Onion Powder: For an extra savory kick, include a teaspoon or two of garlic powder and onion powder.
- Spicy Twist: A pinch of cayenne pepper or smoked paprika can add a subtle heat and depth of color.
- Fresh Herbs: While dried herbs are convenient, finely chopped fresh rosemary, thyme, or sage can be added to the rub for an even more vibrant aroma, though they will adhere less readily.
Experiment with different combinations to discover your signature dry brine blend!
Discover More Thanksgiving Inspiration
Juicy Thanksgiving Meatballs (With Raspberry Sauce!)
Easy Oven-Roasted Turkey Tenderloin
Festive Canned Champagne Cocktail
Grandma Betty’s Swedish Coffee Cake
Caramelized Onion Dip
More Favorite Turkey Recipes
Explore Our Other Turkey Recipes
- Smoked Turkey Dry Brine
- Smoked Turkey Breast
- Baked Turkey Tenderloin
- Sous Vide Turkey
How to Serve Your Perfectly Dry Brined Turkey
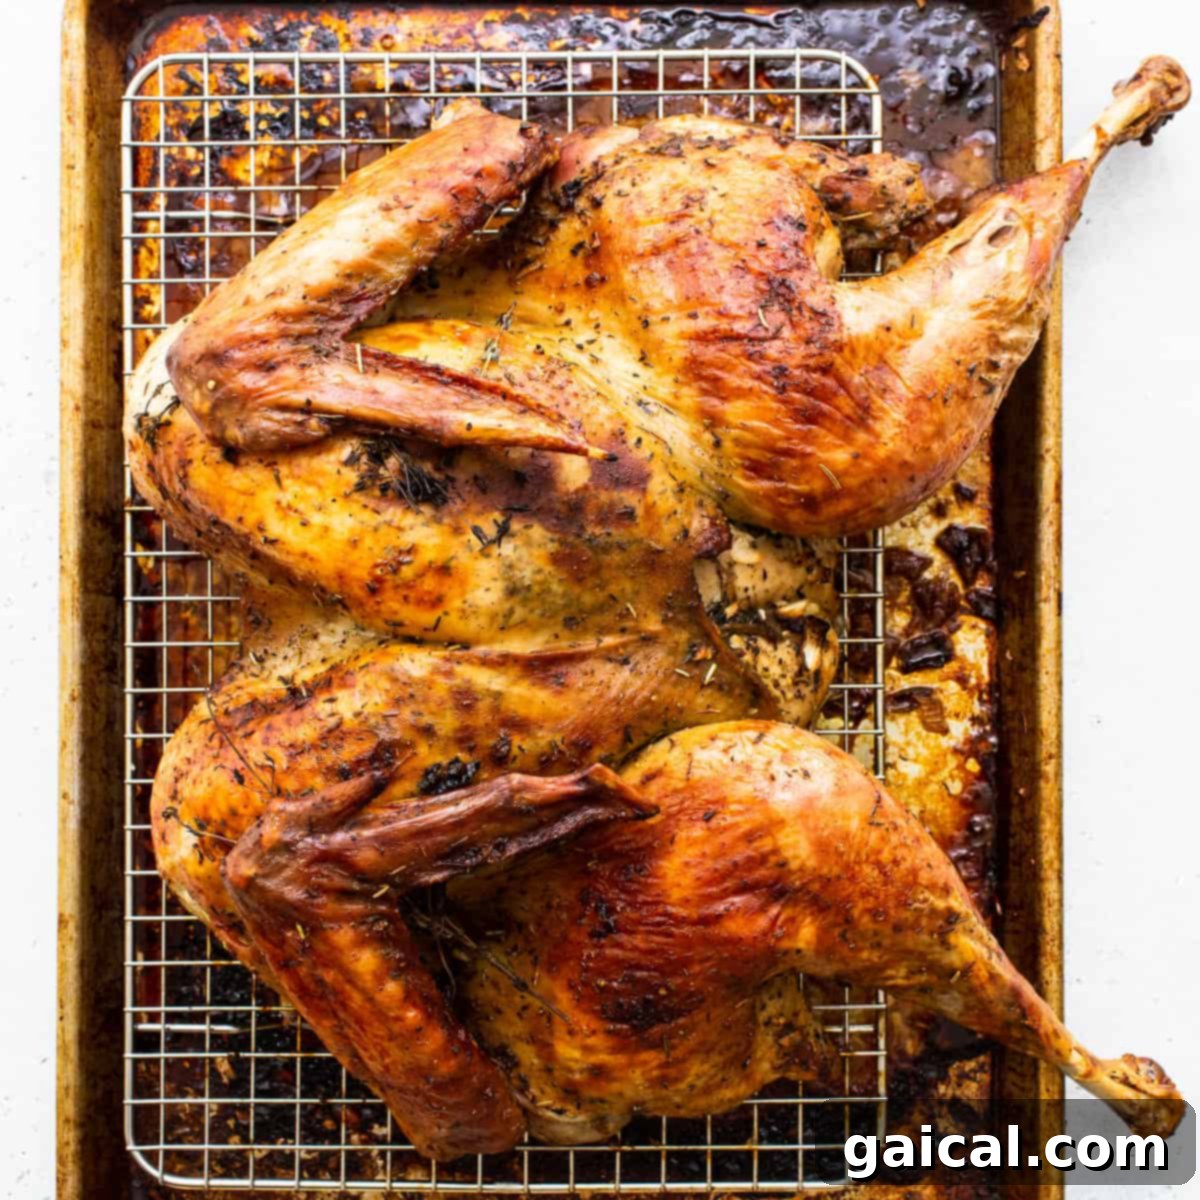
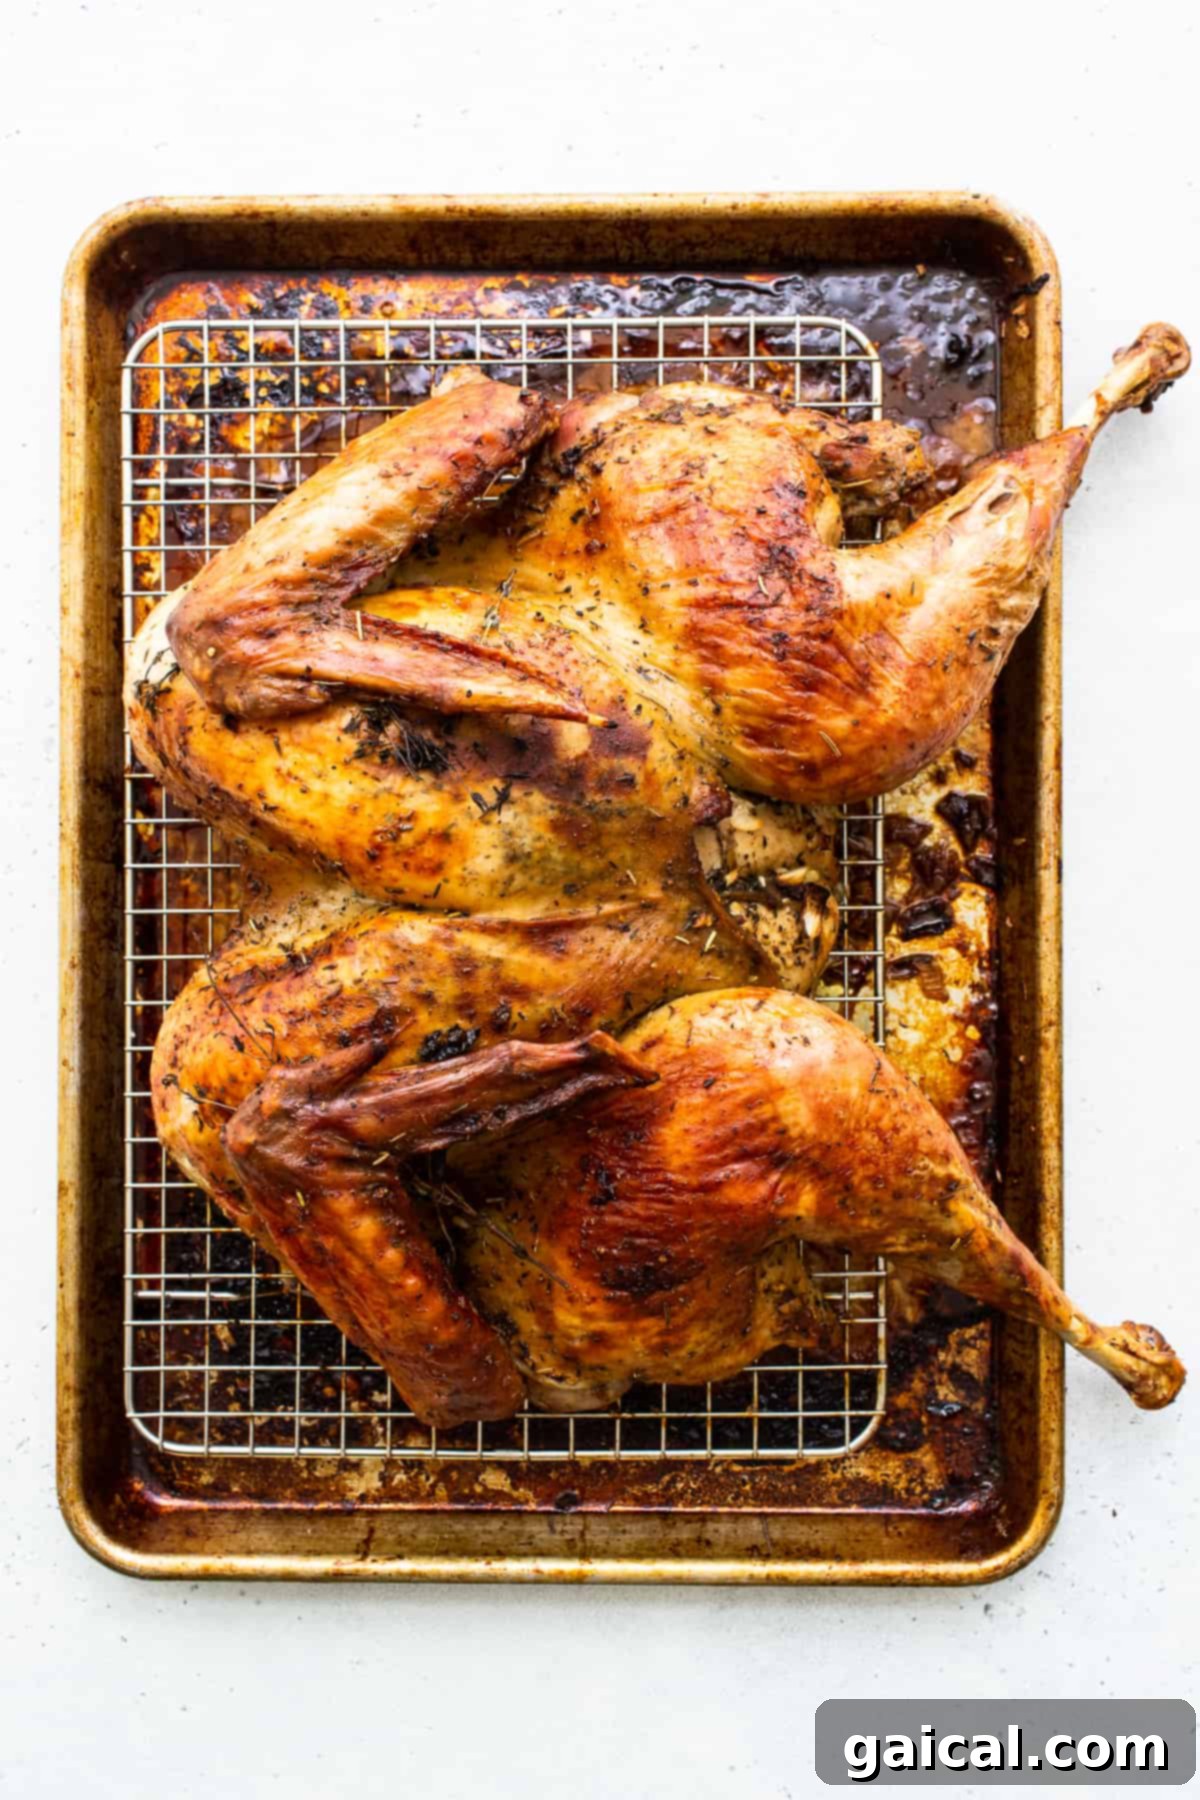
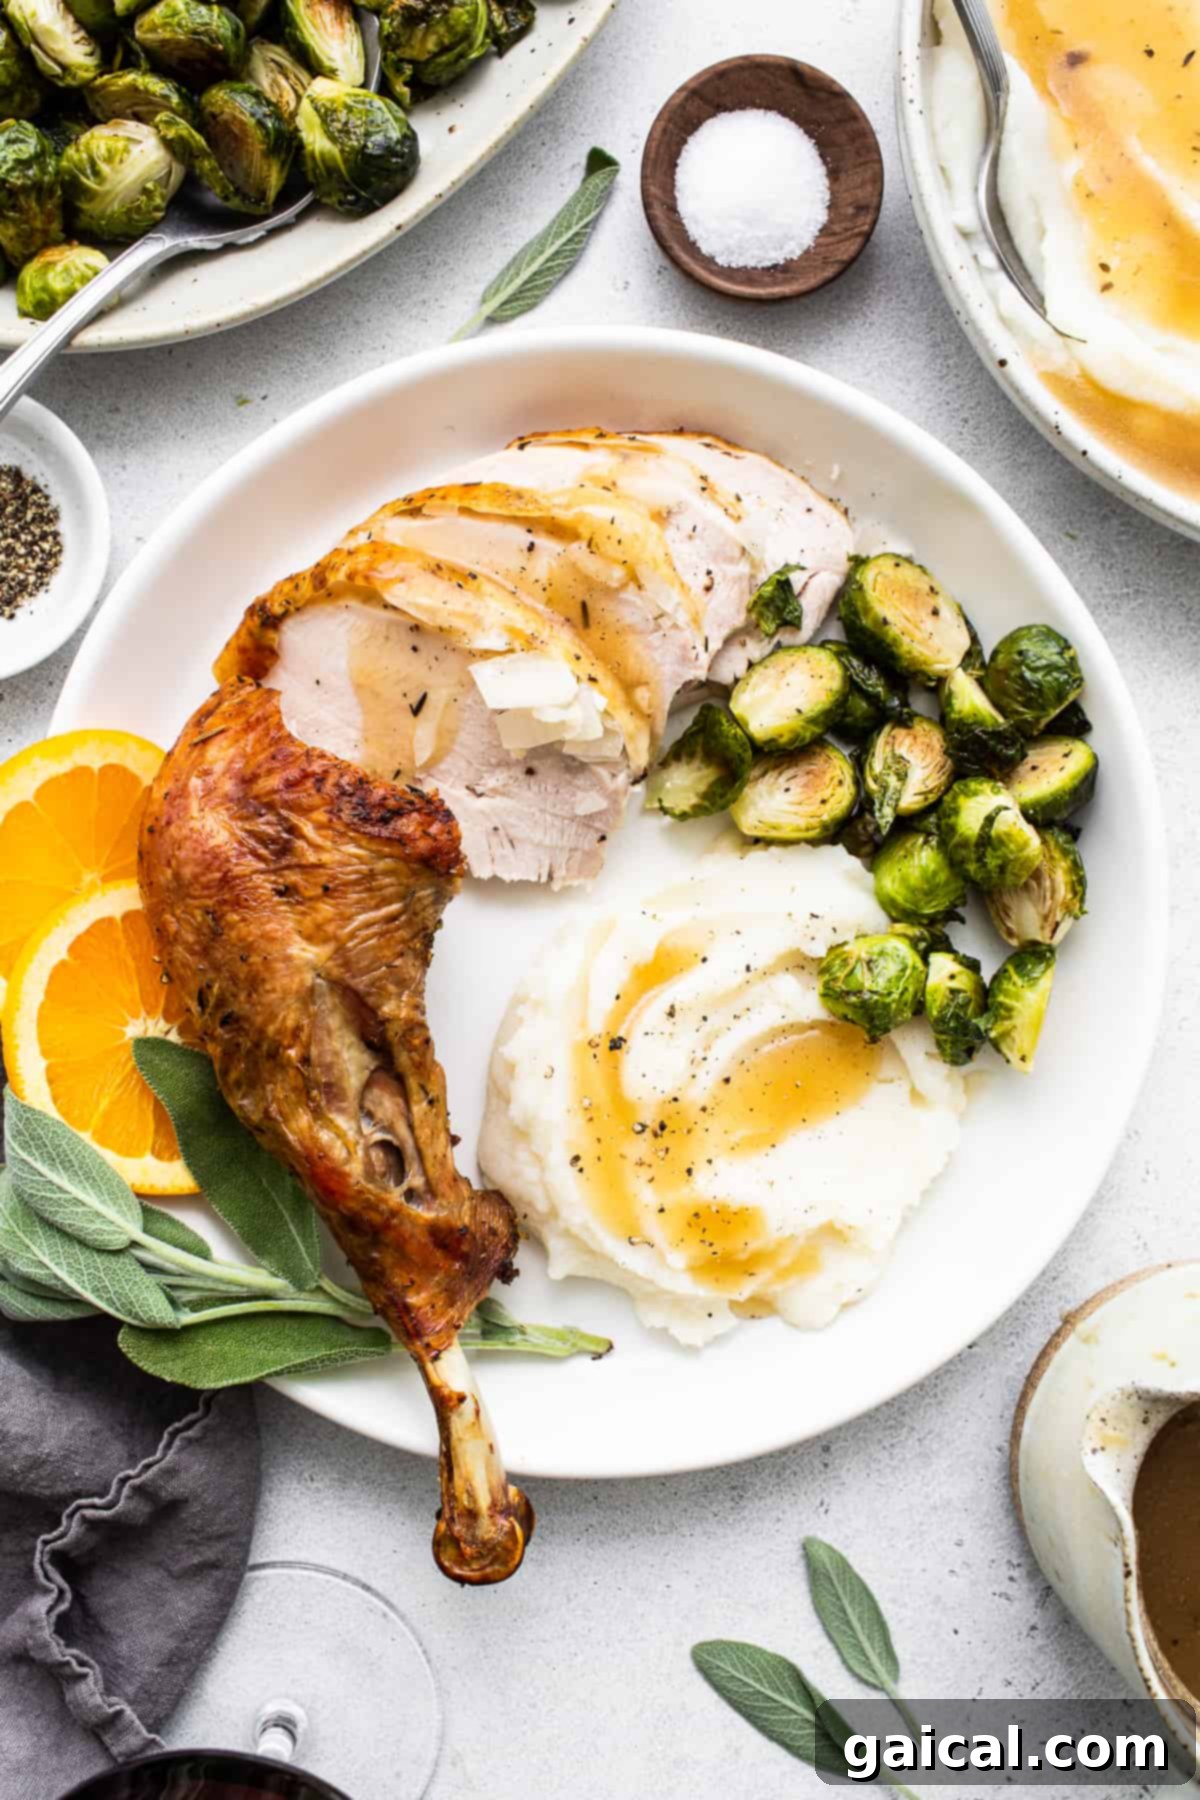
As illustrated in the accompanying images, we often prepare our dry brined Thanksgiving turkey using the spatchcock method, followed by roasting. This approach consistently delivers a turkey that is magnificently crispy on the outside and unbelievably moist and flavorful on the inside. A perfectly brined turkey deserves equally delectable accompaniments. Here are some of our top Thanksgiving side dish recommendations to complete your holiday meal:
- Garlic Roasted Brussels Sprouts: A simple yet flavorful side that adds a touch of green and a delightful crunch.
- Creamy Mashed Sweet Potatoes: A comforting and naturally sweet alternative to traditional mashed potatoes.
- Zesty Lemon Ginger Cranberry Sauce: A bright, homemade cranberry sauce that offers a refreshing contrast to the rich turkey.
- Rich Mushroom Gravy: A savory, umami-packed gravy that’s perfect for drizzling over your turkey and sides.
- Classic Stuffing/Dressing: No Thanksgiving meal is complete without a hearty stuffing or dressing. Choose your favorite recipe to soak up all those delicious turkey juices.
Easy Dry Brine Turkey Recipe
Looking to make sure your Thanksgiving turkey comes out tender and juicy? Follow this easy turkey dry brine recipe, where you will be salting and resting your turkey before cooking.
Print Recipe
Ingredients
- 12-14 lb. untreated turkey, completely thawed
- 2 tablespoons kosher salt
- ½ tablespoon black pepper
- 1 teaspoon dried thyme
- 1 teaspoon dried rosemary
Instructions
-
Remove the turkey from its packaging and remove any innards (neck, giblets) from the inside of the turkey. Pat the turkey very dry with paper towels, both inside and out. Set aside.
-
Add the kosher salt, black pepper, dried thyme, and dried rosemary to a small bowl. Mix thoroughly until all ingredients are well combined.

-
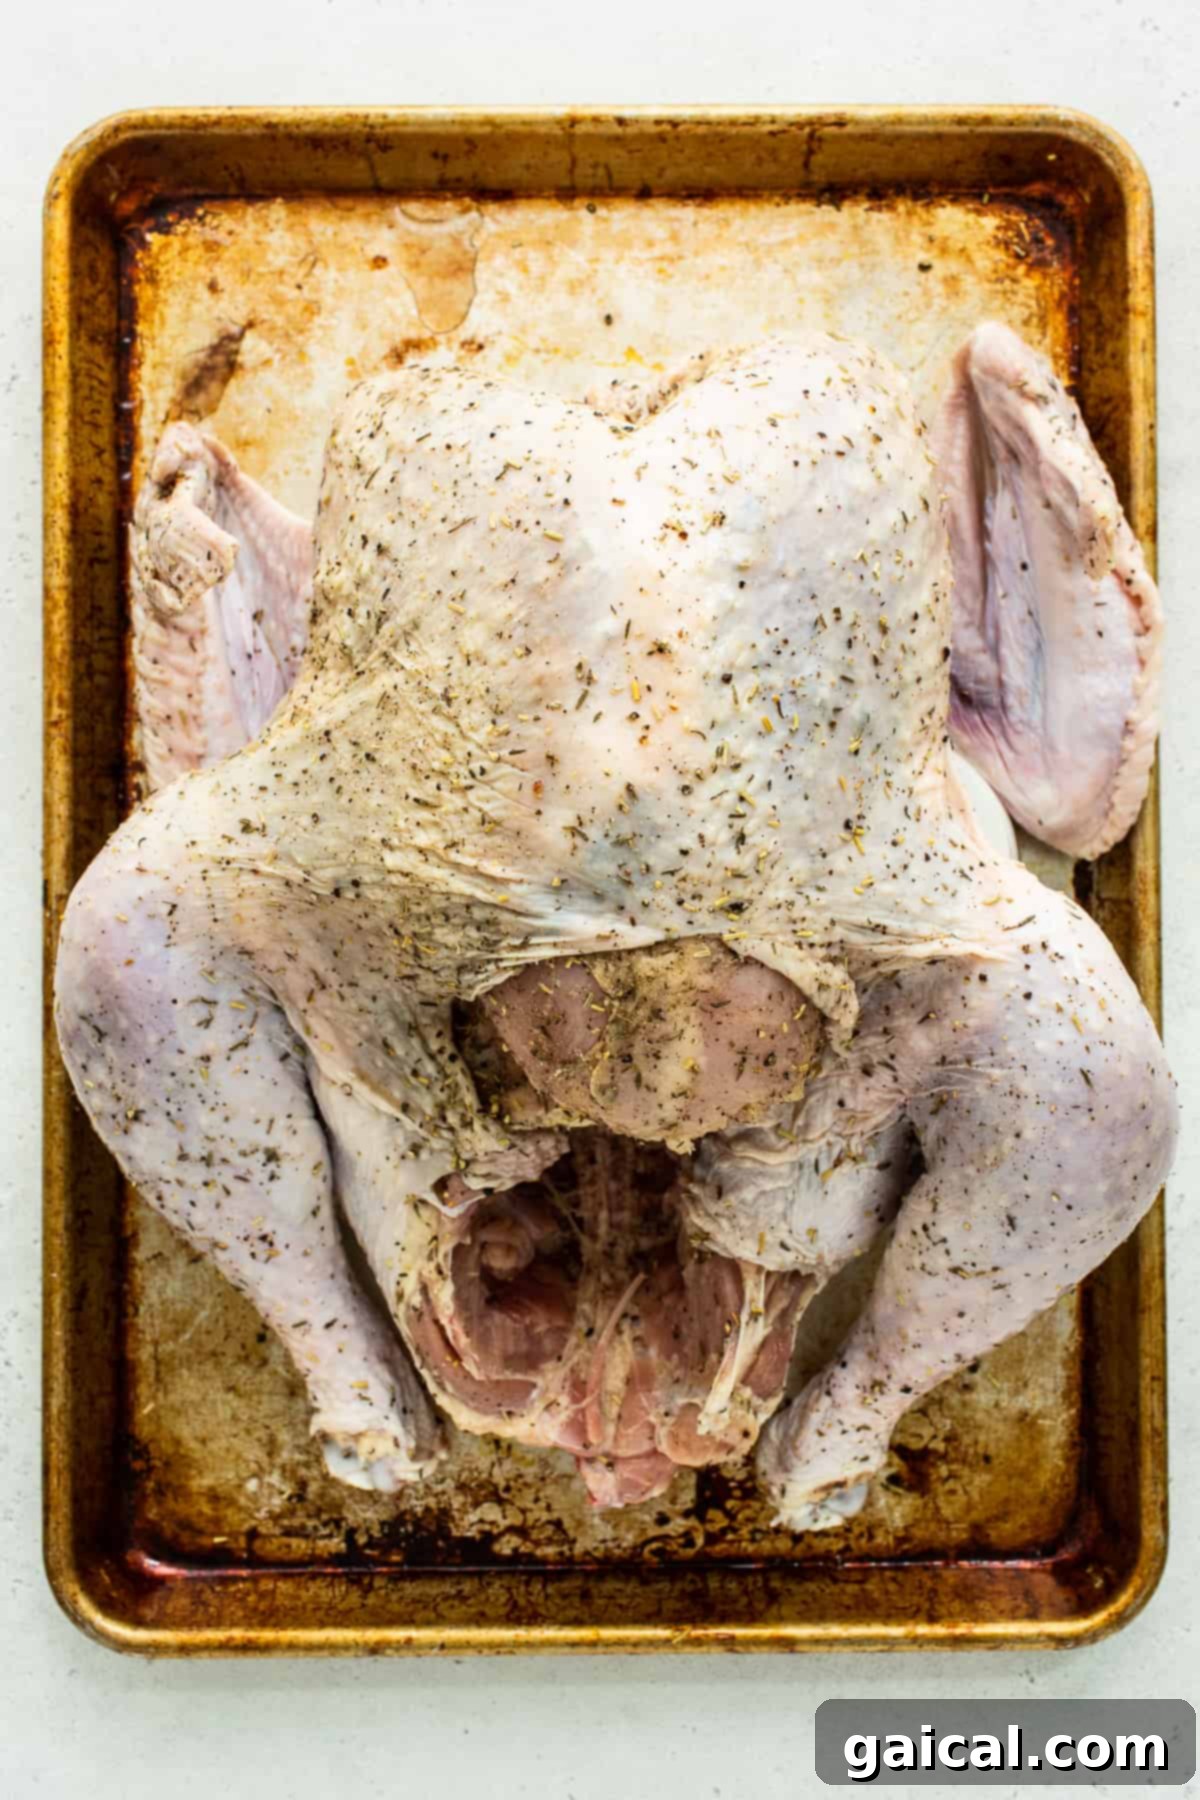
Gently separate the skin from the turkey breast meat, being careful not to tear it. Evenly rub about half of the salt mixture under the skin, directly onto the meat of the breasts, legs, and thighs. Then, rub the remaining salt mixture generously over the entire exterior of the turkey, ensuring full coverage.
-
Carefully place the seasoned turkey in a large, clean plastic bag (like an oven bag or brining bag), or in an airtight container or roasting pan tightly covered with plastic wrap. Ensure it’s contained to prevent any drips. Refrigerate for at least 12 hours, and ideally for 24 to 72 hours.
-
When ready to cook, remove the turkey from the refrigerator. Discard any excess liquid that has accumulated. Pat the turkey extremely dry with paper towels one last time; this step is crucial for achieving crispy skin during cooking. Do not rinse the turkey.
-
Proceed to cook your dry brined turkey using your favorite method. We highly recommend trying our roasted turkey, spatchcock turkey, or smoked turkey recipes for an unforgettable meal.
Tips & Notes for a Perfect Dry Brine
- This dry brine recipe is perfectly proportioned for a 12-14 lb. turkey. Adjust salt quantities proportionally if your turkey is significantly larger or smaller.
- For the best results, allow your turkey to dry brine in the refrigerator for a minimum of 12 hours, and preferably for 24-72 hours. While you can start the brining process when your turkey is partially thawed, it must be fully thawed before you begin cooking.
- Why Kosher Salt? We champion kosher salt for dry brining because its larger crystals are easier to distribute evenly and prevent clumping, even with some moisture. Unlike fine table salt, it lacks anti-caking agents and iodine, which can sometimes impart an off-flavor.
- Don’t Rinse! After brining, resist the urge to rinse the turkey. Rinsing can wash away some of the flavor and may spread bacteria in your kitchen. Simply pat it dry.
- Crispy Skin Secret: After brining and before cooking, leave the turkey uncovered in the refrigerator for an additional few hours (if time allows) to further dry out the skin. This will yield an incredibly crispy finish.
Nutrition Information (Approximate)
Calories: 1 kcal, Carbohydrates: 0.3 g, Protein: 0.1 g, Fat: 0.02 g, Fiber: 0.1 g, Sugar: 0.01 g
Nutrition information is automatically calculated and should be used as an approximation only. Actual values may vary based on ingredients and preparation methods.
Photography: All stunning images in this post were captured by Ashley McGlaughlin from The Edible Perspective, beautifully illustrating the dry brining process.