
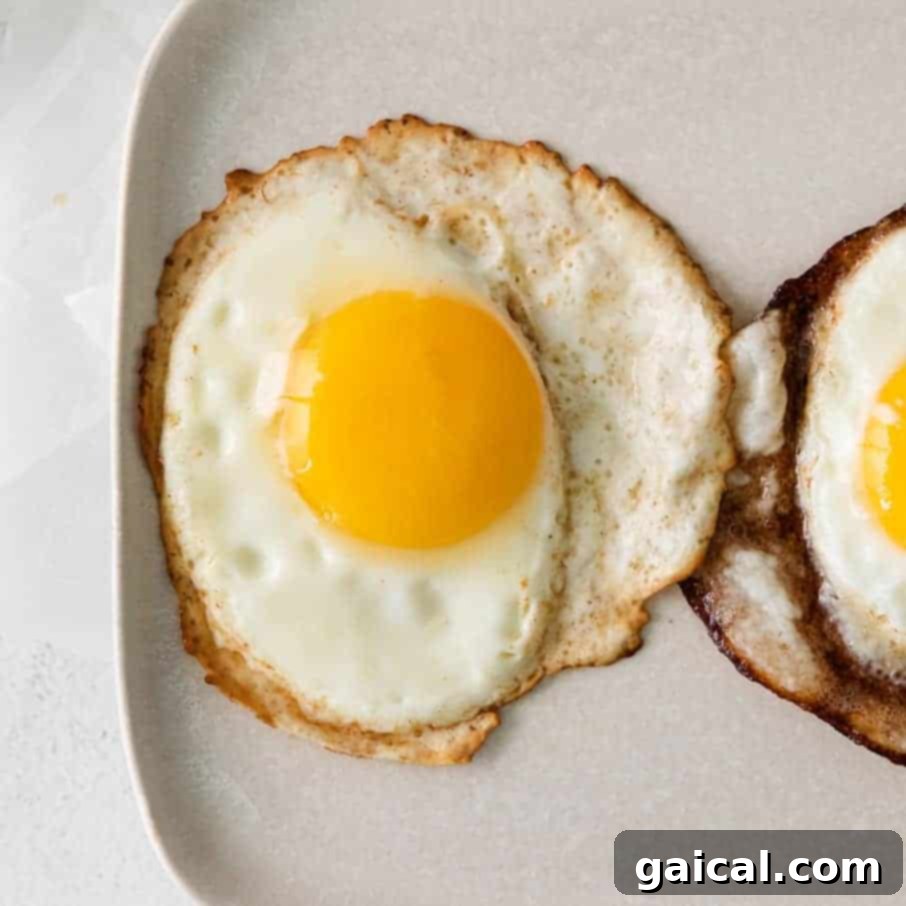
Few dishes are as simple yet satisfying as a perfectly fried egg. Whether you prefer a runny yolk to dip your toast in, a jammy center, or a completely firm yolk for a hearty sandwich, mastering the art of the fried egg is a fundamental skill for any home cook. This comprehensive guide will transform you into a fried egg pro, ensuring delicious results every single time. We’ve meticulously tested various techniques, fats, and cook times so you don’t have to, providing you with all the insights needed to achieve your ideal fried egg.
Our journey to perfecting the fried egg involved countless hours in the kitchen, experimenting with different variables. We explored how various types of cooking fats impact flavor and texture, from the richness of butter to the crispiness provided by different oils. We also tested a range of pans – non-stick, cast iron, and stainless steel – to determine which offered the best results and how to overcome challenges with each. Finally, we meticulously timed each cooking style to pinpoint the exact moments for that ideal yolk consistency. The goal? To empower you with foolproof methods, whether you’re craving a quick breakfast or adding a protein boost to your lunch or dinner.
P.S. If you’re wondering, our personal favorite tends to be the versatile over-medium egg, offering that perfect balance of a set white and a wonderfully jammy yolk.
Essential Ingredients and Equipment for the Perfect Fried Egg
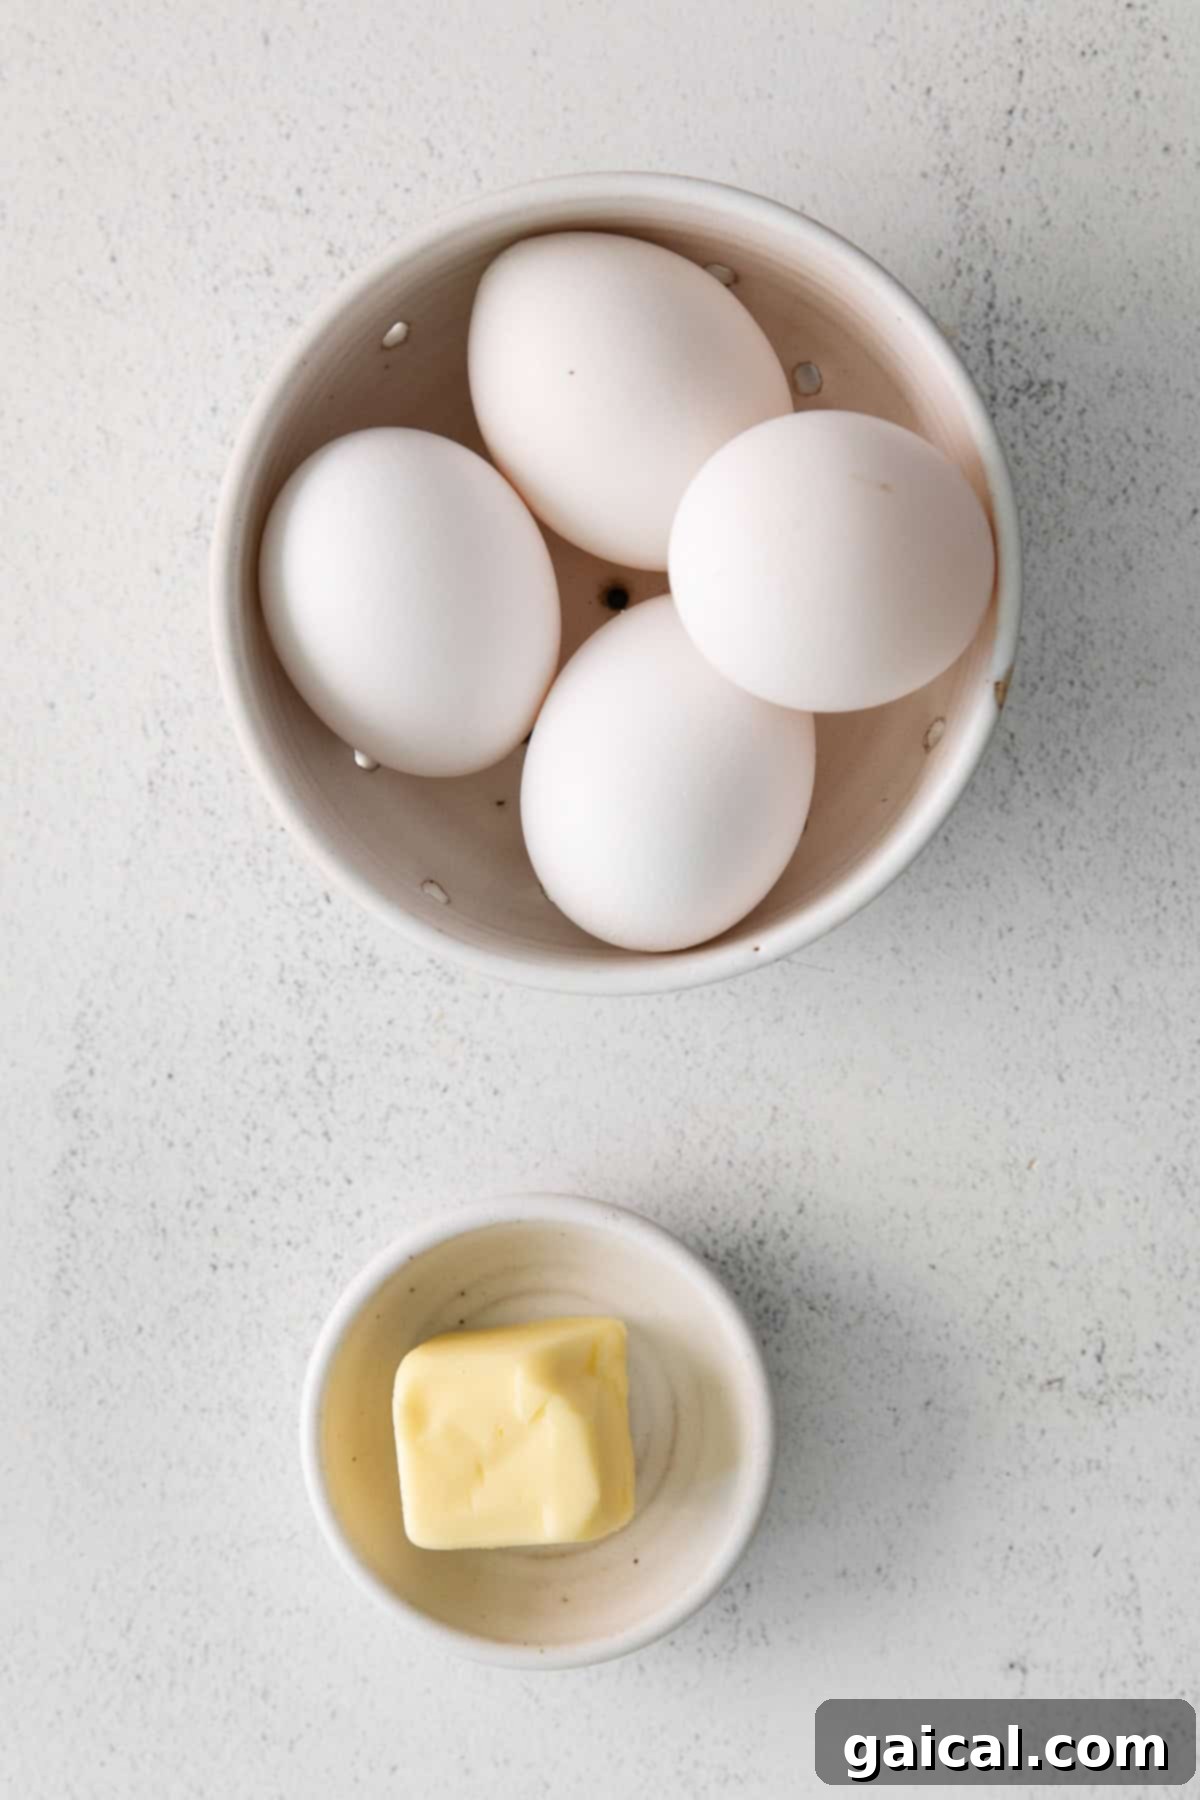
Crafting the perfect fried egg starts with the right tools and fresh ingredients. While the process is simple, quality components make a world of difference in the final outcome.
What You Need for Fried Eggs:
- Pan: A high-quality non-stick skillet is undeniably the easiest option for frying eggs, virtually guaranteeing effortless release. However, with the correct technique and ample fat, excellent results can also be achieved using a well-seasoned cast iron pan or a stainless steel skillet.
- Fat: The choice of fat is crucial, influencing both the flavor and the texture of your fried egg. You can opt for butter for a rich, nutty flavor and a delicate white, or various oils (like avocado or olive oil) for crispier edges and a cleaner taste.
- Eggs: Freshness is paramount! Always check the date on your egg carton for peak quality. Fresher eggs tend to hold their shape better, resulting in a neater appearance when fried.
- Seasoning: Simple salt and freshly ground black pepper are often all you need to elevate the flavors of your fried egg. Add them immediately after cooking for best results.
- Spatula: A thin, flexible spatula is incredibly helpful for flipping eggs cleanly and carefully lifting them from the pan without breakage.
Butter vs. Oil: The Great Fat Debate
When it comes to frying eggs, most people fall into one of two camps: butter lovers or oil enthusiasts. Your choice depends entirely on your desired flavor profile and texture.
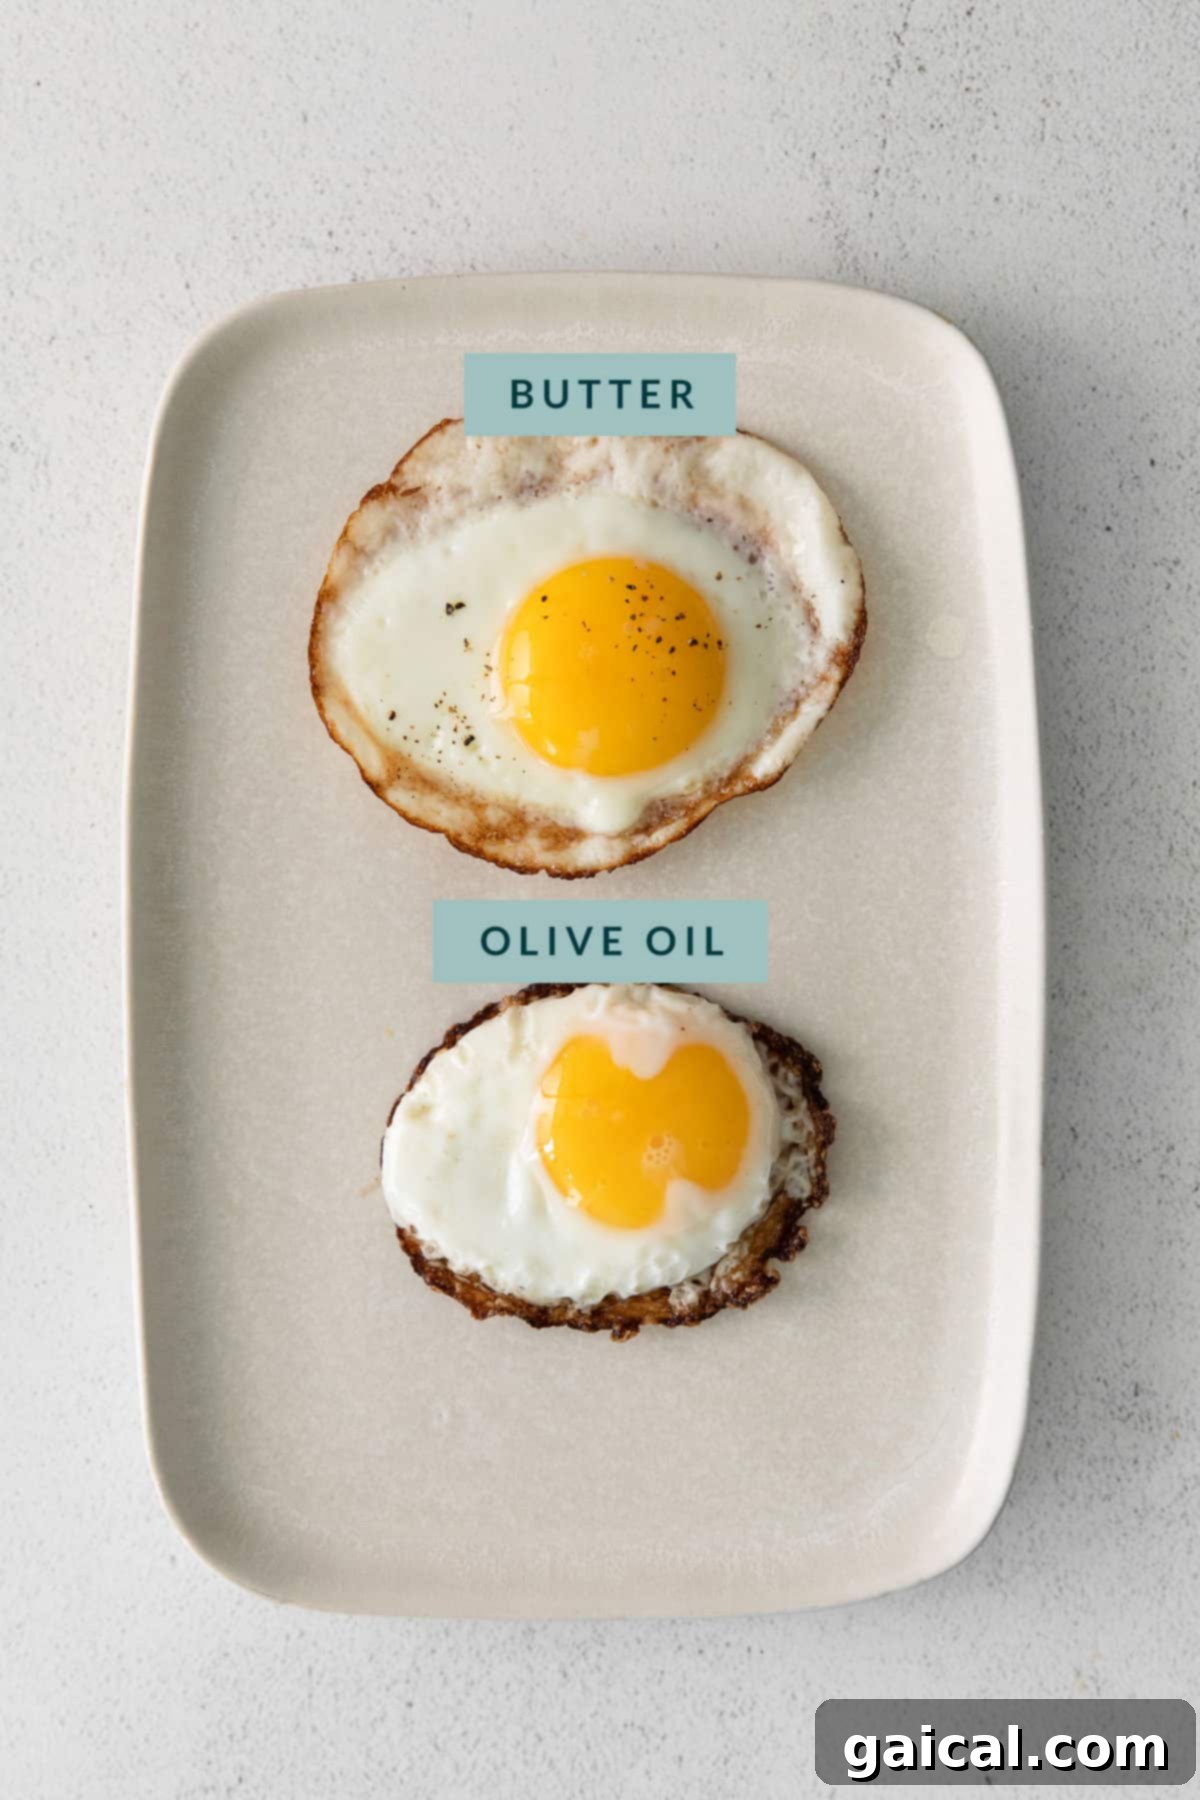
- Butter: Frying your eggs in butter imparts a wonderfully rich, nutty flavor that complements the egg beautifully. When cooked over medium-high heat, butter allows for minimal browning on the egg white, resulting in a more delicate and uniformly cooked over-easy or over-medium egg. The slight golden edges are subtle and add depth of flavor without being overtly crispy.
- Oil: If you prefer a fried egg with distinctively crispy, slightly browned edges and a more bubbly white, then using a neutral oil like avocado oil or olive oil is your best bet. These oils typically have higher smoke points, allowing the egg whites to sizzle and crisp up around the edges, creating a delightful textural contrast that many adore in a fried egg.
Exploring the Delicious Variations of Fried Eggs
The beauty of a fried egg lies in its versatility. Depending on cook time and whether you choose to flip it, you can achieve a spectrum of yolk consistencies, catering to every preference. From gloriously runny to completely firm, there’s a fried egg style for everyone.
How your yolk turns out is primarily dependent on two factors: how long you fry your egg and whether or not you decide to flip it in the pan. Let’s break down the most popular variations:
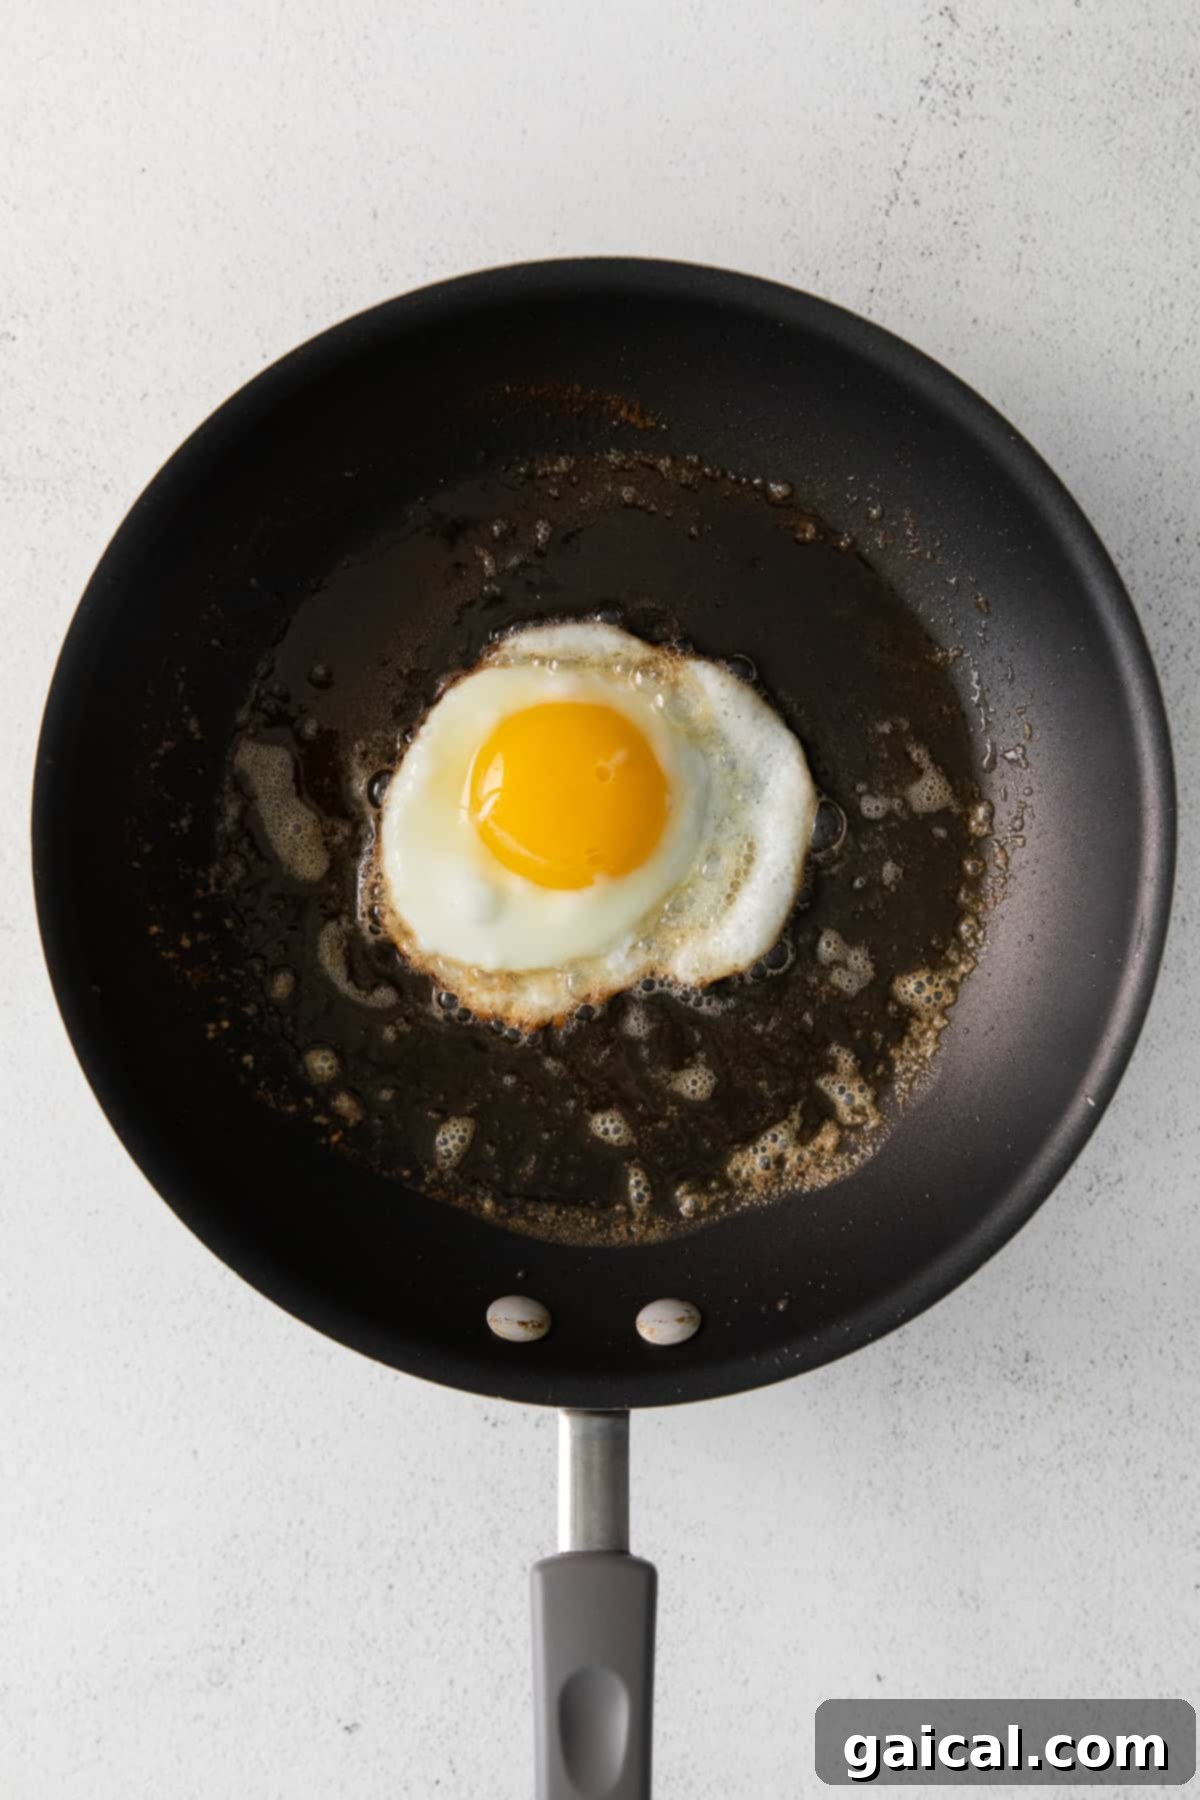
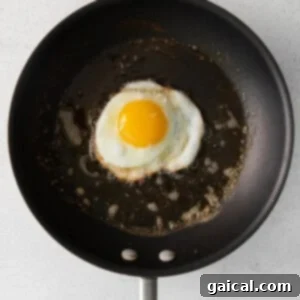
- Sunny-Side Up Eggs: These eggs are cooked without flipping, allowing the yolk to remain bright yellow and completely runny. The whites are just set, often with delicate, lacey edges, while the yolk stays liquid and warm. Cook over medium heat for approximately 2-3 minutes, until the whites are opaque and set, but the yolk remains unflipped and liquid.
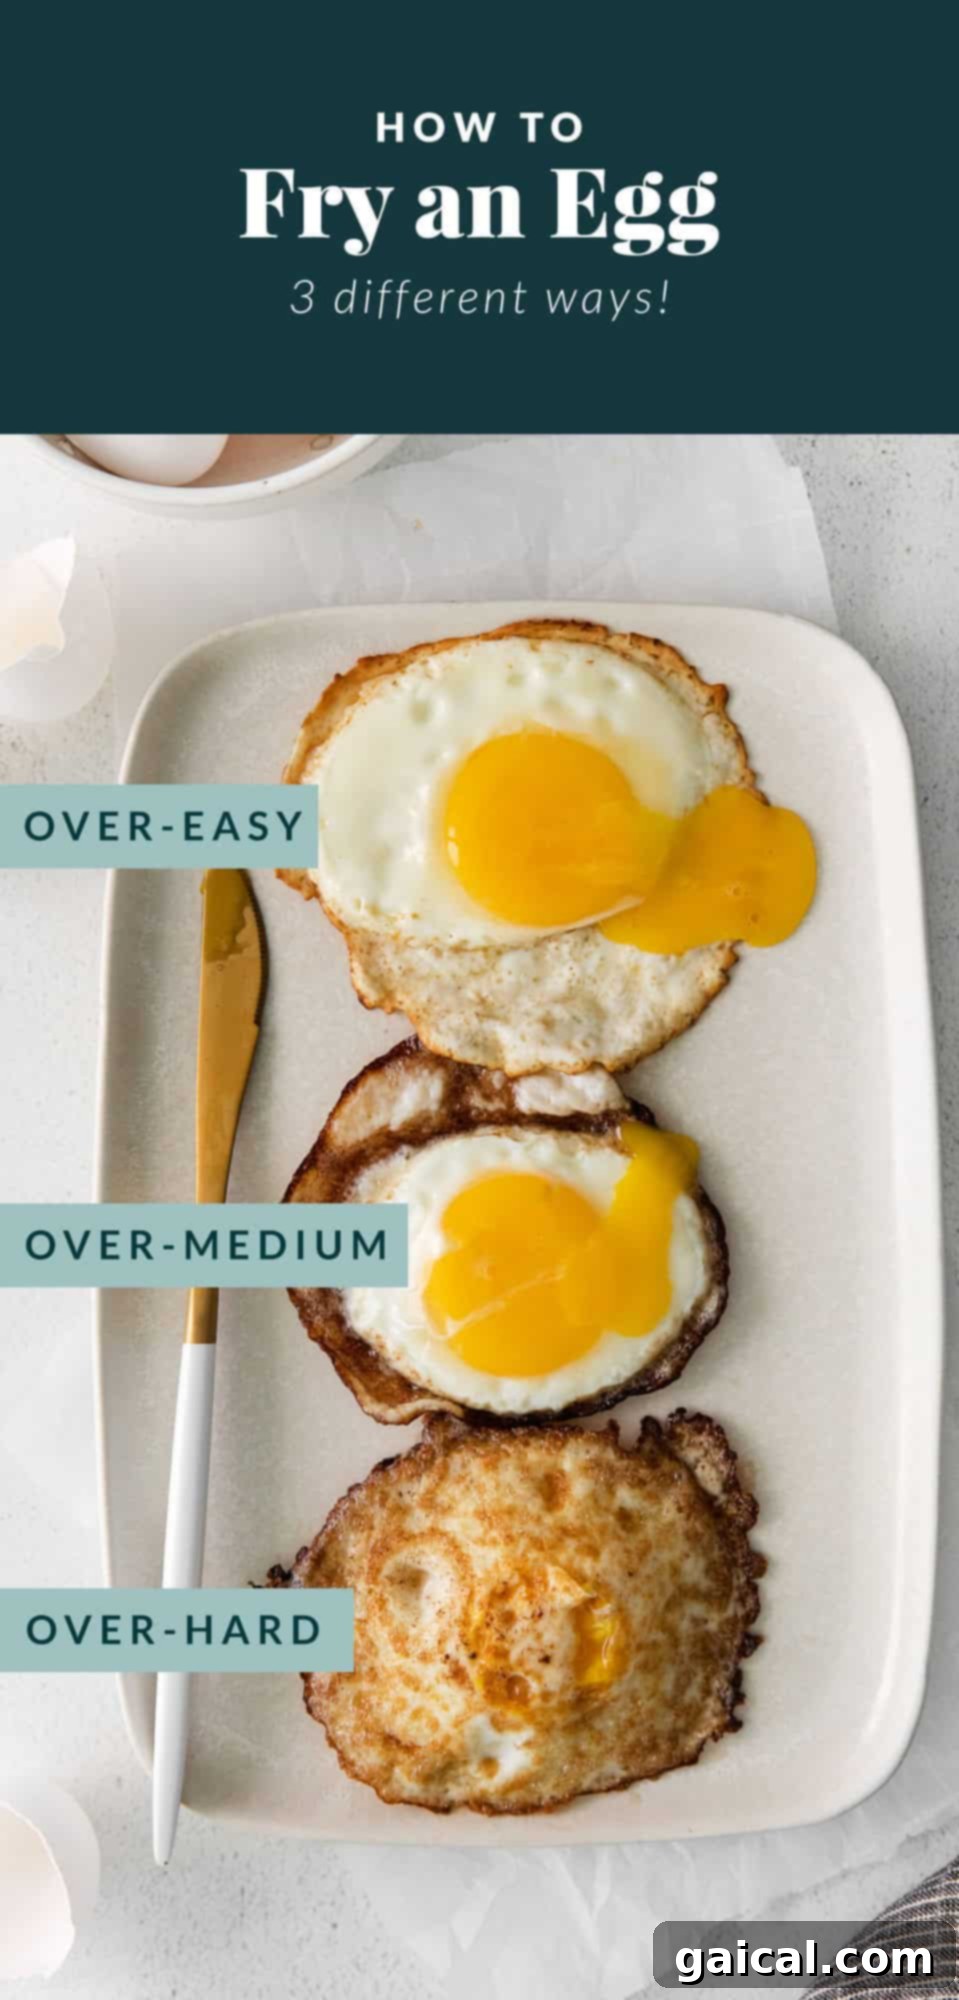
- Over-Easy Eggs: For those who love a runny yolk with a slightly set white, over-easy is the way to go. These eggs are flipped briefly, just enough to cook a thin film over the yolk, but leave the center perfectly liquid. Cook over medium heat for about 2-3 minutes until the egg white is mostly set, then flip and cook for just 15-30 seconds. The yolk should still be very jiggly.
- Over-Medium Eggs: This style offers a beautifully jammy, semi-liquid yolk – a fan favorite for many. The whites are fully cooked, and the yolk is slightly thicker than over-easy, with a soft, gooey center. Cook over medium heat for 3-4 minutes, until the egg white is entirely cooked through with no raw spots. Flip and cook for an additional 30-60 seconds, or until the yolk is set around the edges but still delightfully jammy in the middle.
- Over-Hard Eggs: If you prefer a completely solid, firm yolk without any runniness, then over-hard is your ideal choice. These eggs are fully cooked through, making them perfect for egg sandwiches or when you simply don’t want any yolk “jiggle.” Cook over medium heat for 4-5 minutes, ensuring both the egg white and yolk are completely set. To guarantee a firm yolk, flip the egg and cook for an additional 60-90 seconds, pressing lightly with your spatula if desired to speed up cooking.
Choosing the Best Pan for Frying Eggs
The type of pan you use can significantly influence the success and ease of frying an egg. While many options exist, selecting the right material and size for your cooking needs is crucial for consistent, non-stick results.
Our top recommendation for frying eggs is undoubtedly a good quality non-stick skillet. This type of pan minimizes the chances of sticking, making the entire process, from cooking to removal, incredibly smooth. Regardless of the fat you choose, a non-stick surface ensures your egg slides right out, making cleanup a breeze.
One critical tip, no matter what pan material you opt for: avoid overcrowding the skillet. Frying too many eggs at once can lower the pan’s temperature, lead to uneven cooking, and make flipping difficult. Always use a larger skillet if you’re preparing multiple eggs simultaneously, ensuring each egg has enough space to cook properly.
Pans You Can Use to Fry an Egg:
- Non-stick Skillet: This is your best friend for frying eggs. The non-stick coating makes an already simple recipe even more forgiving, preventing eggs from adhering to the surface and ensuring easy release. Look for pans with a sturdy handle and an even heat distribution.
- Cast Iron Skillet: A well-seasoned cast iron pan can also work wonders due to its excellent heat retention. It gets hot quickly and maintains a consistent temperature, which is great for achieving crispy edges. However, cast iron requires a generous amount of oil or butter and careful preheating to prevent sticking. Ensure your pan is properly seasoned, and frequently check the edges of your egg to ensure it’s not sticking before attempting to flip or remove.
- Stainless Steel Pan: While not the easiest, a stainless steel pan can be used for frying eggs if it’s your only option. The key is to be very diligent with preheating and oiling. Stainless steel can sometimes heat inconsistently, leading to hot spots where eggs might stick and burn. Ensure the pan is properly preheated to a medium temperature, add fat, and wait for the fat to shimmer before adding the egg. Do not try to move the egg until the whites are fully set and have naturally released from the pan.

For more delicious and healthy recipes, be sure to check out Fit Foodie Finds!
More of our Favorite…
Explore More Egg Tutorials
- Perfect Hard Boiled Eggs
- Over-Medium Eggs
- Soft Boiled Eggs
- Poached Eggs
- Over Easy Eggs
- Over Hard Eggs
- Baked Eggs
- Scrambled Eggs
- Sunny Side Up Eggs
- Fried Eggs
- Air Fryer Hard Boiled Eggs
Frequently Asked Questions About Frying Eggs
Frying an egg for a sandwich follows the same basic principles as frying one for a plate. For a less messy sandwich experience, we highly recommend frying your egg over-hard. This ensures a fully set yolk, preventing any drips or runny centers from escaping the bread, making for a neat and enjoyable meal.
Yes, you can fry an egg without oil or butter, a method often referred to as “steaming” an egg. For this, a non-stick pan is essential. Crack the egg into the preheated non-stick pan, then immediately add 1-2 tablespoons of water to the skillet. Cover the pan with a lid, and let the egg cook to your desired yolk consistency. The steam created by the water will cook the whites and yolk without any added fat, though the texture will be slightly different from a traditionally fried egg.
Absolutely! Frying eggs in the oven is a great option, especially if you’re making multiple servings. Lightly grease a baking sheet or individual ramekins with a bit of oil or butter. Crack the eggs onto the prepared sheet/ramekins. Bake at 350°F (175°C) for approximately 15-20 minutes, or until the whites are set and the yolks reach your preferred level of doneness (softer for runny, longer for firm).
Fried eggs are incredibly versatile and can be enjoyed at any meal! For breakfast, classic pairings include toast (perfect for dipping runny yolks!), a side of crispy bacon, or savory homemade breakfast sausage. They’re also fantastic in a breakfast sandwich with cheese. For lunch or dinner, fried eggs can elevate a simple meal; think steak and eggs, a fried egg served atop rice in a vibrant rice bowl, or even added to salads and burgers for an extra layer of richness.
Delicious Ways to Prepare Eggs
Do you share our passion for eggs? Dive into these incredible egg recipes whenever you crave a protein-packed and satisfying meal.
Easy Sheet Pan Scrambled Eggs
Cottage Cheese Egg Salad
Egg and Croissant Breakfast Casserole
Cottage Cheese Baked Eggs
Savory Breakfast Galette
Storage and Reheating Fried Eggs
While fried eggs are best enjoyed fresh off the pan, you can prepare them ahead of time for quick meals. Properly stored, fried eggs can be a convenient protein source for up to three days.
Allow your fried eggs to cool completely to room temperature before storing them. Transfer them into an airtight container and store them in the refrigerator. This prevents moisture buildup and helps maintain their texture.
To reheat: For best results, gently reheat your fried eggs on low power in the microwave. Heating them gradually helps prevent overcooking and turning the whites rubbery or the yolk dry. You can also briefly warm them in a lightly greased skillet over low heat.
Serving Suggestions: Elevate Your Fried Egg Experience
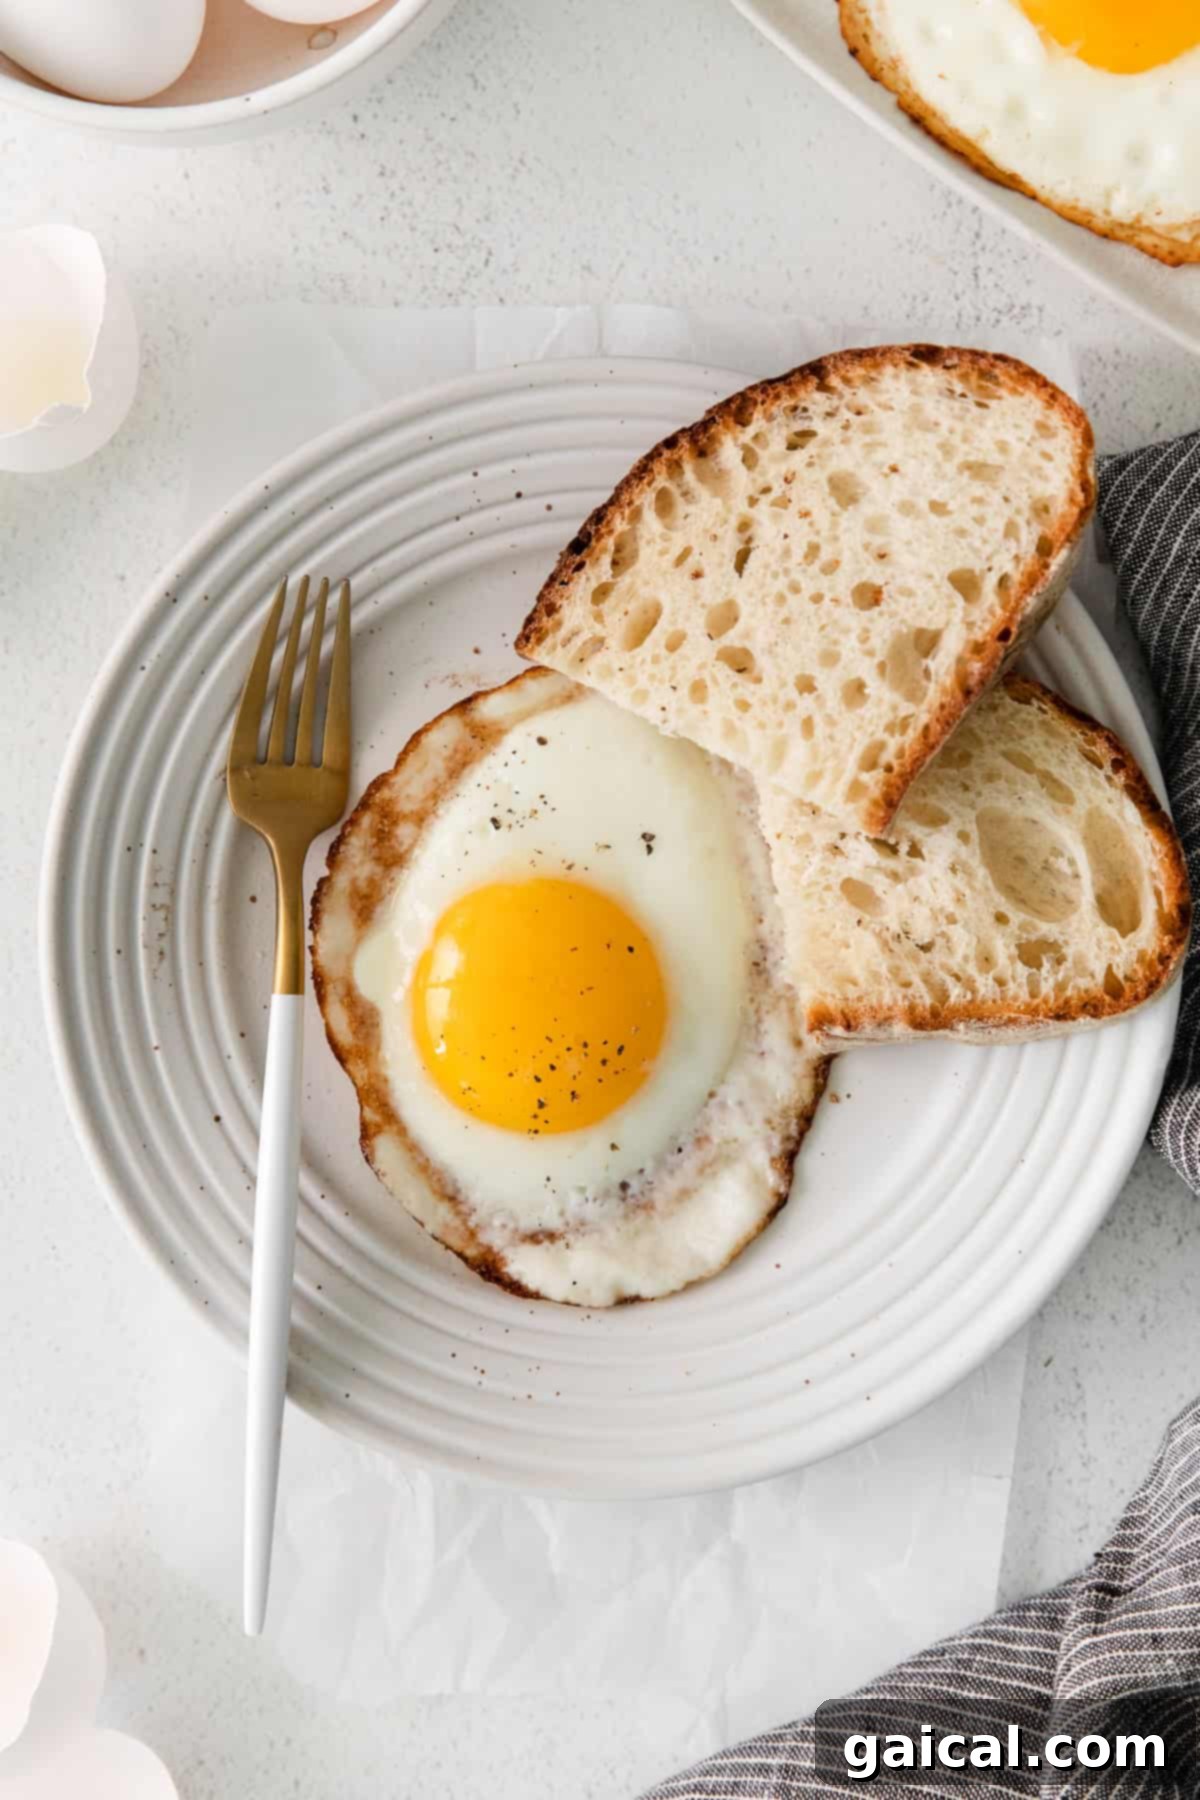
A fried egg, with its rich yolk and tender whites, is a versatile ingredient that can enhance almost any meal. Whether you’re planning a classic breakfast or a creative dinner, here are some delightful serving suggestions to make your fried eggs shine:
- Classic Breakfast: There’s nothing quite like a warm fried egg, perhaps topped with a dash of your favorite hot sauce, served alongside crusty toast and crispy bacon or savory breakfast sausage.
- Hearty Brunch: Elevate your brunch by serving fried eggs next to a garden breakfast hash, fluffy French toast, or even tender pancakes.
- Lunchtime Boost: Add a fried egg to your avocado toast, top a vibrant green salad, or place it on a burger for an incredibly rich and satisfying lunch.
- Dinner Delights: Fried eggs are excellent for quick and easy dinners. They pair beautifully with steak and eggs, served over a bed of fried rice, or as the crowning glory of a noodle bowl or a simple stir-fry.
Easy Fried Egg Recipe
This simple fried eggs recipe calls for large eggs, butter or oil, and a nonstick pan. For over-easy, cook over medium heat for 2-3 minutes, and for over-hard cook for 4-5 minutes.
Lee Funke
2 mins
5 mins
7 mins
2
Ingredients
- 4 large eggs
- 2 tablespoons unsalted butter or oil
Instructions
- Heat a non-stick frying pan over medium heat (an 8-inch or 10–inch pan works best). Add butter or oil to melt.
- When the fat has melted and shimmers, gently crack the eggs into the pan. Try not to overcrowd the pan; typically, no more than 2 eggs per skillet is ideal.

- Cook the eggs over medium heat until they reach your desired doneness:
- For over-easy eggs: Cook until the egg white is just set (about 2-3 minutes) and the yolk is still runny and jiggly. Remove from heat immediately.
- For over-medium eggs: Cook until the egg white is fully cooked through with no raw spots. The yolk should be set around the edges but still beautifully jammy in the center (3-4 minutes).
- For over-hard eggs: Cook until both the egg white and egg yolk are completely solid (4-5 minutes). To ensure the yolk is fully cooked, flip the egg over and cook for an additional 20-30 seconds.
- Carefully remove the cooked eggs from the pan using a thin spatula. Serve immediately with a sprinkle of salt and pepper to taste.
Tips & Notes
- The choice of pan matters! We highly recommend a non-stick skillet for the easiest experience. You want a pan with a slippery surface that allows the eggs to move and flip effortlessly. While cast iron can be used, we generally do not recommend it for beginners due to a higher risk of sticking if not properly seasoned and managed.
- Always avoid overcrowding your eggs in the skillet. For preparing more than two eggs at a time, consider using a larger skillet or cooking them in batches to maintain even heat and optimal cooking conditions.
- For consistent, tender whites and a nutty flavor, we prefer using butter as the cooking fat. If you enjoy crispier, slightly browned edges on your egg whites, opt for a high-smoke-point oil like olive or avocado oil.
- This recipe primarily details methods for various “over” styles of fried eggs (meaning they are flipped). However, feel free to adapt it for sunny-side up eggs by simply not flipping them. The longer you cook the egg after an initial flip, the firmer your yolk will become.
Watch It
Nutrition
Nutrition information is automatically calculated and should only be used as an approximation.
Love this recipe? Leave a comment below!
Don’t forget to tag your posts on social media with the hashtag #fitfoodiefinds – we’d love to see your creations!