
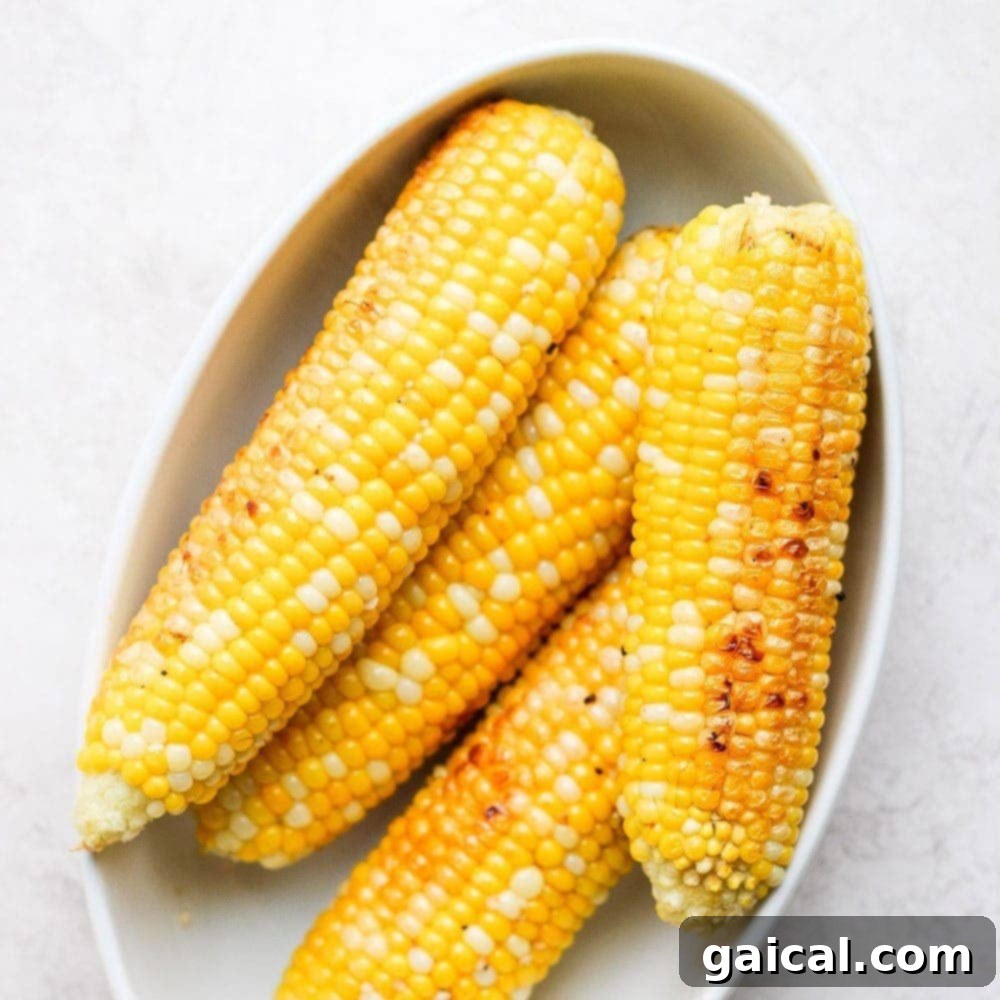
Elevate your outdoor cooking experience with the easiest and most flavorful way to prepare summer’s sweet bounty: perfectly grilled corn in foil. This indispensable recipe is a true game-changer, guaranteeing tender, juicy, and incredibly delicious corn on the cob every single time. It’s the ultimate secret weapon for bustling barbecue gatherings, family dinners, or any occasion when you crave the quintessential taste of summer without the typical grilling fuss. The brilliant tin foil method acts as a natural steam oven, locking in moisture and flavor, while also allowing you to manage multiple dishes on the grill with remarkable ease. Say goodbye to dried-out kernels and hello to consistently perfect grilled corn.
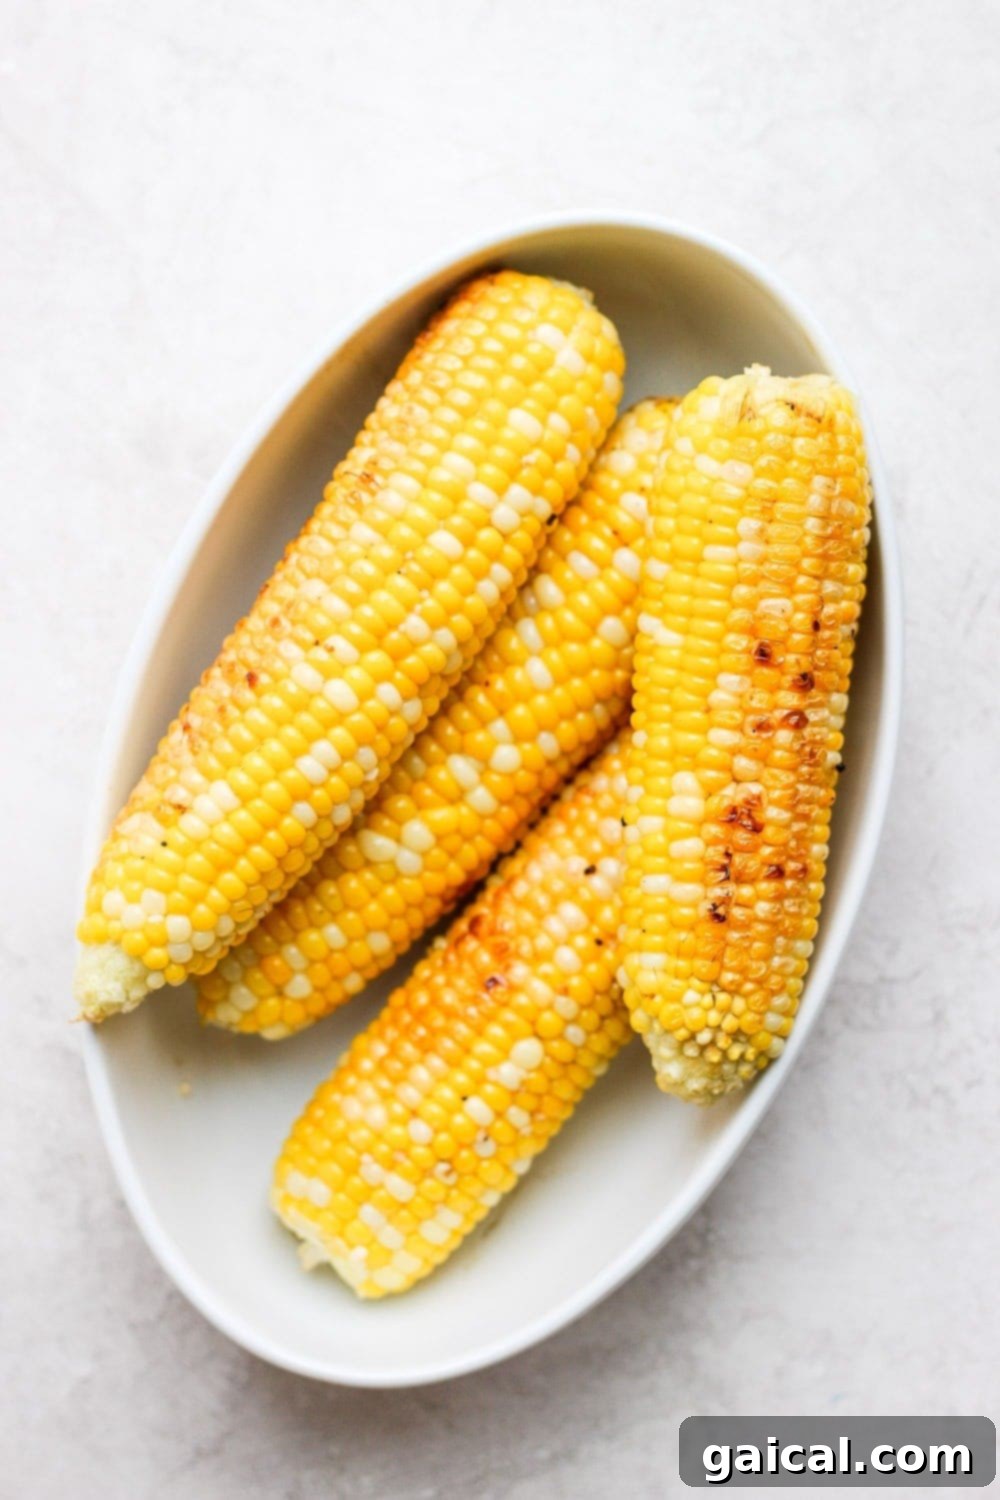
Why Grill Corn on the Cob in Foil? The Smart Choice for Summer BBQs
When the sun is shining and the grill is fired up, there’s nothing quite like the irresistible aroma of fresh corn on the cob. While grilling corn directly on the grates certainly has its appeal for achieving a smoky char, the foil-wrapped method offers a host of practical benefits that make it an undeniable favorite for many home cooks. Choosing to grill your corn in foil is a smart move for several compelling reasons:
- Unmatched Convenience for Multi-Tasking: This is arguably the biggest advantage. If you’re orchestrating a feast that includes grilled steaks, chicken, or other proteins, space on the direct heat zone can be precious. Foil-wrapped corn can comfortably cook over indirect heat, slowly steaming to perfection without demanding constant attention, freeing you up to focus on other culinary masterpieces.
- Consistent Moisture and Flavor: The aluminum foil creates a sealed environment, essentially steaming the corn as it cooks. This ingenious technique locks in the corn’s natural sweetness and any added seasonings, resulting in incredibly tender, juicy kernels that are bursting with flavor. Unlike direct grilling, there’s no risk of the corn drying out or becoming overly charred, ensuring a consistent, delightful texture every single time.
- Effortless Cleanup: We all love grilling, but nobody loves the cleanup. With corn cooked in foil, the mess is contained within the packet. You avoid sticky corn silk and burnt kernel bits clinging to your grill grates, making post-BBQ tidying a breeze. Simply discard the foil, and your grill remains spotless.
- Versatility in Heat Placement: Whether you have ample direct heat or need to utilize indirect zones, foil-wrapped corn adapts beautifully. It’s a forgiving method that allows you flexibility. You can start it over direct heat for a quicker cook, then shift it to indirect heat to keep warm or finish cooking if other dishes require priority on the hotter spots.
- Flavor Infusion at Its Best: The sealed packet is perfect for infusing your corn with butter and spices. The steam helps the flavors penetrate deeply into each kernel, creating a taste experience far beyond plain corn. We highly recommend our signature garlic butter for a truly unforgettable bite!
No more boring corn! This method ensures every ear is a succulent, flavor-packed delight, making it a staple for your summer grilling repertoire.
Essential Ingredients for Your Foil-Pack Grilled Corn Masterpiece
Creating truly exceptional grilled corn in foil hinges on starting with quality ingredients. While the list is delightfully short, each component plays a crucial role in the final flavor and texture of your dish. Here’s what you’ll need to gather for guaranteed success:
- Fresh Corn on the Cob: The star of the show! Always prioritize fresh corn when it’s in season. Look for ears with bright green, tightly wrapped husks. The silks should be moist, plump, and light brown or golden, not dry or black. Give the kernels a gentle squeeze through the husk; they should feel firm and plump. While pre-shucked corn offers convenience, investing a few moments to shuck fresh corn yourself yields a noticeably sweeter and more vibrant flavor.
- Heavy-Duty Aluminum Foil: This is more than just a wrap; it’s your cooking vessel. Heavy-duty foil is essential as it’s far less likely to tear or puncture during handling, especially when dealing with hot corn on the grill. If you only have regular foil, simply use two layers per ear of corn to provide adequate protection and prevent steam from escaping.
- Real Butter (Unsalted Recommended): Butter and corn are a classic, irresistible pairing. Opt for real, high-quality butter. Unsalted butter gives you precise control over the overall sodium content of your dish, allowing the natural sweetness of the corn to shine. Ensure your butter is softened to room temperature, making it effortlessly easy to mix with seasonings and spread evenly over each ear.
- Fresh Garlic: Minced garlic adds a fragrant, savory depth that perfectly complements the corn’s sweetness. We suggest about 3 cloves, finely minced (roughly 1 ½ tablespoons), for 4 ears of corn. The smaller the mince, the more evenly the garlic flavor will distribute.
- Salt and Freshly Ground Black Pepper: These basic seasonings are fundamental. Salt enhances the corn’s natural sugars and balances the richness of the butter, while a touch of freshly ground black pepper adds a subtle warmth and aroma. Adjust to your personal taste preferences.
How Long to Grill Corn in Foil: Timing for Tenderness
Achieving perfectly tender, succulent grilled corn in foil is straightforward when you know the right temperature and timing. Follow these guidelines for consistently excellent results:
First, preheat your grill to a steady 400ºF (200ºC). This moderate-high temperature is ideal for creating the necessary heat to steam the corn thoroughly within its foil packet, ensuring it cooks evenly without scorching.
Once your grill has reached the target temperature, carefully place the foil-wrapped corn directly onto the hot grill grates. For comprehensive cooking, grill the corn for approximately 25-30 minutes. A critical step for even cooking is to flip the corn packets halfway through the grilling process, around the 12-15 minute mark. This ensures both sides receive consistent heat and steam, cooking the kernels uniformly.
One of the greatest benefits of the foil method is its adaptability. If you’re managing a diverse spread on the grill and need the direct heat for searing meats or other faster-cooking items, you can easily relocate your foil-pack corn to an area of indirect heat. While cooking over indirect heat may slightly extend the total cooking time (by about 5-10 minutes), it’s a fantastic strategy to prevent overcooking and keep your corn warm, allowing everything to finish around the same time. You’ll know your corn is perfectly done when the kernels appear vibrantly yellow, feel plump, and are notably tender when gently squeezed or pierced with a knife.
Mastering the Perfect Foil Pack Technique for Grilled Corn
The secret to succulent, perfectly infused grilled corn in foil lies in mastering the simple technique of creating an airtight foil packet. This method locks in all the wonderful flavors and steam, ensuring your corn comes out tender and juicy every time.
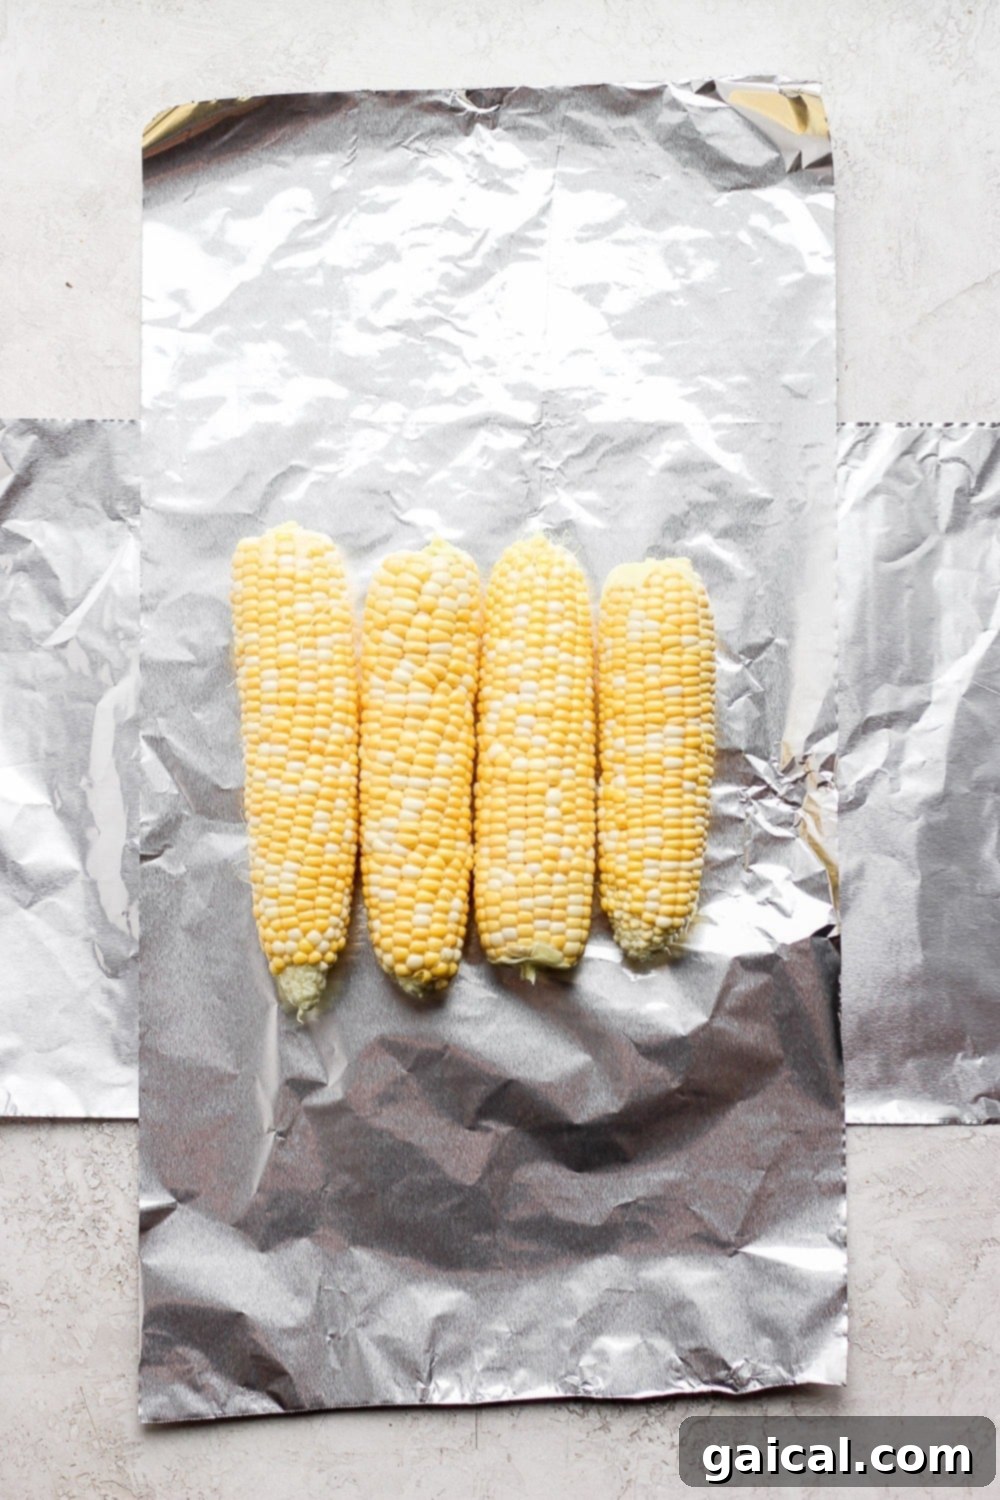
To begin, you’ll need two generously sized pieces of heavy-duty aluminum foil for each ear of corn. Lay the first piece flat on your clean work surface. Then, place the second piece perpendicularly across the first, forming a cross shape. This double layer provides superior strength, preventing tears and ensuring a robust seal against the grill’s heat. Position your prepared ear of corn (shucked and cleaned) directly in the center of this foil cross.
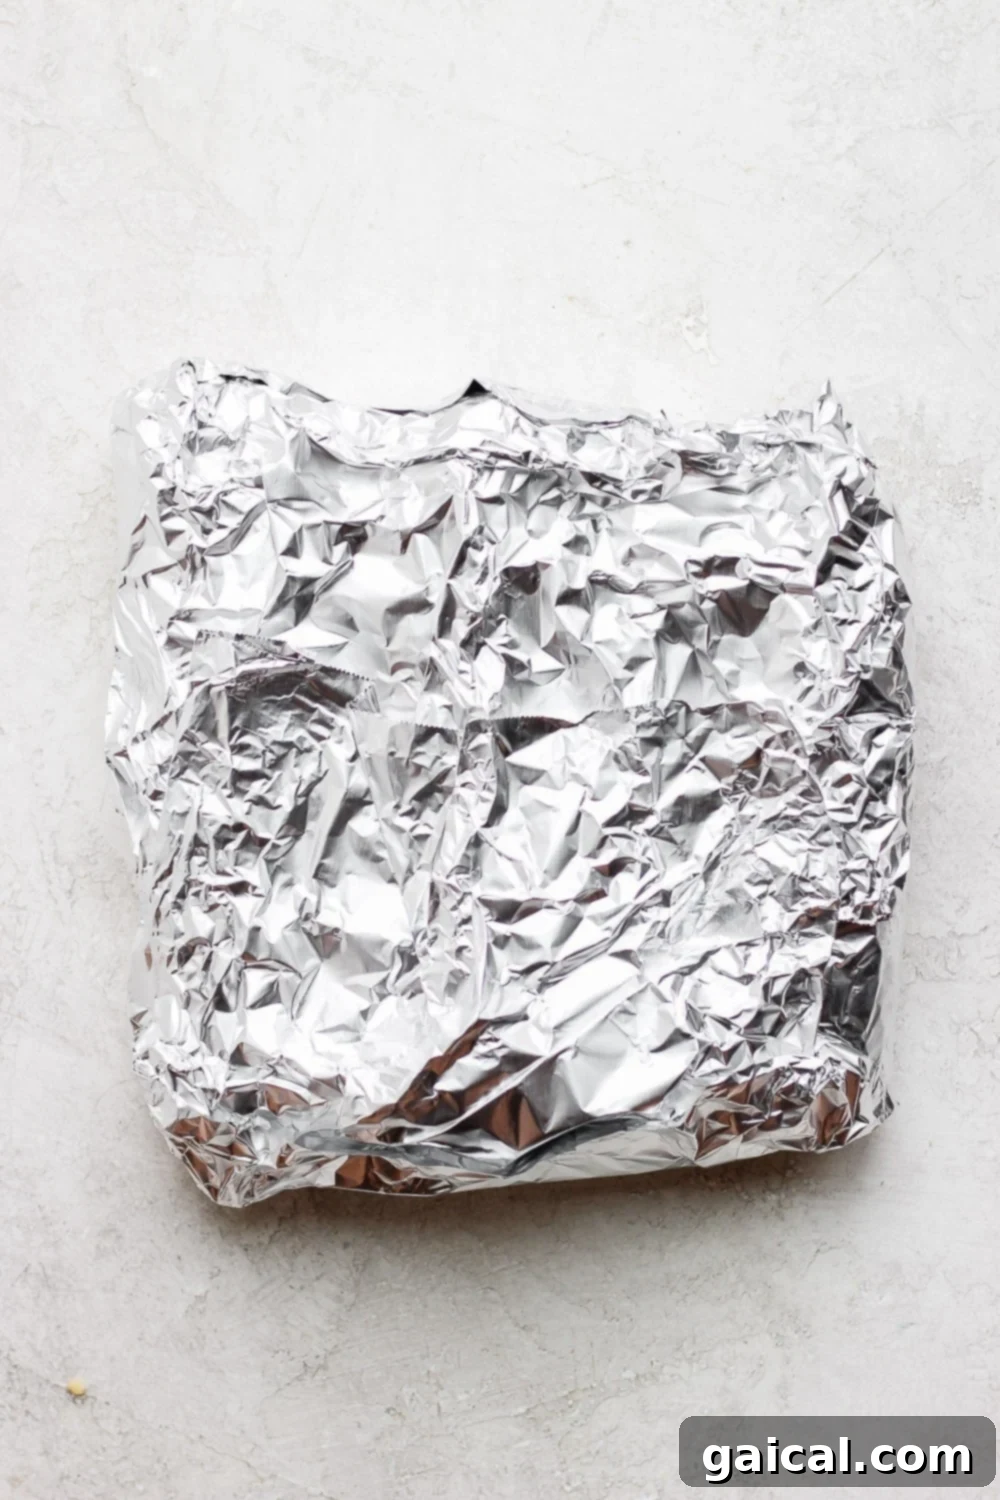
Once your corn is seasoned with the delicious garlic butter mixture, the crucial step is to ensure the foil pack is tightly sealed on all sides. Start by bringing the longest edges of the foil up and over the corn, crimping them together securely at the top to form a tight, horizontal seam. Next, take the shorter ends of the foil and fold them inward, pressing them firmly against the ends of the corn to create equally secure, airtight seals.
A properly sealed foil pack achieves two essential objectives:
- Maximum Flavor Retention: All the rich garlic butter and seasonings you’ve added stay encapsulated within the packet. This allows the flavors to intensely infuse into every kernel as the corn cooks, creating a deeply delicious taste experience without any drips or waste.
- Optimal Steaming Environment: The airtight seal transforms the foil packet into a mini-steam chamber. This gentle steaming action is what cooks the corn to its perfect tender-crisp texture, preventing it from drying out while still benefiting from the smoky, ambient heat of the grill.
By taking these few extra moments to create a perfect foil seal, you guarantee that your grilled corn will be a moist, flavorful highlight of any meal.
EXPLORE FURTHER
How to Grill Your Favorite Meat: Perfect Pairings
Grilled corn is the quintessential summer side dish, complementing almost any grilled main course beautifully. Expand your outdoor cooking skills and create a complete, unforgettable barbecue meal with these fantastic grilled meat recipes:
- Grilled Chicken Breast
- Grilled Salmon
- Grilled Pork Chops
- Grilled Chicken Thighs
- Grilled Flank Steak
- Grilled Whole Chicken
- Grilled Pork Tenderloin
- Grilled Chicken Legs
- Grilled Shrimp
- Grilled Scallops
- Grilled Ribs
Flavor Variations: Unleash Your Culinary Creativity
While the simple yet sublime combination of butter and garlic is undeniably delicious, the beauty of grilling corn in foil lies in its incredible adaptability to various flavor profiles. The sealed packet creates an ideal environment for seasonings to meld and intensify, allowing you to transform your corn into a unique side dish with minimal effort. Here are some exciting ideas to spark your culinary imagination:
- Spicy & Smoky: For a kick, blend a pinch of cayenne pepper, smoked paprika, or a dash of chili powder into your butter mixture. A squeeze of lime juice added just before sealing can brighten these flavors beautifully.
- Herb Garden Freshness: Incorporate finely chopped fresh herbs like cilantro, chives, parsley, or dill into the softened butter. The heat will release their aromatic oils, infusing the corn with a vibrant, garden-fresh essence. Rosemary or thyme also offer delightful, earthy notes.
- Cheesy Indulgence: Before sealing the foil, sprinkle a tablespoon of grated Parmesan cheese, crumbled cotija cheese, or even a sharp cheddar over the buttered corn. The cheese will melt into a savory crust, adding an irresistible umami layer.
- Sweet & Savory Contrast: A teaspoon of honey, maple syrup, or even a touch of brown sugar mixed into your butter can create a wonderful interplay with the corn’s natural sweetness and the richness of the butter. A tiny pinch of cinnamon can be a surprising and delicious addition.
- Mexican Street Corn Inspired: While true Elotes are grilled directly, you can get a foil-pack version. After coating with garlic butter, sprinkle with taco seasoning or chili-lime seasoning. After grilling, you can add a final flourish of cotija cheese, fresh cilantro, and a squeeze of lime juice.
- Mediterranean Twist: Mix your butter with sun-dried tomato paste, a dash of dried oregano, and a sprinkle of feta cheese for a savory, tangy profile.
Don’t hesitate to experiment with your favorite spices and herbs. The foil method is forgiving and ensures that every flavor you add contributes to a moist, delicious outcome.
Storage and Repurposing Your Leftover Grilled Corn
One of the many joys of making grilled corn in foil is having delicious leftovers that can be effortlessly repurposed into new and exciting meals. Proper storage is key to extending the life and flavor of your corn.
Proper Storage:
Once your grilled corn has cooled completely to room temperature, you have a couple of excellent options for storage:
- Refrigeration: For short-term storage, transfer the cooled corn (either whole cobs or the kernels sliced off) into an airtight container or a heavy-duty resealable bag. Store in the refrigerator for up to 3-5 days. This keeps it fresh and ready for a quick reheat or integration into various recipes.
- Freezing: If you’re looking to enjoy your grilled corn long after summer ends, freezing is an ideal solution. After the corn has cooled completely, use a sharp knife to carefully slice the flavorful kernels off the cob. Transfer these kernels into a freezer-safe gallon-size bag. Crucially, press out as much air as possible from the bag before sealing to prevent freezer burn. Frozen grilled corn kernels can be stored for up to 3 months, ready to be added directly to soups, stews, casseroles, or sautéed with other vegetables.
What to Do with Leftover Corn:
The smoky-sweet kernels of grilled corn add a fantastic dimension to a multitude of dishes. Don’t let those delicious leftovers go to waste! Here are some creative and delectable corn-focused recipes to try:
- Mexican Street Corn Salad (Esquites): Slice the kernels off the cob and mix with mayonnaise or crema, crumbled cotija cheese, chili powder, and fresh lime juice for a vibrant, tangy, and slightly spicy salad.
- Black Bean and Corn Salad: Combine the kernels with black beans, diced red onion, bell peppers, cilantro, and a zesty vinaigrette for a refreshing and hearty side or light lunch.
- Carnitas Burrito Bowls: Add a spoonful of grilled corn kernels to your homemade burrito bowls for a burst of flavor and texture alongside rice, beans, and your favorite protein.
- Summer Corn Salad: A versatile salad that often includes grilled corn, fresh tomatoes, avocado, and a light herb dressing.
- Mexican Quinoa Salad: Mix grilled corn with fluffy quinoa, black beans, diced bell peppers, and a cilantro-lime dressing for a nutritious and satisfying meal.
- Salsas and Relishes: Finely chop the kernels with red onion, jalapeño, fresh cilantro, and a squeeze of lime for an incredible homemade corn salsa, perfect with chips or as a topping for grilled fish or chicken.
- Soups and Chowders: Incorporate grilled corn kernels into your favorite summer corn chowder or a creamy vegetable soup for an added layer of sweetness and texture.
- Tacos, Burritos, and Quesadillas: Sprinkle the kernels into your next batch of tacos, burritos, or quesadillas for a quick and flavorful filling addition.
More of our Favorite…
Grilled Veggies in Foil: Easy Side Dishes
The foil-pack method is an incredibly versatile technique that extends far beyond corn. It’s a fantastic way to cook a variety of vegetables on the grill, ensuring they come out tender, flavorful, and perfectly cooked with minimal effort and easy cleanup. Explore these other delicious foil-wrapped vegetable recipes to complete your barbecue spread:
- Grilled Potatoes in Foil: Diced potatoes tossed with herbs and olive oil, cooked until tender and slightly crispy.
- Grilled Asparagus in Foil: Tender asparagus spears with lemon and garlic, cooked to perfection.
- Baked Potatoes in Foil: Classic fluffy baked potatoes, made effortlessly on the grill.
- Mixed Vegetable Medley: Combine chopped bell peppers, zucchini, yellow squash, red onion, and cherry tomatoes. Toss them with a drizzle of olive oil, Italian herbs, salt, and pepper, then wrap and grill for a vibrant and healthy side.
- Sweet Potatoes in Foil: Slice sweet potatoes into rounds or wedges, toss with a touch of butter, brown sugar, and cinnamon, then wrap and grill until caramelized and tender for a delightful sweet side dish.
Grilled Corn in Foil
Ingredients
- 4 ears of corn, shucked and cleaned
- 4 tablespoons unsalted butter, softened to room temperature
- 3 cloves garlic, peeled and minced (approximately 1 ½ tablespoons)
- 1/8 teaspoon salt, or to taste
- 1/8 teaspoon black pepper, freshly ground, or to taste
Instructions
-
Preheat your outdoor grill to 400ºF (200ºC). Ensure the grill grates are clean for optimal cooking.
-
Prepare Foil Packets: Lay out two large pieces of heavy-duty aluminum foil per ear of corn, forming a cross shape for enhanced durability. Place one shucked and cleaned ear of corn in the center of the foil cross. Repeat this process for all remaining ears of corn.

-
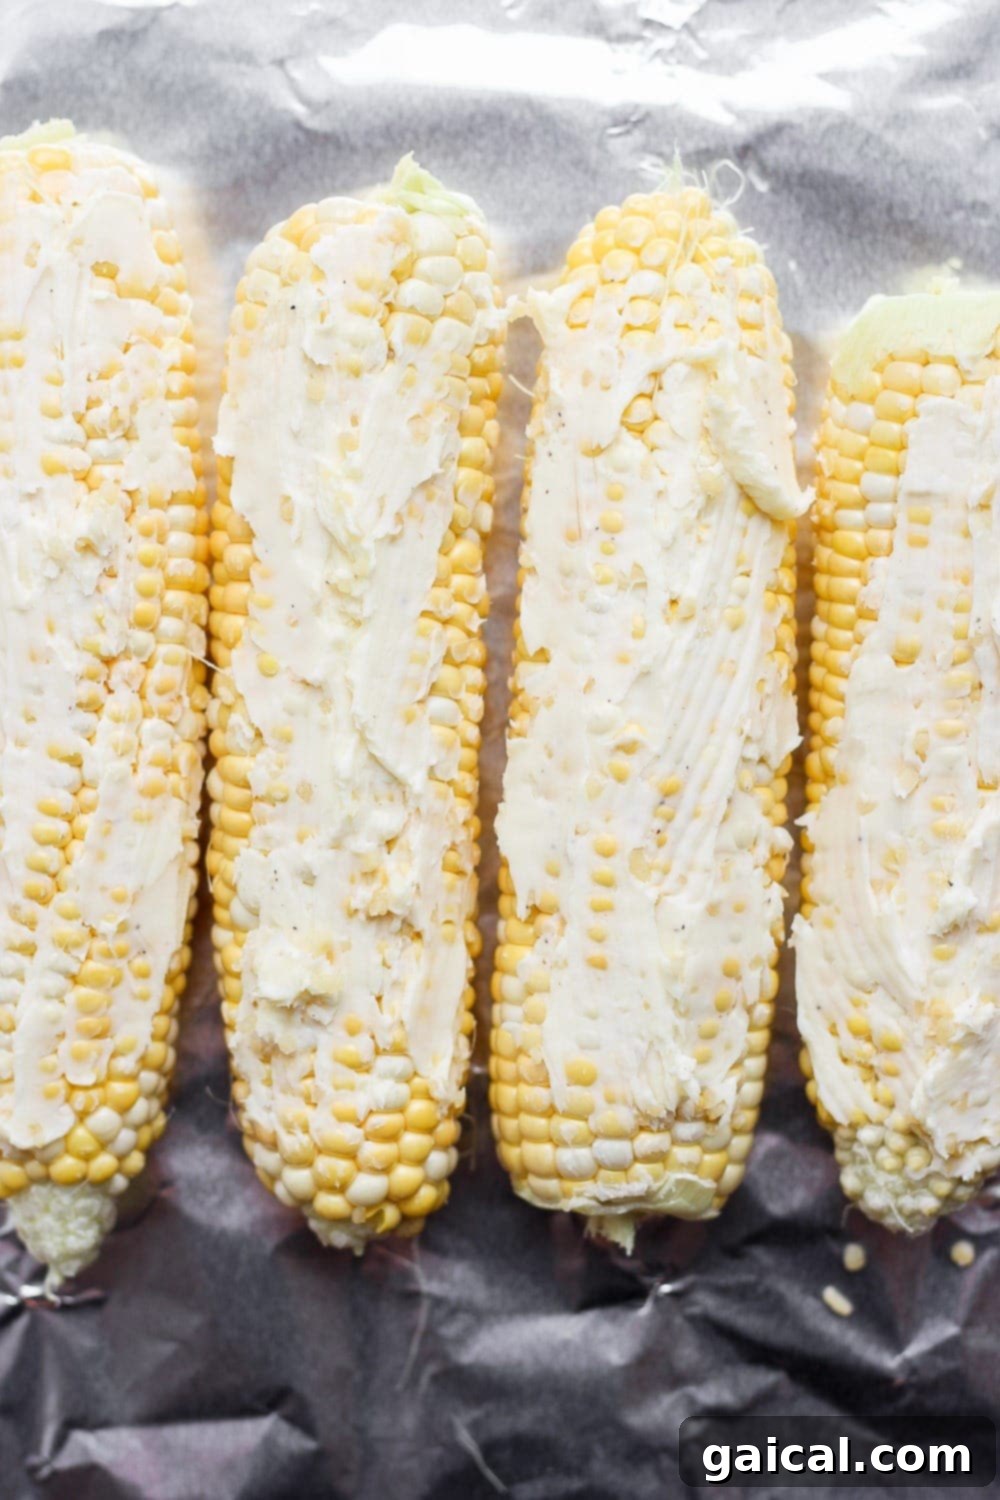
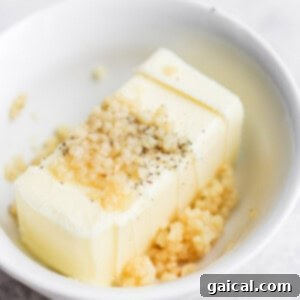
Make Garlic Butter: In a small bowl, combine the softened butter, finely minced garlic, salt, and pepper. Mix thoroughly until all ingredients are well incorporated and the butter is aromatic and creamy.
-
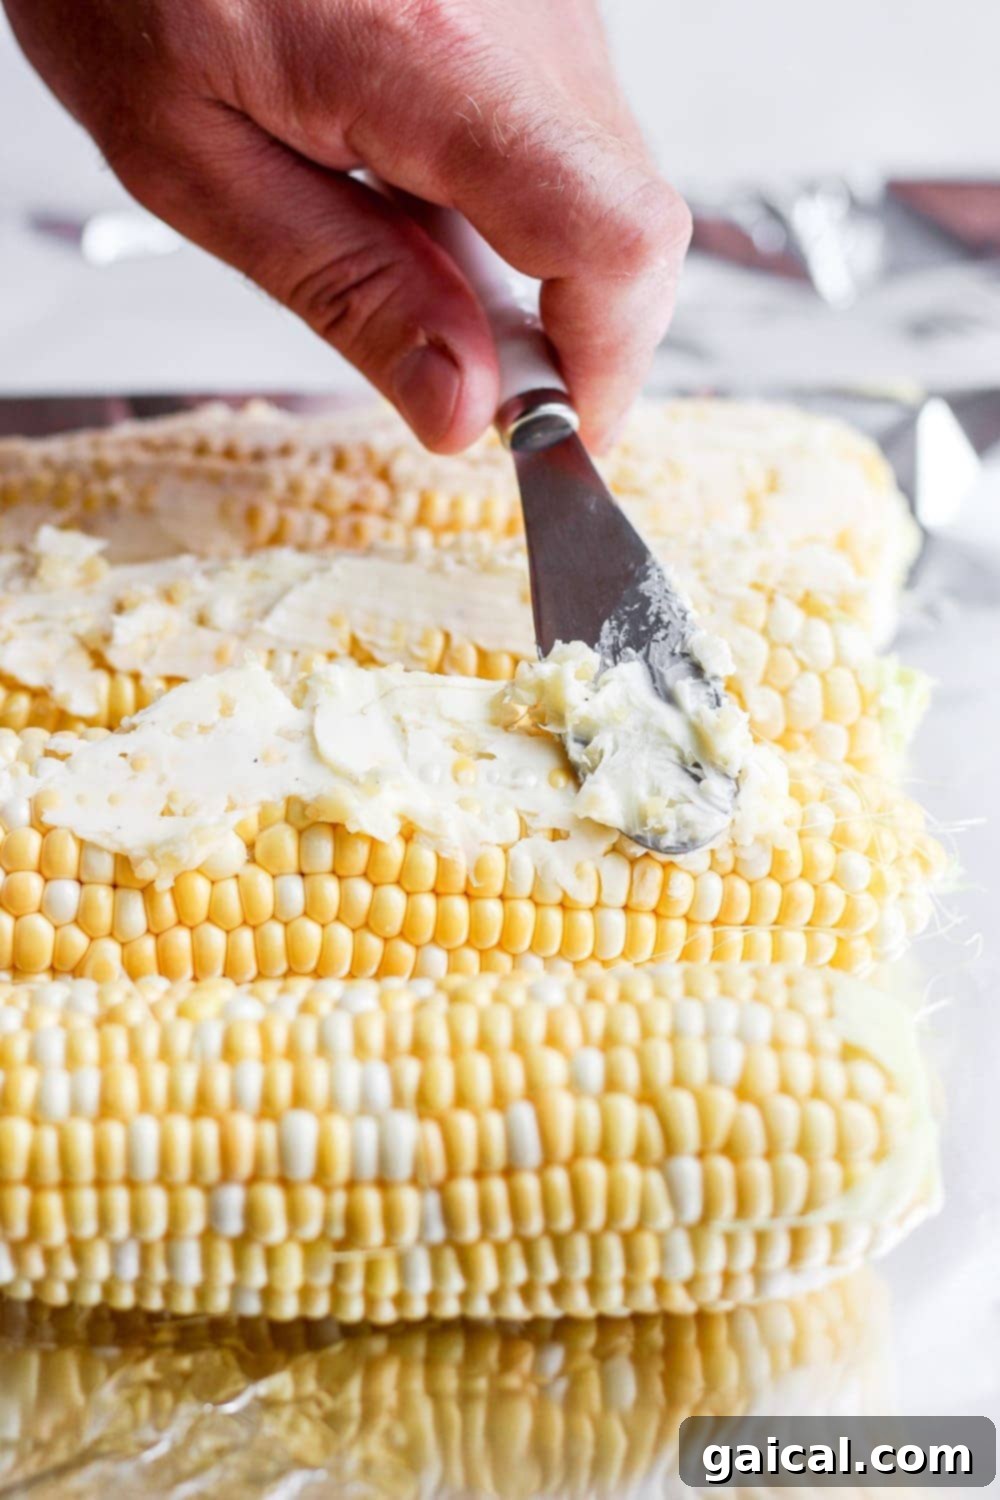
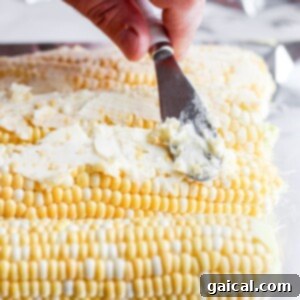
Apply Seasoning: Generously spread approximately one heaping tablespoon of the prepared garlic butter mixture over each ear of corn, ensuring an even and thorough coating on all sides.
-
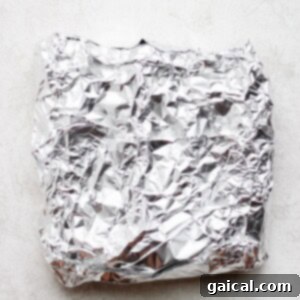
Seal Foil Packets: Carefully fold the aluminum foil over each ear of corn. Bring the longest edges together and crimp them tightly to form a secure, horizontal seam. Then, fold and crimp the shorter ends to create airtight packets. A tight seal is crucial for effective steaming and flavor infusion.
-
Grill the Corn: Place the foil-wrapped corn directly on the preheated grill grates for direct heat cooking. If you need to cook other items over direct heat, the corn can also be placed on a cooler part of the grill for indirect heat.
-
Monitor Cooking: If cooking over direct heat, grill for approximately 20-25 minutes, rotating the packets every 5-7 minutes to ensure even cooking. If grilling over indirect heat, the cooking time may extend to 30-35 minutes. Your corn is perfectly cooked when the kernels are vibrant yellow, plump, and tender when pierced with a fork.
Watch It
A helpful video tutorial is usually available on the original recipe page to guide you through each step of preparing and grilling your corn in foil.
Nutrition
Carbohydrates: 31 g,
Protein: 5 g,
Fat: 14 g,
Fiber: 4 g,
Sugar: 7 g
Nutrition information provided is an estimation and calculated automatically. Values may vary based on exact ingredients, brands, and preparation methods used. Please consider it an approximation.
Frequently Asked Questions About Grilled Corn in Foil
Here are answers to some common questions about making perfect grilled corn in foil, designed to help you achieve the best results:
-
Do I need to soak corn before grilling it in foil?
No, when grilling corn in foil, soaking is not necessary. The foil creates a sealed environment that effectively steams the corn, ensuring it cooks perfectly while retaining its natural moisture. This method naturally keeps the corn from drying out, eliminating the need for an extra soaking step. -
Can I use frozen corn for this recipe?
While fresh corn on the cob is highly recommended for its superior flavor and texture, you can adapt this recipe for frozen corn on the cob. Ensure the frozen corn is completely thawed before you apply the butter mixture and wrap it in foil. The grilling time might also be slightly reduced since it’s already par-cooked. This recipe is not ideal for loose frozen kernels. -
How do I know when the corn is fully cooked?
Your grilled corn in foil is perfectly cooked when the kernels are plump, vibrant yellow, and tender to the bite. You can carefully open one foil packet (using tongs to avoid steam burns!) and test a kernel with a fork or the tip of a knife. It should pierce easily and feel soft. If it’s still firm, reseal the foil tightly and continue grilling for an additional 5-10 minutes. -
Can I grill corn in foil over a campfire?
Absolutely! The foil-pack method is exceptionally well-suited for campfire cooking. Place the foil packets on hot coals (not directly into open flames, which can burn the foil) or on a grill grate placed over the fire. Rotate them frequently to ensure even cooking, and be mindful that cooking times can vary significantly depending on the intensity of your campfire’s heat. -
Should I remove the silk before grilling in foil?
Yes, for the foil-wrapped method, it is highly recommended to completely shuck the corn and remove all the silk before applying your butter and seasonings and wrapping it. This ensures that the kernels are directly exposed to the delicious flavorings, and it saves you the hassle of trying to remove stubborn silk after the corn is cooked and hot. -
What’s the difference between grilling in foil and grilling directly on the grates?
Grilling directly on the grates often imparts a more intense smoky flavor and visible char marks, sometimes resulting in a slightly firmer or chewier texture. Grilling in foil, conversely, steams the corn, making it exceptionally tender, juicy, and thoroughly infused with any added butter and seasonings. It also prevents drying out and offers a much easier cleanup. Both methods are delicious, but they yield distinctly different results in terms of texture and flavor profile.
Love this recipe? Leave a comment below!
Don’t forget to tag your delicious culinary creations on social media with the hashtag #fitfoodiefinds. We absolutely love seeing what you’re cooking up and sharing your kitchen adventures!
Photography by: The Wooden Skillet