
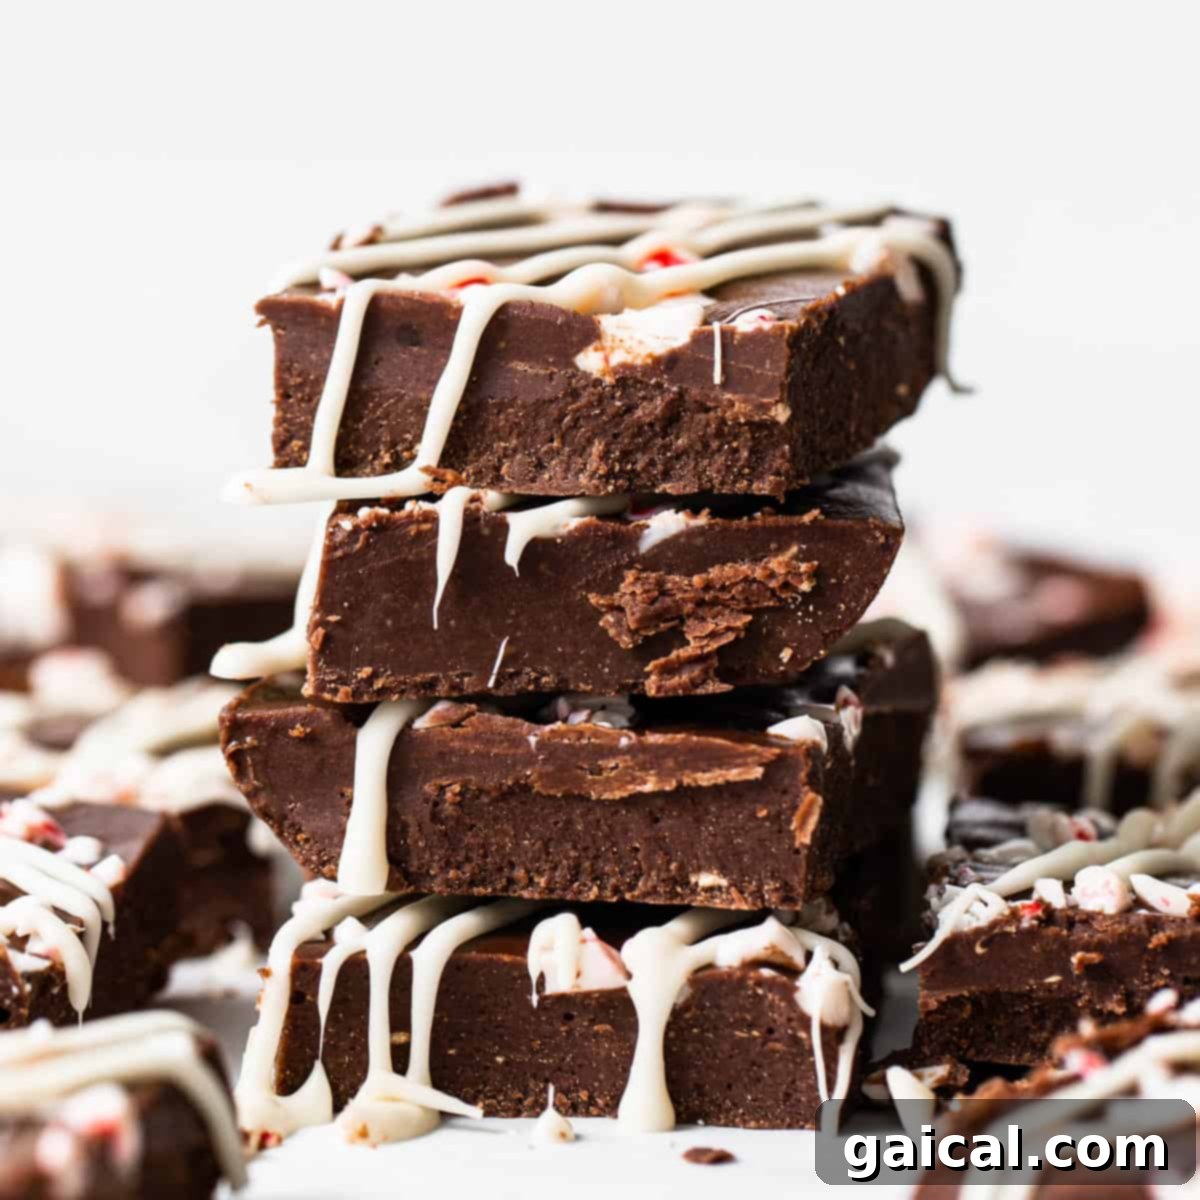
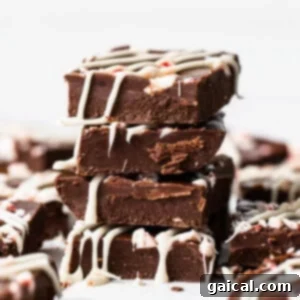
Embrace the festive spirit with this incredibly easy and utterly delicious peppermint freezer fudge. This no-bake wonder is the perfect holiday treat, combining the rich creaminess of chocolate with the refreshing burst of peppermint. Crafted with simple, wholesome ingredients like coconut oil, almond butter, and festive peppermint candies, it offers a quick and satisfying dessert solution for any occasion, from quiet family evenings to bustling holiday gatherings. Prepare to delight your senses with this effortless mint-chocolate creation.
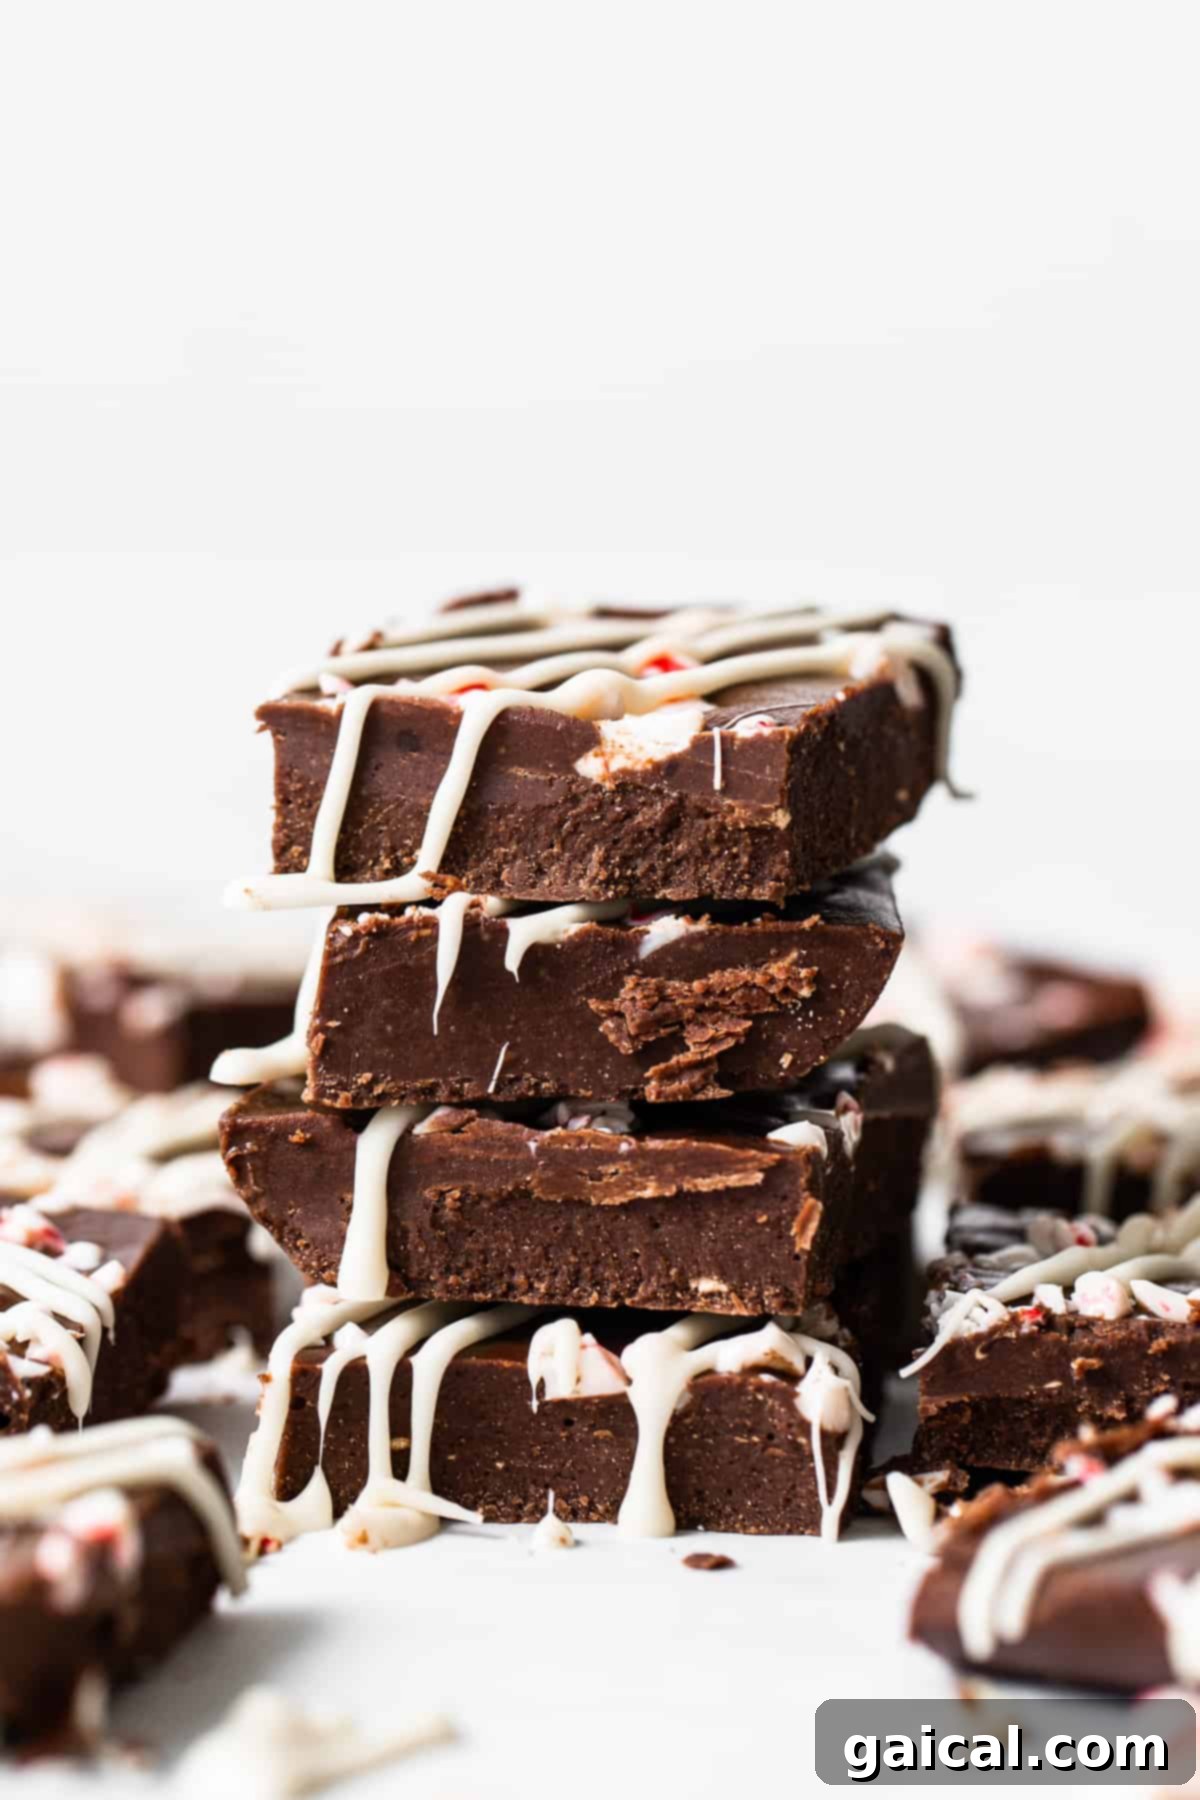
Effortless Holiday Bliss: Your Go-To Peppermint Freezer Fudge Recipe
As the holiday season approaches, so does the irresistible craving for classic festive flavors. Our peppermint freezer fudge recipe is designed to be your stress-free solution for satisfying those sweet cravings. It’s a delightful dessert that requires minimal effort to prepare, allowing you more time to enjoy the festivities. Simply whip it up, store it in your freezer, and you’ll have a quick, impressive dessert ready at a moment’s notice, whether for a spontaneous treat or a centerpiece at your next holiday party. Its vibrant flavor and festive appearance make it an instant crowd-pleaser, perfect for sharing with loved ones or savoring by yourself.
Why This Peppermint Freezer Fudge Will Become Your Holiday Favorite!
There are countless reasons to fall in love with this peppermint freezer fudge. It’s not just a dessert; it’s a convenient, delicious, and joy-inducing experience. Here’s why you’ll want to make it year after year:
- Unbeatable Simplicity in Every Step: This recipe streamlines holiday dessert making. Forget complex oven temperatures, precise baking times, or intricate frosting techniques; this is a genuinely easy, no-bake dessert that comes together with minimal fuss. Its straightforward nature makes it accessible for cooks of all skill levels, ensuring a perfect batch every time. You’ll be amazed at how little effort yields such a professional-looking and tasting treat.
- Lightning-Fast Preparation: From gathering your ingredients to the final mix, you can have this delightful fudge ready for the freezer in an astonishingly short amount of time – often under 15 minutes of active prep. Its quick assembly means you can prepare it even on your busiest days, making it ideal for last-minute holiday dessert needs or when you simply want to indulge without spending hours slaving away in the kitchen. The longest part is waiting for it to freeze, but that’s hands-off time!
- A Timeless Flavor Duo You Can’t Resist: The combination of rich, dark chocolate and invigorating peppermint is a holiday classic for a reason. This fudge perfectly balances the deep, comforting notes of cocoa with the bright, cool sensation of peppermint, creating a taste experience that is both decadent and uplifting. Each bite is a harmonious blend that captures the essence of winter wonder, making it utterly irresistible and nostalgic.
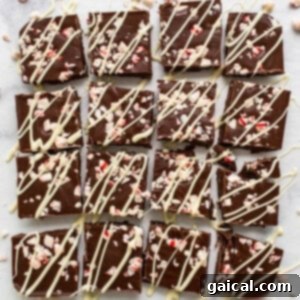
- Impressive Yet Effortless Presentation: Despite its simple preparation, this freezer fudge looks incredibly festive and sophisticated. The vibrant crushed peppermints add a beautiful visual appeal, transforming simple squares of fudge into elegant holiday bites. It’s a stunning addition to any dessert platter, a thoughtful homemade gift, or a festive party treat. You’ll impress guests and loved ones without breaking a sweat!
- The Ultimate Make-Ahead Dessert: Since this fudge is designed to be stored in the freezer, it’s an ideal make-ahead dessert. Prepare a batch (or even two!) well in advance of your holiday celebrations, and simply slice and serve when needed. This incredible convenience allows for excellent meal planning during the often-hectic holiday season, significantly reducing last-minute stress and freeing you up to enjoy the moment.
Crafting Perfection: Essential Ingredients for Your Peppermint Freezer Fudge
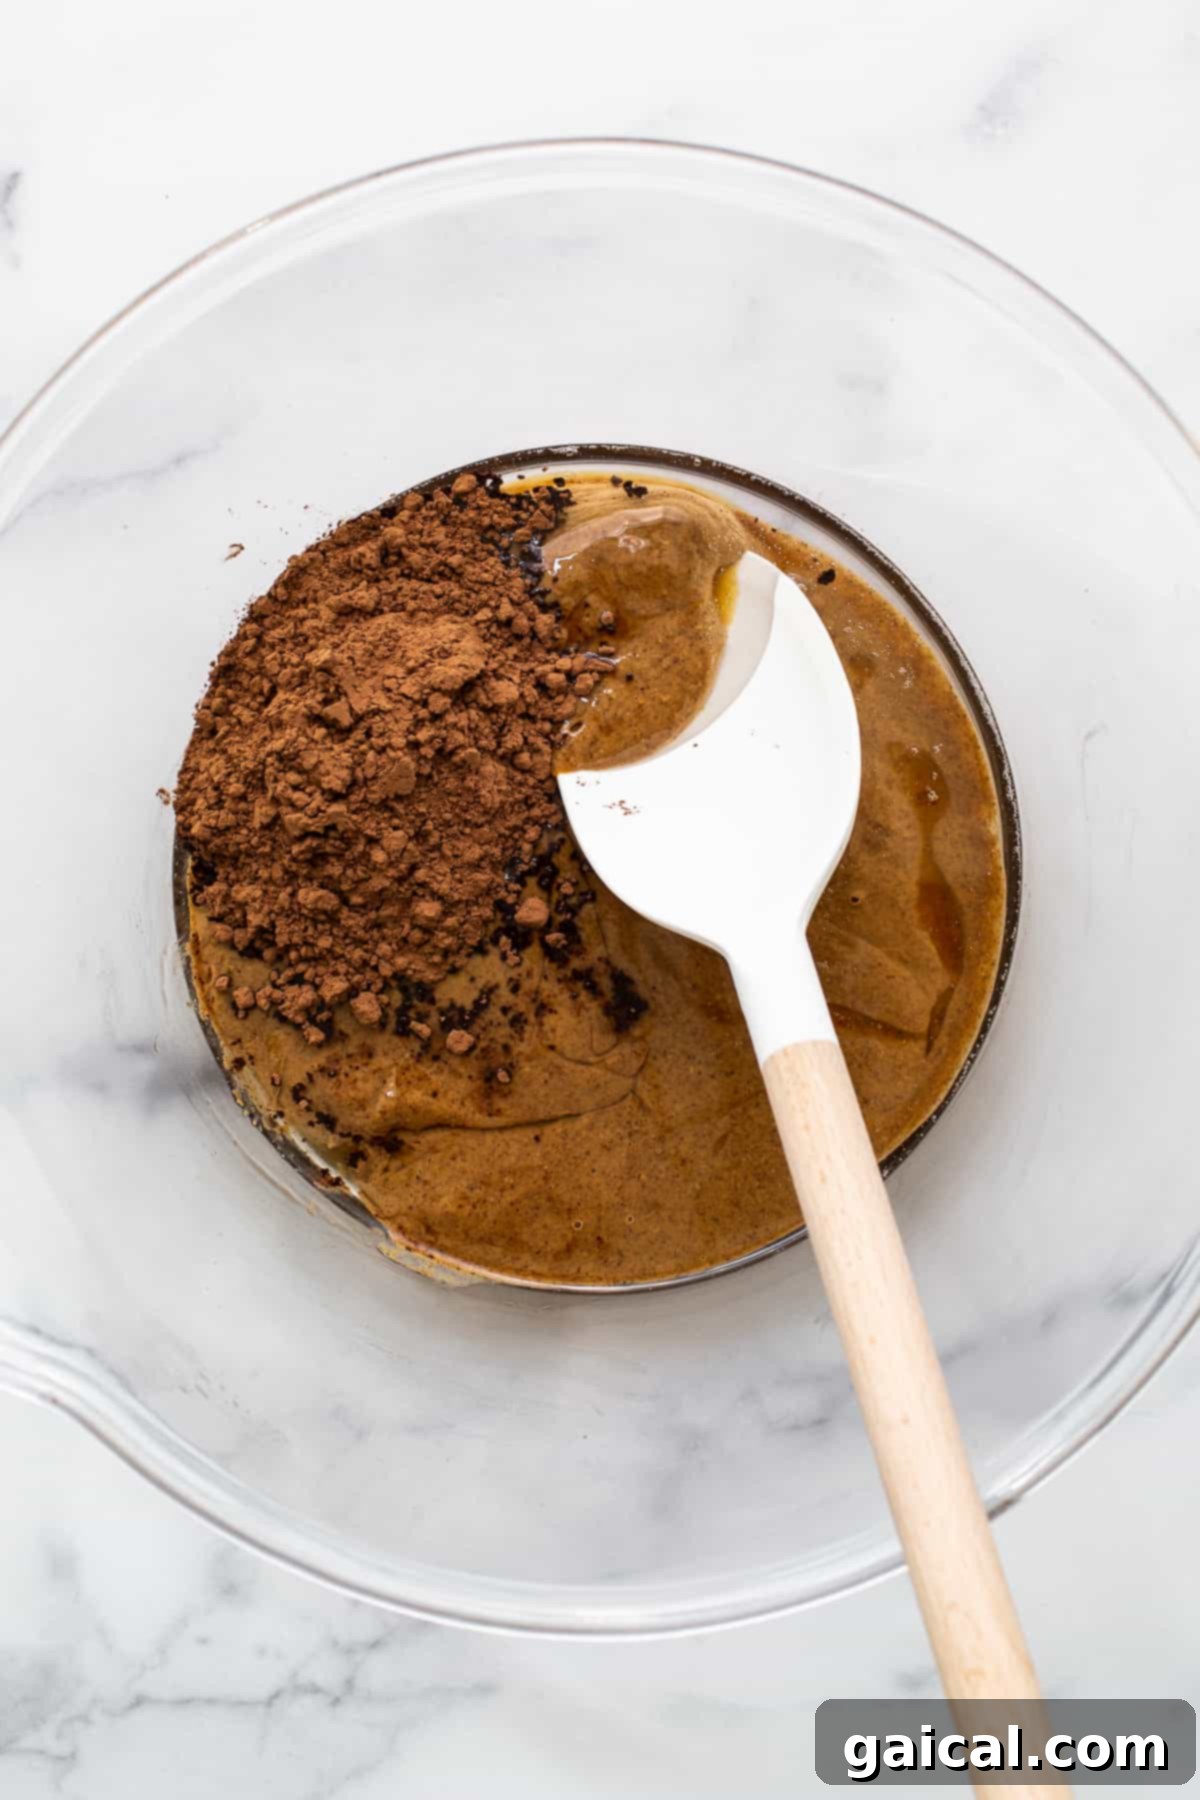
The magic of this peppermint freezer fudge lies in its carefully selected, simple ingredients. Each plays a crucial role in achieving the perfect texture, flavor, and festive appeal. Understanding the function of each component will help you create the best possible fudge. Here’s a closer look at what makes this recipe truly special:
- Coconut Oil: The Freezing Foundation
Coconut oil is the superstar ingredient that gives this freezer fudge its unique, rapid-freezing property. Unlike most other oils, coconut oil solidifies beautifully when chilled, providing the fudge with its firm yet wonderfully melt-in-your-mouth consistency. This property is absolutely essential for the fudge to hold its shape at cold temperatures. While it naturally imparts a subtle hint of coconut flavor, this complements the rich chocolate and refreshing peppermint wonderfully, adding an intriguing depth to the overall taste profile. It is crucial not to substitute this ingredient, as its unique fatty acid composition is indispensable for the fudge to set properly in the freezer and maintain its structural integrity when served. Be sure to use virgin or refined coconut oil based on your preference for a stronger or milder coconut note. - Almond Butter: For Body, Richness, and Smoothness
Almond butter is key to giving this fudge its rich body, creamy texture, and satisfying density. Beyond its delightful nutty flavor (which is surprisingly subtle and well-integrated into the final product), it also adds a fantastic boost of healthy fats and protein, making this treat a little more substantial. The golden rule here is to use drippy, all-natural almond butter. This means it should be smooth, pourable, and easily mixed. If your almond butter is too stiff, pasty, or has a lot of oil separation that can’t be stirred back in, it won’t incorporate smoothly into the mixture, resulting in a grainy, crumbly, or unevenly textured fudge. Look for brands without added sugars or emulsifiers for the best consistency and purest flavor. - Unsweetened Cocoa Powder: For Deep Chocolate Intensity
This essential ingredient provides the rich, deep chocolate base that pairs so perfectly with the invigorating peppermint. Using unsweetened cocoa powder allows you complete control over the sweetness level of the fudge, ensuring it’s not overly saccharine. It contributes a robust, bittersweet chocolate flavor that balances the mint beautifully. Opt for a high-quality cocoa powder, such as Dutch-processed cocoa, for the best color, deepest flavor, and smoothest blend, as it’s less acidic. - Maple Syrup: Natural Sweetness and Binder
Maple syrup serves as our natural sweetener, lending a lovely depth of flavor that is more complex than refined sugar. Its liquid form is also critical for achieving a smooth, homogenous fudge batter, helping to bind the ingredients together seamlessly. Ensure you’re using pure maple syrup for the best flavor outcome and avoid imitation syrups, which can contain artificial ingredients and lack the same rich taste. - Chocolate Chips: An Extra Layer of Chocolatey Goodness
While cocoa powder provides the base, chocolate chips (melted and incorporated) add an extra layer of chocolatey richness and contribute to the fudge’s luxurious texture. They help create that classic fudgy chewiness. You can use dark, semi-sweet, or even milk chocolate chips depending on your preference for sweetness and chocolate intensity. High-quality chocolate chips will melt more smoothly and provide a superior flavor. - Peppermint Extract: The Essence of Holiday Cheer
Peppermint extract is where the iconic holiday flavor truly shines. However, it’s an incredibly potent ingredient, and a little truly goes a very long way. It’s always advisable to start with the recommended amount and, if desired, add more gradually (in tiny increments like ⅛ or ¼ teaspoon), tasting as you go, to achieve your perfect level of mintiness. Too much can quickly overwhelm the other flavors and even lead to a taste that’s more medicinal than delightful. This extract provides that refreshing, cool sensation that perfectly contrasts the rich chocolate. - Candy Canes or Peppermints: For Crunch and Festive Flair
The addition of crushed candy canes or peppermints on top of this freezer fudge isn’t just for beautiful presentation – it provides a delightful textural contrast. The satisfying crunch of the candy bits against the smooth, creamy fudge creates an exciting sensory experience with every bite. Beyond texture, they add a beautiful, vibrant red and white visual that instantly evokes the holiday season, making your fudge look as festive and inviting as it tastes. Feel free to crush them finely for a subtle texture or leave them in slightly larger pieces for a more pronounced, joyful crunch.
Beyond Peppermint
Discover Our Cookie Dough Freezer Fudge!
Absolutely adore the convenience and deliciousness of freezer fudge? Don’t stop at peppermint! You’ll be thrilled to try our equally fantastic Cookie Dough Freezer Fudge next! It’s another no-bake sensation that delivers all the nostalgic flavor of raw cookie dough in a perfectly chilled, fudgy square. Perfect for satisfying those sweet cravings year-round!
Flexible & Flavorful: Your Guide to Easy Ingredient Swaps
While our peppermint freezer fudge recipe is meticulously perfected for optimal taste and texture, we understand the need for flexibility in the kitchen. Whether you’re adapting to pantry availability, catering to dietary preferences, or simply experimenting with new flavor profiles, here are some easy 1:1 ingredient swaps you can confidently make. Don’t have almond butter on hand? No problem! Want to use a different sweetener? Go for it!
- Nut Butter Alternatives: Instead of all-natural, drippy almond butter, you can easily use any other creamy, drippy nut butter to achieve a similar texture.
- Peanut Butter: A popular choice that creates a delicious chocolate peanut butter and mint combination. Ensure it’s natural and drippy (stir well!) for the best texture and to prevent the fudge from being too dry.
- Cashew Butter: Offers an even milder, incredibly creamy base that allows the peppermint and chocolate flavors to truly shine without any overpowering nutty notes. It’s often naturally very drippy.
- Sunflower Seed Butter: An excellent option for those with nut allergies, providing a rich, slightly savory counterpoint to the sweetness. Again, ensure you select a drippy, natural version that has been well-stirred.
- Important Note: Regardless of your choice, the key remains a *drippy* consistency. This ensures smooth incorporation into the fudge mixture and contributes to the desired fudgy, melt-in-your-mouth texture.
- Sweetener Options: Our recipe calls for maple syrup for its unique flavor and natural qualities, but other liquid sweeteners can work beautifully.
- Honey: A fantastic natural alternative to maple syrup, providing a slightly different, more floral sweetness. The 1:1 swap works perfectly and often results in a slightly firmer fudge.
- Agave Nectar: For a vegan option with a more neutral flavor profile, allowing the chocolate and peppermint to be the stars. Use in equal measure to maple syrup.
- Consideration: The choice of sweetener can subtly alter the final flavor and sweetness intensity, so pick one that aligns with your personal taste preferences.
- Chocolate Varieties: While chocolate chips are convenient and classic, you have options for customizing the chocolate component to your liking.
- Chocolate Chunks: Using chocolate chunks instead of chips will result in a more rustic appearance and potentially larger, more satisfying pockets of melted chocolate throughout the fudge. They will melt down similarly.
- Finely Chopped Chocolate Bar: Using a high-quality dark or semi-sweet chocolate bar, finely chopped, can significantly elevate the richness and depth of flavor. Look for chocolate with a high cocoa percentage for a less sweet, more intense chocolate experience.
- White Chocolate: For a different aesthetic and a sweeter, creamier profile that allows the peppermint to be the dominant flavor. If using white chocolate, you might consider adding a touch more unsweetened cocoa powder to the main mixture if you prefer some darker chocolate notes in contrast.
Crucial Ingredients: What You Absolutely Cannot Swap
While we encourage creative kitchen experimentation and have provided several flexible swap options, some ingredients in this peppermint freezer fudge recipe are absolutely fundamental to its structural integrity, desired texture, and overall success. Substituting these will drastically alter the texture, consistency, and overall outcome of your fudge. Please pay close attention to these non-negotiable components, as they are the backbone of this no-bake delight:
- All-Natural, Drippy Nut Butter: Your Fudge’s Indispensable Foundation
We cannot stress enough the importance of using a *drippy* nut butter. While you have flexibility in the *type* of nut butter (almond, peanut, cashew, sunflower seed), its *consistency* is paramount. Nut butters that are too stiff, pasty, or contain added emulsifiers and sugars will not blend smoothly into the fudge mixture. This will lead to a crumbly, dry, or unevenly textured fudge that simply won’t set properly or have the desired melt-in-your-mouth feel. The natural oils and smooth consistency in drippy nut butter are essential for proper emulsification and contribute significantly to the fudge’s creamy mouthfeel once frozen. Always ensure your chosen nut butter is thoroughly stirred and pourable before measuring. - Coconut Oil: The Non-Negotiable Structural Backbone
This is, without a doubt, the single most critical ingredient in this freezer fudge recipe. You absolutely cannot swap out coconut oil for another liquid oil like olive oil, canola oil, vegetable oil, or sunflower oil. The reason is rooted in chemistry: coconut oil is unique among common cooking oils in that it solidifies at cool room temperatures (below 76°F / 24°C) and becomes very firm when fully frozen. This specific property is precisely what allows this “freezer fudge” to hold its solid shape and maintain its delightful, sliceable texture when chilled. Other liquid oils will remain liquid or semi-solid even in the deepest freezer temperatures, resulting in a runny, oily, or simply un-fudge-like consistency that will never set properly. Furthermore, substituting with other oils would introduce completely different, often savory, flavor profiles that would fundamentally clash with the sweet, minty notes of this holiday dessert. Trust us on this one – coconut oil is your best friend here!
Whip It Up: Step-by-Step Simple Instructions for Your Peppermint Fudge
Making this peppermint freezer fudge is incredibly straightforward and designed for minimal fuss and maximum enjoyment. Follow these simple, descriptive steps to create your delicious and festive holiday treat. For precise ingredient measurements and a full printable recipe card, please refer to the dedicated section further down this page.
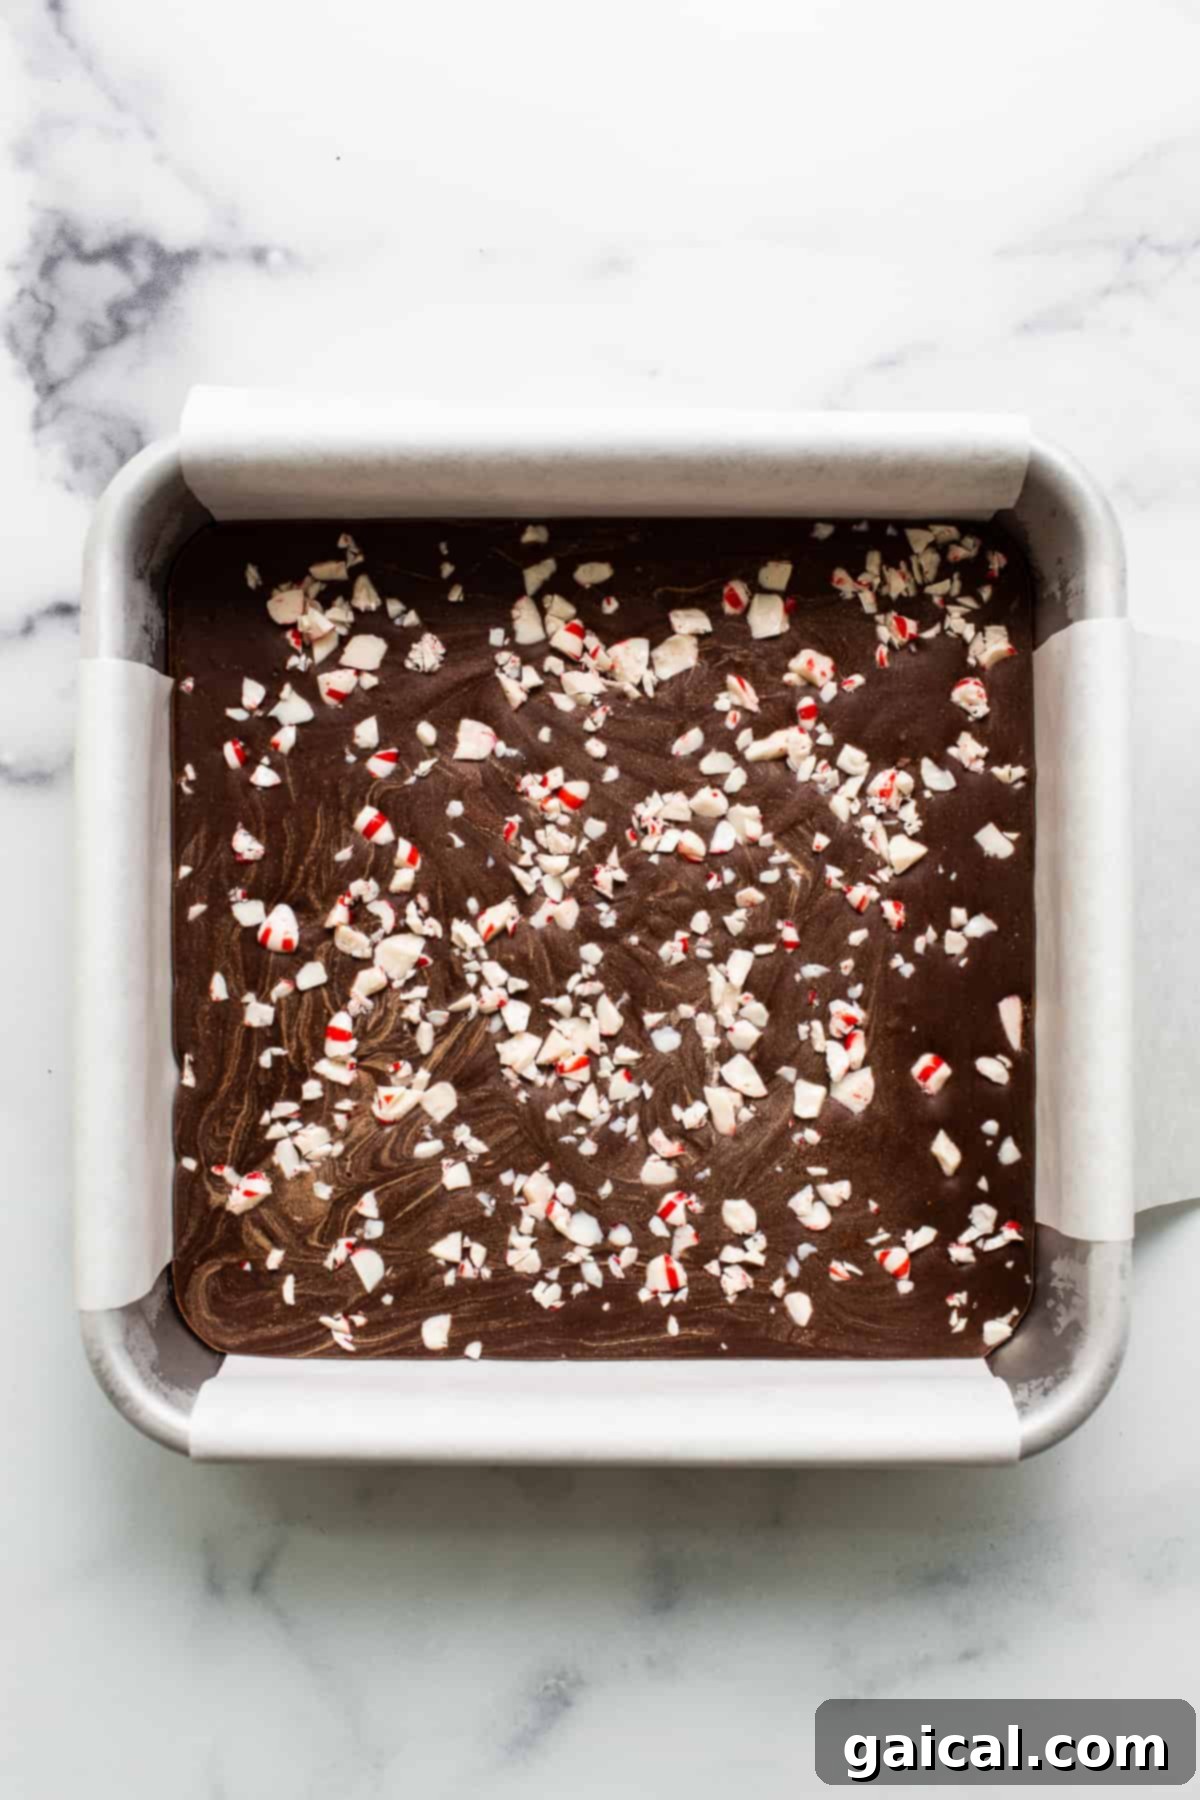
- Prepare Your Pan with Parchment Paper: Begin by carefully lining a square cake pan (an 8×8 or 9×9 inch pan typically works best for this recipe) with parchment paper. Ensure that the parchment paper extends beyond the edges of the pan, creating a convenient overhang on all sides. These “handles” will prove incredibly useful later, making it effortlessly easy to lift the entire block of frozen fudge out of the pan. This step is absolutely essential for clean removal and seamless slicing.
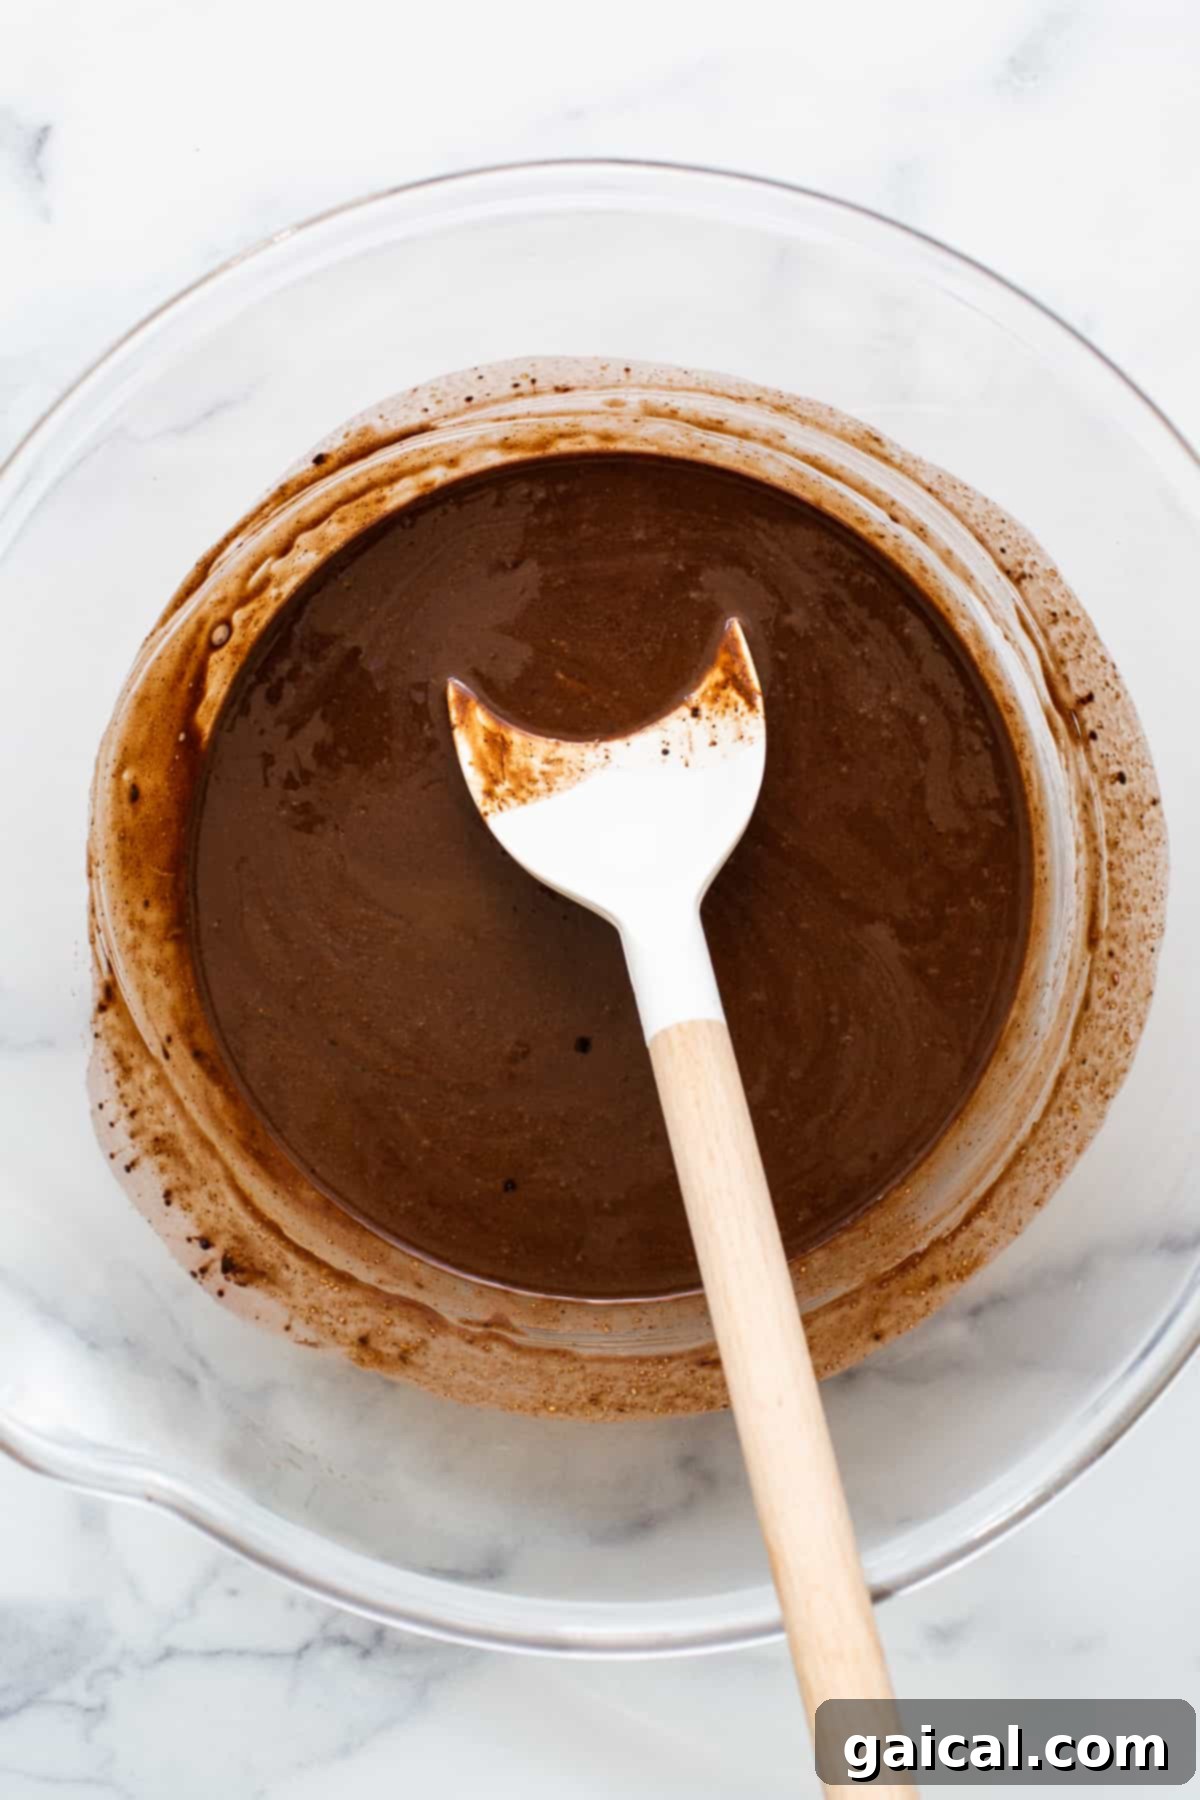
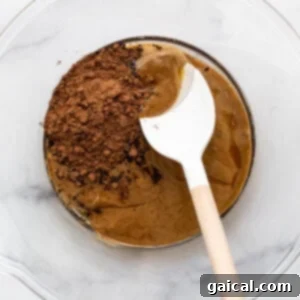
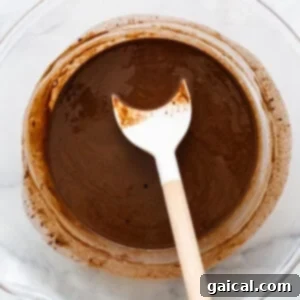
- Combine the Main Fudge Ingredients: In a large mixing bowl, combine your essential base ingredients: the drippy almond butter, unsweetened cocoa powder, the larger portion of melted coconut oil (which is ⅓ cup), pure maple syrup, and the potent peppermint extract. Using a sturdy spatula, a whisk, or an electric mixer on low speed, thoroughly combine all these ingredients. Mix until the mixture is completely smooth, homogenous, and beautifully creamy. There should be no visible lumps of cocoa powder or streaks of nut butter remaining.
- Gently Melt the Chocolate Chips: In a separate, microwave-safe bowl, place your chocolate chips along with the remaining 1 teaspoon of coconut oil. Microwave this mixture in short bursts (e.g., 20-30 seconds at a time) on high power. After each interval, remove the bowl and stir the chocolate vigorously. Continue this process until the chocolate chips are fully melted and the mixture is silky smooth and glossy. Alternatively, you can use a double boiler on the stovetop for a more gentle and controlled melting process, ensuring the chocolate doesn’t scorch.
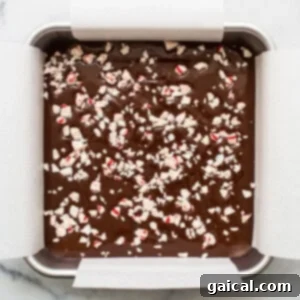
- Integrate Chocolate & Top with Peppermints: Once the chocolate is perfectly melted and smooth, pour it into your main fudge mixture that you prepared in Step 2. Mix vigorously and thoroughly until the melted chocolate is fully incorporated, and the entire fudge batter takes on a uniform, rich chocolate color and a consistent, creamy texture. Immediately transfer this luscious fudge mixture into your prepared parchment-lined square pan. Use a spatula or the back of a spoon to spread it out evenly, ensuring the surface is level and smooth. Finally, generously sprinkle the finely chopped peppermints or crushed candy canes over the top, gently pressing them into the fudge so they adhere securely.
- Freeze to Perfect Solidity: Cover the pan tightly with plastic wrap or aluminum foil. This is crucial to prevent freezer burn and to avoid the fudge absorbing any unwanted odors from other items in your freezer. Carefully place the covered pan in the freezer and allow it to chill for a minimum of 2 to 4 hours, or until the fudge is completely firm and solid to the touch. The exact freezing time may vary slightly depending on the temperature of your freezer. Once thoroughly chilled and solid, it’s ready to be transformed into delectable squares!
Pro Tip: The Undeniable Importance of Parchment Paper
Seriously, do NOT skip lining your pan with parchment paper! This simple, yet critical, step is an absolute game-changer and will save you a significant amount of frustration in the long run. The parchment paper creates a non-stick barrier that allows you to effortlessly lift the entire block of frozen fudge directly out of your square cake pan once it’s set. Trying to remove frozen fudge directly from a metal pan, even a well-greased non-stick one, without parchment is incredibly difficult and often results in breakage, uneven pieces, and a messy struggle. The convenient overhang of the parchment paper acts as perfect handles, ensuring a smooth and easy transfer from the freezer pan to your cutting board, ready for neat slicing.
More Festive Holiday Desserts to Explore!
Brown Butter Chai Rice Krispie Treats
Pumpkin Spice Protein Puppy Chow
Peanut Butter Crunch Cups
Grandma Betty’s Swedish Coffee Cake
Lemon Cookies with Cream Cheese Frosting
Expert Tips for Your Best Peppermint Freezer Fudge
Achieving perfect peppermint freezer fudge is simple with a few insider tips and tricks. These pointers will help ensure your fudge is wonderfully smooth, packed with flavor, and holds up beautifully for all your holiday enjoyment. Pay close attention to these details for a truly remarkable treat:
- The Drippier the Almond Butter, the Better Your Fudge: This cannot be overstated. The ultimate success of your fudge’s texture largely depends on the consistency of your chosen nut butter. Always seek out natural, “drippy” almond butter – the kind that’s pourable and not stiff or pasty. Brands like Good and Gather almond butter or those from Trader Joe’s are often excellent choices known for their ideal consistency. If your almond butter has separated, stir it thoroughly from the bottom up until it’s a smooth, uniform consistency before measuring. Using stiff nut butter will result in a dry, crumbly fudge that lacks the desired melt-in-your-mouth quality and won’t mix properly.
- Mastering Peppermint Flavor: Add Extract Gradually and Taste: Peppermint extract is incredibly potent, and a small amount can go an exceptionally long way in flavoring your fudge. It’s always better to start with slightly less than the recommended amount and add more gradually, rather than adding too much at once. Begin with the specified half teaspoon, mix thoroughly, and then carefully taste the mixture. If you desire a stronger mint flavor, add just a tiny dash (perhaps ⅛ or ¼ teaspoon at a time), mixing well after each addition. Over-extracting can quickly lead to a taste that’s medicinal or overwhelming, rather than delightfully refreshing.
- Preventing Freezer Burn: Air-Tight Storage is Absolutely Key: To preserve the fresh, vibrant taste and perfect smooth texture of your peppermint freezer fudge, proper storage is crucial. Once the fudge has completely set and you’ve cut it into individual pieces, transfer them immediately to an air-tight container. If you simply leave it uncovered or in a loosely sealed container, the fudge can quickly develop freezer burn. This not only causes an unappetizing icy or crumbly texture but can also lead to the fudge absorbing unwanted odors and flavors from other items in your freezer, severely compromising its delicious peppermint profile. For extra protection and to prevent pieces from sticking, layer them with small sheets of parchment paper inside the container.
- Serving Temperature Matters for Optimal Enjoyment: Because this fudge is made with coconut oil, which has a lower melting point than many fats, it will soften relatively quickly at room temperature. For the absolute best and most enjoyable experience, remove the fudge from the freezer approximately 5-10 minutes before you plan to serve it. This brief warming period allows it to soften just enough to become wonderfully chewy and creamy, without melting completely and becoming messy.
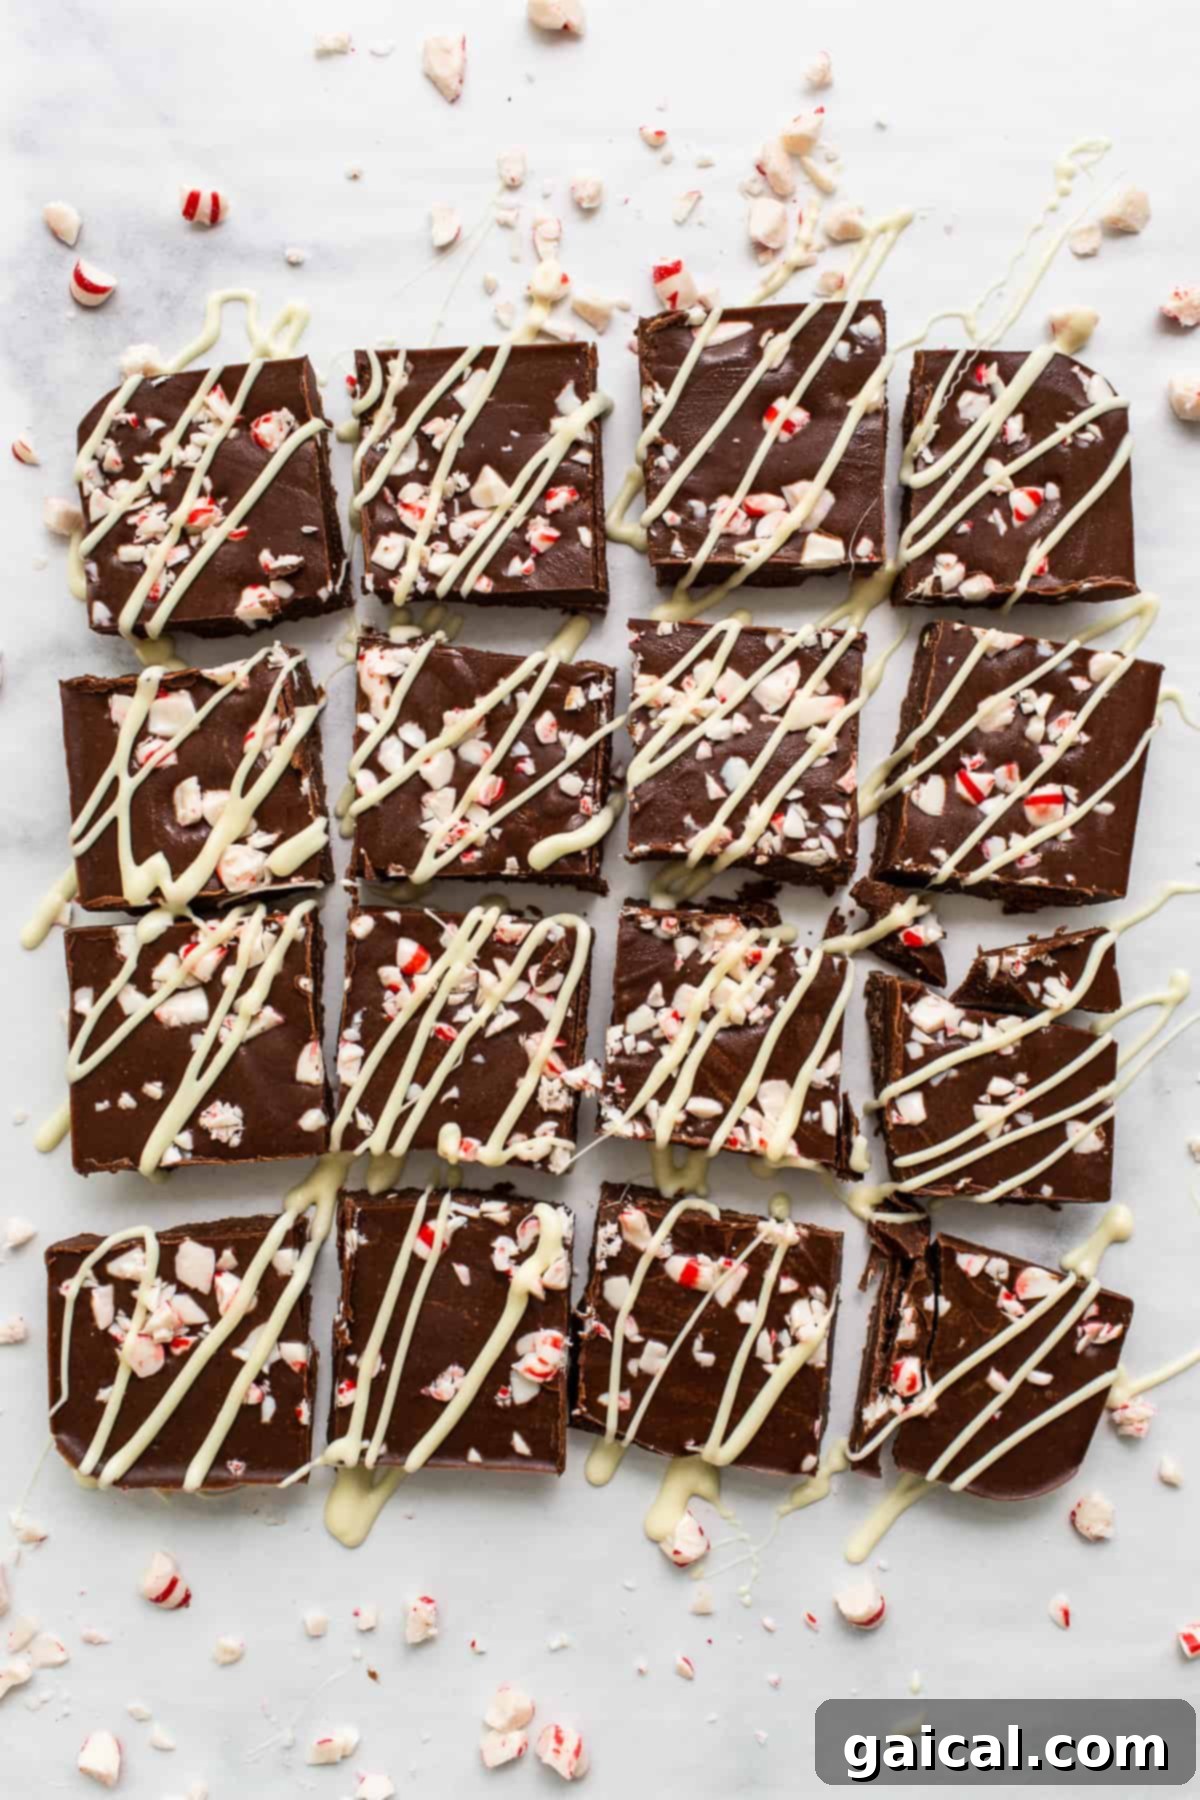
- Use a Sharp, Warm Knife for Clean Cuts: Once your fudge is fully frozen and you’re ready to serve, use a very sharp knife to cut it into neat squares or desired shapes. For even cleaner cuts, run your knife under hot water for a few seconds and then wipe it completely dry before each slice. This slight warmth on the blade will help it glide through the dense fudge without cracking or dragging, ensuring beautifully presented pieces.
Storage Solutions: Keeping Your Peppermint Freezer Fudge Fresh
Due to the specific properties of its primary ingredients, particularly coconut oil and drippy nut butter, this peppermint freezer fudge has a significantly lower melting point compared to traditional fudge recipes that rely on dairy and sugar crystallization. This means it will soften and eventually melt if left at room temperature for an extended period. Therefore, to consistently maintain its perfect firm texture, preserve its delightful flavor, and prevent it from becoming a gooey mess, we emphatically recommend storing your finished fudge exclusively in the freezer.
Pro Tip for Optimal Long-Term Storage and Easy Serving: Once your pan of peppermint freezer fudge has completely solidified in the freezer (after the recommended 2-4 hours), carefully lift the entire block out of the pan using the convenient parchment paper handles. Transfer it to a clean cutting board. Allow the fudge block to sit at room temperature for just about 5 minutes – this slight thaw makes it much easier to cut without crumbling or breaking. Using a sharp knife, slice the fudge into your desired squares or break it into more rustic, irregular chunks. Arrange these individual pieces in an airtight container. For added convenience and to prevent sticking, it’s a great idea to layer the pieces with small sheets of parchment paper between them. Store this sealed container in the freezer. Properly stored, this delightful peppermint freezer fudge will remain fresh and delicious for several weeks, if not longer (though we doubt it will last that long!). When a craving strikes or guests arrive, simply grab a piece, let it soften for a few minutes, and enjoy!
Discover More of Our Favorite…
Irresistible Peppermint Desserts!
If you’re a true fan of the refreshing and festive flavor of peppermint, you’re in for an absolute treat! We have a delightful collection of other peppermint-infused desserts and snacks that are perfect for any time of year, especially during the joyous holiday season. Dive into these other amazing and unique recipes to further satisfy your minty cravings:
- Chocolate Peppermint Nice Cream: A healthy, dairy-free, and wonderfully refreshing frozen treat that captures the essence of mint chocolate chip ice cream.
- Dark Chocolate Peppermint Protein Shake: A delicious, energizing, and nutrient-packed post-workout or snack option that feels like a decadent dessert.
- Peppermint Bark Fat Bombs: Indulgent, keto-friendly bites packed with healthy fats and a burst of festive peppermint flavor. Perfect for a quick, satisfying treat.
- Vegan Peppermint Patties: Enjoy the classic cool, minty flavor of traditional peppermint patties with a delightful plant-based twist.
Peppermint Freezer Fudge
This delightful peppermint freezer fudge is crafted from creamy almond butter, vibrant peppermint extract, rich melted chocolate, and a handful of other wholesome ingredients. It’s a perfect no-bake treat for any holiday occasion, offering a quick, easy, and incredibly festive dessert option.
Linley Hanson
Prep:
3 hrs
Cook:
1 min
Total:
3 hrs 1 min
12
Save Recipe
Pin Recipe
Print Recipe
Want this recipe delivered straight to your inbox? Sign up for our newsletter and get weekly doses of recipe inspiration!
Ingredients
- 1 cup drippy, all-natural almond butter
- ⅓ cup unsweetened cocoa powder
- ⅓ cup melted coconut oil + 1 teaspoon, divided
- 3 tablespoons maple syrup
- ⅓ cup chocolate chips
- ½ teaspoon peppermint extract
- ¼ cup chopped peppermints or candy canes
Instructions
-
First, line a square cake pan (8×8 or 9×9 inch is ideal) with parchment paper. Make sure the paper extends over the edges to create “handles,” which will assist in lifting the frozen fudge later. Set the prepared pan aside.
-
Next, in a medium mixing bowl, combine the drippy, all-natural almond butter, unsweetened cocoa powder, and ⅓ cup of the melted coconut oil. Mix thoroughly until these ingredients are well combined and the mixture is smooth. Then, add the maple syrup and peppermint extract, mixing again until the batter is completely uniform and creamy.

-
Prepare the melted chocolate. Place the chocolate chips in a separate microwave-safe bowl along with the remaining 1 teaspoon of coconut oil. Microwave on high power in 20-second increments, stirring well after each interval, until the chocolate chips are completely melted and the mixture is silky smooth. Be vigilant to avoid burning the chocolate.
-
Pour the smooth melted chocolate into the fudge batter from Step 2. Mix thoroughly until the chocolate is fully incorporated, and the entire fudge mixture takes on a uniform, rich chocolate color and smooth consistency. Transfer this creamy batter into your prepared cake pan and use a spatula to spread it out evenly to form a level top layer. Immediately sprinkle the chopped peppermints or candy canes generously over the surface, gently pressing them in to ensure they adhere.
-
Place the covered pan in the freezer for 2 to 4 hours, or until the fudge is completely solid and firm to the touch. Once frozen, remove it from the freezer and let it sit at room temperature for about 5 minutes to soften slightly. Then, using the parchment paper overhang, carefully lift the fudge block out of the pan. Place it on a cutting board and use a sharp knife to cut it into desired squares. Serve immediately or store as recommended.
Tips & Notes
- Drippy almond butter is paramount! If your almond butter is not naturally drippy and creamy, you may need to add an extra teaspoon or two of melted coconut oil to the fudge mixture. This will help you achieve the correct smooth consistency and ensure proper setting. Adjust gradually until the mixture is easily spreadable.
- For a bolder mint flavor, you can increase the peppermint extract by ¼ teaspoon increments, tasting after each addition to reach your desired intensity. Remember, peppermint extract is very strong, so proceed with caution.
- For a super smooth top surface, gently tap the pan on your counter a few times after spreading the fudge mixture. This technique helps to release any trapped air bubbles and allows the fudge to settle evenly before you add the crushed peppermints.
Watch It: How to Make Peppermint Freezer Fudge
Learn how to effortlessly create this delightful peppermint freezer fudge by watching our step-by-step video guide. See firsthand how simple it is to achieve the perfect texture and festive look in minutes!
Nutrition Information
Calories: 223 kcal
Carbohydrates: 12 g
Protein: 5 g
Fat: 19 g
Fiber: 3 g
Sugar: 7 g
Disclaimer: Nutrition information provided is automatically calculated and should only be used as an approximation. Individual nutritional results may vary based on exact ingredients used and specific preparation methods.
Loved this recipe? Share your thoughts below!
We’d absolutely love to see your delicious creations! Don’t forget to tag your posts on social media with the hashtag #fitfoodiefinds. Your culinary adventures truly inspire us!