
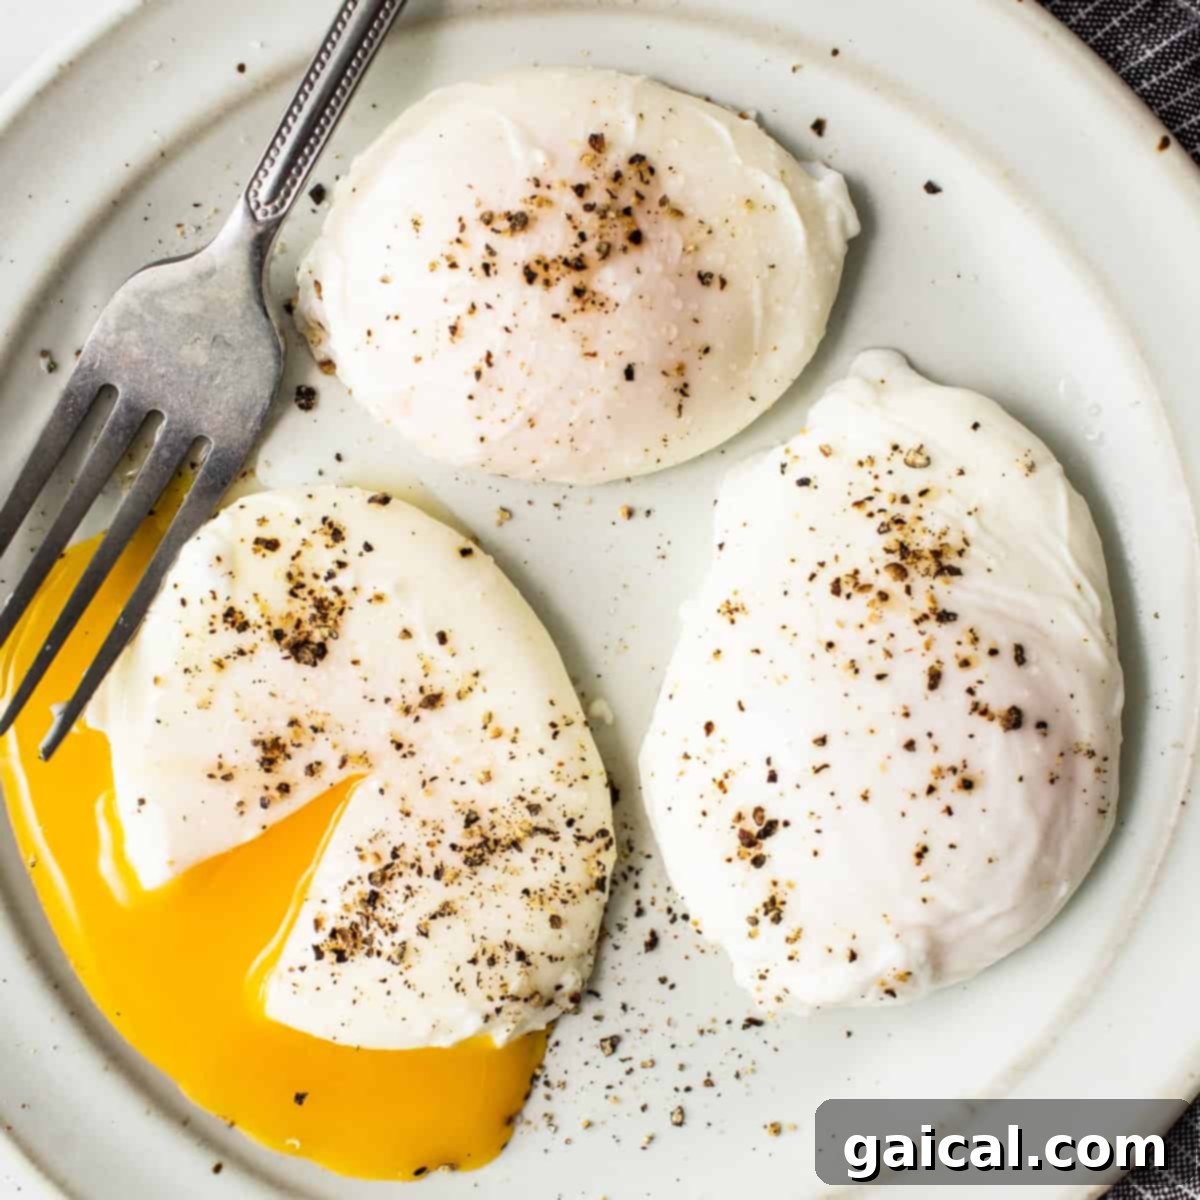
Are you searching for the definitive guide to making the BEST poached eggs? Look no further! This simple, yet incredibly effective method promises to deliver those coveted perfectly firm egg whites and an irresistibly oozy, golden yolk you’ve always dreamed of. Whether you’re a seasoned chef or stepping into the kitchen for the very first time, this recipe is designed to help anyone achieve poached egg perfection with confidence.
Forget the intimidation; with just a few key tips and a little practice, you’ll be creating delicious, flawlessly poached eggs in mere minutes. Prepare to impress yourself and your loved ones with a breakfast staple that’s both elegant and incredibly satisfying.
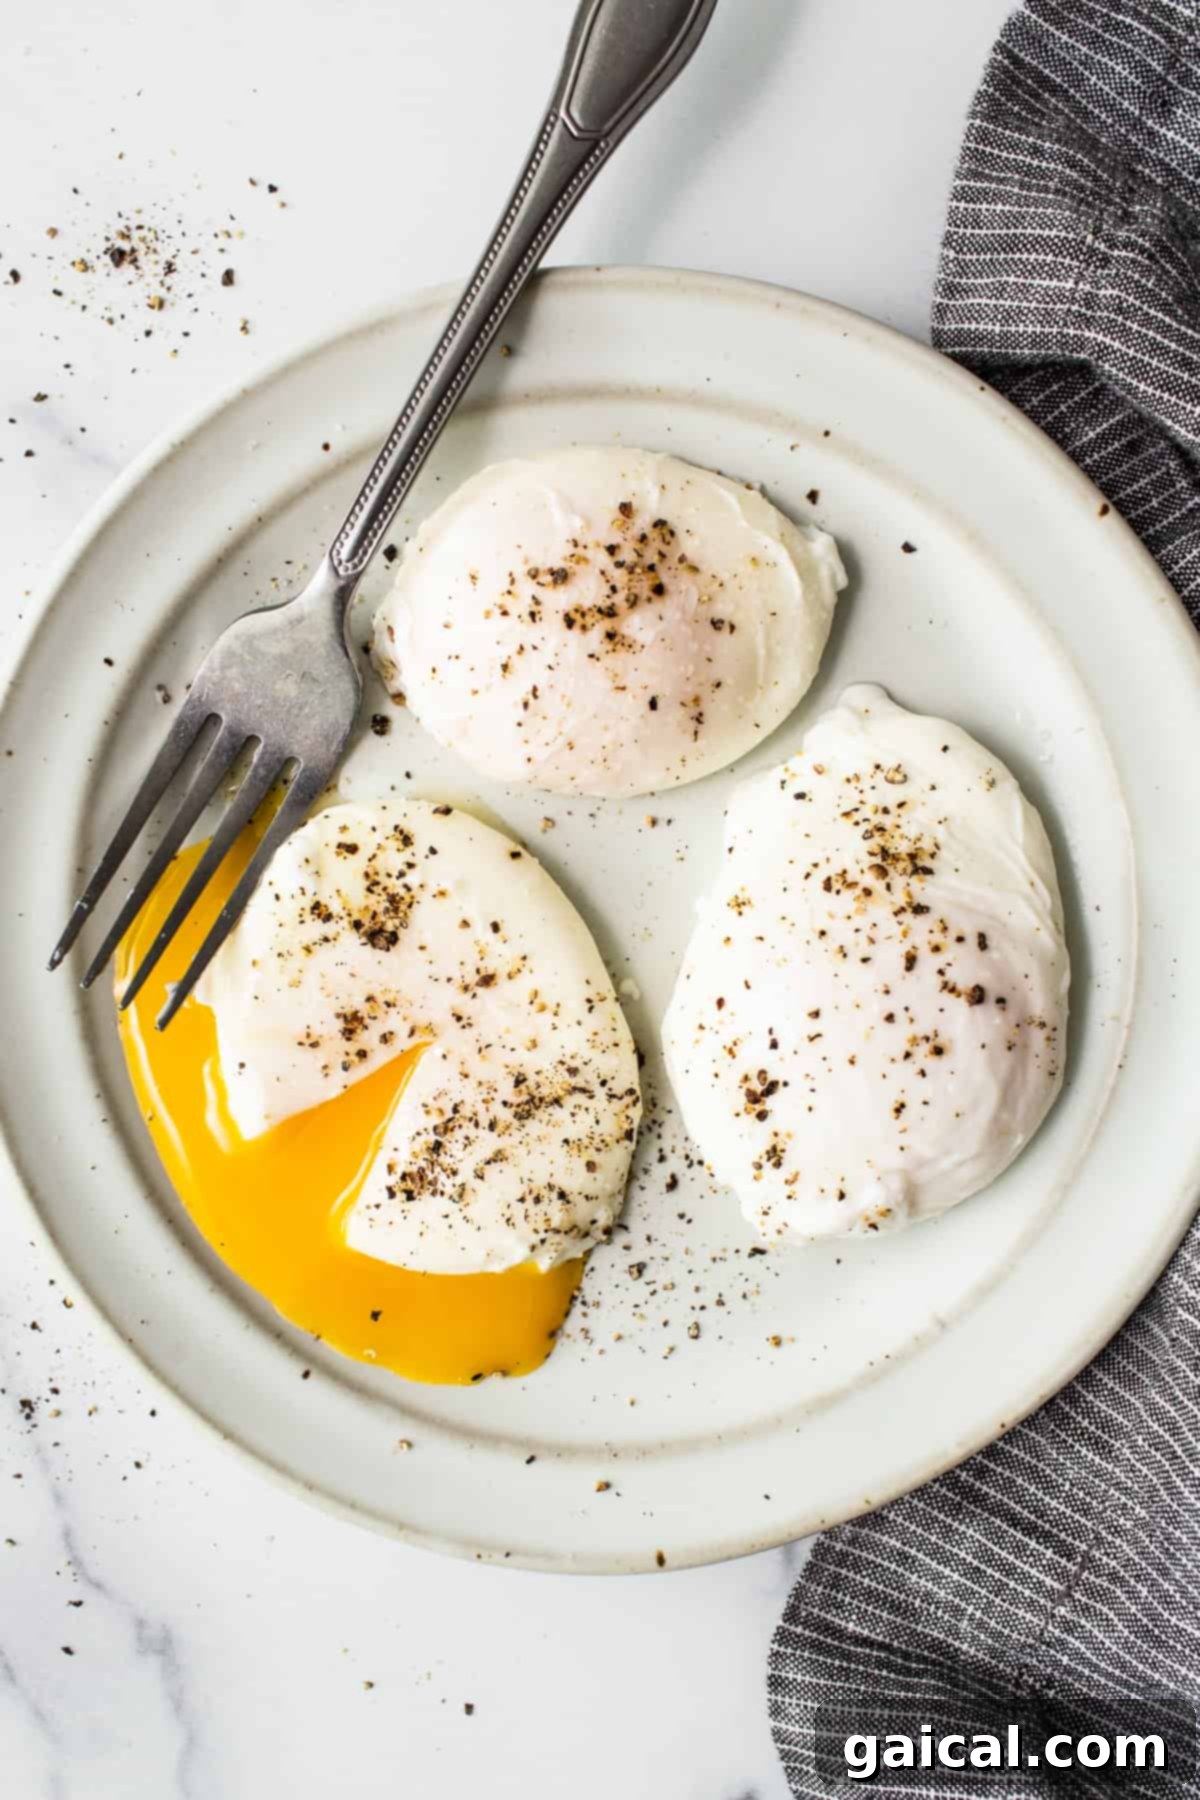
Mastering the Art of Perfect Poached Eggs
For many, the thought of poaching eggs can seem daunting. Visions of scattered egg whites and watery yolks might discourage even the most enthusiastic home cooks. Common concerns include finding the precise amount of vinegar for the water or mastering the elusive whirlpool technique to shape the egg. It often feels like it takes several attempts to get poached eggs that look and taste just right.
The good news is, I’ve navigated all the trial and error for you. I’ve refined this method to strip away the complexity, allowing you to bypass the common frustrations and jump straight to the best part: effortlessly cooking and savoring a truly delicious, perfectly shaped poached egg. This guide will make poaching eggs a skill you can rely on, turning a seemingly challenging task into a simple, enjoyable culinary triumph.
Why This Poached Egg Recipe Will Become Your Favorite
- Step-by-Step Simplicity: My clear, concise instructions ensure you’ll achieve perfectly cooked poached eggs every single time, removing all guesswork from the process.
- Achieve Dreamy Texture: We’re talking about that ideal combination of jammy, runny yolks enveloped by tender, firm egg whites. Yes, it’s absolutely achievable and utterly delicious!
- Versatile Pairing Ideas: Beyond just the egg, I’m sharing an array of perfect recipe pairings to help you craft a complete, unforgettable breakfast or brunch experience.
- Healthy and Light: Poaching is one of the healthiest ways to prepare eggs, requiring no added fats, making it a fantastic low-calorie option.
- Boost Your Culinary Confidence: Mastering poached eggs elevates your kitchen skills and opens up a world of delightful meal possibilities.
Understanding Poached Eggs: What Exactly Are They?
A poached egg is a culinary marvel: an egg carefully cooked outside its shell in simmering water until the white is set and the yolk remains gloriously liquid. Unlike frying, scrambling, or boiling, poaching involves a delicate balance of water temperature and technique to create an egg that is both tender and rich. The process typically takes just a few minutes, resulting in an egg that retains all its natural moisture and nutrients, making it one of the most celebrated and healthy ways to enjoy eggs.
The beauty of a poached egg lies in its pure form – no oil, no butter, just the egg itself, transformed by gentle heat into a silky, flavorful delicacy. This method preserves the delicate taste and texture of the egg, highlighting its natural goodness.
The Health Benefits and Culinary Appeal of Poaching Eggs
There’s an abundance of reasons to adore poached eggs, extending far beyond the sheer satisfaction of slicing into a fluffy white to reveal an oozy, golden yolk. One of the most significant advantages of poaching your eggs is its inherent health benefit: absolutely no added fat is required.
Traditional egg preparations, such as frying, often call for butter or oil, contributing additional calories and fats. With poached eggs, however, they are cooked directly in water. This makes them an exceptionally delicious, clean, and low-calorie alternative for any meal of the day. They are packed with protein, essential vitamins, and minerals, providing a nourishing boost without the extra grease. Poached eggs are incredibly versatile, serving as a perfect topping for anything from avocado toast and salads to ramen and grain bowls, elevating simple dishes with their luxurious texture and rich flavor.
Essential Equipment for Poached Egg Perfection
Many novice cooks might assume that creating something as seemingly gourmet as a poached egg requires a plethora of specialized equipment. On the contrary, the beauty of poaching lies in its simplicity and accessibility. You likely already own everything you need in your kitchen to create culinary magic. Here’s a breakdown of the few essential items:
- A Large Pot of Water: Choose a pot that is wide enough to comfortably fit your eggs without overcrowding them, typically a 2-3 quart saucepan. The depth is less important than the width, as eggs need space to cook evenly.
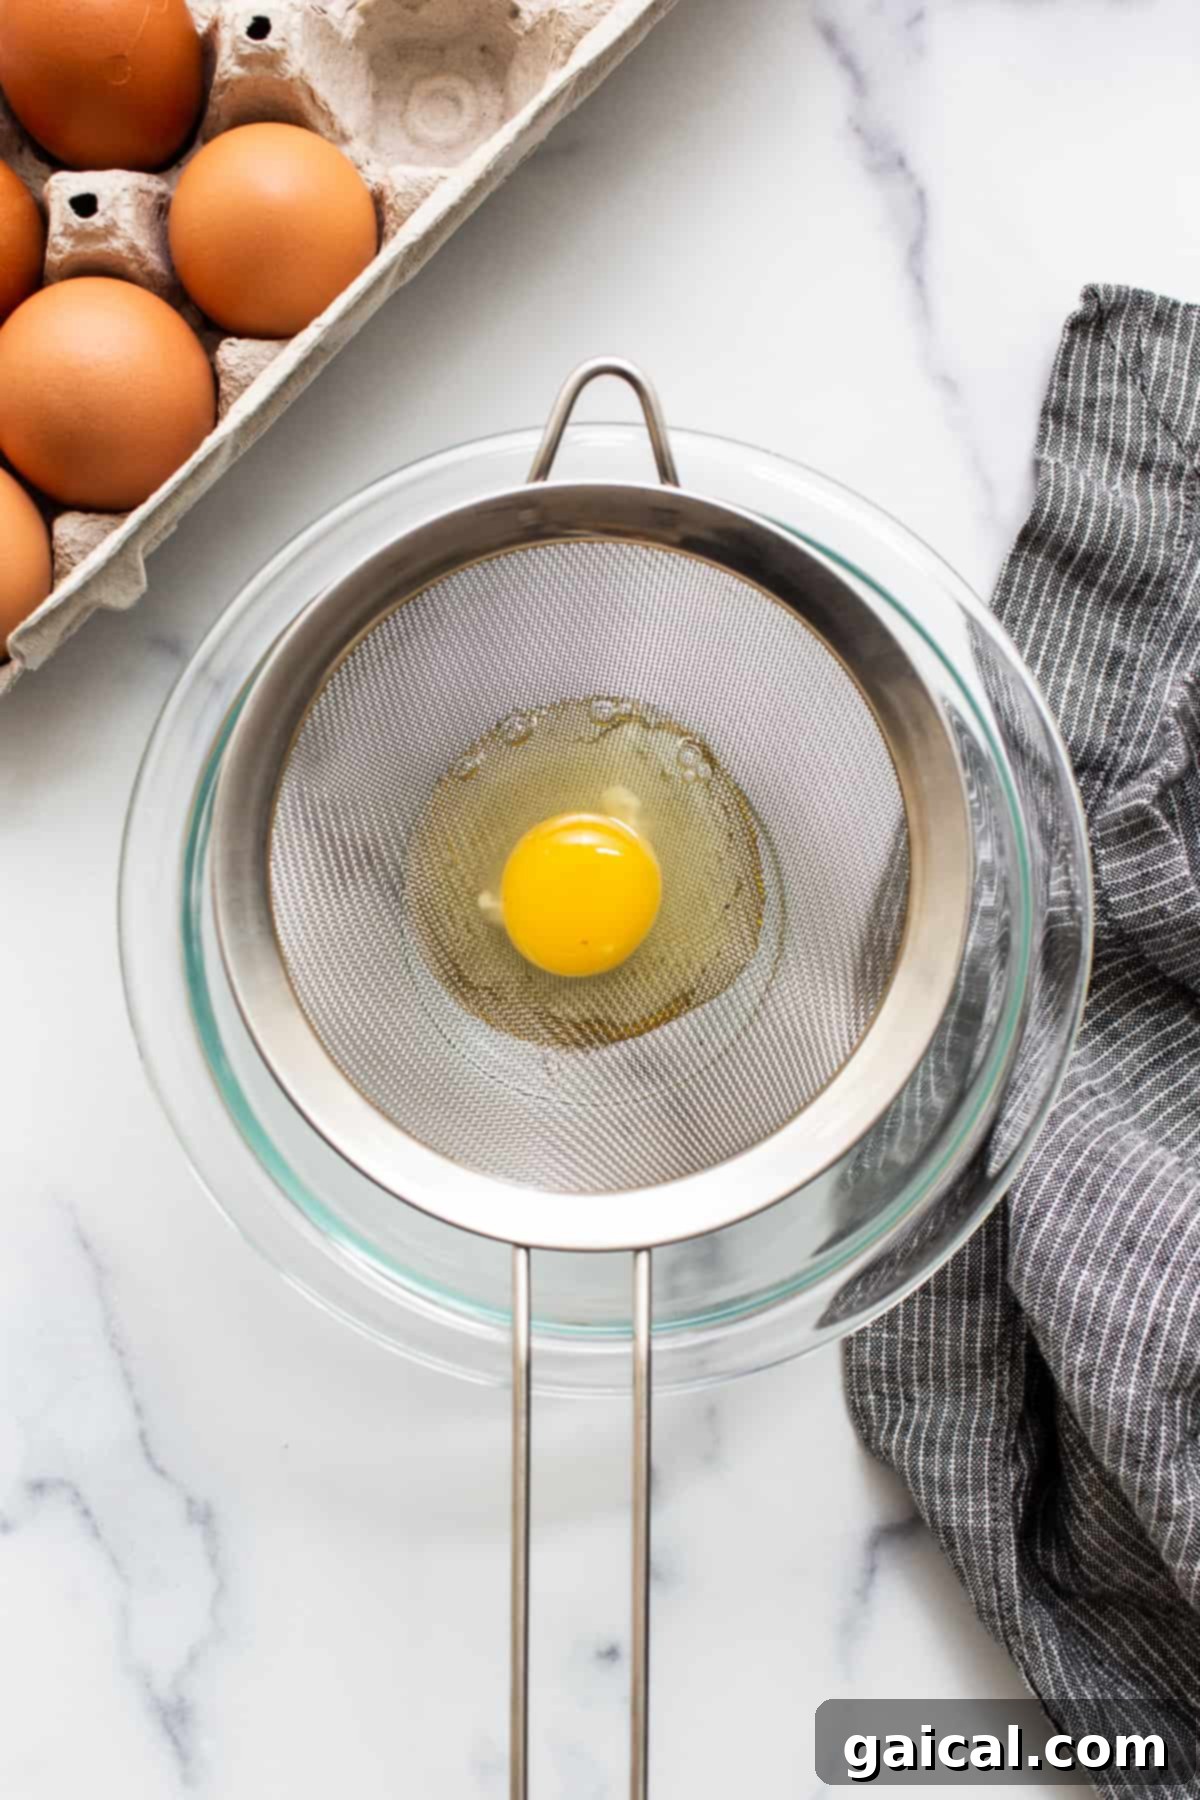
- A Fine Mesh Strainer: This is a game-changer! A fine-mesh strainer is crucial for removing the thin, watery outer layer of egg white, ensuring your poached egg has a compact, aesthetically pleasing shape without those annoying “wisps.”
- A Small Bowl: Positioned under the strainer, this bowl collects the excess egg white that drains off, keeping your workspace clean.
- A Slotted Spoon: Essential for carefully lowering the egg into the water and gently retrieving it once cooked. The slots allow the water to drain away, leaving you with a perfectly cooked egg.
- A Regular Spoon or Whisk: Used for creating the gentle whirlpool in the water, which helps shape the egg.
While specialized egg poaching cups or silicone inserts exist, they are absolutely not necessary. You’ll achieve equally, if not superior, results with these basic kitchen tools.
Step-by-Step: How to Master Poaching an Egg Every Time
1. Prepare Your Water for Poaching
Begin by filling a large pot with approximately 8 cups of water. Add about 1 teaspoon of salt to the water – this not only seasons the egg but also helps slightly raise the boiling point. Bring this salted water to a rolling boil over high heat. Once the water is vigorously boiling, immediately reduce the heat to its lowest setting. The goal is to maintain a gentle simmer, where you see small, consistent bubbles at the bottom of the pot, but no turbulent rolling boil. This controlled temperature is paramount to preventing your eggs from disintegrating.
2. Strain the Egg Whites for a Pristine Finish
This step is crucial for achieving a beautifully shaped poached egg with minimal “wisps.” Grab your fine mesh strainer and position it over a small bowl. Carefully crack one fresh egg directly into the strainer. Allow the egg to sit in the strainer for about 15-30 seconds, letting any very loose, watery egg white drain off into the bowl below. This leaves you with the thicker, more desirable egg white, which will hold its shape much better in the hot water.
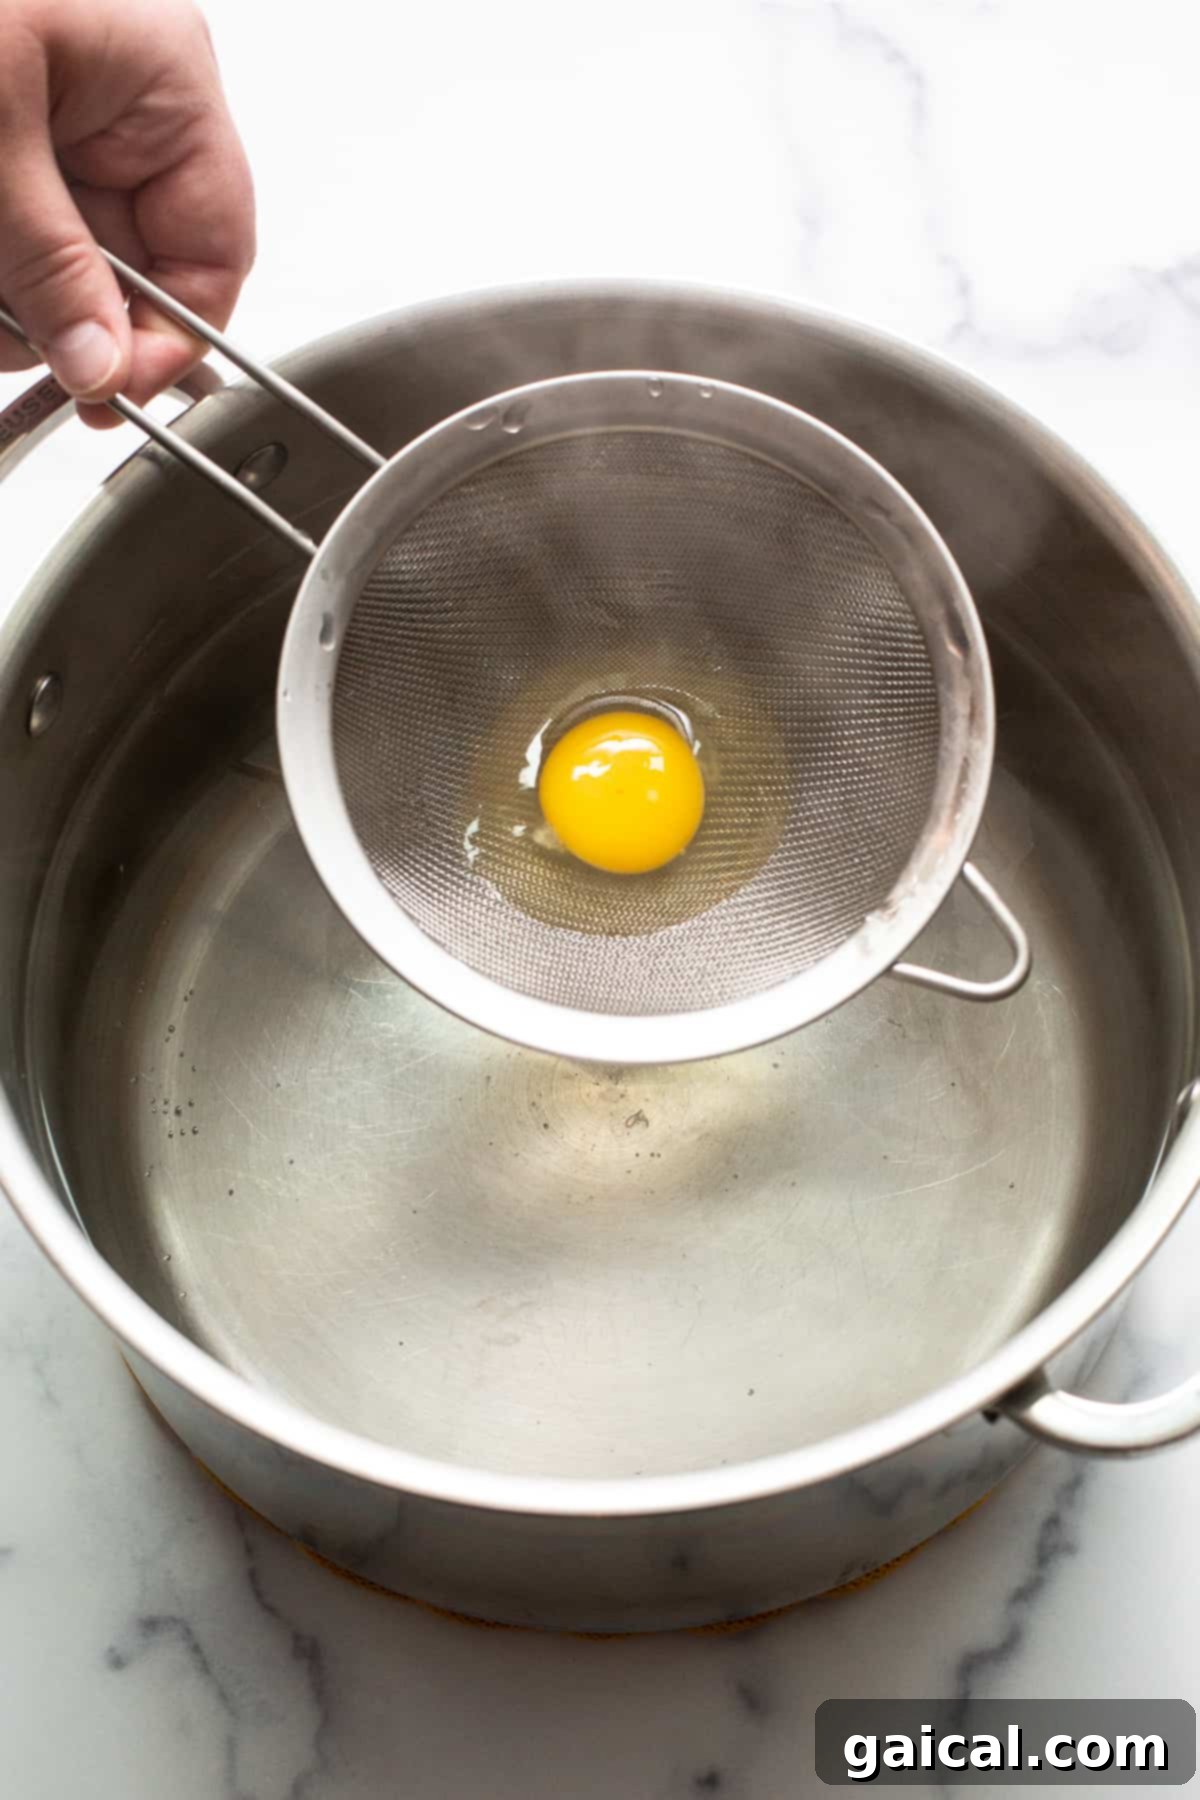
3. Gently Add and Cook the Egg
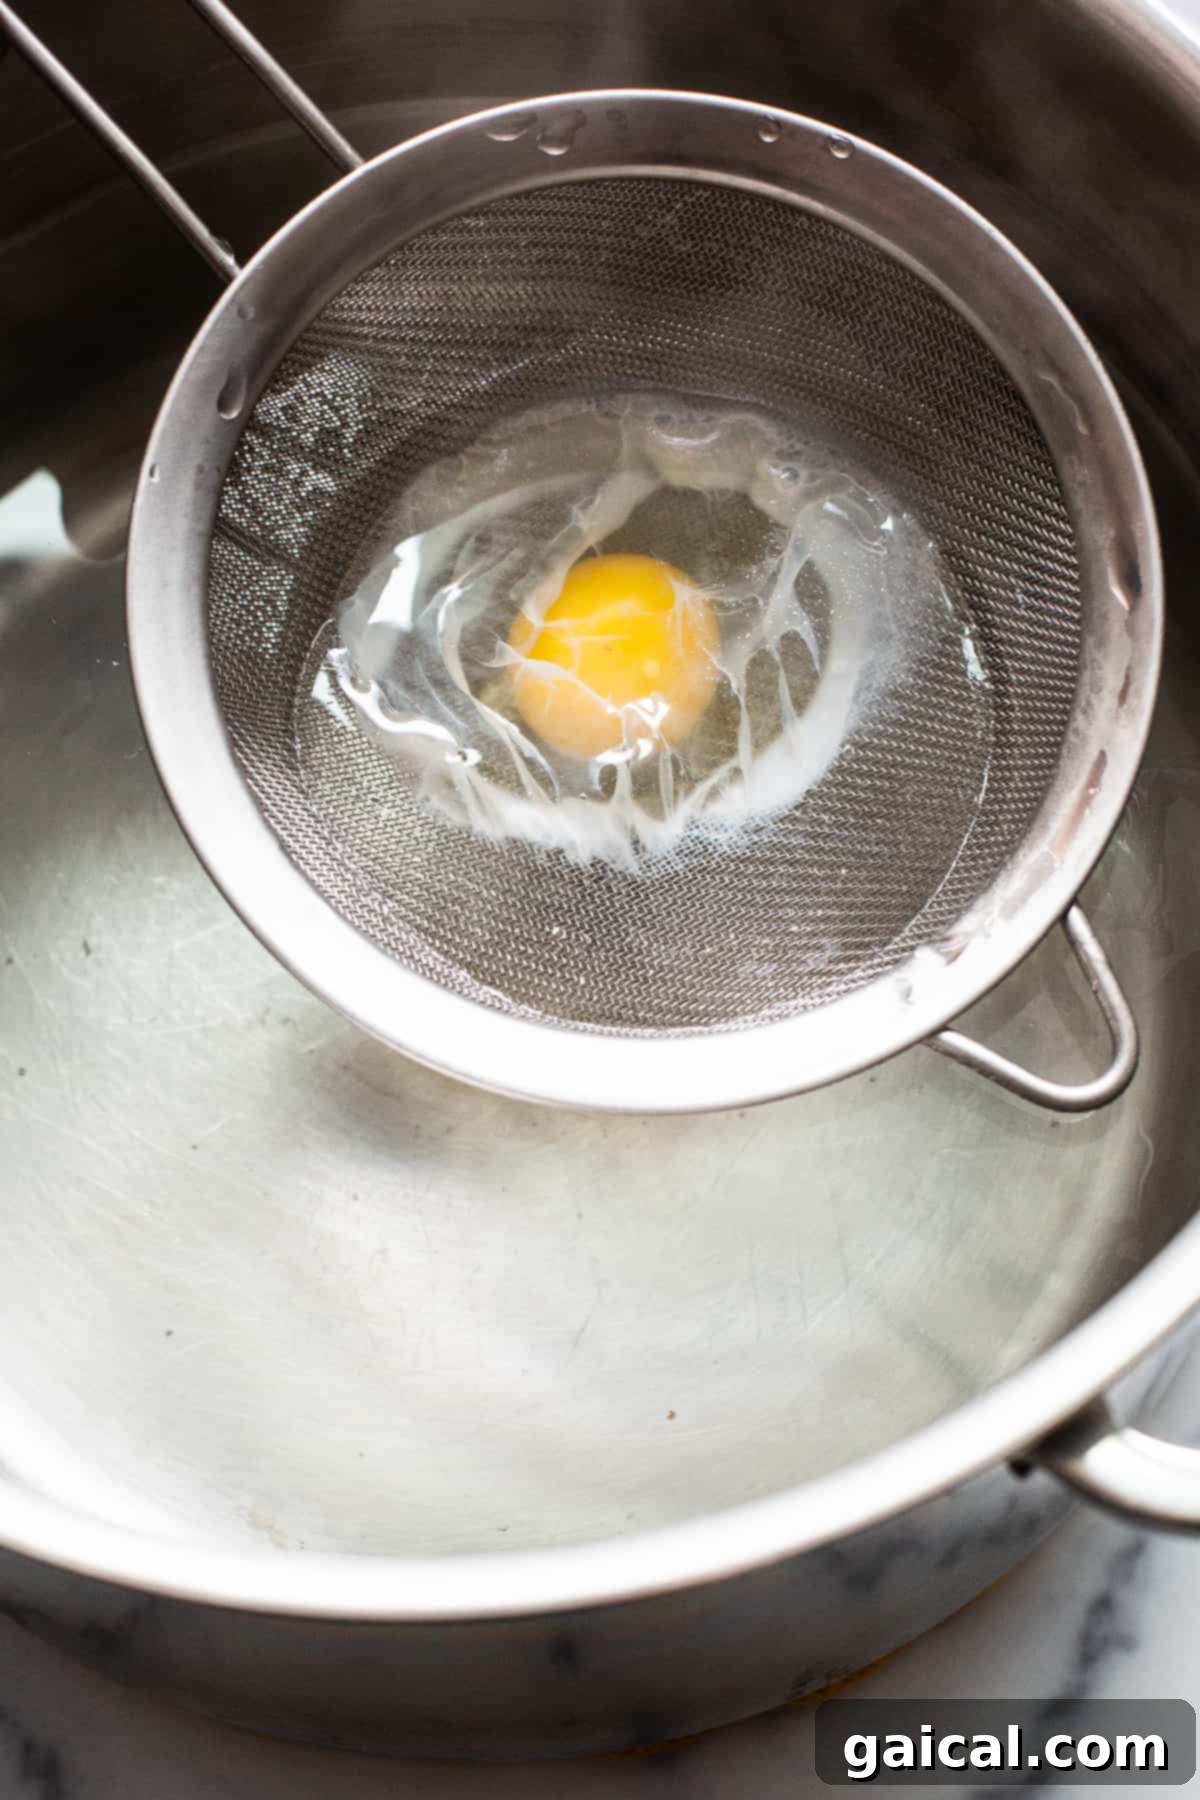
With your egg perfectly strained, it’s time for the delicate transfer. If you choose to use a splash of white vinegar or lemon juice (about 1-2 teaspoons for the pot), add it now – this acidity helps the egg whites set faster. Carefully lower the entire strainer, with the egg still inside, directly into the simmering water. Allow the egg white to begin setting for a few seconds within the strainer. Then, gently tip the strainer to release the egg into the water. The already slightly set white should naturally fold around the yolk, initiating that classic poached egg shape.
4. The Whirlpool Technique: Achieving a Symmetrical Shape
Now, for the final touch that helps create a beautifully compact and symmetrical poached egg: the whirlpool! Using a spoon or a whisk, gently stir the water in a circular motion around the egg. This creates a soft current that helps the egg white wrap tightly around the yolk as it cooks. After stirring for about 15-20 seconds, stop. The egg will continue to move with the swirling water for a bit. As its movement slows, you can give it another small, gentle stir if needed. Allow the egg to poach for approximately 3-4 minutes for a beautifully runny, jammy yolk. If you prefer a firmer yolk, extend the cooking time to 5-6 minutes. The cook time will also vary slightly depending on the size of your egg.
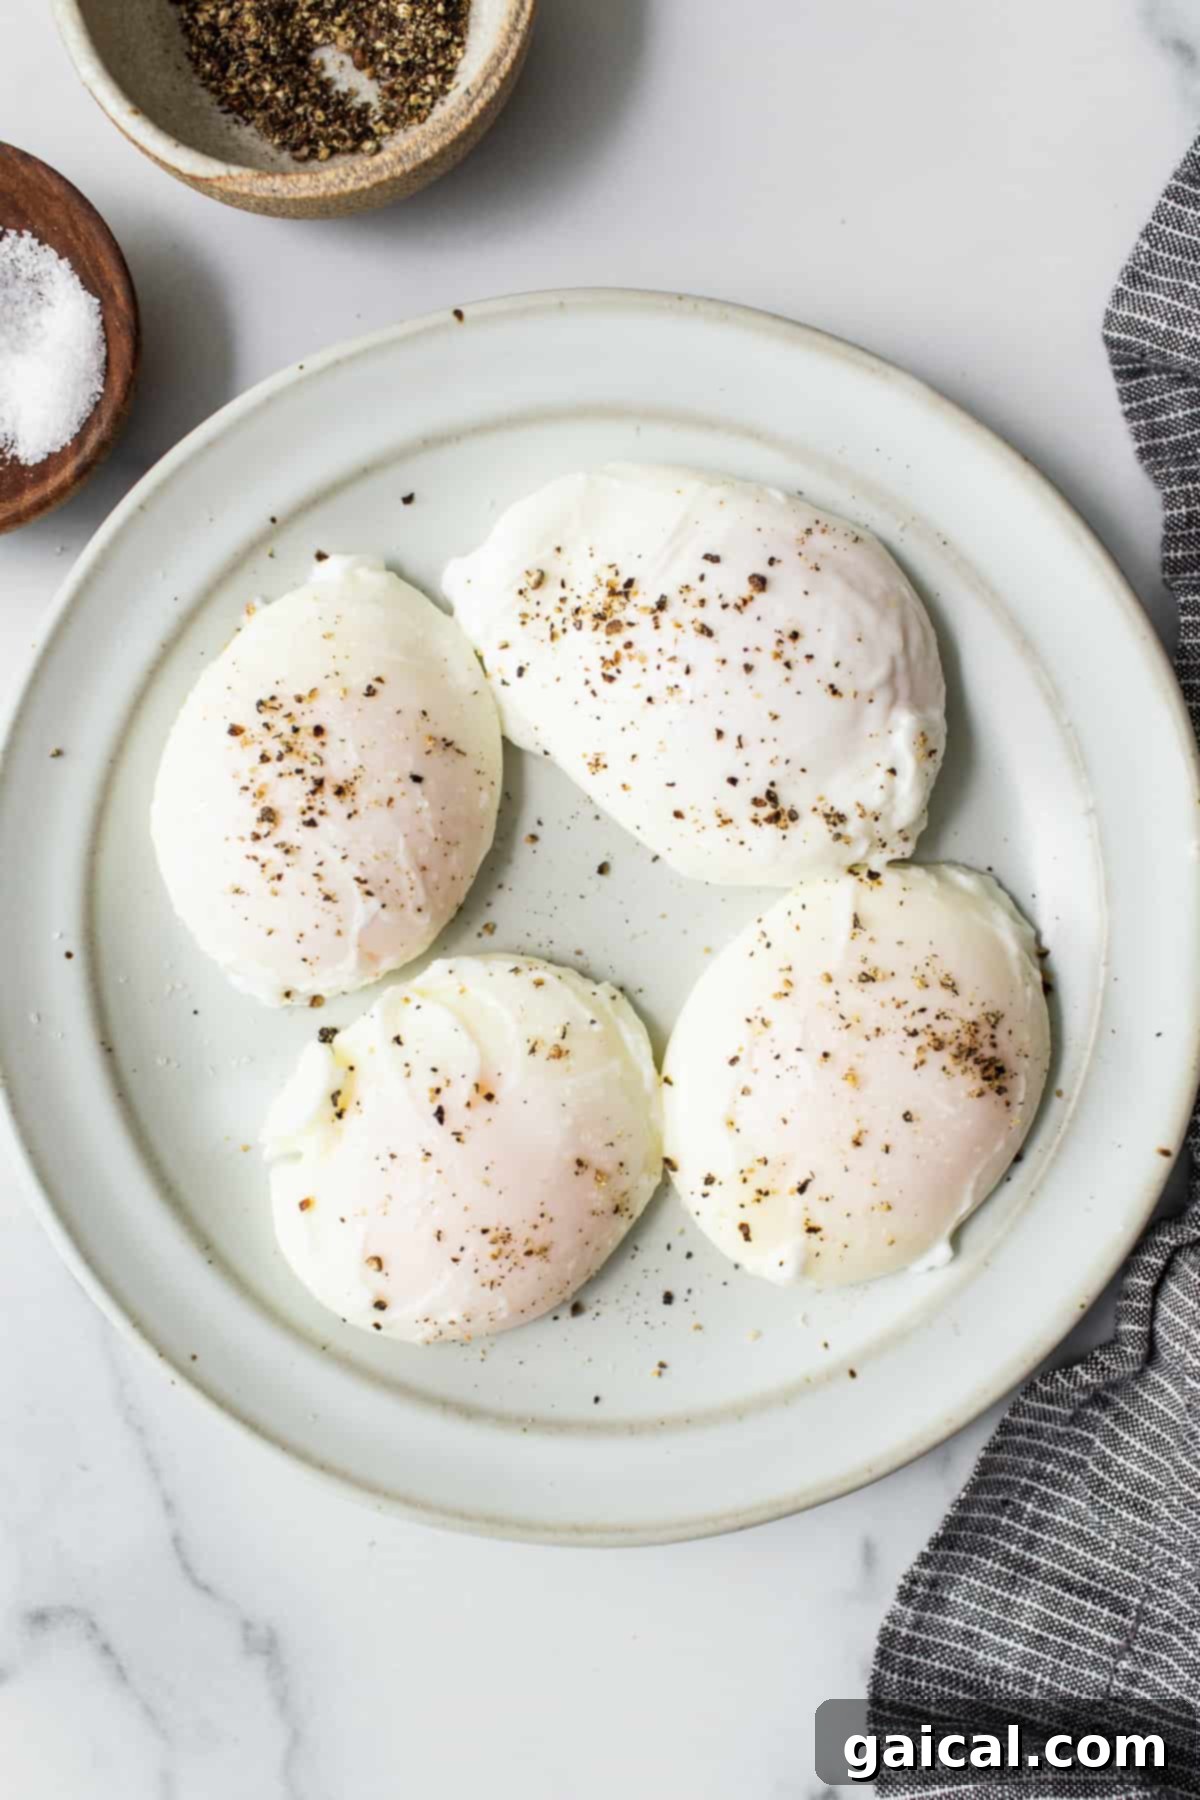
Once your egg reaches the desired doneness, carefully remove it from the water using a slotted spoon, allowing any excess water to drain. Transfer it to a plate lined with a paper towel to pat dry before serving. Repeat this process for any remaining eggs. Congratulations! You are officially an egg poaching master, ready to enjoy your perfectly crafted creation.
Make-Ahead Poached Eggs: Convenience Without Compromise
Preparing a larger batch of poached eggs is surprisingly simple and a fantastic way to streamline your meal prep or entertain a crowd. This easy make-ahead method ensures your eggs remain just as fresh and flawless as they were on the day you cooked them.
- Immediate Ice Bath: As soon as your poached eggs are cooked to perfection, *immediately* transfer them from the hot water into a bowl filled with cold water and ice. This “ice water bath” promptly halts the cooking process, preventing overcooking and preserving the desired yolk consistency. Add more cold water if necessary to ensure the eggs are completely submerged and cool quickly.
- Store Properly: Once the eggs have completely cooled in the ice bath, carefully transfer them to an airtight container. You can stack them gently, separated by a layer of paper towel if desired. Refrigerate for up to 5 days before serving.
- Gentle Reheating: To reheat your pre-poached eggs, avoid boiling water. Instead, transfer them to a bowl of hot (not boiling) water for 2 to 3 minutes. The hot water will gently warm the eggs through without cooking them further. Alternatively, you can briefly warm them in the microwave on a low setting, but be very cautious not to overcook. Ensure there’s enough water to fully submerge the eggs for even heating.
- Serve Fresh: When ready to serve, gently scoop the warmed eggs out of the water with a slotted spoon. Pat them dry with a paper towel to remove any excess moisture. Season as desired and serve immediately with your chosen accompaniments.
Top Tips for Poached Egg Perfection
- Use Fresh Eggs: This is arguably the most important tip. Fresh eggs have tighter, thicker whites that hold their shape beautifully when poached. Older eggs tend to have runnier whites that spread out in the water, creating more wisps. Always check the date on your eggs before poaching them for the best results.
- Don’t Skip the Strainer: Our recipe was rigorously tested with and without a fine mesh strainer, and the results were unequivocal: the strainer made all the difference. It removes the thin, watery outer portion of the egg white, leaving only the firm, cohesive white that creates a perfect, compact poached egg.
- Cook Time Will Vary: The exact poaching time depends on several factors, including the size of your eggs (medium vs. large) and your desired yolk consistency. For a very runny yolk, 3 minutes might suffice. For a jammy, still soft yolk, 4-5 minutes is ideal. A firmer, but not hard, yolk might take 6 minutes. Always test doneness with a gentle prod using a slotted spoon.
- Maintain a Gentle Simmer: The water should never be at a rolling boil when you add your eggs. A gentle simmer with small, consistent bubbles is perfect. Too much agitation will cause the egg whites to tear and scatter.
- Consider Acidity (Vinegar or Lemon Juice): While not strictly necessary with fresh, strained eggs, adding a small amount (1-2 teaspoons) of white vinegar or lemon juice to the poaching water can help the egg whites set even faster and more firmly, especially if your eggs aren’t super fresh.
Frequently Asked Questions About Poached Eggs (FAQs)
How long should you poach an egg?
The duration you poach an egg is entirely dependent on your preference for yolk hardness. For instance, a wonderfully soft and runny poached egg typically requires around 2-3 minutes of simmering. If you prefer an egg that’s a bit firmer but still retains a deliciously gooey center, about 4 minutes should do the trick. For those who enjoy a firmer egg with a more solidified, yet still creamy, yolk, you might wait a couple of minutes longer, pushing the cook time to 5-6 minutes. The most reliable way to check for doneness is to carefully remove the egg from the pan using a slotted spoon and give the white a gentle prod with a teaspoon. It should feel firm but still have a slight give.
Is vinegar necessary for poaching an egg?
While many cooks prefer to use vinegar when poaching eggs, it is not strictly necessary, especially if you are using very fresh eggs and the straining technique. However, it certainly can be a helpful tool. If you don’t have white vinegar on hand, substituting it with an equal amount of lemon juice works just as effectively! The acidity of lemon juice serves the same purpose as vinegar when poaching eggs, aiding in the coagulation of the egg whites.
Why is vinegar put in the water for poached eggs?
Adding a touch of vinegar to your simmering water helps immensely in achieving tighter, more cohesive egg whites. Vinegar, being highly acidic, increases the rate at which the egg proteins (albumen) denature and coagulate. This rapid setting of the proteins prevents the egg white from spreading too much in the water, allowing your poached egg to hold its neat, spherical shape better. It acts as a kind of ‘setting agent’ for the whites.
Can you poach 2 eggs at once?
Yes, you absolutely can poach two eggs (or even more, depending on your pot size) at a time! To do so effectively, crack each egg into a separate fine mesh strainer, allowing excess whites to drain. Then, gently tip both strained eggs into the simmering water, ensuring there is ample space between them to prevent sticking. Avoid stirring vigorously when poaching multiple eggs simultaneously. Allow them to cook for 3 to 4 minutes, or until they reach your desired firmness, then remove carefully.
Why do my poached eggs fall apart or turn out stringy?
The temperature of your poaching water is the most critical factor that determines the success of your poached eggs. If the water isn’t hot enough (below a gentle simmer), the egg whites will take too long to set and might dissolve into the water, leaving you with a cloudy pot and no distinct egg. Conversely, if the water is too hot, boiling too rapidly, the turbulent motion will cause the egg whites to violently jiggle and disintegrate into those pesky little white ‘wisps’ or strings, rather than forming a cohesive shape. Maintaining that gentle simmer is key to a beautiful, intact poached egg.
What’s the ideal water temperature for poaching?
The ideal water temperature for poaching eggs is just below boiling point, typically between 180°F to 200°F (82°C to 93°C). This is often described as a “gentle simmer.” You should see small, lazy bubbles forming at the bottom of the pot and occasionally rising to the surface, but the water should not be vigorously bubbling or rolling. This gentle heat ensures the egg cooks slowly and evenly, allowing the whites to set smoothly around the yolk without breaking apart.
Delicious Pairings: What to Serve with Your Perfect Poached Eggs
Poached eggs are incredibly versatile and can elevate almost any breakfast, brunch, or even light dinner. Their rich yolk and tender whites complement a wide array of flavors and textures. Here are some fantastic ideas to serve alongside your perfectly poached eggs:
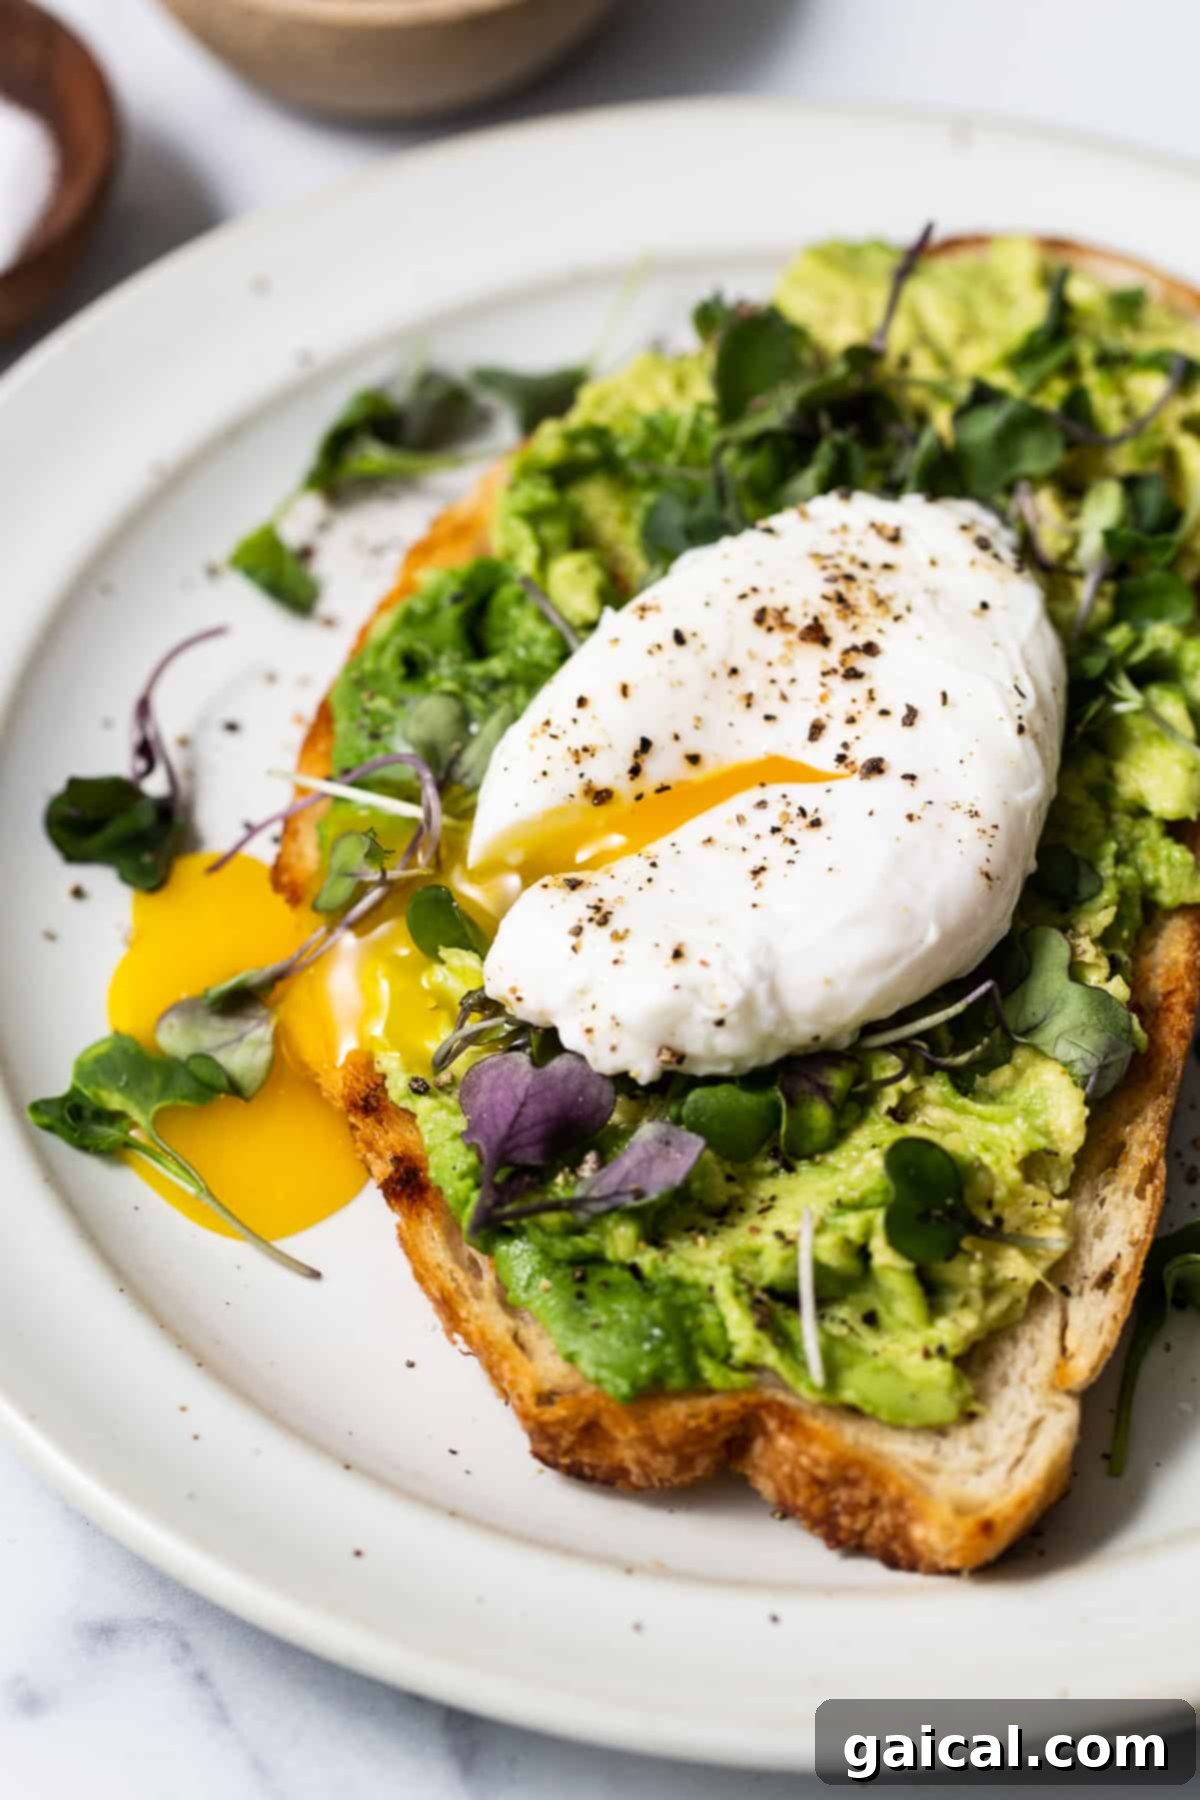
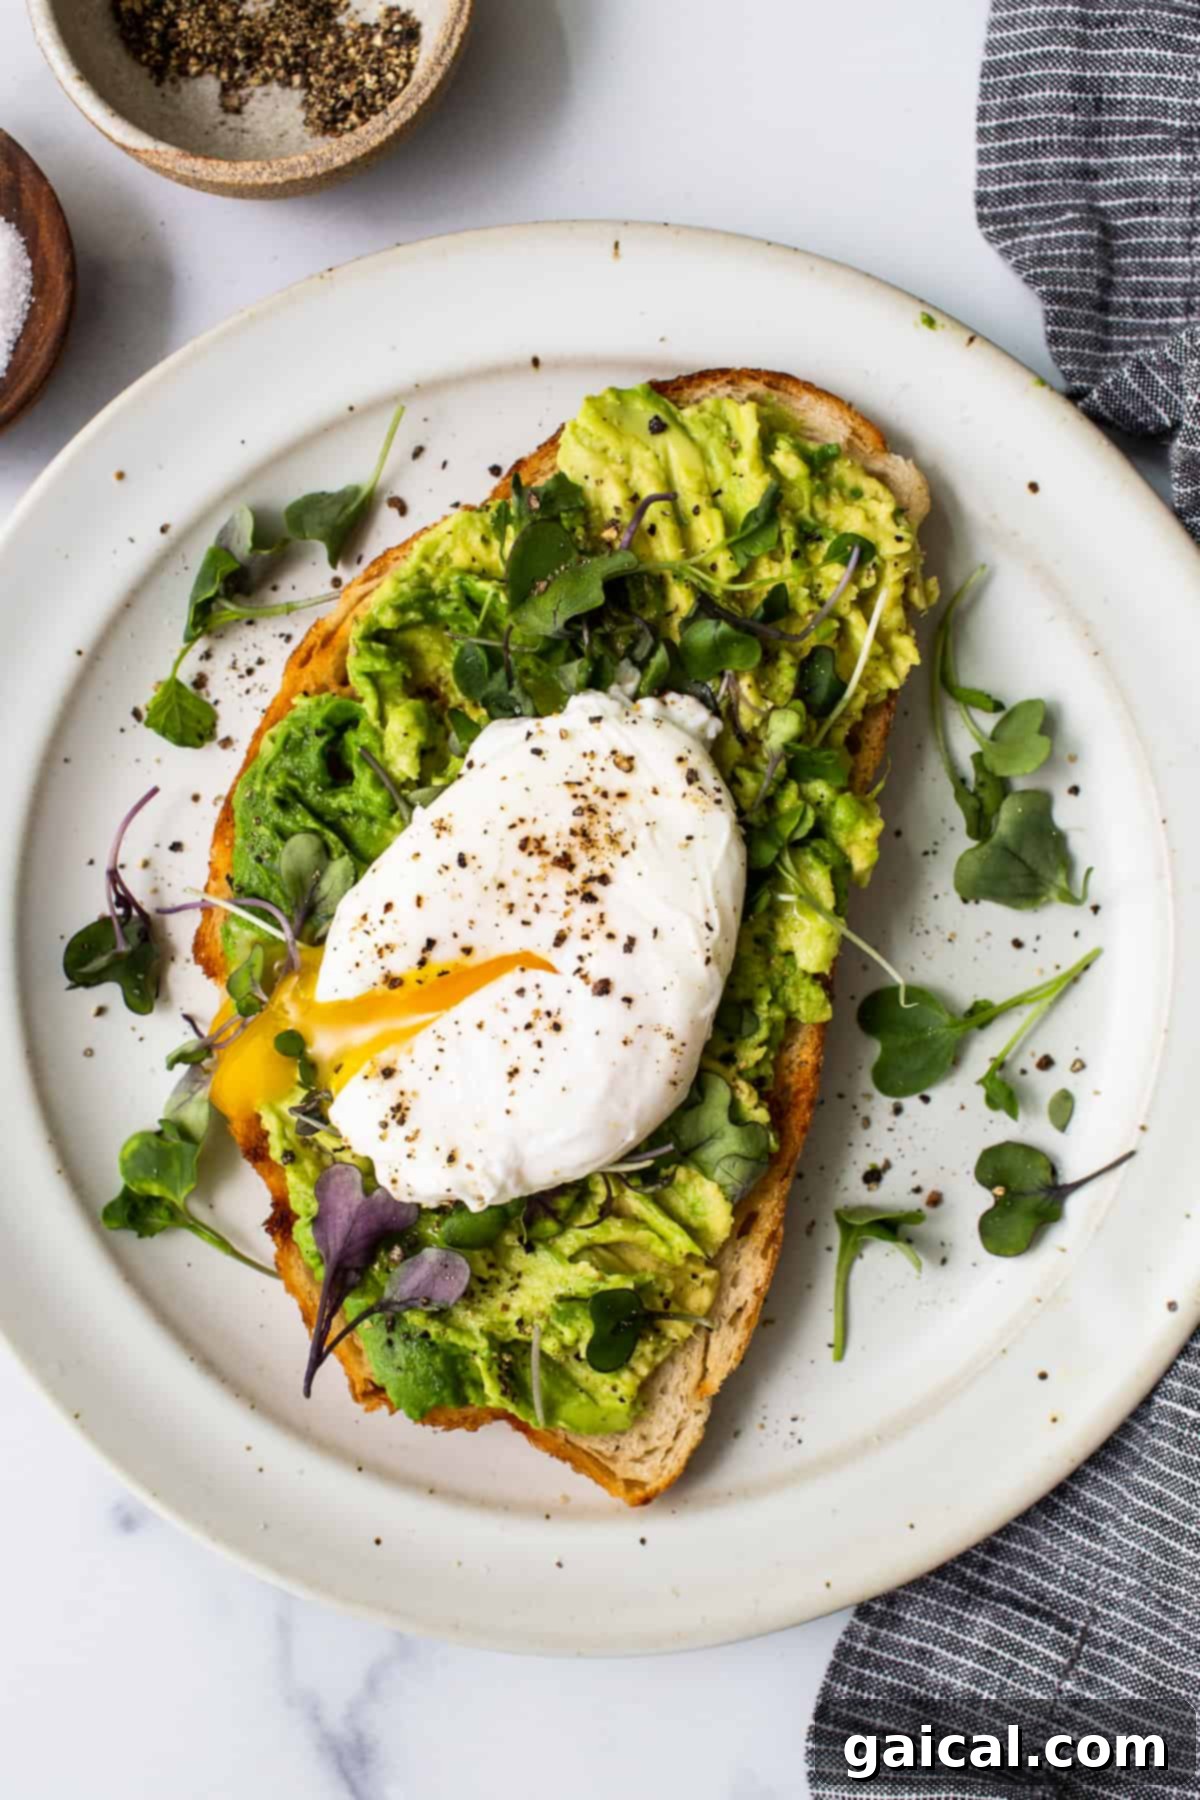
- Classic Avocado Toast: A perennial favorite! Top a slice of toasted artisanal bread with mashed avocado, a sprinkle of salt, pepper, chili flakes, and your poached egg for a vibrant and satisfying meal.
- Crispy Bacon or Savory Maple Breakfast Sausage: The salty, rich flavors of breakfast meats are a timeless complement to soft poached eggs.
- Fluffy Sheet Pan French Toast or Warm Cinnamon Roll Waffles: For a heartier brunch, pair your eggs with sweet and comforting carbohydrates. The runny yolk creates a delightful savory counterpoint.
- Light Banana Oatmeal Pancakes: A healthy and delicious option that pairs well with the protein boost of poached eggs.
- Nutrient-Rich Greek Yogurt and Steel Cut Oatmeal Parfait: For a balanced and wholesome start to your day.
- Crunchy Blueberry Orange Granola + Yogurt: A lighter, fresh pairing that adds texture and fruitiness.
- Healthy Smoothies: Complement your eggs with a vibrant fruit and vegetable smoothie for a complete meal.
- Eggs Benedict Variations: The quintessential poached egg dish! Serve on an English muffin with Canadian bacon and hollandaise sauce, or get creative with smoked salmon, spinach, or roasted vegetables.
- Soups and Salads: A poached egg makes an excellent topping for a bowl of warm lentil soup or a fresh green salad, adding a burst of richness and protein.
Storage & Reheating Poached Eggs
Proper storage is key to enjoying your poached eggs beyond the immediate meal. Once your eggs are cooked, gently remove each one from the poaching water using a slotted spoon. Immediately and carefully transfer them into a bowl filled with icy cold water. This ice water bath is crucial as it instantly stops the cooking process, preventing your eggs from overcooking, breaking, or sticking together.
Once the eggs are completely cooled in the ice water (which should take only a few minutes), you can carefully transfer them to an airtight container. Arrange them in a single layer if possible, or separate layers with a damp paper towel. Refrigerate for up to 5 days, making them perfect for meal prep.
To reheat: The best way to reheat poached eggs without overcooking them is to place them in a bowl of very hot (but not boiling) water for 2 to 3 minutes. Ensure the water is hot enough to warm them through but gentle enough not to cook them further. Alternatively, you can reheat them on a low setting in the microwave for 15-30 seconds, but proceed with extreme caution as microwaves can easily overcook eggs, turning the yolk solid. Always ensure there is enough water on top to fully cover and evenly heat the eggs. When ready to serve, gently scoop them out with a slotted spoon, pat them dry with a paper towel, and enjoy!
More of Our Favorite…
Egg Tutorials
- Perfect Hard Boiled Eggs
- Over-Medium Eggs
- Soft Boiled Eggs
- Poached Eggs
- Over Easy Eggs
- Over Hard Eggs
- Baked Eggs
- Scrambled Eggs
- Sunny Side Up Eggs
- Fried Eggs
- Air Fryer Hard Boiled Eggs
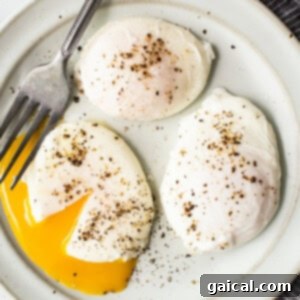
Perfect Poached Eggs Recipe
This simple and foolproof poached eggs recipe will guide you to create eggs with perfectly firm whites and an irresistible oozy, golden yolk every single time, even if you’re a complete beginner!
Rating: 4.84 out of 5 (6 votes)
By: Emily Richter
Prep Time: 5 minutes
Cook Time: 3-6 minutes
Total Time: 8-11 minutes
Servings: 4
Ingredients
- 4 large, very fresh eggs
- 8 cups (approximately 2 liters) water
- 1 teaspoon salt (optional, for seasoning)
- 1-2 teaspoons white vinegar or lemon juice (optional, for tighter whites)
Instructions
- Fill a large pot with 8 cups of water and add 1 teaspoon of salt (if using). Bring the water to a rolling boil over high heat, then immediately reduce the heat to its lowest setting. The water should now be at a gentle simmer, with small, consistent bubbles forming at the bottom but not a vigorous boil.
- Place a fine-mesh strainer over a small bowl. Carefully crack one egg into the strainer. Allow the very watery outer layer of egg white to drain off into the bowl for about 15-30 seconds. This step is vital for achieving neat, firm whites and minimizing wisps.
- If using, add 1-2 teaspoons of white vinegar or lemon juice to the simmering water. This acidity aids in the quicker setting of the egg whites.
- Gently lower the strained egg from the mesh strainer directly into the simmering water. If you are poaching multiple eggs, ensure there is enough space between each egg to prevent them from sticking together.
- Immediately use a spoon or whisk to gently stir the water in a circular motion around the egg, creating a slow whirlpool. This helps the egg white wrap tightly around the yolk, forming a compact, symmetrical shape. Stir for about 15-20 seconds, then stop the motion.
- Allow the egg to poach for 3-4 minutes for a beautifully runny, jammy yolk. For a firmer, yet still soft yolk, cook for 5-6 minutes. Use a slotted spoon to carefully remove the egg from the water. You can gently prod the white to check its firmness.
- Transfer the perfectly poached egg to a plate lined with a paper towel to absorb any excess water. Repeat this process for the remaining eggs.
- Season your poached eggs with salt and freshly ground black pepper to taste, and serve immediately with your favorite accompaniments.
Tips & Notes
- Freshness Matters: Always opt for the freshest eggs available. Fresher eggs have thicker whites that hold their shape better during poaching, resulting in a cleaner finish.
- The Strainer is Your Secret Weapon: Do not skip the fine-mesh strainer step. It effectively removes the thin, runny part of the egg white, which is responsible for those unsightly wisps in the poaching water.
- Adjust Cook Time: Egg size (medium vs. large) and your desired yolk consistency will influence the cooking time. Always keep an eye on your eggs and adjust as needed.
- Temperature Control: Maintain a gentle simmer, not a rolling boil. High heat or vigorous boiling will cause the egg whites to scatter and break apart.
Watch It!
For a visual guide, search for “Perfect Poached Eggs Tutorial” on video platforms.
Nutrition Information (per serving)
- Calories: 63 kcal
- Carbohydrates: 0.3 g
- Protein: 6 g
- Fat: 4 g
- Sugar: 0.2 g
Nutrition information is automatically calculated and should be used as an approximation only. Actual values may vary based on specific ingredients and preparation methods.
Photography: All beautiful photos featured in this post were captured by Ashley McGlaughlin from The Edible Perspective, showcasing the deliciousness of perfectly poached eggs.
Love this recipe? We’d be thrilled if you left a comment below to share your experience!
Don’t forget to tag your culinary creations on social media with the hashtag #fitfoodiefinds – we absolutely love seeing what you’re cooking up!