
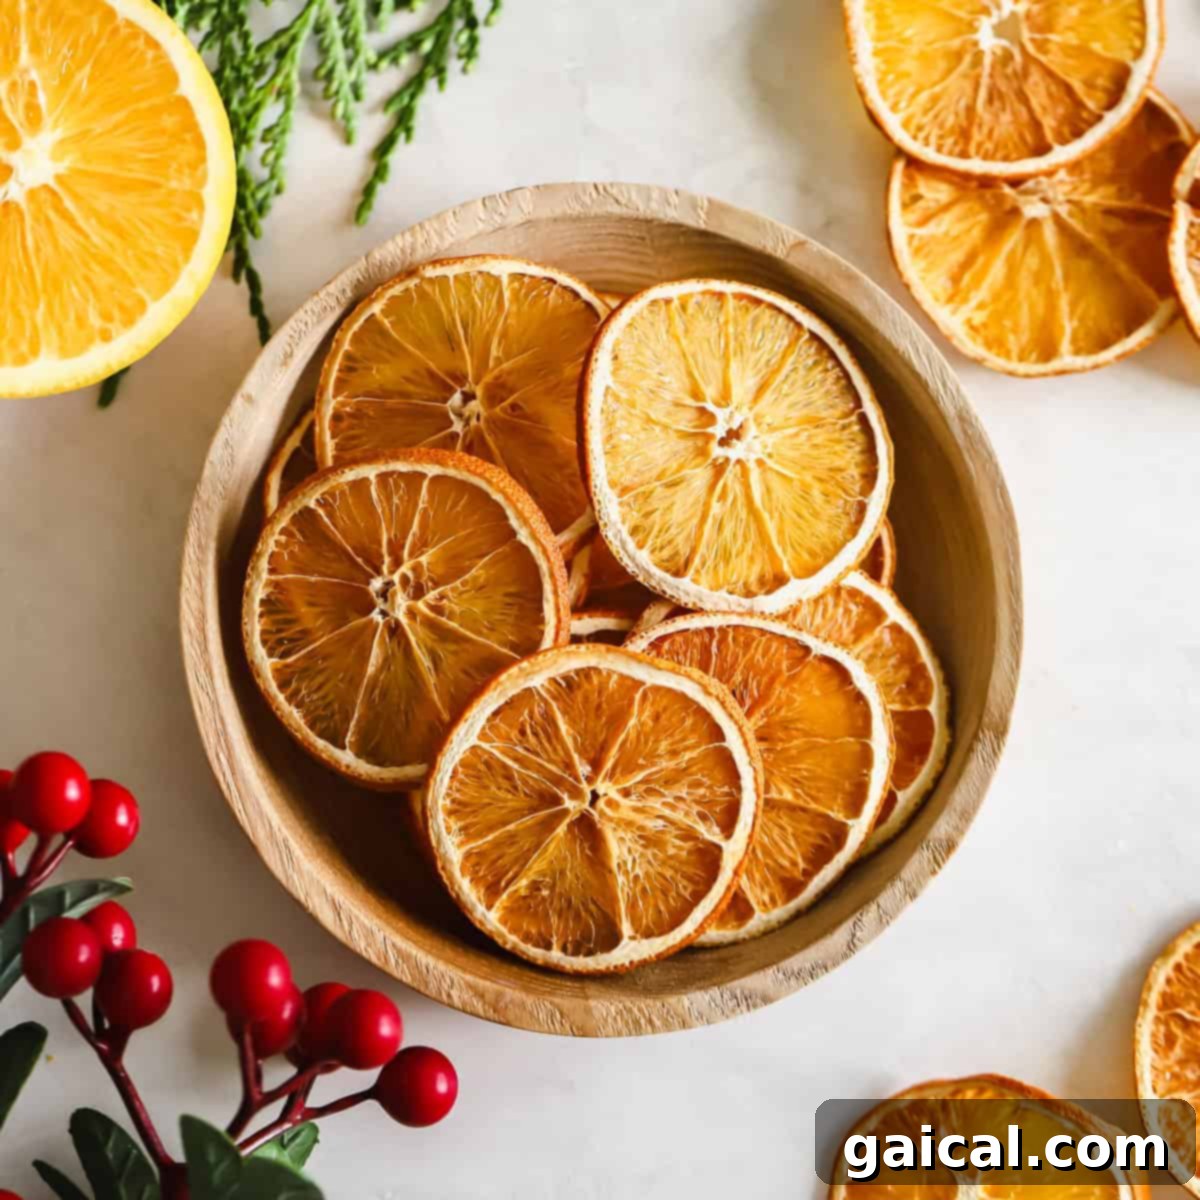
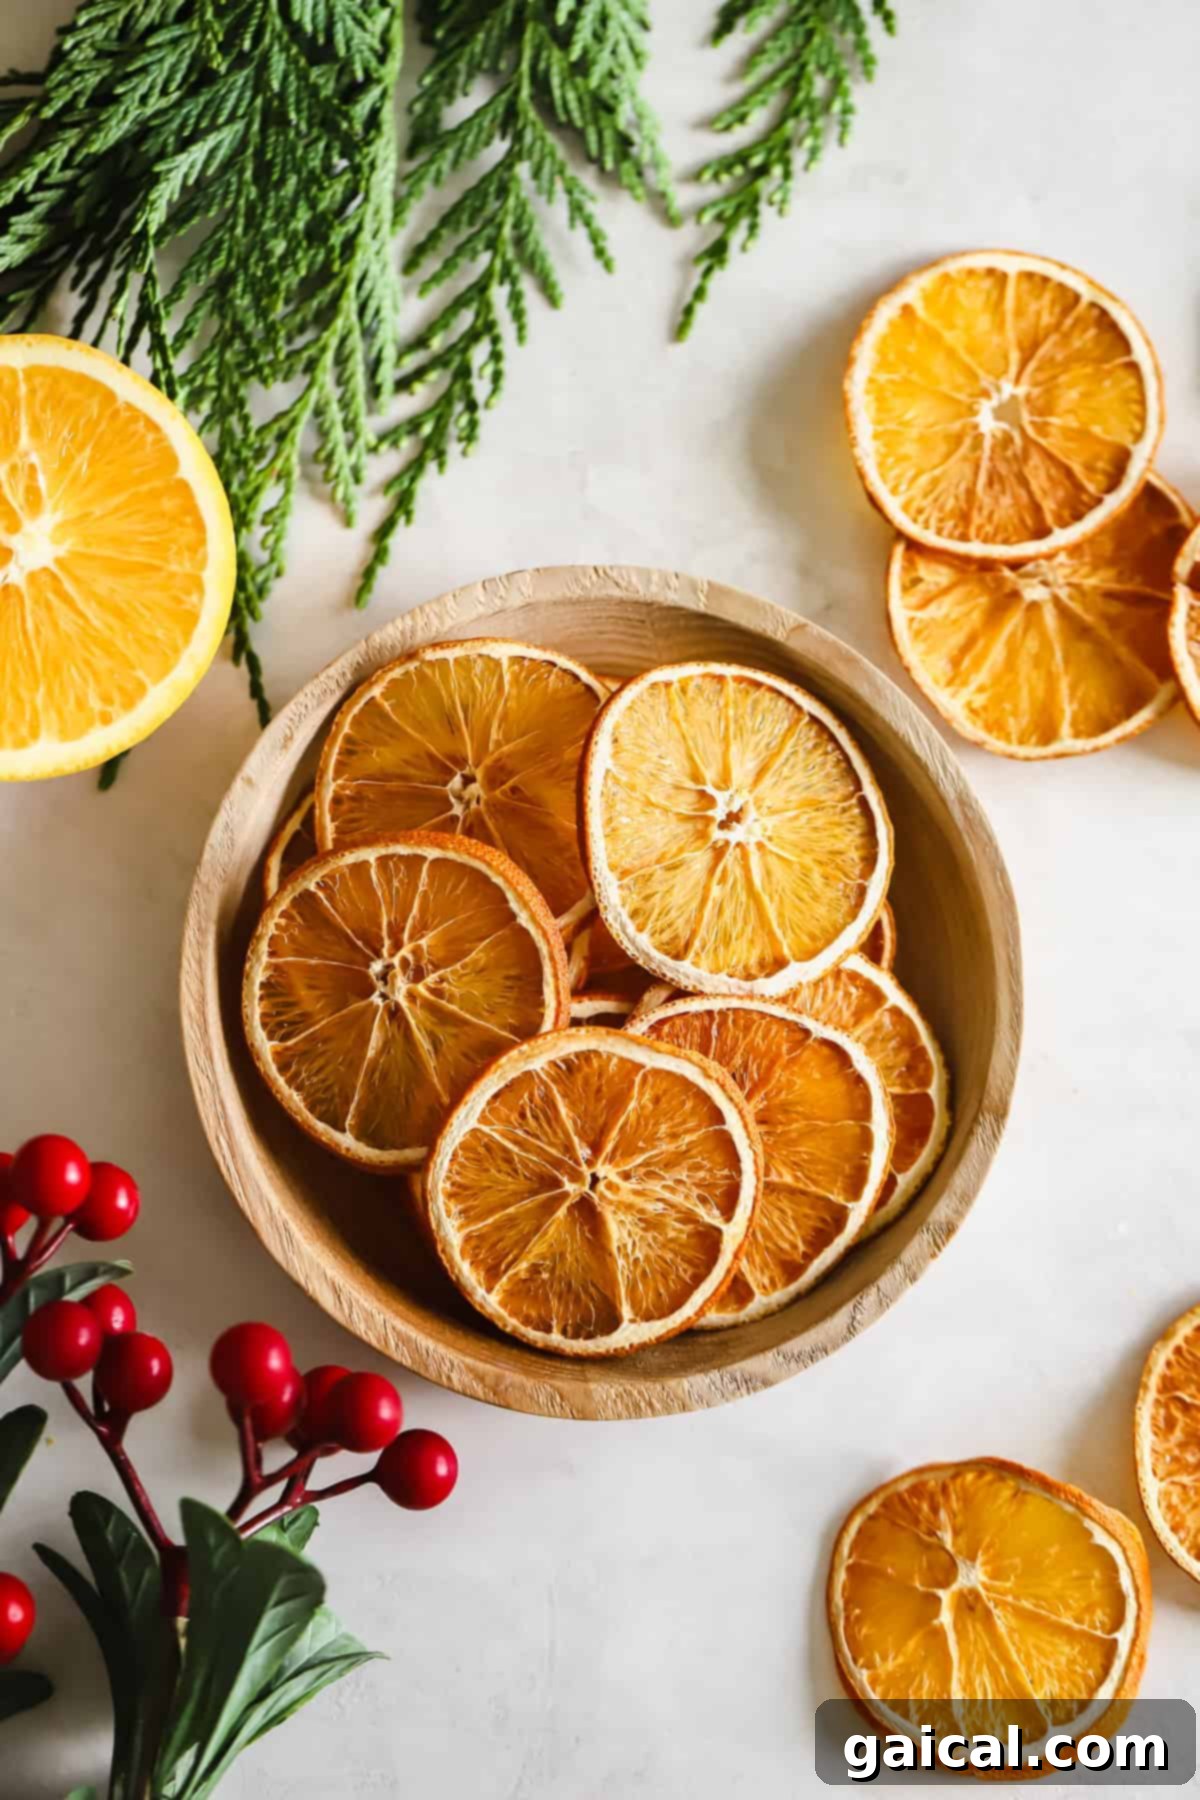
Embrace the warmth and charm of the holiday season with a truly enchanting DIY project: homemade dried orange garland. This exquisite decoration is not only incredibly simple to create but also fills your home with a delightful, natural citrus aroma. All you need are fresh oranges and an oven, and you’re well on your way to crafting a beautiful, rustic garland that captures the essence of festive cheer. Transform ordinary oranges into vibrant, translucent slices that reflect light and add a touch of traditional elegance to any space.

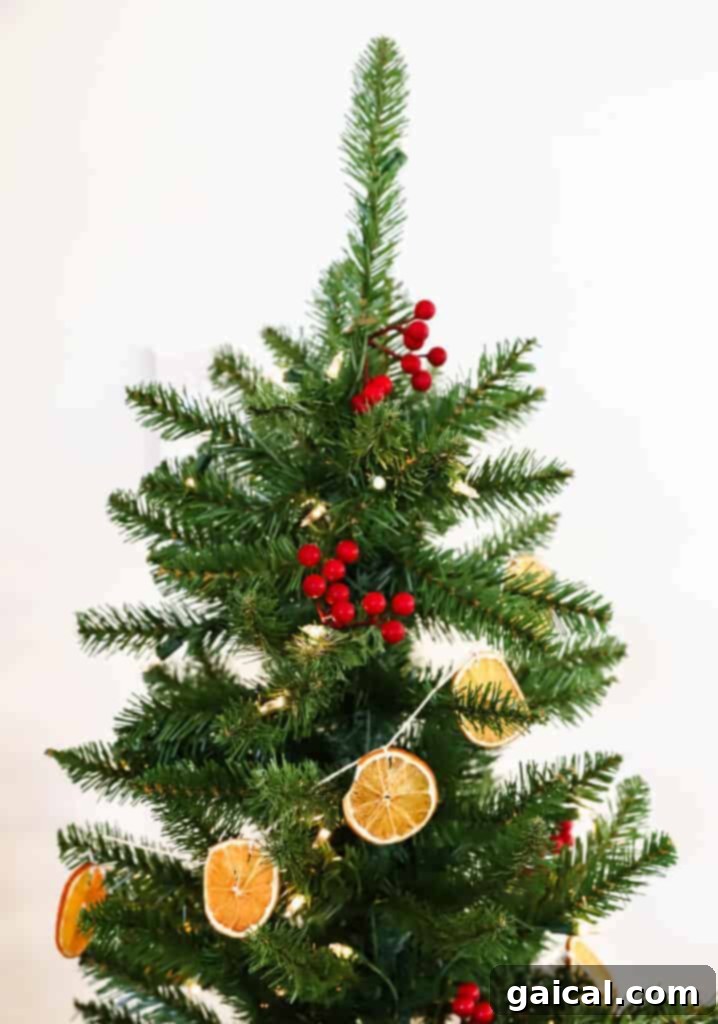
We are thrilled to share this straightforward yet incredibly impactful tutorial for dried orange garland. Its simplicity belies its ability to infuse any area with significant holiday spirit. Once baked, these vibrant orange slices can be strung together with twine to create a stunning garland for your Christmas tree, used to enhance the beauty of your holiday wreath, or even serve as charming, rustic embellishments for your wrapped holiday gifts. The versatility of dried orange slices makes them an indispensable part of your seasonal crafting toolkit.
Perhaps the most appealing aspect of this DIY project is that it requires no specialized equipment. Forget about investing in an expensive dehydrator; your conventional oven is perfectly capable of transforming fresh citrus into gorgeous, long-lasting decor. In fact, these handmade garlands are remarkably durable. We’ve proudly displayed ours on our Christmas tree for three consecutive years, proving their longevity and timeless appeal. Get ready to add a personal and fragrant touch to your holiday decorations this season!
Gather Your Simple Supplies: The Ingredients
The beauty of this festive craft lies in its minimal requirements. The primary, and often sole, ingredient needed is fresh oranges. While this guide focuses on oranges for their classic holiday appeal, you can certainly experiment with other types of citrus to add diverse colors and aromas to your garland. For a bountiful yield that typically fills two standard baking sheets with beautiful slices, we recommend starting with approximately one pound of navel oranges.
Navel oranges are an excellent choice due to their relatively consistent size, sweet fragrance, and beautiful color when dried. However, feel free to adjust the quantity based on the desired length and density of your garland. Whether you’re aiming for a subtle accent or a grand decorative statement, simply scale up or down the number of oranges. This flexibility ensures your project perfectly fits your vision, making it a truly personalized holiday creation.
The Essential Tool: A Mandoline Slicer
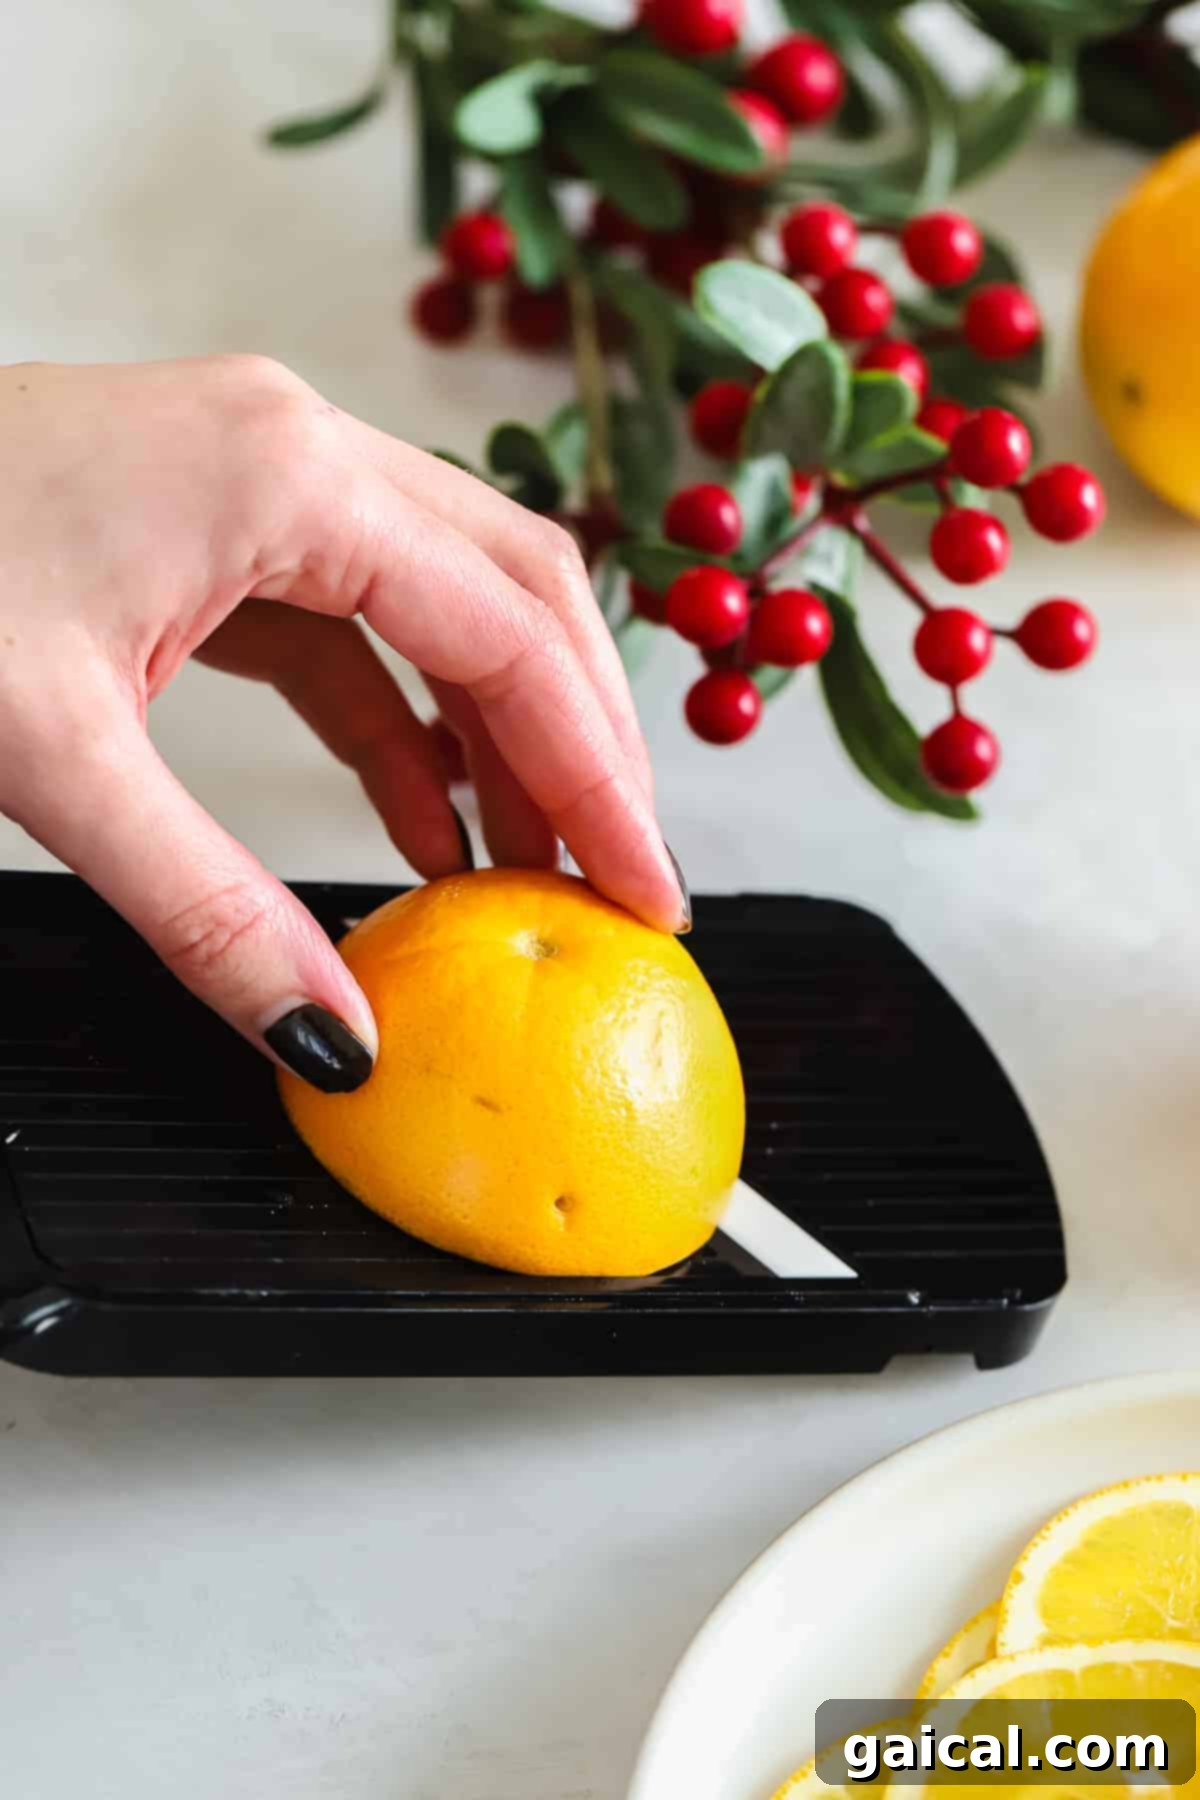
Achieving perfectly uniform, thin orange slices is paramount for consistent drying and a professional-looking garland. The secret weapon for this task isn’t a high-tech dehydrator or a fancy oven setting, but rather a simple and affordable kitchen tool: a mandoline slicer. Even a basic model, like those readily available at home goods stores, can produce impeccably even slices.
A mandoline ensures that each orange slice is consistently between 1/8 to 1/4 of an inch thick. This uniformity is crucial because it allows all the slices to dry at roughly the same rate, preventing some from burning while others remain moist. If you don’t have a mandoline, a very sharp knife can be used, but be aware that achieving perfectly even slices will be more challenging. In such cases, monitor your oranges closely during baking, as individual slices may require different drying times due to variations in thickness.
Step-by-Step Guide: Crafting Your Orange Garland
1. Prepare Your Baking Sheets
Before you begin slicing, prepare your workspace. Preheat your oven to a low temperature of 170ºF (approximately 77ºC). This low and slow heat is essential for dehydrating the oranges without cooking or burning them. Next, line two large baking sheets with parchment paper. Parchment paper prevents the orange slices from sticking to the trays and makes for easy cleanup. Set these prepared sheets aside, ready for the orange slices.
2. Slice Your Oranges
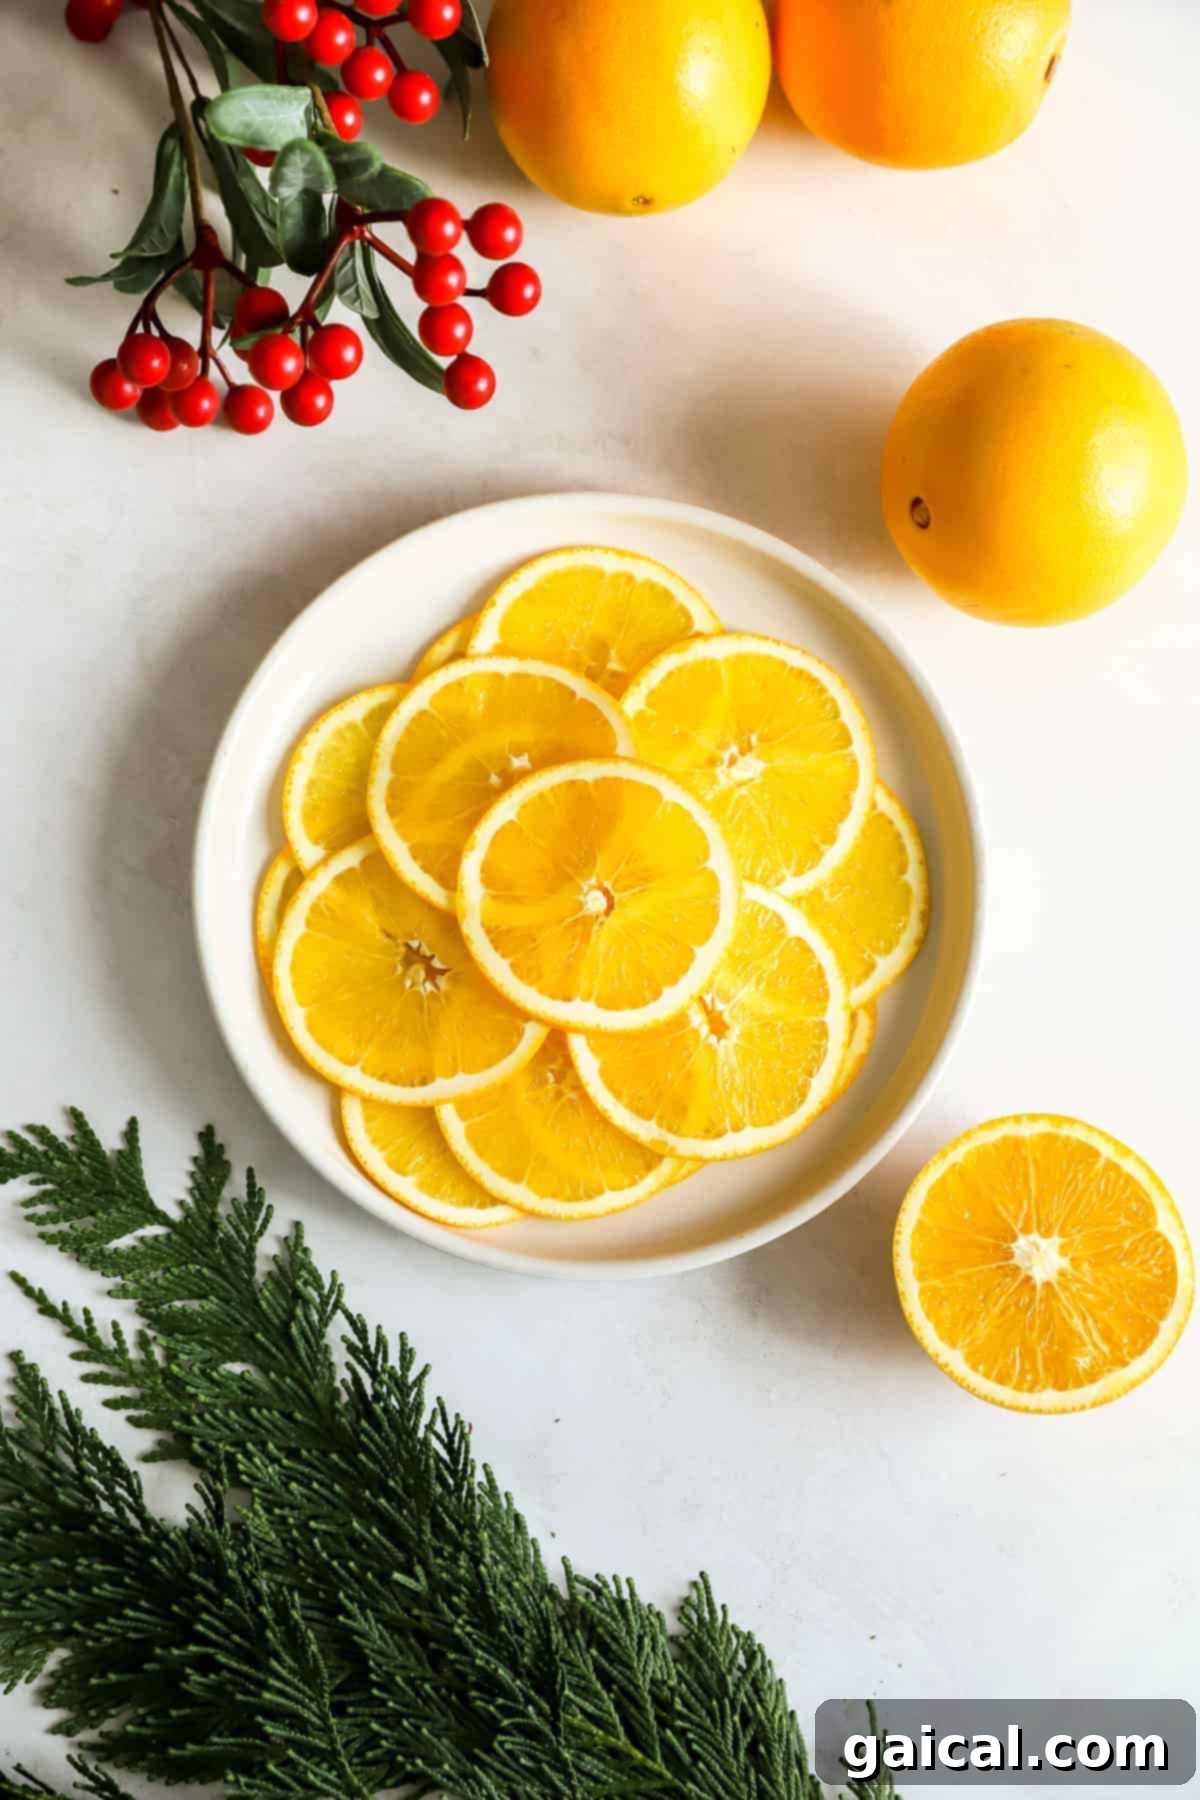
This is where precision truly matters. Using a mandoline slicer, carefully slice your oranges into thin, even rounds, aiming for a thickness of about 1/8 to 1/4 of an inch. This consistent thickness is key to ensuring all your orange slices dry uniformly. If you’re using a very sharp chef’s knife instead of a mandoline, take your time to achieve the thinnest and most consistent slices possible, as uneven slices will dry at different rates.
3. Arrange the Slices
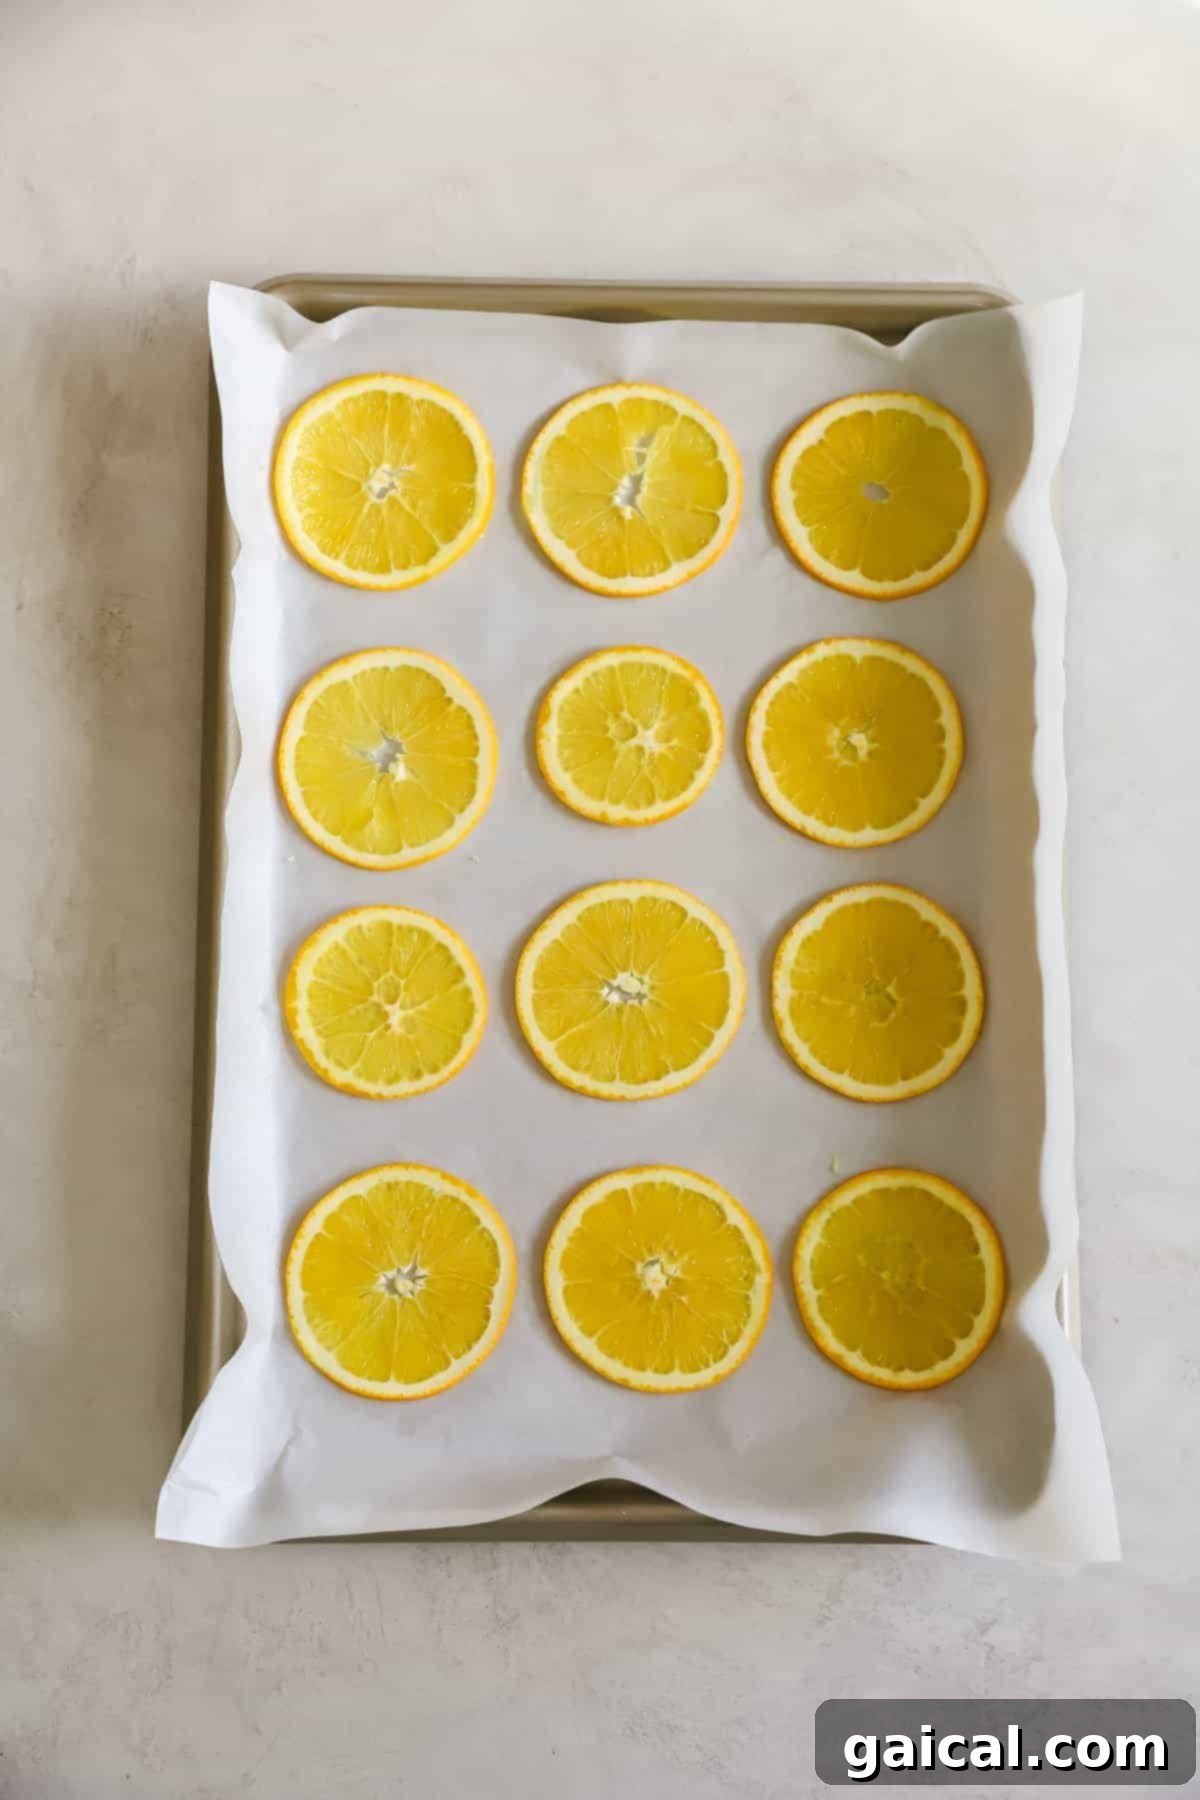
Carefully place the orange slices onto your prepared baking sheets. Arrange them in a single layer. While the slices can be touching each other – as they will shrink considerably during the drying process – it’s crucial that they do not overlap. Overlapping slices will trap moisture and prevent even dehydration, leading to some pieces remaining damp or potentially molding later.
4. The Baking Process
Place the baking sheets into your preheated oven. Bake the orange slices at 170ºF for approximately 1 to 1.5 hours. After this initial baking period, carefully remove the trays from the oven and use tongs or a spatula to flip each orange slice over. This ensures even drying on both sides. Return the trays to the oven and continue baking for another 1 to 1.5 hours, or until the oranges feel completely firm and dry to the touch, with a slightly translucent, shrunken appearance. The total baking time will be around 2.5 to 3 hours.
5. Cool and Prepare for Use
Once the oranges are thoroughly dried, remove the baking sheets from the oven and allow the slices to cool completely on the parchment paper. As they cool, they will become even firmer and more brittle. Once cooled, your beautiful dried orange slices are ready to be transformed into garlands, cocktail garnishes, or any other festive decoration you envision. This cooling step is vital to prevent any remaining moisture from creating issues later.
Beyond the Garland: Creative Uses for Dried Orange Slices
While making a garland is a primary use, dried orange slices offer a wealth of creative possibilities for enhancing your holiday decor and beyond. Their natural beauty, vibrant color, and subtle scent make them incredibly versatile.
- Orange Garland: The classic application! Use a small, sharp object like a skewer or a thick needle to poke two small holes near the top of each dried orange slice. Then, thread a piece of natural twine, rustic jute, or even decorative ribbon through the holes, connecting the slices to form a beautiful, fragrant garland for your mantel, doorway, or staircase.
- In a Wreath: Elevate a plain evergreen wreath by attaching dried orange slices. Use small pieces of floral wire or twine to securely fasten them among the pinecones, berries, and ribbons. They add a pop of natural color and a delightful scent.
- On a Present: Skip the traditional bows and ribbons for a more natural, charming touch. Tie a dried orange slice onto your holiday gifts with a simple piece of twine or ribbon, perhaps alongside a sprig of fresh rosemary or cinnamon stick, for a truly thoughtful and visually appealing presentation.
- Festive Cocktail Garnish: Add a sophisticated touch to your favorite holiday beverages. A dried orange slice makes an elegant and aromatic garnish for mulled wine, hot toddies, or seasonal cocktails, imparting a subtle citrus note as well as visual appeal.
- Potpourri and Simmer Pots: Combine dried orange slices with other fragrant elements like cinnamon sticks, star anise, cloves, and bay leaves to create beautiful, natural potpourri. For an instant burst of aroma, add them to a simmer pot with water and spices on your stove.
- Table Centerpieces: Arrange dried orange slices in a bowl with pinecones, evergreens, and pillar candles for a simple yet stunning holiday centerpiece. Their warm color complements the natural elements perfectly.
- Window Ornaments: Hang individual dried orange slices from windows using clear fishing line or thin ribbon. When sunlight passes through them, they cast a beautiful, warm glow.
Frequently Asked Questions About Dried Orange Garland
How long do dried orange garlands last?
The lifespan of your dried orange garland largely depends on how thoroughly the oranges are dehydrated. If the slices are completely dry and firm to the touch with no residual moisture, they can last for up to two years, or even longer, when stored correctly. However, if any moisture remains in the slices, indicated by a slight bendiness or softness, they are prone to molding and will not last as long. Proper drying is key to their longevity.
Can you eat orange garland?
Yes, dried oranges are indeed edible! The process of drying them in the oven simply removes their water content, concentrating their flavor. While they are safe to consume and can make a lovely addition to teas or certain desserts, they are most commonly used for decorative purposes during the holidays. If you plan to eat them, ensure they are thoroughly dried and free from any signs of mold.
Can I use a dehydrator instead of an oven?
Absolutely! While this tutorial focuses on using a conventional oven for accessibility, a food dehydrator is an excellent alternative for drying orange slices. Although we haven’t personally tested this specific recipe in a dehydrator, the principles are the same, and we have successfully dehydrated many other fruits this way. Follow your dehydrator’s instructions for fruit slices, typically setting it to a low temperature (around 135-145°F or 57-63°C) and allowing several hours for complete dehydration.
Can I use a different kind of citrus?
Yes, you absolutely can! This drying method works beautifully for almost any type of citrus fruit, allowing you to create garlands with a wonderful variety of colors, sizes, and aromatic profiles. Experimenting with different citrus can add a unique visual appeal and diverse fragrances to your holiday decor. Here are some fantastic options:
- Grapefruit: Offers larger slices with a delicate pink hue and a slightly bitter, refreshing aroma.
- Lemon: Provides bright yellow slices with a classic, zesty fragrance, perfect for a fresh look.
- Blood Oranges: These yield stunning, deep red or magenta slices that add dramatic color.
- Lime: Creates small, vibrant green slices with a tart, invigorating scent, ideal for contrast.
- Cuties/Mandarins: Smaller and very sweet, they produce dainty slices that are perfect for smaller garlands or accents.
Storage Recommendations for Your Dried Orange Garland
To ensure your beautiful dried orange garland lasts for future holiday seasons, proper storage is essential. We highly recommend storing your fully dehydrated orange slices in an airtight container or a breathable mesh bag. Place this container in a cool, dark, and dry place, such as a closet, attic, or pantry. Avoid areas with high humidity or direct sunlight, as these can cause the slices to absorb moisture, leading to softening or potential mold growth.
While these garlands can certainly last for a year or two with careful storage, many people, including us, opt to make a fresh batch of dried oranges each holiday season. The simple truth is that the process is so easy, and the incredible, fresh citrus aroma that fills your home during baking is an undeniable part of the holiday experience itself. Plus, starting fresh ensures the most vibrant color and strongest scent for your decor.
Dried Orange Garland (Oven Method)
Create enchanting dried orange garlands this holiday season for a wonderfully simple, homemade decoration. These aromatic slices can beautifully adorn your Christmas tree or elevate your holiday wreath with natural charm.
By: Lee Funke
Cook Time: 3 hours
Total Time: 3 hours
Ingredients
- 1 lb. navel oranges (or any orange of your choice)
Instructions
- Preheat your oven to 170ºF (77ºC). Line two large baking sheets with parchment paper to prevent sticking and for easy removal.
- Carefully slice the oranges into thin, uniform rounds, aiming for a thickness of approximately 1/8 to 1/4 inch. A kitchen mandoline is highly recommended for achieving consistent slices; otherwise, use a very sharp knife.
- Arrange the orange rounds in a single layer on the prepared baking sheets. The slices can be placed close together as they will shrink, but ensure they do not overlap to allow for even drying.
- Place the baking sheets in the preheated oven and bake the orange rounds for about 1.5 hours. After this time, carefully flip each orange slice over and continue baking for another 1 to 1.5 hours, or until the center of the oranges feels completely dry and firm to the touch.
- Remove the baking sheets from the oven and allow the dried orange slices to cool completely on the parchment paper. Once cooled, they are ready for use in cocktails or various craft projects.
Watch the Tutorial
Nutrition
Calories: 0 kcal, Carbohydrates: 0 g, Protein: 0 g, Fat: 0 g, Fiber: 0 g, Sugar: 0 g
Nutrition information is automatically calculated and should only be used as an approximation.
Embrace the Joy of DIY Holiday Decor
Creating your own dried orange garland is more than just a craft; it’s an experience that brings the sights and scents of the holidays directly into your home. The satisfaction of transforming simple oranges into stunning, long-lasting decorations is truly rewarding. We encourage you to embark on this delightful DIY project and infuse your festive season with handmade charm and natural beauty. Don’t forget to share your creations!
If you loved this tutorial, please consider leaving a comment below and sharing your experience. We’d love to see what you’re up to! Don’t forget to tag your posts on social media with the hashtag #fitfoodiefinds.