
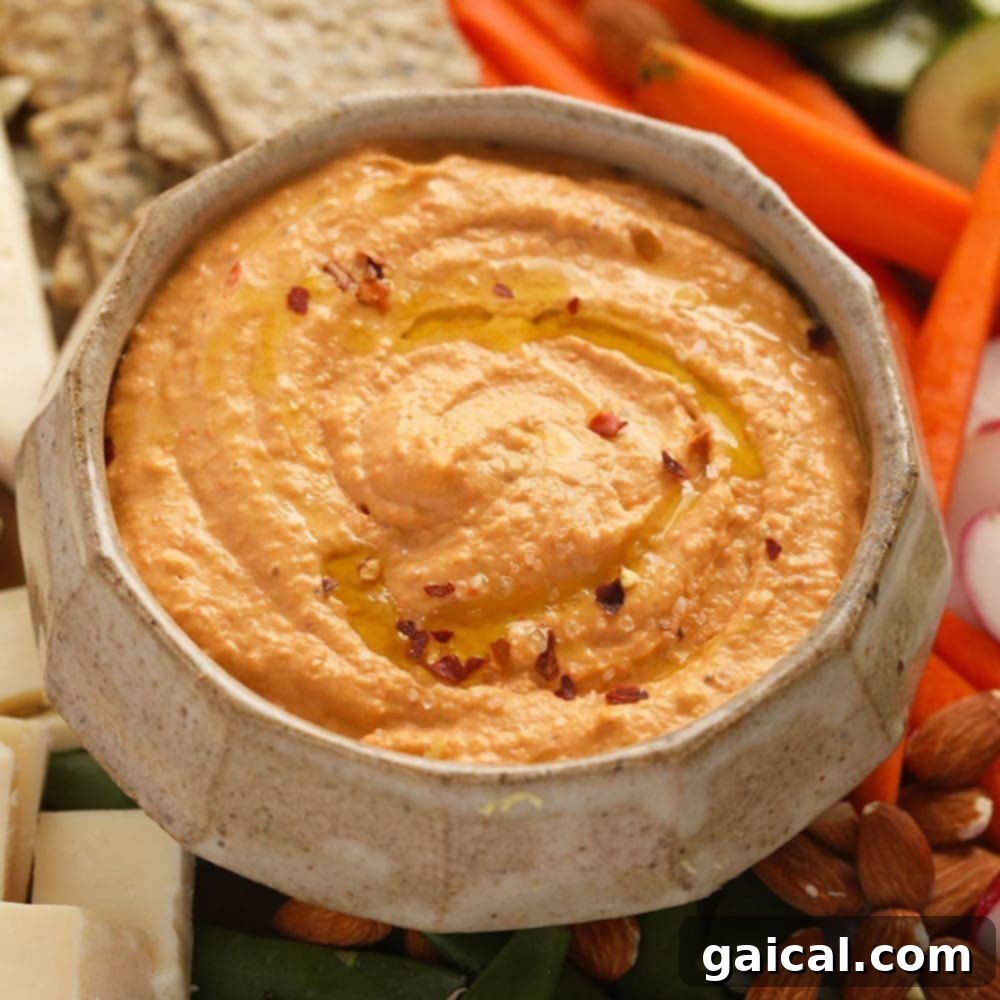
Making your own Roasted Red Pepper Hummus is an incredibly rewarding experience. Not only is it easy and inexpensive, but the homemade version is undeniably tastier and fresher than any store-bought alternative. This vibrant, creamy dip is also naturally gluten-free, packed with plant-based protein, and an excellent choice for healthy meal preparation.
Once you master this recipe, you might find yourself exploring other delightful variations. Don’t forget to check out our other popular hummus flavors such as Lemon Garlic Hummus, Sweet Potato Hummus, and Mexican Black Bean Hummus to keep your taste buds excited!
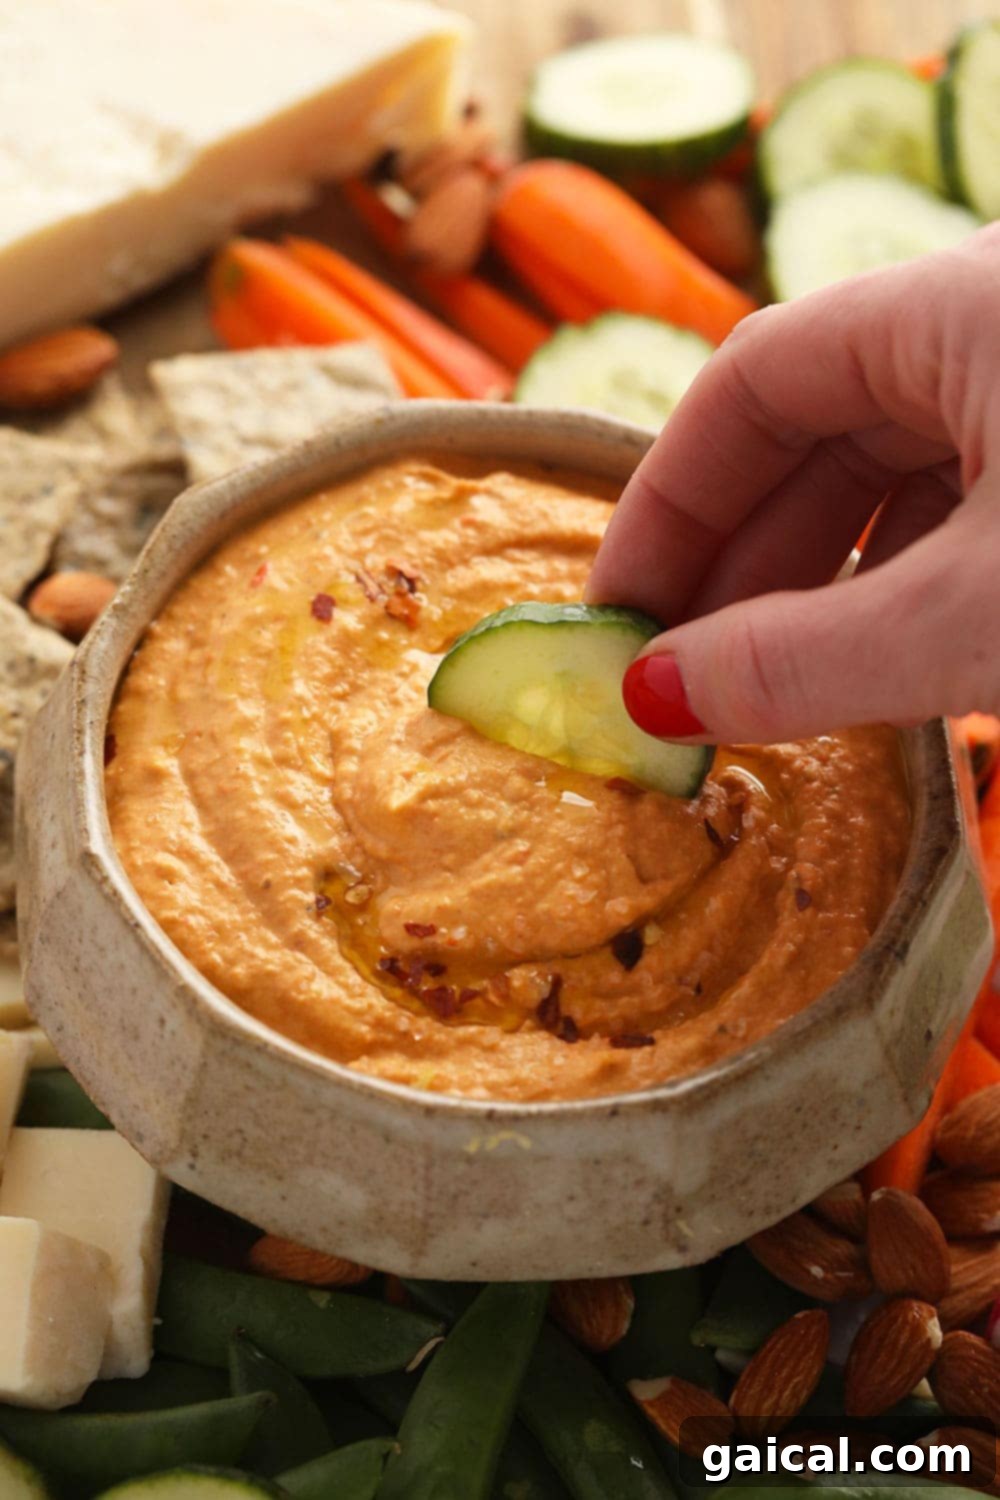
Why Homemade Hummus is Always the Best Choice
If you’re already a fan of store-bought hummus, prepare to have your culinary world transformed! Making hummus at home is surprisingly simple and doesn’t require a lot of time. The difference in flavor, freshness, and nutritional value between homemade and mass-produced versions is truly astounding.
When you create hummus in your own kitchen, you gain complete control over the ingredients. This means you can confidently choose high-quality components and avoid any unwanted preservatives, artificial flavors, or fillers often found in commercial products. It’s a clean-eating dream come true, allowing you to savor every spoonful with peace of mind, knowing exactly what went into your delicious dip.
The Abundant Health Benefits of Hummus
Beyond its incredible taste, homemade hummus offers a wealth of nutritional advantages. Chickpeas, the star ingredient, are an excellent source of dietary fiber and plant-based protein, contributing to satiety and supporting digestive health. Tahini, a sesame paste, provides healthy fats, essential minerals like calcium and magnesium, and supports heart health. Lemon juice adds a dose of Vitamin C and brightens the flavor, while olive oil contributes monounsaturated fats, known for their anti-inflammatory properties.
When you add roasted red peppers and garlic, you further boost the nutritional profile. Red peppers are rich in vitamins A and C, antioxidants, and provide a natural sweetness, while garlic is celebrated for its immune-boosting and cardiovascular benefits. This combination makes homemade hummus not just a delicious snack, but a powerhouse of essential nutrients, perfect for a balanced diet.
The Simple Process: How to Make Roasted Red Pepper Hummus
Crafting this homemade roasted red pepper hummus is a straightforward journey that unfolds in just a few easy steps. Let’s dive into the details to ensure your hummus is perfect every time.
Step 1: Roast and Prepare Your Aromatics
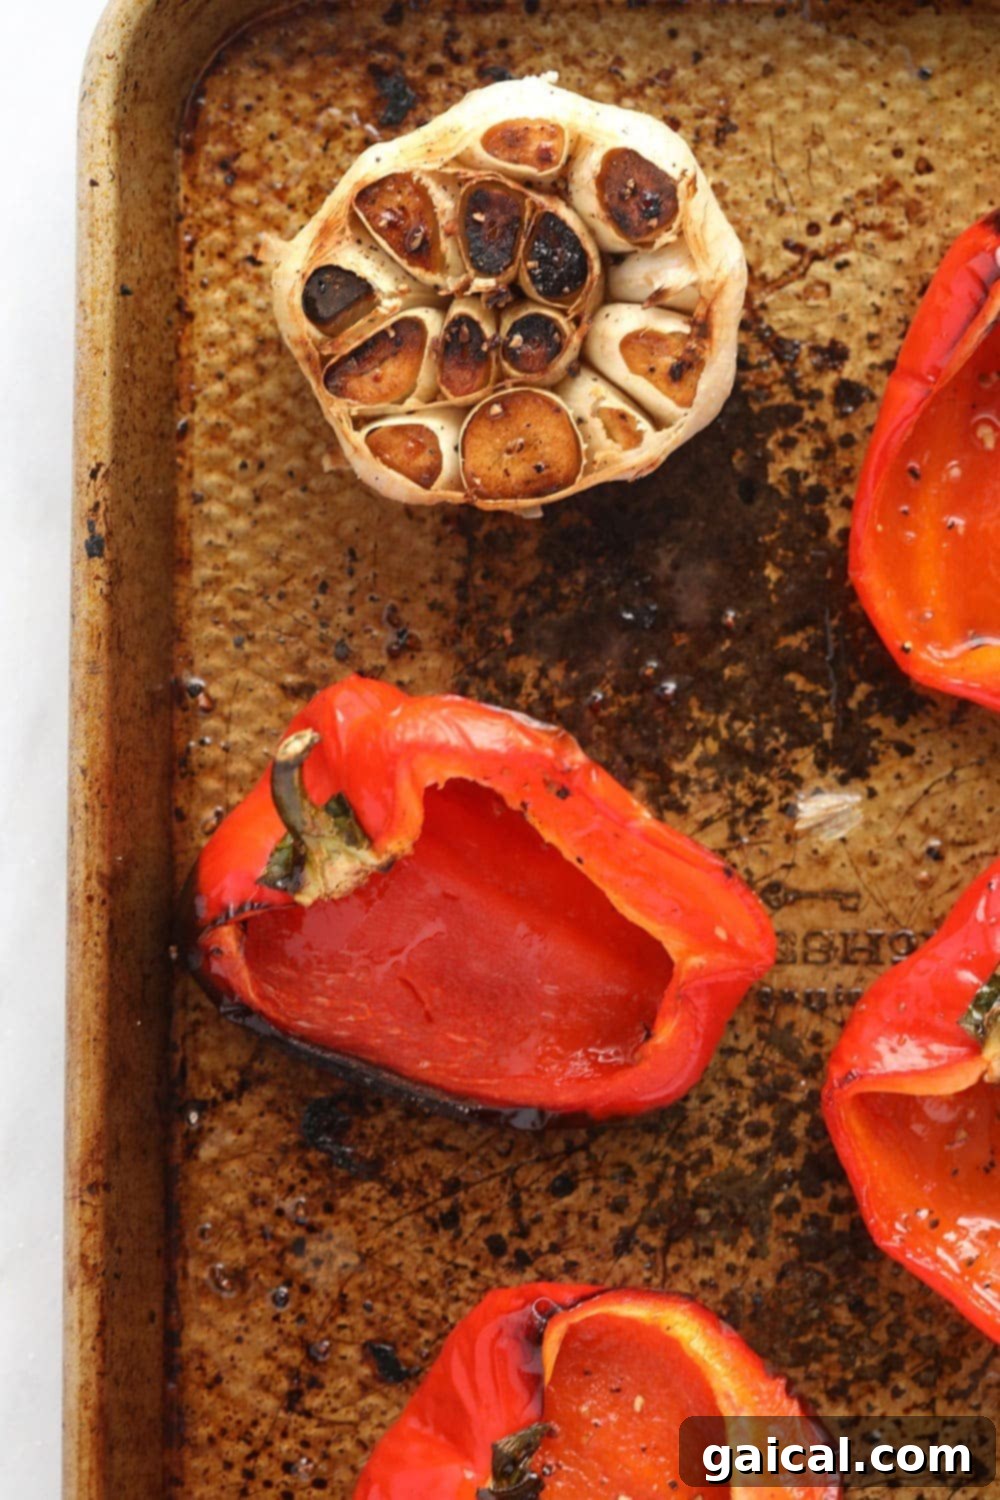
The secret to an exceptionally flavorful roasted red pepper hummus lies in the roasting process. Begin by preheating your oven to 450°F (230°C). Take a large red bell pepper, cut it in half, and remove the seeds and stem. Place the red pepper halves, skin-side up, on an oiled baking sheet. Alongside the peppers, scatter a few whole, peeled garlic cloves. Drizzle everything with a tablespoon of olive oil, and season lightly with salt and pepper to enhance their natural flavors during roasting.
Roast in the preheated oven for approximately 15 minutes. The high heat will begin to soften the peppers and caramelize the garlic. After 15 minutes, carefully flip the pepper halves so they are flesh-side up, and continue roasting for another 15 minutes. You’ll know they’re ready when the red pepper skins are beautifully charred and blistered, and the garlic is tender and slightly golden. This charring process develops a deep, smoky sweetness that is crucial to the hummus’s character.
While your red pepper and garlic are roasting, take this opportunity to prepare the remaining ingredients. Having everything measured and ready will make the blending process seamless. You’ll need:
- Canned garbanzo beans (chickpeas), thoroughly drained and rinsed
- High-quality tahini (a smooth sesame paste)
- Freshly squeezed lemon juice (absolutely essential for brightness!)
- Key spices: ground cumin and sea salt (paprika is optional for color and mild flavor)
Once the roasted peppers and garlic are done, remove them from the oven and set them aside to cool slightly. The residual heat will help loosen the pepper skins, making them easier to peel if desired for an ultra-smooth consistency, though leaving them on adds a rustic touch and extra fiber.
Step 2: Food Process / Blend to Perfection
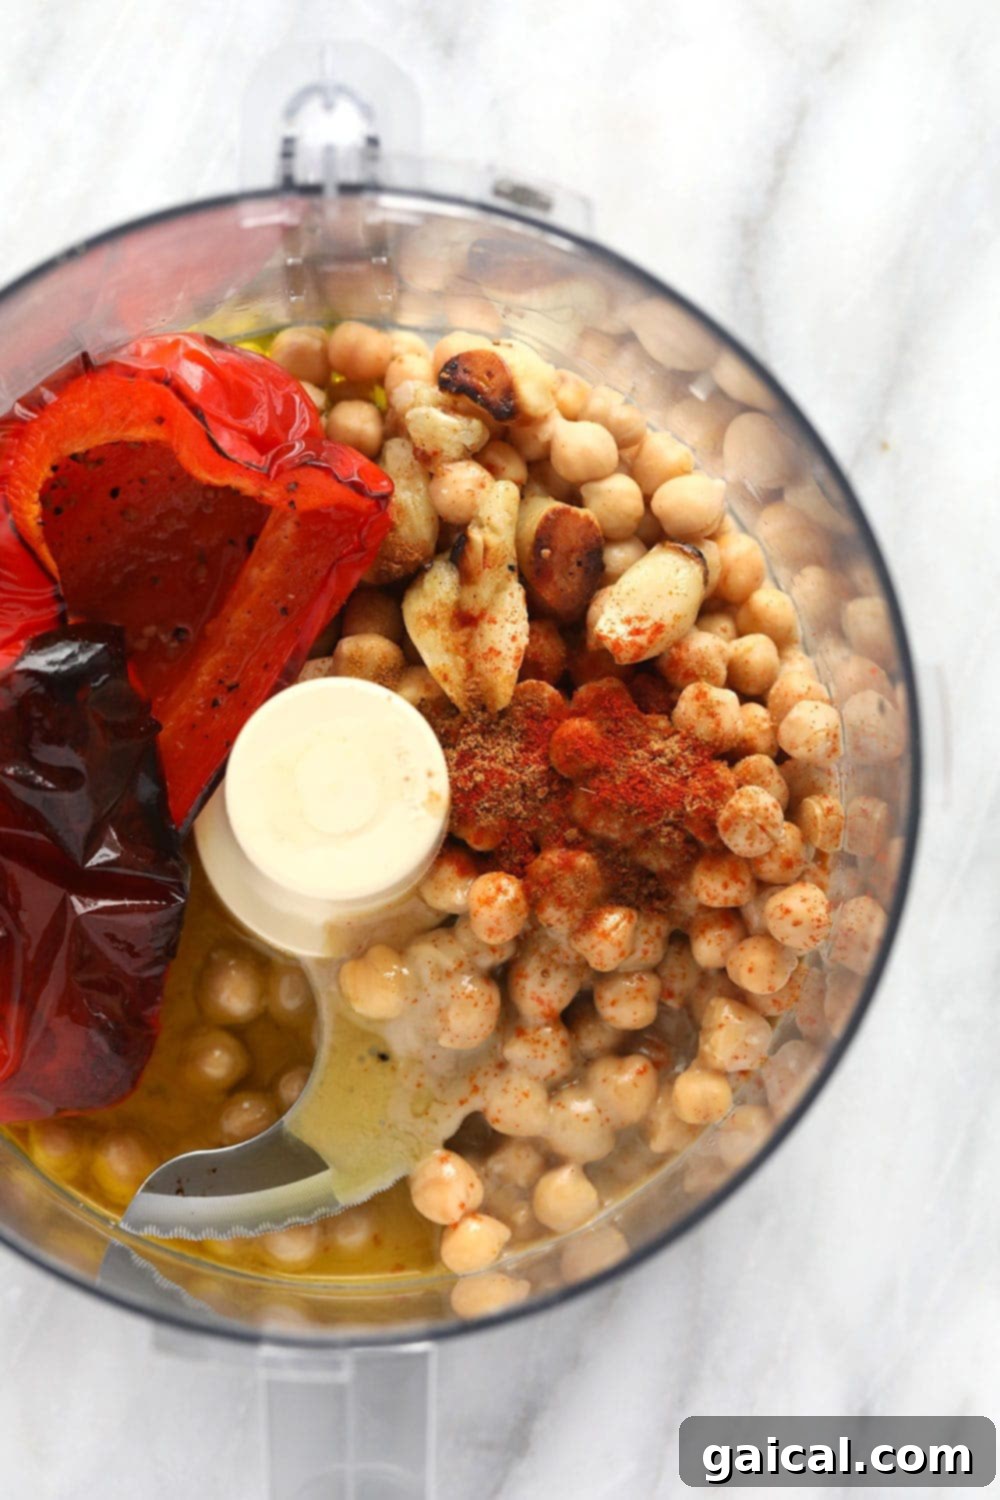
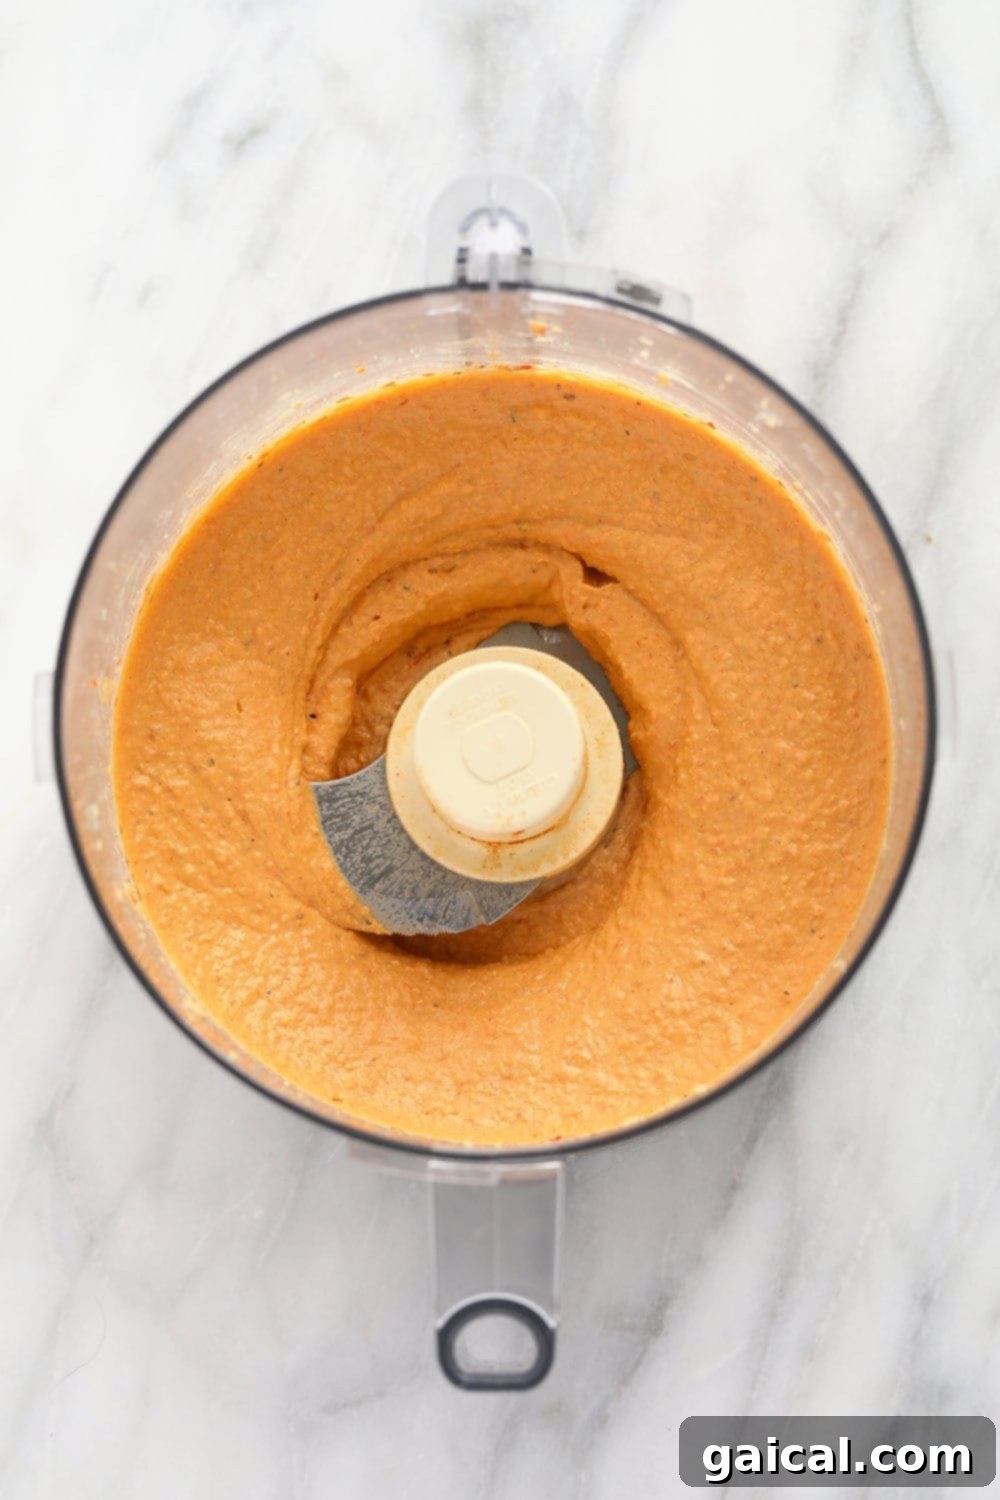
Now comes the fun part! Once your roasted ingredients have cooled enough to handle, gather all your prepped ingredients and transfer them into a food processor or a high-speed blender. We recommend adding the chickpeas, tahini, lemon juice, cumin, and salt first. Process these ingredients until they begin to form a rough paste. This initial blend helps ensure the chickpeas are fully broken down.
Next, add the cooled roasted red pepper and garlic cloves to the mixture. Continue to blend, scraping down the sides of the bowl as needed, until the hummus reaches your desired level of creaminess. For an extra smooth and airy texture, some chefs recommend adding a tablespoon or two of ice-cold water or more olive oil while blending. This helps emulsify the hummus and creates that signature velvety consistency. Taste and adjust seasoning as needed – perhaps a pinch more salt, a squeeze of lemon, or an extra dash of cumin.
Step 3: Dippity Dip and Enjoy!
Congratulations! You’ve just created the most delicious roasted red pepper hummus of your life. Now it’s time to unleash its full potential. This homemade hummus is incredibly versatile and makes a fantastic addition to almost any meal or snack.
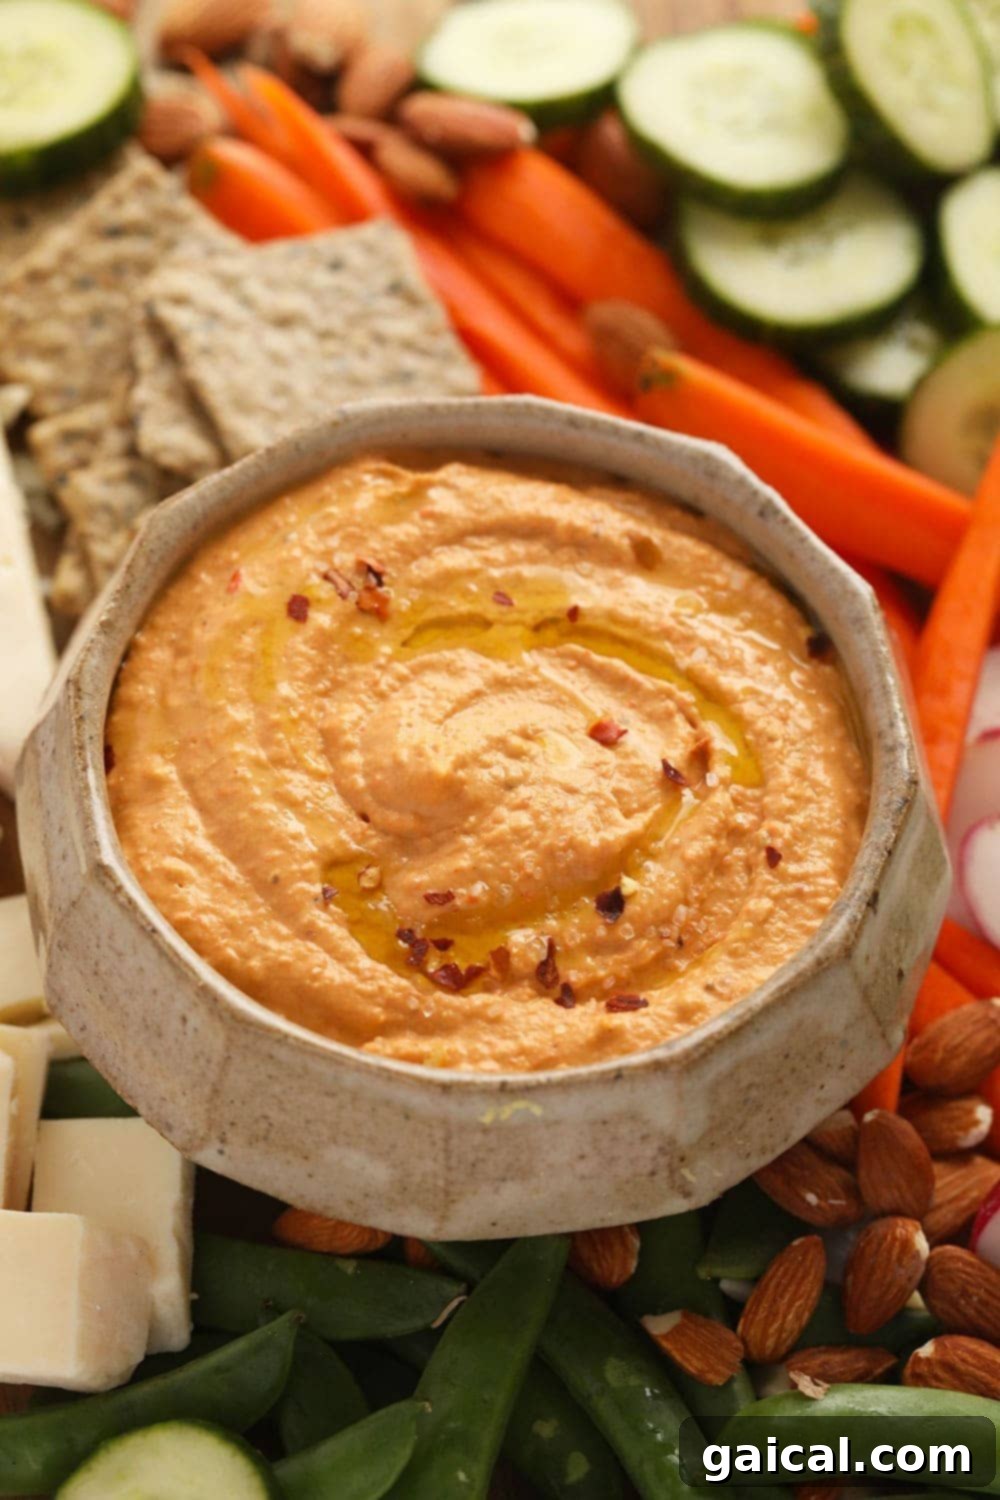
It’s absolutely delicious as a dip for a wide array of accompaniments. Think crisp, sliced fresh vegetables like cucumbers, carrots, bell peppers, and celery sticks for a healthy crunch. Pair it with warm pita bread or crunchy pita chips, tortilla chips, or even sturdy crackers. Really, anything you can scoop hummus onto is fair game!
But don’t stop there! This hummus is also fantastic as a sandwich or wrap spread, adding moisture and a burst of flavor to your lunchtime creations. Dollop it generously on a vibrant grain bowl or a fresh green salad for an extra layer of creaminess and protein. For a savory twist, consider it as a unique addition to your breakfast, perhaps spread on toast with avocado, or alongside scrambled eggs.
We’d love to know: what’s your favorite way to enjoy hummus? The possibilities are endless!
Batch Cooking and Storage Tips
Can You Make More than One Batch at Once?
Absolutely! This roasted red pepper hummus recipe is perfectly suited for batch cooking. Making a double or even triple batch is an excellent way to save time and ensure you have plenty of this nutritious dip on hand throughout the week. If you’re fortunate enough to have a large-capacity food processor, you can simply increase all the ingredient quantities and blend everything together in one go.
However, if you’re working with a smaller food processor, don’t despair! You can easily blend the ingredients in separate batches. For instance, process half the chickpeas, tahini, lemon juice, and spices with half the roasted pepper and garlic first, then repeat with the remaining ingredients. Once both batches are blended, combine them in a larger bowl and stir well to ensure an even distribution of flavor and a consistent texture throughout the entire batch.
How to Store Homemade Hummus
Proper storage is key to maintaining the freshness and flavor of your homemade hummus. Transfer the finished hummus into an airtight container. A shallow container is often better than a deep one, as it minimizes air exposure. You can even drizzle a thin layer of olive oil over the top surface of the hummus before sealing the container; this creates a protective barrier that helps prevent drying out and maintains its vibrant color.
Store your hummus in the refrigerator, where it will keep beautifully for up to 5 days. Always ensure the container is tightly sealed to preserve its freshness and prevent it from absorbing any other odors from your fridge. For optimal enjoyment, allow the hummus to come to room temperature for about 15-20 minutes before serving, as this enhances its creaminess and brings out its full flavor profile.
While fresh is always best, hummus can also be frozen for longer storage. To freeze, place the hummus in an airtight freezer-safe container, leaving a little headspace as it may expand slightly. You can also drizzle olive oil on top before freezing. It can be stored in the freezer for up to 3-4 months. When ready to use, thaw it in the refrigerator overnight and give it a good stir before serving, adding a splash of fresh lemon juice or olive oil if needed to restore its perfect consistency.
Explore More Delicious Dip Recipes
If you’re a fan of flavorful and healthy dips, you’re in the right place! Beyond this incredible roasted red pepper hummus, we have a variety of other recipes that are perfect for snacking, entertaining, or meal prepping. Expand your dip repertoire with these mouth-watering options:
- Creamy Avocado Hummus
- Wholesome Sweet Potato Hummus
- Zesty Lemon Garlic Hummus
- Spicy Mexican Black Bean Hummus
- Discover ALL Our Dip Recipes for endless inspiration!
Roasted Red Pepper Hummus
Making your own Roasted Red Pepper Hummus is easy, inexpensive, and so much tastier than the store-bought kind! Not to mention it’s gluten-free, protein-packed, and great for meal prep!
By: Emily Richter
Ingredients
- 1 large red pepper, halved and seeded
- 4 whole garlic cloves, peeled
- 3 tablespoons olive oil, divided
- 15 oz. canned garbanzo beans, rinsed and strained
- 3 tablespoons tahini
- 3 tablespoons lemon juice, (~1/2 lemon)
- 1/2 teaspoon ground cumin
- 1/2 teaspoon salt (adjust to taste)
Instructions
- First, preheat your oven to 450ºF (230°C) and lightly spray a baking sheet with non-stick cooking spray or line with parchment paper.
- Place the peeled garlic cloves and the red pepper halves (skin-side up) onto the prepared baking sheet. Drizzle with 1 tablespoon of olive oil and lightly sprinkle with salt and pepper.
- Place in the preheated oven and roast for 15 minutes. Then, carefully flip the red pepper halves and roast for another 15 minutes. At this point, the red pepper skins should be nicely charred and blistered, and the garlic cloves soft.
- Remove the roasted red peppers and garlic from the oven and set them aside to cool down slightly.
- Next, in a food processor, combine the rinsed garbanzo beans, tahini, fresh lemon juice, and ground cumin. Blend these ingredients until they are relatively smooth, scraping down the sides as necessary.
- Finally, add the cooled roasted red pepper and garlic to the food processor with the other ingredients. Continue to blend until the hummus is completely smooth and creamy. If the hummus is too thick, add more olive oil or a tablespoon of ice-cold water until it reaches your desired consistency.
- Transfer the hummus to a serving bowl. Serve immediately with your favorite fresh vegetables, pita bread, crackers, or any other preferred accompaniments.
Tips & Notes
- For an extra smooth hummus, remove the charred skin from the red peppers after roasting and before blending, though it’s not strictly necessary.
- If your hummus is not reaching your desired smoothness, slowly add a tablespoon or two of ice-cold water or additional olive oil while the food processor is running.
- Always taste your hummus before serving and adjust the salt, lemon juice, or cumin to your personal preference.
- For a spicier kick, add a pinch of cayenne pepper or a dash of smoked paprika.
Nutrition
Calories: 197 kcal, Carbohydrates: 15 g, Protein: 7 g, Fat: 13 g, Fiber: 4 g, Sugar: 1 g
Nutrition information is automatically calculated and should only be used as an approximation.
Loved this recipe? Share your thoughts below!
We’re always excited to hear from you. Don’t forget to share your creations on social media using a general food hashtag like #homemadehummus or #healthydips. We’d love to see your delicious results!