
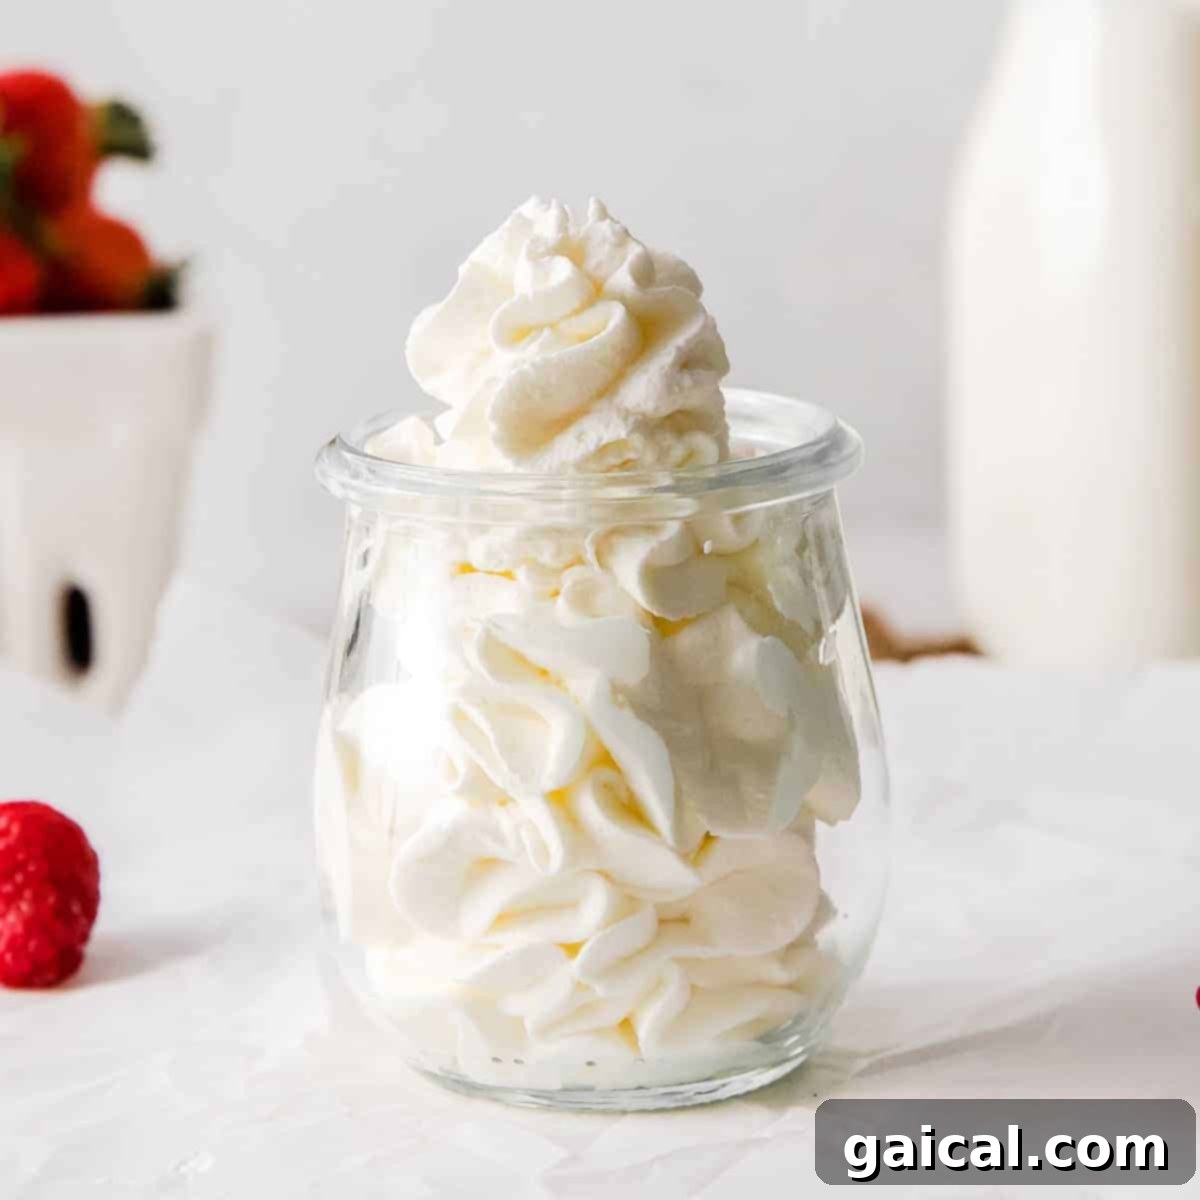
There’s an undeniable magic to homemade whipped cream. It elevates any dessert, turning a simple treat into an extraordinary experience. My first encounter with this culinary delight happened at my guncle’s charming river house in Wisconsin. Their signature dessert was always a generous bowl of fresh, seasonal berries, crowned with luscious, homemade whipped cream. What made it truly unforgettable was their secret ingredient: local honey, harvested straight from the hives on their property. That taste, that texture, that pure, unadulterated sweetness – it was love at first bite, and it sparked my journey into mastering the art of perfect whipped cream.
Many assume whipping cream is a complex task, best left to pastry chefs. However, I’m here to tell you that this couldn’t be further from the truth. Creating your own heavenly whipped cream is surprisingly simple, requiring just one core ingredient: cold heavy whipping cream. From there, you have the freedom to customize its sweetness and flavor profile to match any occasion or craving. With a little effort and the right technique, you’ll be enjoying cloud-like peaks of homemade deliciousness in no time.
Imagine topping your favorite apple crisp, a classic slice of pie, or these delightful healthy pumpkin pie bars with a dollop of this freshly made, airy cream. The possibilities are truly endless, transforming everyday desserts into gourmet masterpieces. Let’s delve into everything you need to know to create the most exquisite homemade whipped cream every single time.
Achieving Perfectly Whipped Cream: Essential Tips and Tricks
While the process of making homemade whipped cream is straightforward, a few key considerations can make all the difference in achieving that light, airy, and stable consistency you crave. Before you even start whisking, keep these vital tips in mind:
- Embrace the Cold. This is perhaps the most crucial rule for successful whipped cream. Ensure your heavy whipping cream is thoroughly chilled – ideally, it should have been in the refrigerator for several hours, or even overnight. Beyond just the cream, we highly recommend chilling your mixing bowl and whisk attachments for at least 15-20 minutes in the freezer or refrigerator. The colder everything is, the faster your cream will whip, and the more stable your finished product will be. Why? Cold fat globules emulsify more effectively, trapping air more efficiently and preventing the cream from turning buttery too quickly.
- Size and Material Matter for Your Bowl. Don’t underestimate the importance of your mixing bowl. Opt for a bowl that is large enough to accommodate the expanding volume of the cream as it whips, preventing messy splatters all over your kitchen. A deep, wide bowl is ideal. Stainless steel or glass bowls are preferred over plastic, as they retain cold temperatures more effectively, further aiding the whipping process.
- Patience is a Virtue: Whip Slowly and Steadily. When it comes to whipping cream, a gentle approach is best. Resist the urge to crank your mixer to the highest speed right away. Start on medium-low speed and gradually increase to a medium-high setting. Whipping too fast can incorporate air unevenly, make it harder to control the consistency, and increase the risk of over-whipping. A steady, consistent speed allows the cream to gradually thicken and form beautiful, stable peaks.
Choosing Your Whipping Weapon: Best Tools for Whipping Cream
The beauty of homemade whipped cream lies in its accessibility. You don’t need a professional kitchen setup to achieve fantastic results. We’ve experimented with various kitchen tools, and ultimately, the best choice often comes down to personal preference, the quantity you’re making, and what you have on hand. Here are your top options:
- The Classic Metal Whisk: For small batches or those who enjoy a bit of a workout, a good old-fashioned metal whisk is perfectly adequate. It gives you precise control over the texture and is incredibly satisfying when those peaks start to form. Expect to exert some arm power and take a little longer, but the results can be just as magnificent.
- The Versatile Hand Mixer: This is arguably the most common and practical tool for most home cooks. A hand mixer offers a great balance of speed, efficiency, and control. It’s excellent for medium-sized batches and allows you to move the beaters around the bowl to ensure even whipping. Look for one with multiple speed settings.
- The Powerful Stand Mixer: If you frequently make larger quantities of whipped cream or other baked goods, a stand mixer is an invaluable investment. With its hands-free operation and consistent power, it makes whipping cream effortless. Simply attach the whisk attachment, set the speed, and let it do the work while you focus on other tasks. It’s the ultimate tool for achieving consistent results with minimal effort.
- The Surprisingly Effective Milk Frother: While often overlooked for this task, a handheld milk frother can actually create lovely, airy whipped cream, especially for single servings or small quantities. It’s perfect for topping a hot chocolate or coffee with a quick dollop. Just trust us on this one – it’s a handy trick in a pinch!
Regardless of the tool you choose, remember the golden rule: start slow and observe your cream’s transformation to avoid over-whipping.
The Simple Yet Essential Ingredients for Whipped Cream
The beauty of homemade whipped cream lies in its minimal ingredient list. You truly only need one primary component, with optional additions to enhance flavor and sweetness. Understanding each ingredient will help you achieve the best possible result.
Heavy Whipping Cream or Whipping Cream: Understanding the Difference
The foundation of any good whipped cream is, naturally, cream. But not all creams are created equal when it comes to whipping. You’ll typically find two main types in the dairy aisle: whipping cream and heavy whipping cream. While both can be whipped, their fat content significantly impacts the final product.
For this recipe, we recommend using 1 cup of heavy whipping cream for optimal results.
Heavy Whipping Cream (or simply Heavy Cream): This variety boasts a higher fat content, usually 36% or more. This higher fat percentage is crucial for creating a thick, incredibly rich, and wonderfully stable whipped cream that holds its shape beautifully and stores exceptionally well in the refrigerator. It’s less likely to deflate quickly, making it ideal for desserts that need to sit for a while or for piping intricate designs.
Whipping Cream (or Light Whipping Cream): This cream has a slightly lower fat content, typically ranging from 30-35%. While it whips up just fine and yields a lighter, less rich whipped cream, it tends to be less stable. It might not hold its peaks as long and generally doesn’t store as well in the refrigerator, often deflating more quickly. If you’re looking for a lighter texture and plan to serve immediately, it’s a suitable choice, but for maximum stability and richness, heavy whipping cream is the champion.
Sweetener of Choice: Tailoring to Your Taste
How you sweeten your whipped cream is entirely a matter of personal preference and can greatly influence the overall flavor profile of your dessert. We have several favorite sweeteners that we frequently use:
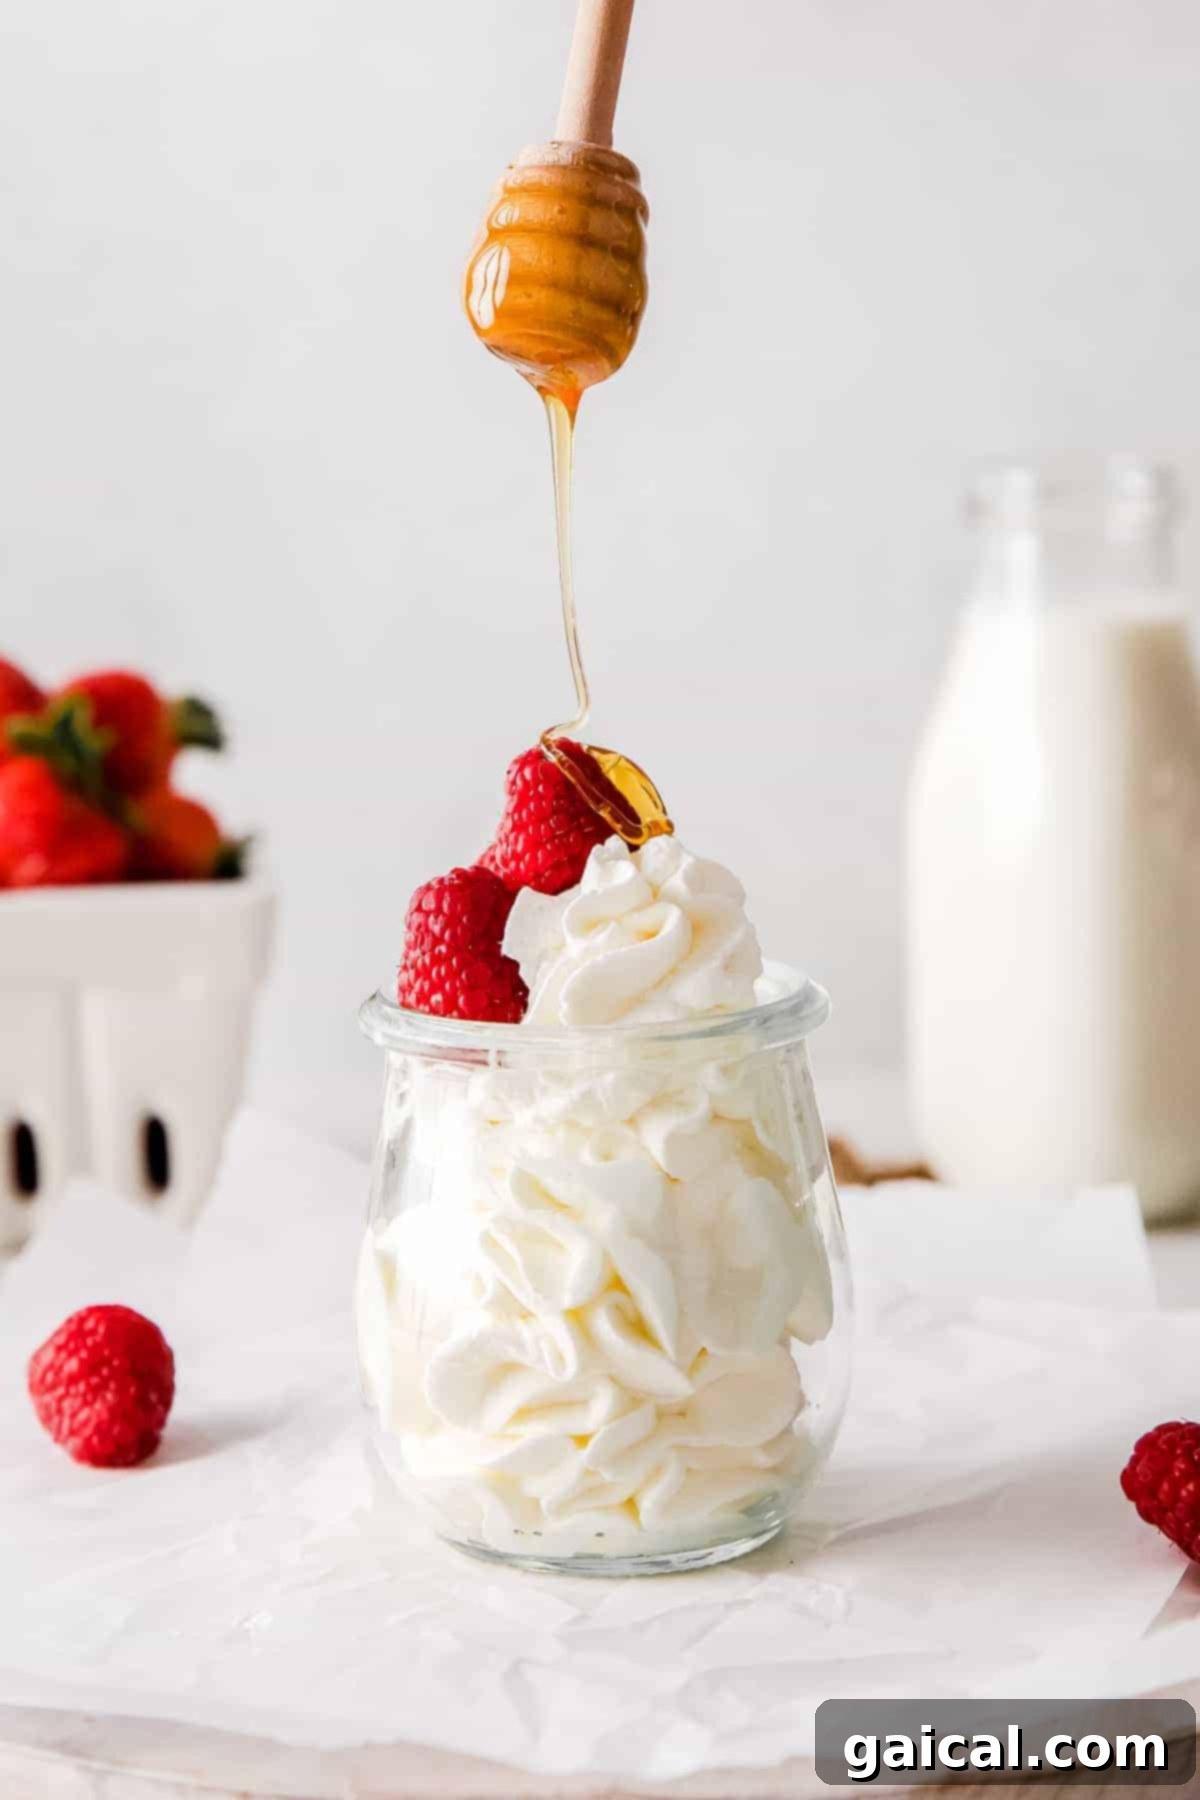
- Honey: As mentioned in my initial anecdote, honey offers a unique floral sweetness and a slightly thicker texture. It pairs wonderfully with fruit-based desserts. Remember to use a high-quality, runny honey for easier incorporation.
- Powdered Sugar (Confectioners’ Sugar): This is a highly popular choice for a reason. Powdered sugar dissolves instantly into the cream, ensuring a smooth, grit-free texture. It often contains a small amount of cornstarch, which acts as a stabilizer, helping the whipped cream hold its shape longer.
- Maple Syrup: For a warm, earthy sweetness, maple syrup is an excellent alternative, especially delightful with autumn and winter-themed desserts like pumpkin pie or apple crumble. Ensure you use pure maple syrup for the best flavor.
For this recipe, you can start with one tablespoon of any of these sweeteners, adjusting to your desired level of sweetness. Remember, you can always add more, but you can’t take it away! Other options include granulated sugar (though it can sometimes leave a slightly grainy texture if not fully dissolved) or even a touch of stevia or monk fruit for sugar-free alternatives.
Vanilla Extract: The Classic Flavor Enhancer
A touch of vanilla extract is the secret weapon that rounds out and deepens the flavor of your whipped cream without overpowering it. It adds a warmth and complexity that makes all the difference.
We highly recommend using pure vanilla extract for the most authentic and robust flavor. Alternatively, for an exquisite visual and flavor impact, the paste from half a fresh vanilla bean can be used. The tiny black specks of vanilla bean add a gourmet touch that is simply unmatched.
How to Make Homemade Whipped Cream: A Step-by-Step Guide
Before diving into the quick directions, let’s reiterate a critical point: your whipped cream will turn out its absolute best if everything is cold. If you have the time, go one step further and place your mixing bowl and whisk attachments in the freezer for 15-20 minutes before you begin. This small step makes a significant difference in how quickly and effectively your cream whips up.
- Prepare Your Equipment: If not already done, place your chilled heavy cream, along with your mixing bowl and whisk attachment (for stand or hand mixer), into the refrigerator or freezer for at least 15-20 minutes. This ensures everything is as cold as possible.
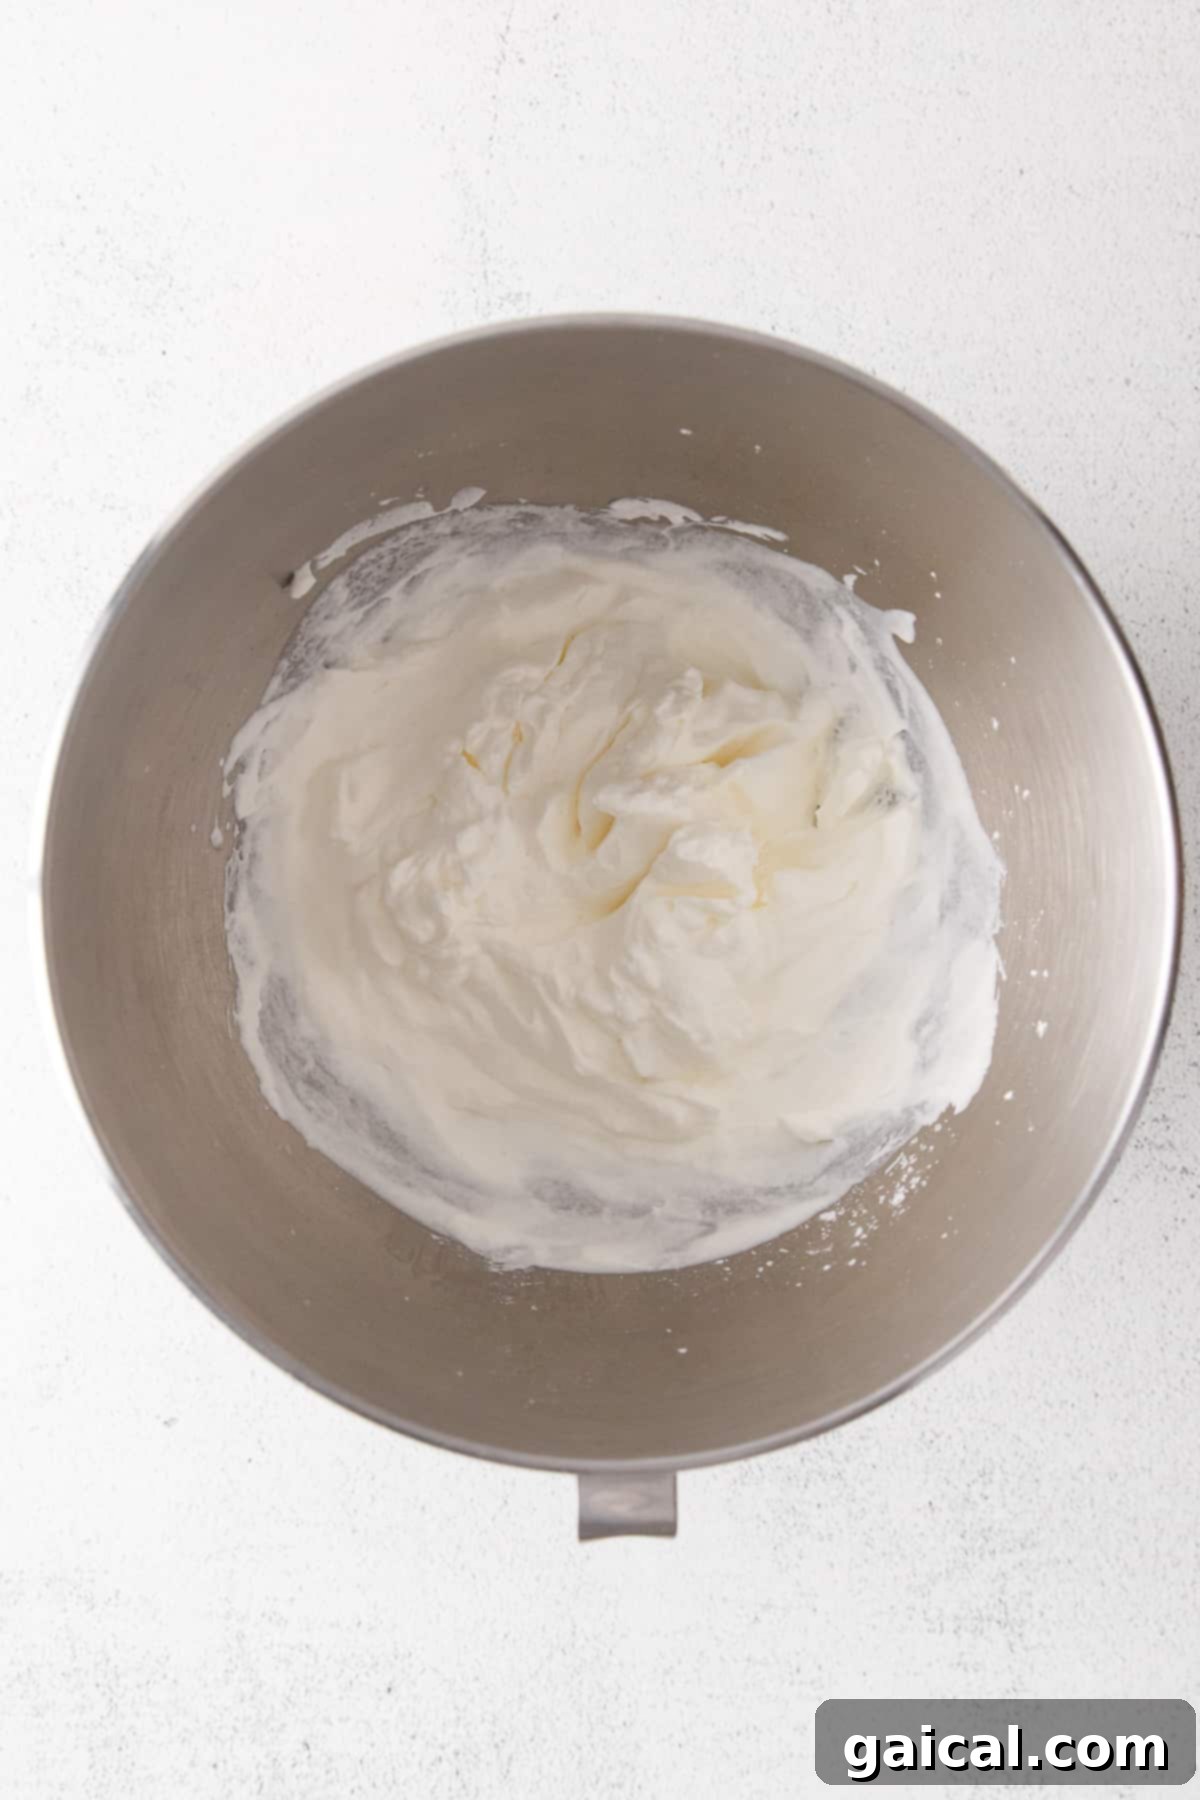
- Initial Whip: Once your equipment is thoroughly chilled, pour the cold heavy cream into the prepared mixing bowl. Begin whisking the cream on a medium-low speed. This initial gentle whip helps to aerate the cream slowly and consistently. Continue whisking for about 30 seconds, or until the cream starts to show a slight thickening and small bubbles appear.
- Add Sweetener and Flavor: At this stage, add your chosen sweetener (honey, powdered sugar, or maple syrup) and the vanilla extract (or vanilla bean paste) to the bowl. Increase the speed to medium-high. Continue to beat the whipped cream, moving the bowl around if using a hand mixer, or letting the stand mixer work its magic.
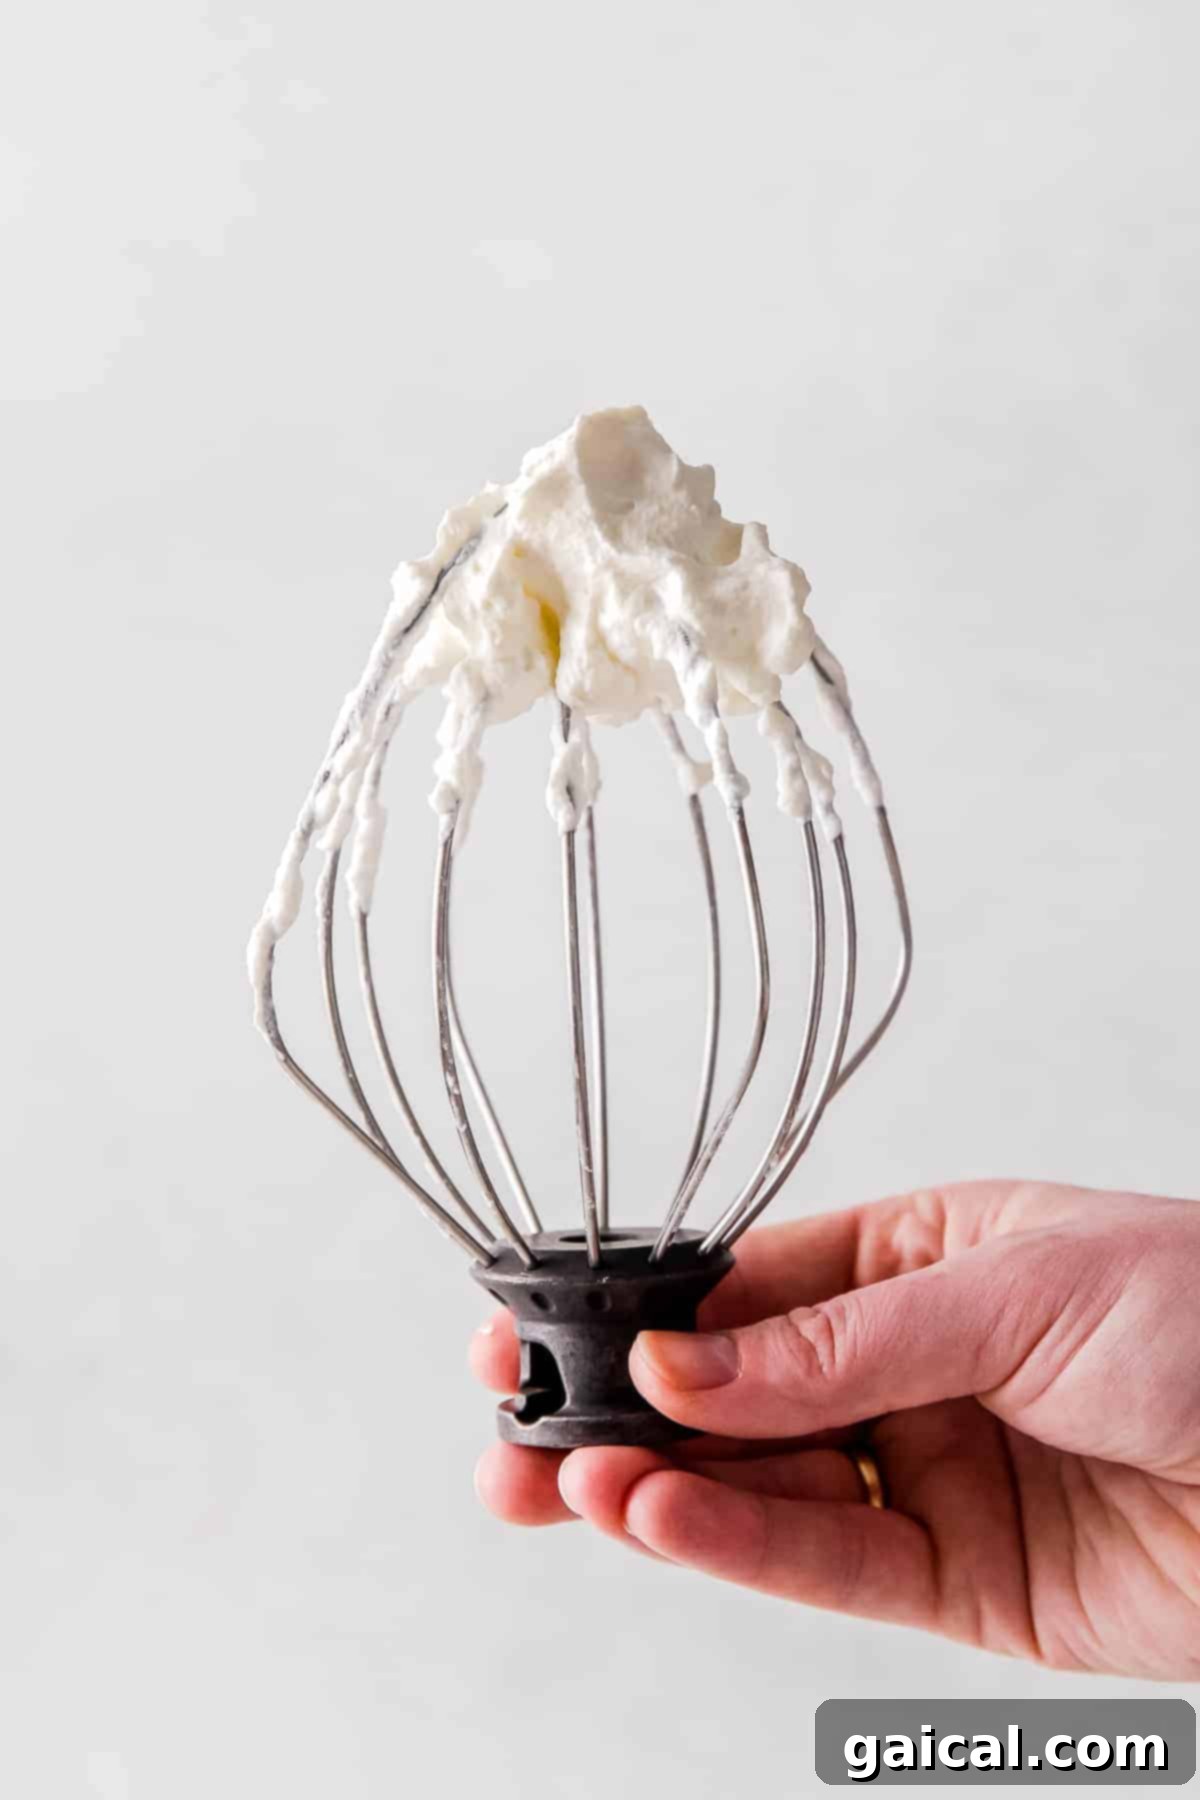
- Achieving Soft Peaks: Keep an eye on the cream’s consistency. You’ll notice it becoming progressively thicker. Soft peaks are achieved when you lift the whisk out of the cream, and the peaks form, but their tips curl over slightly. This is often the desired consistency for topping fresh fruit or pies.
- Reaching Medium Peaks (Optional): If you prefer a slightly firmer cream that holds its shape more definitively, continue whipping for another minute or two. Medium peaks will stand a bit taller, with their tips still gently flopping over but holding more firmly. This is great for piping simple decorations.
- Scrape and Serve: You may need to periodically scrape down the sides of the bowl with a spatula to ensure all the cream is being evenly whipped. Continue to whip and scrape until your desired soft or medium peaks form. Once achieved, serve your freshly made whipped cream immediately with all your favorite desserts!
The Golden Rule: Do Not Over Mix!
Listen closely, aspiring whipped cream connoisseur: the most common mistake, and one that can quickly turn your culinary dream into a dairy disaster, is over-whipping. Hey, YOU, keep a close watch and resist the urge to beat that whipped cream into oblivion!
For most applications, we find that beautiful soft peaks are the ideal consistency for our whipped cream. They offer a luxurious, melt-in-your-mouth texture that perfectly complements desserts. If you continue to beat your whipped cream on high speed for too long, a few things will happen:
- The peaks will become stiff and dry.
- The texture will turn grainy and eventually curdled, resembling cottage cheese.
- Finally, if you keep going, you’ll separate the milk solids from the fat, effectively making butter!
Stopping just at the right moment is key. Once you see those soft, billowy peaks, or your desired medium peaks, stop the mixer. It’s always better to under-whip slightly and manually whisk a few more strokes if needed, than to over-whip and end up with a sad, grainy mess. Trust us, no one wants to be sad about curdled whipped cream.
Storing Your Homemade Whipped Cream
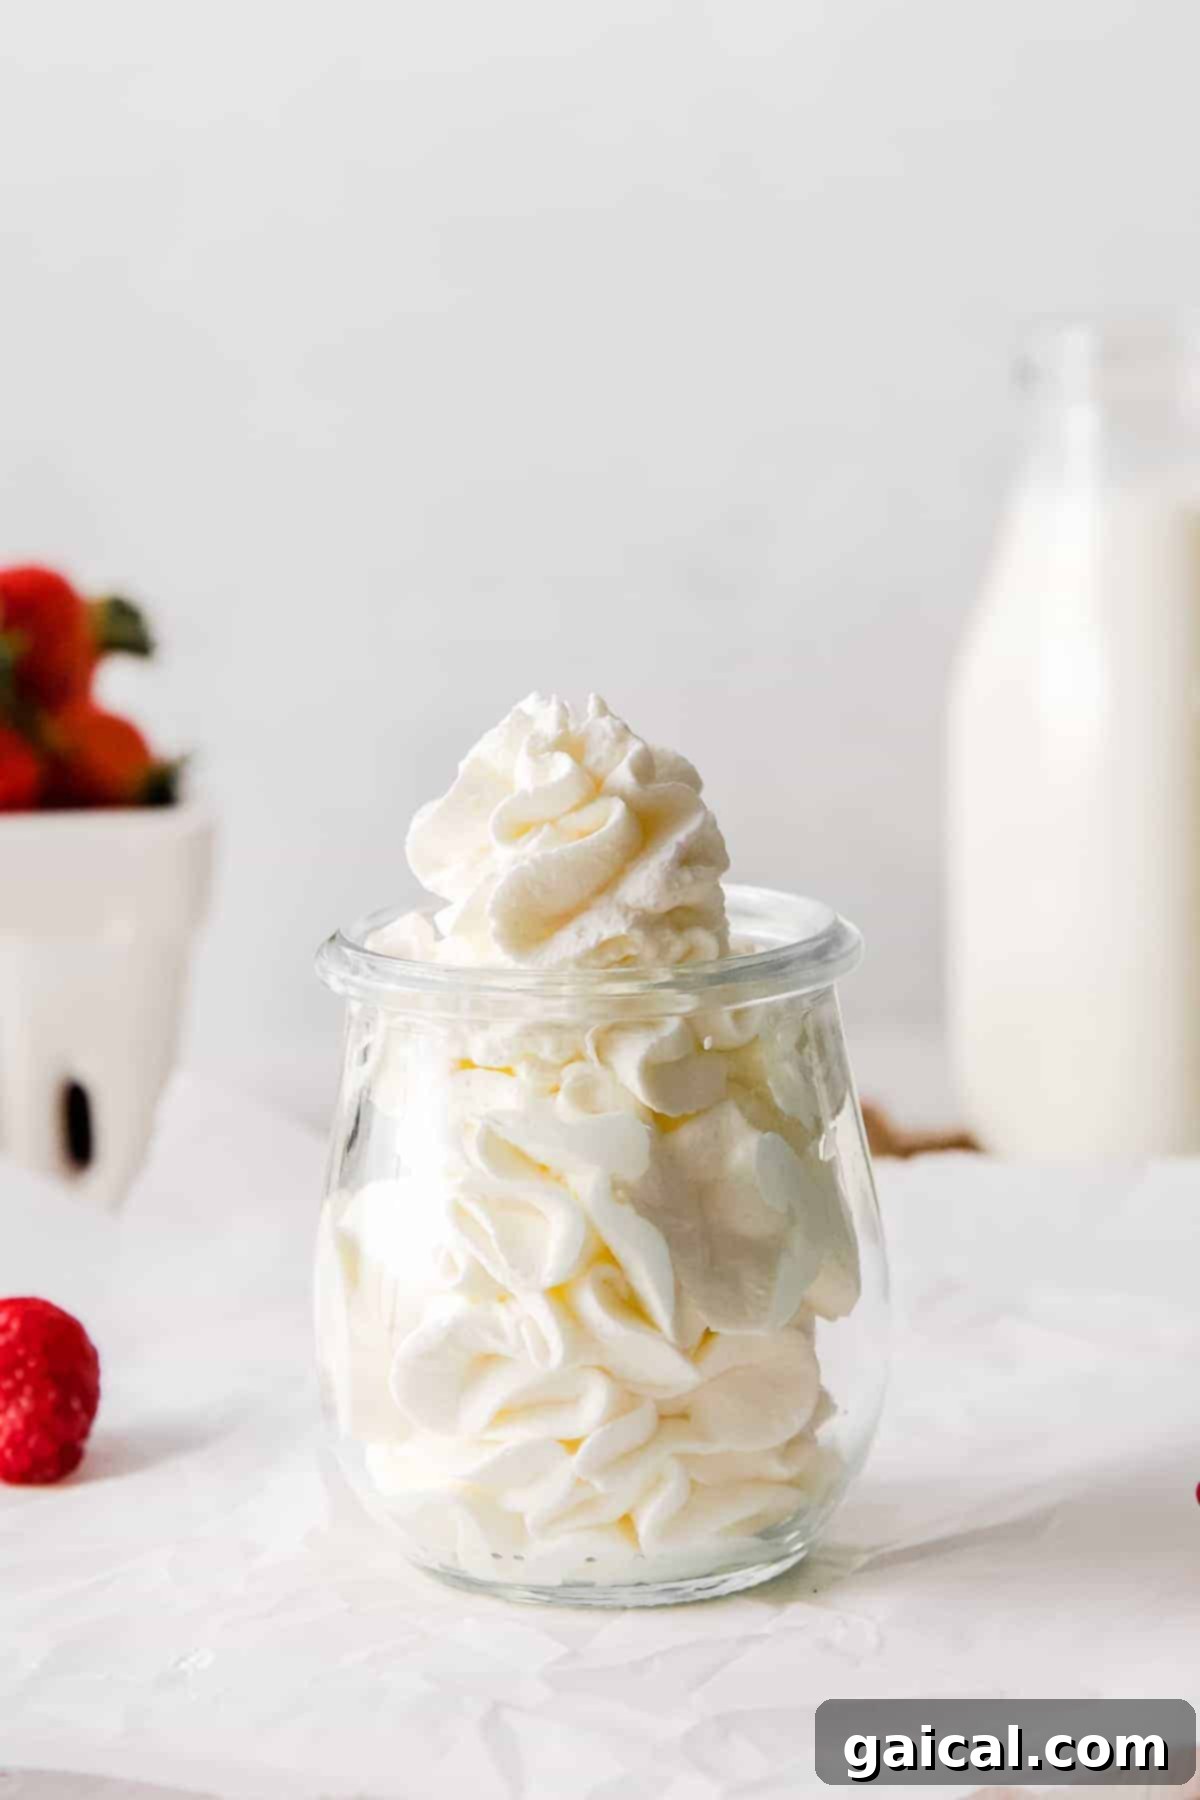
One of the advantages of using heavy whipping cream is its superior stability, which means your delicious creation can be enjoyed beyond the moment it’s made. If you’ve used heavy whipping cream (or heavy cream) for your recipe, your homemade whipped cream will typically last for about 1-2 days when stored properly in the refrigerator.
To maximize its freshness and prevent it from deflating or absorbing refrigerator odors, transfer the leftover whipped cream into an airtight container or a jar with a tight-fitting lid. It’s best to leave a little bit of air space at the top of the container, as this can help maintain its airy texture. While it might lose a tiny bit of its volume over time, it will generally remain perfectly enjoyable for light toppings.
For best results, consume it within 24-48 hours. If you notice any sour smell or discoloration, it’s time to discard it.
Can You Freeze Whipped Cream? Absolutely!
Yes, you absolutely can freeze whipped cream, and it’s not just possible – it’s actually quite a fun and practical way to enjoy whipped cream in creative new ways! Freezing whipped cream allows you to have a convenient topping on hand for various hot beverages or impromptu desserts.
Here’s how to freeze whipped cream effectively:
- Prepare for Freezing: Line a plate or a baking sheet with parchment paper or a silicone baking mat. This prevents the whipped cream from sticking to the surface.
- Portion into Dollops: Using a spoon, a small ice cream scoop, or even a piping bag, scoop 1 tablespoon of whipped cream at a time onto the lined plate or baking sheet, creating little dollops. Repeat this process until all your whipped cream is portioned out. You can make them larger or smaller depending on your intended use.
- Flash Freeze: Carefully place the lined plate or baking sheet into the freezer. Let the whipped cream dollops freeze completely solid. This usually takes about 1-2 hours, depending on their size.
- Store Long-Term: Once the dollops are frozen solid, transfer them from the plate into a freezer-safe bag or an airtight freezer container. Label the bag with the date. Frozen whipped cream can last for up to 1-2 months in the freezer without significant loss of quality.
- How to Enjoy: Serve these delightful frozen whipped cream dollops directly from the freezer! They are SO GOOD when added to hot chocolate, coffee, or any other warm beverage that typically calls for cream. They slowly melt, creating a creamy, cool swirl in your drink. You can also use them to top warm desserts like cobblers or crumbles, where they will gently melt into a luscious sauce.
Creative Flavor Variations for Your Homemade Whipped Cream
While classic vanilla whipped cream is a staple for a reason – allowing the dessert it accompanies to truly shine – there are countless instances where you might want to infuse your whipped cream with additional flavors. Adding a twist can create a truly unique and memorable dessert experience. Below are several exciting ways you can flavor your whipped cream, transforming it into something special:
A World of Extracts
The simplest way to dramatically alter the flavor profile of your whipped cream is by swapping or adding different extracts. The key is to base your extract choice on the dessert you’re serving alongside the whipped cream, ensuring complementary flavors.
Beyond vanilla, consider delightful options like almond extract for nutty notes with fruit tarts, peppermint extract for a refreshing kick with chocolate desserts during the holidays, orange extract for a citrusy brightness, or coconut extract for a tropical flair. Don’t be afraid to experiment with other extracts that pique your interest and excite your palate!
Fruity Jams and Preserves
Adding 1-2 teaspoons of your favorite jam or fruit preserve to this whipped cream recipe is a fantastic way to introduce both vibrant flavor and beautiful color. The fruit acidity can also cut through the richness of the cream, creating a lovely balance.
Try raspberry jam for a tangy contrast, strawberry jam for a classic summer feel, blueberry jam for an earthy sweetness, or any other fruit jam or fruit curd you adore. Just be sure the jam is well-mixed and doesn’t contain large fruit chunks unless that’s the texture you’re going for.
Indulgent Cocoa Powder
A rich, chocolatey whipped cream sounds like an absolute dream, and it’s incredibly easy to achieve. Simply add 1-2 tablespoons of unsweetened cocoa powder to this whipped cream recipe while you’re whipping. The amount can be adjusted based on how intensely chocolatey you want your whipped cream to be. This variation is divine on anything from brownies and chocolate cakes to hot fudge sundaes and even fresh berries.
Warming Spices and Bright Zest
Don’t limit yourself to extracts and jams! A pinch of ground cinnamon, nutmeg, or pumpkin pie spice can create a wonderfully aromatic whipped cream, perfect for fall and winter desserts. For a brighter, fresher flavor, finely grated citrus zest (lemon, orange, or lime) adds a refreshing zing that pairs beautifully with lighter desserts.
Adult Indulgence: A Splash of Liqueur
For an adult-friendly treat, a small splash (1-2 teaspoons) of your favorite liqueur can add sophistication. Think Grand Marnier for an orange kick, Kahlua for coffee notes, or a fruit liqueur like Chambord to deepen fruity flavors. Add the liqueur during the final stages of whipping, just before soft peaks form.
What to Serve with Your Decadent Homemade Whipped Cream?
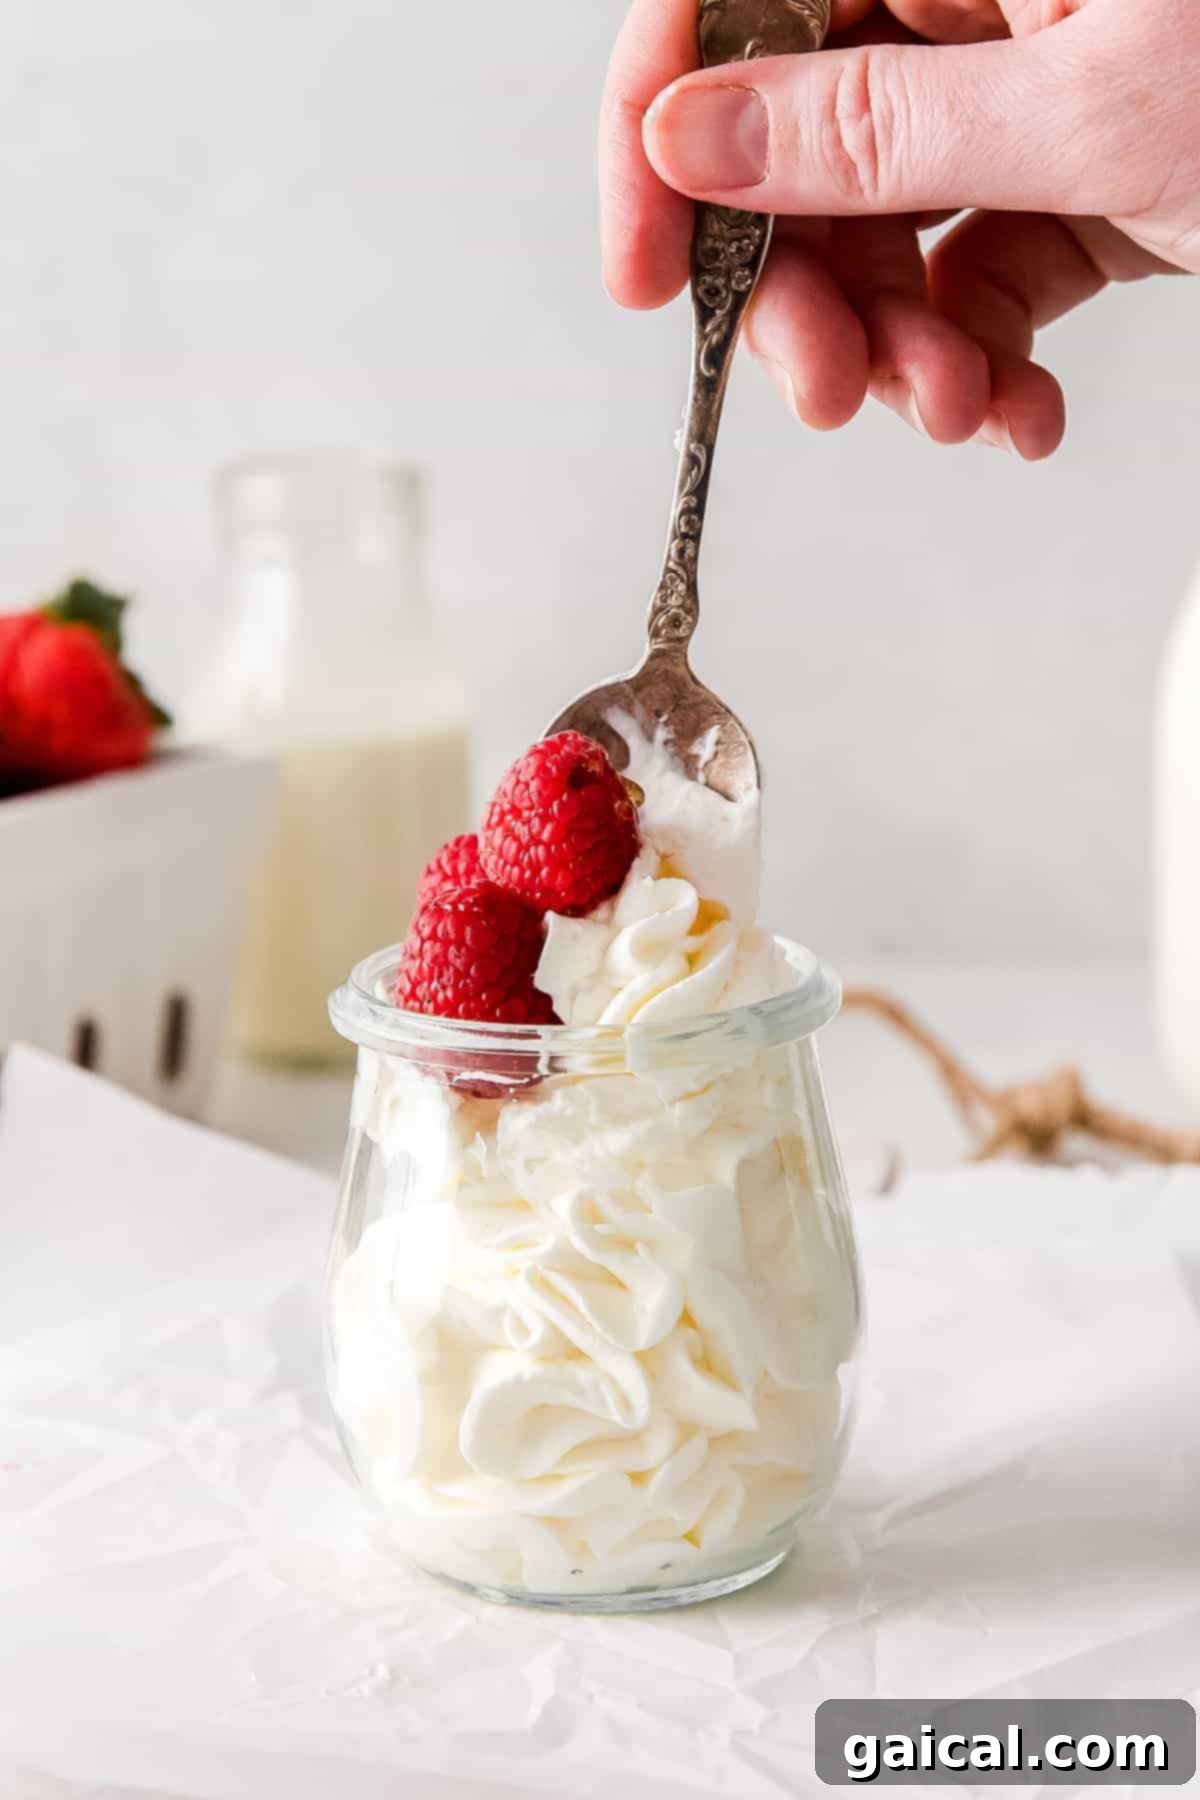
Oh boy, the possibilities are truly endless when it comes to pairing this fluffy, delicate homemade whipped cream with your favorite foods. It’s an incredibly versatile topping that can elevate nearly any meal or snack, from casual breakfasts to elegant desserts and delightful mid-day treats. While our absolute FAVORITE way to enjoy it is with a simple bowl of fresh, ripe berries, there are so many other delicious applications.
You can effortlessly top an array of breakfast recipes, rich desserts, and even sweet snacks with this cloud-like confection. Its light texture and customizable sweetness make it a perfect complement to almost anything. Here are some of our personal favorites to inspire you:
- Pancakes and Waffles: Ditch the plain syrup! A dollop of whipped cream on top of Healthy Strawberry Pancakes or any stack of fluffy waffles makes for an incredibly luxurious breakfast or brunch.
- Crepes: Whether sweet or savory, Crepes are a natural partner for whipped cream, especially when filled with fruit or chocolate.
- Pies and Tarts: From classic apple pie to pecan pie, a generous serving of whipped cream is the ultimate accompaniment. It’s particularly fantastic with Pumpkin Pie Bars.
- Cakes and Cupcakes: Use it as a lighter alternative to frosting or simply as a topping for slices of cake.
- Brownies and Cookies: A warm Brownie with a melting scoop of whipped cream is pure bliss.
- Fruit Salads: A spoonful adds richness and sweetness to any fresh fruit medley.
- Hot Beverages: As discussed, frozen whipped cream dollops are heavenly in hot chocolate, coffee, or even a spiced cider.
- Parfaits and Trifles: Layer it with fruit, granola, or cake pieces for an elegant layered dessert.
- Jell-O and Puddings: Simple desserts become instantly more appealing with a swirl of whipped cream.
Don’t be afraid to get creative! Once you realize how easy and delicious homemade whipped cream is, you’ll find endless ways to incorporate it into your culinary repertoire.
The Ultimate Guide to Homemade Whipped Cream
Prep: 10 minutes
Cook: 0 minutes
Total: 10 minutes
Ingredients
- 1 cup cold heavy whipping cream
- 1 tablespoon sweetener of choice, such as honey, maple syrup, or powdered sugar
- ½ teaspoon pure vanilla extract , or paste from half a vanilla bean
Instructions
-
For the best results, place your metal mixing bowl and whisk attachment (from your stand mixer or hand mixer) into the refrigerator or freezer to chill thoroughly for at least 15-20 minutes. Ensure your heavy whipping cream is also very cold.
-
Once your bowl and whisk are chilled, remove them from the refrigerator or freezer. If using a stand mixer, attach the whisk to the mixer.
-
Pour the cold heavy whipping cream into the chilled bowl. Begin whisking on a medium-low speed. Continue whisking for about 3-4 minutes, or until the cream starts to noticeably thicken and small bubbles form. Then, add your chosen sweetener and pure vanilla extract.
-
Increase the mixer speed to medium-high and continue whipping. Watch carefully for peaks to begin forming. For soft peaks (where the peaks curl over slightly when the whisk is lifted), this typically takes an additional 2-3 minutes. For medium peaks (which hold their shape better but still have a slight curl), continue for another 1-2 minutes. Be careful not to over-whip.
-
Your homemade whipped cream is now ready! Use it immediately to top or incorporate into your favorite desserts.
Tips & Notes
- Yields: Approximately 2 cups of deliciously light and fluffy whipped cream.
- This recipe is highly adaptable and can be made successfully with various tools, including a hand mixer, a compact milk frother for smaller portions, or the effortless stand mixer.
- Always Chill! The colder your heavy whipping cream and equipment are, the faster and more efficiently your cream will whip, yielding a more stable result. Don’t skip chilling your bowl and whisk!
- Gentle Speeds Win the Race. Begin whisking on a medium-low speed and gradually increase to medium-high. Whipping too fast or for too long can lead to over-whipping, resulting in a grainy, curdled texture.
- Select the Right Bowl. Ensure you’re using a mixing bowl that is adequately sized to prevent splatters and allow the cream to expand as it incorporates air. A deep, wide bowl works best.
Nutrition
Nutrition information is automatically calculated, so should only be used as an approximation.
Love this recipe? Share your thoughts below!
Don’t forget to tag your posts on social media with the hashtag #fitfoodiefinds, we’d love to see what you’re whipping up!