
Classic Lemon Bars: Your Go-To Recipe for a Zesty Treat
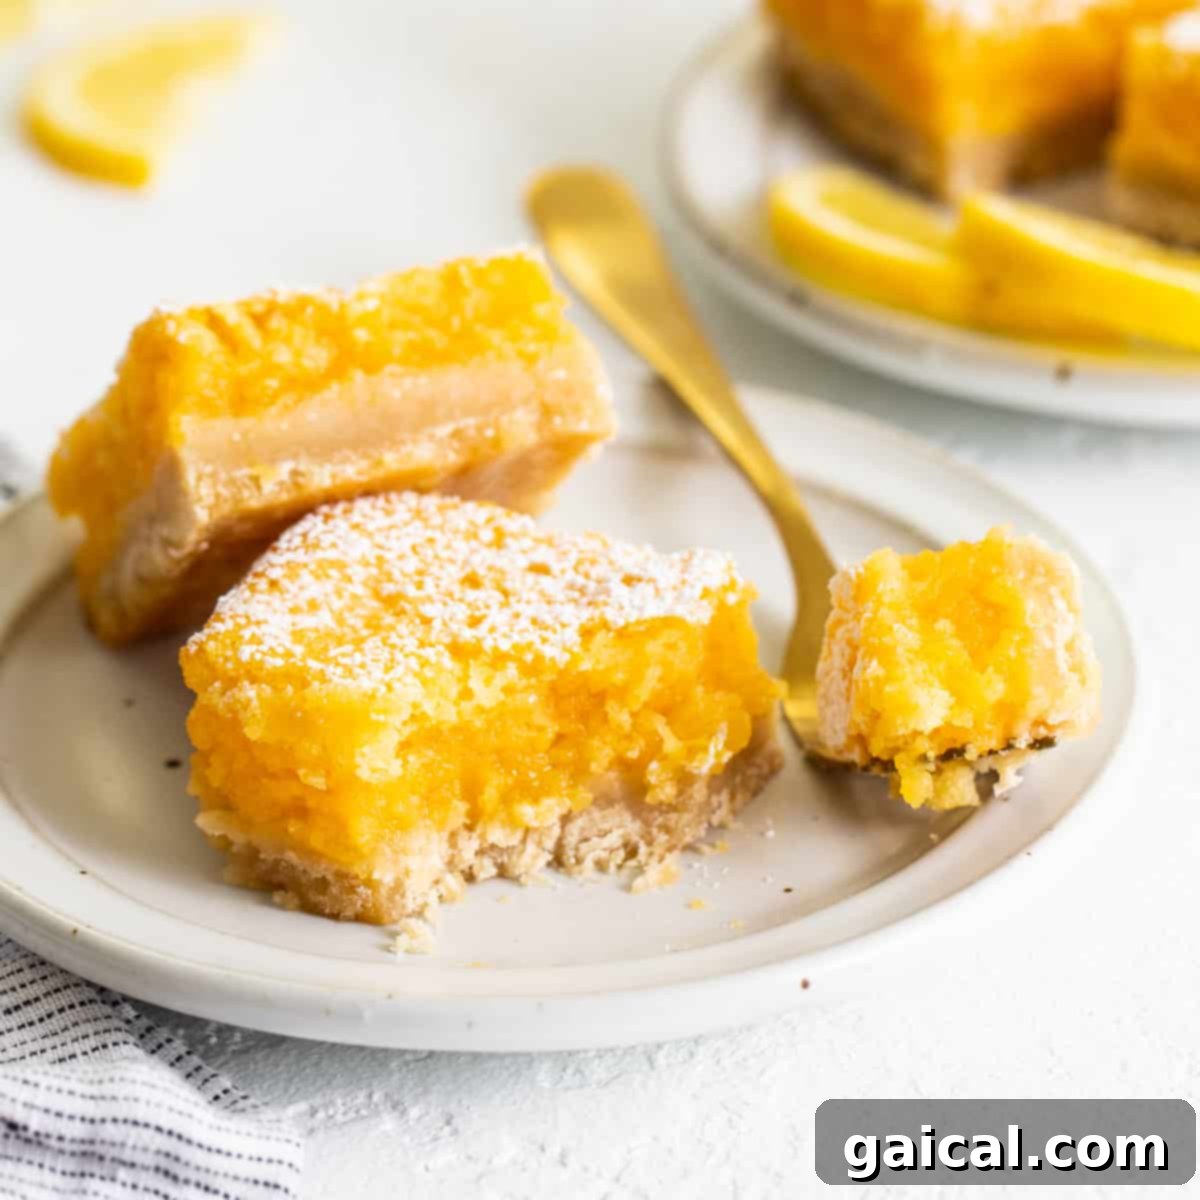
Indulge in the timeless charm of these classic lemon bars, a dessert that perfectly balances sweet and tart flavors. This recipe guides you through creating truly irresistible lemon squares, featuring a rich, buttery shortbread crust topped with a vibrant, silky smooth lemon curd filling. Whether you’re a seasoned baker or new to the kitchen, these bars are incredibly simple to make and promise to be a crowd-pleaser at any gathering. Get ready to master the art of making the best lemon bars!
The Ultimate Classic Lemon Bar Recipe
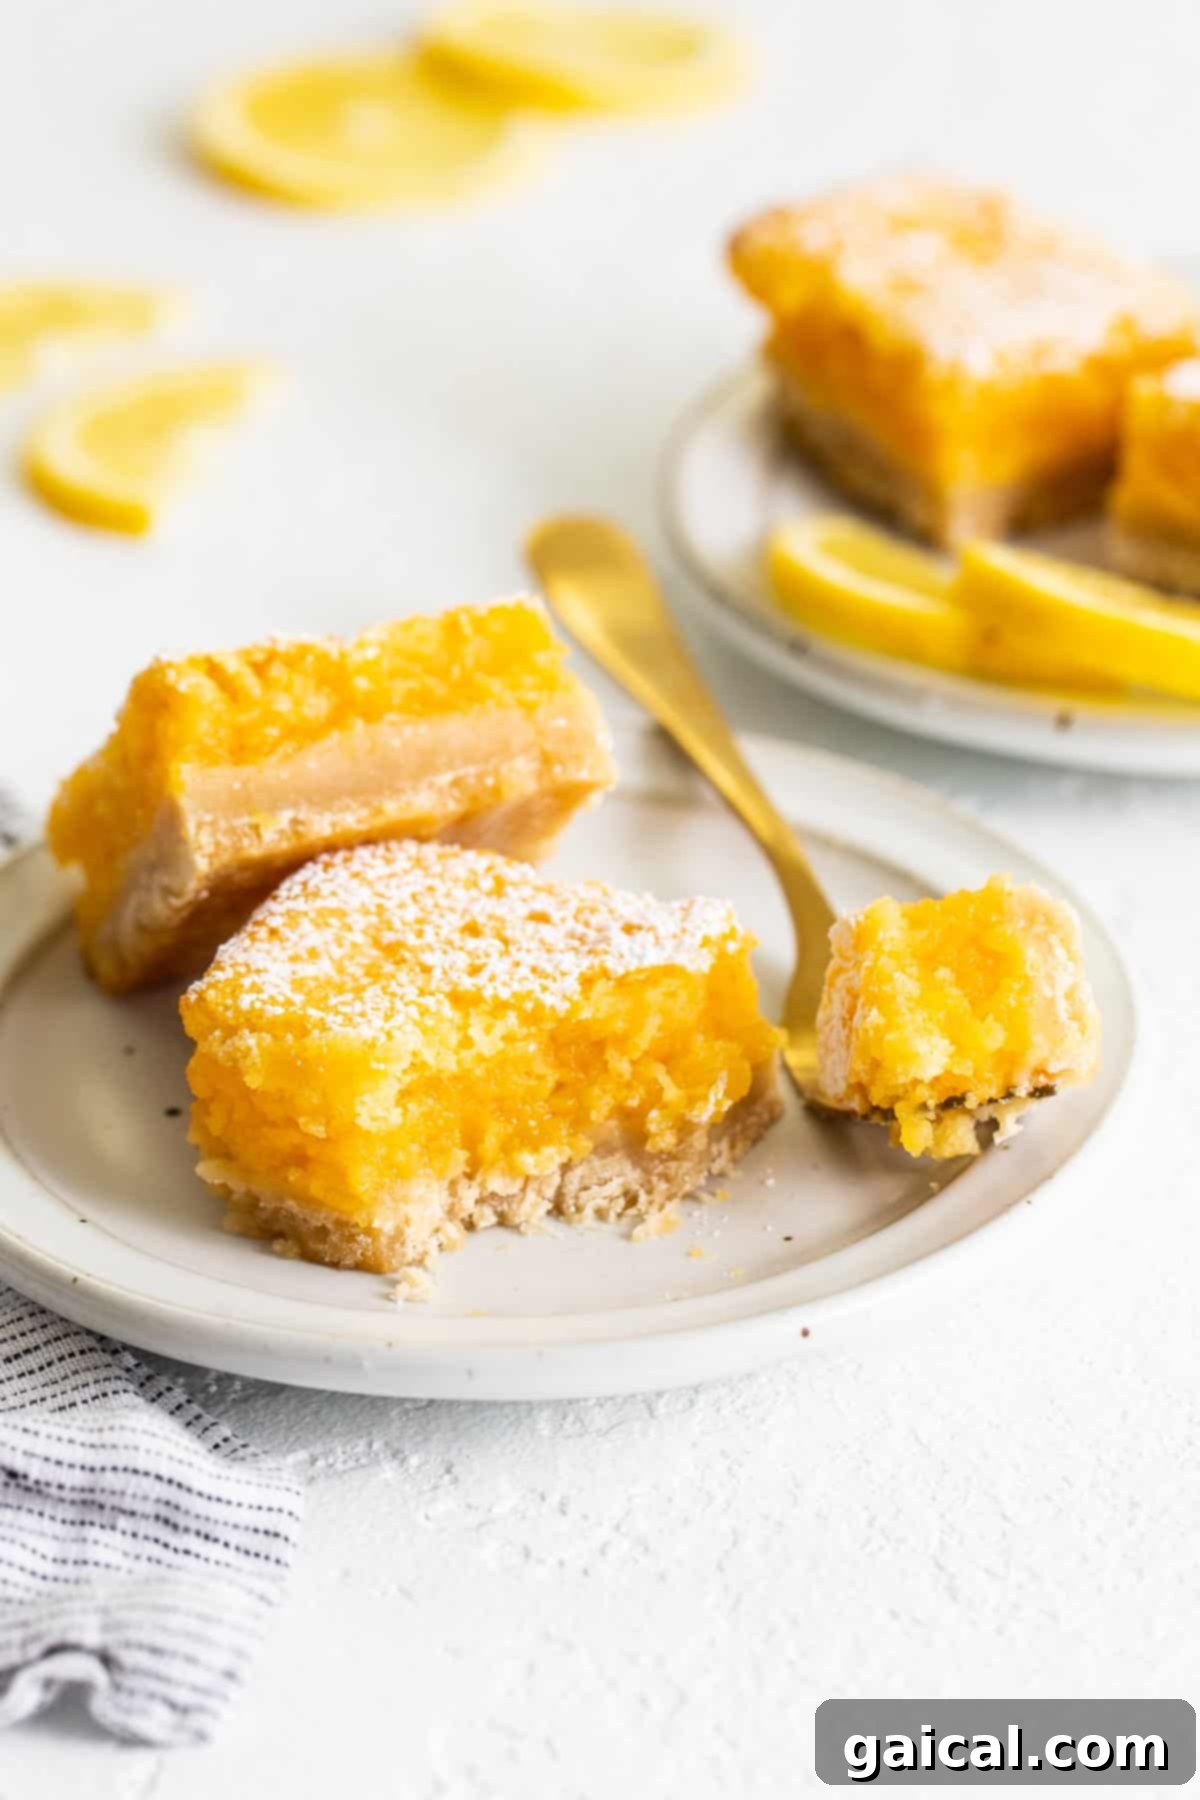
If you’ve previously explored our healthier lemon bar recipe and are now craving the traditional, decadent version, you’ve come to the right place! This comprehensive guide reveals the secrets to crafting perfect lemon bars that taste just like grandma used to make, but with modern simplicity. Our recipe features a delightful buttery shortbread crust that provides the perfect foundation for the bright, tangy lemon curd filling.
These exquisite lemon squares are an ideal dessert for sharing. They shine at any party, barbecue, family gathering, or even as a delightful treat for an afternoon tea. Expect your guests to rave about their irresistible flavor and ask for the recipe!
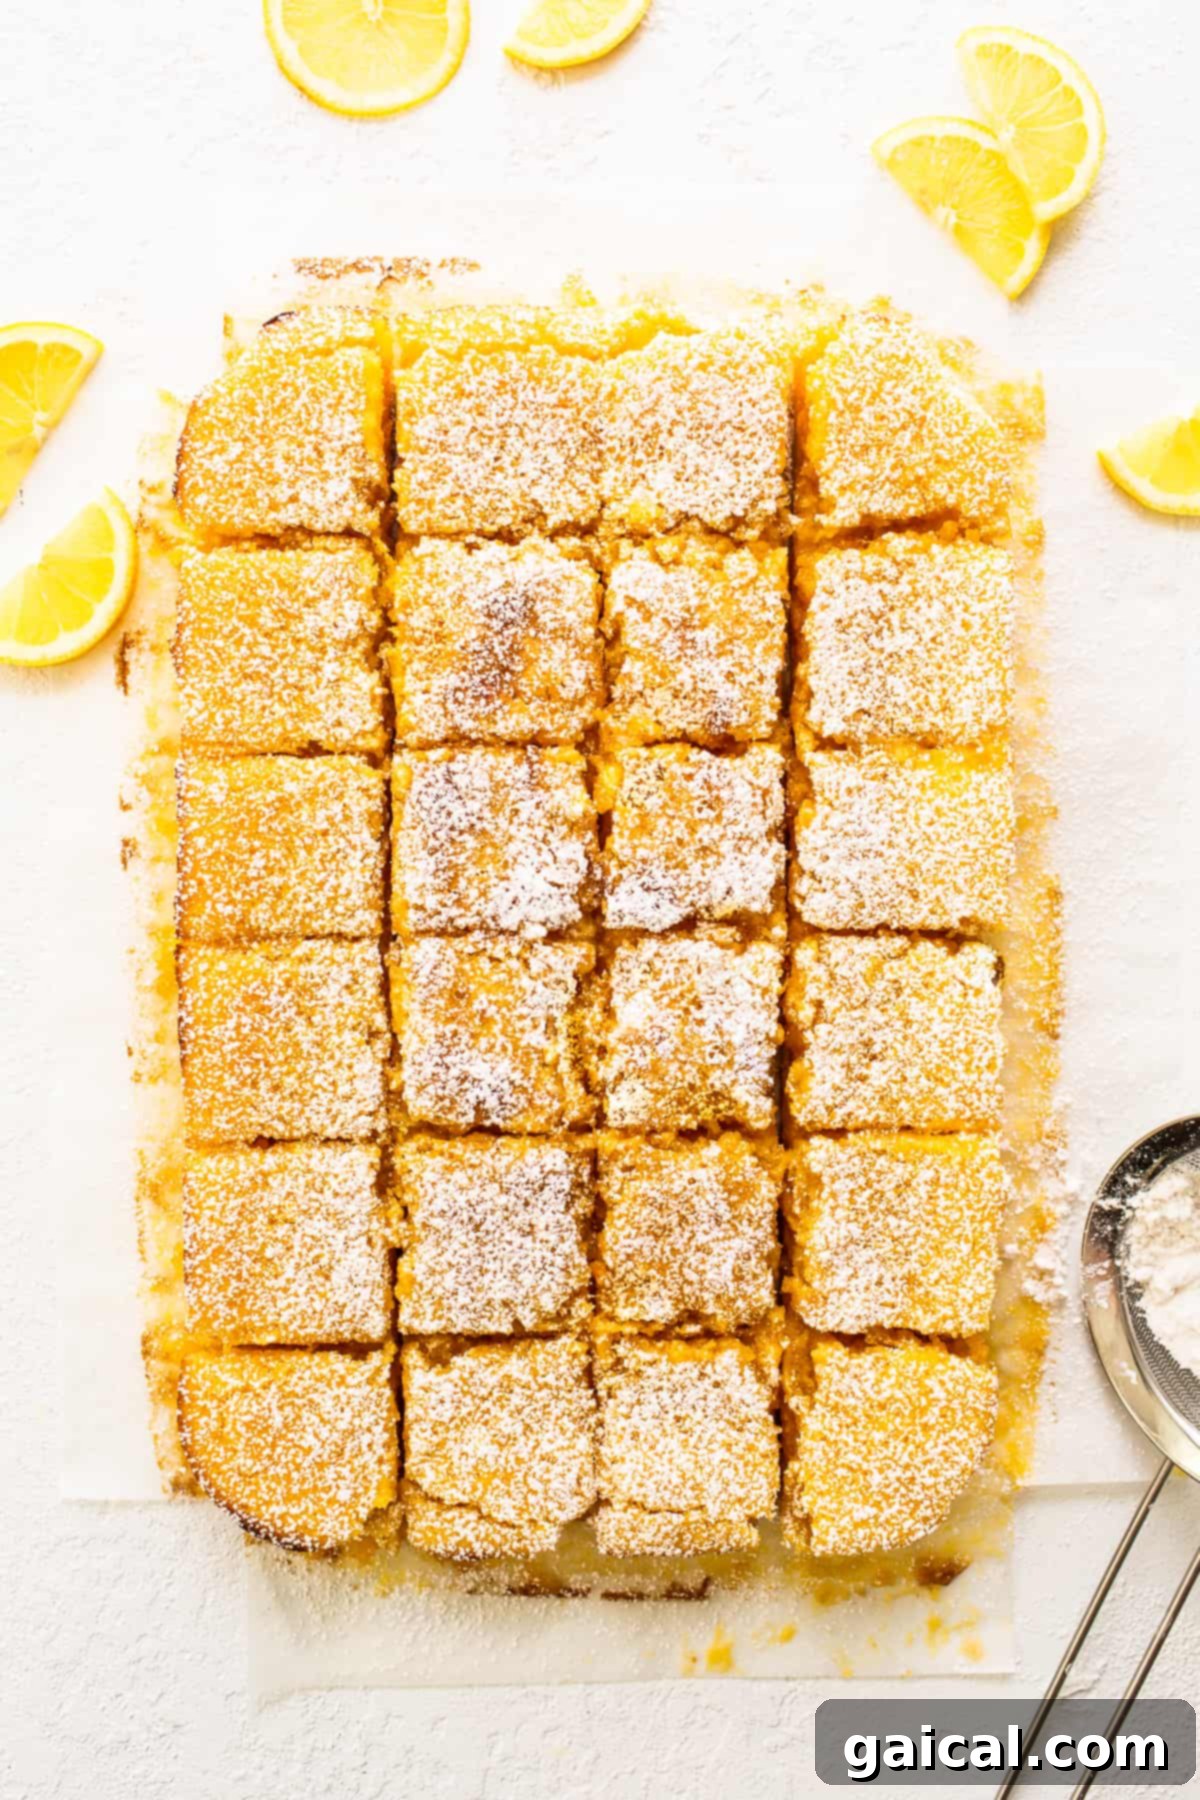
When it comes to serving, a sprinkle of powdered sugar is a classic choice, enhancing their visual appeal and adding a subtle touch of extra sweetness. For an even more luxurious experience, we highly recommend pairing these zesty bars with a dollop of fresh homemade whipped cream. The creamy coolness perfectly complements the tart lemon, creating a truly unforgettable dessert experience.
Why You’ll Fall in Love with These Lemon Bars!
Perfect for Sharing: Lemon bars are the quintessential crowd-pleasing dessert. They’re easy to slice into neat squares or elegant triangles, making them ideal for potlucks, parties, and family dinners. Their vibrant flavor and appealing appearance always make them a standout on any dessert table.
Slightly Sweet, Perfectly Tart: The hallmark of a great lemon bar is its harmonious balance of sweetness and tang. This recipe delivers precisely that – a refreshing citrus burst that isn’t overwhelmingly sour, perfectly complemented by the gentle sweetness of the crust and filling.
A Classic Made Easy: While lemon bars might seem intricate, this recipe breaks down the process into simple, straightforward steps. You’ll achieve a bakery-quality dessert with minimal fuss, making it accessible for bakers of all skill levels. It’s the perfect way to enjoy a sophisticated treat without spending hours in the kitchen.
Crafting Your Homemade Lemon Bars: A Step-by-Step Guide
Making homemade lemon bars involves two primary components: the delightful buttery crust and the bright, zesty lemon curd filling. Each step is designed for ease and ensures a delectable outcome.
The Buttery Shortbread Crust
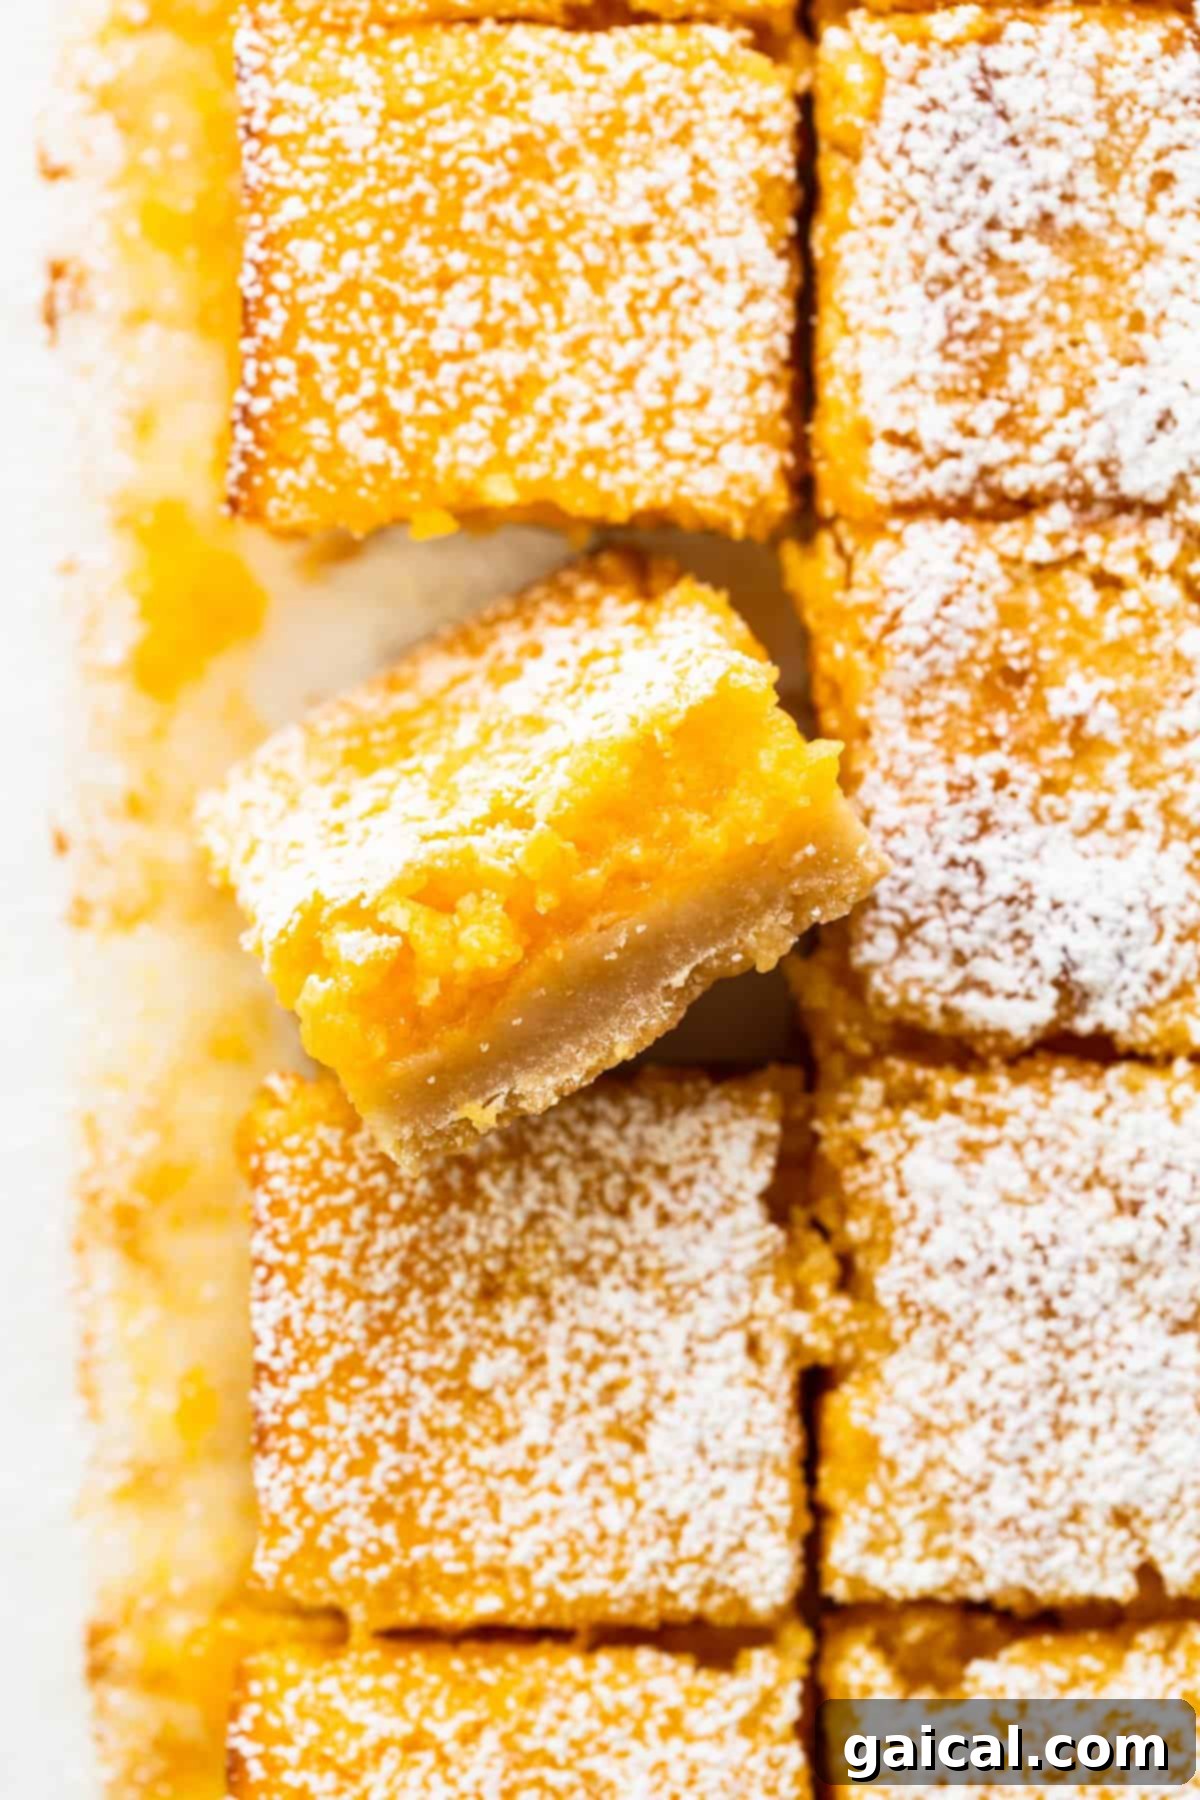
Every exceptional lemon bar begins with a perfectly crafted crust. Our recipe features a classic shortbread crust that is rich, slightly sweet, and wonderfully buttery. It might initially appear drier than traditional dough, but trust the process – it will come together beautifully when pressed and will absorb moisture during baking, resulting in a tender yet firm base.
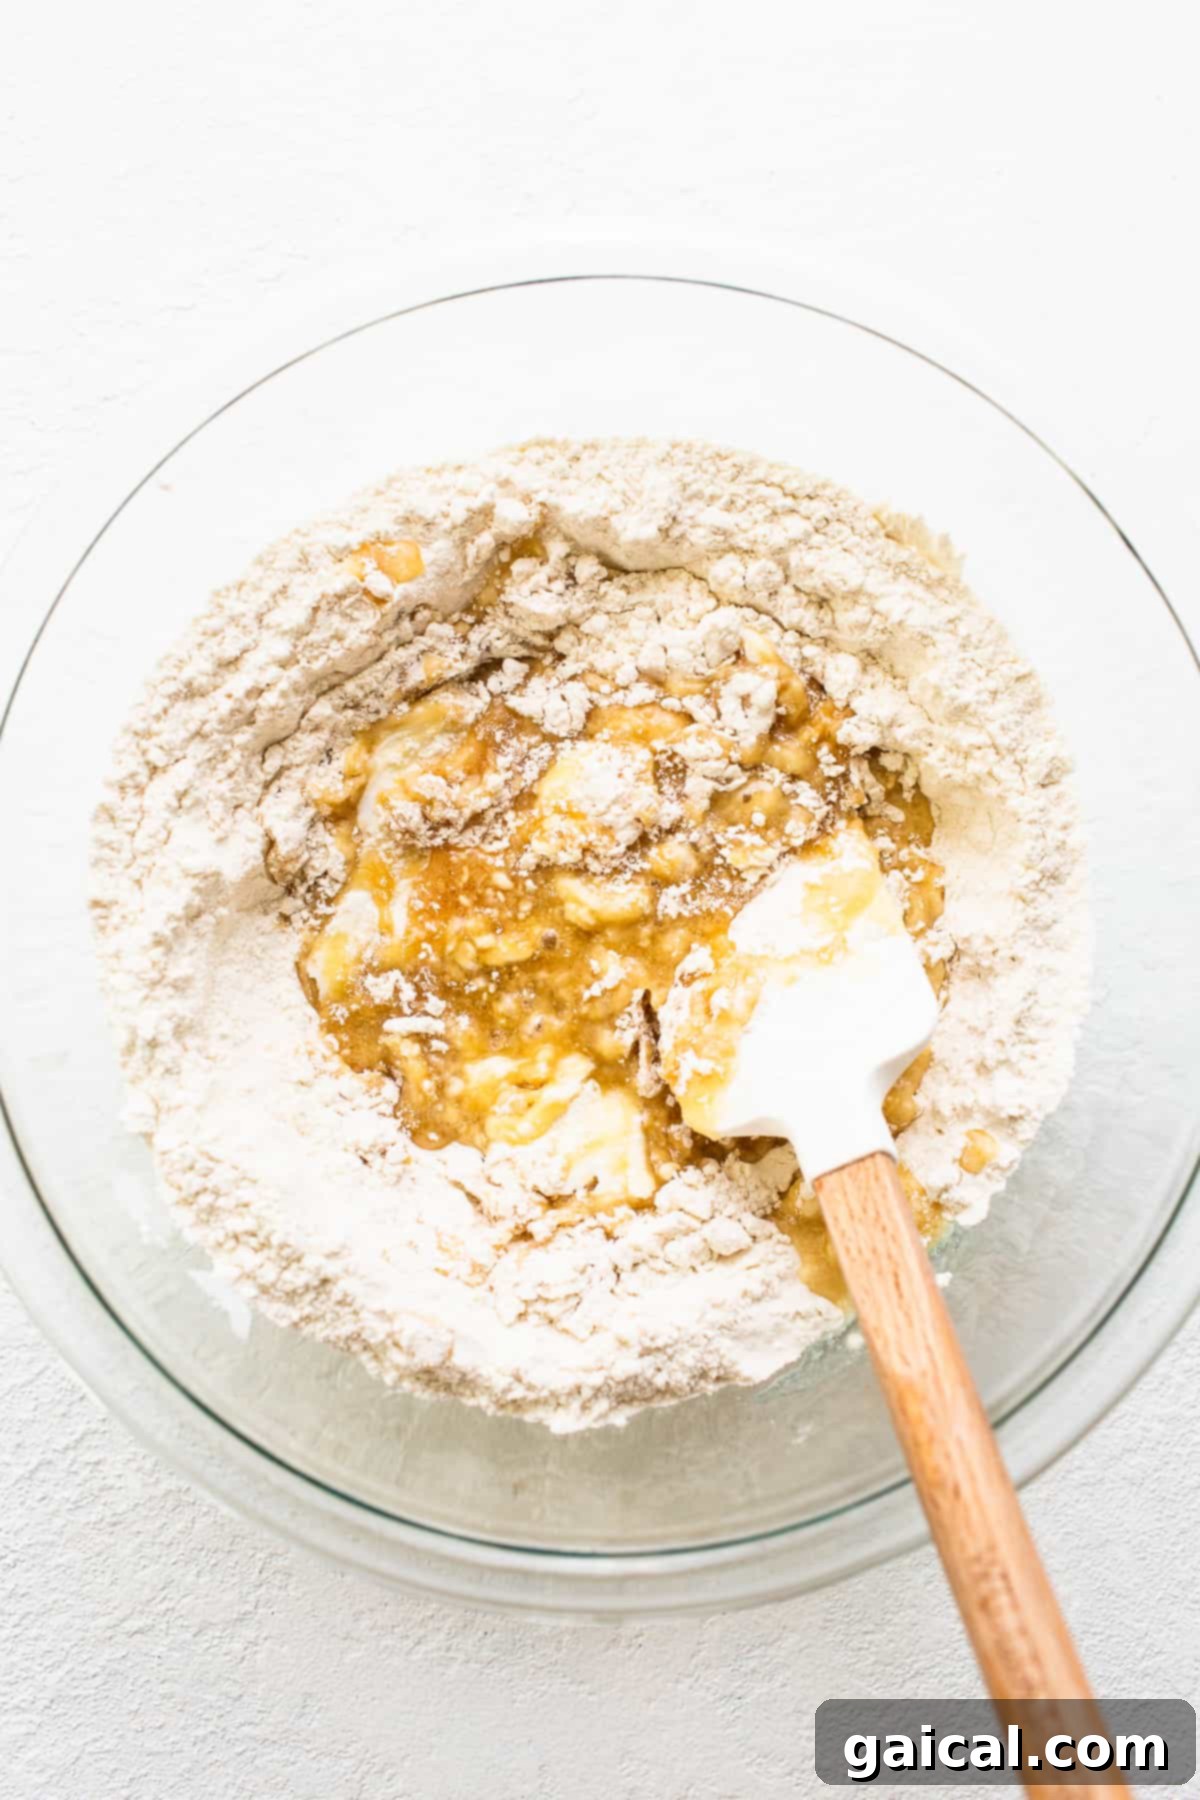
- Prepare Dry Ingredients: In a spacious mixing bowl, combine the all-purpose flour, a pinch of salt, and powdered sugar. Whisk these dry ingredients thoroughly to ensure they are well integrated.
- Incorporate Wet Ingredients: Gradually add the melted unsalted butter, creamy Greek yogurt, and pure maple syrup to the dry mixture. Stir everything together until a coarse, crumbly dough forms. The texture will be sandy but should hold together when squeezed.
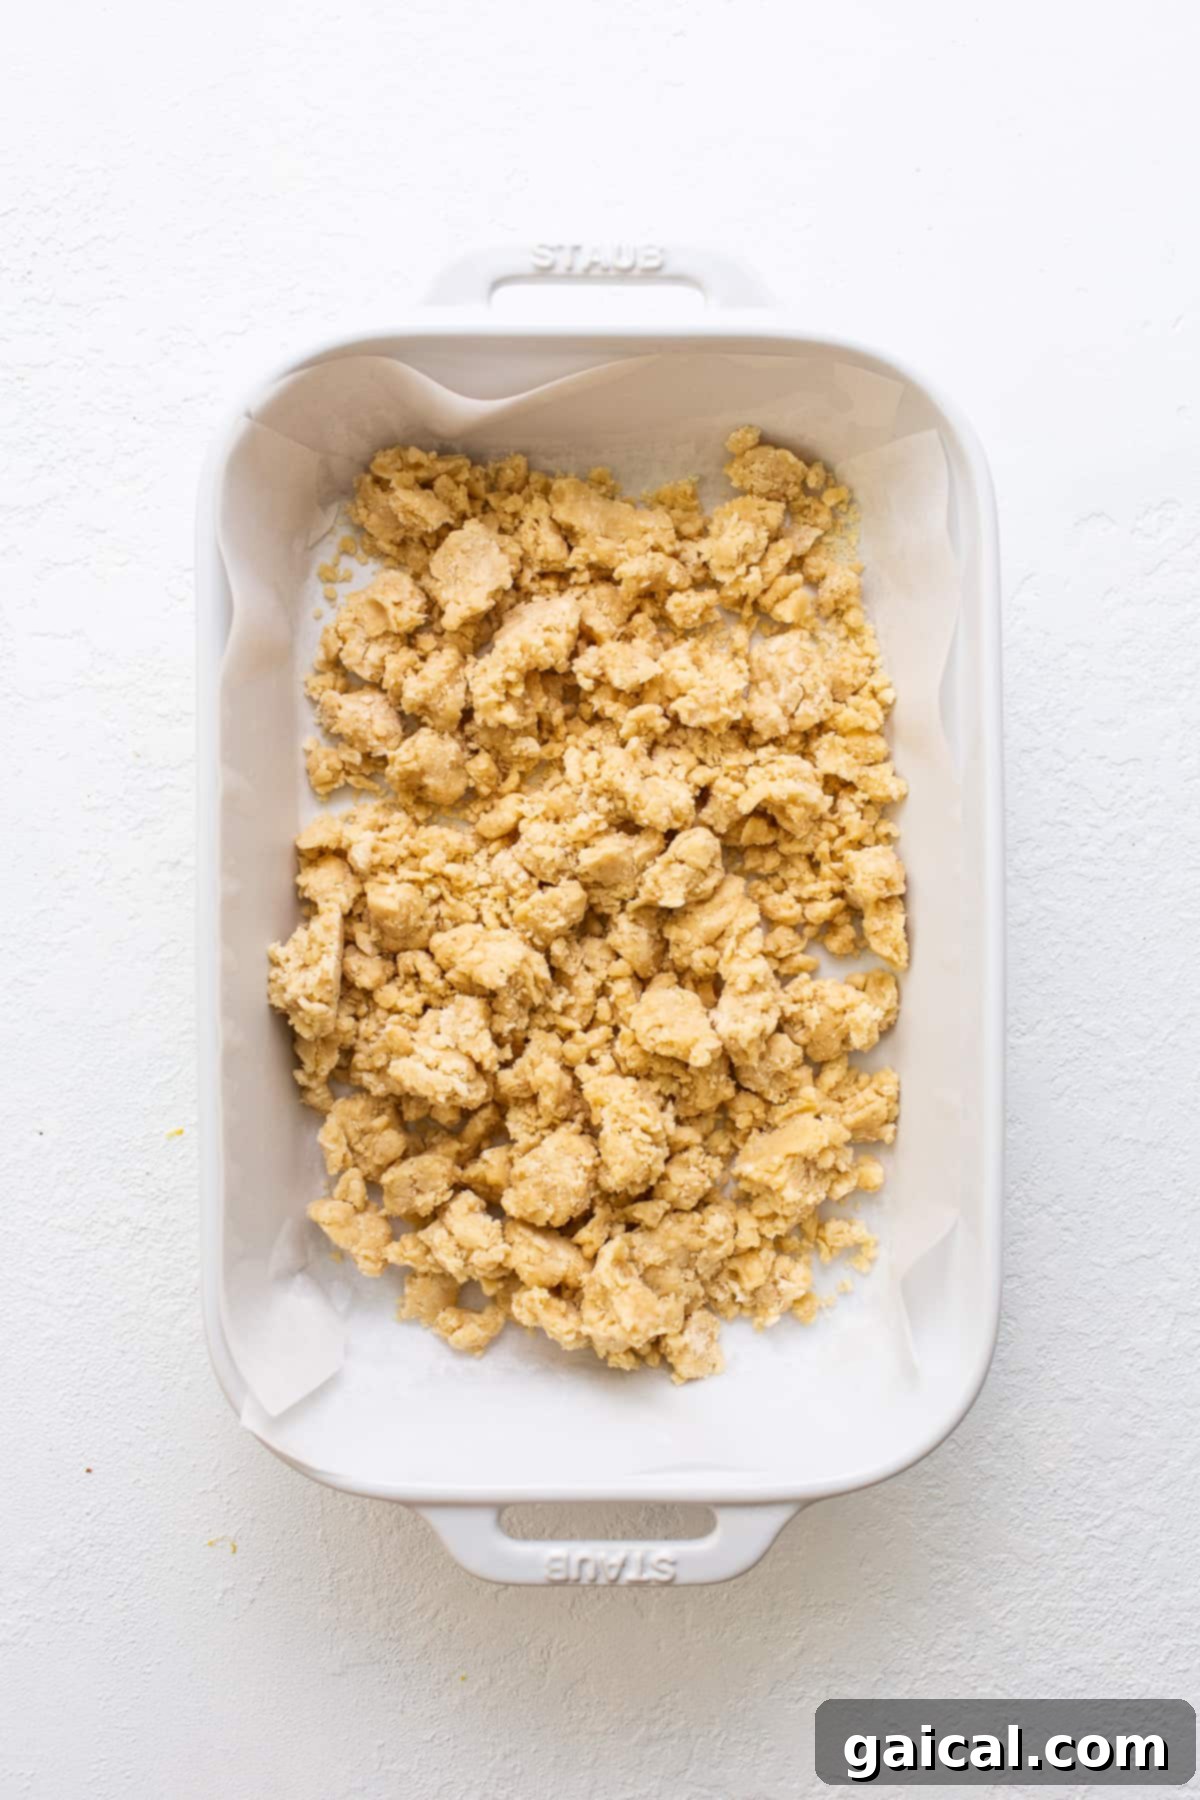
- Press into Pan: Transfer this crumbly dough into a prepared 9×13-inch baking dish (greased and lined with parchment paper for easy removal). Using your hands or the bottom of a flat glass, firmly press the dough down evenly across the bottom of the pan to create a compact, solid crust.
- Pre-Bake the Crust: Bake the crust in a preheated oven at 350ºF (175ºC) for approximately 20 minutes. This pre-baking step ensures the crust is golden and slightly set before the wet filling is added. Once baked, carefully remove the crust from the oven and, using a fork, gently pierce it all over. This helps prevent the crust from bubbling and allows the filling to adhere properly.
The Zesty Lemon Curd Filling
The star of the show, this bright and tangy lemon curd, provides the irresistible citrus burst that defines these bars. It’s surprisingly simple to prepare while the crust is baking, ensuring a smooth and custardy texture.
- Combine Dry Ingredients: In a separate large bowl, whisk together the granulated sugar, all-purpose flour, baking powder, and aromatic lemon zest. The lemon zest is crucial here, as it infuses the curd with intense lemon flavor and a beautiful fragrance.
- Add Wet Ingredients: Pour in the freshly squeezed lemon juice and the whisked eggs. Mix thoroughly until all ingredients are completely combined and the mixture is smooth. Avoid overmixing, but ensure there are no lumps of flour.
- Pour and Bake: Carefully pour the prepared lemon curd filling evenly over the warm, pre-baked and pierced crust in the baking dish.
- Final Bake and Chill: Return the lemon bars to the oven and bake at 350ºF (175ºC) for an additional 20-25 minutes. A crucial tip: the filling should still have a slight “jiggle” in the center when you remove it from the oven. This indicates a perfectly set, creamy curd. A completely firm curd tends to be chewier. Let the bars cool completely at room temperature for 1-2 hours, then transfer them to the refrigerator to chill for at least 2 hours. Chilling is essential for the bars to set properly and firm up, making them easy to slice and enjoy.
Expert Tips for Perfect Lemon Bars
Achieving bakery-quality lemon bars is simple with these insider tips:
The Crust’s Texture is Key: Don’t be alarmed if your crust mixture seems dry and crumbly after mixing. It’s supposed to look that way! As you firmly press it into the baking dish, it will compact beautifully. This seemingly dry base will absorb moisture from the lemon curd during the second baking stage, resulting in a tender yet sturdy foundation for your bars.
Embrace the Jiggle: When the lemon bars are nearing completion during their second bake, a common mistake is to overbake them. For that ideal, creamy, melt-in-your-mouth lemon curd texture, aim for a slight “jiggle” in the center of the pan when you gently shake it. The residual heat will continue to set the curd as it cools. An overly firm curd will still taste delicious but might be a bit chewier than the intended luscious consistency.
Patience is a Virtue – Let Them Rest: This is arguably the most critical step for perfectly set lemon bars. Resist the temptation to cut into them too soon! The cooling and chilling process allows the lemon curd to fully set and firm up. If you skip or rush this step, your bars will be too soft and won’t hold their shape. Allow them to cool at room temperature, then refrigerate for at least two hours (or preferably longer) before slicing.
Fresh is Best: Always use freshly squeezed lemon juice and fresh lemon zest. Bottled lemon juice lacks the vibrant flavor and aroma of fresh lemons, and the zest from fresh lemons provides an essential layer of bright, aromatic citrus flavor that truly elevates these bars.
Room Temperature Eggs: For a smoother, more homogenous lemon curd, ensure your eggs are at room temperature. They combine more easily with other ingredients, creating a more emulsified and silky filling.
Storage & Shelf Life
Lemon bars are best enjoyed chilled. Store any leftover lemon bars in an airtight container in the refrigerator for up to 3 days. For convenience, you can often store them right in the baking dish you used, simply covering it tightly with plastic wrap or aluminum foil. They tend to taste even better the day after they’re made, as the flavors have more time to meld.
For longer storage, lemon bars can also be frozen! Once completely chilled and firm, slice them into individual portions. Wrap each bar tightly in plastic wrap, then place them in an airtight freezer-safe container or bag. They can be frozen for up to 1-2 months. Thaw them in the refrigerator overnight before serving.
More of Our Favorite…
Bright & Zesty Lemon Recipes
If you love the tangy sweetness of lemon, be sure to explore these other delightful lemon-infused recipes:
- Lemon Ricotta Pancakes
- Lemon Poppy Seed Muffins
- Lemon Poppy Seed Bread
- Lemon Drop Martini
Classic Lemon Bars
This perfectly sweet lemon bar recipe is made with basic ingredients and is an excellent lemon dessert to share with all!
Print Recipe
Ingredients
For the Buttery Crust
- 2.5 cups all-purpose flour
- ½ teaspoon salt
- ⅓ cup powdered sugar
- ½ cup unsalted butter, melted
- ¼ cup plain Greek yogurt (we used 5% fat)
- ⅓ cup maple syrup (honey can be substituted)
For the Zesty Lemon Curd Filling
- 3 cups granulated sugar
- ½ cup all-purpose flour
- 1 teaspoon baking powder
- 3 tablespoons lemon zest (from approximately 3-4 large lemons)
- 1 cup lemon juice (from approximately 6-8 medium lemons)
- 6 extra-large eggs + 2 large egg yolks (at room temperature)
Instructions
Crust Preparation
- Preheat your oven to 350ºF (175ºC). Lightly grease a 9×13-inch ceramic baking dish and line it with parchment paper, leaving an overhang on the sides to easily lift the bars later.
- In a large bowl, combine the 2.5 cups all-purpose flour, ½ teaspoon salt, and ⅓ cup powdered sugar. Whisk until well combined.
- Add the ½ cup melted butter, ¼ cup Greek yogurt, and ⅓ cup maple syrup to the dry ingredients. Stir everything together with a spoon or your hands until a very coarse, crumbly mixture forms.
- Pour the dough mixture into the prepared baking dish. Press it down firmly and evenly across the bottom to create a compact crust.
- Bake the crust for 20 minutes. After 20 minutes, remove the dish from the oven and, using a fork, gently pierce the entire surface of the crust.
Filling Preparation & Baking
- While the crust is baking, prepare the filling. In another large bowl, combine the 3 cups granulated sugar, ½ cup all-purpose flour, 1 teaspoon baking powder, and 3 tablespoons lemon zest. Mix thoroughly.
- Next, add the 1 cup fresh lemon juice and 6 extra-large eggs plus 2 large egg yolks to the sugar mixture. Whisk until all ingredients are fully combined and the mixture is smooth.
- Carefully pour the lemon curd filling over the warm, pierced crust in the baking dish.
- Return the lemon bars to the oven and bake at 350ºF (175ºC) for 20-25 minutes. The center of the filling should still have a slight jiggle when gently shaken.
- Remove from the oven and let the lemon bars cool completely at room temperature for 1-2 hours. Then, transfer the dish to the refrigerator and chill for at least 2 hours (or preferably longer) to allow the filling to set properly.
- Once thoroughly chilled, use the parchment paper overhang to lift the entire slab of lemon bars out of the dish. Place on a cutting board and slice into desired squares or triangles. Dust with powdered sugar if desired before serving.
Tips & Notes for Success
- Maple Syrup Substitution: Feel free to substitute honey for maple syrup in the crust if you prefer, or if it’s what you have on hand.
- Crust Consistency: As mentioned, the crust mixture will appear dry and crumbly. This is normal. Press it firmly into the pan, and it will bind together during baking. It will absorb moisture from the curd during the second bake, resulting in a perfect texture.
- Don’t Overbake the Curd: The “jiggle” is key! A slight movement in the center of the curd when gently shaken signifies perfect doneness. Overbaking can lead to a tougher, chewier curd rather than a smooth, custardy one.
- Chill Thoroughly: Patience is paramount. The lemon bars absolutely require sufficient cooling at room temperature followed by refrigeration for at least two hours to properly set. This ensures clean, firm slices.
- Serving Suggestions: Dust generously with powdered sugar, serve with a dollop of fresh whipped cream, or garnish with fresh berries for an extra touch of elegance.
Nutrition Information
Calories: 231 kcal,
Carbohydrates: 43 g,
Protein: 4 g,
Fat: 6 g,
Fiber: 1 g,
Sugar: 30 g
Nutrition information is automatically calculated and should only be used as an approximation. Variations may occur based on ingredients used and serving sizes.
Love this recipe? Leave a comment below!
We absolutely adore hearing about your baking successes! Don’t forget to tag your posts on social media with the hashtag #fitfoodiefinds – we’d love to see your beautiful lemon bars!
Photography: Photos featured in this article were skillfully captured by Ashley McGlaughlin from The Edible Perspective, showcasing the beauty of these delightful lemon bars.